Home>Gardening & Outdoor>Garden Tools & Equipment>How To Start A Husqvarna Leaf Blower
Garden Tools & Equipment
How To Start A Husqvarna Leaf Blower
Modified: August 18, 2024
Learn how to start a Husqvarna leaf blower with ease and efficiency. Get expert tips on using garden tools and equipment for a pristine yard.
(Many of the links in this article redirect to a specific reviewed product. Your purchase of these products through affiliate links helps to generate commission for Storables.com, at no extra cost. Learn more)
Introduction
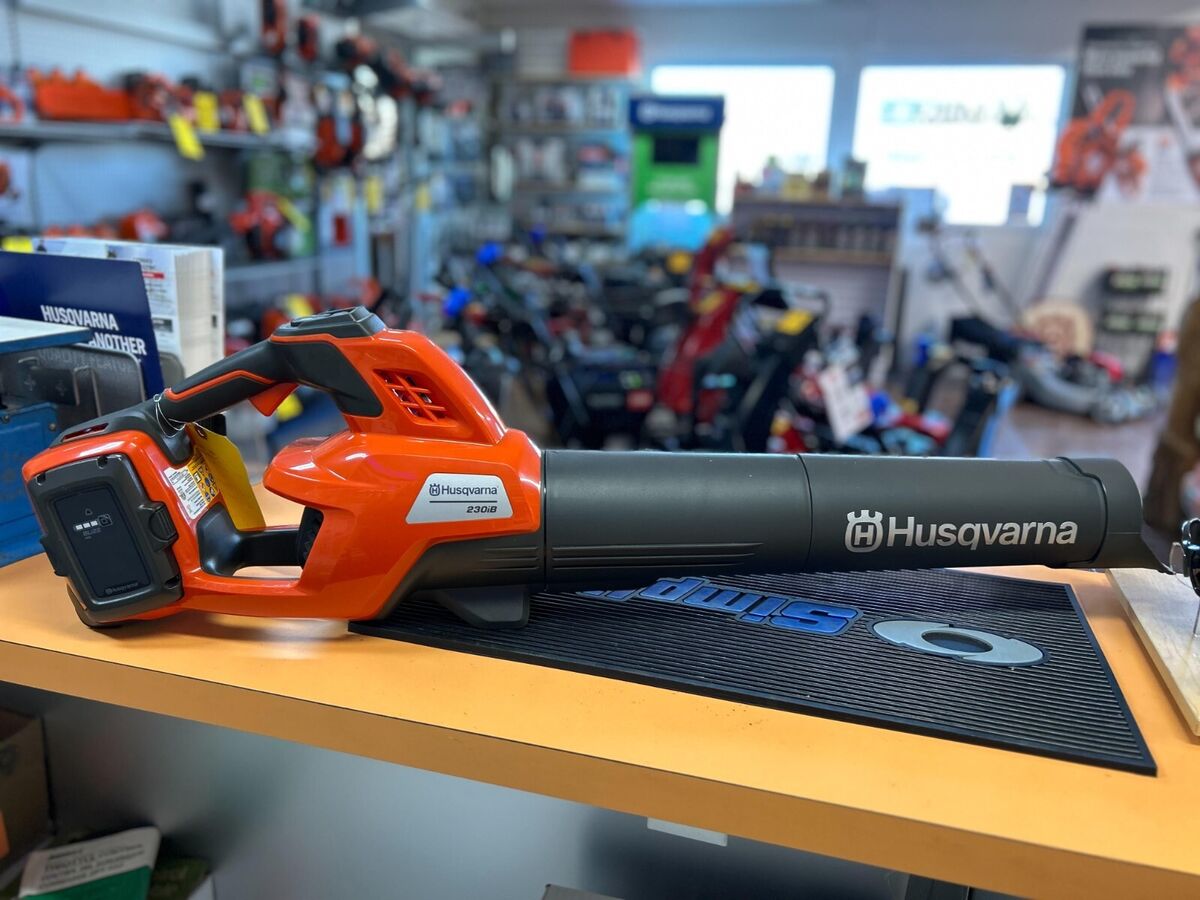
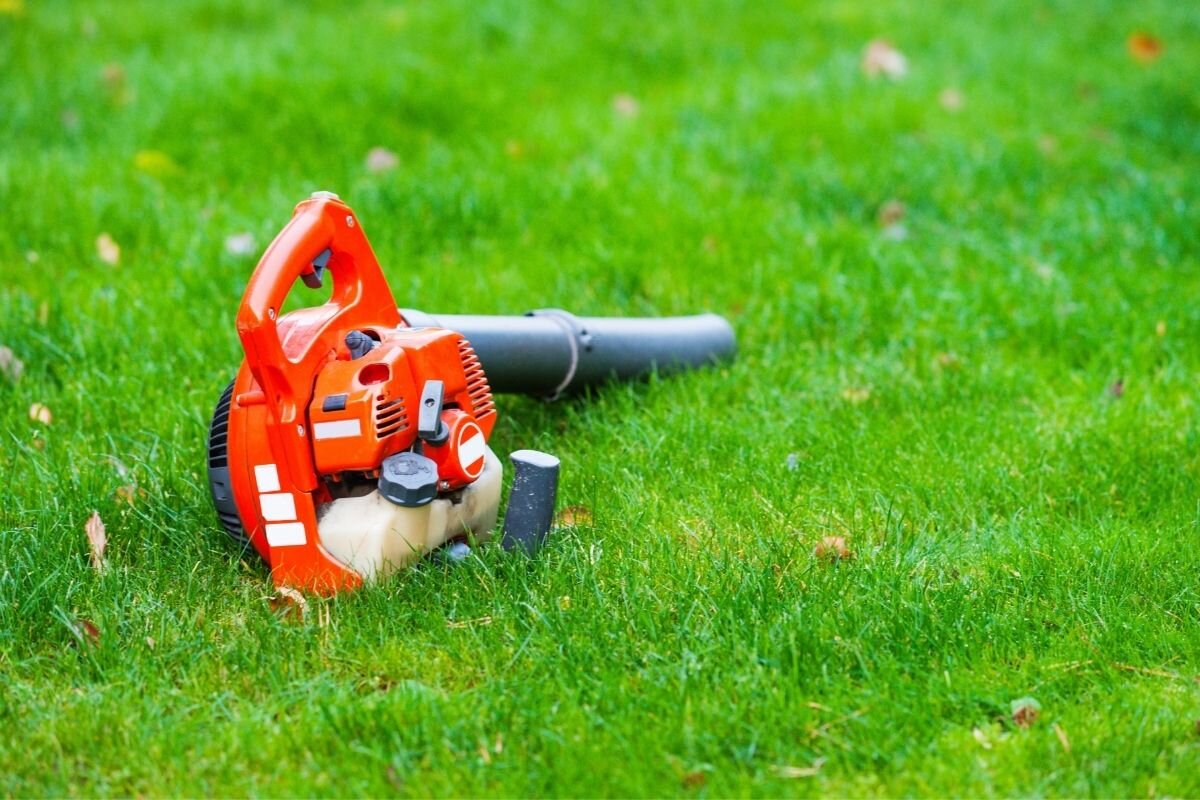
Welcome to the world of leaf blowers, where the chore of clearing leaves and debris becomes a breeze. If you're the proud owner of a Husqvarna leaf blower, you're in for a treat. These powerful machines are designed to make yard maintenance efficient and, dare we say, enjoyable. In this guide, we'll walk you through the essential steps to start your Husqvarna leaf blower with confidence.
Whether you're a seasoned pro or a novice in the realm of garden tools, mastering the art of starting a leaf blower is a valuable skill. With the right knowledge and a sprinkle of caution, you'll soon be wielding your leaf blower like a seasoned gardener.
So, grab your safety goggles, put on your work gloves, and let's dive into the world of Husqvarna leaf blowers. We'll cover everything from assembling the blower to troubleshooting common issues. By the end of this guide, you'll be well-equipped to harness the full potential of your leaf blower and keep your outdoor space looking immaculate.
Key Takeaways:
- Master the art of starting and operating your Husqvarna leaf blower with confidence and finesse. Prioritize safety, proper maintenance, and efficient operation to maximize its performance and longevity.
- From assembling the blower to troubleshooting issues, you’re well-equipped to tackle yard maintenance tasks with ease. Embrace the power of your leaf blower and transform outdoor upkeep into a gratifying endeavor.
Read more: How To Start A Stihl Leaf Blower
Safety Precautions
Before embarking on any outdoor task, safety should always be the top priority. When operating a Husqvarna leaf blower, it’s crucial to adhere to certain safety precautions to protect yourself and those around you. Here are some essential safety measures to keep in mind:
- Protective Gear: Prior to starting the leaf blower, don the appropriate protective gear. This includes safety goggles to shield your eyes from debris, ear protection to minimize noise exposure, and work gloves to maintain a firm grip on the blower.
- Clear the Area: Before starting the leaf blower, ensure that the work area is free of obstacles, debris, and potential hazards. Clear the space of rocks, branches, and other objects that could be propelled by the blower’s powerful airflow.
- Check the Surroundings: Be mindful of your surroundings, especially if there are bystanders, pets, or wildlife nearby. It’s advisable to inform others in the vicinity before starting the blower to prevent any unexpected disturbances.
- Stable Footing: When using the leaf blower, maintain stable footing on even ground to prevent slips or falls. Uneven terrain or slippery surfaces can pose a risk, so choose your operating position wisely.
- Follow Manufacturer’s Guidelines: Familiarize yourself with the specific safety guidelines outlined in the Husqvarna leaf blower’s manual. This includes understanding the blower’s operational features, recommended maintenance procedures, and safety precautions provided by the manufacturer.
By prioritizing safety and taking these precautions into account, you can create a secure environment for operating your Husqvarna leaf blower. Remember, a safe and cautious approach sets the stage for a successful and incident-free yard maintenance session.
Assembling the Leaf Blower
Before you can unleash the power of your Husqvarna leaf blower, it’s essential to assemble it properly. While the assembly process may vary depending on the model, the following general steps will guide you through the setup:
- Unpack with Care: Begin by carefully unpacking the leaf blower and its components from the packaging. Ensure that all the necessary parts, including the blower tube, nozzle, and any additional attachments, are present and undamaged.
- Handle and Blower Tube Attachment: If the blower features a detachable blower tube, securely attach it to the blower’s main body according to the manufacturer’s instructions. This step may involve locking mechanisms or simple twisting to ensure a snug fit.
- Nozzle Attachment: Depending on the model, you may need to attach a specific nozzle or attachment for optimized performance. Follow the provided instructions to affix the nozzle securely to the blower tube.
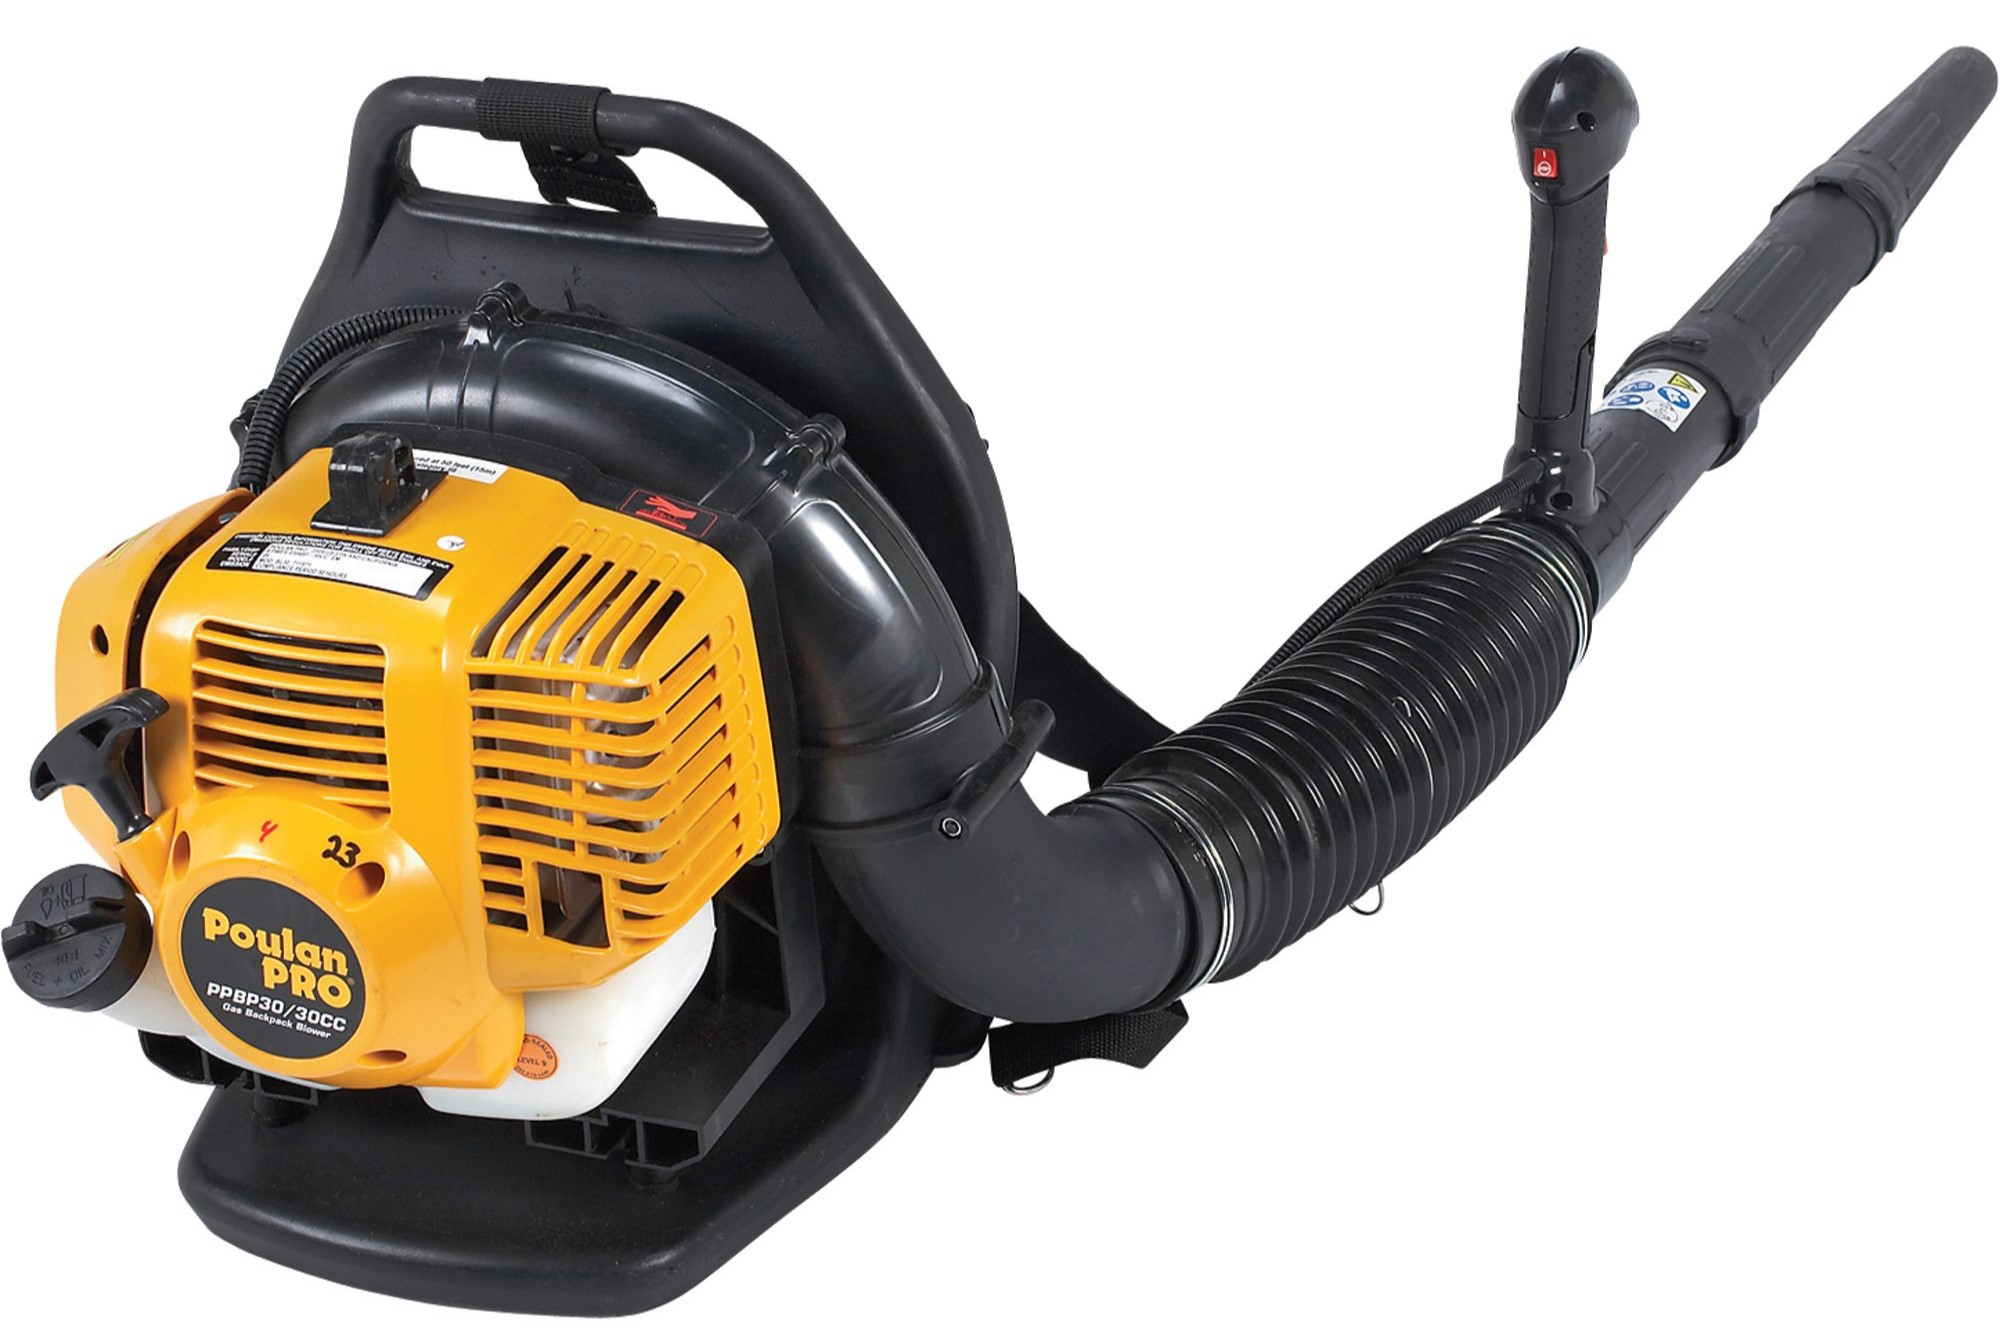
- Adjustable Straps (If Applicable): For backpack-style leaf blowers, adjust the shoulder straps to ensure a comfortable and secure fit. Properly adjusted straps help distribute the blower’s weight evenly, reducing strain during operation.
- Inspect for Loose Fastenings: Before starting the blower, double-check all fastenings and connections to ensure they are secure. Loose components could affect the blower’s performance and pose a safety risk during operation.
Once the leaf blower is assembled according to the manufacturer’s instructions, you’re one step closer to harnessing its full potential. Proper assembly sets the stage for a seamless and efficient leaf-blowing experience, allowing you to focus on the task at hand without any interruptions.
Adding Fuel and Oil
Before firing up your Husqvarna leaf blower, it’s crucial to ensure that it is fueled and lubricated appropriately. Here’s a step-by-step guide to adding fuel and oil to your leaf blower:
- Use the Right Fuel: Check the manufacturer’s recommendations regarding the appropriate fuel type for your specific leaf blower model. Typically, two-stroke engines, commonly found in leaf blowers, require a mixture of unleaded gasoline and two-stroke engine oil. It’s essential to use the correct oil-to-gas ratio as specified in the blower’s manual.
- Fuel Mixing: If your leaf blower operates on a two-stroke engine, mix the specified ratio of two-stroke engine oil with unleaded gasoline in a clean and approved fuel container. Thoroughly shake the container to ensure a homogeneous mixture of oil and gasoline.
- Refueling Carefully: With the blower placed on a stable surface, carefully refuel the tank with the prepared fuel mixture. Take care to avoid spillage and ensure that the fuel cap is securely fastened after refueling to prevent leaks and potential hazards.
- Oil Reservoir (If Applicable): Some leaf blowers feature a separate oil reservoir for lubricating the engine. If your model requires oil for engine lubrication, consult the manual to locate the oil reservoir and add the recommended oil as per the manufacturer’s guidelines.
- Check Oil Levels: For leaf blowers with a separate oil reservoir, it’s important to periodically check the oil level and top it up as needed to maintain proper lubrication of the engine components. Regular oil checks help prolong the blower’s lifespan and ensure optimal performance.
By following these steps and adhering to the manufacturer’s recommendations for fuel and oil, you can ensure that your Husqvarna leaf blower is primed and ready for action. Proper fueling and lubrication are essential for the blower’s longevity and reliable operation, allowing you to tackle yard maintenance tasks with confidence.
Starting the Leaf Blower
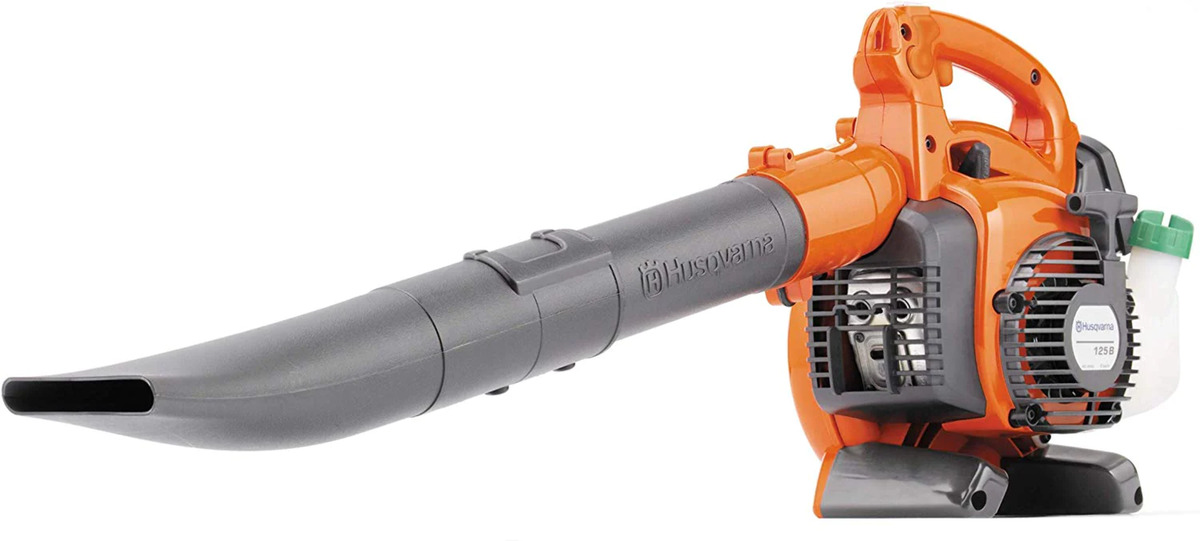
With the assembly completed and the blower fueled and oiled, it’s time to start your Husqvarna leaf blower and unleash its powerful performance. The process may vary slightly based on the model and type of engine, so it’s crucial to consult the blower’s manual for specific instructions. Here’s a general guide to starting a typical gas-powered leaf blower:
- Prime the Engine (If Applicable): If your leaf blower features a primer bulb, press it several times to prime the engine. This action helps draw fuel into the carburetor, facilitating easier starting, especially after the blower has been inactive for a while.
- Set the Choke: If your leaf blower has a choke lever, set it to the “Start” or “Choke” position before attempting to start the engine. The choke restricts the air supply to the carburetor, enriching the fuel mixture for easier starting, particularly in cold conditions.
- Ignition Switch: Locate the blower’s ignition switch or button and ensure it is in the “Off” position before starting. This prevents accidental starts and enhances safety during the startup process.
- Starting Procedure: Firmly grip the blower’s handle and, depending on the model, place the blower on the ground or hold it securely. Pull the starter cord briskly and steadily to initiate the engine’s startup sequence. Repeat as necessary, following the manufacturer’s recommendations for starting procedures.
- Adjusting the Throttle: Once the engine starts, adjust the throttle to the appropriate setting for the task at hand. Lower throttle settings are suitable for light-duty tasks, while maximum throttle may be required for heavy debris or larger areas.
By following these steps and familiarizing yourself with the starting process outlined in the blower’s manual, you can kickstart your yard maintenance endeavors with ease. A properly started leaf blower sets the stage for efficient and effective outdoor cleanup, allowing you to tackle leaf-littered spaces with confidence.
Before starting a Husqvarna leaf blower, make sure to check the fuel level, air filter, and spark plug. Prime the engine, set the choke, and pull the starter cord to start the blower.
Read more: How To Start An Echo Leaf Blower
Operating the Leaf Blower
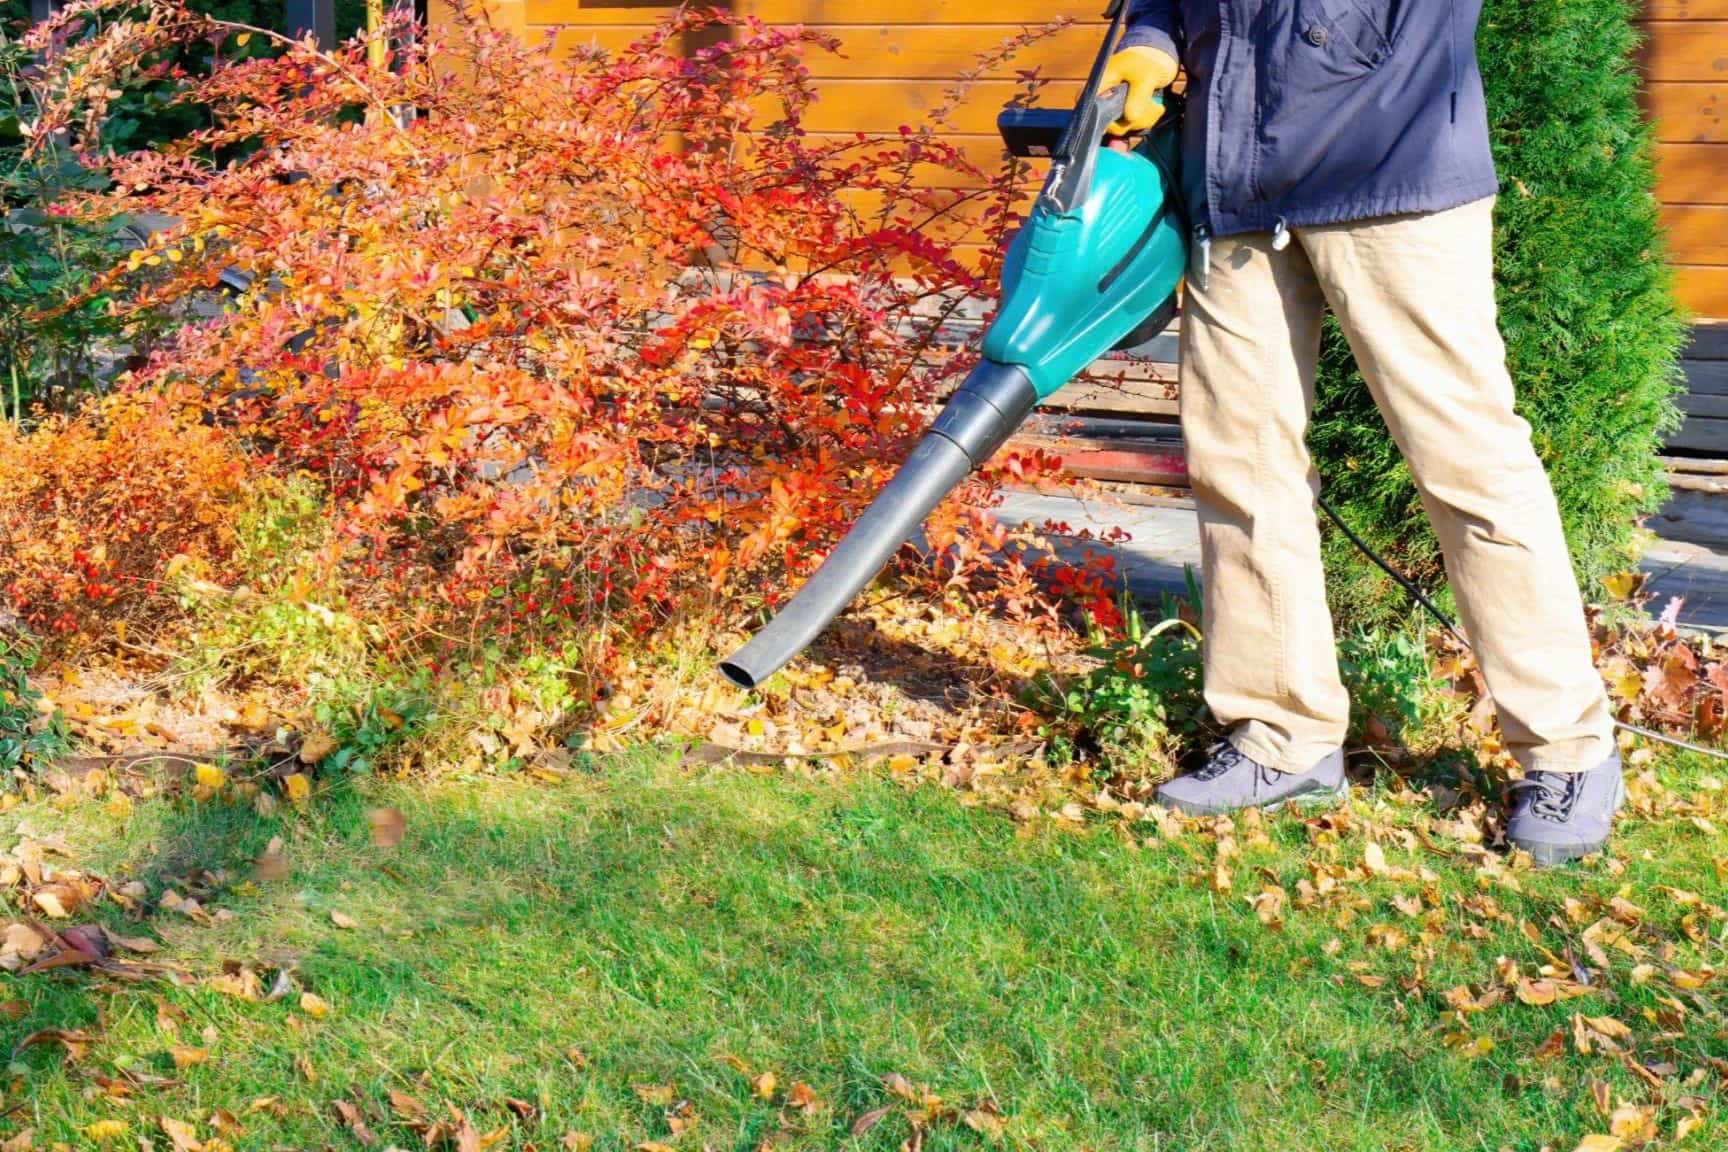
Once your Husqvarna leaf blower roars to life, it’s time to wield its mighty airflow to conquer the task at hand. Operating a leaf blower efficiently involves more than just pointing and blowing. Here’s a comprehensive guide to harnessing the full potential of your leaf blower:
- Stance and Grip: Maintain a stable stance and a firm grip on the blower’s handle to ensure control and maneuverability. Distribute the blower’s weight evenly to minimize fatigue during prolonged use.
- Adjusting Airflow: Some leaf blowers feature adjustable airflow settings or nozzles that allow you to control the direction and intensity of the airflow. Experiment with different settings to find the optimal airflow pattern for your specific task, whether it’s clearing leaves from delicate flower beds or blasting debris from paved surfaces.
- Clearing Debris: When directing the blower’s airflow, start from the edges of the area and work your way inward, pushing debris in the desired direction. Use sweeping motions to corral leaves and debris effectively, adjusting the airflow as needed to tackle different types of materials.
- Mindful Operation: Be mindful of nearby objects, plants, and structures while operating the leaf blower. Avoid directing airflow toward people, animals, or fragile items, and exercise caution when working in windy conditions to prevent debris from blowing back towards you.
- Intermittent Operation: For extended use, consider taking intermittent breaks to rest and assess your progress. Hydrate as needed and be mindful of any signs of fatigue, ensuring that you operate the blower comfortably and safely.
By mastering the art of operating your Husqvarna leaf blower with finesse and precision, you can transform your outdoor maintenance tasks into efficient and satisfying endeavors. The right technique and approach to operating the leaf blower elevate its effectiveness, allowing you to maintain a pristine outdoor space with ease.
Maintenance and Cleaning
To keep your Husqvarna leaf blower in top-notch condition and ensure its longevity, regular maintenance and cleaning are essential. By incorporating these practices into your leaf blower care routine, you can maximize its performance and reliability. Here’s a comprehensive guide to maintaining and cleaning your leaf blower:
- Air Filter Inspection: Periodically inspect the blower’s air filter for any signs of dirt, debris, or damage. A clogged or damaged air filter can hinder airflow and engine performance. Clean or replace the air filter as recommended by the manufacturer.
- Spark Plug Maintenance: Check the spark plug regularly and clean or replace it according to the manufacturer’s guidelines. A well-maintained spark plug is vital for efficient engine ignition and overall performance.
- Fuel System Care: If the leaf blower will be stored for an extended period, consider draining the fuel tank and running the blower until the fuel lines are empty to prevent fuel-related issues. Additionally, use fuel stabilizers as recommended to maintain fuel freshness.
- Lubrication: For leaf blowers with separate oil reservoirs, ensure that the engine is adequately lubricated according to the manufacturer’s specifications. Regularly check the oil level and top it up as needed to protect engine components.
- Cleaning Exterior Surfaces: After each use, wipe down the exterior surfaces of the leaf blower to remove dirt, debris, and moisture. This simple practice helps prevent the accumulation of grime and maintains the blower’s appearance.
- Storage Considerations: When storing the leaf blower, ensure that it is placed in a clean, dry area away from direct sunlight and moisture. Proper storage helps prevent corrosion and ensures that the blower is ready for action when needed.
By integrating these maintenance practices into your leaf blower care routine, you can uphold its performance and reliability, ensuring that it remains a steadfast companion in your yard maintenance endeavors. A well-maintained leaf blower not only delivers consistent performance but also extends its lifespan, allowing you to enjoy its benefits for years to come.
Troubleshooting
Even the most reliable tools may encounter occasional hiccups, and your Husqvarna leaf blower is no exception. Understanding common issues and their remedies equips you to troubleshoot effectively, keeping your leaf blower in prime working condition. Here’s a troubleshooting guide to address potential concerns:
- Starting Problems: If the blower struggles to start, check for fuel availability, proper priming, and a clean air filter. Ensure that the spark plug is in good condition and the engine is receiving the necessary spark for ignition.
- Reduced Power: If the blower’s performance seems lackluster, inspect the air filter, fuel system, and spark plug for potential issues. Clogged air filters, fuel line blockages, or a worn-out spark plug can contribute to diminished power output.
- Overheating: If the blower exhibits signs of overheating, such as excessive heat emanating from the engine, promptly switch it off and allow it to cool. Check for obstructions in the air intake and ensure that the cooling fins are clean and unobstructed.
- Unusual Noises: Strange or unusually loud noises during operation may indicate loose components, worn-out bearings, or other mechanical issues. Investigate the source of the noise and address any loose or damaged parts promptly to prevent further damage.
- Inconsistent Operation: If the blower’s performance fluctuates or it stalls intermittently, inspect the fuel system, including the fuel lines, filter, and carburetor. Ensure that the fuel mixture is correct and free of impurities that could disrupt engine operation.
By familiarizing yourself with these troubleshooting strategies, you can address common issues that may arise during the operation of your leaf blower. Prompt attention to potential concerns not only ensures the blower’s continued performance but also minimizes the likelihood of more extensive damage down the line.
Conclusion
Congratulations on mastering the art of starting and operating your Husqvarna leaf blower! By following the steps outlined in this guide, you’ve gained the knowledge and confidence to wield this powerful tool with finesse and precision. As you embark on your outdoor maintenance endeavors, remember that safety, proper maintenance, and efficient operation are key to maximizing the performance and longevity of your leaf blower.
Whether you’re clearing leaves from the lawn, tidying up pathways, or maintaining outdoor spaces, your Husqvarna leaf blower is a versatile ally in your quest for a pristine landscape. From assembling the blower to troubleshooting potential issues, you’re now well-equipped to tackle any yard maintenance task with ease.
As you continue to hone your skills and familiarity with your leaf blower, don’t hesitate to consult the manufacturer’s manual for model-specific guidelines and recommendations. Additionally, stay attuned to safety precautions and best practices to ensure a secure and enjoyable leaf-blowing experience.
With your newfound expertise, you’re poised to transform outdoor maintenance from a chore into a gratifying and efficient endeavor. Harness the power of your Husqvarna leaf blower to keep your outdoor spaces immaculate, and revel in the satisfaction of a job well done.
So, don your safety gear, fire up your leaf blower, and let its mighty airflow breathe new life into your outdoor surroundings. With the right knowledge and a touch of enthusiasm, you’re ready to conquer yard maintenance tasks like a seasoned pro!
Frequently Asked Questions about How To Start A Husqvarna Leaf Blower
Was this page helpful?
At Storables.com, we guarantee accurate and reliable information. Our content, validated by Expert Board Contributors, is crafted following stringent Editorial Policies. We're committed to providing you with well-researched, expert-backed insights for all your informational needs.


0 thoughts on “How To Start A Husqvarna Leaf Blower”