Home>Gardening & Outdoor>Garden Tools & Equipment>How To Start An Echo Leaf Blower
Garden Tools & Equipment
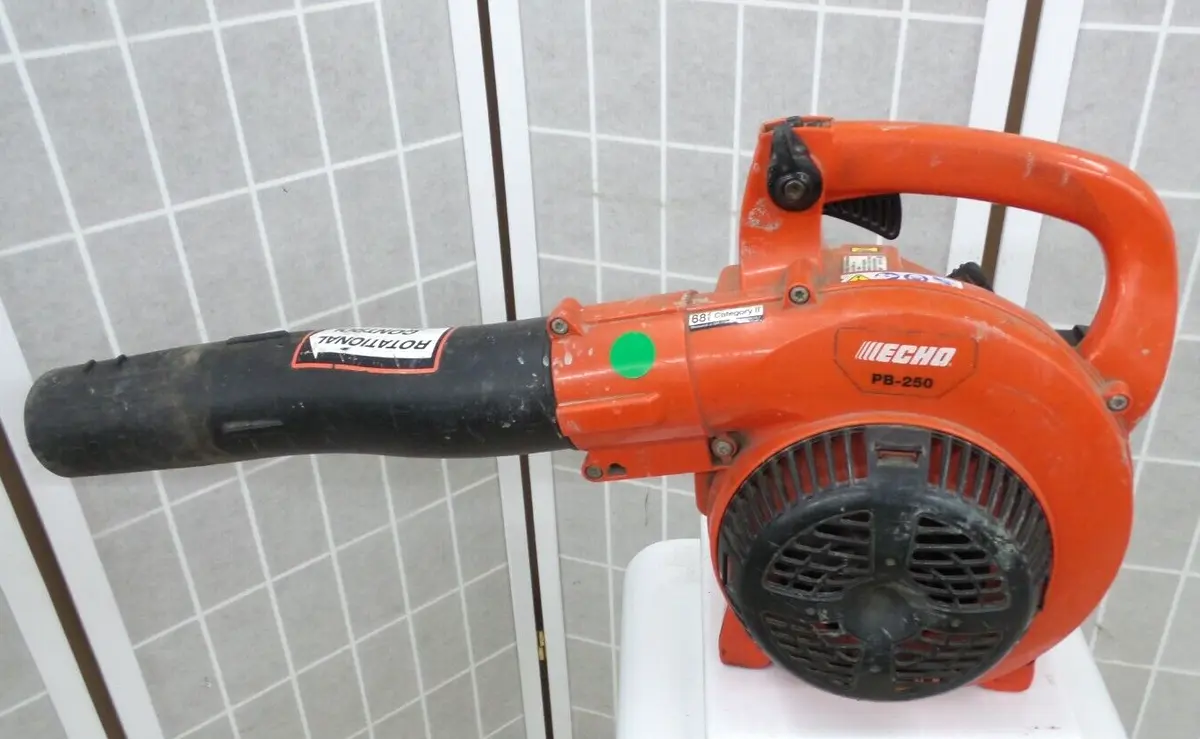
How To Start An Echo Leaf Blower
Modified: August 27, 2024
Learn how to start an Echo leaf blower and keep your garden in top shape with our comprehensive guide on garden tools and equipment. Master the art of efficient yard maintenance today!
(Many of the links in this article redirect to a specific reviewed product. Your purchase of these products through affiliate links helps to generate commission for Storables.com, at no extra cost. Learn more)
Introduction
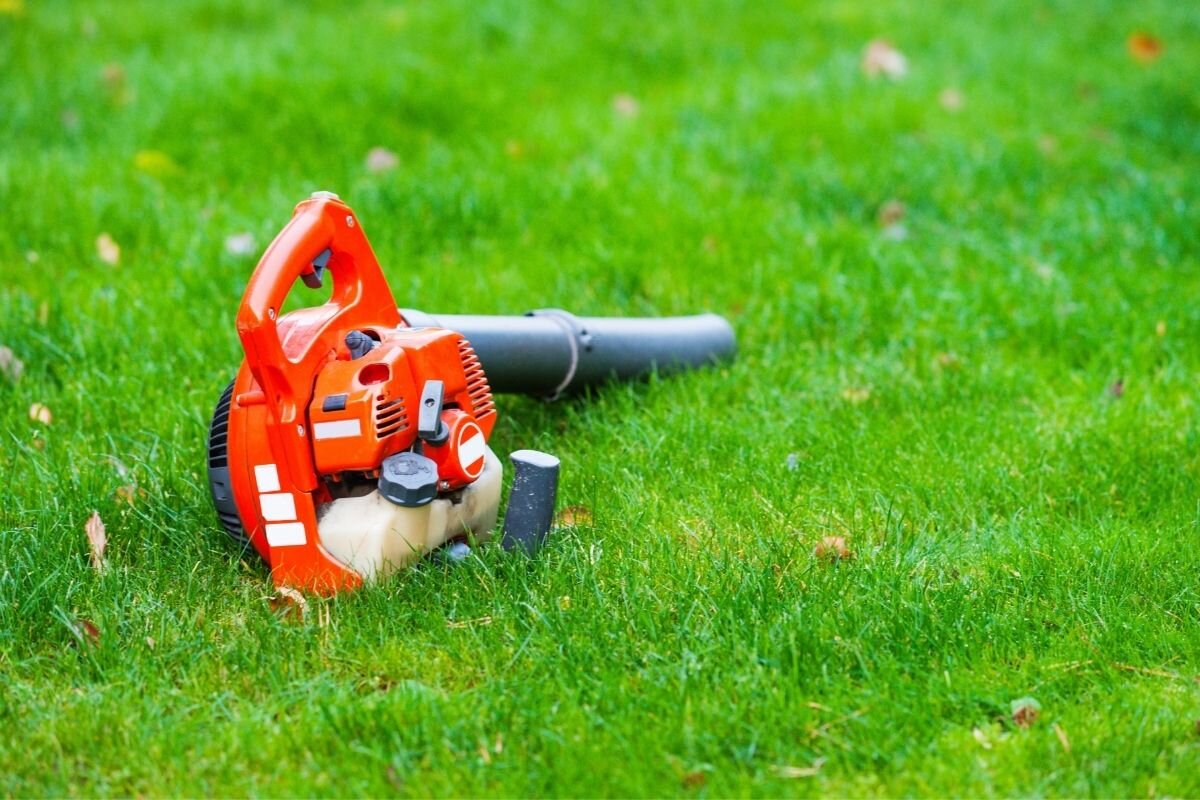
Welcome to the world of efficient and powerful yard maintenance! If you’re the proud owner of an Echo leaf blower, you’re well on your way to keeping your outdoor spaces tidy and pristine. Whether you’re a seasoned pro or a novice enthusiast, mastering the art of operating your leaf blower is essential for achieving optimal results. In this comprehensive guide, we’ll walk you through the essential steps to start and operate your Echo leaf blower like a pro.
From unpacking and assembling the blower to getting familiar with the controls, preparing it for use, and finally, firing it up and adjusting the settings, you’ll gain the knowledge and confidence needed to tackle any leaf-blowing task with ease. So, grab your safety gear, roll up your sleeves, and let’s dive into the world of Echo leaf blowers!
Key Takeaways:
- Mastering the art of starting and operating an Echo leaf blower involves careful assembly, understanding controls, and preparing for safe and efficient use. It’s like unlocking the power to conquer yard work with confidence and skill!
- By familiarizing yourself with the blower’s controls, preparing it for use, and making thoughtful adjustments, you can achieve optimal results while respecting your surroundings. It’s like customizing a powerful ally for maintaining clean and inviting outdoor spaces!
Read more: What Kind Of Gas For An Echo Leaf Blower
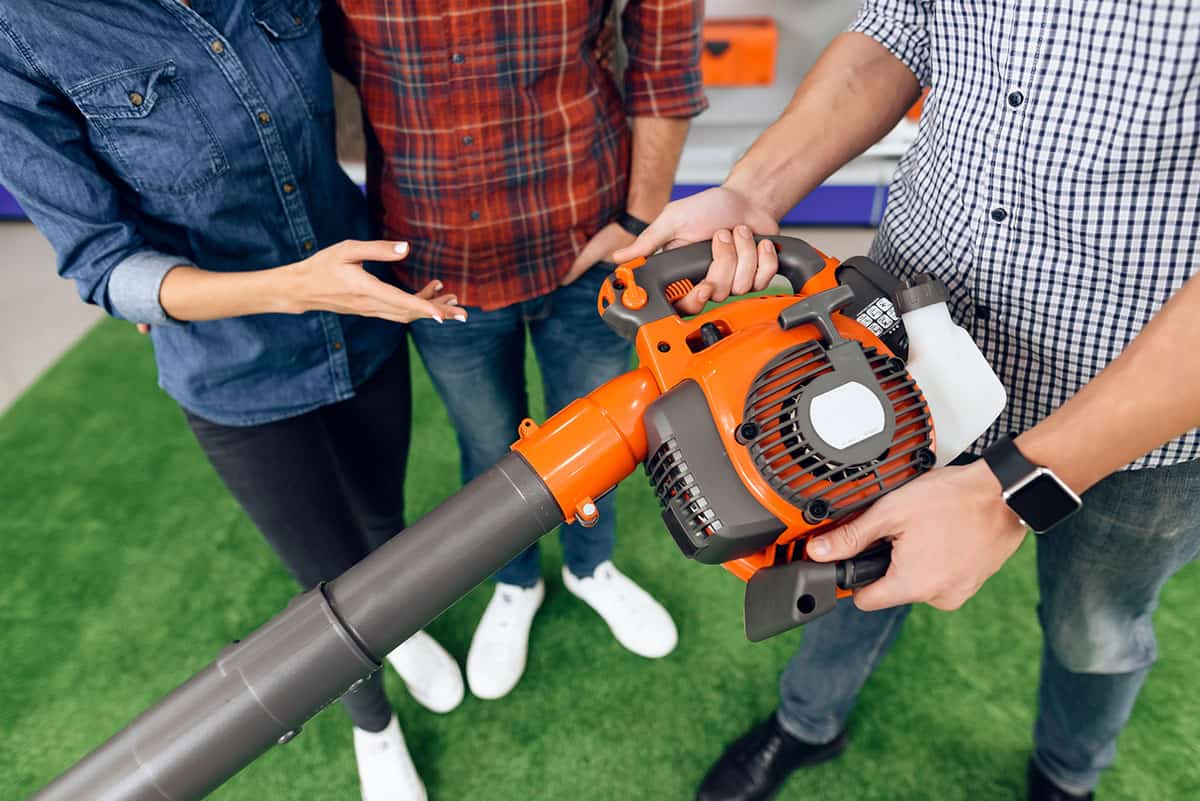
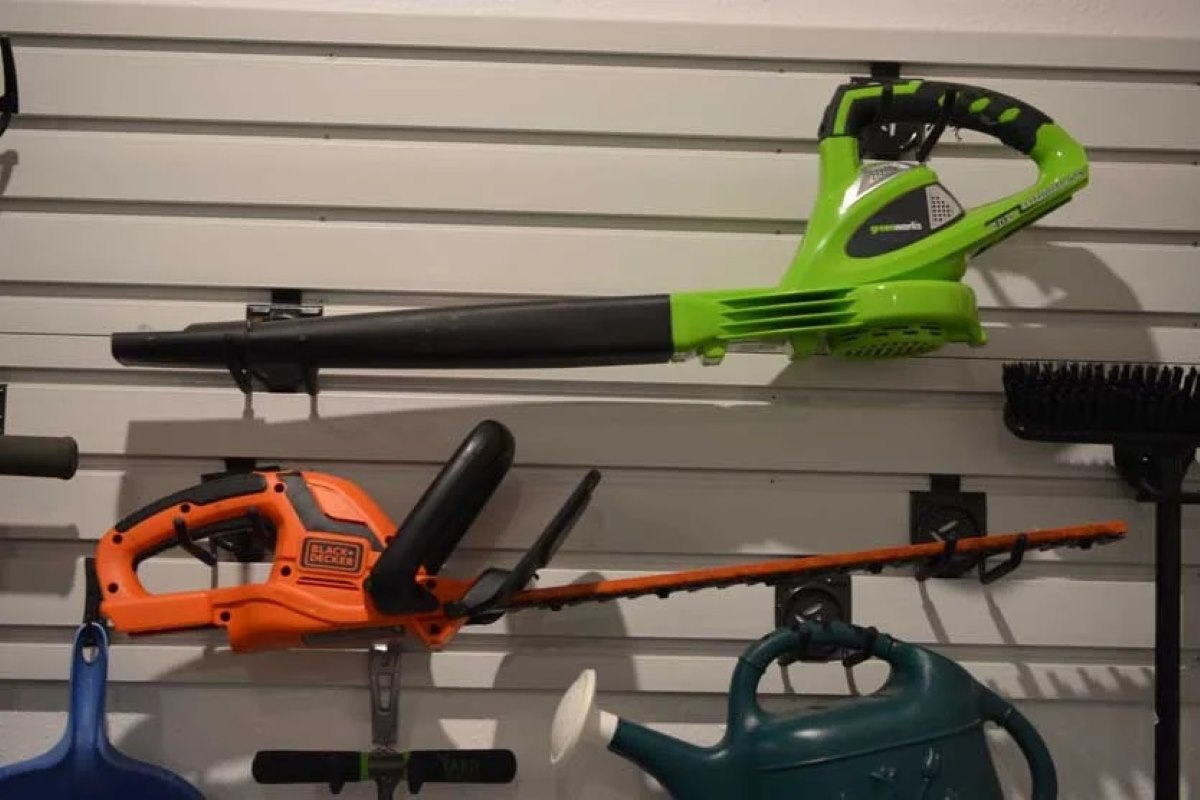
Step 1: Unpack and Assemble the Leaf Blower
Before you can harness the power of your Echo leaf blower, you’ll need to unpack and assemble it. Start by finding a clean, well-lit area where you can lay out all the components. Carefully unpack the blower and inspect each part to ensure everything has arrived in perfect condition.
Once you’ve verified the contents, it’s time to assemble your leaf blower. Refer to the user manual for detailed instructions on how to put together the various components. Typically, this will involve attaching the blower tube, securing the nozzle, and ensuring that all connections are tight and secure. Take your time with this step to guarantee that the blower is assembled correctly, as this will impact its performance and safety during operation.
As you assemble the leaf blower, pay close attention to any safety features or mechanisms designed to protect both the equipment and the user. Familiarize yourself with these safety components to ensure that they are functioning properly and to understand how they contribute to the safe operation of the blower.
By taking the time to carefully unpack and assemble your Echo leaf blower, you’ll set the stage for a smooth and successful leaf-blowing experience. With the blower fully assembled and ready to go, you’re one step closer to conquering those unruly leaves and debris in your yard.
Step 2: Familiarize Yourself with the Controls
Now that your Echo leaf blower is assembled and ready for action, it’s essential to become acquainted with its various controls and features. Understanding how to manipulate the controls effectively will not only enhance your operational efficiency but also contribute to a safer and more comfortable user experience.
Begin by identifying the primary controls on the blower, such as the throttle trigger, the choke, and the stop switch. Take a moment to study their functions and how they interact with the blower’s performance. The throttle trigger, for instance, regulates the blower’s speed, while the choke assists with starting the blower when the engine is cold.
Additionally, familiarize yourself with any adjustable settings or features that allow you to customize the blower’s performance to suit your specific needs. This might include adjustable tube lengths, interchangeable nozzles, or ergonomic harnesses that optimize comfort during prolonged use.
As you acquaint yourself with the controls, take note of any safety mechanisms integrated into the blower. These may include safety interlocks, vibration reduction systems, or anti-static features. Understanding how these safety measures function and how to engage them will help prevent accidents and prolong the lifespan of your equipment.
By taking the time to familiarize yourself with the controls and features of your Echo leaf blower, you’ll be better equipped to operate it confidently and efficiently. This knowledge will empower you to make precise adjustments as you navigate through different blowing tasks, ensuring that you achieve the best possible results while safeguarding your well-being.
Step 3: Prepare the Blower for Use
Before diving into the leaf-blowing action, it’s crucial to prepare your Echo blower for operation. This involves a series of essential steps that will optimize its performance and ensure a seamless user experience.
Start by checking the fuel level in the blower’s tank. If the fuel is low, it’s time to refuel. Refer to the user manual for the recommended fuel type and ensure that you use a clean and uncontaminated fuel source. Take care to avoid overfilling the tank, as this can lead to spillage and potential safety hazards.
Next, inspect the air filter and clean or replace it if necessary. A clogged or dirty air filter can impede the blower’s performance and fuel efficiency. Regular maintenance of the air filter will help prolong the life of your blower and ensure consistent, reliable operation.
Once the fuel level and air filter are sorted, it’s time to conduct a visual inspection of the blower. Check for any loose components, damaged parts, or signs of wear and tear. Tighten any loose screws or fasteners, and address any issues that may compromise the blower’s safety or performance.
Finally, don’t forget to gear up for the task at hand. Put on the necessary personal protective equipment, such as safety goggles, ear protection, and sturdy footwear. Additionally, consider wearing a dust mask if you’ll be working in dusty or debris-laden areas. Ensuring that you’re properly equipped will help safeguard your well-being as you tackle your leaf-blowing endeavors.
By diligently preparing your Echo blower for use, you’ll set the stage for a successful and productive leaf-blowing session. These preparatory steps not only enhance the blower’s performance but also contribute to a safer and more enjoyable user experience.
Before starting your Echo leaf blower, make sure to check the fuel and oil levels, and inspect the air filter for any dirt or debris. Also, ensure that the spark plug is in good condition and the choke is set to the correct position.
Step 4: Starting the Leaf Blower
With your Echo leaf blower prepped and ready, it’s time to bring it to life. Starting your blower correctly is essential for a smooth and hassle-free operation. Follow these steps to kickstart your leaf-blowing adventure.
Before starting the blower, it’s important to find a suitable outdoor location with ample ventilation. This will help disperse any exhaust fumes and minimize noise disturbance to others. Once you’ve found your spot, ensure that there are no obstacles or debris in the immediate vicinity that could interfere with the blower’s operation.
Next, familiarize yourself with the starting procedure outlined in the user manual. This typically involves setting the choke, priming the engine, and engaging the recoil starter. Pay close attention to any specific instructions related to starting a cold engine versus a warm one, as this can impact the starting process.
Once you’ve followed the recommended starting procedure, gently pull the recoil starter cord to ignite the engine. Exercise patience and avoid yanking the cord forcefully, as this can cause damage to the starter mechanism. With the engine running, gradually disengage the choke and allow the blower to warm up to its optimal operating temperature.
As the blower purrs to life, take a moment to ensure that it’s idling smoothly and responding to throttle adjustments. Familiarize yourself with the throttle trigger and observe how the blower’s speed and airflow change as you manipulate the control. This will give you a feel for the blower’s responsiveness and help you gauge its performance.
By following the recommended starting procedure and taking the time to acquaint yourself with the blower’s behavior, you’ll be well on your way to harnessing the full potential of your Echo leaf blower. With the blower up and running, you’re ready to take on the task of clearing away those pesky leaves and debris with confidence and precision.
Read more: How To Start A Stihl Leaf Blower
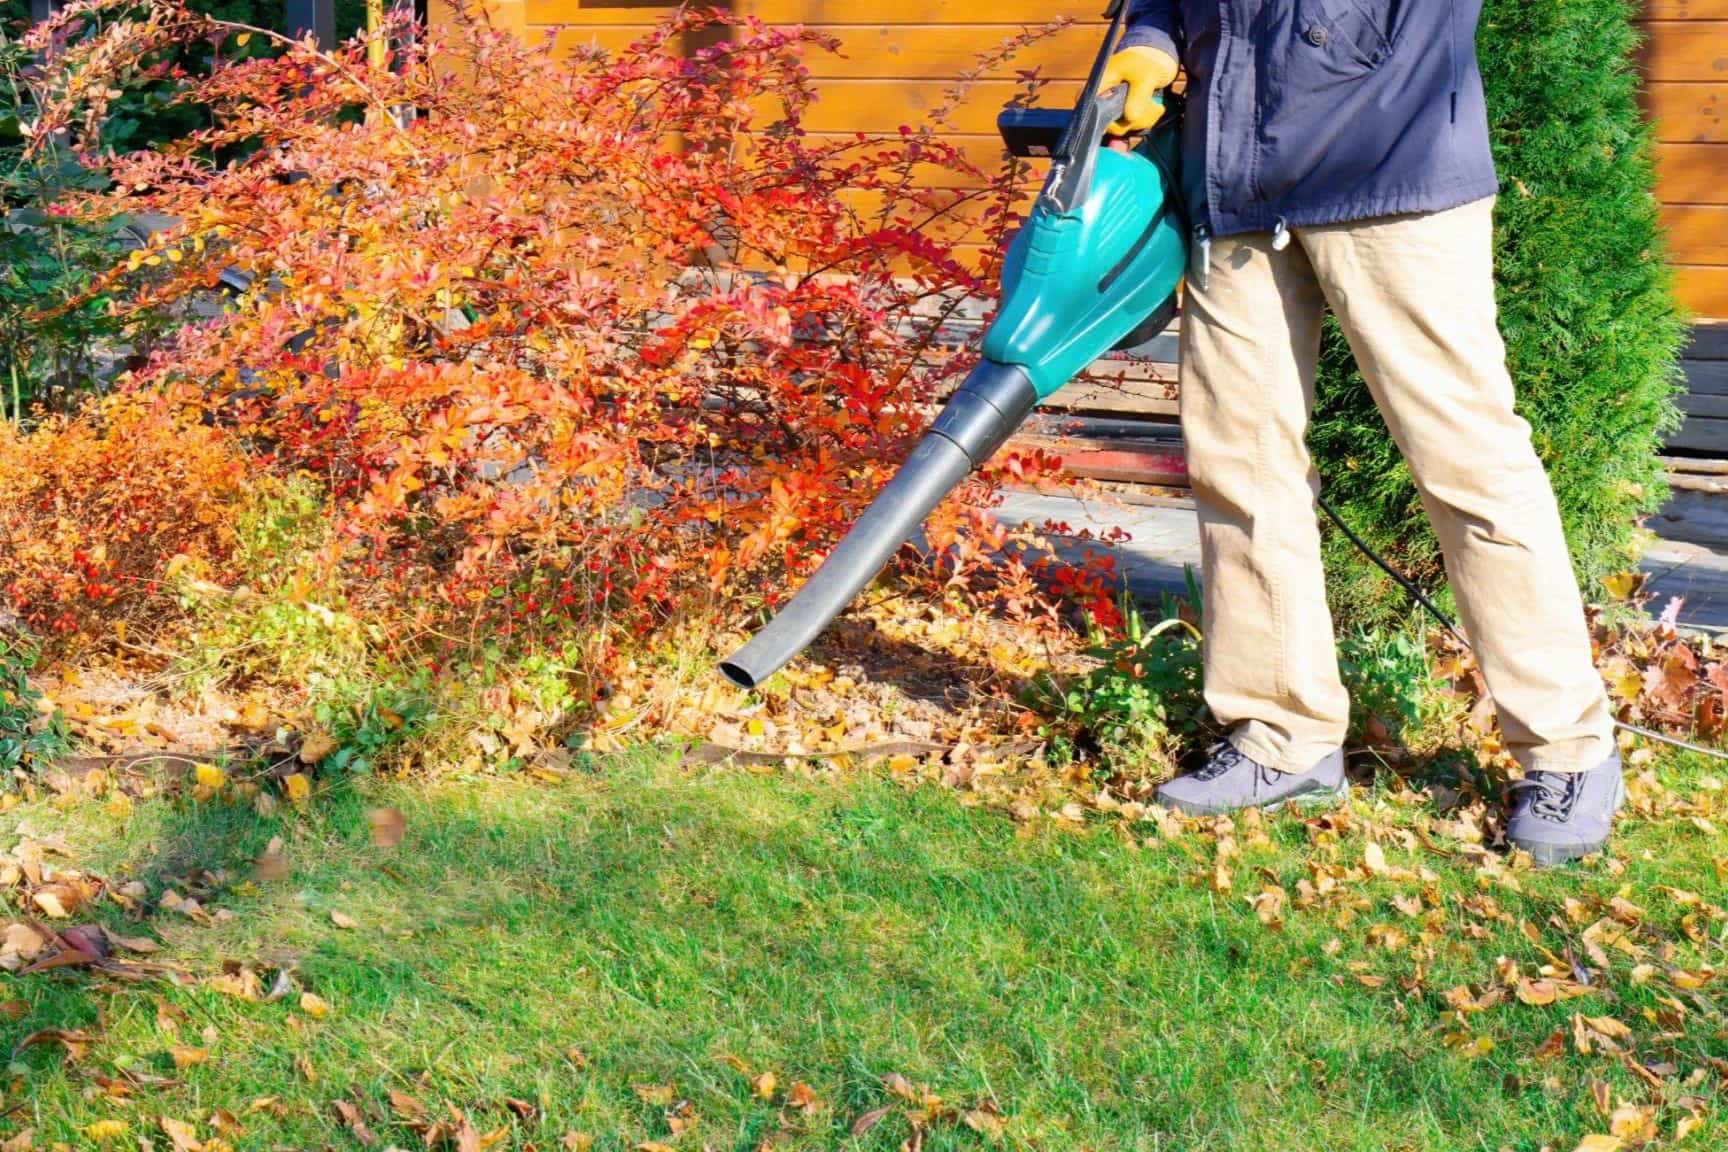
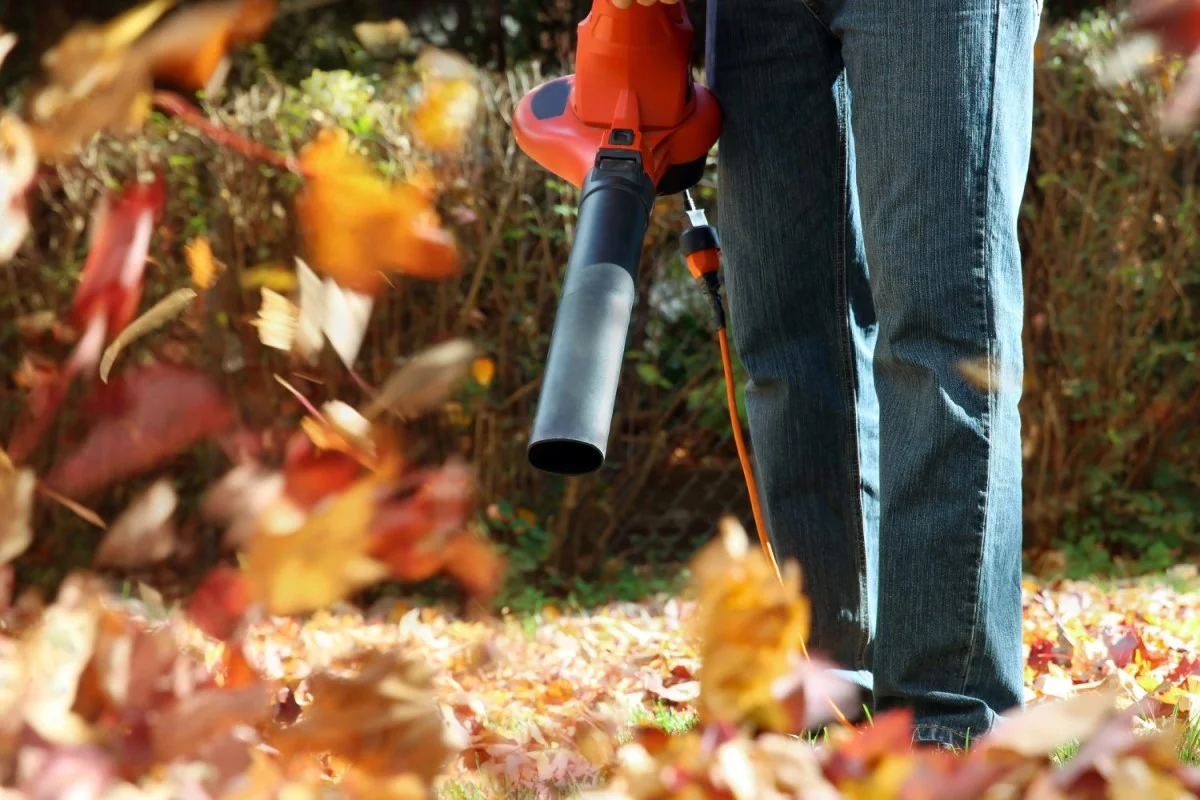
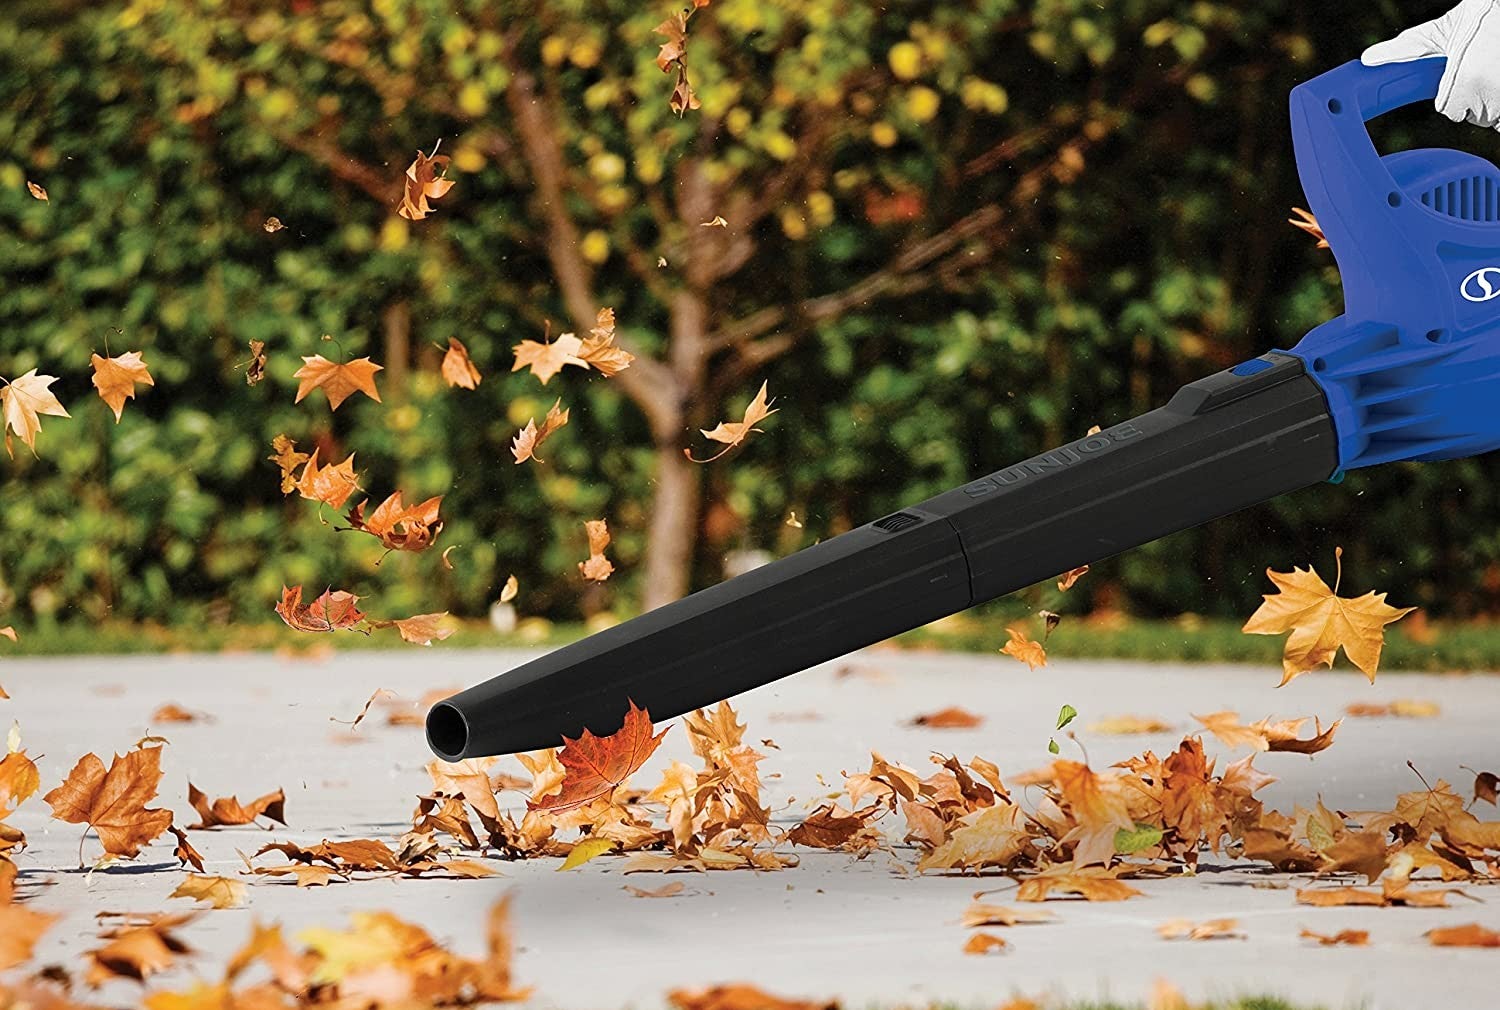
Step 5: Operating and Adjusting the Blower
Now that your Echo leaf blower is humming with energy, it’s time to put it to work. Operating and adjusting the blower effectively will allow you to tackle various outdoor maintenance tasks with finesse and efficiency.
As you engage the blower, pay close attention to the airflow and velocity it produces. Experiment with different throttle settings to gauge the blower’s power and adjust it to suit the specific task at hand. Whether you’re clearing a small driveway or a large lawn, fine-tuning the blower’s output will help you achieve optimal results while conserving fuel and minimizing noise.
When directing the airflow, be mindful of the wind direction and the placement of debris. Position yourself strategically to guide the blown debris in the desired direction, taking care to avoid blowing it into neighboring properties or onto walkways and roadways. This will help you maintain a tidy and considerate approach to outdoor maintenance.
If your Echo leaf blower features adjustable tubes or nozzles, take advantage of these customizable options to tailor the blower’s performance to your specific needs. Experiment with different configurations to find the most effective setup for different types of debris and surfaces. Whether you’re dealing with dry leaves, wet clippings, or stubborn debris, the ability to adjust the blower’s output will enhance your overall productivity and satisfaction.
Throughout the operation, periodically check the blower for any signs of overheating, unusual vibrations, or irregular sounds. These can be indicators of potential issues that require attention. By staying attentive to the blower’s behavior, you can address any emerging problems promptly, ensuring the blower’s longevity and reliable performance.
By mastering the art of operating and adjusting your Echo leaf blower, you’ll be equipped to handle a wide range of outdoor maintenance tasks with precision and ease. Whether it’s clearing leaves, grass clippings, or debris, your blower will become an indispensable ally in keeping your outdoor spaces clean and inviting.
Conclusion
Congratulations! You’ve successfully navigated the essential steps to start and operate your Echo leaf blower. Armed with a wealth of knowledge and practical insights, you’re now poised to tackle leaf-blowing tasks with confidence and finesse. As you venture into the realm of outdoor maintenance, remember that your Echo leaf blower is more than just a tool—it’s a reliable companion that empowers you to maintain your outdoor spaces with ease and efficiency.
By meticulously unpacking and assembling your blower, familiarizing yourself with its controls, and preparing it for use, you’ve laid a solid foundation for a seamless leaf-blowing experience. The careful attention to detail and safety considerations you’ve embraced will not only enhance your operational efficiency but also contribute to a safer and more enjoyable user experience.
As you embark on your leaf-blowing endeavors, remember the importance of responsible operation and thoughtful adjustments. By fine-tuning the blower’s settings and directing its airflow with precision, you’ll achieve optimal results while demonstrating respect for your surroundings and neighbors. The ability to customize the blower’s performance to suit specific tasks and conditions will undoubtedly elevate your outdoor maintenance capabilities.
Lastly, as you revel in the satisfaction of a job well done, don’t forget the significance of ongoing maintenance and care for your Echo leaf blower. Regular inspections, cleaning, and adherence to recommended maintenance schedules will ensure that your blower remains a reliable and enduring asset in your yard maintenance toolkit.
With your newfound expertise and a well-tuned Echo leaf blower at your disposal, you’re ready to conquer any leaf-blowing challenge that comes your way. So, gear up, fire up your blower, and let the transformative power of efficient outdoor maintenance unfold before your eyes. Here’s to pristine, leaf-free landscapes and the joy of conquering yard work with confidence and skill!
Frequently Asked Questions about How To Start An Echo Leaf Blower
Was this page helpful?
At Storables.com, we guarantee accurate and reliable information. Our content, validated by Expert Board Contributors, is crafted following stringent Editorial Policies. We're committed to providing you with well-researched, expert-backed insights for all your informational needs.


0 thoughts on “How To Start An Echo Leaf Blower”