Home>Gardening & Outdoor>Garden Tools & Equipment>How To Start A Stihl Leaf Blower
Garden Tools & Equipment
How To Start A Stihl Leaf Blower
Modified: August 27, 2024
Learn how to start a Stihl leaf blower and keep your garden in top shape with our expert tips and advice. Find everything you need for garden tools and equipment.
(Many of the links in this article redirect to a specific reviewed product. Your purchase of these products through affiliate links helps to generate commission for Storables.com, at no extra cost. Learn more)
Introduction
Welcome to the world of Stihl leaf blowers! Whether you're a seasoned gardener or just starting to explore the joys of yard maintenance, a Stihl leaf blower can be a valuable addition to your arsenal of garden tools. With its powerful performance and user-friendly design, the Stihl leaf blower makes it easier than ever to keep your outdoor spaces tidy and pristine.
In this comprehensive guide, we'll walk you through the essential steps for starting and using a Stihl leaf blower effectively. From gathering the necessary tools and equipment to mastering the art of operating this versatile machine, you'll gain the knowledge and confidence to make yard work a breeze.
So, grab your gardening gloves, put on your favorite sun hat, and let's dive into the world of Stihl leaf blowers. Whether you're clearing leaves from your lawn, tidying up your garden paths, or maintaining a commercial property, the Stihl leaf blower is poised to become your trusted companion in outdoor maintenance. Let's embark on this journey together and unlock the full potential of your Stihl leaf blower!
Key Takeaways:
- Master the art of using a Stihl leaf blower by gathering essential tools, familiarizing yourself with the blower, and following proper startup and usage techniques. Enjoy efficient yard maintenance with confidence and precision.
- Safeguard the performance and longevity of your Stihl leaf blower by following proper storage practices, including cooling down, cleaning, and securing the blower in a well-ventilated area. Regular maintenance ensures consistent performance and reliability.
Read more: How To Start An Echo Leaf Blower
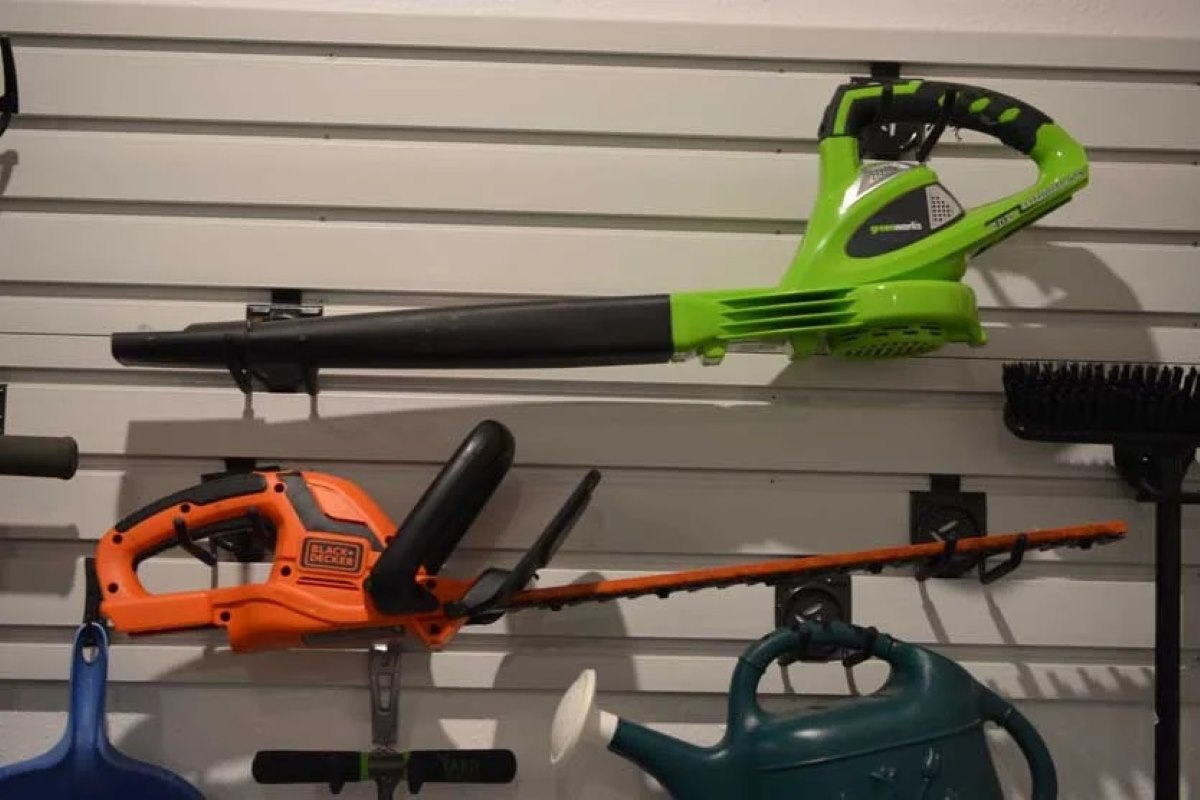
Step 1: Gather Necessary Tools and Equipment
Before diving into the world of Stihl leaf blowers, it’s essential to gather the necessary tools and equipment to ensure a smooth and efficient operational experience. Here’s a checklist of items you’ll need to have on hand:
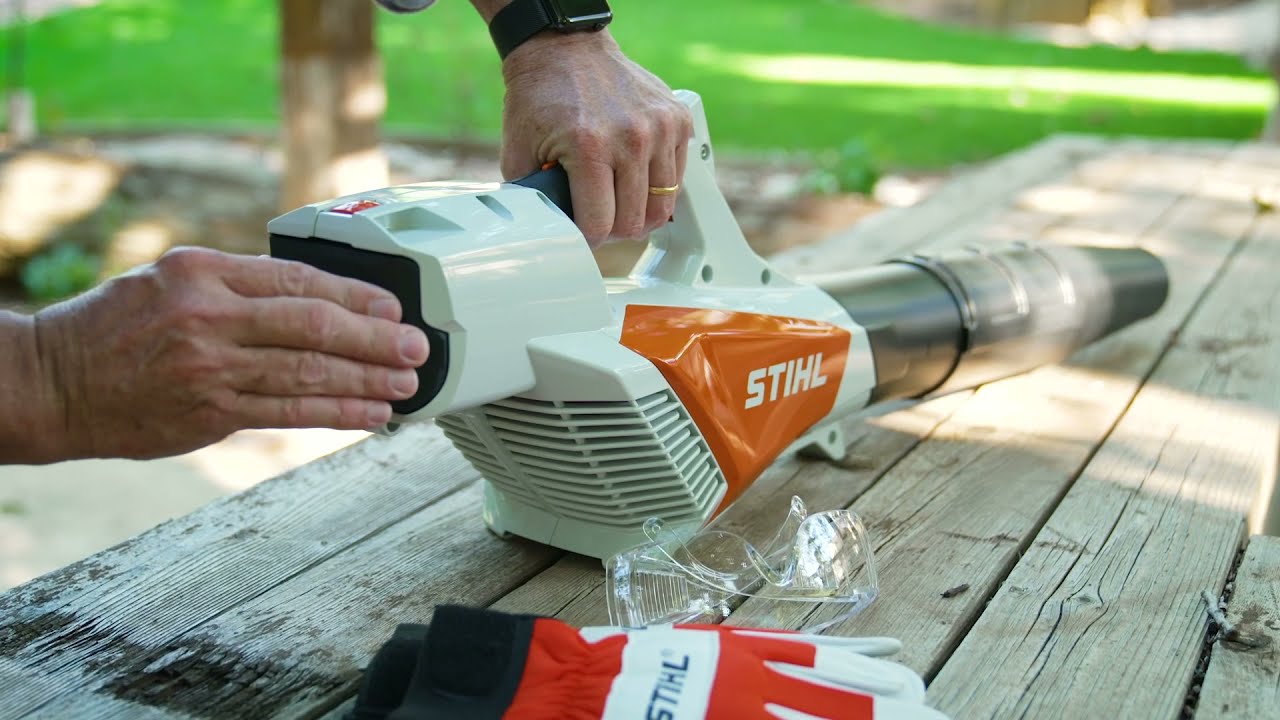
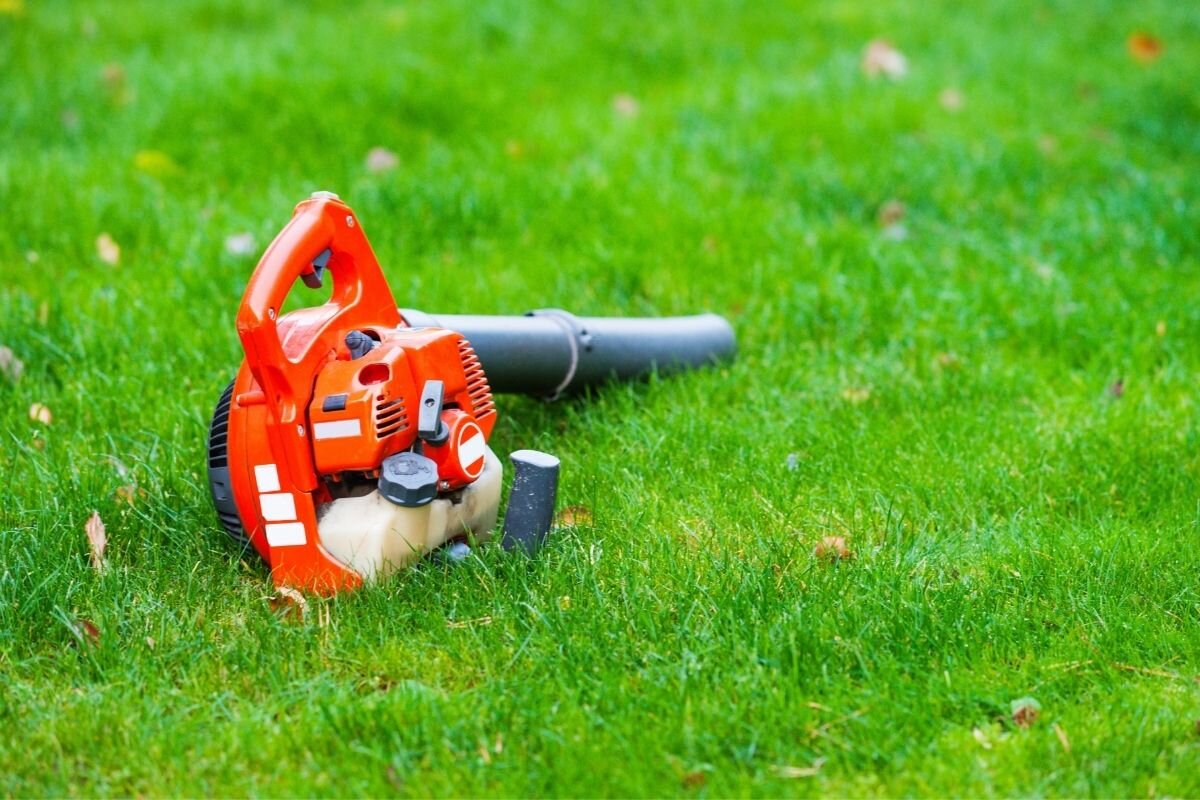
- Stihl Leaf Blower: Of course, the star of the show is the Stihl leaf blower itself. Ensure that it’s in good working condition and that you have a sufficient fuel supply if it’s a gas-powered model.
- Protective Gear: Safety should always be a top priority. Equip yourself with safety goggles, ear protection, and a dust mask to shield yourself from debris and minimize noise exposure.
- Fuel and Oil: If your Stihl leaf blower is powered by gasoline, make sure you have the appropriate fuel and oil on hand. Always follow the manufacturer’s recommendations for the correct fuel-oil mixture.
- Extension Cords (Electric Models): For electric Stihl leaf blowers, ensure you have a suitable outdoor extension cord that’s designed for the power requirements of the blower.
- Cleaning Tools: Keep a brush or a soft cloth handy for occasional cleaning and maintenance of the blower’s exterior.
- Extra Nozzles (Optional): Depending on the specific model of your Stihl leaf blower, you may have additional nozzles or attachments. Have these on standby if you anticipate needing them for different tasks.
By assembling these essential tools and equipment, you’ll be fully prepared to embark on your Stihl leaf blower journey with confidence. With safety gear in place and all the necessary supplies at your fingertips, you’re one step closer to harnessing the full potential of your Stihl leaf blower.
Step 2: Familiarize Yourself with the Stihl Leaf Blower
Before you kickstart your Stihl leaf blower, take the time to become acquainted with its various components and features. This step is crucial for ensuring safe and efficient operation. Here’s a breakdown of key aspects to focus on:
- Controls and Handles: Familiarize yourself with the location and function of the blower’s controls and handles. This includes the throttle trigger, stop switch, and any additional controls specific to your model.
- Air Intake and Exhaust: Take note of the air intake and exhaust areas on the blower. Understanding the airflow dynamics will help you position the blower optimally during use.
- Fuel and Oil Cap: If you have a gas-powered model, locate the fuel and oil caps. Familiarize yourself with the proper procedures for refueling and oiling to maintain the blower’s engine health.
- Nozzle Attachments: If your blower comes with interchangeable nozzles, experiment with attaching and detaching them. Each nozzle serves a unique purpose, such as concentrated blowing or broader coverage.
- Maintenance Points: Identify any access points for maintenance, such as air filters and spark plugs. Understanding these areas will make routine upkeep more manageable.
By taking the time to understand these elements, you’ll build a solid foundation for operating your Stihl leaf blower effectively. This familiarity will not only enhance your user experience but also contribute to the longevity and performance of your blower. Now that you’re well-versed in the intricacies of your Stihl leaf blower, you’re ready to move on to the next steps of preparing and using this powerful tool.
Step 3: Preparing the Stihl Leaf Blower for Use
With a solid understanding of your Stihl leaf blower’s components, it’s time to prepare it for action. Proper preparation sets the stage for a seamless and efficient blowing experience. Follow these essential steps to get your blower ready for use:
- Check Fuel and Oil Levels: For gas-powered models, ensure that the fuel tank is filled with the appropriate fuel-oil mixture. Refer to the blower’s manual for the recommended ratio and use a quality two-stroke oil if required.
- Inspect Air Filters: Take a moment to inspect the air filters for any buildup of dirt or debris. Clean or replace the filters as needed to maintain optimal airflow and engine performance.
- Secure all Connections: Verify that all connections, including nozzle attachments and fuel caps, are securely fastened. This simple check can prevent unexpected disconnections during operation.
- Clear the Work Area: Before starting the blower, ensure that the work area is free of any obstacles or debris that could be inadvertently blown around. Clearing the space minimizes the risk of foreign objects being propelled by the blower’s airflow.
- Choose the Right Nozzle: Select the appropriate nozzle for the task at hand. Whether you need concentrated blowing power or broader coverage, choosing the right nozzle will optimize the blower’s effectiveness.
By meticulously preparing your Stihl leaf blower for use, you’re taking proactive steps to ensure a smooth and productive blowing session. These preparatory measures not only enhance the blower’s performance but also contribute to a safer and more controlled blowing experience. With the groundwork laid, you’re now poised to bring your Stihl leaf blower to life and harness its powerful capabilities.
Before starting a Stihl leaf blower, make sure the fuel and oil levels are correct. Then, switch the ignition on, prime the engine, and pull the starter cord firmly. Always follow the manufacturer’s instructions for your specific model.
Step 4: Starting the Stihl Leaf Blower
Now that your Stihl leaf blower is primed and ready, it’s time to bring it to life. Starting the blower correctly is essential for a seamless and hassle-free operation. Follow these steps to start your Stihl leaf blower with confidence:
- Positioning: Find a stable and well-ventilated area to operate the blower. Ensure there are no bystanders or pets in close proximity to the work area.
- Prime the Engine (if applicable): If your blower features a primer bulb, press it a few times to prime the engine. This action helps facilitate the ignition process, especially when starting a cold engine.
- Activate the Choke (if applicable): In colder weather or when starting a cold engine, activate the choke to enrich the fuel mixture. Refer to your blower’s manual for specific instructions on using the choke.
- Engage the Stop Switch: Ensure that the stop switch is in the “on” position, allowing the engine to start. This safety feature prevents accidental starts when the blower is not in use.
- Pull the Starter Cord: Grasp the starter handle and pull the cord briskly to initiate the engine’s startup sequence. Use a smooth pulling motion and avoid yanking the cord excessively.
- Adjust the Throttle: Once the engine starts, adjust the throttle to your desired blowing intensity. Familiarize yourself with the throttle control to modulate the blower’s power effectively.
By following these steps, you’ll initiate the startup process of your Stihl leaf blower in a controlled and efficient manner. As the engine roars to life, you’re now ready to direct its mighty airflow to tackle leaves, debris, and other outdoor cleanup tasks with ease. With the blower in operation, you’re set to experience the full potential of your Stihl leaf blower’s performance and versatility.
Read more: How To Start Craftsman Leaf Blower
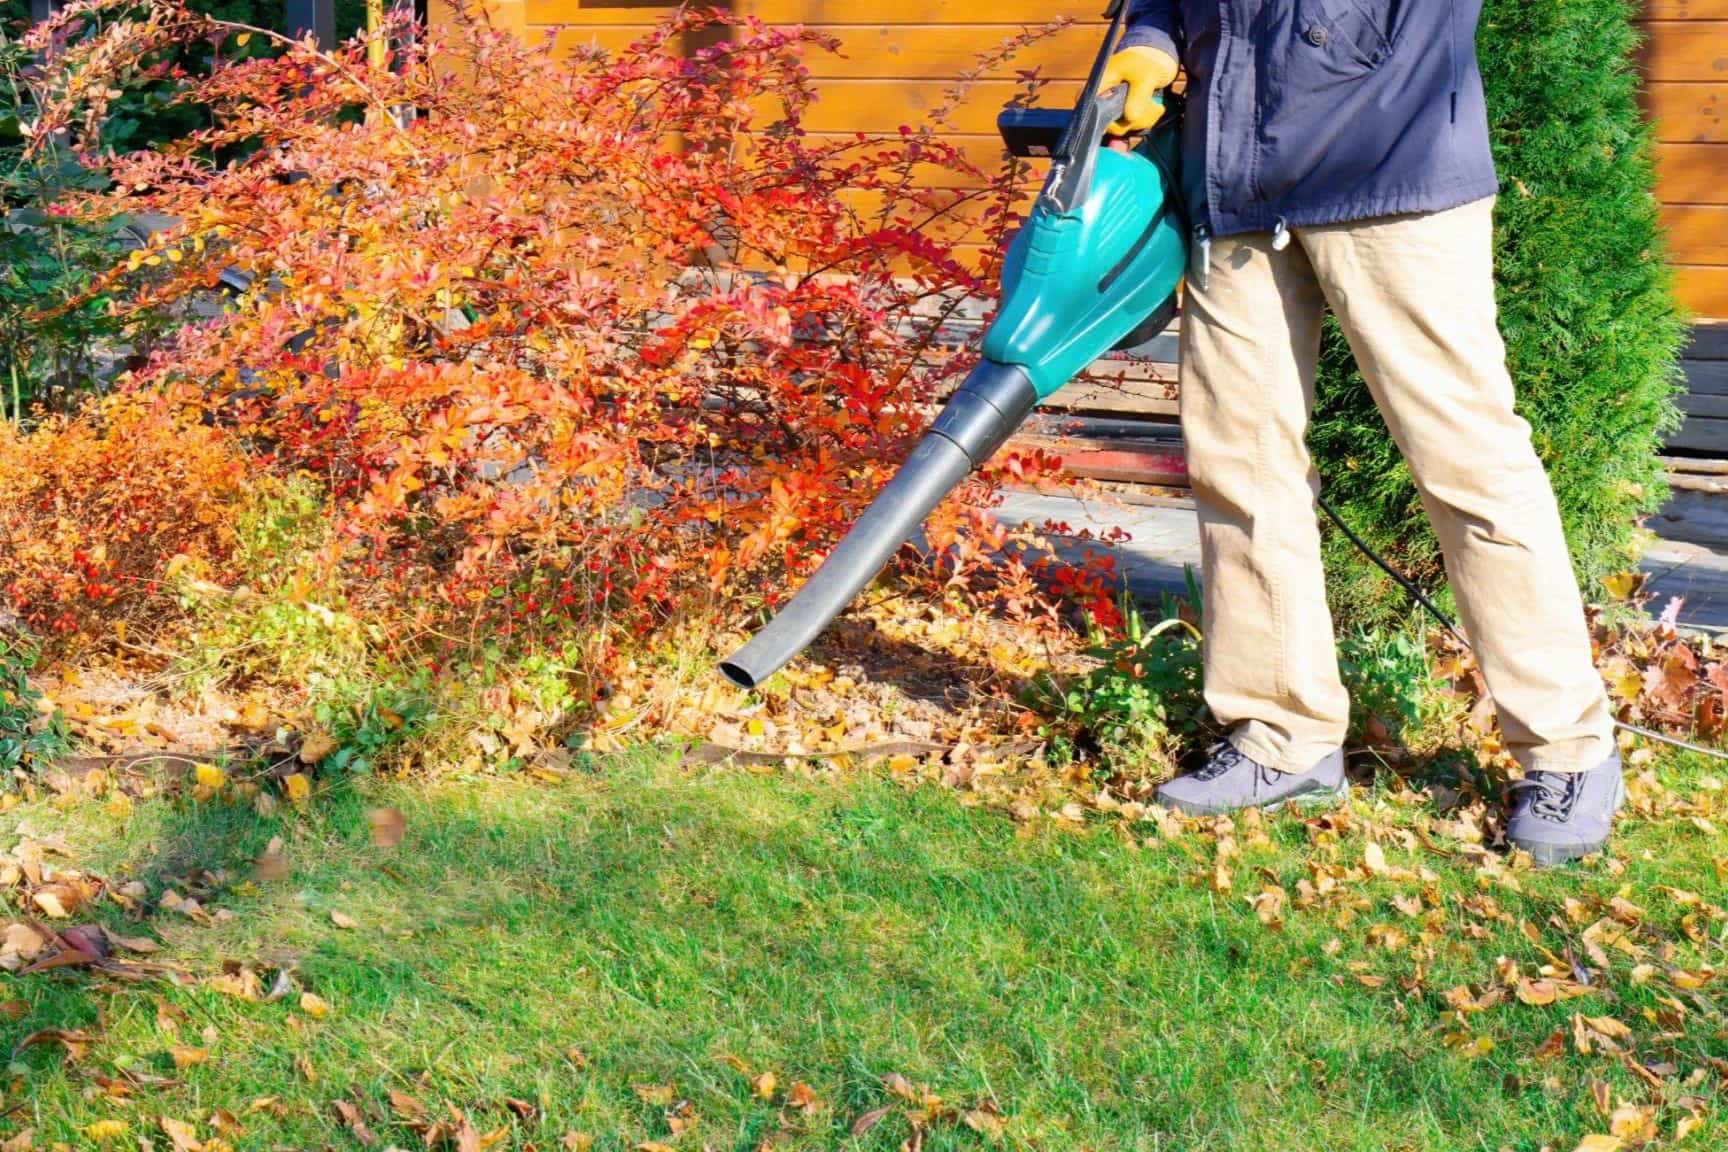
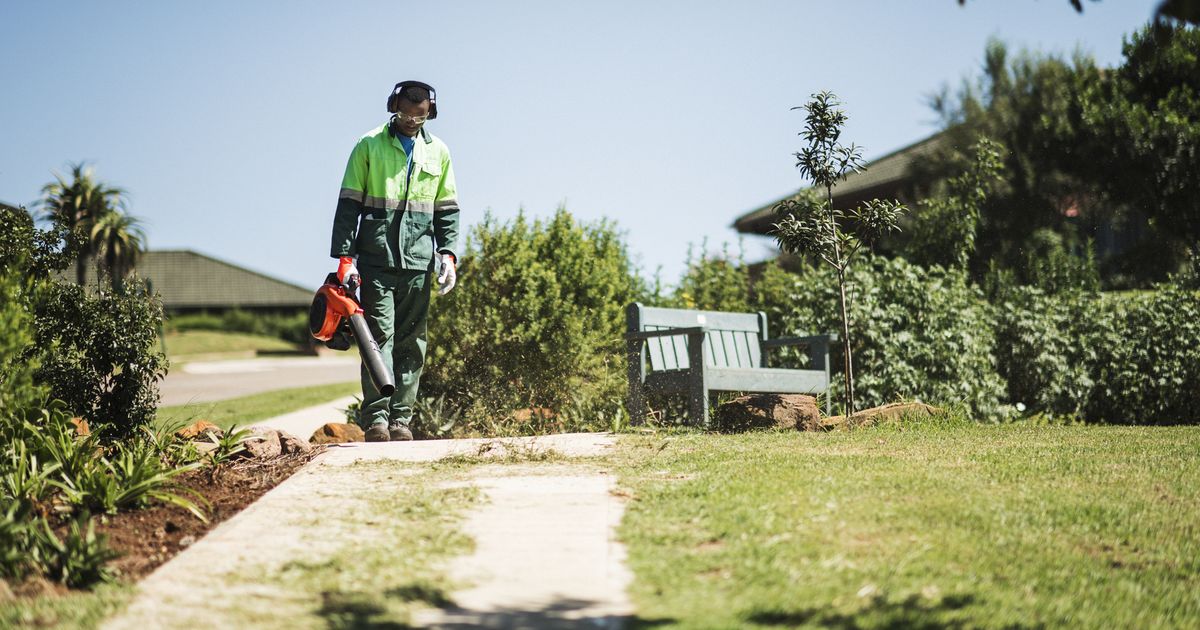
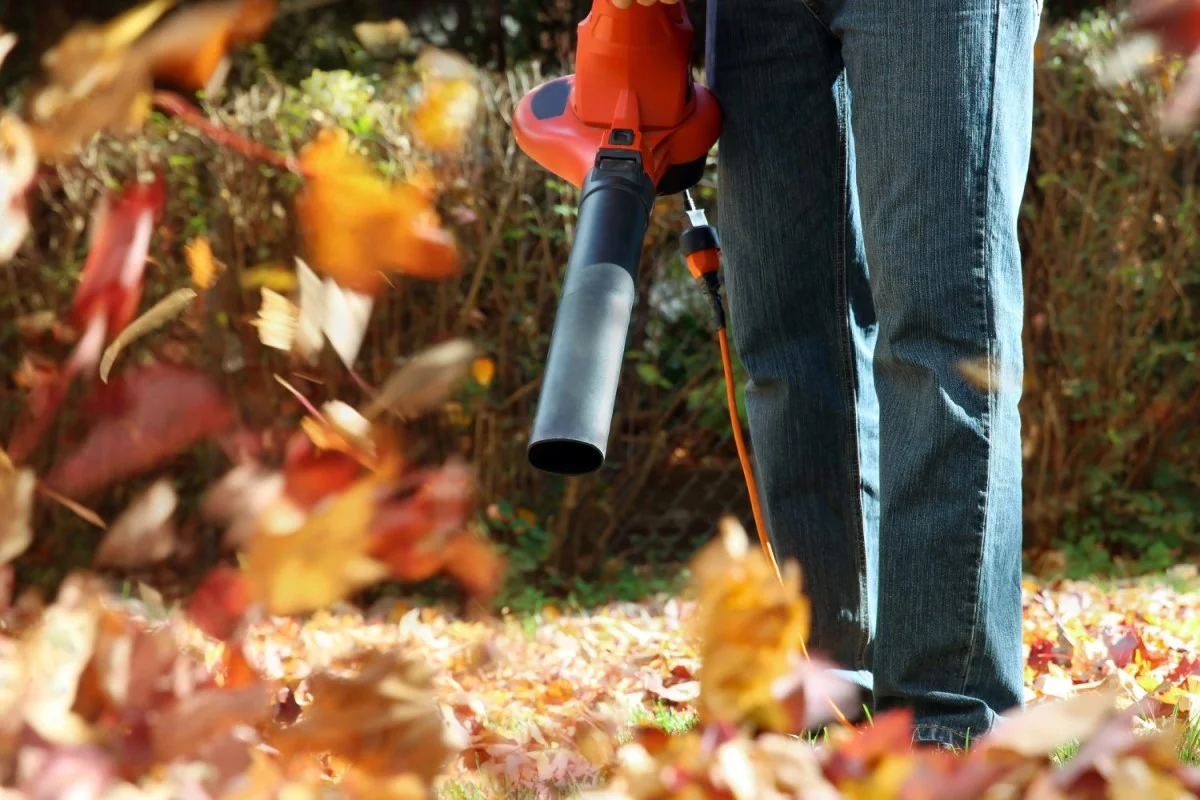
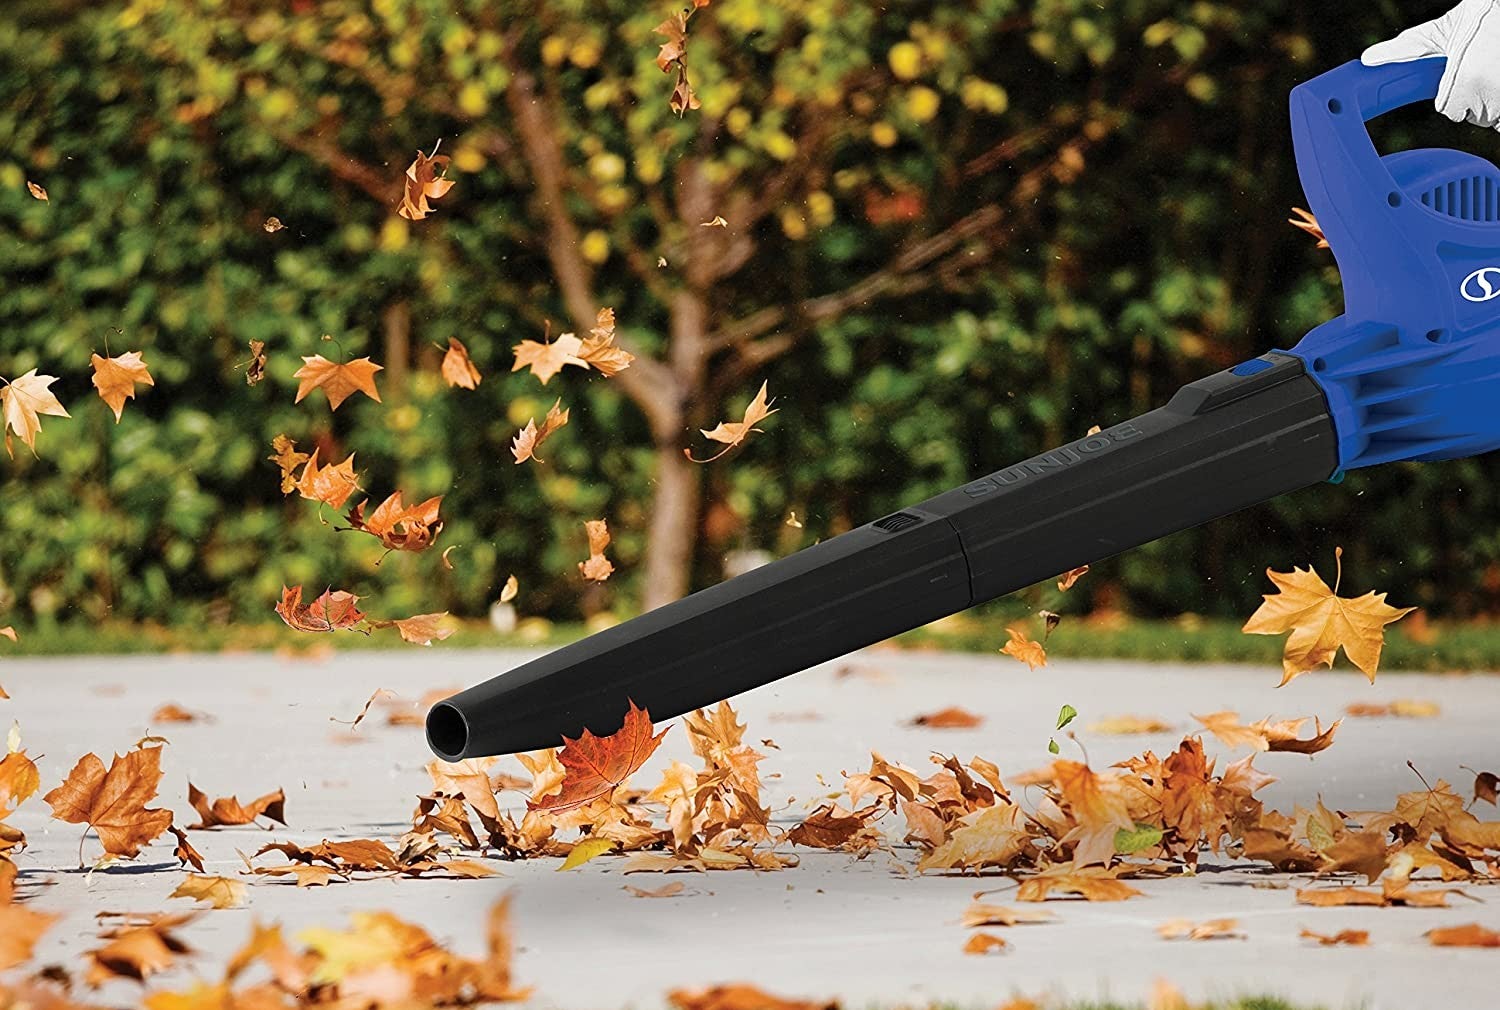
Step 5: Using the Stihl Leaf Blower
With the Stihl leaf blower humming and ready for action, it’s time to delve into the art of using this powerful tool to transform your outdoor spaces. Whether you’re clearing leaves from your lawn, tidying up garden pathways, or maintaining commercial landscapes, mastering the blower’s operation is key. Here’s a guide to using your Stihl leaf blower effectively:
- Optimal Blowing Technique: Hold the blower at a comfortable yet secure grip, ensuring stability during operation. Angle the nozzle to direct the airflow where it’s needed, whether it’s a concentrated stream for stubborn debris or a broader sweep for larger areas.
- Work in Sections: Divide the work area into manageable sections and work methodically from one area to the next. This approach ensures thorough coverage and allows you to concentrate the blower’s power where it’s needed most.
- Adjust Blowing Intensity: Utilize the blower’s throttle control to adjust the blowing intensity based on the task at hand. Lower settings are ideal for light debris and delicate surfaces, while maximum power tackles heavier materials with ease.
- Maintain Safe Distances: Be mindful of your surroundings and maintain a safe distance from bystanders, pets, and fragile objects. The blower’s powerful airflow can propel debris, so exercise caution to prevent unintended displacement of items.
- Consider Weather Conditions: Factor in wind direction and strength when using the blower, especially for tasks like leaf dispersal. Working with the natural airflow can enhance efficiency and prevent debris from blowing back into cleared areas.
By employing these techniques, you’ll harness the full potential of your Stihl leaf blower, transforming outdoor maintenance into a streamlined and satisfying endeavor. As you master the art of using the blower, you’ll witness its remarkable ability to swiftly clear debris and breathe new life into your outdoor spaces. With each use, you’ll appreciate the convenience and effectiveness of the Stihl leaf blower, making yard work a gratifying and efficient experience.
Step 6: Storing the Stihl Leaf Blower
After a successful session of using your Stihl leaf blower to restore order to your outdoor spaces, it’s essential to store the blower properly to maintain its performance and longevity. Proper storage practices safeguard the blower from damage and ensure that it’s ready for action when the next outdoor maintenance task arises. Follow these guidelines for storing your Stihl leaf blower:
- Cooling Down: Allow the blower to cool down for a few minutes after use, especially if it has been running for an extended period. This brief cool-down period prevents potential heat-related issues during storage.
- Cleaning and Maintenance: Wipe down the exterior of the blower with a soft cloth to remove any accumulated debris or residue. Check and clean the air filters and inspect the blower for any signs of wear or damage.
- Fuel Considerations: If your blower is powered by gasoline, consider the fuel’s storage. Use a fuel stabilizer if the blower will be stored for an extended period to prevent fuel deterioration and engine issues.
- Secure Storage Area: Store the blower in a dry, well-ventilated area, away from direct sunlight and moisture. Ensure that it’s positioned securely to prevent accidental tipping or damage.
- Protective Cover (Optional): Consider using a protective cover designed for your specific blower model. A cover shields the blower from dust and debris while safeguarding it from environmental elements.
- Regular Maintenance Schedule: Establish a regular maintenance schedule for your blower, including periodic checks for oil, air filters, and overall condition. Following the manufacturer’s maintenance recommendations prolongs the blower’s lifespan and ensures consistent performance.
By adhering to these storage practices, you’ll safeguard your Stihl leaf blower and preserve its operational excellence for the long haul. With each storage session, you’ll contribute to the blower’s reliability and durability, ensuring that it remains a steadfast companion in your outdoor maintenance endeavors. As you bid farewell to your blower until the next task beckons, you can rest assured that it’s poised for peak performance when duty calls once again.
Conclusion
Congratulations on mastering the art of starting, using, and storing your Stihl leaf blower! By following the comprehensive steps outlined in this guide, you’ve gained the knowledge and confidence to wield this powerful tool with finesse and precision. Whether you’re a homeowner maintaining a pristine yard or a professional landscaper enhancing outdoor spaces, the Stihl leaf blower stands as a reliable ally in your quest for tidy and inviting landscapes.
As you embark on your leaf-blowing adventures, remember that safety and thoughtful operation are paramount. Always prioritize personal protective gear and adhere to recommended operational guidelines to ensure a secure and gratifying experience. With each use, you’ll witness the remarkable impact of the Stihl leaf blower, effortlessly transforming cluttered outdoor areas into pristine havens.
Embrace the versatility of your Stihl leaf blower, utilizing its adjustable blowing intensity and precision to cater to various outdoor maintenance tasks. From clearing leaves to tidying garden pathways, the blower’s powerful airflow streamlines your efforts, making yard work a gratifying and efficient endeavor.
By incorporating proper storage practices into your leaf-blower routine, you’re investing in the longevity and consistent performance of this invaluable tool. Regular maintenance and attentive care ensure that your Stihl leaf blower remains a steadfast companion in your outdoor maintenance endeavors, ready to spring into action whenever the need arises.
With each successful operation and meticulous storage session, you’re nurturing a partnership with your Stihl leaf blower, unlocking its full potential and reaping the rewards of a well-maintained outdoor environment. So, as you bid farewell to your blower after each use, rest assured that it’s poised for peak performance when duty calls once again, standing as a testament to your dedication to outdoor maintenance excellence.
Now, armed with the knowledge and expertise gleaned from this guide, you’re equipped to embark on a seamless and rewarding journey with your Stihl leaf blower. Embrace the art of leaf blowing, elevate your outdoor spaces, and revel in the transformative power of this remarkable tool. Your Stihl leaf blower awaits, ready to accompany you on countless outdoor adventures, making yard work a breeze and maintaining outdoor beauty a joyous endeavor.
Frequently Asked Questions about How To Start A Stihl Leaf Blower
Was this page helpful?
At Storables.com, we guarantee accurate and reliable information. Our content, validated by Expert Board Contributors, is crafted following stringent Editorial Policies. We're committed to providing you with well-researched, expert-backed insights for all your informational needs.


0 thoughts on “How To Start A Stihl Leaf Blower”