Home>Gardening & Outdoor>Garden Tools & Equipment>How To Unflood A Leaf Blower

Garden Tools & Equipment
How To Unflood A Leaf Blower
Modified: August 27, 2024
Learn the best techniques for unflooding a leaf blower and get your garden tools and equipment back in working order. Follow our step-by-step guide for effective results.
(Many of the links in this article redirect to a specific reviewed product. Your purchase of these products through affiliate links helps to generate commission for Storables.com, at no extra cost. Learn more)
Introduction
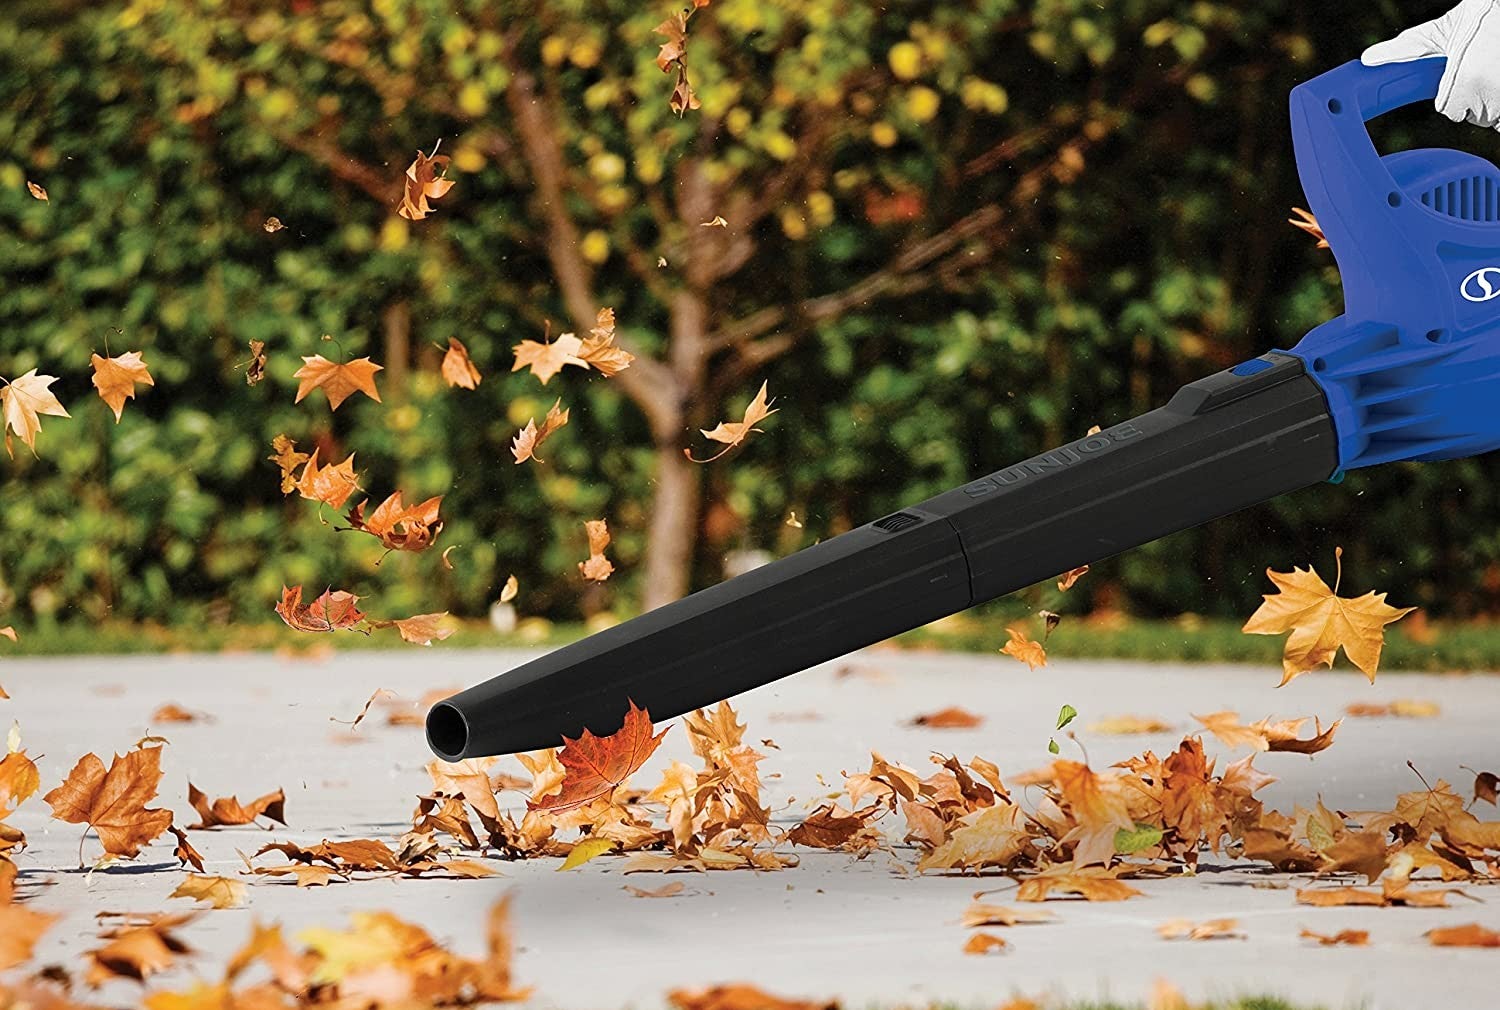
Welcome to the world of gardening and yard maintenance, where the trusty leaf blower is a vital tool for keeping outdoor spaces clean and tidy. However, as with any mechanical equipment, leaf blowers can encounter issues, one of which is flooding. If you've ever faced the frustration of a flooded leaf blower, fear not! In this guide, we'll walk you through the process of unflooding a leaf blower, enabling you to get back to your yard work without a hitch.
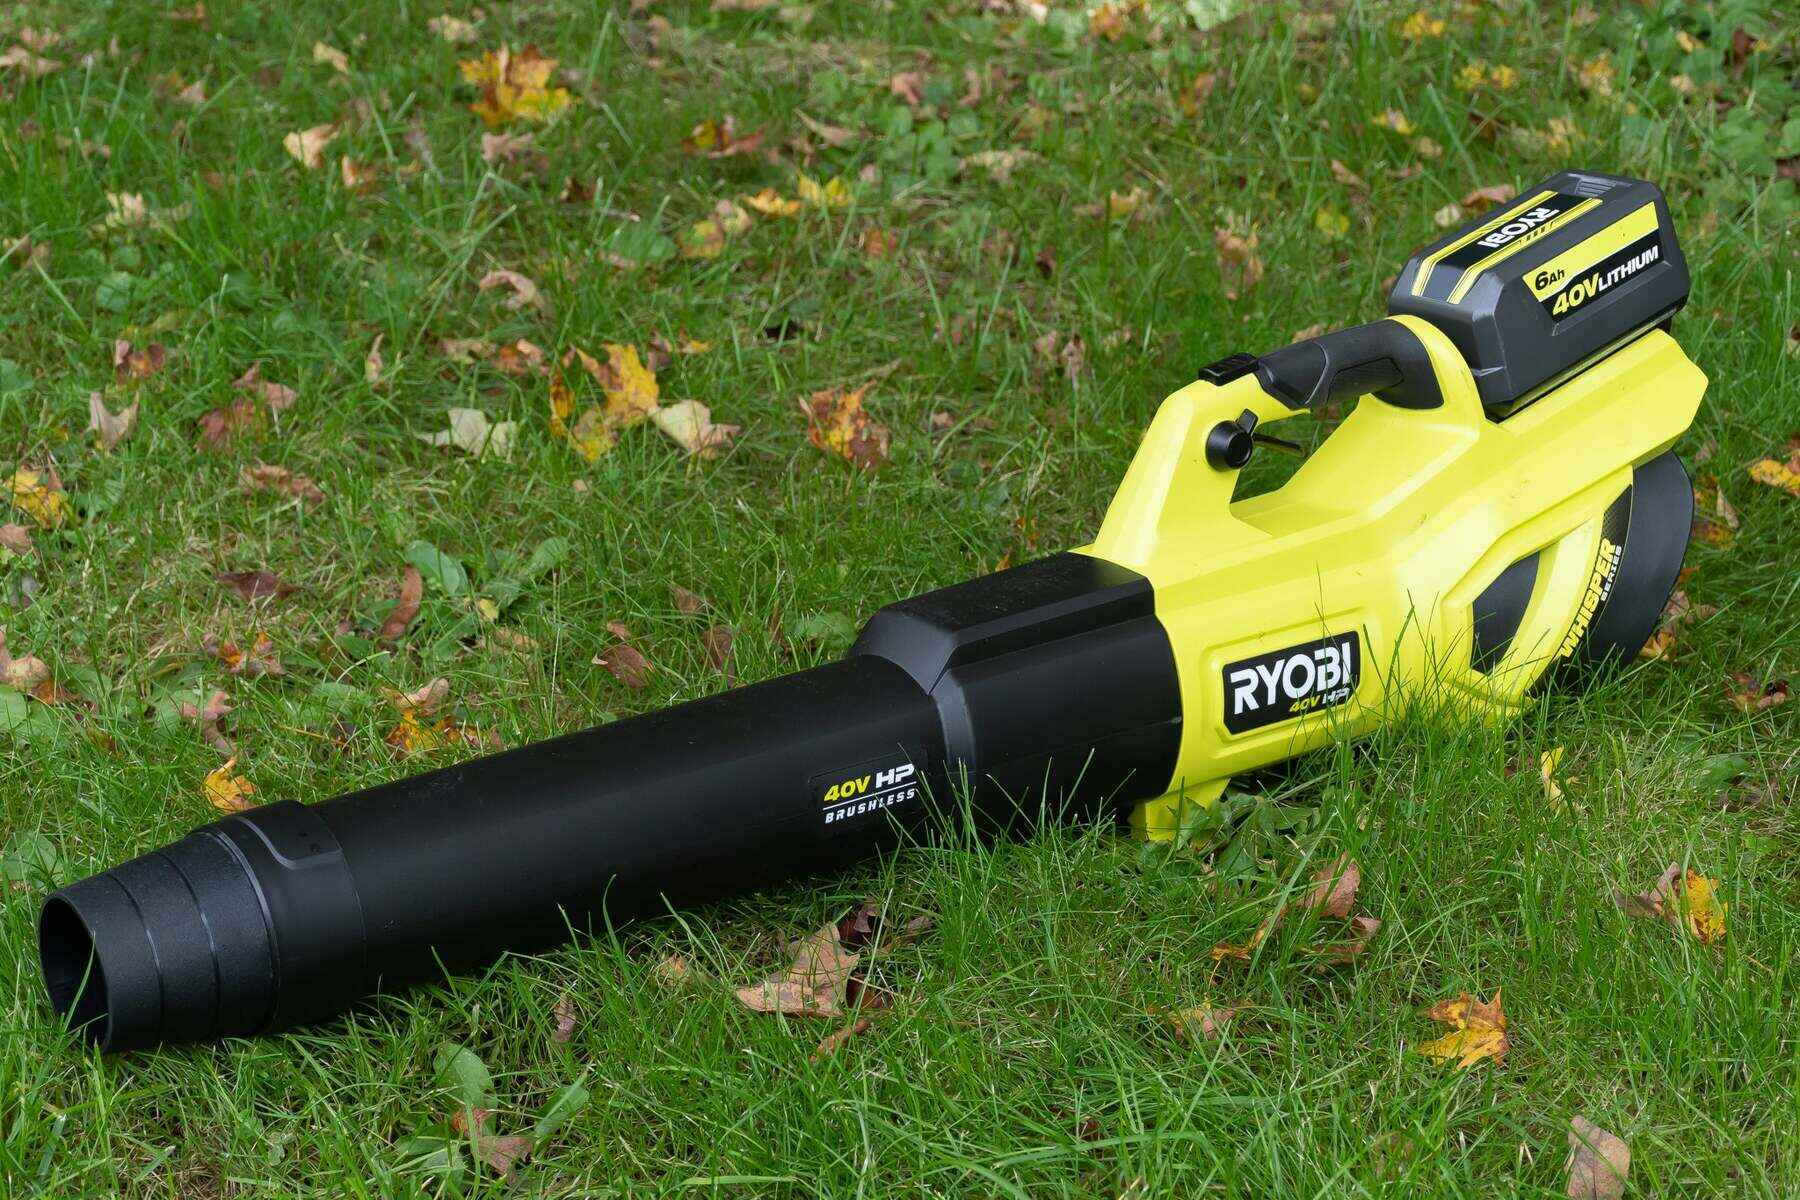
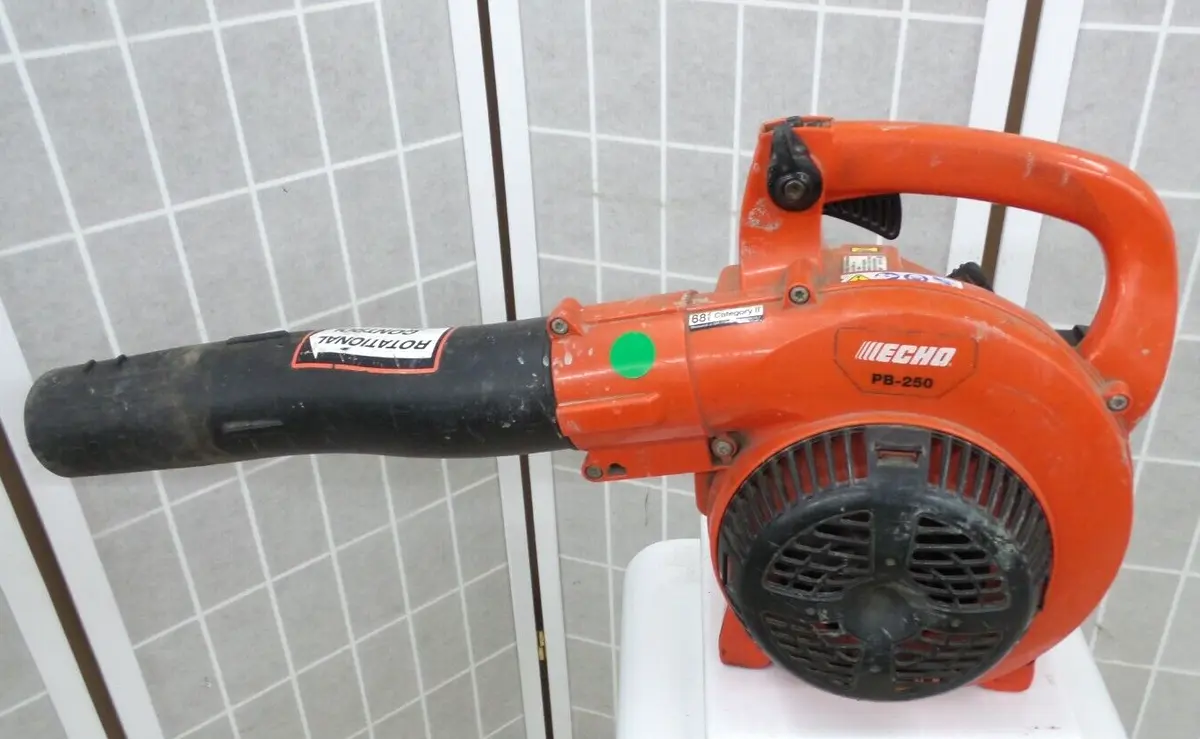
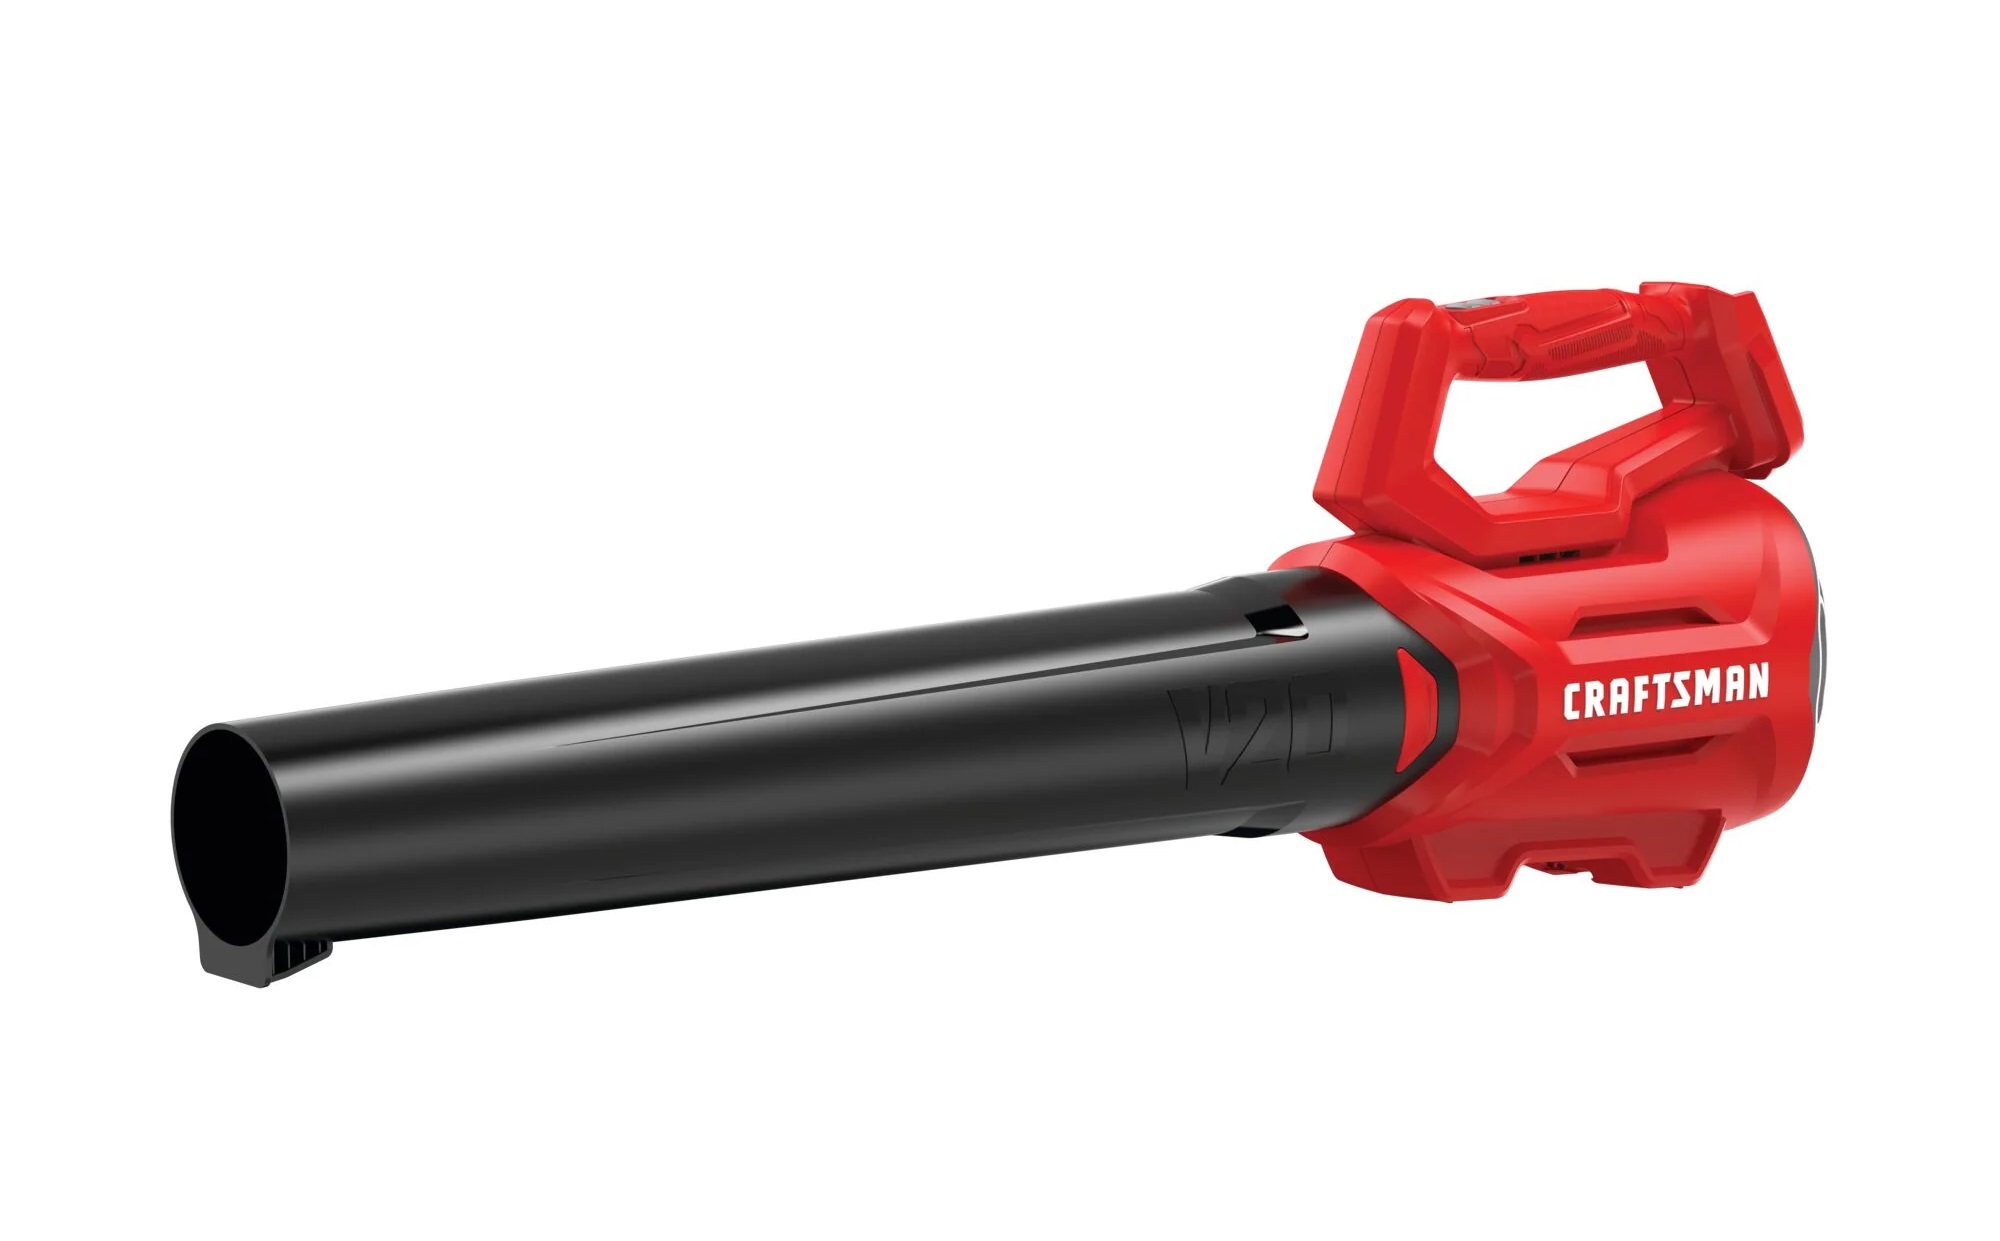
Leaf blowers are essential for clearing leaves, debris, and grass clippings from driveways, walkways, and lawns. They come in various types, including gas-powered, electric, and battery-operated models, each with its own set of advantages and maintenance requirements. When a leaf blower becomes flooded, it means that an excessive amount of fuel has entered the engine, disrupting the air-fuel mixture needed for combustion. This can occur due to over-priming the engine, improper starting procedures, or other factors.
The process of unflooding a leaf blower involves taking specific steps to remove the excess fuel from the engine and restore the proper air-fuel mixture. While it may seem daunting at first, with the right knowledge and precautions, unflooding a leaf blower can be a manageable task.
In the following sections, we'll delve into the details of why leaf blowers get flooded, the safety measures to keep in mind, and the step-by-step process to unflood the engine. By the end of this guide, you'll be equipped with the expertise to troubleshoot and resolve leaf blower flooding issues, ensuring that your outdoor maintenance tasks proceed smoothly and efficiently. Let's dive in and learn how to tackle this common challenge faced by leaf blower users.
Key Takeaways:
- Don’t panic if your leaf blower gets flooded! Follow simple steps to clear excess fuel and get it running smoothly again, ensuring your yard work goes on without a hitch.
- Prioritize safety when unflooding a leaf blower. Disconnect spark plug, work in a well-ventilated area, and handle fuel with caution to prevent accidents and ensure a secure environment.
Read more: What Is A Leaf Blower
Understanding the Problem
Before delving into the process of unflooding a leaf blower, it’s crucial to understand the root cause of the issue. Leaf blower flooding occurs when there is an excessive amount of fuel in the engine, disrupting the proper air-fuel mixture required for combustion. This can lead to difficulty starting the engine, rough idling, or stalling. Several factors can contribute to leaf blower flooding, including:
- Over-Priming: When priming the leaf blower before starting, excessive pumping of the primer bulb can flood the engine with fuel. It’s essential to follow the manufacturer’s recommended priming instructions to avoid this issue.
- Starting Procedure: Incorrect starting procedures, such as pulling the recoil starter cord too many times or not allowing the engine to warm up properly, can lead to flooding.
- Fuel Mixture: Using an incorrect fuel-to-oil ratio in a gas-powered leaf blower can affect the combustion process and potentially cause flooding.
- Aging Fuel: Stale or old fuel can contribute to clogged carburetors and fuel lines, leading to irregular fuel delivery and potential flooding.
- Mechanical Issues: Worn-out spark plugs, dirty air filters, or carburetor problems can also impact the engine’s fuel delivery and contribute to flooding.
By recognizing these potential causes, you can take proactive measures to prevent leaf blower flooding. Following proper maintenance procedures, using the correct fuel mixture, and adhering to recommended starting practices can significantly reduce the likelihood of encountering this issue.
Understanding the symptoms of a flooded leaf blower, such as the engine failing to start, emitting excessive smoke, or running unevenly, is essential for timely intervention. Identifying and addressing flooding promptly can prevent potential damage to the engine and ensure the longevity of your leaf blower.
Now that we’ve gained insight into the factors contributing to leaf blower flooding, let’s proceed to the next section, where we’ll discuss the safety precautions to consider before unflooding the engine.
Safety Precautions
Prior to undertaking any maintenance or troubleshooting task, including unflooding a leaf blower, it’s vital to prioritize safety. Working with mechanical equipment and engines requires careful attention to prevent accidents and injuries. Here are essential safety precautions to keep in mind when unflooding a leaf blower:
- Work in a Well-Ventilated Area: Unflood the leaf blower in an outdoor space or a well-ventilated area to prevent the accumulation of exhaust fumes and fuel vapors.
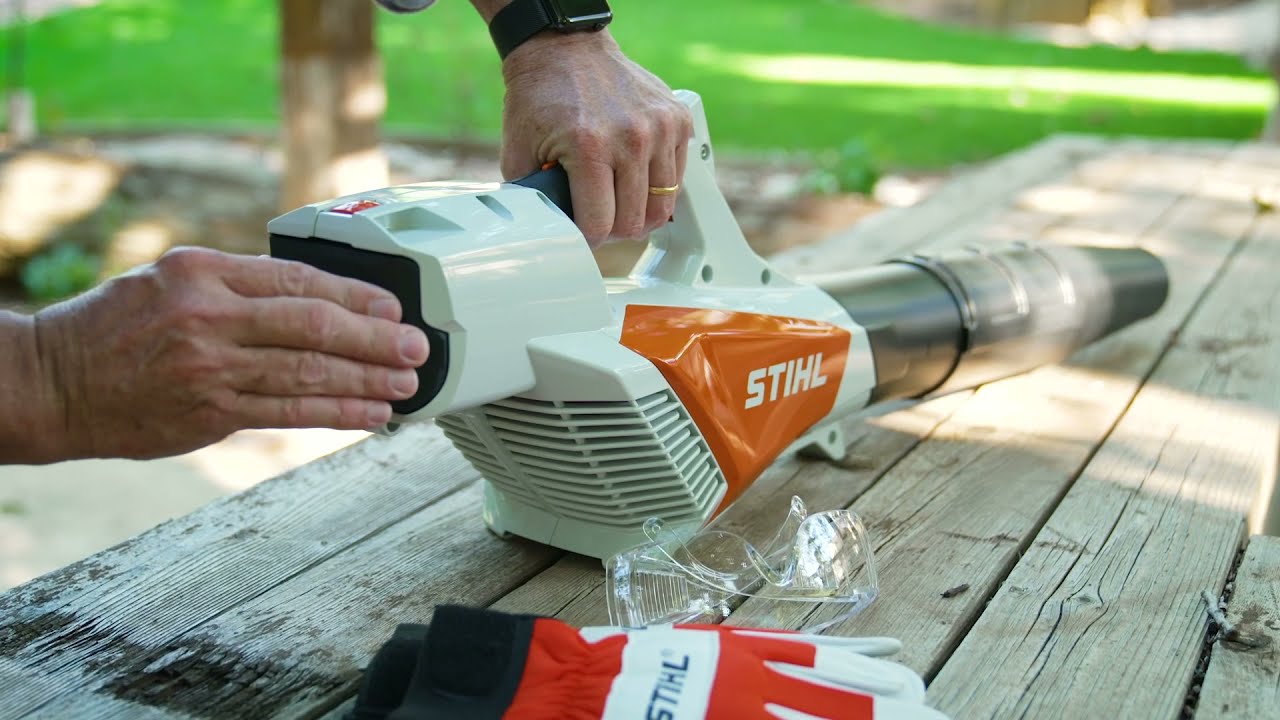
- Wear Personal Protective Equipment (PPE): Utilize safety goggles, gloves, and, if necessary, a dust mask to shield yourself from debris, fuel, and potential engine fluids.
- Turn Off the Engine: Ensure that the leaf blower’s engine is completely turned off before initiating any maintenance procedures. Disconnect the spark plug wire to prevent accidental starts.
- Allow the Engine to Cool: If the leaf blower has been in use, allow it to cool down before attempting to unflood the engine. Hot engine components can pose burn hazards.
- Handle Fuel Safely: Exercise caution when handling fuel. Avoid smoking or creating sparks in the vicinity of fuel, and use approved containers for fuel storage and transfer.
- Follow Manufacturer’s Guidelines: Adhere to the specific safety recommendations provided in the leaf blower’s user manual. Different models may have unique safety considerations.
By prioritizing safety measures, you can mitigate the risks associated with working on a leaf blower and maintain a secure environment for yourself and those around you. Once the necessary safety precautions are in place, you can proceed with confidence to unflood the leaf blower’s engine, as outlined in the following section.
Now that we’ve covered the essential safety measures, let’s move on to the step-by-step process of unflooding a leaf blower, enabling you to address this common issue effectively and safely.
To unflood a leaf blower, remove the spark plug and pull the starter cord a few times to clear excess fuel. Then, let the blower sit for a few minutes before trying to start it again.
Steps to Unflood a Leaf Blower
Unflooding a leaf blower involves a systematic approach to remove excess fuel from the engine and restore the proper air-fuel mixture. By following these step-by-step instructions, you can effectively address the issue of flooding and ensure that your leaf blower operates smoothly:
- Locate the Spark Plug: Begin by locating the spark plug on the leaf blower’s engine. This component is essential for igniting the air-fuel mixture during the combustion process.
- Disconnect the Spark Plug Wire: Carefully disconnect the spark plug wire to prevent accidental engine starts while performing maintenance. This step is crucial for safety.
- Clear the Excess Fuel: With the spark plug wire disconnected, activate the leaf blower’s throttle to clear any excess fuel from the engine. This process helps expel the flooded fuel from the combustion chamber.
- Wait for Several Minutes: Allow the leaf blower to sit for a few minutes, enabling any remaining fuel vapors to dissipate. This step is important for safety and effective unflooding.
- Reconnect the Spark Plug Wire: Once the waiting period is over, reconnect the spark plug wire to its designated terminal on the spark plug. Ensure a secure connection.
- Start the Engine: Following the manufacturer’s recommended starting procedure, attempt to start the leaf blower’s engine. Use the appropriate starting technique, such as priming and pulling the starter cord, as per the user manual’s instructions.
- Monitor the Engine: Observe the engine’s behavior as it starts. If the unflooding process was successful, the engine should start smoothly and run without irregularities.
By meticulously following these steps, you can effectively unflood the leaf blower’s engine and restore its functionality. It’s important to exercise patience and caution throughout the process, ensuring that each step is carried out with precision and attention to safety measures.
After unflooding the leaf blower, it’s essential to conduct a thorough assessment to ensure that the issue has been resolved effectively. This leads us to the next section, where we’ll discuss testing the leaf blower to confirm its proper operation.
Testing the Leaf Blower
After unflooding the leaf blower’s engine, it’s crucial to conduct a comprehensive test to verify its proper operation and ensure that the issue of flooding has been successfully resolved. Testing the leaf blower involves a series of steps to assess its performance and functionality. Here’s a guide to effectively test the leaf blower after unflooding the engine:
- Start the Engine: Initiate the leaf blower’s engine using the recommended starting procedure outlined in the user manual. Ensure that the spark plug wire is securely connected.
- Observe the Engine’s Behavior: Pay close attention to how the engine starts and runs. A properly unflooded engine should start smoothly and operate without stalling or exhibiting irregular behavior.
- Check for Proper Air-Fuel Mixture: Listen to the engine’s sound and observe the exhaust emissions. A balanced air-fuel mixture should result in clean exhaust and consistent engine operation.
- Test the Throttle Response: Engage the throttle to assess the leaf blower’s response. The engine should rev up smoothly and respond to changes in throttle input without hesitation.
- Inspect for Leaks or Abnormal Noises: While the engine is running, inspect the leaf blower for any signs of fuel or oil leaks and listen for unusual noises that may indicate underlying issues.
- Operate the Leaf Blower: Put the leaf blower to practical use by directing airflow and observing its performance in clearing debris, leaves, or grass clippings. Ensure that the tool operates effectively under load.
By systematically conducting these tests, you can ascertain the effectiveness of the unflooding process and confirm that the leaf blower is fully operational. If any irregularities or issues persist during testing, further troubleshooting or professional assistance may be required to address underlying problems.
Once the leaf blower passes the testing phase and demonstrates proper functionality, you can proceed with confidence to resume your outdoor maintenance tasks, knowing that the issue of flooding has been successfully resolved.
With the leaf blower now tested and confirmed to be in optimal working condition, let’s conclude our guide with a summary of the key insights and the importance of effectively unflooding a leaf blower.
Read more: When Was The Leaf Blower Invented
Conclusion
Unflooding a leaf blower is a valuable skill that empowers you to address a common issue encountered during the operation of this essential outdoor maintenance tool. By understanding the causes of leaf blower flooding, prioritizing safety precautions, and following the step-by-step process to unflood the engine, you can effectively troubleshoot and resolve this issue, ensuring the optimal performance of your leaf blower.
Recognizing the significance of proper maintenance and attentive operation is key to preventing leaf blower flooding. By adhering to manufacturer’s guidelines for priming, starting procedures, and fuel usage, you can minimize the likelihood of encountering this issue, contributing to the longevity and reliability of your leaf blower.
Furthermore, the emphasis on safety precautions cannot be overstated. Prioritizing a safe work environment, handling fuel responsibly, and disconnecting the spark plug wire before maintenance are essential practices that safeguard both the equipment and the individual performing the maintenance tasks.
After successfully unflooding the leaf blower’s engine, conducting comprehensive testing is crucial to confirm its proper operation. Through a series of assessments, including engine startup, throttle response, and practical usage, you can ensure that the leaf blower functions optimally and is ready for your outdoor maintenance needs.
By mastering the process of unflooding a leaf blower and integrating preventive measures, you can maintain the efficiency and reliability of this valuable tool, enabling you to tackle yard work with confidence and ease. Whether clearing leaves, tidying walkways, or maintaining outdoor spaces, a properly functioning leaf blower is an indispensable asset for homeowners and gardening enthusiasts alike.
Armed with the knowledge and skills acquired from this guide, you are well-equipped to troubleshoot leaf blower flooding effectively, fostering a seamless and productive outdoor maintenance experience. Embrace the maintenance practices outlined here, and let your leaf blower continue to be a trusted ally in keeping your outdoor spaces clean and well-maintained.
Frequently Asked Questions about How To Unflood A Leaf Blower
Was this page helpful?
At Storables.com, we guarantee accurate and reliable information. Our content, validated by Expert Board Contributors, is crafted following stringent Editorial Policies. We're committed to providing you with well-researched, expert-backed insights for all your informational needs.


0 thoughts on “How To Unflood A Leaf Blower”