Home>Gardening & Outdoor>Garden Tools & Equipment>Why Won’t My Lawnmower Start Up
Garden Tools & Equipment
Why Won’t My Lawnmower Start Up
Published: January 21, 2024
Having trouble starting up your lawnmower? Get expert tips and advice on troubleshooting and fixing common issues with garden tools and equipment. Discover the solutions you need to get your lawnmower running smoothly again.
(Many of the links in this article redirect to a specific reviewed product. Your purchase of these products through affiliate links helps to generate commission for Storables.com, at no extra cost. Learn more)
Introduction
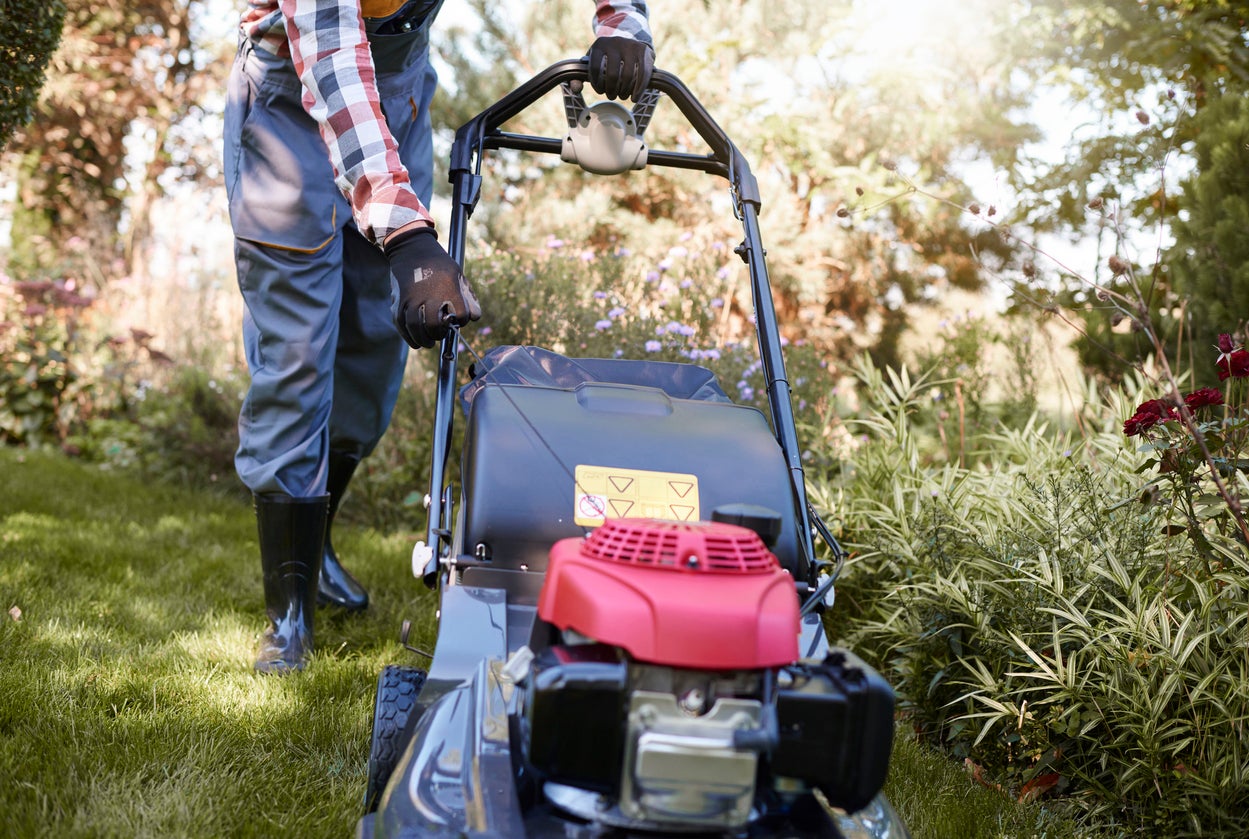
Hey there, fellow garden enthusiasts! There's nothing quite as frustrating as gearing up to mow your lawn, only to find that your trusty lawnmower refuses to start. It's a familiar scenario that can leave you scratching your head and wondering, "Why won't my lawnmower start up?" Well, fear not, because I'm here to guide you through the troubleshooting process and help you get your mower back in action.
A lawnmower that won't start can put a serious damper on your plans for a well-manicured lawn. However, before you resign yourself to the idea of a perpetually overgrown yard, let's roll up our sleeves and delve into the potential reasons behind this common issue. From fuel-related issues to spark plug malfunctions, we'll cover the essential steps to diagnose and resolve the problem, ensuring that your lawnmower is up and running in no time.
So, grab a cup of coffee, put on your detective hat, and let's embark on this troubleshooting journey together. With a bit of know-how and a touch of elbow grease, you'll soon be back to enjoying the satisfying hum of a smoothly operating lawnmower as you transform your lawn into a pristine green oasis. Let's dive in and unravel the mystery of your stubborn lawnmower!
Key Takeaways:
- Keep your lawnmower running smoothly by checking fuel quality, spark plug condition, and air filter cleanliness. Regular maintenance ensures a well-kept lawn without starting issues.
- Troubleshoot starting problems by inspecting the carburetor and testing the ignition coil. Understanding and maintaining these components leads to reliable lawnmower performance.
Read more: Why Does My Lawnmower Start Then Stop
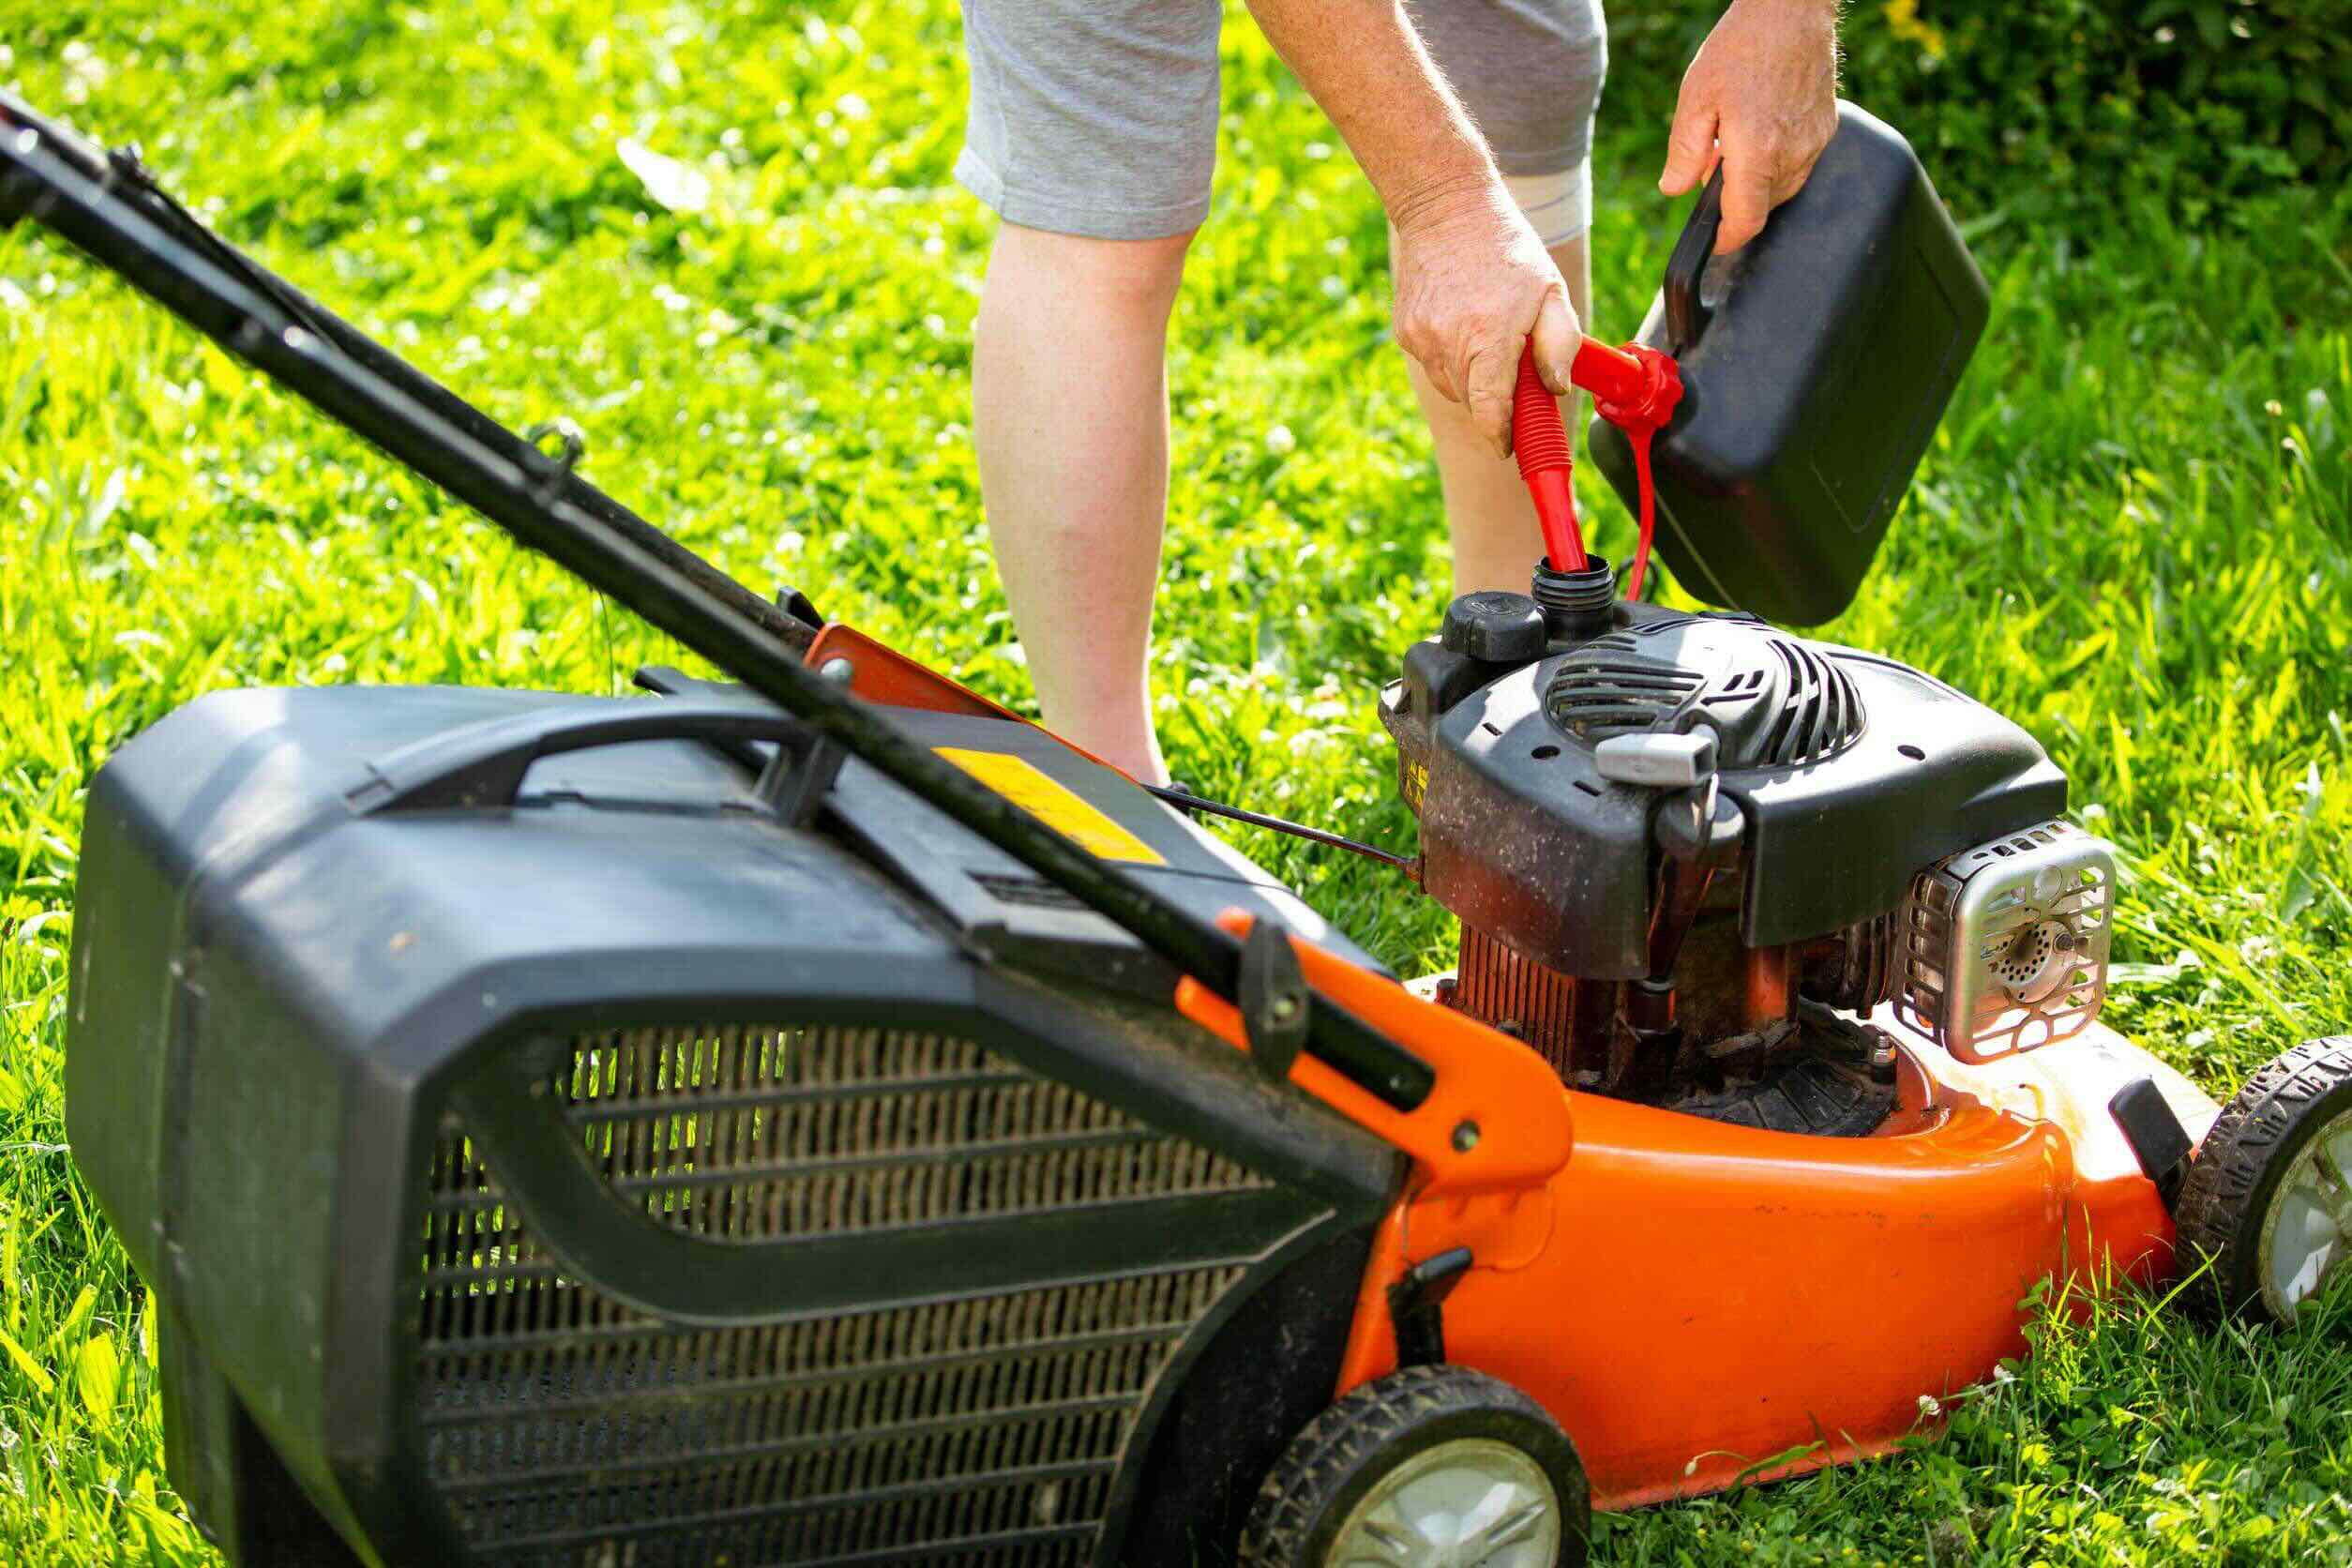
Check the Fuel
First things first, let’s ensure that your lawnmower has an ample supply of clean, fresh fuel. Stale or contaminated fuel is a common culprit behind starting issues. Over time, fuel can degrade, leading to the formation of varnish and clogging of the fuel system. If your lawnmower has been sitting idle for an extended period, the fuel may have deteriorated, hindering the engine’s performance.
Begin by checking the fuel tank for any signs of old or discolored fuel. If the fuel appears dark or has a foul odor, it’s best to drain the tank and replace it with fresh gasoline. Additionally, consider adding a fuel stabilizer to prevent future fuel degradation, especially if your lawnmower tends to sit unused for prolonged periods.
Next, inspect the fuel line for any blockages or damage. A clogged fuel line can impede the flow of gasoline to the engine, resulting in starting issues. If you suspect a blockage, carefully remove the fuel line and clean it thoroughly. Additionally, check the fuel filter for any debris or sediment that may be obstructing the fuel flow. Replacing the fuel filter is advisable if it appears dirty or clogged.
Once you’ve addressed the fuel quality and flow, it’s essential to verify that the carburetor is receiving an adequate supply of fuel. In some cases, a faulty or misadjusted carburetor can disrupt the fuel-air mixture, preventing the engine from starting. If you’re comfortable with carburetor maintenance, you can inspect it for any visible issues or seek professional assistance to ensure proper functionality.
By taking these steps to assess and optimize the fuel system, you’re laying a solid foundation for resolving potential starting issues related to fuel quality, flow, and carburetor performance. With a clean fuel supply and a well-functioning carburetor, your lawnmower will be primed for reliable operation, setting the stage for a successful start-up.
Inspect the Spark Plug
Now that we’ve addressed the fuel-related factors, it’s time to turn our attention to the spark plug, a critical component in the ignition system of your lawnmower. A faulty or deteriorated spark plug can significantly impact the engine’s ability to start and run smoothly. Therefore, conducting a thorough inspection of the spark plug is essential in troubleshooting starting issues.
Start by locating the spark plug, which is typically situated at the top of the engine cylinder. Carefully remove the spark plug wire and use a spark plug socket to unscrew the plug from the engine. Once removed, assess the spark plug’s condition, paying close attention to the electrode and insulator. A healthy spark plug should have a clean, slightly tan or grayish appearance, indicating proper combustion and heat dissipation.
If the spark plug appears excessively dirty, fouled, or covered in black soot, it may be a sign of incomplete combustion or an overly rich fuel mixture. In such cases, cleaning the spark plug with a wire brush and adjusting the carburetor settings can help improve combustion efficiency. However, if the spark plug is heavily worn, corroded, or damaged, it’s advisable to replace it with a new one to ensure optimal ignition performance.
Additionally, check the spark plug gap using a feeler gauge to ensure that it aligns with the manufacturer’s specifications. An improper gap can hinder the spark plug’s ability to generate a strong spark, impeding the ignition process. Adjust the gap as needed to match the recommended measurement, typically indicated in the lawnmower’s manual or on the spark plug packaging.
Before reinstalling the spark plug, it’s a good practice to apply a small amount of anti-seize lubricant to the threads to facilitate future removal. Carefully thread the spark plug back into the engine by hand to prevent cross-threading, and then use a torque wrench to achieve the recommended tightening torque, ensuring a secure and reliable connection.
By inspecting and maintaining the spark plug, you’re taking proactive steps to optimize the ignition system, promoting consistent and efficient spark generation. A healthy spark plug is instrumental in igniting the air-fuel mixture within the engine, and by ensuring its proper function, you’re enhancing the likelihood of a smooth and reliable start-up for your lawnmower.
Clean the Air Filter
When troubleshooting starting issues with your lawnmower, it’s crucial to consider the condition of the air filter, a component responsible for preventing dirt, debris, and other contaminants from entering the engine. A clogged or dirty air filter can restrict airflow, leading to an imbalanced air-fuel mixture and impeding the engine’s ability to start and run efficiently. Therefore, inspecting and cleaning the air filter is an essential step in resolving potential starting problems.
Begin by locating the air filter housing, which is often situated near the carburetor or on the side of the engine. Carefully remove the air filter cover and inspect the filter element for any signs of dirt, debris, or excessive buildup. If the filter appears dirty or clogged, it’s time to give it a thorough cleaning to restore optimal airflow and filtration performance.
If your lawnmower is equipped with a foam air filter, gently wash it with mild soap and water to remove accumulated dirt and oil. After rinsing the filter thoroughly, allow it to air dry completely before applying a few drops of clean engine oil and gently squeezing the filter to distribute the oil evenly. Excess oil should be carefully removed to prevent it from fouling the carburetor or spark plug.
For paper or pleated air filters, tapping them gently on a flat surface can help dislodge loose debris, followed by the use of compressed air to blow away any remaining particles. However, exercise caution to avoid damaging the filter material with excessive force or pressure. If the filter is heavily soiled or damaged, it’s advisable to replace it with a new one to ensure optimal filtration and airflow.
Once the air filter is clean and dry, reinstall it into the housing, ensuring a secure fit and proper alignment. The air filter cover should be closed tightly to prevent the entry of unfiltered air into the engine, maintaining the integrity of the filtration system.
By cleaning or replacing the air filter as needed, you’re promoting unrestricted airflow and effective filtration, essential for maintaining the engine’s performance and longevity. A clean air filter supports the combustion process by delivering a consistent and clean air supply to the engine, setting the stage for reliable starting and smooth operation of your lawnmower.
Check the spark plug, air filter, and fuel supply. Clean or replace any dirty or clogged parts to ensure proper engine function.
Examine the Carburetor
When grappling with a stubborn lawnmower that refuses to start, the carburetor often emerges as a prime suspect. This vital component is responsible for mixing air and fuel in the correct proportion before delivering the combustible mixture to the engine. A malfunctioning or clogged carburetor can disrupt this delicate balance, leading to starting issues and erratic engine performance. Therefore, a comprehensive examination of the carburetor is essential in troubleshooting and resolving potential issues.
Start by locating the carburetor, typically situated near the air filter housing and fuel line connection. Carefully inspect the exterior of the carburetor for any visible signs of damage, deterioration, or loose connections. Additionally, check for the presence of varnish, gum, or other deposits that may have accumulated within the carburetor, potentially obstructing the fuel passages and jets.
If the carburetor appears dirty or contaminated, it’s advisable to embark on a thorough cleaning process to restore its functionality. Begin by carefully removing the carburetor from the engine, following the manufacturer’s guidelines or consulting the lawnmower’s manual for detailed instructions. Once detached, disassemble the carburetor, taking note of the position of each component to facilitate reassembly.
Using a carburetor cleaner or solvent, meticulously clean the various internal passages, jets, and chambers to dislodge any accumulated debris or varnish. A small, soft-bristled brush can be instrumental in reaching and cleaning intricate areas within the carburetor. Additionally, inspect the diaphragm and gaskets for any signs of wear, tears, or deterioration, replacing them if necessary to ensure proper sealing and functionality.
After cleaning and inspecting the individual components, reassemble the carburetor, ensuring that each part is positioned correctly and securely fastened. Once reinstalled on the engine, adjust the carburetor settings as per the manufacturer’s specifications, fine-tuning the air-fuel mixture and idle speed to optimize engine performance.
By thoroughly examining and cleaning the carburetor, you’re addressing potential fuel delivery and mixture issues, paving the way for improved starting and overall engine performance. A well-maintained and properly adjusted carburetor plays a pivotal role in ensuring efficient fuel delivery and combustion, setting the stage for a reliable and responsive lawnmower that’s ready to tackle your lawn with gusto.
Read more: Why Wont My Toilet Fill Up With Water
Test the Ignition Coil
When troubleshooting starting issues with your lawnmower, the ignition coil warrants careful attention, as it plays a crucial role in generating the high-voltage spark necessary to ignite the air-fuel mixture within the engine. A malfunctioning or deteriorating ignition coil can lead to weak or inconsistent spark production, resulting in starting difficulties and erratic engine performance. Therefore, conducting a thorough assessment of the ignition coil is essential in diagnosing and resolving potential ignition-related issues.
Start by locating the ignition coil, typically situated near the flywheel or engine’s ignition system. Carefully inspect the coil for any signs of physical damage, such as cracks, corrosion, or loose connections. Additionally, check the ignition coil’s primary and secondary wire connections to ensure they are secure and free from corrosion or damage.
To test the ignition coil’s functionality, you can employ a multimeter set to measure resistance. Begin by disconnecting the spark plug wire from the spark plug and then disconnecting the ignition coil’s primary wire. Using the multimeter, measure the resistance between the ignition coil’s primary wire connection and the corresponding ground connection. The resistance reading should align with the manufacturer’s specifications, typically ranging from a few to several ohms, depending on the specific coil design.
Next, measure the resistance between the ignition coil’s secondary wire connection and the ground connection. Again, the resistance reading should adhere to the manufacturer’s guidelines, indicating the coil’s ability to produce a high-voltage spark. If the resistance readings deviate significantly from the specified values or if there is no continuity, it may indicate a faulty ignition coil that requires replacement.
Additionally, inspect the ignition coil for any signs of arcing or damage, which can compromise its ability to generate a strong spark. If visible damage or deterioration is present, replacing the ignition coil with a new, compatible unit is advisable to ensure reliable spark production and ignition performance.
By testing and evaluating the ignition coil’s integrity, you’re addressing a critical component of the ignition system, essential for consistent and robust spark generation. A well-functioning ignition coil is instrumental in delivering the high-voltage spark required to ignite the air-fuel mixture, setting the stage for reliable starting and smooth operation of your lawnmower.
Conclusion
Congratulations on embarking on this troubleshooting journey to unravel the mystery of your stubborn lawnmower! By delving into the essential steps for diagnosing and resolving starting issues, you’ve demonstrated a proactive and hands-on approach to maintaining your lawnmower’s performance and reliability. Whether you’ve identified the root cause of the problem or are still in the process of troubleshooting, the insights gained along the way are invaluable in ensuring the optimal operation of your trusty lawn-taming companion.
From assessing the fuel quality and flow to inspecting the spark plug, cleaning the air filter, examining the carburetor, and testing the ignition coil, you’ve explored the critical components and systems that contribute to your lawnmower’s starting process. Each step taken in this troubleshooting endeavor has not only enhanced your understanding of the lawnmower’s mechanics but has also equipped you with the knowledge and skills to address potential issues effectively.
As you navigate the intricacies of lawnmower maintenance and troubleshooting, remember that regular care and attention to these essential components can contribute to the longevity and reliable performance of your lawnmower. By incorporating these maintenance tasks into your routine and promptly addressing any starting issues that arise, you’re ensuring that your lawnmower remains primed and ready to tackle your lawn with efficiency and precision.
So, whether it’s the satisfaction of a smoothly running engine or the joy of transforming your lawn into a verdant masterpiece, your dedication to maintaining and troubleshooting your lawnmower is a testament to your commitment to a well-kept and inviting outdoor space. With each challenge overcome and every maintenance task completed, you’re fostering a thriving and vibrant lawn that reflects your care and attention to detail.
Now, armed with a deeper understanding of your lawnmower’s inner workings and armed with the knowledge gained from this troubleshooting expedition, you’re well-prepared to conquer any starting issues that may arise. So, go ahead, fire up that lawnmower, and relish the satisfaction of a job well done as you transform your outdoor oasis into a picture-perfect haven. Happy mowing!
Frequently Asked Questions about Why Won't My Lawnmower Start Up
Was this page helpful?
At Storables.com, we guarantee accurate and reliable information. Our content, validated by Expert Board Contributors, is crafted following stringent Editorial Policies. We're committed to providing you with well-researched, expert-backed insights for all your informational needs.


0 thoughts on “Why Won’t My Lawnmower Start Up”