Home>Gardening & Outdoor>Garden Tools & Equipment>How To Get A Lawnmower Started After Winter

Garden Tools & Equipment
How To Get A Lawnmower Started After Winter
Modified: October 20, 2024
Learn how to start your lawnmower after winter with our expert tips and tricks. Get your garden tools and equipment ready for the season ahead.
(Many of the links in this article redirect to a specific reviewed product. Your purchase of these products through affiliate links helps to generate commission for Storables.com, at no extra cost. Learn more)
Introduction
As the winter chill gives way to the warmth of spring, it’s time to dust off your lawnmower and prepare it for the upcoming mowing season. However, starting a lawnmower after it has been dormant during the winter months can be a bit challenging. The engine may resist waking up, and the components may need some attention before they can operate smoothly again. Fortunately, with a few simple steps and some basic maintenance, you can have your lawnmower up and running in no time.
In this guide, we’ll walk you through the essential steps to get your lawnmower started after its winter hibernation. From checking the fuel to inspecting the spark plug, we’ll cover everything you need to know to ensure a smooth and trouble-free start for your trusty lawnmower. So, let’s roll up our sleeves and get ready to revive your lawnmower for the lush, green days ahead!
Key Takeaways:
- Ensure your lawnmower starts smoothly after winter by checking fuel, inspecting spark plug, cleaning/replacing air filter, changing oil, priming the engine, and pulling the starter cord. Regular maintenance is key to a reliable lawnmower.
- Proper maintenance, including fuel check, spark plug inspection, air filter cleaning, oil change, engine priming, and starter cord pulling, ensures a smooth start for your lawnmower after winter. Regular care leads to a reliable garden companion.
Read more: How To Winterize A Lawnmower
Check the Fuel
Before attempting to start your lawnmower, it’s crucial to ensure that the fuel is fresh and free of any contaminants. Over time, fuel can degrade and form deposits that clog the carburetor, leading to starting issues. If you didn’t empty the fuel tank before storing your lawnmower for the winter, it’s essential to assess the condition of the fuel before trying to start the engine.
Begin by checking the fuel level in the tank. If the fuel appears dark or has a foul odor, it’s likely degraded and needs to be replaced. Old fuel can cause starting problems and may even damage the engine if used. To prevent any issues, drain the old fuel from the tank and dispose of it properly according to local regulations.
Once the old fuel has been removed, refill the tank with fresh, clean gasoline. It’s advisable to use fuel with a maximum ethanol content of 10% to minimize the risk of moisture absorption and carburetor issues. Additionally, consider adding a fuel stabilizer to the fresh gasoline to prolong its shelf life and maintain its quality during storage periods.
After refilling the tank, let the lawnmower run for a few minutes to allow the fresh fuel to circulate through the system. This will help flush out any remaining old fuel and ensure that the engine receives clean, uncontaminated gasoline for a smooth start.
By checking and replacing the fuel as needed, you can eliminate one of the common culprits behind starting problems and set the stage for a successful lawnmower revival.
Inspect the Spark Plug
The spark plug plays a crucial role in the ignition process of your lawnmower’s engine. Over time, spark plugs can become fouled or worn, leading to starting difficulties and poor engine performance. Before attempting to start your lawnmower after its winter hiatus, it’s essential to inspect the spark plug and ensure that it’s in good condition.
Start by locating the spark plug, which is typically situated at the top of the engine and connected to a thick wire. Carefully remove the spark plug using a socket wrench, taking care not to damage the delicate threads. Once removed, examine the spark plug for any signs of fouling, such as blackened or oily deposits on the electrode. If the spark plug appears dirty or worn, it’s advisable to clean or replace it to facilitate smooth engine starting.
If cleaning the spark plug, use a wire brush or a specialized spark plug cleaner to gently remove any deposits or corrosion. Ensure that the electrode and insulator are thoroughly cleaned and free of any debris. After cleaning, check the spark plug gap using a feeler gauge and adjust it to the manufacturer’s specifications if necessary. A properly gapped spark plug is essential for efficient ignition and optimal engine performance.
If the spark plug shows significant wear or damage that cannot be remedied through cleaning, it’s best to replace it with a new, compatible spark plug. When installing the new spark plug, carefully thread it by hand to avoid cross-threading, and then use a torque wrench to tighten it to the manufacturer’s recommended torque setting. Over-tightening or under-tightening the spark plug can lead to issues, so precision is key.
By inspecting and maintaining the spark plug, you can ensure reliable ignition and smooth starting for your lawnmower. A clean or properly replaced spark plug is a small yet vital component that can make a significant difference in the performance of your lawnmower’s engine.
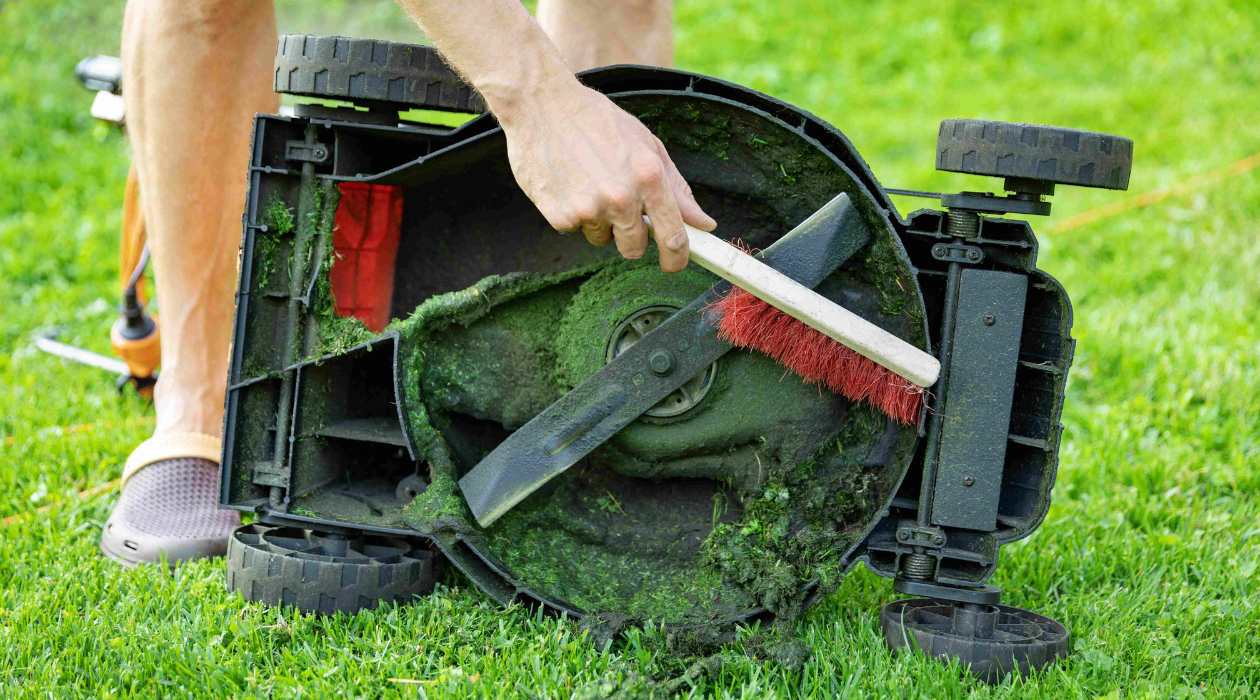
Clean or Replace the Air Filter
The air filter in your lawnmower plays a crucial role in preventing dirt, debris, and other contaminants from entering the engine. Over time, the air filter can become clogged with accumulated debris, especially after a period of inactivity during the winter months. A dirty or clogged air filter can impede airflow to the engine, leading to starting issues and reduced performance. Therefore, it’s important to inspect and clean or replace the air filter before attempting to start your lawnmower.
Start by locating the air filter housing, which is typically situated near the carburetor or the engine’s intake. Depending on the lawnmower model, the air filter housing may be secured with screws, clips, or a wing nut. Carefully remove the air filter cover to access the air filter element inside. Once exposed, inspect the air filter for any signs of dirt, debris, or damage.
If the air filter is made of foam or sponge-like material, it can be cleaned and reused if it’s not excessively worn or torn. To clean a foam air filter, gently wash it with warm, soapy water to remove the accumulated dirt and debris. Avoid using harsh detergents or strong solvents, as they can damage the filter material. After washing, thoroughly rinse the air filter with clean water and allow it to air dry completely before reinstallation.
For paper or pleated air filters, cleaning may not be practical, and replacement is often the best course of action. If the air filter appears excessively dirty or damaged, it’s advisable to replace it with a new, compatible filter to ensure optimal airflow and engine protection.
Before reinstalling the air filter, inspect the air filter housing and the surrounding area for any loose debris or contaminants. Clean the housing and remove any debris that could potentially enter the engine. Once the air filter is clean and dry, or a new filter is ready for installation, carefully reassemble the air filter housing and secure it according to the manufacturer’s guidelines.
By maintaining a clean and unobstructed air filter, you can ensure that your lawnmower’s engine receives a consistent and clean airflow, promoting efficient combustion and reliable starting performance.
Before starting your lawnmower after winter, check the fuel and oil levels. Prime the engine and pull the starter cord gently. If it doesn’t start, clean or replace the spark plug and air filter.
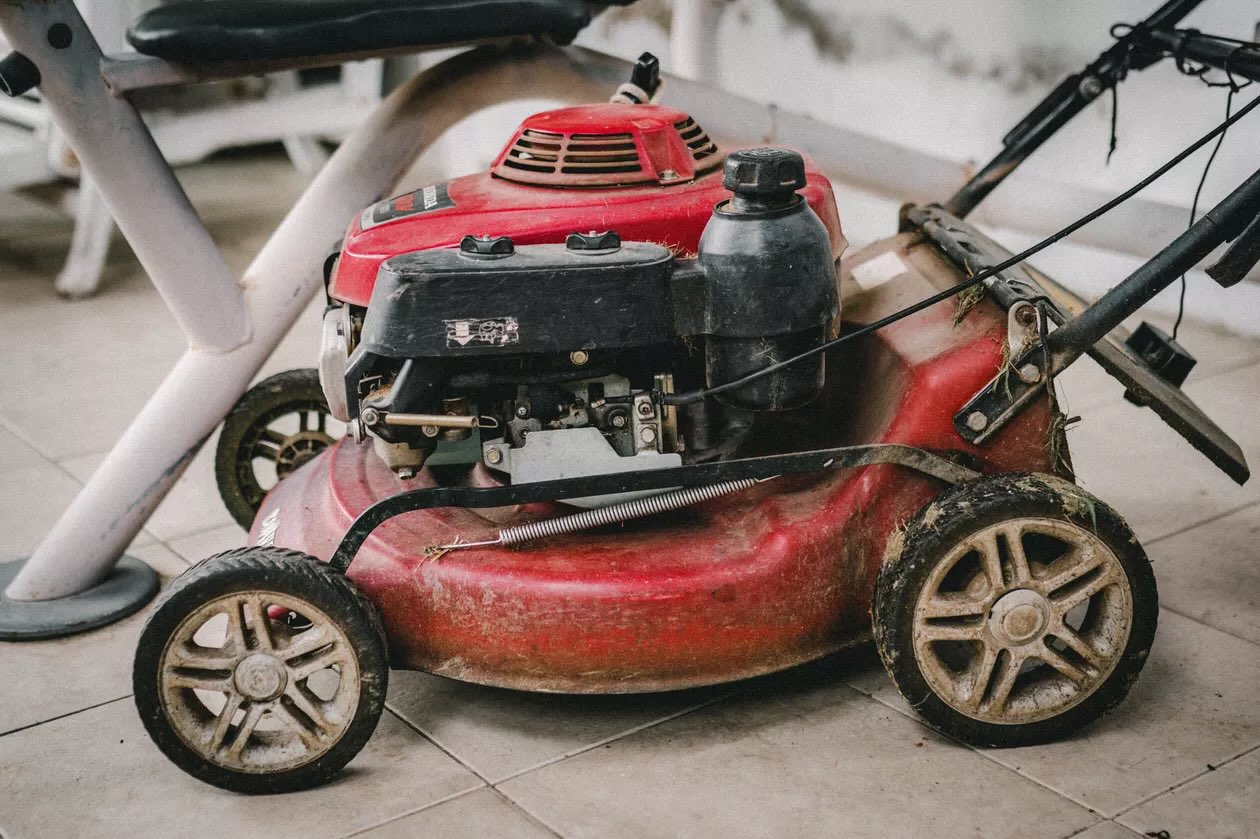
Change the Oil
Changing the oil in your lawnmower is an essential maintenance task that contributes to the overall health and performance of the engine. Over time, used oil can become contaminated with dirt, debris, and combustion by-products, leading to increased friction and reduced lubrication. Before starting your lawnmower after the winter season, it’s important to check the oil level and condition, and if necessary, perform an oil change to ensure optimal engine operation.
Start by locating the oil drain plug, which is typically situated on the underside of the engine. Position a suitable container to collect the old oil, and then carefully remove the drain plug to allow the used oil to drain completely. While draining the oil, inspect the drain plug and the surrounding area for any signs of metal shavings or other abnormalities, which could indicate potential engine issues that require further attention.
Once the old oil has been drained, reinstall the drain plug securely and proceed to refill the engine with fresh, high-quality oil of the recommended viscosity and type. Refer to the lawnmower’s manual or the manufacturer’s guidelines to determine the appropriate oil specification for your specific model. It’s crucial to use the correct type of oil to ensure proper lubrication and engine protection.
After adding the fresh oil, check the oil level using the dipstick or the oil level indicator on the lawnmower. Ensure that the oil level falls within the recommended range, neither underfilled nor overfilled. Overfilling the oil can lead to foaming and increased internal pressure, while underfilling can result in inadequate lubrication, both of which can adversely affect the engine’s performance.
Before attempting to start the engine, allow the lawnmower to sit for a few minutes to allow the fresh oil to circulate and settle. This will ensure that the engine components are properly lubricated before the first start-up. Additionally, inspect the area around the oil fill cap and the oil filter (if equipped) to ensure that they are clean and free of any debris or contaminants.
By changing the oil and maintaining the proper oil level, you can promote smooth engine operation, reduce friction-related wear, and enhance the overall longevity of your lawnmower’s engine.
Read more: When To Start Watering Grass After Winter
Prime the Engine
Priming the engine is a crucial step to prepare the carburetor and fuel system for starting, especially after a period of inactivity such as the winter months. Priming the engine helps to ensure that the combustion chamber receives the proper fuel-air mixture for ignition, facilitating a smoother and more efficient start-up process. Before attempting to start your lawnmower, it’s important to prime the engine to optimize the fuel delivery and promote reliable ignition.
To prime the engine, locate the primer bulb, which is typically a small, rubber component situated on the carburetor or the fuel line. The primer bulb is designed to manually draw fuel into the carburetor to enrich the fuel mixture for starting. Depending on the lawnmower model, the primer bulb may require a certain number of pumps to effectively prime the engine.
Prior to pressing the primer bulb, ensure that the fuel tank is filled with fresh, clean gasoline and that the fuel cap is securely fastened. This helps to maintain proper fuel pressure and prevents fuel leakage during the priming process. With the lawnmower on a level surface, press the primer bulb the recommended number of times as specified by the manufacturer or outlined in the lawnmower’s manual.
As you press the primer bulb, observe any resistance or changes in the bulb’s appearance, such as the movement of fuel through the clear fuel line if equipped. This visual indication can help confirm that the primer bulb is effectively drawing fuel into the system. It’s important to avoid over-priming, as excess fuel in the combustion chamber can lead to flooding and starting difficulties.
After priming the engine, allow the lawnmower to rest for a brief moment to allow the enriched fuel mixture to reach the combustion chamber and the engine to stabilize. This brief pause helps to ensure that the engine receives the optimal fuel-air mixture for ignition, setting the stage for a successful start-up.
By properly priming the engine, you can enhance the fuel delivery and prepare the combustion chamber for ignition, increasing the likelihood of a smooth and efficient start for your lawnmower.
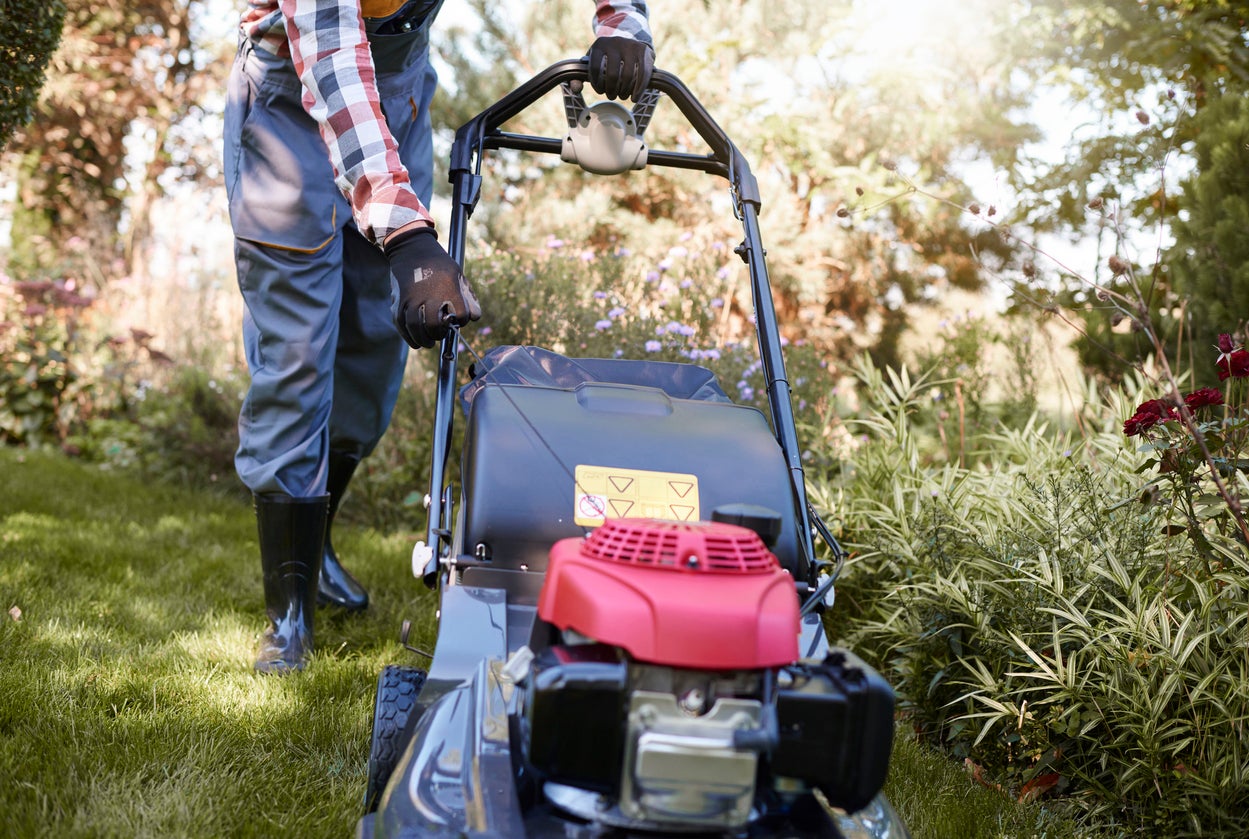
Pull the Starter Cord
With the necessary preparations in place, it’s time to initiate the starting sequence by pulling the starter cord. The starter cord, also known as the recoil starter, is the manual mechanism used to engage the engine’s crankshaft and initiate the combustion process. Before pulling the starter cord, it’s important to ensure that the lawnmower is positioned on a level surface, the engine’s kill switch is in the “on” position, and all safety precautions are observed.
Begin by grasping the starter handle firmly and pulling the starter cord in a smooth, controlled motion. It’s important to avoid yanking or jerking the cord, as this can lead to recoil issues and potential damage to the starter assembly. Instead, use a steady pulling motion to engage the engine and initiate the starting process.
As you pull the starter cord, observe the resistance and listen for any signs of the engine attempting to turn over. If the engine does not start after the initial pull, allow the starter cord to retract slowly, and then pull it again. It’s important to avoid rapid, consecutive pulls, as this can overwhelm the engine and impede the starting process.
If the engine shows signs of starting but does not fully engage, consider priming the engine again to ensure that the combustion chamber receives the necessary fuel-air mixture for ignition. After priming, attempt to pull the starter cord again to restart the engine. It’s important to remain patient and persistent, as some lawnmowers may require multiple attempts to start, especially after a period of inactivity.
Once the engine starts, allow it to run for a few moments to stabilize and warm up. Observe the exhaust for any signs of abnormal smoke or odors, which could indicate underlying issues that require attention. Additionally, listen for any unusual noises or vibrations that may suggest mechanical problems.
By pulling the starter cord with care and attention, you can initiate the starting process and bring your lawnmower’s engine to life, setting the stage for a successful and productive mowing session.
Conclusion
Reviving your lawnmower after its winter slumber is a rewarding and essential task that sets the stage for a season of lush, well-manicured lawns. By following the steps outlined in this guide, you can ensure that your lawnmower starts smoothly and operates reliably, allowing you to tackle your yard maintenance with ease.
From checking and replacing the fuel to inspecting the spark plug, cleaning or replacing the air filter, changing the oil, priming the engine, and pulling the starter cord, each step plays a vital role in preparing your lawnmower for the mowing season ahead. By addressing these key maintenance tasks, you can optimize the performance and longevity of your lawnmower while minimizing the risk of starting issues and mechanical problems.
It’s important to remember that regular maintenance, including proper storage and periodic inspections, can contribute to the overall health and efficiency of your lawnmower. By incorporating these maintenance practices into your routine, you can enjoy a well-maintained and reliable lawnmower for years to come.
As you embark on the journey of reviving your lawnmower, take the time to appreciate the craftsmanship and engineering that powers this essential garden tool. Your lawnmower, when properly cared for, becomes a trusted companion in maintaining the beauty of your outdoor spaces, and its reliable performance reflects the dedication you invest in its upkeep.
So, with your lawnmower ready to tackle the verdant expanse of your yard, take a moment to savor the satisfaction of a job well done. The hum of the engine and the precision of the blades are a testament to your commitment to maintaining a healthy and vibrant outdoor environment.
Now, with your lawnmower in prime condition, it’s time to embrace the upcoming mowing season with confidence and enthusiasm, knowing that your trusty garden companion is ready to tackle the task at hand. Here’s to a season of effortless mowing and flourishing landscapes!
Frequently Asked Questions about How To Get A Lawnmower Started After Winter
Was this page helpful?
At Storables.com, we guarantee accurate and reliable information. Our content, validated by Expert Board Contributors, is crafted following stringent Editorial Policies. We're committed to providing you with well-researched, expert-backed insights for all your informational needs.


0 thoughts on “How To Get A Lawnmower Started After Winter”