Home>Gardening & Outdoor>Garden Tools & Equipment>How To Winterize A Lawnmower
Garden Tools & Equipment
How To Winterize A Lawnmower
Modified: October 20, 2024
Learn how to properly winterize your lawnmower with our expert tips and keep your garden tools and equipment in top condition for the next season. Protect your investment with our step-by-step guide.
(Many of the links in this article redirect to a specific reviewed product. Your purchase of these products through affiliate links helps to generate commission for Storables.com, at no extra cost. Learn more)
Introduction
As the vibrant colors of autumn fade into the serene blanket of winter, it's time to prepare our trusty lawnmowers for the seasonal slumber. Winterizing your lawnmower is a crucial step in ensuring its longevity and optimal performance when spring breathes new life into your lawn. By taking the time to properly winterize your lawnmower, you can prevent potential damage caused by the harsh winter conditions and save yourself from costly repairs in the future.
In this comprehensive guide, we'll walk you through the essential steps to winterize your lawnmower effectively. From cleaning and maintenance to proper storage, we'll cover everything you need to know to safeguard your lawnmower during the chilly months ahead. So, grab your gloves and let's dive into the process of winterizing your loyal lawnmower, ensuring it's ready to roar back to life when the grass begins to grow again.
Key Takeaways:
- Keep your lawnmower in top shape by winterizing it. Clean, change the oil, replace the spark plug, drain the fuel, and store it in a dry place to ensure a smooth start-up in the spring.
- Winterizing your lawnmower is crucial for its longevity. By cleaning, changing the oil, replacing the spark plug, draining the fuel, and storing it properly, you can protect your lawnmower from potential damage during the winter months.
Read more: How To Get A Lawnmower Started After Winter
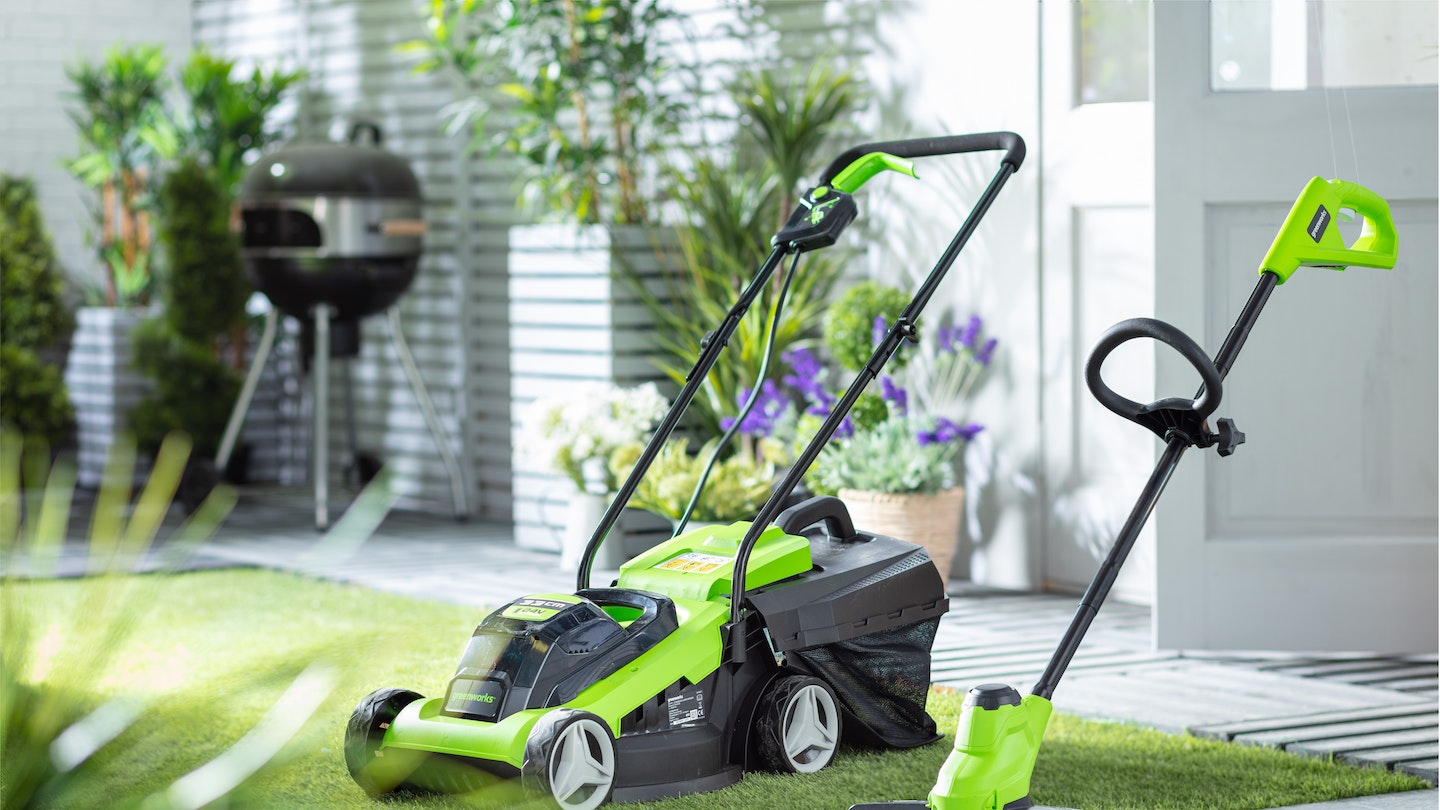
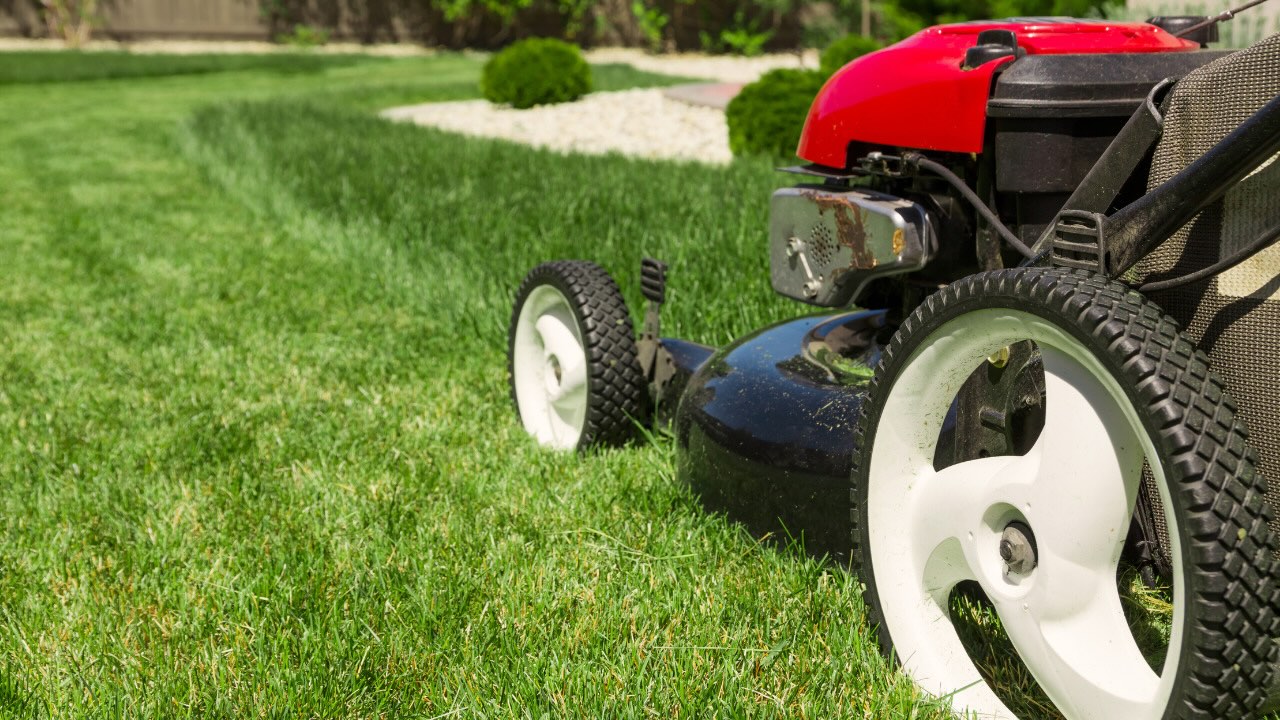
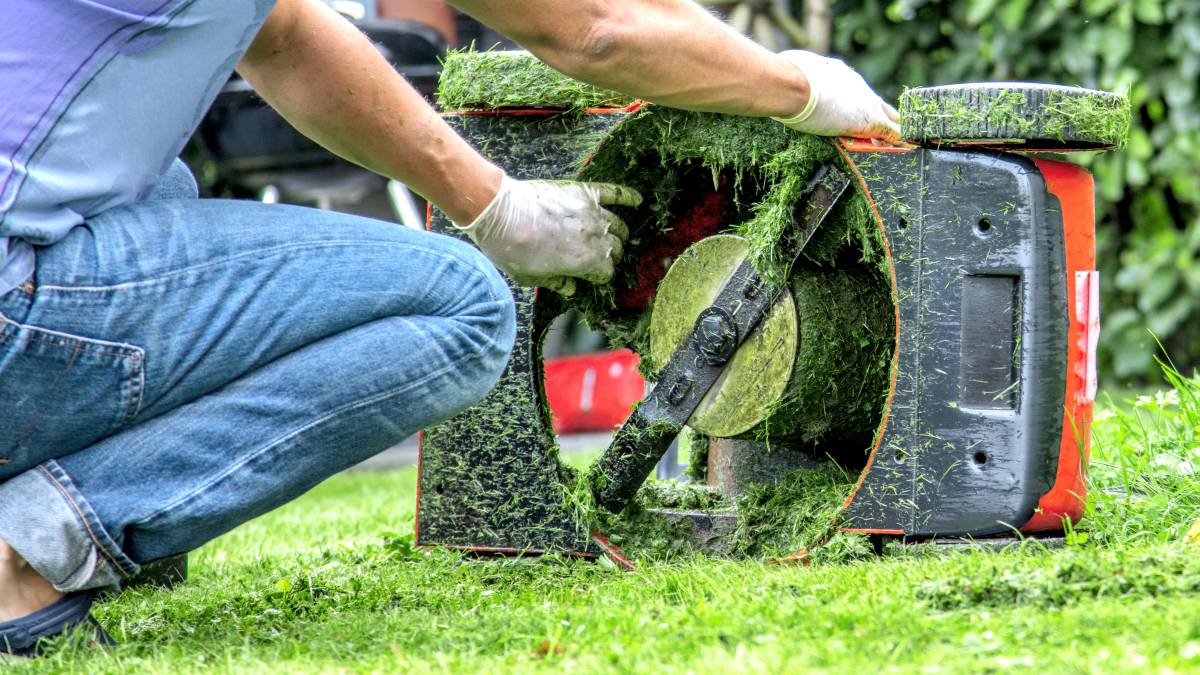
Step 1: Clean the Lawnmower
Before tucking your lawnmower away for the winter, it’s essential to give it a thorough cleaning. Start by removing any accumulated grass clippings, dirt, and debris from the mower deck, undercarriage, and blades. A wire brush or a putty knife can be handy for scraping off stubborn residue. Pay close attention to the underside of the deck, as grass clippings and moisture can lead to corrosion over time.
Next, wash the exterior of the lawnmower with a mild detergent and water. Use a soft brush or cloth to gently scrub away any grime, being cautious around the engine and other sensitive components. Once clean, rinse the mower with a hose and allow it to air dry thoroughly before proceeding to the next step.
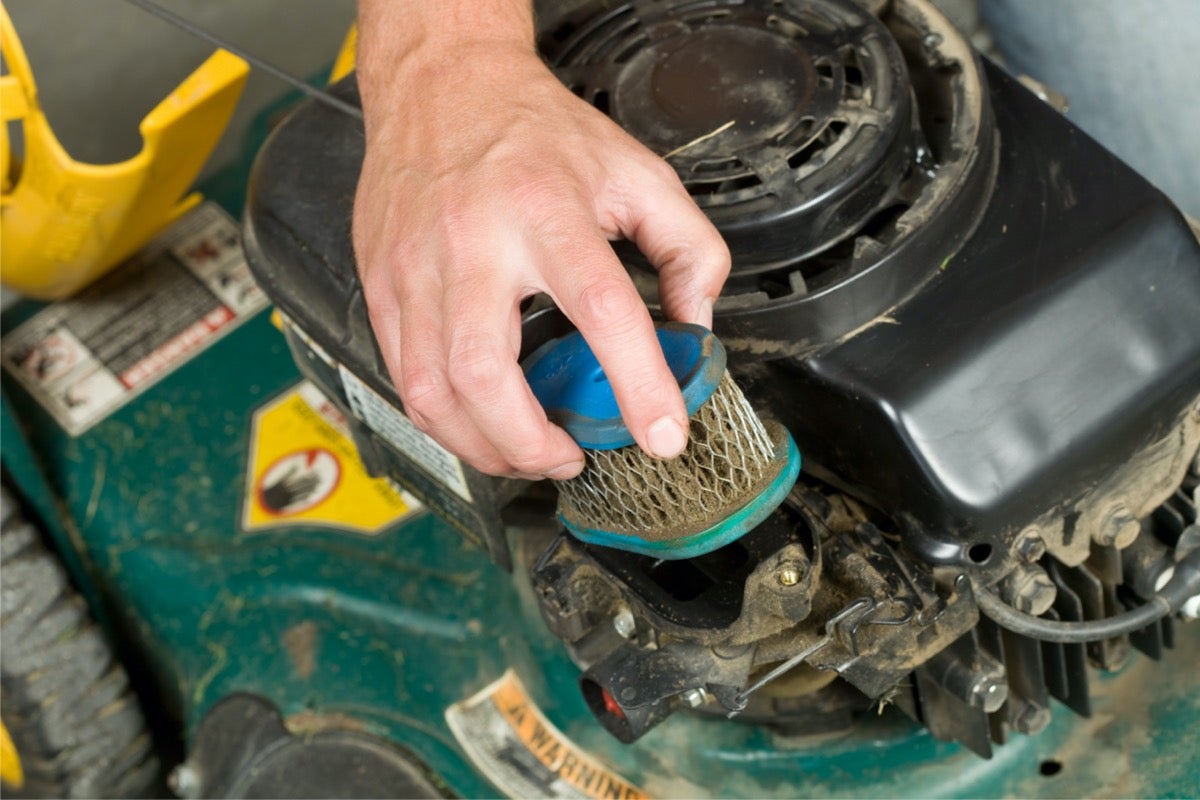
Inspect the air filter and replace it if it’s dirty or clogged. A clean air filter is vital for the engine’s performance, and replacing it before winter storage will ensure that your lawnmower starts smoothly when it’s time to mow again.
Additionally, check the mower’s wheels and axles for any debris or grass buildup. Clean them meticulously and lubricate the axles if necessary to prevent rust and corrosion during the dormant months. By giving your lawnmower a proper cleaning, you’ll not only maintain its appearance but also protect its vital components from potential damage caused by neglect and environmental elements.
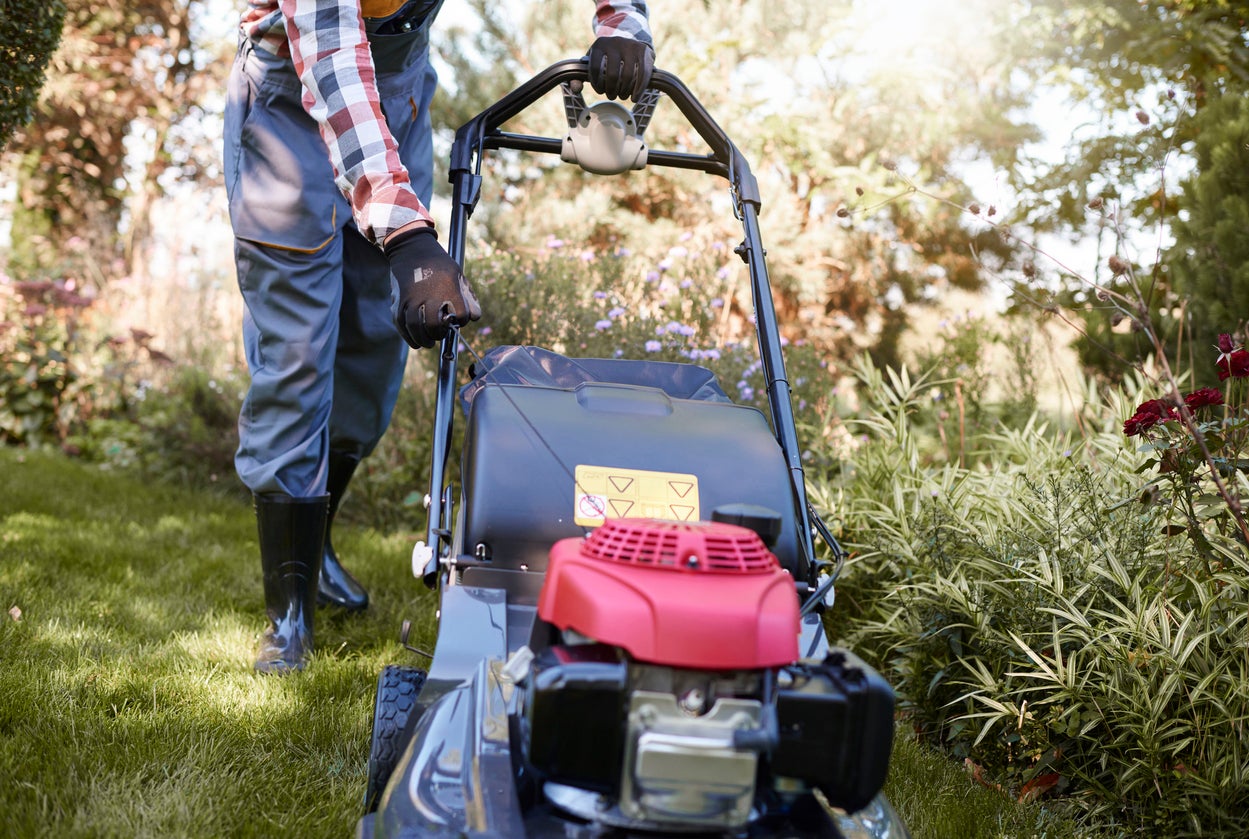
Step 2: Change the Oil
Changing the oil in your lawnmower before winter storage is a critical maintenance task that can significantly impact its performance and longevity. Over time, oil can become contaminated with dirt, debris, and moisture, leading to decreased lubrication and potential engine damage. By changing the oil before putting your lawnmower away for the season, you’ll ensure that it remains in optimal condition during its hibernation.
Start by running the lawnmower for a few minutes to warm up the engine. Warm oil flows more efficiently and carries away more contaminants when drained. Once the engine is warm, disconnect the spark plug wire to prevent accidental starts and lay down a drain pan to collect the old oil.
Locate the oil drain plug, typically situated beneath the mower’s engine. Carefully loosen the plug and allow the old oil to drain completely into the pan. While the oil is draining, inspect the drain plug and washer for any damage or wear. Replace them if necessary to prevent leaks and ensure a tight seal when refilling the oil.
After the old oil has drained, reinstall the drain plug and proceed to refill the engine with fresh, high-quality oil recommended by the manufacturer. Be mindful not to overfill the oil, as this can lead to engine issues. Refer to your lawnmower’s manual for the correct oil type and capacity.
Once the oil has been changed, run the engine for a few minutes to circulate the fresh oil throughout the system. This step helps to ensure proper lubrication of internal components during storage. By changing the oil before winterizing your lawnmower, you’ll safeguard its engine and set the stage for a smooth start-up when the mowing season returns.
Before winterizing your lawnmower, make sure to drain the fuel tank and run the engine until it’s out of gas. This prevents fuel from going bad and clogging the carburetor during the off-season.
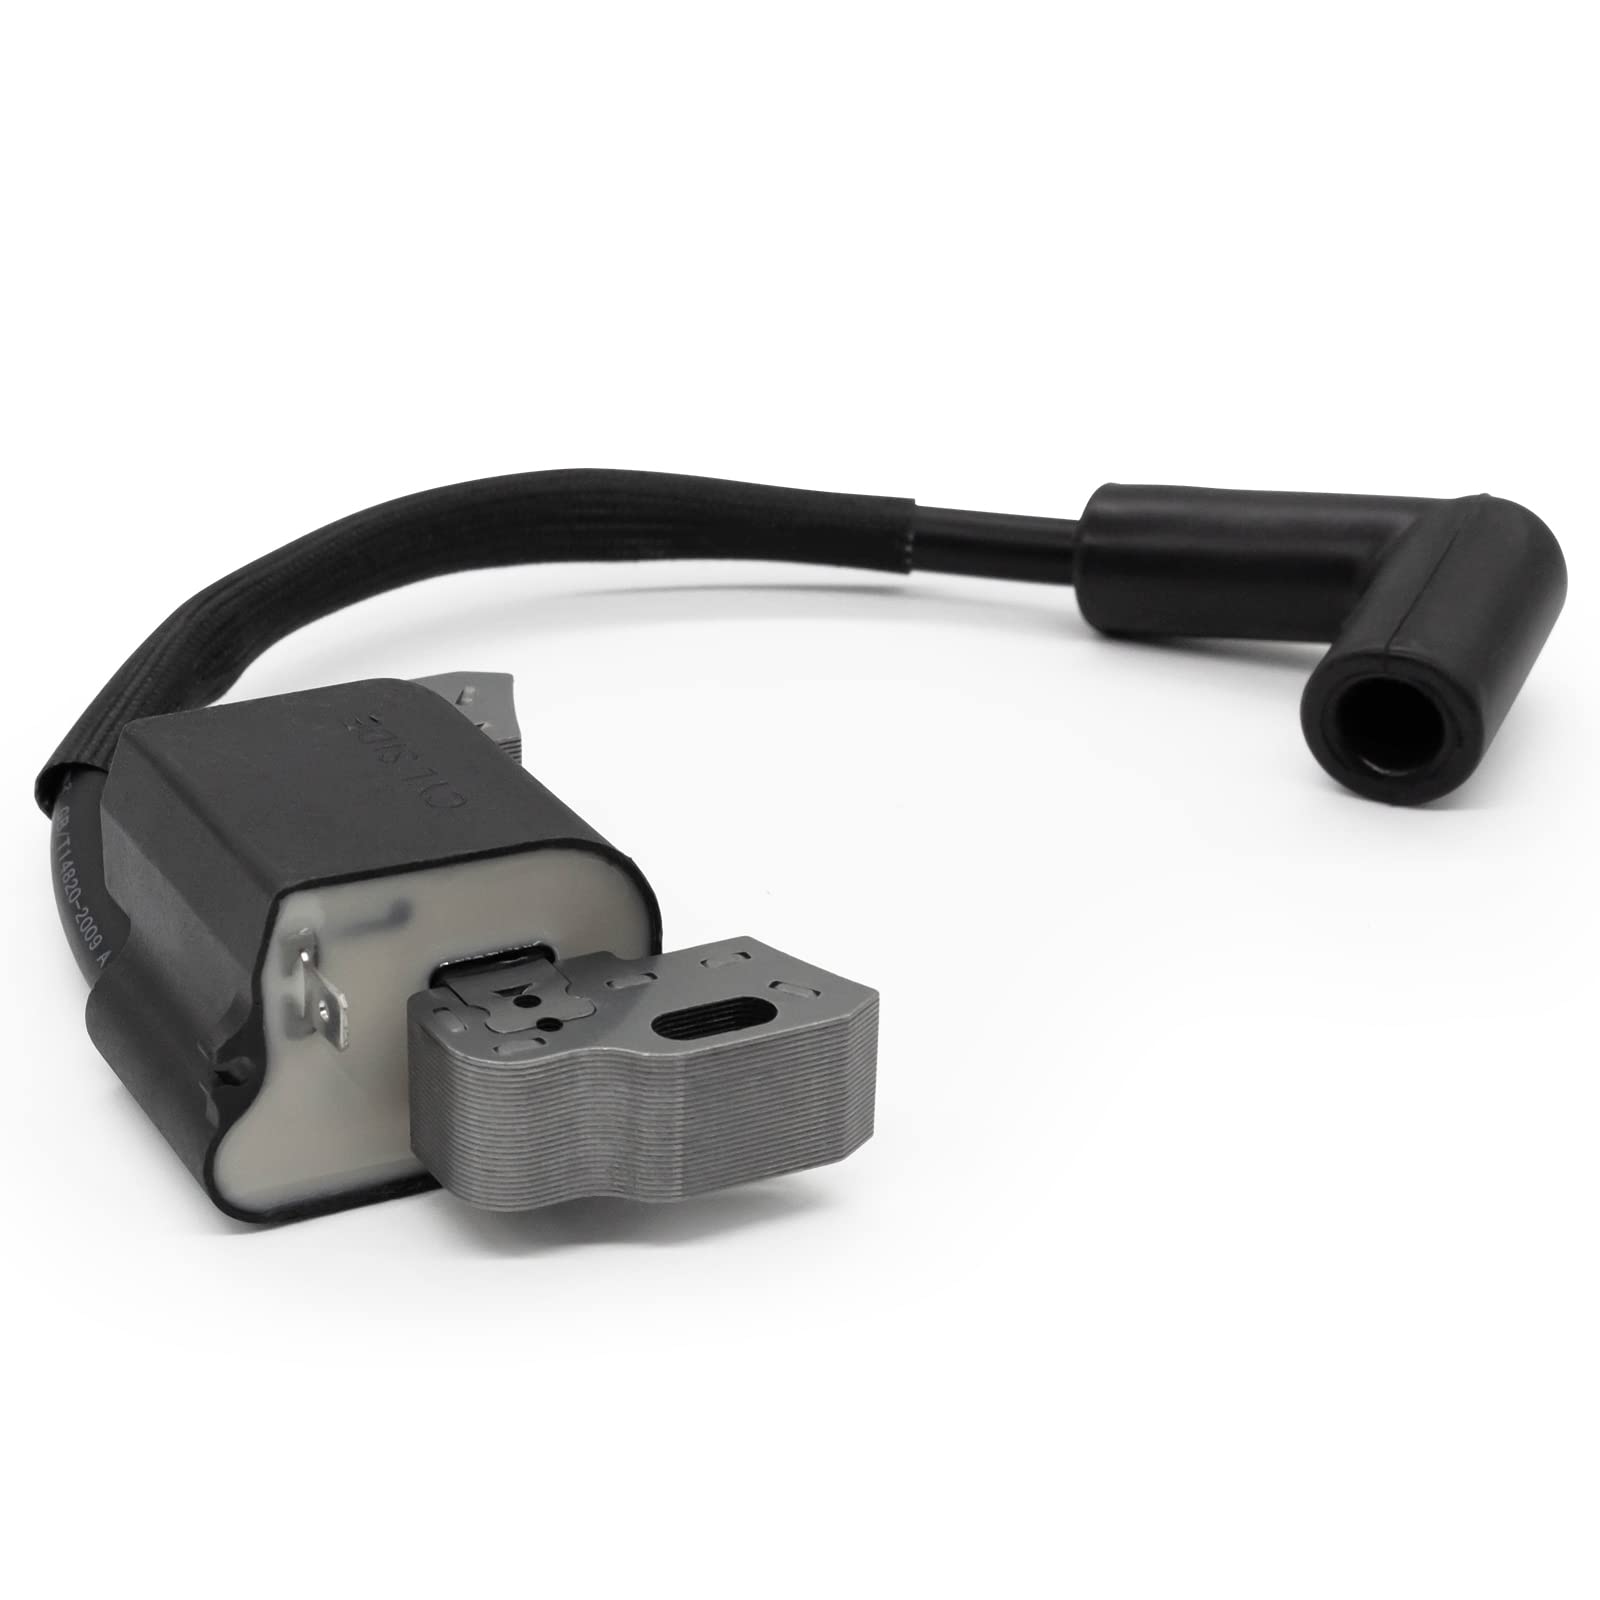
Step 3: Replace the Spark Plug
As part of the winterization process for your lawnmower, replacing the spark plug is a simple yet valuable maintenance task that can contribute to a reliable start-up when spring arrives. Over time, spark plugs can become fouled, corroded, or worn, leading to inefficient combustion and difficulty starting the engine. By installing a new spark plug before storing your lawnmower, you’ll ensure optimal ignition performance and smooth operation when it’s time to mow again.
Begin by locating the spark plug wire and carefully disconnecting it from the spark plug. Using a spark plug wrench, carefully remove the old spark plug from the engine. Take note of the spark plug’s condition, as it can provide insights into the engine’s combustion and overall health. If the spark plug appears excessively worn, fouled, or damaged, replacing it is highly recommended.
Before installing the new spark plug, check the gap to ensure it matches the manufacturer’s specifications. An improperly gapped spark plug can lead to ignition issues and poor engine performance. Adjust the gap as needed using a gapping tool to achieve the correct distance between the electrodes.
Once the gap is set, carefully thread the new spark plug into the engine by hand to avoid cross-threading. Once snug, use the spark plug wrench to tighten it to the manufacturer’s specified torque. Reconnect the spark plug wire, ensuring a secure connection, and you’re all set with a fresh spark plug ready to ignite the engine when the mowing season beckons.
By replacing the spark plug before winterizing your lawnmower, you’ll enhance its starting reliability and overall performance, setting the stage for a seamless transition back to lawn maintenance when warmer days return.
Step 4: Drain the Fuel
Properly draining the fuel from your lawnmower before winter storage is a crucial step in preventing potential engine issues and maintaining its overall performance. Stale fuel can lead to varnish buildup, clogged fuel lines, and carburetor problems, which can hinder the engine’s ability to start and run smoothly. By removing the fuel from your lawnmower, you’ll safeguard its engine and fuel system during the dormant winter months.
Start by running the lawnmower until the fuel tank is nearly empty. This step helps minimize the amount of fuel that needs to be drained and reduces the risk of gasoline sitting in the engine for an extended period. Once the tank is nearly empty, turn off the engine and allow it to cool before proceeding.
Next, locate the fuel line or fuel tank drain and carefully remove it to release any remaining fuel into a suitable container. Be sure to perform this step in a well-ventilated area and away from any open flames or ignition sources. Once the fuel has been drained, securely reattach the fuel line or close the fuel tank drain to prevent leaks and spills.
After draining the fuel, it’s essential to run the engine for a few minutes to ensure that any remaining fuel in the carburetor is used up. This helps prevent varnish buildup and ensures that the fuel system is clear of old gasoline, setting the stage for a smooth start-up when the mowing season returns.
By taking the time to drain the fuel from your lawnmower before winterizing it, you’ll protect the engine and fuel system from the detrimental effects of stale gasoline, ensuring that your trusty mower is ready to tackle the lawn with vigor when the warmer days reappear.
Read more: How To Clean A Lawnmower
Step 5: Store the Lawnmower in a Dry Place
After completing the essential maintenance tasks to winterize your lawnmower, it’s crucial to store it in a dry and secure location to shield it from the harsh winter elements and preserve its condition. Proper storage can significantly impact the longevity and performance of your lawnmower, ensuring that it remains in top shape for the next mowing season.
When selecting a storage location, prioritize a dry area that offers protection from moisture and extreme temperature fluctuations. Ideally, store the lawnmower in a garage, shed, or another enclosed space that shields it from rain, snow, and excessive humidity. If possible, elevate the lawnmower off the ground using a sturdy platform or pallet to prevent moisture from seeping into the machine.
Prior to stowing the lawnmower, consider covering it with a breathable, waterproof tarp or lawnmower cover to provide an additional layer of protection against dust, moisture, and potential pests. Ensure that the cover fits securely and does not trap moisture, as proper ventilation is essential to prevent rust and corrosion.
Before storing the lawnmower, take the time to inspect it one final time for any overlooked maintenance needs or potential issues. Check for loose or damaged components, ensure that the blade is in good condition, and verify that all safety features are functional. Address any issues promptly to avoid surprises when it’s time to use the lawnmower again.
As an extra precaution, consider adding a fuel stabilizer to the remaining fuel in the tank to prevent it from deteriorating and causing starting problems in the future. Follow the manufacturer’s instructions for the proper application of the stabilizer to ensure its effectiveness.
By storing your lawnmower in a dry place and taking proactive measures to shield it from the elements, you’ll safeguard its integrity and performance, setting the stage for a seamless transition back to lawn maintenance when the springtime sun beckons.
Frequently Asked Questions about How To Winterize A Lawnmower
Was this page helpful?
At Storables.com, we guarantee accurate and reliable information. Our content, validated by Expert Board Contributors, is crafted following stringent Editorial Policies. We're committed to providing you with well-researched, expert-backed insights for all your informational needs.


0 thoughts on “How To Winterize A Lawnmower”