Home>Furniture>Kitchen Furniture>Why Won’t My Dryer Start
Kitchen Furniture
Why Won’t My Dryer Start
Modified: August 28, 2024
Discover helpful articles on why your dryer won't start and find solutions. Get expert advice and troubleshooting tips to fix your dryer quickly.
(Many of the links in this article redirect to a specific reviewed product. Your purchase of these products through affiliate links helps to generate commission for Storables.com, at no extra cost. Learn more)
Possible Causes for a Non-Starting Dryer
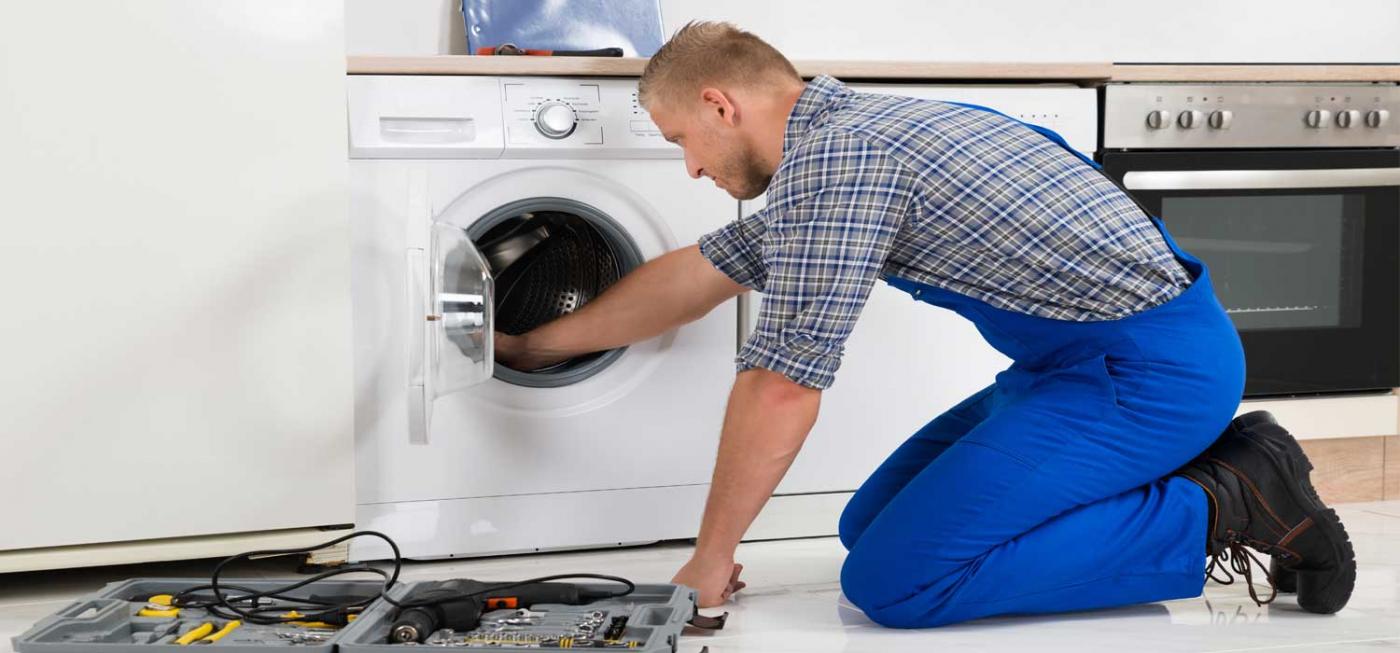
When you’re faced with a non-starting dryer, it can be frustrating and inconvenient. However, before you panic and assume the worst, there are several possible causes that you can investigate and troubleshoot on your own. By understanding these common issues, you can save time and money by attempting to fix the problem yourself before calling a professional technician.
Here are some potential causes for a non-starting dryer:
- Faulty Power Supply: The first thing to check is the power supply to the dryer. Ensure that the power cord is plugged in securely and that there is power running to the outlet. You may also want to check if the circuit breaker has tripped or if a fuse has blown.
- Defective Start Switch: The start switch of the dryer can sometimes become faulty and prevent the dryer from starting. To check if the start switch is the issue, you can use a multimeter to test its continuity. If you find that the switch is not working properly, it will need to be replaced.
- Malfunctioning Thermal Fuse: The thermal fuse is a safety feature in dryers that prevents them from overheating. If this fuse blows, it can cause the dryer to stop working altogether. You can test the thermal fuse using a multimeter. If it is defective, it will need to be replaced to get your dryer running again.
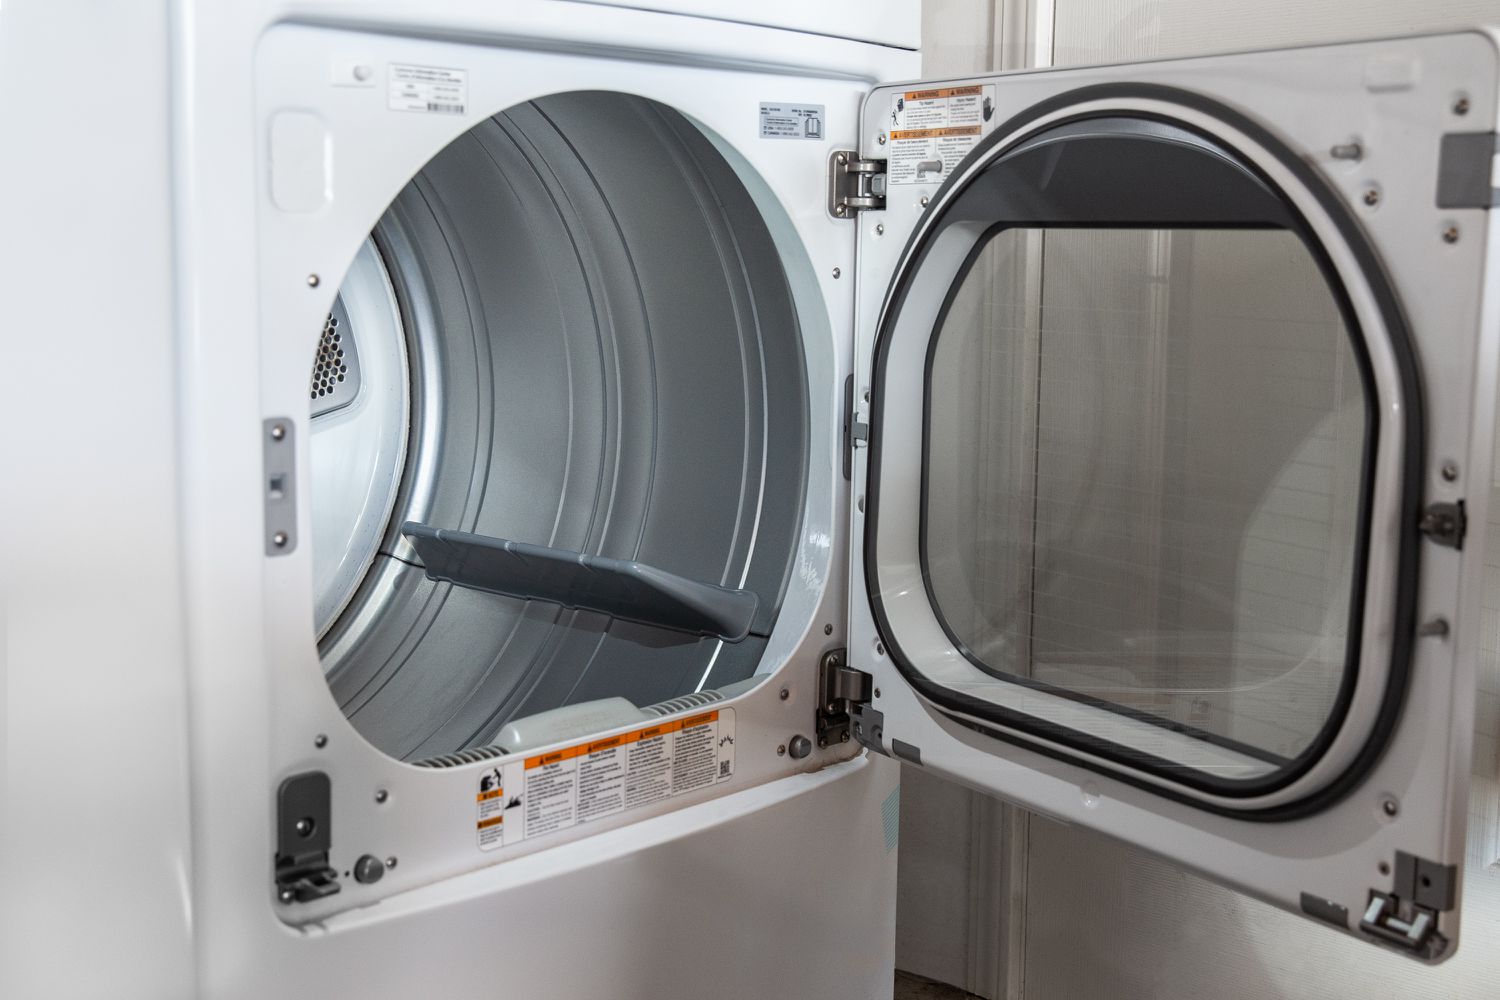
- Faulty Door Switch: The door switch is responsible for detecting whether the dryer door is closed or open. If the door switch is malfunctioning, it can prevent the dryer from starting. You can test the door switch for continuity using a multimeter. If it is defective, you will need to replace it.
- Issue with the High Limit Thermostat: The high limit thermostat is another safety feature in dryers that shuts off the heating element if it gets too hot. If this thermostat is faulty, it can cause the dryer to not start at all. You can test the high limit thermostat using a multimeter. If it is not functioning properly, it will need to be replaced.
- Problem with the Drive Belt: The drive belt is responsible for rotating the drum of the dryer. If the drive belt is broken or worn out, the dryer won’t start. You can visually inspect the drive belt for any signs of damage. If it is damaged, it will need to be replaced.
- Defective Motor: The motor is the heart of the dryer, and if it is not functioning properly, the dryer won’t start. Testing the motor can be more complex and may require professional assistance to determine if it needs repair or replacement.
- Clogged Lint Filter or Ventilation System: A clogged lint filter or ventilation system can cause overheating and prevent the dryer from starting. Ensure that the lint filter is clean and that the ventilation system is clear of any debris or obstructions.
If you have tried all the troubleshooting steps and your dryer still won’t start, it may be time to call a professional technician. They will have the expertise and equipment to diagnose and fix the issue, ensuring that your dryer is up and running again in no time.
Remember, safety should always be a priority when working with appliances, so if you are unsure or uncomfortable with any of the troubleshooting steps, it’s best to seek help from a professional.
Key Takeaways:
- Troubleshoot common dryer issues like faulty power supply, defective start switch, and malfunctioning thermal fuse before calling a professional technician. Save time and money with DIY troubleshooting.
- Regularly clean the lint filter and ventilation system to prevent overheating and ensure optimal dryer performance. Prioritize safety and seek professional assistance if unsure about DIY repairs.
Read more: Why Wont My Washer Turn On
Checking the Power Supply
One of the first things to check when your dryer is not starting is the power supply. Even if everything else seems fine, a faulty power supply can prevent the dryer from turning on. Here are some steps to follow when checking the power supply:
- Check the Power Cord: Ensure that the power cord is securely plugged into the dryer and the power outlet. Sometimes, the cord may become loose or disconnected, which can prevent electricity from reaching the dryer. Wiggle the cord gently to check for a secure connection.
- Inspect the Outlet: Confirm that the power outlet is functioning properly. You can do this by plugging in another device, such as a lamp, to see if it receives power. If the outlet is not working, you may need to reset the circuit breaker or replace a blown fuse.
- Test the Circuit Breaker: Locate the circuit breaker panel and check if the breaker for the dryer has tripped. If it has, switch it off and then back on to reset it. A tripped circuit breaker can be indicative of an electrical overload or a fault in the dryer that caused it to trip. If the breaker continues to trip, it is best to consult a professional.
- Inspect the Power Cord: Examine the power cord for any visible damage, such as frayed or exposed wires. If you notice any issues, it is essential to replace the power cord to prevent potential safety hazards.
If you have completed these steps and the power supply appears to be fine, but your dryer still won’t start, move on to testing other components, such as the start switch or thermal fuse.
Remember to always prioritize safety when working with electrical components. Before touching any wires or conducting tests, ensure that the dryer is unplugged from the power source. Additionally, if you are unfamiliar or uncomfortable with electrical work, it is best to seek the assistance of a professional technician.
Testing the Start Switch
If your dryer is not starting, the start switch could be a potential culprit. The start switch is responsible for initiating the dry cycle when you press the “Start” button. To determine if the start switch is the problem, follow these steps to test it:
- Unplug the Dryer: Before conducting any tests, ensure that the dryer is unplugged from the power source. This is crucial for your safety.
- Access the Start Switch: Depending on the model of your dryer, accessing the start switch may vary. Typically, you will need to remove the control panel or the back panel to gain access to the switch. Consult your dryer’s manual or online resources for specific instructions.
- Locate the Start Switch: Once you have access to the switch, identify the start switch. It will be connected to the control panel and will have wires attached to it.
- Test for Continuity: Using a multimeter set to the continuity or resistance mode, touch the meter’s probes to the terminals of the start switch. If there is continuity or a low resistance reading, it indicates that the start switch is functioning properly.
- No Continuity: If there is no continuity or a high resistance reading, it signifies that the start switch is defective and needs to be replaced. Ensure that the dryer is completely disconnected from power before replacing the start switch.
- Replace the Start Switch: To replace the defective start switch, carefully disconnect the wires from the old switch and connect them to the new switch. Secure the switch back into place and reassemble the control panel or back panel.
Once you have replaced the start switch, plug the dryer back into the power source and test if it starts properly. If the dryer still does not start, move on to checking other possible causes such as the thermal fuse or door switch.
Remember, if you’re unsure or uncomfortable performing any electrical tests or replacing components, it’s always best to seek the help of a professional technician to avoid any safety risks.
Examining the Thermal Fuse
If your dryer is not starting, the thermal fuse could be a potential culprit. The thermal fuse is a safety device that is designed to prevent the dryer from overheating. When the dryer reaches a certain temperature, the thermal fuse will blow, cutting off power to the dryer and preventing further damage.
To determine if the thermal fuse is the problem, follow these steps to examine it:
- Unplug the Dryer: Before examining the thermal fuse or conducting any tests, ensure that the dryer is unplugged from the power source.
- Locate the Thermal Fuse: The thermal fuse is typically located on the blower housing or near the heating element. Refer to your dryer’s manual or online resources for the precise location of the thermal fuse in your specific model.
- Check for Visible Signs of Damage: Visually inspect the thermal fuse for any visible signs of damage such as discoloration, burning, or a broken wire. If there are any obvious signs of damage, the thermal fuse is likely faulty and needs to be replaced.
- Test for Continuity: Using a multimeter set to the continuity or resistance mode, touch the meter’s probes to the terminals on the thermal fuse. If there is continuity or a low resistance reading, it indicates that the thermal fuse is functioning properly.
- No Continuity: If there is no continuity or a high resistance reading, it means that the thermal fuse is blown and needs to be replaced. It is essential to replace the thermal fuse with an identical one that matches the manufacturer’s specifications.
- Replace the Thermal Fuse: To replace the thermal fuse, disconnect the wires from the old fuse and connect them to the new one. Secure the thermal fuse into its designated location, ensuring it is properly fastened. Replace any panels or covers that were removed for access.
Once you have replaced the thermal fuse, plug the dryer back into the power source and test if it starts properly. If the dryer still does not start, move on to checking other possible causes such as the door switch or high limit thermostat.
Remember, if you’re unsure or uncomfortable performing any tests or replacing components, it’s always best to seek the help of a professional technician to avoid any safety risks.
Inspecting the Door Switch
If your dryer is refusing to start, one possible cause could be a faulty door switch. The door switch is a safety feature that ensures the dryer only operates when the door is securely closed. If the door switch is defective or not functioning properly, the dryer will not start. To inspect the door switch, follow these steps:
- Unplug the Dryer: Before inspecting the door switch, be sure to unplug the dryer from the power source to ensure your safety.
- Locate the Door Switch: The door switch is typically located around the door frame or latch area. Refer to your dryer’s manual or online resources for the specific location of the door switch in your dryer model.
- Test for Continuity: Using a multimeter set to the continuity mode, touch the meter’s probes to the terminals on the door switch. When the door is closed, the switch should have continuity (a complete circuit). If there is no continuity, it means that the door switch is faulty and needs to be replaced.
- Check the Door Latch: Inspect the door latch to ensure it is engaging properly with the door switch. If the latch is broken, damaged, or not making proper contact, it can prevent the door switch from activating. Clean or realign the door latch as needed.
- Replacement of the Door Switch: If you have determined that the door switch is faulty, it will need to be replaced. Disconnect the wires connected to the old switch and connect them to the new one. Secure the new door switch in place, ensuring it is properly aligned with the door latch.
After replacing the door switch, plug the dryer back into the power source and test if it starts properly. If the dryer still does not start, continue troubleshooting by examining other potential causes, such as the thermal fuse or high limit thermostat.
Remember, if you are unsure or uncomfortable with any of the steps or need assistance, it is recommended to seek the help of a professional technician to avoid any safety hazards.
Check if the dryer is plugged in and the circuit breaker hasn’t tripped. Also, make sure the door is fully closed and the lint filter is clean. If the issue persists, it may be a faulty thermal fuse or door switch.
Read more: Why Wont My Fan Turn On
Troubleshooting the High Limit Thermostat
If your dryer is not starting, the high limit thermostat could be a potential culprit. The high limit thermostat is a safety feature that shuts off the heating element if the dryer becomes too hot. When this thermostat malfunctions, it can prevent the dryer from starting altogether. To troubleshoot the high limit thermostat, follow these steps:
- Unplug the Dryer: Before troubleshooting any components, ensure that the dryer is unplugged from the power source for safety purposes.
- Locate the High Limit Thermostat: The high limit thermostat is typically located on the dryer’s heating element housing or near the exhaust vent. Consult your dryer’s manual or online resources for the specific location of the high limit thermostat in your dryer model.
- Check for Continuity: Using a multimeter set to the continuity or resistance mode, touch the meter’s probes to the terminals on the high limit thermostat. If there is continuity or a low resistance reading, it indicates that the high limit thermostat is functioning properly.
- No Continuity: If there is no continuity or a high resistance reading, it means that the high limit thermostat has tripped or is faulty. In this case, you will need to replace the high limit thermostat to get your dryer running again.
- Inspect for Blockages or Overheating: While troubleshooting the high limit thermostat, take the opportunity to inspect the dryer for any blockages in the ventilation system or signs of overheating. Clear any lint build-up or obstructions from the exhaust vent, ducts, and lint filter to ensure proper airflow.
- Replace the High Limit Thermostat: When replacing the high limit thermostat, disconnect the wires from the old thermostat and connect them to the new one. Secure the new high limit thermostat in its designated location, ensuring it is properly fastened and aligned. Reassemble any panels or covers that were removed for access.
Once you have replaced the high limit thermostat, plug the dryer back into the power source and test if it starts properly. If the dryer still does not start, move on to checking other potential causes, such as the start switch or drive belt.
Remember, if you are unsure or uncomfortable performing these troubleshooting steps, or if the issue persists, it is best to seek the assistance of a professional technician to avoid any safety risks and ensure an accurate diagnosis and repair.
Investigating the Drive Belt
If your dryer is not starting, one possible cause could be a broken or worn-out drive belt. The drive belt is responsible for rotating the drum of the dryer. Over time, the belt can become loose, frayed, or broken, preventing the drum from spinning and the dryer from starting. To investigate the drive belt, follow these steps:
- Unplug the Dryer: Before inspecting the drive belt or conducting any tests, ensure that the dryer is unplugged from the power source.
- Locate the Drive Belt: The drive belt is typically located around the drum of the dryer. To access it, you may need to remove the dryer’s front or back panel. Consult your dryer’s manual or online resources for the specific location of the drive belt in your dryer model.
- Visually Inspect the Drive Belt: Carefully examine the drive belt for any visible signs of damage such as fraying, cracking, or stretching. If the belt appears to be worn out or broken, it will need to be replaced.
- Test the Tension of the Drive Belt: Gently pull on the drive belt with your fingers. It should have a certain amount of tension. If the belt feels loose or easily comes off the pulley, it may need to be replaced.
- Replace the Drive Belt: If you have determined that the drive belt is defective, it will need to be replaced. Follow the instructions in your dryer’s manual or online resources to remove the old belt and install the new one. Ensure that the new belt is the correct size and properly aligned with the pulley system.
After replacing the drive belt, plug the dryer back into the power source and test if it starts properly. If the dryer still does not start, continue troubleshooting by examining other potential causes, such as the motor or power supply.
Remember, if you are unsure or uncomfortable performing any of the steps or need assistance, it is recommended to seek the help of a professional technician to avoid any safety hazards and ensure a proper repair.
Assessing the Motor
If your dryer is not starting, there is a possibility that the motor may be the issue. The motor is the heart of the dryer, responsible for turning the drum and operating various components. To assess the motor, follow these steps:
- Unplug the Dryer: Before assessing the motor, ensure that the dryer is unplugged from the power source to prevent any accidents.
- Locate the Motor: The motor is typically located behind the dryer drum or at the bottom of the appliance. Refer to your dryer’s manual or online resources for the specific location of the motor in your dryer model.
- Inspect for Visible Signs of Damage: Visually examine the motor for any signs of damage, such as burning, frayed wires, or loose connections. If you notice any obvious issues, the motor may be faulty and require replacement.
- Check for Proper Power Supply: Use a multimeter to test if the motor is receiving power. Set the multimeter to the appropriate voltage range and carefully check for voltage at the motor’s terminals. If there is no power reaching the motor, it could indicate a problem with the power supply or electrical connections. In such cases, consulting a professional electrician may be necessary.
- Listen for Unusual Sounds or Smells: When attempting to start the dryer, listen for any unusual sounds or grinding noises coming from the motor. Also, check for any strange odors, such as burning or overheated motor smells. These could be signs of a malfunctioning motor that needs to be repaired or replaced.
- Professional Assessment: If you have performed the above assessments and suspect that the motor is the issue, it is recommended to seek the help of a professional technician. They will have the expertise and tools to perform a thorough diagnostic and determine if the motor needs repair or replacement.
Remember, when dealing with electrical components, it is important to prioritize safety. If you are uncomfortable or uncertain about any of the assessments or electrical work, it is best to seek assistance from a qualified professional to avoid any hazards.
Cleaning the Lint Filter and Ventilation System
One common cause of a non-starting dryer can be a clogged or dirty lint filter and ventilation system. Over time, lint and debris can accumulate in the filter and the dryer’s ventilation system, leading to restricted airflow and possible overheating. To clean the lint filter and ventilation system, follow these steps:
- Unplug the Dryer: Before cleaning, ensure that the dryer is unplugged from the power source for safety purposes.
- Remove the Lint Filter: Locate the lint filter, usually located at the front of the dryer, and remove it from its designated slot. If there is visible lint or debris, use your fingers or a soft-bristle brush to remove as much of it as possible.
- Clean the Lint Filter: Wash the lint filter with warm, soapy water to remove any built-up residue or oils. Rinse it thoroughly and allow it to dry completely before placing it back into the dryer.
- Ventilation System Inspection: Check the dryer’s ventilation system, both inside and outside the house. Look for any visible obstructions such as lint, debris, or bird nests in the vent hood or exhaust vent. Remove any blockages to ensure proper airflow.
- Vacuum Inside the Dryer: Use a vacuum cleaner with a narrow attachment to vacuum any remaining lint or debris from the dryer’s lint trap area and the surrounding area inside the dryer. Be cautious not to damage any sensitive components.
- Clean the Vent Hose: Disconnect the flexible vent hose connecting the back of the dryer to the wall or vent system. Inspect the hose for any clogs or excessive lint buildup. Clean it out thoroughly, either by using a vacuum or gently shaking it outside to remove any debris.
- Reconnect the Vent Hose: Ensure that the vent hose is reconnected securely to the dryer and the wall or vent system. Make sure it is properly aligned to allow for smooth airflow.
- Regular Maintenance: To prevent future issues, make it a habit to clean the lint filter after each use and perform a thorough lint removal every few months. This will help maintain optimal airflow and reduce the risk of vent blockages.
After cleaning the lint filter and ventilation system, plug the dryer back into the power source and test if it starts properly. If the dryer still does not start, continue troubleshooting by examining other potential causes, such as the power supply or specific components like the motor or thermal fuse.
Remember, regular maintenance and cleaning are essential for keeping your dryer operating efficiently and safely. If you are uncertain about any of the cleaning steps or if the issue persists, it is recommended to seek the assistance of a professional technician.
Read more: Why Wont My Toilet Unclog
Calling a Professional Technician
If you have attempted to troubleshoot your non-starting dryer without success, it may be time to call a professional technician. While DIY troubleshooting can be helpful in many cases, there are instances where the expertise of a professional is necessary. Here are some reasons why calling a professional technician is a wise choice:
- Advanced Diagnosis: Professional technicians have the knowledge and experience to accurately diagnose the issue with your dryer. They will use specialized tools and equipment to identify the root cause of the problem and provide a precise solution.
- Specialized Knowledge: Dryers can have complex electrical and mechanical systems. Professional technicians are familiar with various dryer models and understand the intricacies of these systems. Their expertise ensures that the right steps are taken to repair your specific dryer model.
- Safety Considerations: Dealing with electrical components and systems can be dangerous, especially if you lack the proper training and equipment. Professional technicians are trained to handle potentially hazardous situations and prioritize safety throughout the repair process.
- Efficiency and Time-Saving: Professional technicians have the necessary tools and replacement parts readily available. They can quickly identify the problem and efficiently carry out the repairs, saving you time and hassle.
- Warranty Protection: If your dryer is still under warranty, attempting DIY repairs may void the warranty. Professional technicians can perform repairs while ensuring that your warranty remains intact.
- Prevent Further Damage: Incorrectly diagnosing or attempting repairs without the proper knowledge can lead to further damage to your dryer. By calling a professional technician, you can avoid potential costly mistakes and ensure that the repairs are done correctly.
When contacting a professional technician, be sure to provide them with detailed information about your dryer’s make, model, and the issues you’ve encountered. This will help them prepare any necessary tools or replacement parts before arriving at your home.
Remember, safety should always be a priority. If you are unsure or uncomfortable performing any DIY repairs, it is best to call a professional technician and let them handle the job. This will ensure that your dryer is repaired effectively and gets back to optimal working condition.
Frequently Asked Questions about Why Won't My Dryer Start
Was this page helpful?
At Storables.com, we guarantee accurate and reliable information. Our content, validated by Expert Board Contributors, is crafted following stringent Editorial Policies. We're committed to providing you with well-researched, expert-backed insights for all your informational needs.
0 thoughts on “Why Won’t My Dryer Start”