Home>Gardening & Outdoor>Landscaping Ideas>How To Move Grass
Landscaping Ideas
How To Move Grass
Modified: August 18, 2024
Discover expert landscaping ideas for how to move grass and transform your outdoor space. Learn practical tips and techniques for creating a lush and vibrant lawn. Explore our comprehensive guide now!
(Many of the links in this article redirect to a specific reviewed product. Your purchase of these products through affiliate links helps to generate commission for Storables.com, at no extra cost. Learn more)
Introduction
Landscaping is an art form that allows you to transform your outdoor space into a beautiful and functional extension of your home. One of the key elements of a well-maintained landscape is a lush, healthy lawn. A well-manicured lawn not only enhances the aesthetic appeal of your property but also provides a space for relaxation, recreation, and social gatherings.
Moving grass is an essential task in maintaining a healthy and attractive lawn. Whether you are a seasoned gardener or a novice homeowner, knowing how to move grass correctly can make a significant difference in the overall appearance of your outdoor space. In this comprehensive guide, we will walk you through the step-by-step process of moving grass, from preparing the lawn to cleaning up after the job is done.
By following these guidelines, you can ensure that your lawn remains vibrant, vibrant, and well-groomed throughout the year. So, grab your gardening gloves and let's dive into the art of moving grass to elevate the beauty of your outdoor sanctuary.
Key Takeaways:
- Prepare your lawn by removing debris, checking grass moisture, and adjusting mower height. Choosing the right equipment and cutting the grass with care ensures a well-groomed and healthy lawn.
- After mowing, trim the edges for a polished look and clean up by disposing of clippings, clearing debris, and maintaining equipment. These steps maintain a pristine outdoor space for relaxation and enjoyment.
Read more: How To Move Landscaping Rocks
Step 1: Preparing the Lawn
Before you begin the process of moving grass, it’s crucial to prepare your lawn to achieve the best results. Start by removing any debris, such as fallen branches, rocks, or children’s toys, from the grassy area. This will prevent potential damage to your lawn mower and ensure a smooth mowing experience.
Next, take a walk around the perimeter of your lawn and inspect for any obstacles or hazards that may impede the mowing process. Clearing the area of items such as garden hoses, sprinklers, or decorative lawn ornaments will help you maneuver the mower with ease and avoid accidental damage to these items.
Additionally, it’s essential to assess the moisture level of the grass before mowing. Mowing wet grass can lead to an uneven cut and may even compact the soil, which can hinder the healthy growth of your lawn. Therefore, it’s advisable to mow when the grass is dry to ensure a clean and precise cut.
Furthermore, if your lawn is overgrown, consider mowing it at a higher setting initially to avoid shocking the grass. Gradually lowering the cutting height with subsequent mowings will help the grass acclimate to the desired length and promote healthier growth.
By taking the time to prepare your lawn before mowing, you can set the stage for a successful grass-moving experience and contribute to the overall health and beauty of your outdoor space.
Step 2: Choosing the Right Equipment
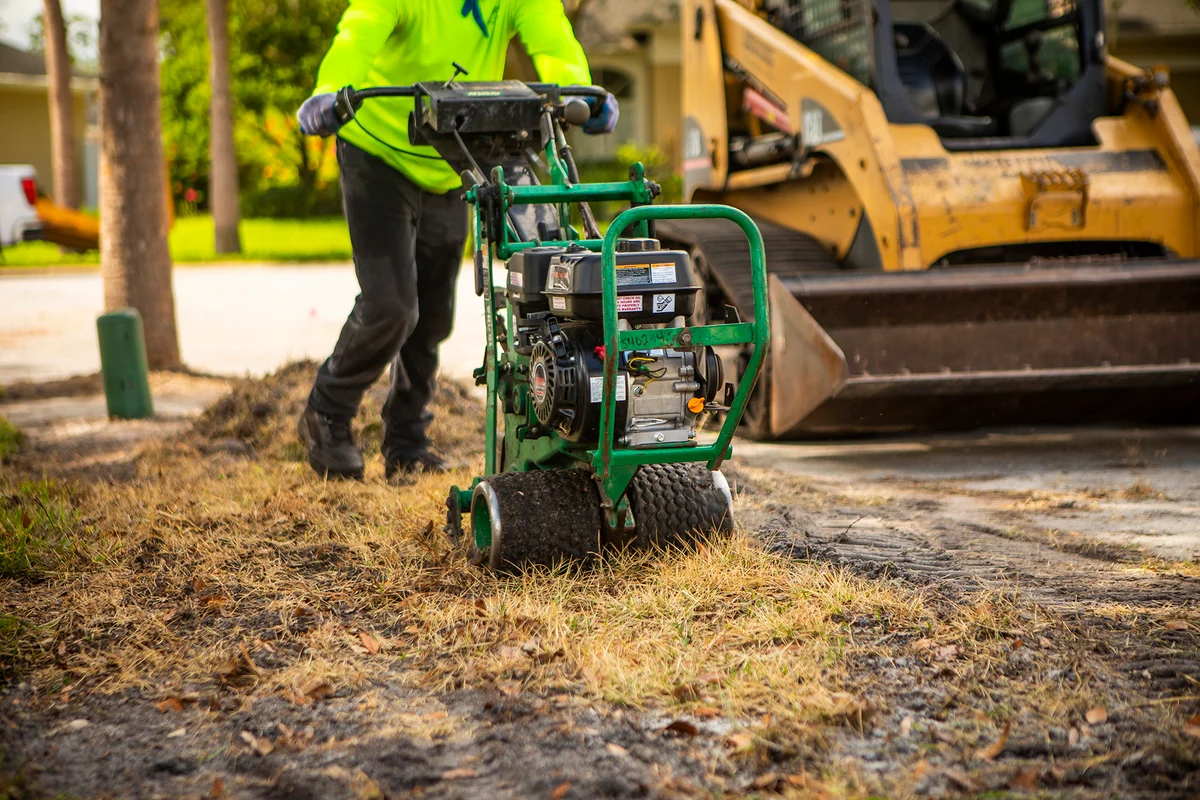
When it comes to moving grass, selecting the appropriate equipment is paramount to achieving a well-groomed and healthy lawn. The primary tool for this task is the lawn mower. There are various types of lawn mowers available, each designed for specific lawn sizes and terrain types.
For small to medium-sized lawns, a traditional push mower may suffice. These manual mowers are eco-friendly, quiet, and ideal for maintaining a modest grassy area. However, for larger lawns, a gas or electric-powered mower with self-propelling capabilities may be more efficient and less labor-intensive.
Consider the terrain of your lawn when choosing a mower. If your yard has slopes or uneven surfaces, a self-propelled mower with adjustable cutting heights and front-wheel or all-wheel drive can provide better maneuverability and a more even cut. Alternatively, for flat terrains, a standard push mower may be suitable.
Another factor to consider is the cutting width of the mower. A wider cutting deck can cover more ground with each pass, reducing the overall mowing time for larger lawns. However, for intricate or narrow areas, a mower with a narrower cutting width may be more practical.
Furthermore, investing in a quality pair of gardening gloves and safety goggles is essential to protect your hands and eyes during the mowing process. Gloves provide a better grip on the mower’s handle and shield your hands from potential injuries, while safety goggles safeguard your eyes from flying debris.
By carefully selecting the right equipment for your lawn’s specific needs, you can ensure a more efficient and effective grass-moving experience while promoting the health and beauty of your outdoor oasis.
Step 3: Cutting the Grass
Now that the lawn is prepared and the equipment is ready, it’s time to dive into the heart of the grass-moving process: cutting the grass. Before you begin, it’s important to adjust the cutting height of the mower to the appropriate level for your grass type and the current season. For warm-season grasses, such as Bermuda or Zoysia, a lower cutting height is suitable, while cool-season grasses like Kentucky bluegrass or fescue thrive with a slightly higher cut.
When starting the mower, ensure that the engine is in good working condition and that the blades are sharp. Dull blades can tear the grass, leading to a ragged and uneven cut, as well as potentially causing damage to the grass plants. If the blades are dull, consider sharpening or replacing them before mowing.
As you begin mowing, follow a pattern that allows for even coverage of the lawn. For larger lawns, consider mowing in overlapping rows to ensure that no areas are missed. Additionally, alternating the mowing direction with each session can help prevent the grass from developing a grain pattern and encourage upright growth.
It’s important to maintain a steady pace while mowing, allowing the mower to do the work without rushing. Moving too quickly can result in an uneven cut and may strain the mower’s engine. Similarly, avoid making abrupt turns, as this can cause scalping or uneven mowing patterns.
For safety reasons, never remove the grass catcher or attempt to unclog the discharge chute while the mower is running. Always turn off the mower and wait for the blades to come to a complete stop before performing any maintenance or adjustments.
By following these guidelines and taking a meticulous approach to cutting the grass, you can achieve a well-manicured lawn that enhances the visual appeal of your outdoor space while promoting the overall health of the grass plants.
When moving grass, use a sharp mower blade to prevent tearing the grass. Mow when the grass is dry to avoid clumping. Change mowing patterns to prevent soil compaction.
Step 4: Trimming the Edges
Once the main mowing process is complete, it’s time to focus on the finer details of lawn maintenance, starting with trimming the edges. Trimming the edges of the lawn gives it a polished and well-defined appearance, enhancing the overall aesthetic appeal of your outdoor space.
To trim the edges, you can use a string trimmer, also known as a weed eater or weed whacker. This versatile tool allows you to reach areas that the mower cannot access, such as along fences, around trees, and near flower beds. Additionally, a string trimmer is effective in creating crisp lines along sidewalks, driveways, and garden borders.
Before using the string trimmer, ensure that the trimmer line is of the appropriate thickness for your lawn’s grass type and that the cutting head is in good condition. It’s also advisable to wear protective eyewear and sturdy footwear while operating the trimmer to safeguard against debris and potential hazards.
To achieve clean and precise edges, hold the string trimmer at a slight angle and guide it along the perimeters of the lawn. Take care to trim the grass to a uniform height, creating a neat and professional finish. When trimming around trees and delicate plants, exercise caution to avoid damaging the vegetation.
For a more formal and refined appearance, consider using a manual or powered lawn edger to create distinct boundaries between the lawn and adjacent surfaces. An edger produces clean lines and defined edges, adding a touch of sophistication to your landscape.
By meticulously trimming the edges of your lawn, you can elevate the overall appearance of your outdoor space and showcase the beauty of a well-maintained landscape.
Read more: How To Move A Wardrobe
Step 5: Cleaning Up
After the mowing and trimming are complete, it’s essential to address the final step of the grass-moving process: cleaning up. This phase ensures that your outdoor space remains tidy and free of debris, contributing to the overall allure of your landscape.
Begin by collecting and disposing of the grass clippings that have accumulated during the mowing process. Depending on your preference, you can either leave the clippings on the lawn to decompose and nourish the soil or gather them for composting or disposal. Removing excess clippings helps prevent thatch buildup and promotes better air circulation to the grass roots.
Inspect the lawn for any stray twigs, leaves, or other debris that may have been overlooked during the mowing and trimming stages. Clearing these items from the grass not only enhances the visual appeal of the lawn but also reduces the risk of potential hazards and obstructions.
Additionally, take a moment to inspect and clean the mower and string trimmer. Remove any grass clippings, dirt, or debris from the equipment, and check for any signs of wear or damage. Proper maintenance and cleaning of the tools after each use can prolong their lifespan and ensure optimal performance for future lawn care tasks.
Finally, consider giving your outdoor space a refreshing touch by sweeping or blowing away grass clippings from walkways, patios, and other hardscaped areas. This simple yet effective step adds a finishing touch to the grass-moving process and maintains a clean and inviting outdoor environment.
By diligently cleaning up after the grass-moving endeavor, you can uphold the pristine appearance of your landscape and create a welcoming atmosphere for outdoor activities and relaxation.
Conclusion
Mastering the art of moving grass is a fundamental aspect of maintaining a vibrant and well-groomed lawn. By following the step-by-step process outlined in this guide, you can elevate the beauty of your outdoor space while nurturing the health of your grass plants. From preparing the lawn to cleaning up after the task is complete, each stage plays a crucial role in achieving a lush and inviting landscape.
Remember, the key to a successful grass-moving experience lies in meticulous preparation, thoughtful equipment selection, and a careful approach to mowing and trimming. By ensuring that your lawn is free of debris, choosing the right mower and tools, and adopting best practices for cutting and trimming, you can create a visually stunning and healthy lawn that enhances the overall appeal of your property.
Furthermore, regular maintenance and attention to detail are essential for preserving the beauty of your lawn throughout the year. By incorporating the techniques and tips provided in this guide into your lawn care routine, you can enjoy a lush, well-manicured lawn that serves as a picturesque backdrop for outdoor leisure and social gatherings.
So, as you embark on your next grass-moving endeavor, embrace the artistry of landscaping and take pride in nurturing your outdoor sanctuary. With dedication and a touch of creativity, you can transform your lawn into a flourishing masterpiece that brings joy and tranquility to your everyday life.
Frequently Asked Questions about How To Move Grass
Was this page helpful?
At Storables.com, we guarantee accurate and reliable information. Our content, validated by Expert Board Contributors, is crafted following stringent Editorial Policies. We're committed to providing you with well-researched, expert-backed insights for all your informational needs.


0 thoughts on “How To Move Grass”