Home>Gardening & Outdoor>Landscaping Ideas>How To Dry Grass
Landscaping Ideas
How To Dry Grass
Modified: February 16, 2024
Learn how to dry grass for your landscaping ideas. Discover effective methods for drying and preserving grass for your outdoor projects.
(Many of the links in this article redirect to a specific reviewed product. Your purchase of these products through affiliate links helps to generate commission for Storables.com, at no extra cost. Learn more)
Introduction
Welcome to the wonderful world of drying grass! Whether you're a seasoned gardener, a landscaping enthusiast, or someone who simply appreciates the beauty of nature, knowing how to dry grass can open up a world of creative possibilities. Dried grasses can be used for various crafts, home decor, and even floral arrangements, adding a touch of rustic charm to any space. In this comprehensive guide, we'll explore the art of drying grass, from choosing the right time to cut to storing the dried grass for future use.
Drying grass is an excellent way to preserve the natural beauty of your garden or landscape. It allows you to capture the essence of the outdoors and bring it into your home, creating a warm and inviting atmosphere. Whether you're looking to create stunning dried floral arrangements, unique wall art, or eye-catching centerpieces, understanding the process of drying grass is the first step towards unleashing your creativity.
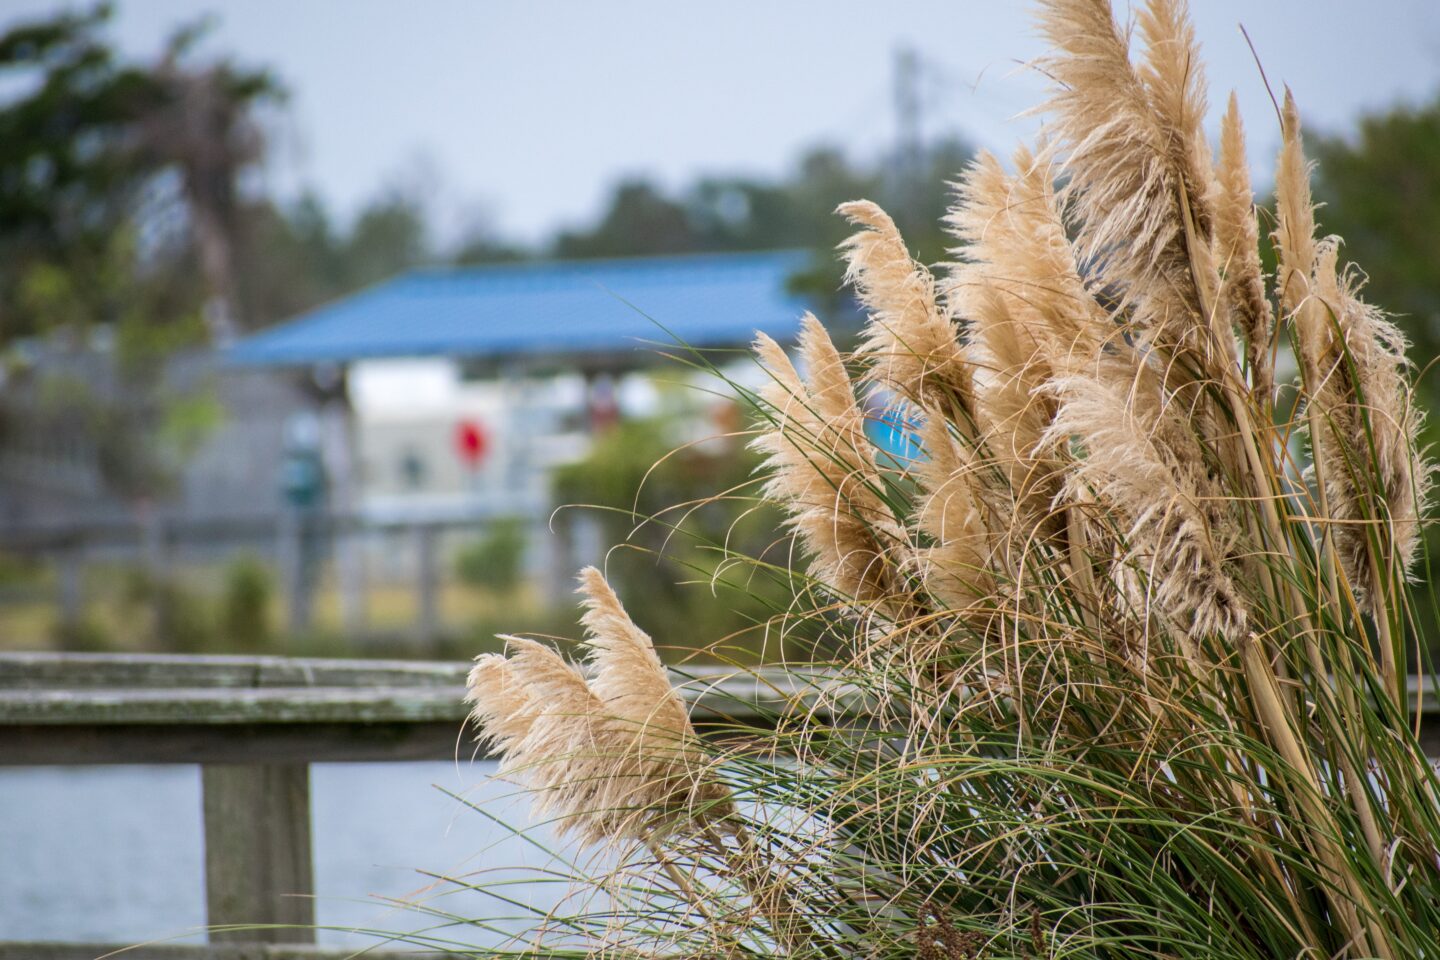
Throughout this guide, we'll delve into the best practices for preparing and drying different types of grasses, whether you're working with ornamental grasses, wheatgrass, or other varieties. Additionally, we'll explore the various methods for drying grass, including air drying and using a dehydrator, to help you find the approach that best suits your needs and resources.
So, if you're ready to embark on a journey of creativity and exploration, let's dive into the art of drying grass and discover the endless possibilities it offers for enhancing your living space and unleashing your imagination.
Key Takeaways:
- Embrace the natural beauty of drying grass to create rustic decor and floral arrangements. Choose the right time to cut, prepare, and store dried grass for stunning, timeless results.
- Whether air drying or using a dehydrator, drying grass offers endless creative possibilities. Preserve nature’s elegance and enhance your living space with the charm of dried grasses.
Read more: How To Revive Dried Grass
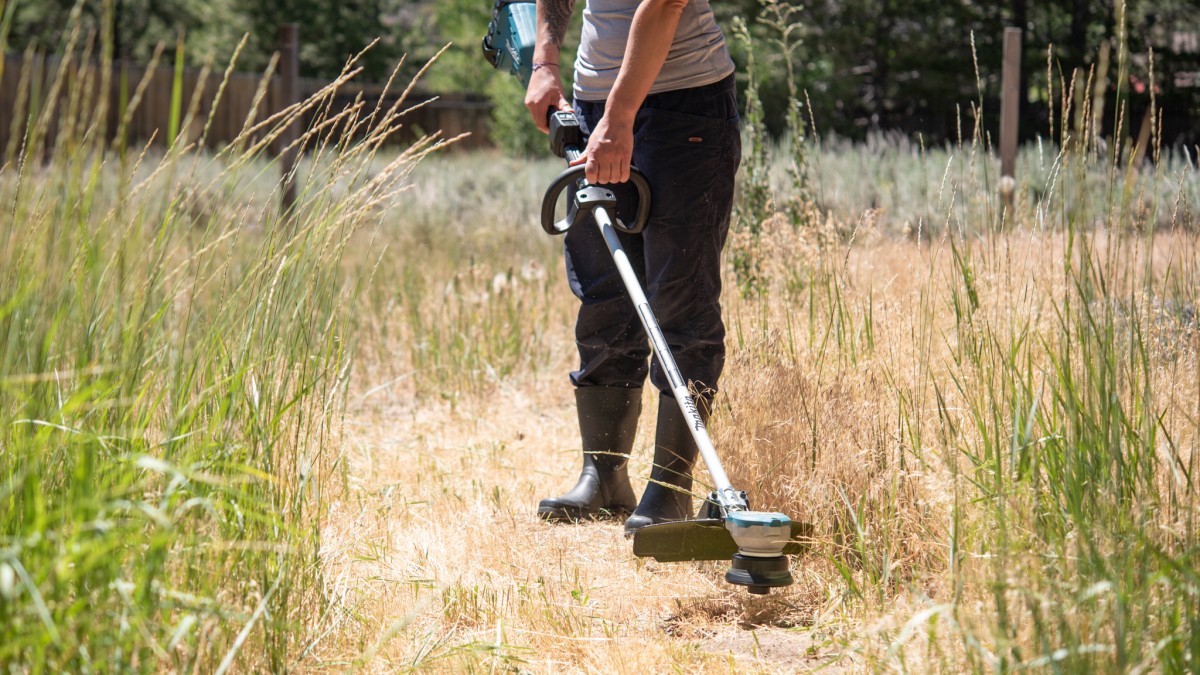
Choosing the Right Time to Cut
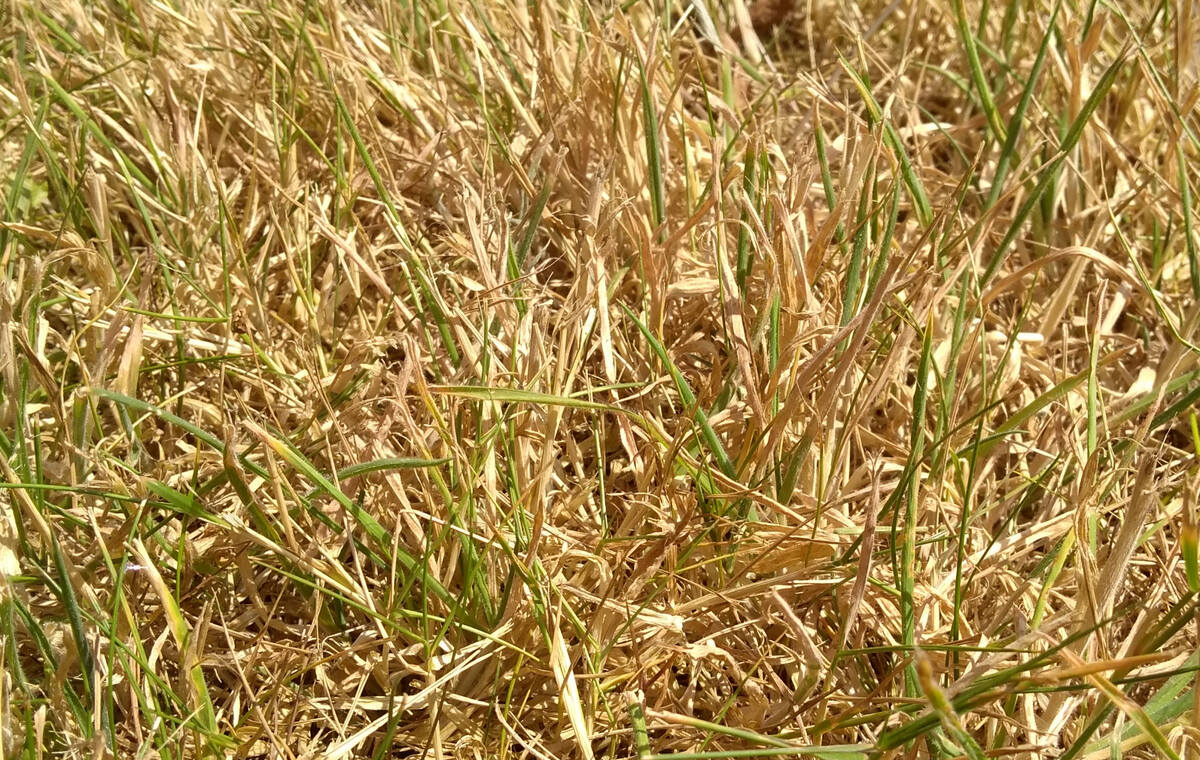
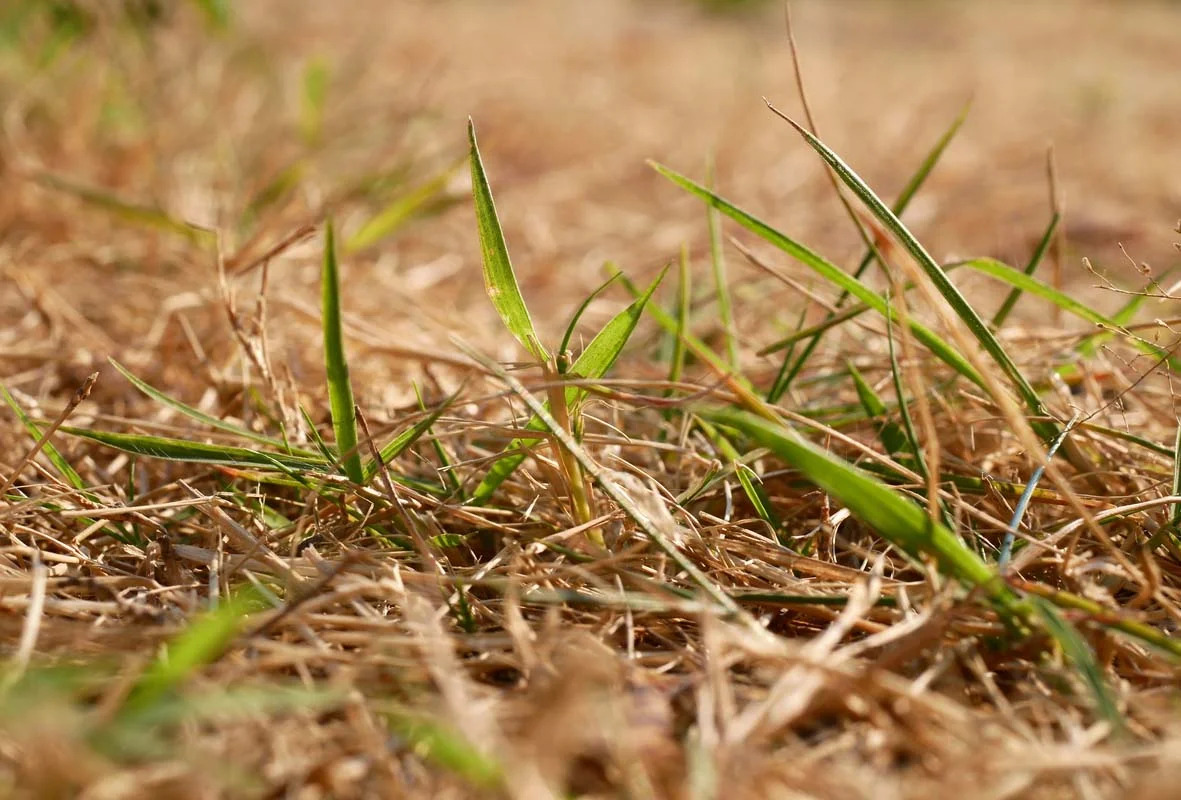
Timing is crucial when it comes to cutting grass for drying. The ideal time to harvest grass for drying is during its peak growth period, typically in late summer or early fall. At this stage, the grass is lush, vibrant, and at its highest nutritional value, making it perfect for drying and preserving. However, the specific timing may vary depending on the type of grass you are working with.
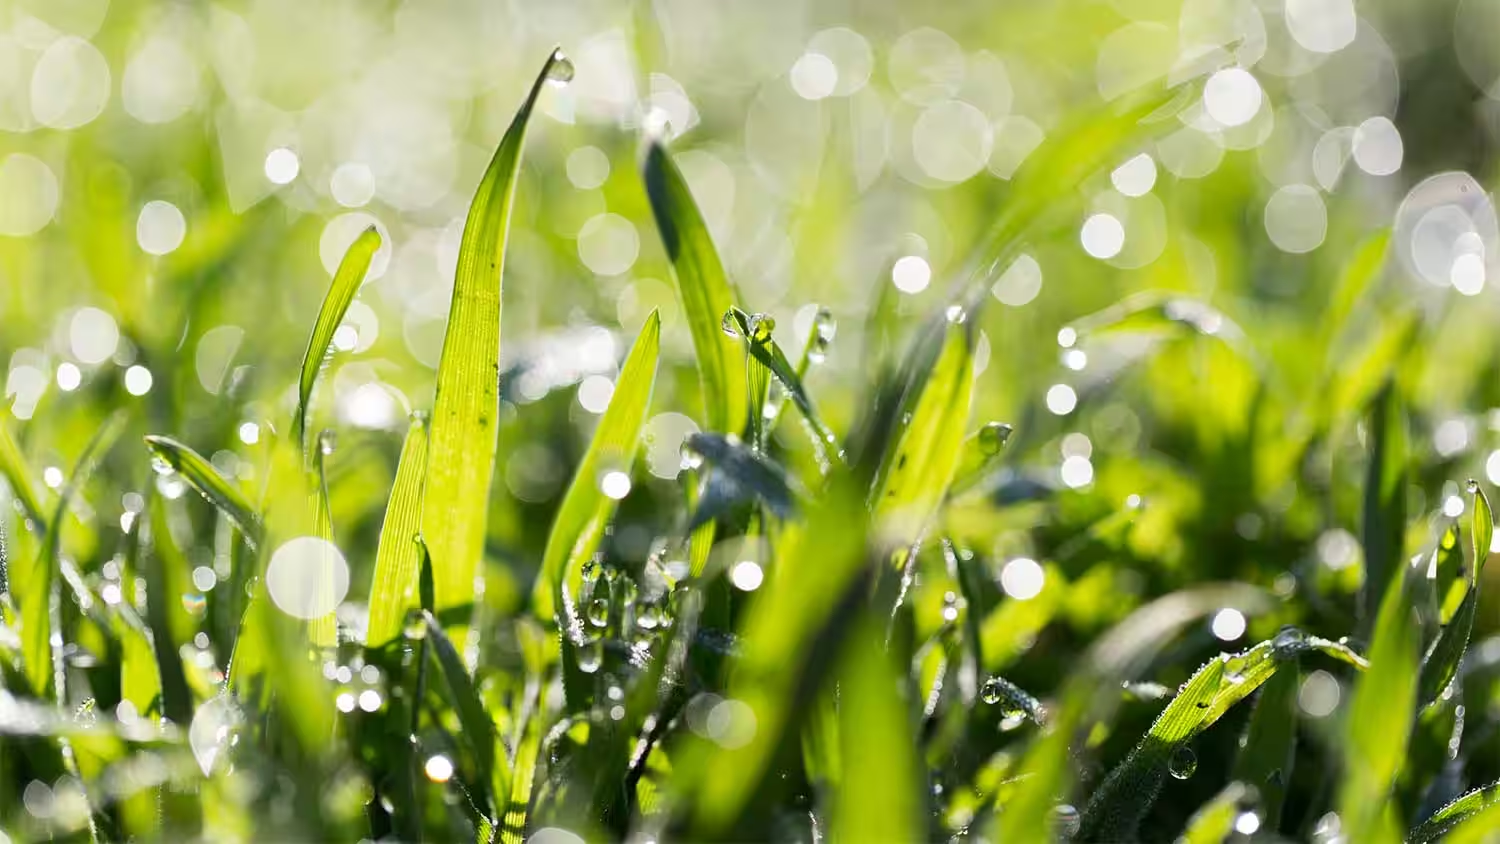
One key indicator to look for is the development of seed heads. When the grass begins to produce seed heads, it signifies that it has reached its peak growth and is ready to be harvested. Additionally, observing the color and texture of the grass can provide valuable insights. Opt for grass that displays a rich, green color and a firm, upright posture, indicating optimal health and vitality.
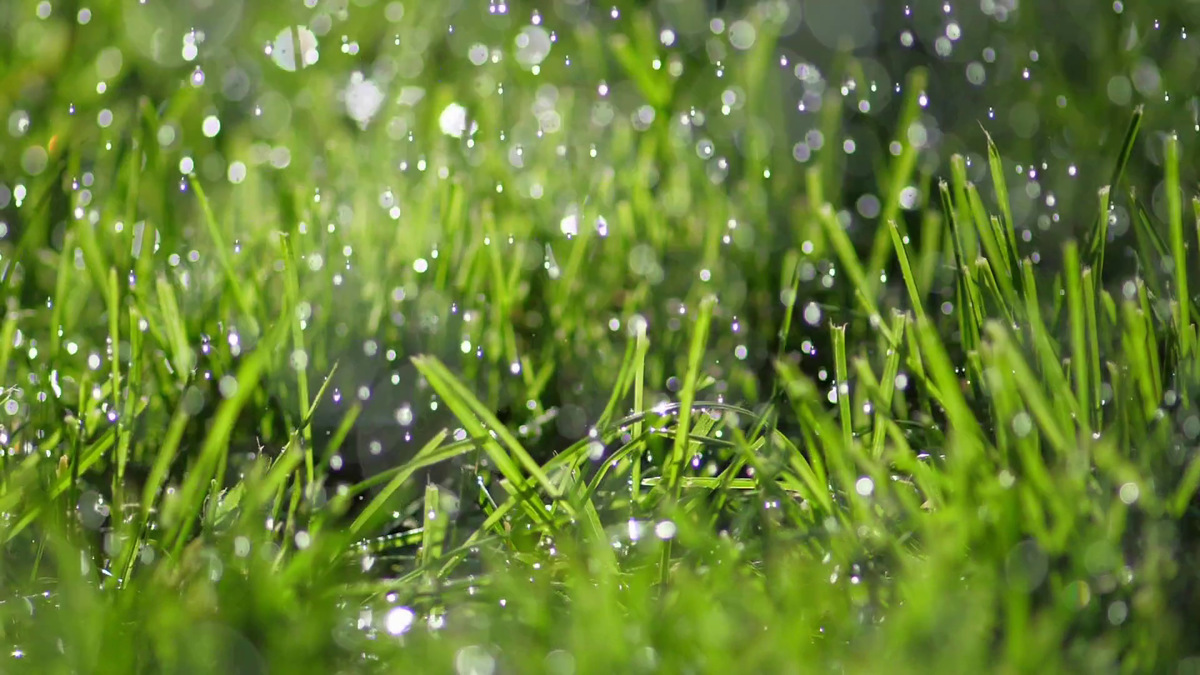
It’s important to avoid cutting the grass when it is wet, as excess moisture can hinder the drying process and lead to mold or decay. Therefore, aim to harvest the grass on a dry, sunny day to ensure that it is in the best condition for drying.
Furthermore, consider the weather forecast when planning the harvest. Select a period of dry weather to facilitate the drying process and prevent the freshly cut grass from being exposed to excessive moisture. By aligning the cutting process with favorable weather conditions, you can optimize the quality of the dried grass and minimize the risk of spoilage.
When determining the right time to cut grass for drying, it’s essential to assess the specific characteristics of the grass species and the environmental factors that can influence its growth. By being attentive to these nuances, you can ensure that you harvest the grass at its peak condition, setting the stage for successful and visually appealing drying results.
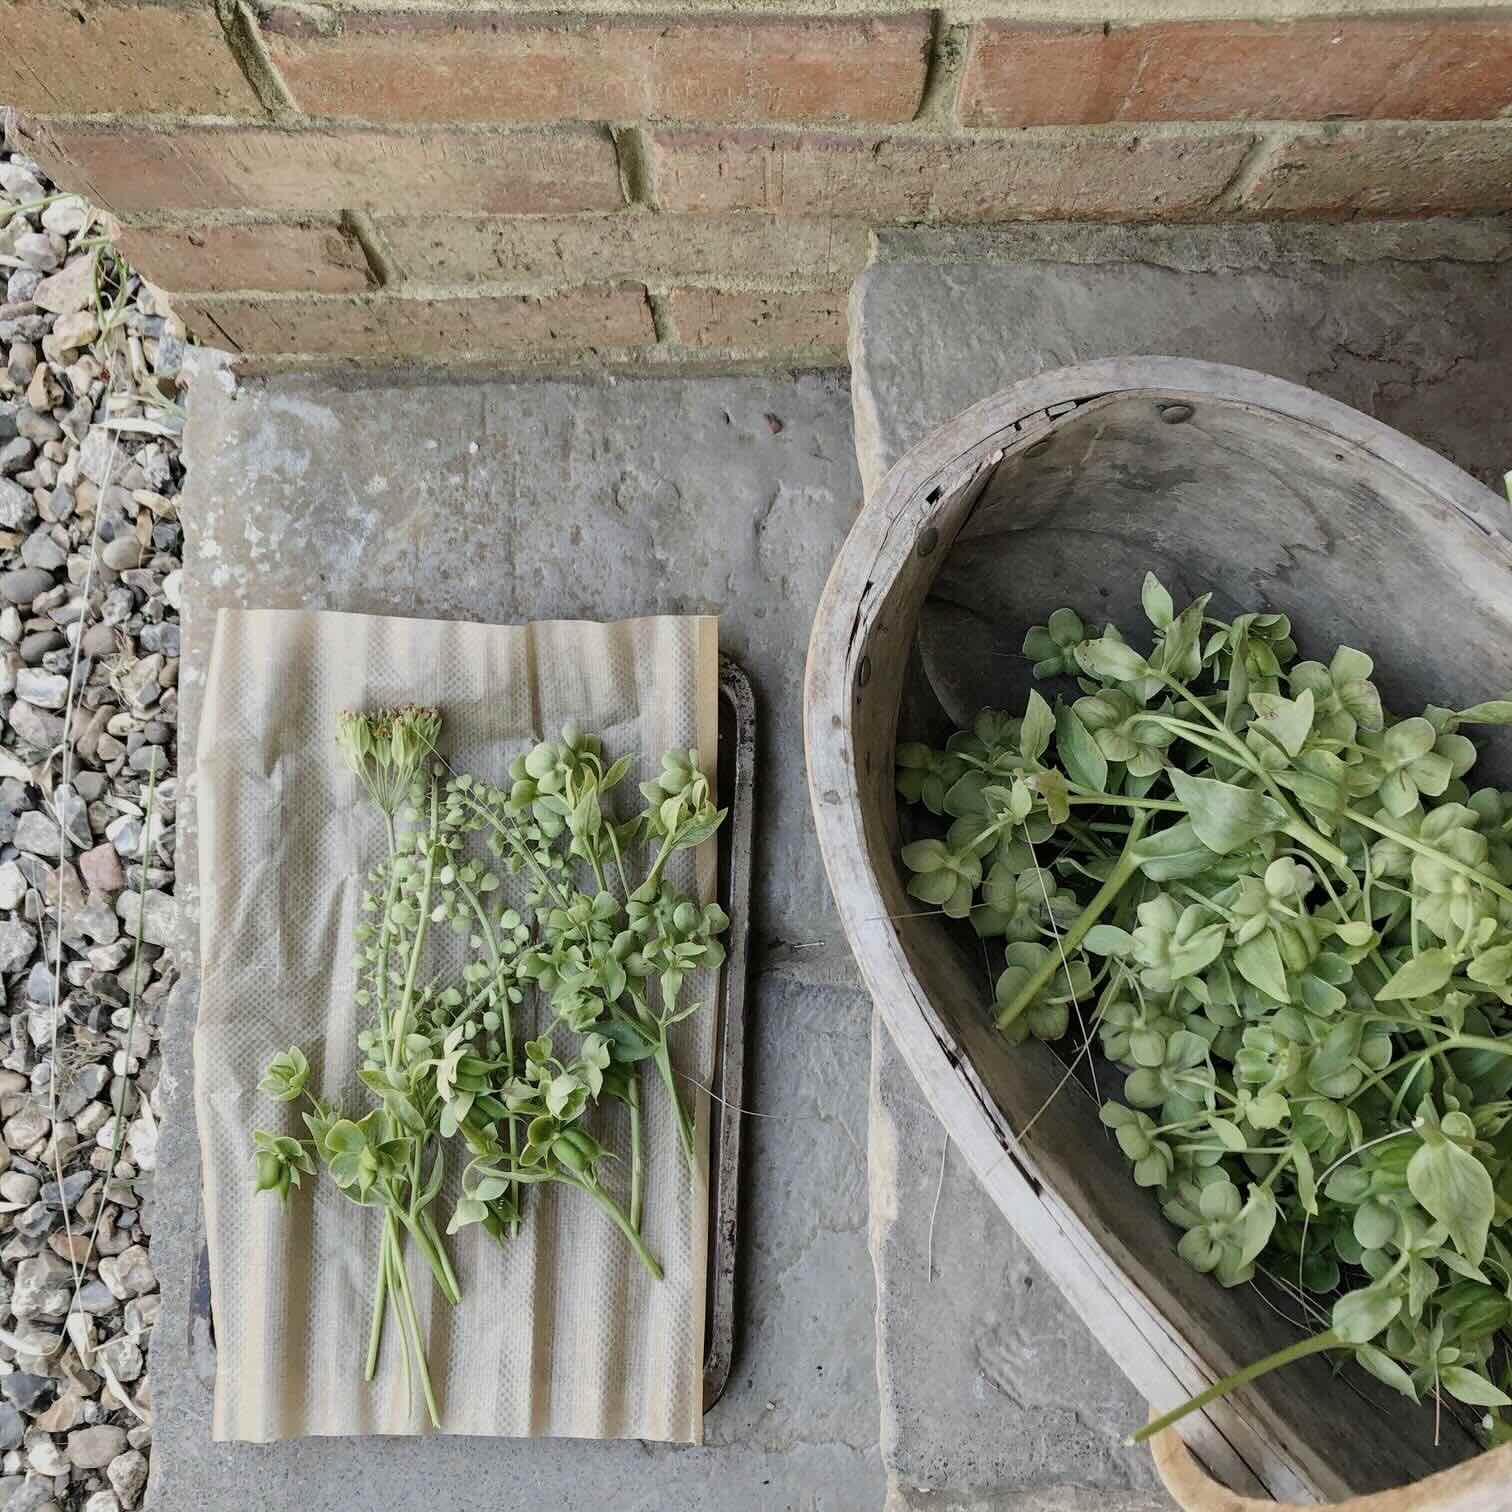
Preparing the Grass for Drying
Before embarking on the drying process, it’s essential to prepare the grass properly to ensure optimal results. The preparation phase involves several key steps that contribute to the overall quality and appearance of the dried grass. By following these guidelines, you can set the stage for a successful drying experience and maximize the visual appeal of the finished product.
First and foremost, it’s crucial to inspect the grass for any signs of damage, disease, or discoloration. Remove any damaged or discolored portions of the grass, as they can detract from the overall aesthetics of the dried grass and compromise its quality. Additionally, eliminating any undesirable elements at this stage can help prevent the spread of disease or decay during the drying process.
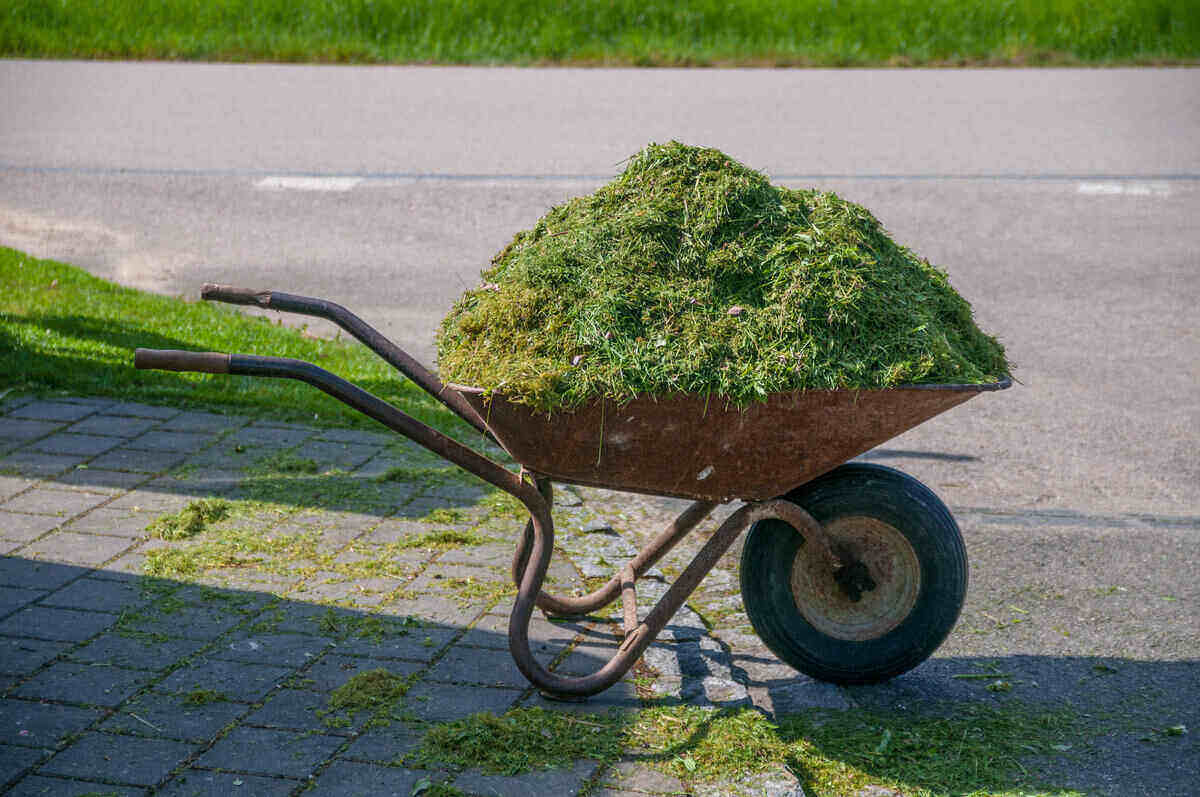
Once the grass has been inspected and trimmed, it’s important to bundle it into manageable bunches for drying. Depending on the type and length of the grass, create small, compact bundles that are easy to handle and facilitate efficient drying. Secure the bundles with twine or rubber bands, ensuring that the grass remains neatly organized and uniform in appearance.
Another critical aspect of preparing the grass for drying is the removal of excess moisture. This can be achieved by allowing the grass to air-dry in a well-ventilated area for a brief period before proceeding with the drying method of your choice. By reducing the moisture content, you can expedite the drying process and minimize the risk of mold or mildew formation.
Furthermore, consider the overall cleanliness of the grass before drying. Remove any debris, such as dirt, insects, or other foreign matter, to ensure that the dried grass maintains a pristine and appealing appearance. This step also contributes to the longevity of the dried grass, preventing the accumulation of unwanted particles that can detract from its visual appeal.
By diligently preparing the grass for drying, you can lay a solid foundation for achieving exceptional results. The careful inspection, bundling, moisture reduction, and cleanliness measures contribute to the overall quality and aesthetics of the dried grass, setting the stage for a successful and visually captivating outcome.
Air Drying Grass
Air drying is a traditional and straightforward method for drying grass, offering a simple yet effective approach to preserving its natural beauty. This method is well-suited for a wide range of grasses and can be easily implemented in various settings, making it a popular choice for individuals seeking a practical and cost-effective drying solution.
To air dry grass, begin by selecting a well-ventilated area that is shielded from direct sunlight. A shaded, airy location is ideal for facilitating the drying process while protecting the grass from potential sun damage. This can be an outdoor space with ample airflow or an indoor area with good ventilation, depending on your preferences and available resources.
Once the drying location has been chosen, arrange the prepared grass bundles in a single layer, allowing sufficient space between each bundle to promote air circulation. Avoid overcrowding the drying area, as adequate airflow is crucial for achieving thorough and uniform drying results.
Throughout the drying period, periodically inspect the grass bundles for signs of moisture or mold formation. Gently fluff the grass to promote even drying and prevent the formation of compact, damp areas. This regular monitoring ensures that the grass dries evenly and maintains its pristine condition throughout the process.
The duration of the air drying process varies depending on factors such as humidity levels, ambient temperature, and the specific characteristics of the grass. Generally, the drying period can range from several days to a few weeks. It’s important to exercise patience and allow the grass to dry naturally, avoiding the temptation to expedite the process through artificial means, as this can compromise the quality of the dried grass.
Once the grass has fully dried, carefully inspect it for any residual moisture or signs of damage. When the grass exhibits a crisp, dry texture and retains its natural color, it is ready for use in a variety of creative projects, from decorative arrangements to artistic displays.
Air drying grass offers a time-honored and reliable method for preserving the beauty of natural grasses, allowing you to harness their visual appeal and organic charm in your creative endeavors. By embracing this traditional approach, you can experience the gratifying process of transforming freshly harvested grass into stunning, dried accents that add a touch of nature’s elegance to your living spaces.
To dry grass, cut it when it’s dry, bundle it in small bunches, and hang it upside down in a warm, well-ventilated area. This will help the grass dry out evenly and prevent mold.
Using a Dehydrator for Drying Grass
For those seeking a more controlled and expedited drying process, utilizing a dehydrator offers a convenient and efficient solution for preserving grass. Dehydrators are versatile appliances commonly used for drying fruits, vegetables, and herbs, and they can also be employed to dry grass with excellent results. This method is particularly advantageous for individuals who prefer a faster drying process or need to address challenges such as high humidity or limited drying space.
When using a dehydrator to dry grass, begin by arranging the prepared grass bundles on the dehydrator trays in a single layer, ensuring that there is ample space between the bundles to facilitate proper airflow. Position the trays in the dehydrator, taking care to follow the manufacturer’s guidelines for optimal tray placement and airflow distribution.
Set the dehydrator to a low temperature, typically between 95°F and 115°F (35°C and 46°C), to gently and gradually remove the moisture from the grass. This controlled drying environment helps preserve the color, texture, and nutritional properties of the grass, resulting in high-quality dried specimens that retain their natural appeal.
Throughout the drying process, periodically check the grass for dryness and rotate the trays if necessary to ensure uniform drying. This attentive monitoring allows you to adjust the drying conditions as needed, promoting consistent and thorough drying across all the grass bundles.
The duration of the drying process in the dehydrator can vary depending on factors such as the type of grass, ambient humidity, and the specific capabilities of the dehydrator. Generally, the drying time ranges from several hours to a day or more, offering a notably faster alternative to traditional air drying methods.
Once the grass has reached the desired level of dryness, carefully remove the trays from the dehydrator and allow the dried grass to cool completely. Conduct a final inspection to ensure that the grass is thoroughly dry and free from any residual moisture before proceeding to use or store it.
Using a dehydrator for drying grass provides a convenient and controlled approach to preserving the natural beauty of grasses, offering expedited results without compromising their visual appeal. This method empowers individuals to efficiently transform freshly harvested grass into exquisite dried accents, ready to adorn various creative projects and enhance the aesthetic appeal of interior spaces.
Read more: How To Repair Dry Grass
Storing Dried Grass
Proper storage is essential for maintaining the quality and longevity of dried grass, ensuring that it remains in optimal condition for future use in various creative endeavors. Whether you’ve air-dried or used a dehydrator to preserve the grass, implementing effective storage practices is crucial for safeguarding its visual appeal and structural integrity.
When it comes to storing dried grass, it’s important to keep it in a cool, dry, and well-ventilated environment to prevent moisture absorption and minimize the risk of mold or decay. Choose a storage area that is shielded from direct sunlight and maintains a consistent, moderate temperature, creating an ideal setting for preserving the dried grass.
Before storing the dried grass, ensure that it has cooled completely, especially if it was dried using a dehydrator. This step helps prevent condensation and moisture buildup within the storage containers, preserving the pristine condition of the dried grass.
Consider using airtight containers, such as glass jars or plastic storage bins with secure lids, to protect the dried grass from exposure to air, humidity, and pests. Prior to placing the grass in the containers, line the bottom with a layer of parchment paper or tissue to create a protective barrier and absorb any residual moisture.
When filling the storage containers with dried grass, avoid compressing or overcrowding the grass, as this can lead to breakage and loss of its natural form. Instead, arrange the dried grass in loose, airy layers, allowing ample space within the containers to maintain the integrity of the grass strands and prevent them from becoming compacted.
Label the storage containers with the type of grass and the date of drying to facilitate easy identification and tracking of the stored grass. This labeling practice enables you to monitor the shelf life of the dried grass and prioritize its use based on freshness and quality.
Periodically inspect the stored dried grass for any signs of moisture, discoloration, or pest activity. If any issues are detected, promptly address them to prevent the spread of damage and preserve the overall quality of the stored grass.
By implementing these storage practices, you can effectively preserve the beauty and integrity of dried grass, ensuring that it remains in prime condition for use in various creative projects and decorative arrangements. With proper storage, you can harness the timeless allure of dried grass to enhance the visual appeal of your living spaces and artistic endeavors.
Conclusion
The art of drying grass is a captivating journey that invites individuals to embrace the natural beauty of grasses and transform them into exquisite, enduring accents for creative projects and decorative displays. Whether you opt for traditional air drying or harness the efficiency of a dehydrator, the process of drying grass offers a myriad of opportunities for self-expression and artistic exploration.
By carefully selecting the right time to cut the grass, preparing it with attention to detail, and choosing a suitable drying method, you can embark on a rewarding endeavor that yields visually captivating results. The act of drying grass transcends mere preservation; it encapsulates the essence of nature’s elegance and infuses interior spaces with a touch of organic charm.
As you venture into the realm of drying grass, consider the endless possibilities it presents for enhancing your living environment and unleashing your creativity. From crafting unique floral arrangements and centerpieces to adorning wall art and decorative accents, dried grasses offer a versatile and timeless medium for artistic expression.
Moreover, the process of drying grass embodies a harmonious blend of tradition and innovation, allowing individuals to honor time-honored practices while embracing modern drying techniques. Whether you prefer the simplicity of air drying or the efficiency of a dehydrator, the result remains the same: a collection of beautifully preserved grasses that inspire and captivate.
As you embark on your journey of drying grass, remember that the process is as much about patience and attentiveness as it is about creativity and expression. Embrace the nuances of each step, from selecting the perfect grass to storing the dried specimens, and savor the gratifying experience of transforming nature’s bounty into timeless works of art.
So, whether you’re a seasoned enthusiast or a newcomer to the world of drying grass, let the allure of this timeless art form ignite your imagination and elevate your living spaces with the rustic elegance of dried grasses.
Embrace the art of drying grass, and let nature’s beauty flourish in your creative endeavors.
Frequently Asked Questions about How To Dry Grass
Was this page helpful?
At Storables.com, we guarantee accurate and reliable information. Our content, validated by Expert Board Contributors, is crafted following stringent Editorial Policies. We're committed to providing you with well-researched, expert-backed insights for all your informational needs.


0 thoughts on “How To Dry Grass”