Home>Furniture>Outdoor Furniture>How To Dry Out Patio Cushions
Outdoor Furniture
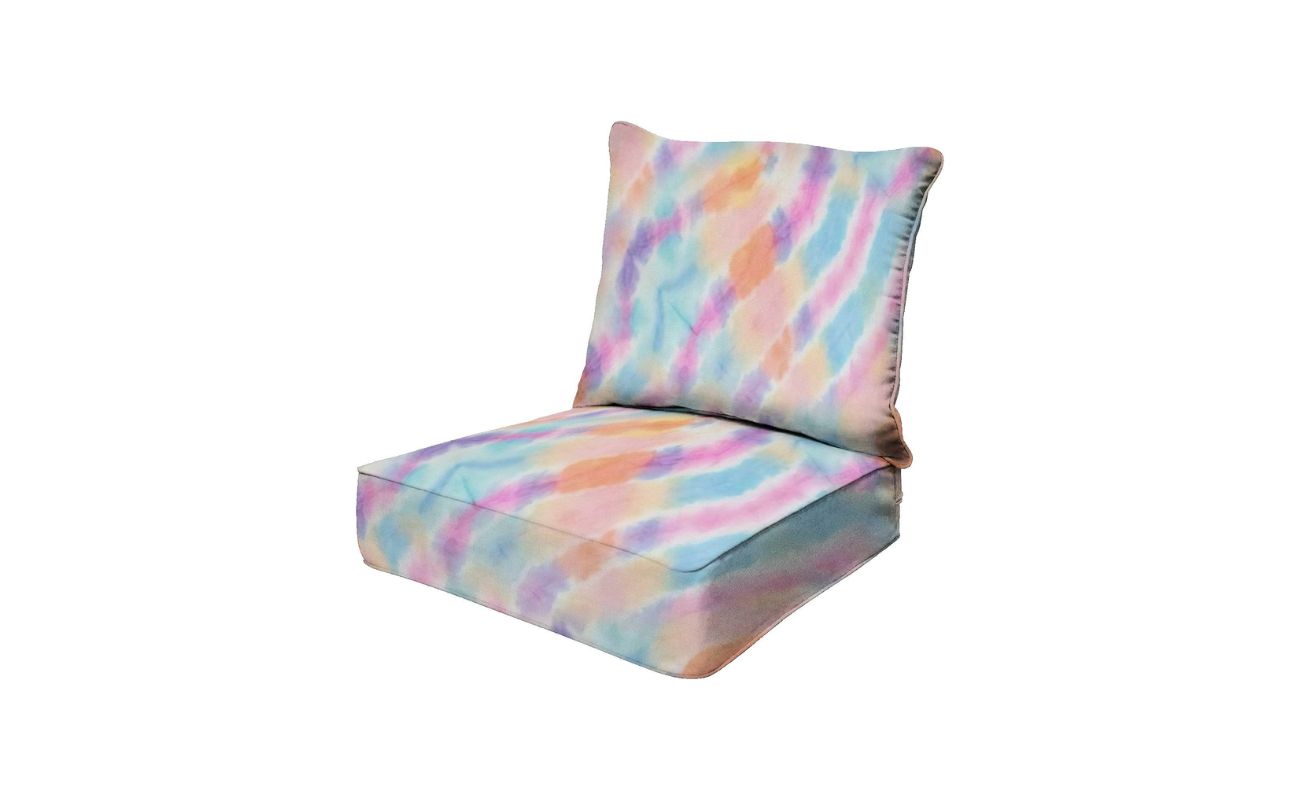
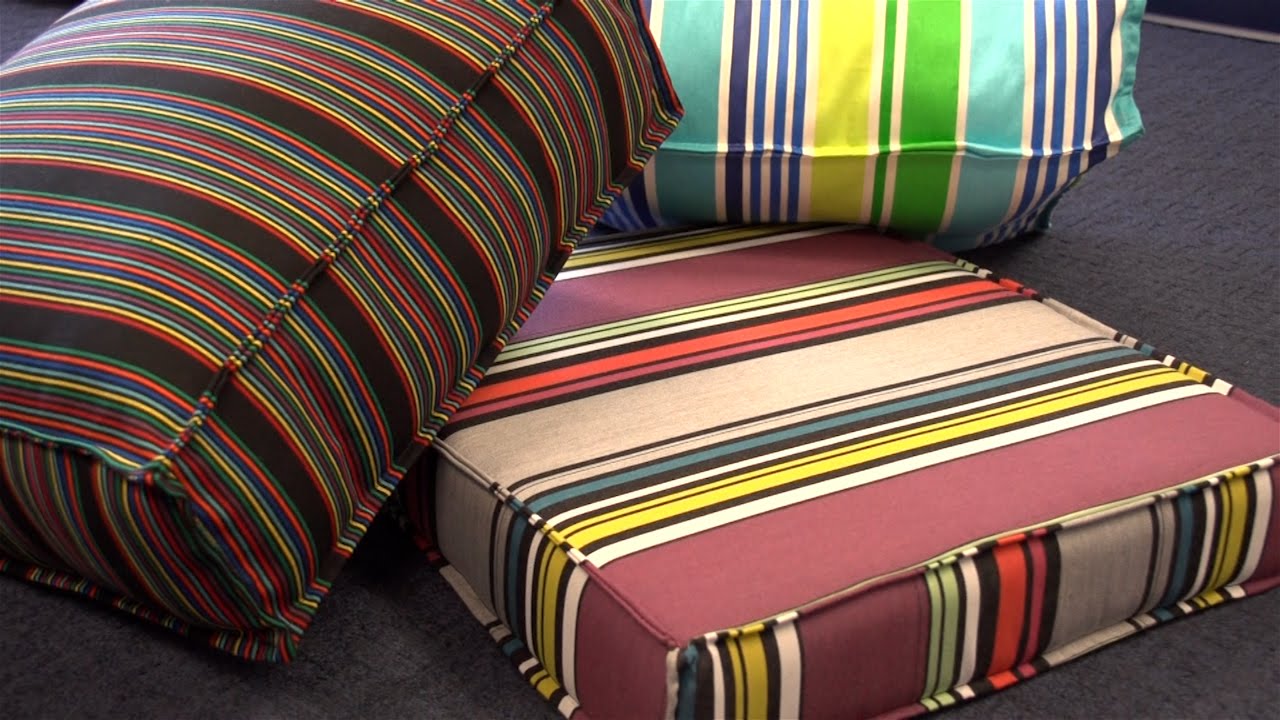
How To Dry Out Patio Cushions
Modified: March 7, 2024
Learn how to effectively dry out your outdoor furniture cushions with our helpful guide. Keep your patio cushions clean and mold-free!
(Many of the links in this article redirect to a specific reviewed product. Your purchase of these products through affiliate links helps to generate commission for Storables.com, at no extra cost. Learn more)
Introduction
Welcome to our guide on how to dry out patio cushions! If you’re an outdoor furniture enthusiast, you know how important it is to keep your patio cushions clean and dry. Unfortunately, unpredictable weather or accidental spills can leave your cushions soaked and in need of a quick drying process.
Exposure to moisture can lead to unpleasant odors, mold, and mildew growth, which can significantly shorten the lifespan of your cushions. By following the steps outlined in this article, you’ll be able to effectively remove excess water and ensure that your patio cushions dry thoroughly and quickly.
Whether you have fabric, vinyl, or woven cushions, the techniques we’ll discuss are suitable for all types. So, let’s get started and learn how to bring your soggy cushions back to their pristine condition!
Key Takeaways:
- Keep your patio cushions dry to prevent mold and mildew. Follow these steps to remove excess water, use fans or dehumidifiers, and apply mildew cleaner if needed. Enjoy your outdoor space with beautifully dry cushions!
- Properly drying your patio cushions is essential for maintaining their longevity. Remove excess water, ensure thorough air circulation, and apply mildew cleaner if necessary. With these steps, your cushions will stay comfortable and inviting for outdoor enjoyment!
Read more: How To Keep Patio Cushions Dry
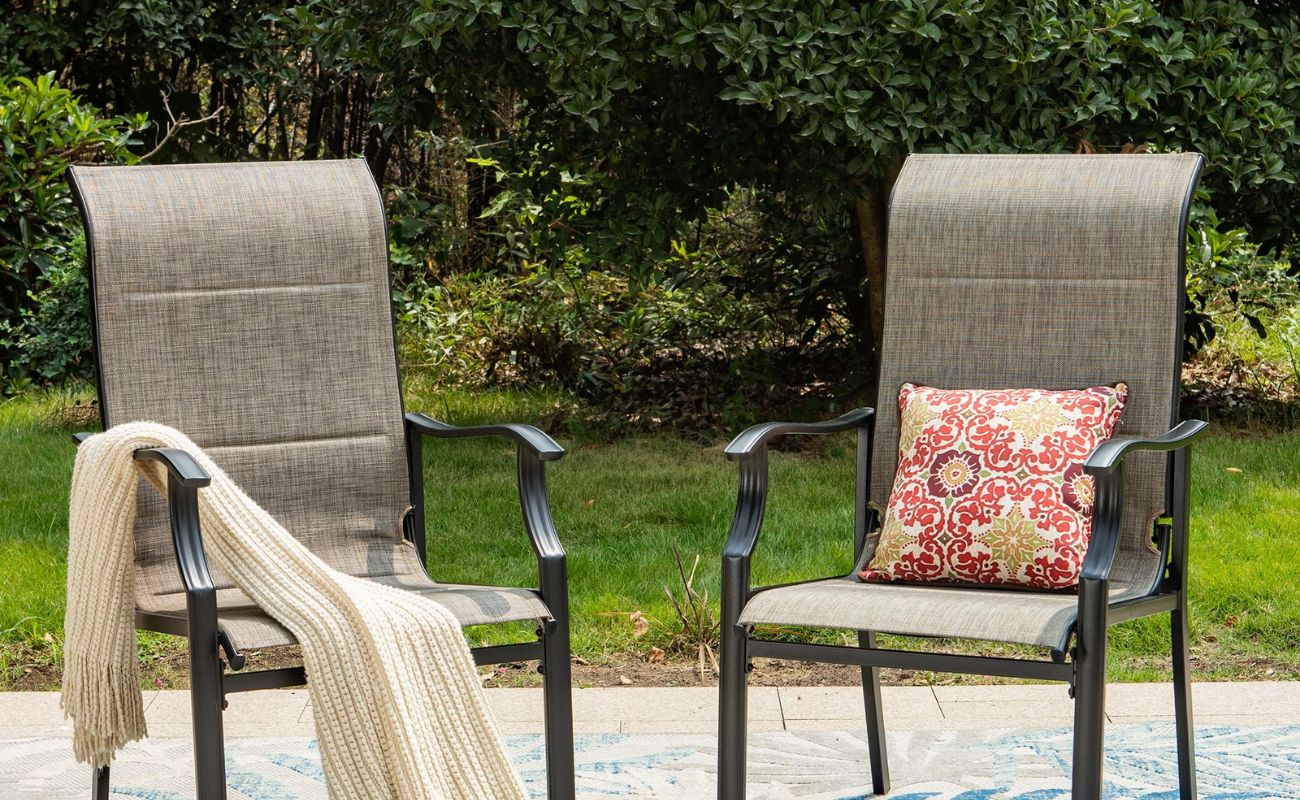
Step 1: Remove the Patio Cushions from Furniture
The first step in the drying process is to remove the patio cushions from your furniture. This allows you to work with the cushions more easily and ensures that all sides of the cushions can dry properly.
Start by carefully lifting the cushions from the furniture and placing them on a clean and dry surface. Avoid dragging the cushions, as this can cause additional water to seep into the cushion or damage the fabric. If your cushions are attached to the furniture, carefully detach them following the manufacturer’s instructions.
Once the cushions are removed, take a moment to inspect them for any debris or dirt. If necessary, gently brush or shake off any loose particles. This will help facilitate the drying process and prevent dirt from becoming embedded in the fabric.
Remember to handle the cushions with care to avoid any tears or damage. By taking these precautions, you’re ensuring that the cushions will dry out effectively and be ready for use once again.
Step 2: Brush or Shake off Excess Water
After removing the patio cushions from the furniture, the next step is to brush or shake off any excess water. This step is crucial to remove as much moisture as possible before proceeding with the drying process.
If the cushions are visibly wet, use a dry towel or cloth to blot the cushions gently. Press the towel onto the surface of the cushion to absorb the water. Do not rub the cushions vigorously, as this can spread the water and make it more difficult to dry.
If the cushions have standing water, you may want to use a soft-bristle brush to gently brush off the water. Start from the top of the cushion and work your way down, using light strokes. Be careful not to apply too much pressure or scrub aggressively, as this can potentially damage the fabric or cause it to lose its shape.
Alternatively, you can also shake the cushions to remove excess water. Hold the cushion firmly and give it a gentle shake to dislodge any water droplets. Repeat this process a few times, ensuring that all sides of the cushion are shaken.
By brushing or shaking off the excess water, you’re expediting the drying process and setting the stage for the next steps. Remember to be gentle with the cushions to avoid any unnecessary damage.
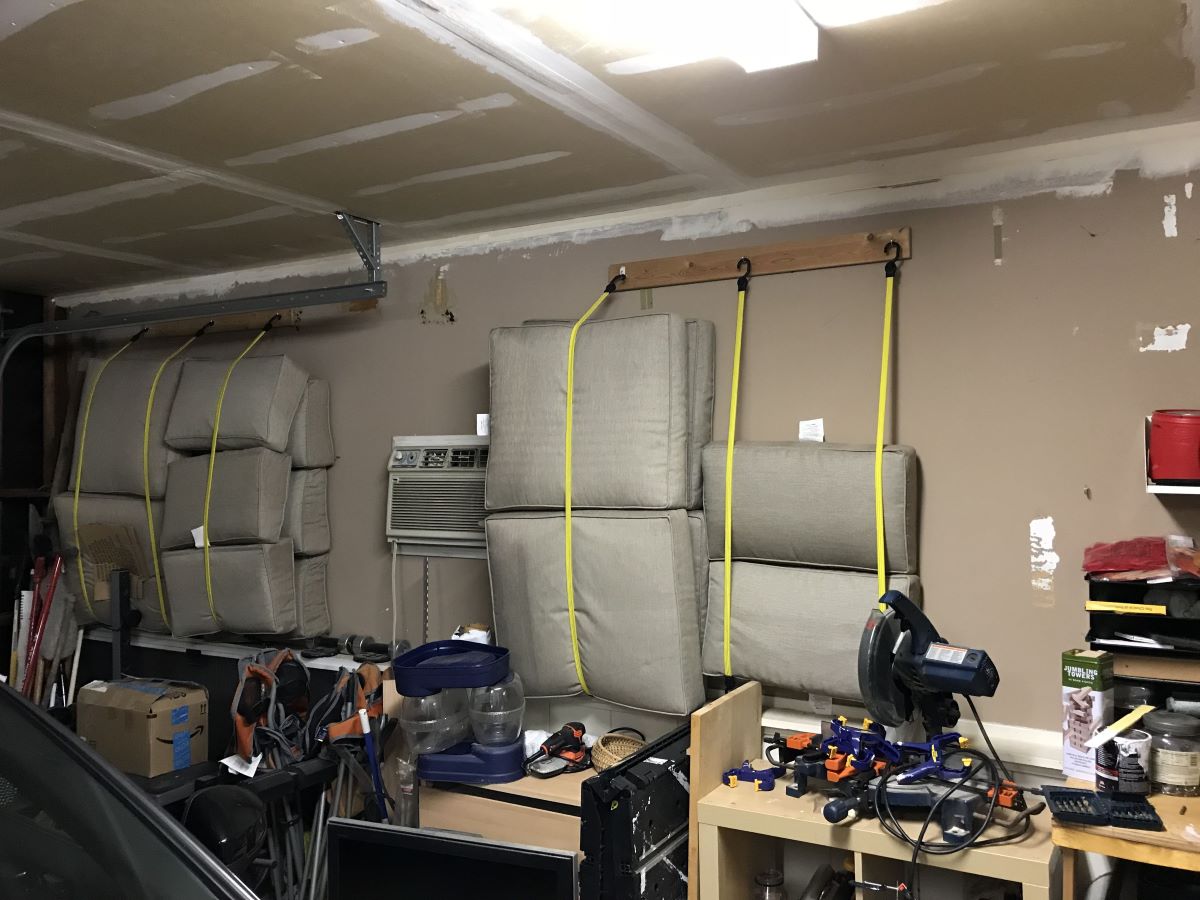
Step 3: Place Cushions in a Well-Ventilated Area
Once you have removed excess water from the patio cushions, the next step is to find a well-ventilated area where you can allow the cushions to dry. This helps to promote air circulation and speed up the drying process.
Choose a location outdoors, if possible, where there is a gentle breeze. If outdoor drying is not feasible, you can also select an indoor area that is well-ventilated, such as a garage or a room with open windows. Avoid areas with high humidity, as this can impede the drying process.
Before placing the cushions in the chosen area, make sure the surface is clean and dry. You can use a clean towel or cloth to wipe down the surface or lay down a clean tarp to protect the cushions from any dirt or debris.
Arrange the cushions in a single layer, ensuring that they are not overlapping or touching each other. This allows for better airflow around each cushion, ensuring that they dry evenly. If you’re dealing with thicker or larger cushions, consider propping them up slightly using a clean, dry towel rolled into a tube shape to facilitate air circulation.
It’s important to note that if you have different-colored cushions, make sure to separate them during the drying process. This prevents any potential color bleeding or transfer between cushions.
By placing the patio cushions in a well-ventilated area, you create an ideal environment for effective and efficient drying. Now, let’s move on to the next step to expedite the drying process further.
Step 4: Use a Fan or Dehumidifier
To speed up the drying process of your patio cushions, consider using a fan or dehumidifier. These devices help to increase air circulation and reduce humidity, allowing the cushions to dry faster.
If you’re drying the cushions outdoors, position a fan near the cushions, aiming it towards them. This will help create a gentle breeze that aids in faster evaporation of moisture. Make sure the fan is set on a low or medium setting to avoid blowing the cushions away or causing them to become misshapen.
If you’re drying the cushions indoors, place a fan strategically in the well-ventilated area, aiming it towards the cushions. This will help facilitate air movement and accelerate the drying process. Additionally, you can use multiple fans if you have a large number of cushions or if the room is not adequately ventilated.
Another option is to use a dehumidifier, especially if you’re drying the cushions indoors. A dehumidifier helps to remove excess moisture from the air, reducing the overall humidity level in the room. Lower humidity levels promote faster drying and help prevent the growth of mold or mildew.
Position the dehumidifier in close proximity to the cushions, ensuring that it is set to the appropriate humidity level for your specific environment. Regularly monitor the moisture levels and empty the dehumidifier’s water reservoir as needed to maintain its efficiency.
By utilizing a fan or dehumidifier, you’re enhancing the airflow and moisture control around the patio cushions, speeding up the overall drying process and ensuring that they dry thoroughly.
To dry out patio cushions, place them in a sunny, well-ventilated area and flip them regularly to ensure even drying. Avoid direct heat sources to prevent damage.
Read more: How To Dye Patio Cushions
Step 5: Flip and Rotate Cushions
Once the patio cushions have been drying for a period of time, it’s important to flip and rotate them to ensure even drying. This step helps to prevent any areas of the cushion from remaining damp or developing mildew.
Start by carefully flipping over each cushion, so the underside is now facing up. This allows any remaining moisture to be exposed to the air and aids in drying the entire cushion evenly. If you notice any particularly wet spots or areas, use a towel or cloth to gently blot them dry before flipping the cushion.
After flipping the cushions, it’s time to rotate them. This means changing the position of each cushion within the drying area. For example, if a cushion was initially placed towards the front, move it towards the back. If a cushion was on the top stack, move it to the bottom. This ensures that all sides of the cushions receive equal exposure to airflow, promoting thorough and uniform drying.
During this step, take the opportunity to inspect the cushions for any signs of mold or mildew. If you notice any growth, take immediate action to address it before continuing with the drying process. There are mildew cleaners specifically designed for outdoor cushions that can effectively remove any mold or mildew stains.
By regularly flipping and rotating the cushions, you’re helping to speed up the drying process and preventing any areas from becoming damp or prone to mildew growth. Let’s move on to the next step to ensure the cushions are ready for use.
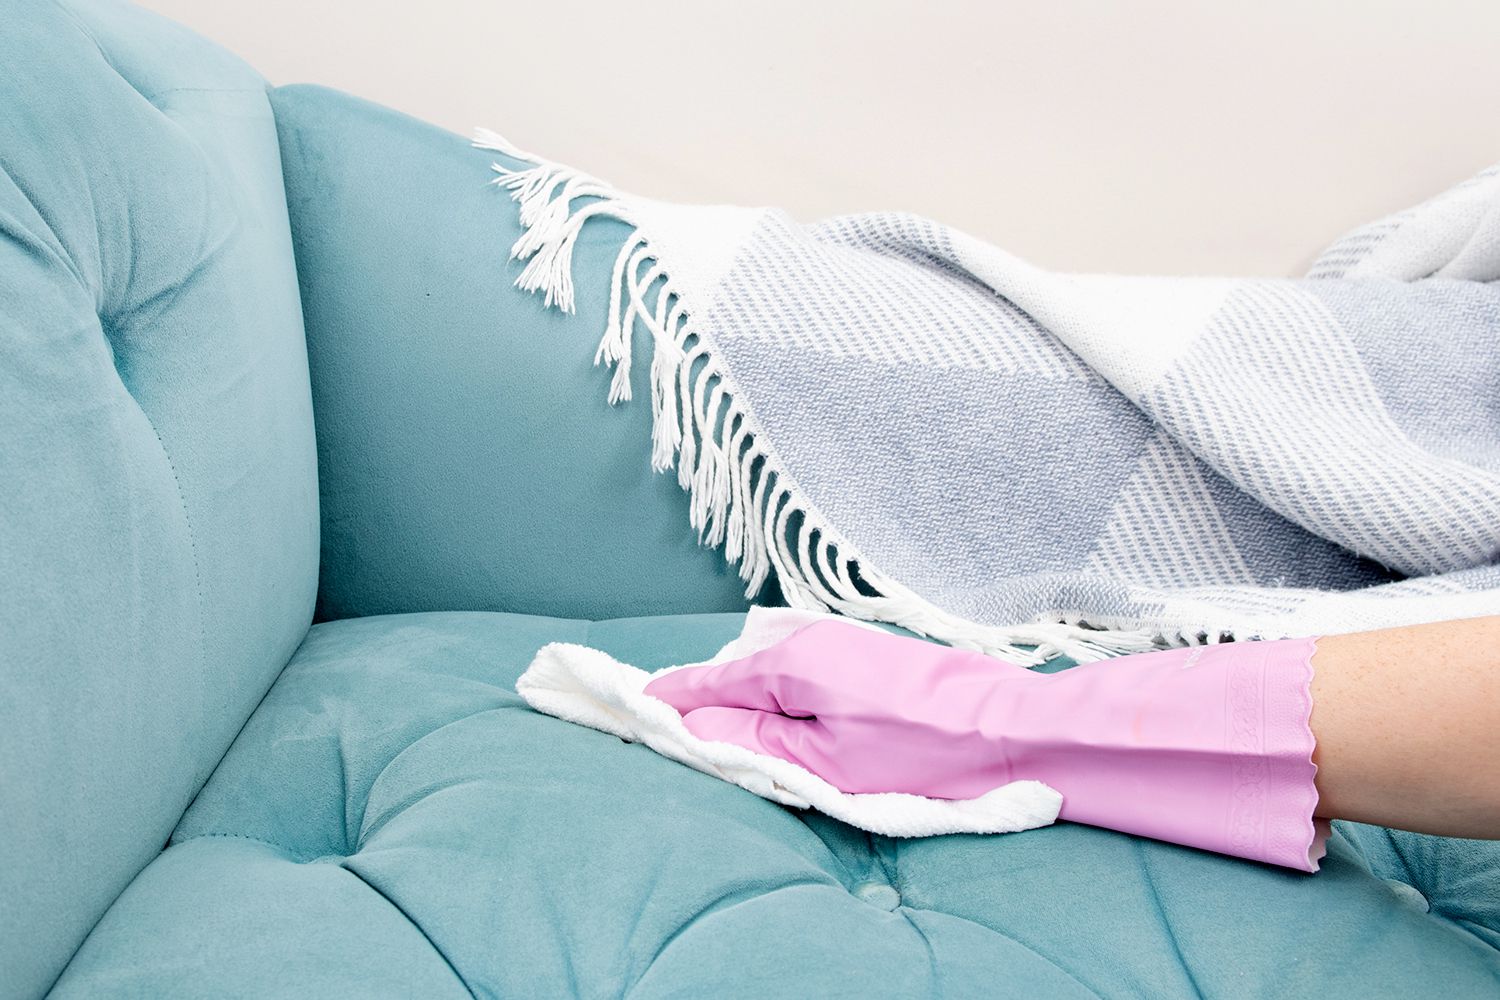
Step 6: Apply Mildew Cleaner (if necessary)
If you notice any signs of mold or mildew on your patio cushions during the drying process, it’s important to address them promptly to prevent further damage. Applying a mildew cleaner is an effective way to eliminate mold or mildew stains and restore your cushions to their original condition.
Before applying the mildew cleaner, make sure the cushions are completely dry. If there are any remaining damp areas, it’s best to allow them to dry fully before proceeding.
Choose a mildew cleaner specifically formulated for outdoor cushions. These cleaners are designed to be safe for use on fabrics and will effectively remove mold or mildew stains without causing further damage.
Follow the instructions provided by the manufacturer for the best results. Typically, you will need to apply the mildew cleaner directly to the affected areas of the cushion. Use a soft-bristle brush or sponge to gently scrub the cleaner into the fabric, working in a circular motion.
Allow the mildew cleaner to sit on the cushion for the recommended amount of time, usually a few minutes. This gives the cleaner time to penetrate and break down the mold or mildew. After the designated time, rinse the cushion thoroughly with clean water to remove any residue and cleaner.
After applying the mildew cleaner and rinsing, it is important to allow the cushions to dry completely once again. This step ensures that any remaining moisture is eliminated, preventing the regrowth of mold or mildew.
If needed, repeat the mildew cleaning process until the stains are no longer visible. Be sure to read and follow the instructions provided by the mildew cleaner manufacturer, as different products may have varying application instructions.
By addressing mold or mildew issues with a mildew cleaner, you can restore your patio cushions to their original condition and prevent future growth. Let’s move on to the final step to complete the drying process.
Step 7: Let the Cushions Air Dry Completely
After following the previous steps, it’s important to allow the patio cushions to air dry completely. This final step ensures that any remaining moisture evaporates, leaving the cushions dry and ready for use.
Find a well-ventilated area where you initially placed the cushions for drying. Ideally, it should still be free from moisture and have good airflow. Position the cushions in a single layer, ensuring that they are spread out and not touching each other.
Leave the cushions undisturbed and let nature do its work. Depending on the weather conditions and the thickness of the cushions, drying times can vary. It may take several hours or even a couple of days for the cushions to dry completely.
During this time, avoid exposing the cushions to rain or excessive moisture. If unexpected rain showers occur, move the cushions to a dry area or cover them with a waterproof tarp.
Regularly check the cushions for any signs of dampness. Gently touch the surface to ensure they feel dry to the touch. If any moisture is detected, allow the cushions to continue drying.
Be patient throughout this process, as rushing the drying time may result in improper drying or the development of mold or mildew. It’s crucial to ensure the cushions are completely dry before reattaching them to your furniture and using them again.
Once the cushions are fully dry, give them a final inspection to ensure they are in good condition and free from any mold or mildew. If any issues are spotted, address them accordingly before proceeding.
By allowing the cushions to air dry completely, you’re ensuring that they are ready to be reattached to your furniture and enjoyed once again. Now, let’s move on to the final step to complete the drying process.
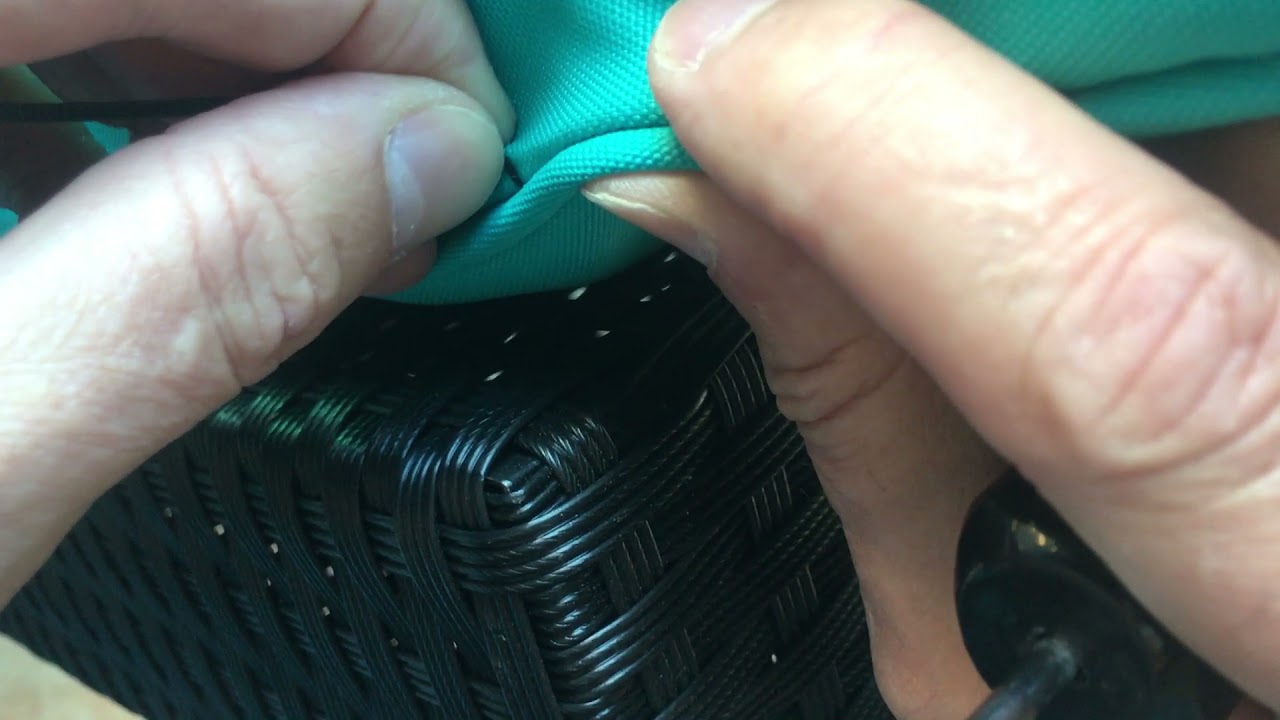
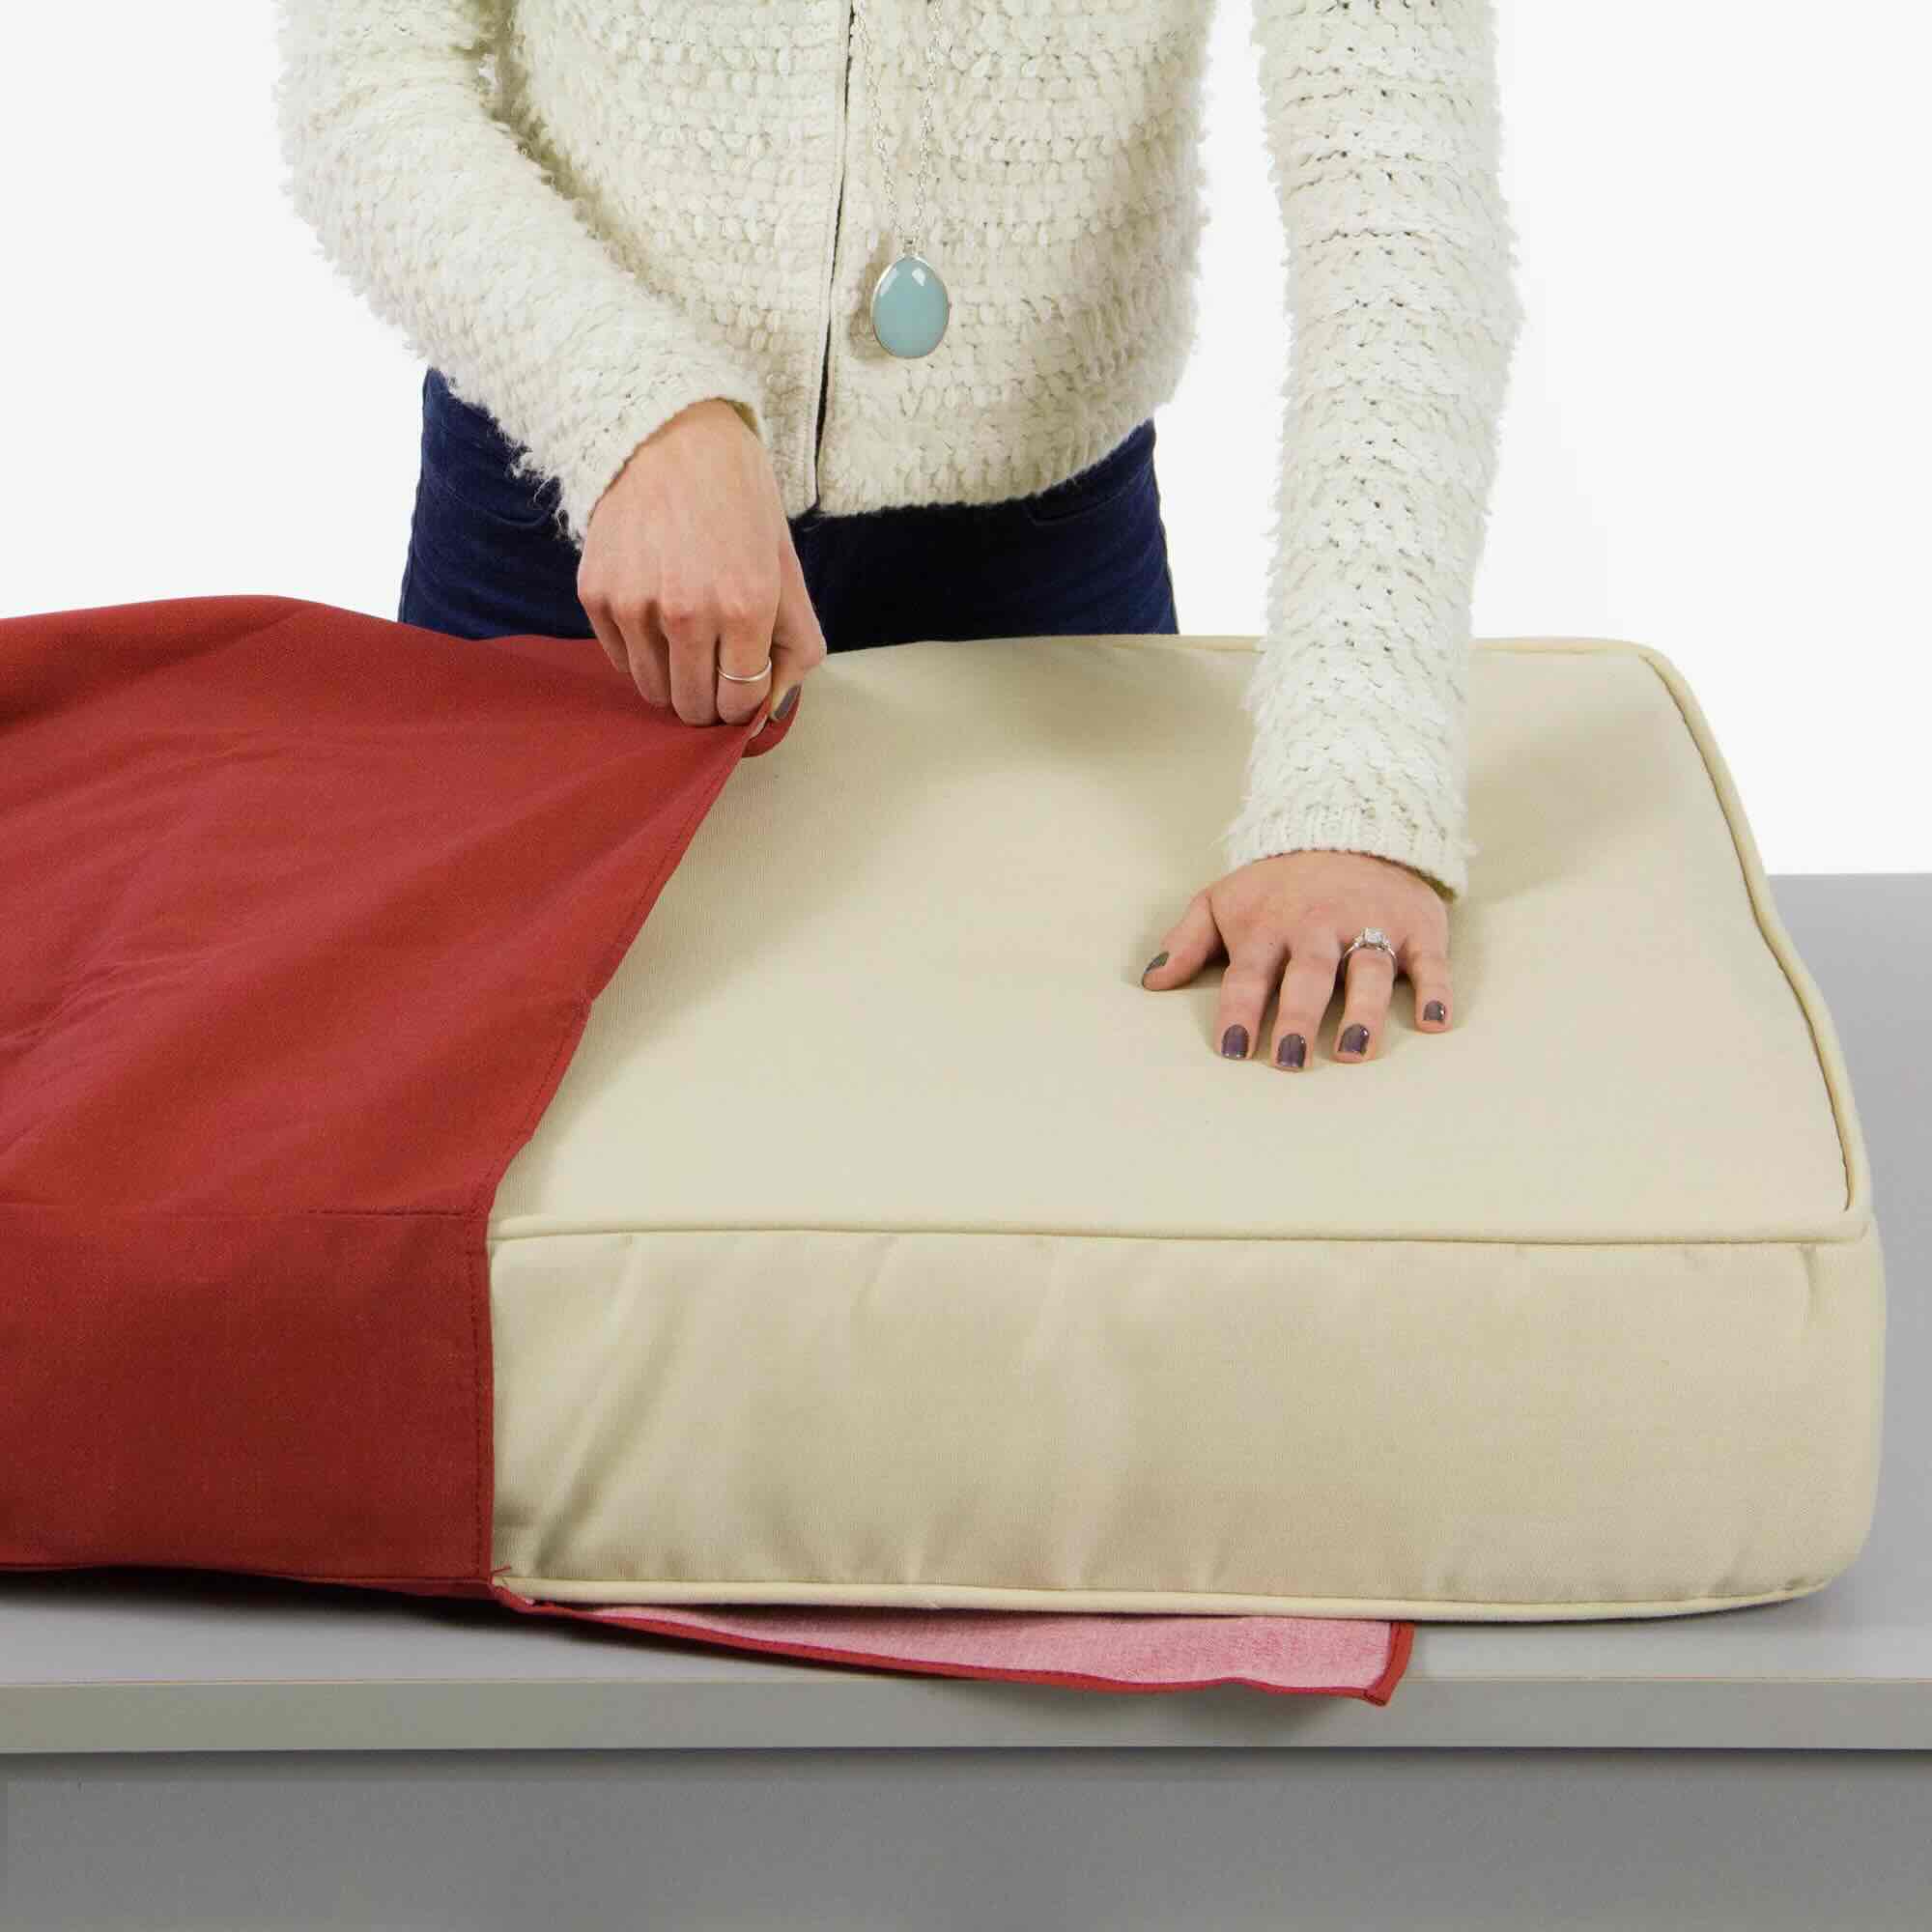
Step 8: Reattach Cushions to Furniture
After the patio cushions have dried thoroughly, it’s time to reattach them to your furniture. This step completes the drying process and allows you to once again enjoy the comfort and aesthetics of your outdoor furniture.
Before reattaching the cushions, take a moment to ensure that both the cushions and the furniture are clean and free from any debris. Use a soft-bristle brush or cloth to gently remove any dust or dirt that may have accumulated during the drying process.
Align the cushions with their respective positions on the furniture. Most cushions will have Velcro or tie-down straps to secure them in place. Make sure these fasteners are properly attached and secure.
If your cushions don’t have specific fasteners, you can use non-slip mats or grippers to prevent them from sliding or moving around when in use.
Once the cushions are in their proper positions, give them a gentle press to ensure they are fitted securely. Take a step back and visually inspect the arrangement to make sure everything looks aligned and visually appealing.
At this point, your patio cushions are successfully reattached to your outdoor furniture and ready for use. You can now relax, entertain guests, or simply enjoy the outdoors in comfort and style.
Remember to regularly clean and maintain your patio cushions to prolong their lifespan and keep them looking their best. Store them in a dry place during periods of inclement weather to prevent unnecessary exposure to moisture.
By following all the steps in this guide and reattaching the cushions properly, you can ensure a complete drying process and enjoy your outdoor space with beautifully dry and comfortable patio cushions.
Thank you for following along with our guide on how to dry out patio cushions. We hope you found this information helpful, and we wish you many enjoyable outdoor moments with your perfectly dried cushions!
Read more: How To Waterproof Patio Cushions
Conclusion
Properly drying out your patio cushions is crucial for maintaining their longevity and ensuring your outdoor furniture remains comfortable and inviting. By following the steps outlined in this guide, you can effectively remove excess water and moisture, prevent mold and mildew growth, and restore your cushions to their pristine condition.
Remember to start by removing the cushions from the furniture and gently brushing or shaking off any excess water. Place the cushions in a well-ventilated area and utilize fans or dehumidifiers to promote air circulation. Flip and rotate the cushions periodically to ensure even drying.
If necessary, apply a mildew cleaner to eliminate any mold or mildew stains. Allow the cushions to air dry completely, checking for dampness along the way. Finally, reattach the cushions to your furniture and enjoy the comfort and beauty they provide.
Regular maintenance and proper storage will help prolong the life of your patio cushions. Keep them clean, dry, and protected from harsh weather conditions to prevent damage and extend their lifespan.
We hope this guide has been useful in helping you learn how to dry out your patio cushions effectively. With these techniques, you can ensure your cushions remain in top condition, ready for you to relax and enjoy outdoor living to the fullest.
Remember, a little effort in drying your cushions will go a long way in preserving their comfort, appearance, and durability. So, go ahead and enjoy your outdoor space with beautifully dry and inviting patio cushions!
Frequently Asked Questions about How To Dry Out Patio Cushions
Was this page helpful?
At Storables.com, we guarantee accurate and reliable information. Our content, validated by Expert Board Contributors, is crafted following stringent Editorial Policies. We're committed to providing you with well-researched, expert-backed insights for all your informational needs.

0 thoughts on “How To Dry Out Patio Cushions”