Home>Gardening & Outdoor>Landscaping Ideas>How To Get Ground Ready For Grass Seed

Landscaping Ideas
How To Get Ground Ready For Grass Seed
Modified: February 18, 2024
Learn effective landscaping ideas for preparing your ground for grass seed. Get expert tips on soil preparation and seeding techniques for a lush lawn.
(Many of the links in this article redirect to a specific reviewed product. Your purchase of these products through affiliate links helps to generate commission for Storables.com, at no extra cost. Learn more)
Introduction
So, you've decided to transform your outdoor space by planting a lush, green lawn. Congratulations! This is an exciting endeavor that will not only enhance the beauty of your property but also provide a welcoming environment for outdoor activities and relaxation. However, before you can sow the first seed of grass, it's crucial to prepare the ground properly. The success of your lawn largely depends on the initial groundwork, so it's essential to get it right from the start.
In this comprehensive guide, we'll walk you through the step-by-step process of getting the ground ready for grass seed. From assessing the soil to seeding the area and providing essential maintenance tips, we've got you covered. By following these guidelines, you'll be well on your way to establishing a healthy and vibrant lawn that will be the envy of the neighborhood.
Let's dive in and explore the essential steps to prepare the ground for grass seed, ensuring that you create an optimal environment for your new lawn to thrive.
Key Takeaways:
- Properly preparing the ground for grass seed involves assessing the soil, clearing the area, testing and amending the soil, leveling the ground, and carefully seeding the area to ensure successful germination and establishment of a healthy lawn.
- Consistent watering and ongoing maintenance, such as mowing, fertilizing, and weed control, are essential for nurturing the growth and development of the grass cover, ensuring a vibrant and resilient lawn for years to come.
Read more: How To Get Rid Of Ground Cover Vines
Assessing the Soil
Before you embark on the journey of seeding your lawn, it’s crucial to assess the quality of the soil in your yard. Understanding the composition and characteristics of the soil will help you determine the necessary amendments and ensure that it provides an ideal foundation for healthy grass growth.
Start by examining the texture of the soil. Is it predominantly sandy, clayey, or loamy? Sandy soil is well-draining but may struggle to retain nutrients, while clayey soil tends to hold onto moisture but can become compacted. Loamy soil, which is a balanced mixture of sand, silt, and clay, is generally considered ideal for plant growth. Understanding your soil type will guide your approach to soil preparation.
Additionally, assess the soil’s pH level. Most grass species thrive in slightly acidic soil with a pH range of 6.0 to 7.0. You can easily test the pH using a simple soil testing kit available at garden centers or through your local agricultural extension office. If the pH deviates significantly from the ideal range, you may need to adjust it using soil amendments.
Furthermore, evaluate the soil’s drainage. Poor drainage can lead to waterlogging, which is detrimental to grass roots. Conduct a percolation test by digging a hole, filling it with water, and observing how long it takes to drain. This will provide insight into the soil’s drainage capacity and help you address any potential issues.
By thoroughly assessing the soil, you’ll gain valuable insights that will inform your soil preparation strategy, ensuring that you take the necessary steps to create an optimal growing environment for your grass seed.
Clearing the Area
Before you can prepare the ground for seeding, it’s essential to clear the area of any existing vegetation, debris, or obstacles that could hinder the establishment of a healthy lawn. This initial step sets the stage for effective soil preparation and ensures that your grass seed will have the best chance of thriving.
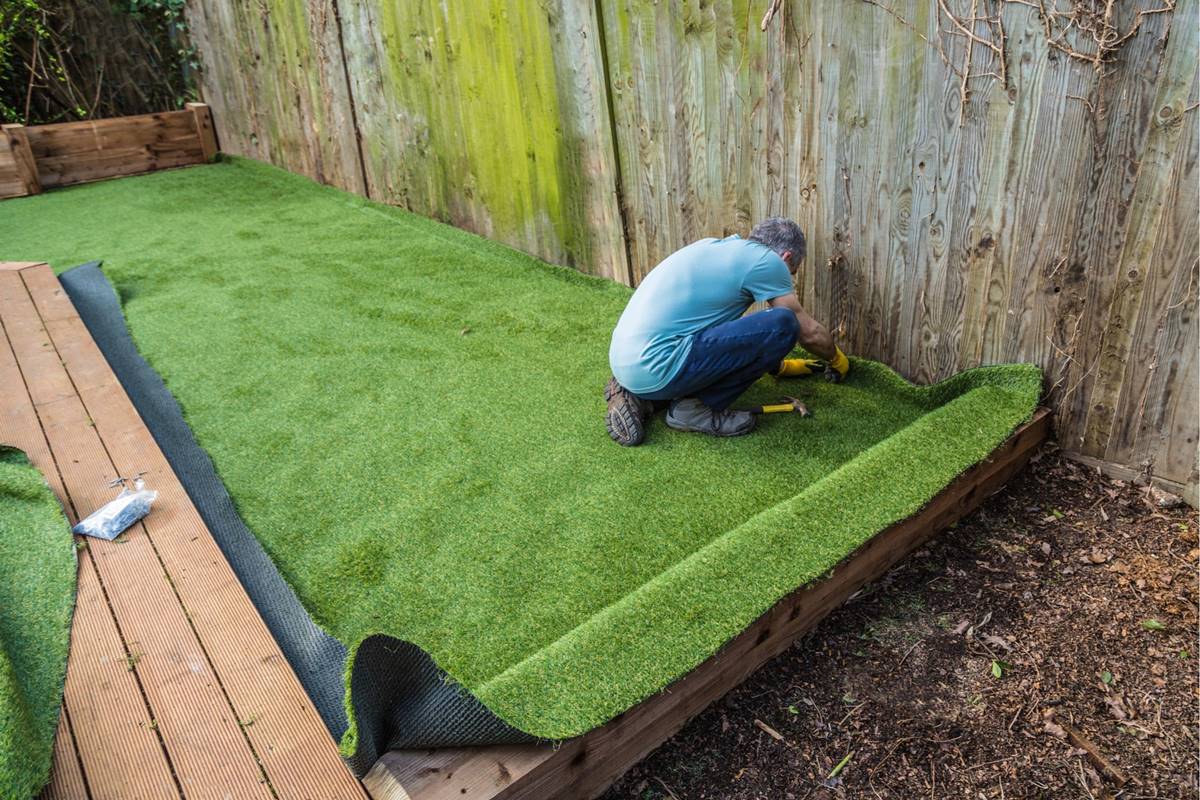
Begin by removing any weeds, rocks, or large debris from the area where you plan to sow the grass seed. This can be done manually using a garden hoe or rake to uproot weeds and clear the surface. If the area is overgrown with dense vegetation, consider using a sod cutter to effectively remove the existing grass and roots, providing a clean slate for your new lawn.
Next, inspect the area for any obstructions such as tree roots, large rocks, or other impediments that could interfere with the even distribution of soil and the growth of grass roots. Clearing these obstacles will promote uniform soil coverage and prevent potential issues with the development of your lawn.
Additionally, take the time to address any drainage concerns in the area. Ensure that the ground slopes away from buildings and other structures to prevent water accumulation, which can lead to waterlogging and hinder grass growth. By clearing the area and optimizing its topography, you’re setting the groundwork for a well-prepared and conducive environment for your upcoming lawn project.
By thoroughly clearing the area, you’ll create a clean and unobstructed canvas for the subsequent soil preparation steps, setting the stage for successful grass seed germination and the establishment of a vibrant, healthy lawn.
Testing the Soil
Once the area is cleared and ready for soil preparation, the next crucial step is to conduct a comprehensive soil test. Testing the soil provides valuable insights into its nutrient levels, pH balance, and overall composition, enabling you to make informed decisions about the necessary amendments to create an optimal growing environment for your grass seed.
There are various methods for testing soil, ranging from DIY soil testing kits to professional laboratory analysis. DIY test kits are readily available at garden centers and offer a convenient way to assess the soil’s pH and nutrient levels. However, for a more in-depth analysis, consider sending soil samples to a certified laboratory for comprehensive testing.
When collecting soil samples, ensure that you gather representative samples from different areas of the lawn site. Use a soil probe or trowel to collect samples from various depths, as the nutrient distribution can vary within the soil profile. Mix the collected samples in a clean container and allow them to air-dry before sending them for testing.
The soil test results will provide crucial information about the soil’s pH level, as well as its levels of essential nutrients such as nitrogen, phosphorus, and potassium. Based on the findings, you can determine the specific amendments required to optimize the soil for successful grass seed germination and sustained growth.
Additionally, the soil test may reveal any deficiencies or imbalances that need to be addressed before seeding. Whether it’s adjusting the pH with lime or sulfur, supplementing nutrients with organic matter or fertilizers, or addressing specific deficiencies, the soil test serves as a roadmap for customizing your soil preparation approach to suit the unique needs of your lawn site.
By conducting a thorough soil test, you’ll gain valuable insights that will guide your soil amendment strategy, ensuring that you provide the optimal conditions for your grass seed to take root and flourish.
Amending the Soil
Armed with the insights gained from the soil test, it’s time to embark on the crucial process of amending the soil to create an ideal foundation for your grass seed. Soil amendments play a pivotal role in optimizing the soil’s structure, nutrient content, and pH balance, setting the stage for robust and healthy grass growth.
Based on the soil test results, you’ll identify specific amendments needed to address any deficiencies or imbalances in the soil. For example, if the pH is outside the ideal range for grass growth, you may need to incorporate lime to raise the pH or elemental sulfur to lower it, depending on the specific requirements revealed by the test.
Furthermore, if the soil test indicates nutrient deficiencies, you can supplement the soil with organic matter such as compost or well-rotted manure to enhance its fertility. Alternatively, targeted fertilizers can be applied to address specific nutrient needs, ensuring that the soil provides an optimal environment for the germination and sustained development of your grass seed.
In addition to addressing pH and nutrient levels, soil amendments can also improve the soil’s texture and structure. Incorporating organic matter into the soil can enhance its water retention capacity, promote beneficial microbial activity, and foster aeration, all of which are essential for healthy root development and overall grass vitality.
When applying soil amendments, ensure thorough incorporation into the soil to achieve uniform distribution and maximize their beneficial effects. This can be achieved through tilling or spading the soil to the appropriate depth, allowing the amendments to blend seamlessly with the existing soil and create a harmonious growing medium for your grass seed.
By carefully amending the soil based on the insights gained from the soil test, you’ll create an enriched and balanced foundation that is conducive to successful grass seed germination and the establishment of a resilient and thriving lawn.
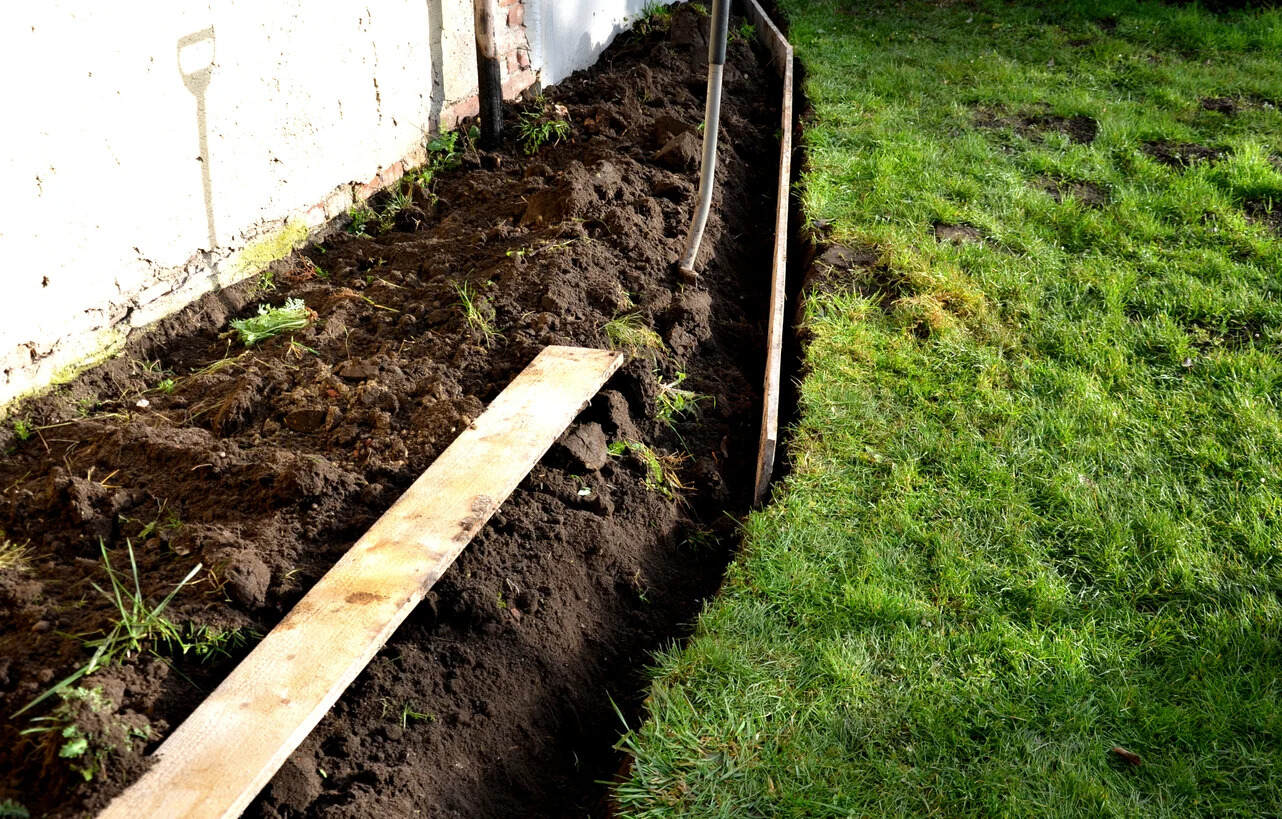
Before planting grass seed, make sure to remove any debris and weeds from the area. Loosen the soil with a rake or tiller to create a good seed bed. Consider adding topsoil or compost to improve the soil quality for better grass growth.
Read more: How To Get Rid Of Juniper Ground Cover
Leveling the Ground
Once the soil has been assessed, cleared, and amended, the next critical step in preparing the ground for grass seed is to ensure that the surface is level and uniform. Properly leveling the ground not only enhances the aesthetic appeal of your lawn but also promotes even grass growth, optimal water distribution, and easier maintenance.
Begin by inspecting the soil surface for any irregularities, low spots, or depressions that could lead to uneven moisture retention or hinder the establishment of a uniform lawn. Use a garden rake or leveling tool to redistribute soil and fill in low areas, creating a smooth and consistent surface across the entire lawn site.
It’s essential to strike a balance when leveling the ground, avoiding excessive compaction that could impede root penetration and water infiltration. Aim for a gently sloping surface that encourages proper drainage while maintaining a level appearance, ensuring that water flows away from buildings and structures to prevent pooling and waterlogging.
For larger areas or more significant elevation adjustments, consider using a lawn roller to compact the soil lightly and create a firm, even surface. This can help eliminate air pockets and promote seed-to-soil contact, facilitating the germination process and enhancing the overall establishment of your new lawn.
Furthermore, take the opportunity to address any remaining debris or rocks that may have surfaced during the soil preparation process. Clearing the area of these obstructions will contribute to a smooth and obstacle-free surface, providing an optimal environment for your grass seed to take root and flourish.
By meticulously leveling the ground, you’ll create a well-prepared canvas for seeding, ensuring that your grass seed is sown on a uniform and stable surface that promotes healthy and consistent lawn growth.
Seeding the Area
With the ground thoroughly prepared, it’s time to embark on the exciting phase of seeding the area and bringing your vision of a vibrant, lush lawn to life. Properly sowing the grass seed is a crucial step that requires attention to detail and a strategic approach to ensure successful germination and the establishment of a healthy, resilient lawn.
Before seeding, carefully select a high-quality grass seed blend that is well-suited to your climate, soil type, and intended use of the lawn. Consider factors such as sun exposure, foot traffic, and aesthetic preferences when choosing the appropriate grass species and cultivars for your lawn project.
When it comes to seeding, the key lies in achieving even coverage and proper seed-to-soil contact. Begin by dividing the area into smaller sections to facilitate thorough and uniform seeding. Use a broadcast spreader or handheld seeder to distribute the grass seed evenly, ensuring that each section receives an adequate amount of seed for optimal germination.
After seeding, lightly rake the soil surface to incorporate the seeds to a depth of about 1/4 inch. This gentle incorporation promotes seed-to-soil contact, which is essential for successful germination and the initial stages of grass growth. Avoid burying the seeds too deeply, as this can hinder their ability to sprout and emerge from the soil.
Once the seeds are sown and incorporated, gently press the soil surface with a lawn roller or by walking over the area to ensure good seed-to-soil contact. This step helps anchor the seeds in place and promotes uniform germination, setting the stage for the emergence of a dense and healthy lawn.
After seeding, lightly water the area to moisten the soil and seeds. Consistent, gentle watering is crucial during the germination and establishment phases, as it provides the moisture necessary for the seeds to sprout and the young grass plants to develop strong, resilient roots.
By carefully and methodically seeding the area, you’ll set the stage for the successful germination and establishment of a vibrant, healthy lawn that will enhance the beauty and functionality of your outdoor space.
Watering and Maintenance
After seeding the area, proper watering and ongoing maintenance are essential to support the germination and establishment of your new lawn. Consistent care and attention during the initial stages of growth will set the foundation for a healthy and resilient grass cover that enhances the beauty of your outdoor space.
Watering is a critical aspect of lawn establishment, particularly during the germination phase. Keep the seeded area consistently moist but not waterlogged, as excessive water can hinder germination and promote fungal diseases. Light, frequent watering is ideal to ensure that the soil surface remains moist without becoming saturated. Consider using a fine mist setting on a garden hose or a gentle sprinkler to achieve even water distribution.
Monitor the seeded area closely, adjusting your watering schedule based on weather conditions and the moisture levels of the soil. Avoid allowing the soil to dry out completely, as this can impede germination and jeopardize the success of your lawn establishment efforts. Additionally, be mindful of any runoff or pooling, as these may indicate uneven water distribution and potential issues with soil compaction.
As the grass seed begins to germinate and the young plants emerge, continue to provide consistent moisture to support their growth. Gradually transition to deeper, less frequent watering as the grass establishes itself, encouraging the development of robust root systems that will contribute to the long-term health and vitality of your lawn.
In addition to watering, ongoing maintenance practices such as mowing, fertilizing, and weed control will be essential as your new lawn matures. Once the grass reaches a height of 3-4 inches, it’s time to mow it for the first time. Use a sharp mower blade and adhere to the one-third rule, removing no more than one-third of the grass blade height in a single mowing session.
Furthermore, consider applying a balanced fertilizer to provide essential nutrients for healthy grass growth. Select a fertilizer specifically formulated for new lawns to support establishment and early development. Additionally, monitor the lawn for weeds and address any emerging weed growth promptly to prevent competition for resources and maintain the integrity of your grass cover.
By providing attentive watering and implementing a comprehensive maintenance plan, you’ll nurture the successful establishment of your new lawn, ensuring that it flourishes into a vibrant, resilient, and visually appealing outdoor space for years to come.
Conclusion
Preparing the ground for grass seed is a foundational step in creating a vibrant and healthy lawn that adds beauty and functionality to your outdoor space. By following the comprehensive process outlined in this guide, you’ve set the stage for successful grass seed germination and the establishment of a resilient, lush lawn that will be the pride of your property.
From assessing the soil and clearing the area to testing the soil, amending the soil, leveling the ground, seeding the area, and providing essential watering and maintenance, each step plays a crucial role in creating an optimal environment for your new lawn to thrive. By paying attention to the details and being diligent in your approach, you’ve laid the groundwork for a successful lawn establishment project.
As your grass seed germinates and your lawn begins to take shape, continue to provide attentive care and maintenance, nurturing the growth and development of the grass cover. Consistent watering, proper mowing, and thoughtful maintenance practices will contribute to the long-term health and beauty of your lawn, ensuring that it remains a vibrant and inviting outdoor oasis for years to come.
Remember, the journey to a lush and healthy lawn is a rewarding one, and the effort you invest in preparing the ground for grass seed will be reflected in the beauty and vitality of your outdoor space. Whether you’re creating a new lawn or rejuvenating an existing one, the steps outlined in this guide provide a solid framework for achieving success and enjoying the many benefits of a thriving, resilient lawn.
So, as you embark on this exciting endeavor, take pride in the careful groundwork you’ve laid, and look forward to the gratifying sight of a lush, green lawn that enhances the charm and livability of your home.
Frequently Asked Questions about How To Get Ground Ready For Grass Seed
Was this page helpful?
At Storables.com, we guarantee accurate and reliable information. Our content, validated by Expert Board Contributors, is crafted following stringent Editorial Policies. We're committed to providing you with well-researched, expert-backed insights for all your informational needs.


0 thoughts on “How To Get Ground Ready For Grass Seed”