Home>Garden Essentials>How To Seal A Ready Grass Mat
Garden Essentials
How To Seal A Ready Grass Mat
Modified: March 7, 2024
Learn how to seal a ready grass mat for your garden with our step-by-step guide. Create a durable and beautiful outdoor space with this simple DIY technique.
(Many of the links in this article redirect to a specific reviewed product. Your purchase of these products through affiliate links helps to generate commission for Storables.com, at no extra cost. Learn more)
Introduction
Welcome to our guide on how to seal a ready grass mat! Whether you are a gardening enthusiast or just looking to spruce up your outdoor space, sealing a grass mat can help to protect it from the elements, enhance its longevity, and maintain its vibrant appearance. In this article, we will walk you through the step-by-step process of sealing a ready grass mat, ensuring that your efforts yield beautiful and long-lasting results.
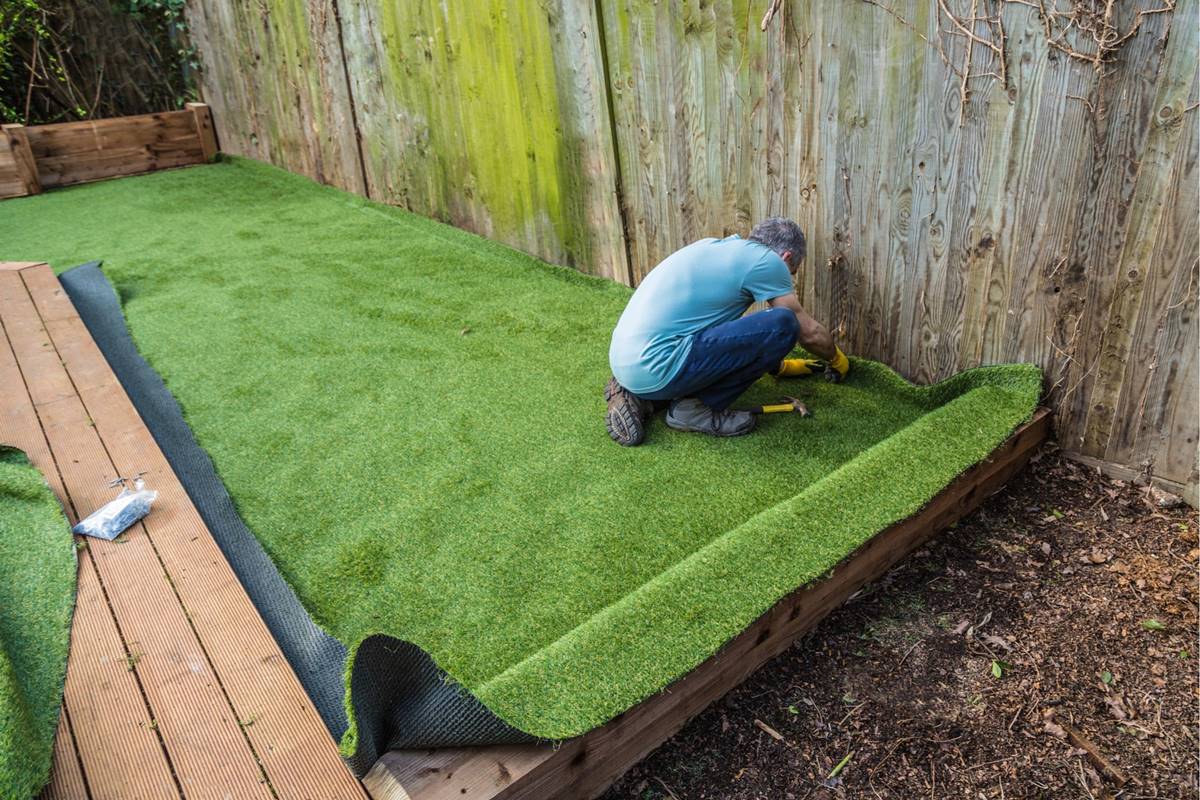
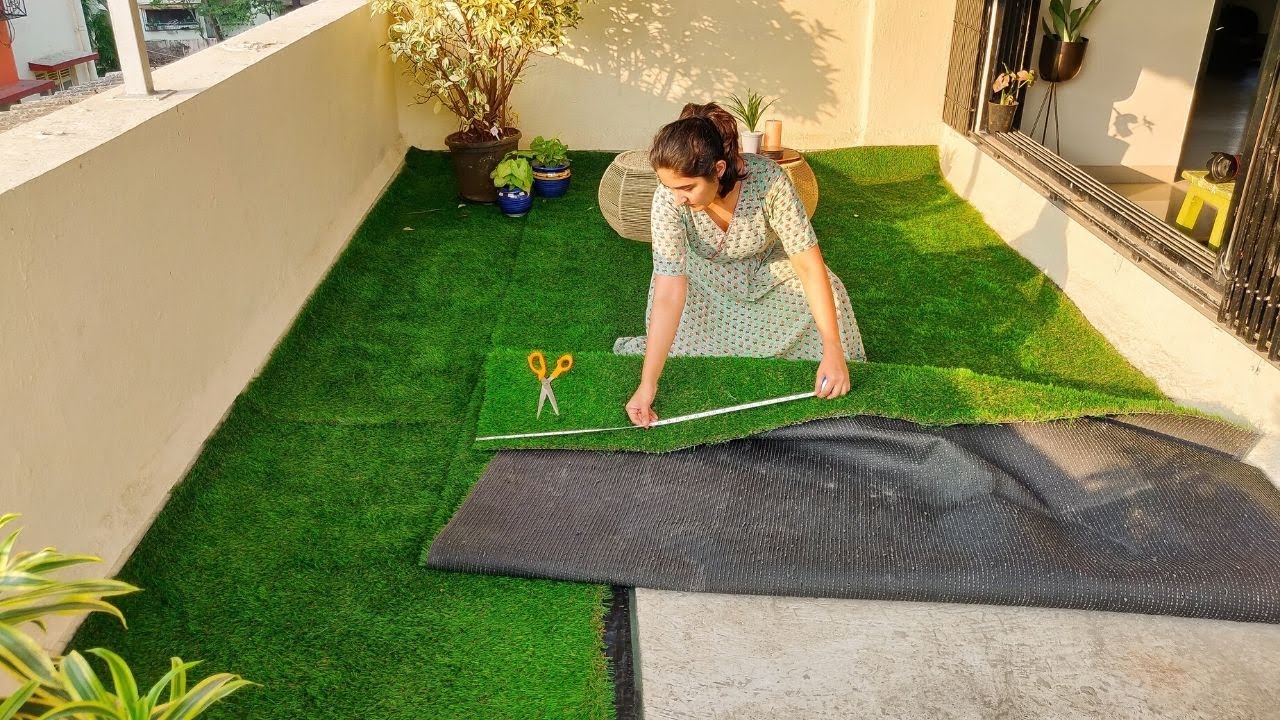
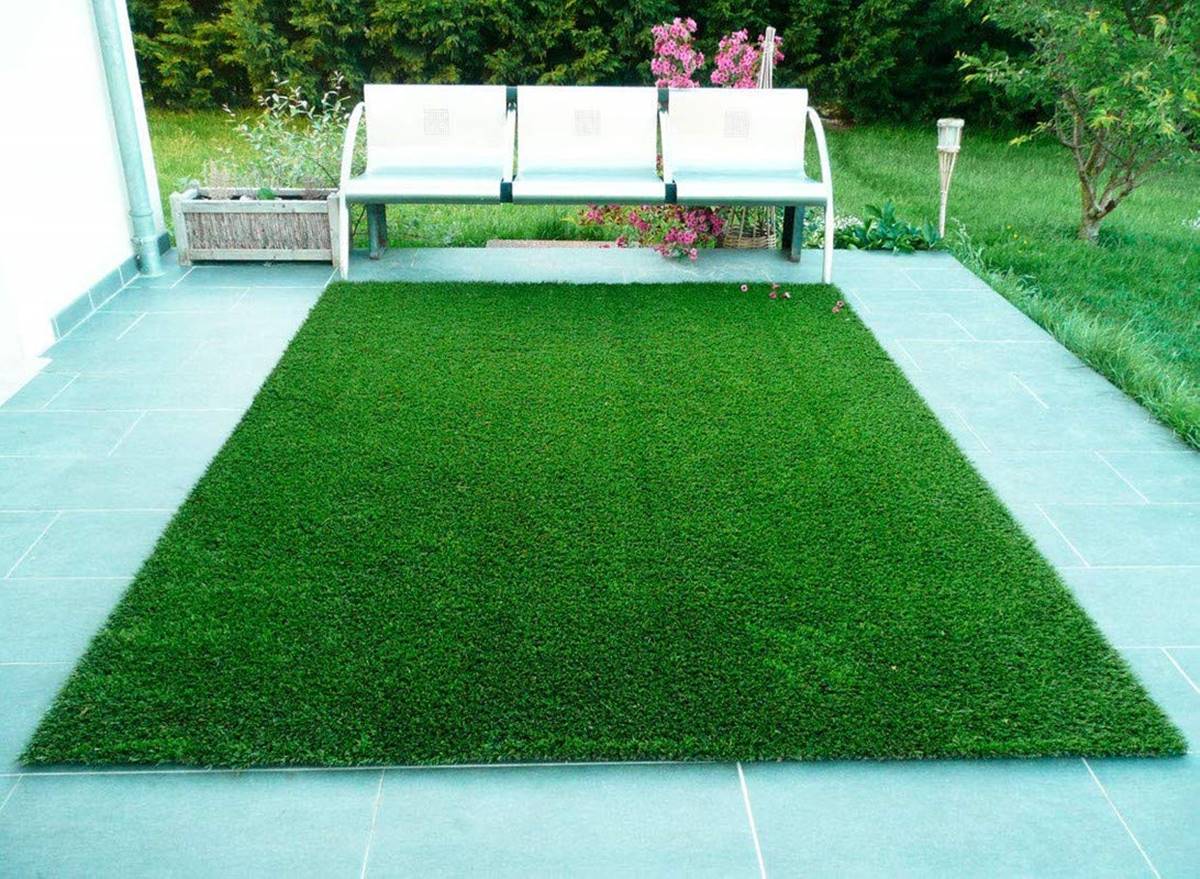
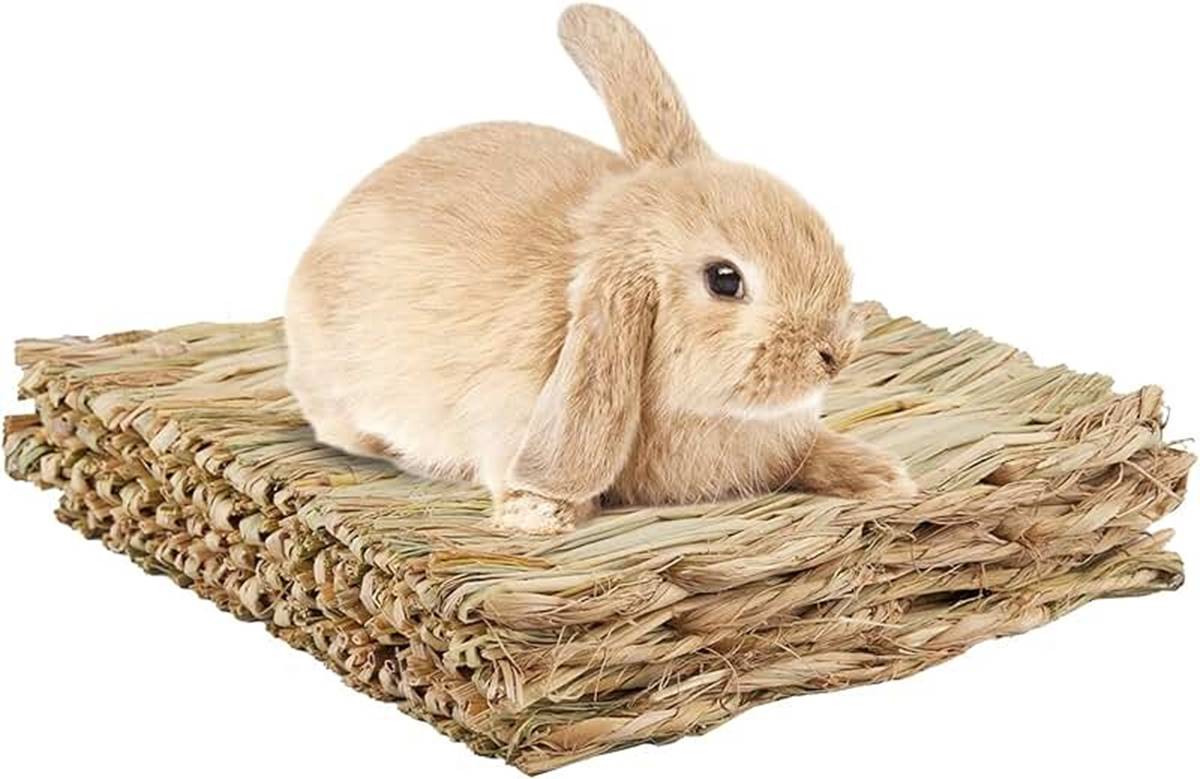
Before we begin, it is important to note that a grass mat refers to an artificial turf product designed to mimic the look and feel of natural grass. Ready grass mats are often used in outdoor spaces such as gardens, patios, and balconies to create an attractive and low-maintenance green area. By following the instructions outlined in this guide, you can ensure that your grass mat remains in top condition and continues to provide a lush and realistic aesthetic.
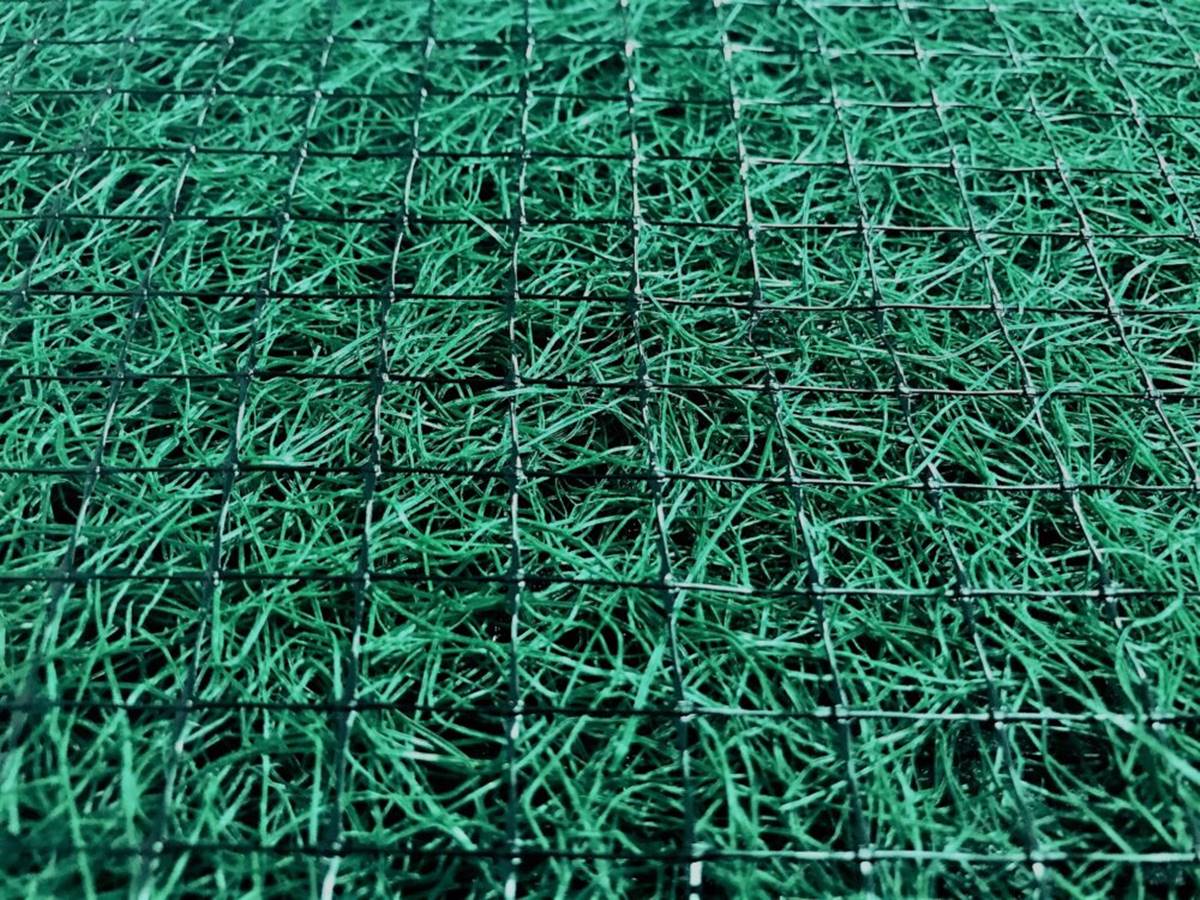
Sealing a ready grass mat involves applying a protective sealant that forms a barrier against water, UV rays, and other environmental factors that can cause damage and fading over time. Not only does this process safeguard the mat’s appearance, but it also helps to prevent mold and mildew growth, ensuring a clean and healthy outdoor environment.
In the following sections, we will detail the materials you will need and guide you through each step of the sealing process. Rest assured that sealing a ready grass mat is a straightforward task that can be accomplished with basic tools and a little bit of time and effort. So, let’s get started and transform your outdoor space into a vibrant and durable oasis!
Key Takeaways:
- Protect and Prolong
Sealing a ready grass mat protects it from damage and fading, ensuring a vibrant and resilient outdoor space. Proper preparation, application, and maintenance are key to prolonging its lifespan. - Easy and Effective
Sealing a ready grass mat is a straightforward process that enhances its longevity. Follow the steps, allow for proper curing, and enjoy a low-maintenance, lush outdoor oasis.
Read more: How To Get Ground Ready For Grass Seed
Materials Needed
Before you begin the process of sealing your ready grass mat, gather the following materials:
1. Grass mat sealant: Choose a sealant designed specifically for artificial grass. Look for ones that offer UV protection and are water-resistant.
2. Paint roller or sprayer: Depending on the size of your grass mat, you can use either a paint roller or a sprayer to evenly distribute the sealant.
3. Brushes: Have a few brushes on hand for any hard-to-reach areas or for touch-ups.
4. Water and mild detergent: You’ll need water and a mild detergent to clean the surface of the grass mat before applying the sealant.
5. Bucket: Use a bucket to mix the detergent with water for the cleaning solution.
6. Squeegee or absorbent cloth: This will be useful for removing excess water from the surface of the grass mat after cleaning.
7. Masking tape: If there are any edges or areas adjacent to the grass mat that you want to protect from the sealant, use masking tape to cover them.
8. Drop cloth or plastic sheet: Lay down a drop cloth or plastic sheet to catch any drips or spills during the sealing process.
9. Safety equipment: For your safety, wear gloves and protective eyewear while working with the sealant and cleaning solution.
10. Weather conditions: Choose a day with mild weather conditions, preferably no rain or strong winds, to ensure the proper application and drying of the sealant.
Having these materials ready before you start the sealing process will help ensure a smooth and efficient experience. Now that you have everything you need, let’s move on to the step-by-step instructions for sealing your ready grass mat.
Step 1: Preparing the Grass Mat
Before you begin applying the sealant to your ready grass mat, it is important to prepare the surface properly. Follow these steps to ensure the best results:
- Clean the grass mat: Start by removing any debris, such as leaves, dirt, or twigs, that may be on the surface of the grass mat. Use a brush or a leaf blower to sweep away loose particles.
- Mix a cleaning solution: In a bucket, combine water and a mild detergent. Follow the manufacturer’s instructions for the correct ratio of detergent to water. This solution will help remove any stubborn dirt or stains on the grass mat.
- Scrub the grass mat: Dip a soft brush or a mop into the cleaning solution and gently scrub the entire surface of the grass mat. Pay extra attention to areas with visible dirt or stains. Avoid using abrasive brushes or harsh chemicals, as they can damage the grass fibers.
- Rinse with water: Once you have thoroughly scrubbed the grass mat, rinse it well with clean water using a garden hose or a bucket. Make sure to remove all traces of the cleaning solution.
- Remove excess water: To ensure an even application of the sealant, use a squeegee or an absorbent cloth to remove excess water from the grass mat. This will also help the sealant adhere properly to the surface.
By following these steps, you will create a clean and prepared surface for the sealant to bond effectively. Once you have completed the necessary preparations, you can move on to the next step of the sealing process: cleaning and drying the surface.
Step 2: Cleaning and Drying the Surface
In this step, we will focus on thoroughly cleaning and drying the surface of your grass mat before applying the sealant. This ensures that the sealant adheres properly and provides maximum protection. Follow these steps for a clean and dry surface:
- Inspect the surface: Take a close look at the grass mat and make sure it is free from any debris or dirt that may have accumulated during the cleaning process. Remove any remaining particles using a brush or a leaf blower.
- Let it air dry: Allow the grass mat to air dry completely. This is an important step as the sealant will not properly adhere if the surface is wet or damp. Depending on the weather conditions, this may take a few hours or longer.
- Use a fan or blower: If you want to expedite the drying process, you can use a fan or a blower to help circulate air and speed up evaporation. Make sure to position the fan or blower at a safe distance to avoid damaging the grass fibers.
- Check for moisture: Before proceeding to the next step, ensure that the grass mat is completely dry. Test by touching the surface with your hand or using a moisture meter. If any moisture is present, allow more time for drying.
Properly cleaning and drying the surface of the grass mat is crucial for the successful application of the sealant. It ensures that the sealant adheres well and provides a protective barrier against external elements such as water and UV rays. Once you have confirmed that the surface is clean and dry, you are ready to move on to the next step: applying the sealant.
To seal a ready grass mat, use a clear polyurethane sealant. Apply a thin, even coat with a paintbrush and allow it to dry completely before using the mat. This will protect the grass and extend its lifespan.
Step 3: Applying the Sealant
Now that you have prepared and cleaned the surface of your grass mat, it’s time to apply the sealant. Following these steps will help ensure that the sealant is applied evenly and effectively:
- Read the instructions: Before you start applying the sealant, carefully read and follow the manufacturer’s instructions on the product label. Different sealants may have specific application guidelines, drying times, and recommended temperatures.
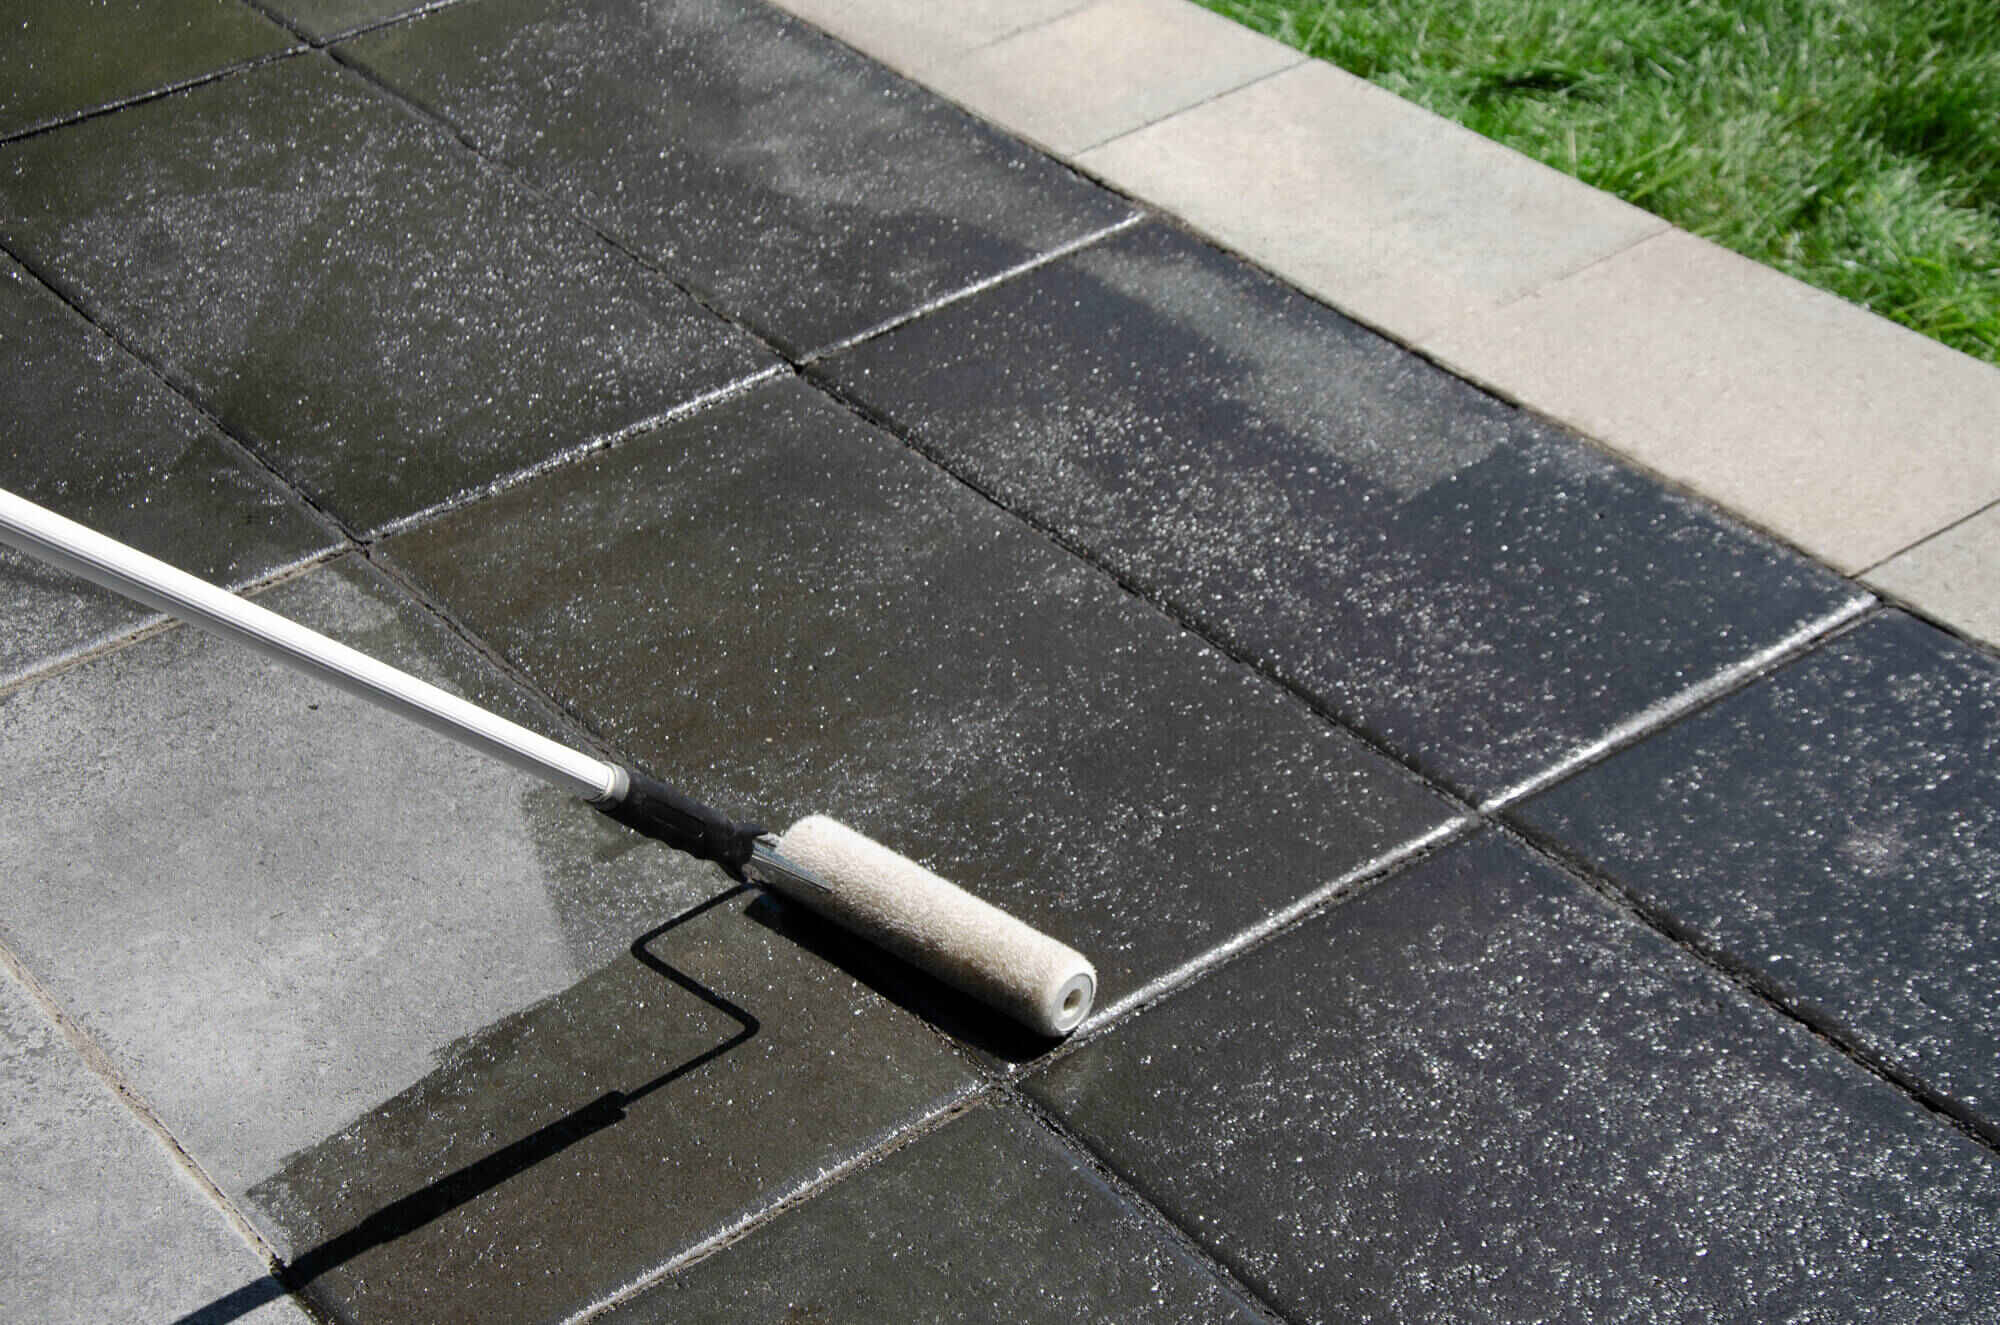
- Choose the application method: Depending on the size of your grass mat and personal preference, you can use either a paint roller or a sprayer to apply the sealant. A paint roller is ideal for smaller areas, while a sprayer is more efficient for larger surfaces.
- Pour the sealant: If using a paint roller, pour the sealant into a paint tray. If using a sprayer, transfer the sealant into the sprayer container following the manufacturer’s instructions. Make sure to strain the sealant to remove any impurities.
- Start from one corner: Begin applying the sealant from one corner of the grass mat. Use long, even strokes with the paint roller or evenly coat the surface with the sprayer. Work in small sections to ensure thorough coverage.
- Overlap for even distribution: To ensure even distribution of the sealant, overlap each stroke or spray pattern slightly. This will help avoid any missed spots or uneven application.
- Apply multiple coats (if required): Depending on the manufacturer’s instructions, you may need to apply multiple coats of sealant. Allow each coat to dry before applying the next one, following the recommended drying time.
- Work systematically: As you apply the sealant, work in a systematic and organized manner to avoid stepping on or disturbing recently coated areas. This will help maintain an even and consistent finish.
- Avoid oversaturation: Be careful not to overapply the sealant, as this can lead to a sticky or uneven surface. Follow the product instructions for the recommended coverage rate and apply accordingly.
By following these steps, you will ensure that the sealant is applied evenly and provides optimal protection for your grass mat. Once you have finished applying the sealant, allow it to cure according to the manufacturer’s instructions before moving on to the next step.
Read more: How To Lay Grass Mats
Step 4: Allowing the Sealant to Cure
After applying the sealant to your grass mat, it is crucial to allow it sufficient time to cure and set properly. This will ensure that the sealant forms a strong bond with the surface and provides maximum protection. Follow these steps to allow the sealant to cure effectively:
- Read the drying instructions: Refer to the manufacturer’s instructions to determine the recommended drying time for the sealant. The curing time can vary depending on the specific product and environmental factors.
- Maintain ideal conditions: It is important to create an environment that promotes optimal curing. Keep the area well-ventilated and avoid excessive humidity, direct sunlight, or rain during the curing process.
- Avoid foot traffic: Prevent any foot traffic or activity on the grass mat while the sealant is curing. This will prevent any accidental damage or disruption to the curing process.
- Monitor the drying progress: Regularly check the surface of the grass mat to see if the sealant has dried. You can touch a small, inconspicuous area to test if it feels dry and no longer sticky. Be patient and give it ample time to cure completely.
- Follow additional instructions: Some sealants may have specific requirements, such as avoiding water contact for a certain period of time after application. Ensure that you adhere to any additional instructions provided by the manufacturer.
- Allow extra curing time (if necessary): Depending on factors such as humidity, temperature, and the thickness of the sealant layer, you may need to allow additional curing time beyond the manufacturer’s recommendations. Make sure the sealant is fully dry and hardened before proceeding.
By allowing the sealant to cure properly, you ensure that it forms a durable protective layer over your grass mat. This layer will help safeguard the mat against water damage, fading from UV rays, and other environmental factors. Once you are confident that the sealant has fully cured, you can move on to the final step: adding the finishing touches.
Step 5: Finishing Touches
Now that the sealant has cured and your grass mat is protected, it’s time to add the finishing touches to enhance its appearance and ensure long-lasting durability. Follow these steps to complete the sealing process:
- Inspect for any missed spots: Take a close look at the grass mat to ensure that the sealant has been applied evenly and there are no areas that were missed during the application process. If you notice any spots that require additional sealant, touch them up using a small brush or foam pad.
- Remove masking tape (if used): If you applied masking tape to protect adjacent surfaces during the sealing process, gently remove it once the sealant has dried. This will reveal clean and crisp edges.
- Inspect and trim grass fibers (if needed): Check the grass mat for any loose or overgrown fibers that may have become stuck in the sealant. Trim them carefully using scissors or a utility knife to maintain a neat and uniform appearance.
- Clean up the surrounding area: Sweep or hose down the surrounding area to clean up any stray debris or sealant residue. This will ensure a tidy and well-maintained space around your grass mat.
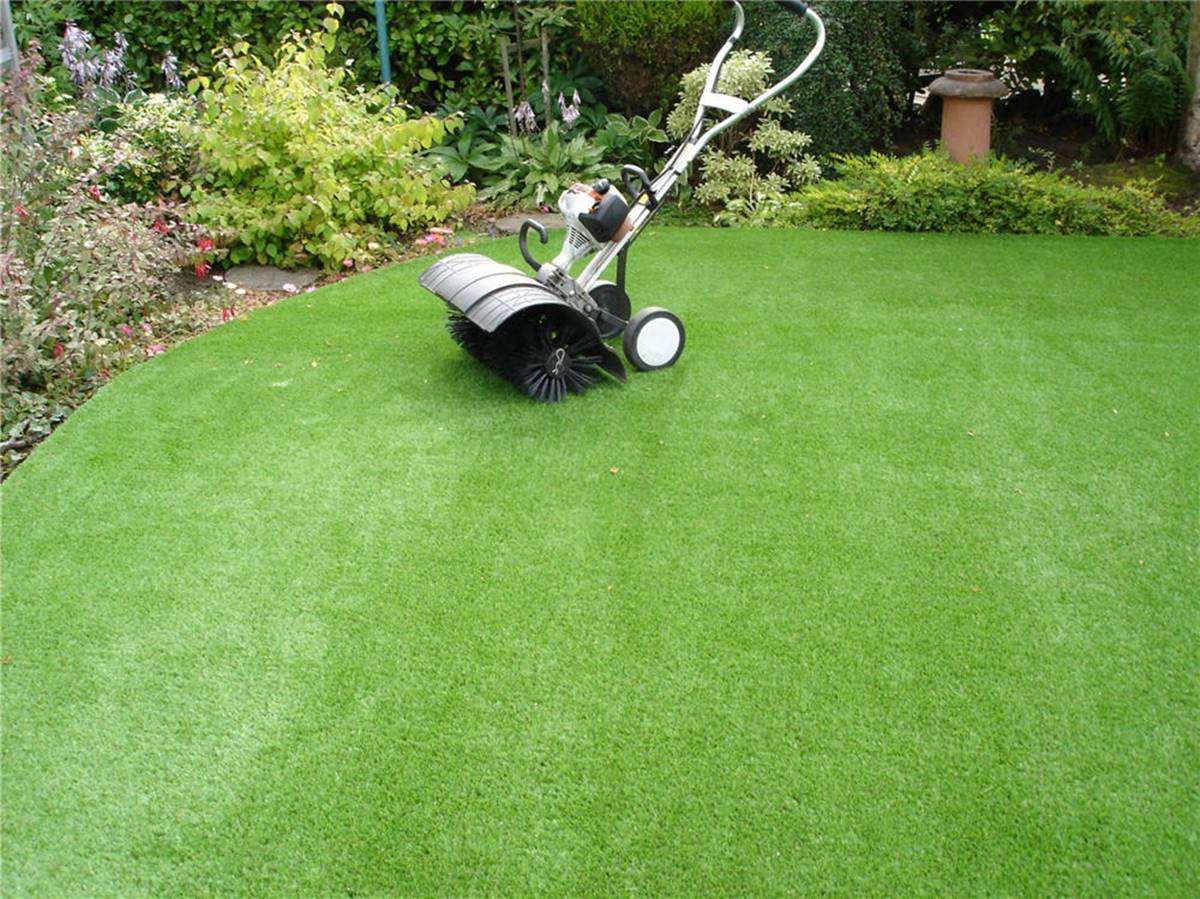
- Maintain regular cleaning and maintenance: To keep your grass mat in optimal condition, follow a regular cleaning and maintenance routine. This may include brushing or raking the grass fibers, removing any debris, and periodically washing the mat with soapy water.
- Protect the grass mat from heavy furniture or equipment: To prevent indentations or damage to the grass fibers, use furniture pads or other protective measures when placing heavy items on the grass mat. This will help maintain its integrity over time.
By completing these finishing touches and following a regular maintenance routine, you can ensure that your sealed grass mat remains attractive and protected for a long time to come. Enjoy the benefits of a lush and low-maintenance outdoor space!
Conclusion
Sealing a ready grass mat is a simple yet important step in maintaining its appearance and prolonging its lifespan. By following the step-by-step process outlined in this guide, you can ensure that your grass mat remains vibrant, protected, and resilient against various environmental factors.
Starting with proper preparation, including cleaning the grass mat and allowing it to dry, sets the foundation for a successful sealing process. Applying the sealant evenly and following the manufacturer’s instructions ensures maximum coverage and effectiveness. Allowing adequate curing time allows the sealant to form a strong protective barrier against water, UV rays, and other elements that can cause damage and fading.
Completing the finishing touches, such as checking for missed spots, removing masking tape, and trimming any loose fibers, adds a final touch of perfection to your grass mat. Regular maintenance and care, including cleaning and protecting the grass mat from heavy items, will help prolong its life and maintain its beauty for years to come.
Sealing a ready grass mat not only protects your investment but also creates a visually appealing and low-maintenance outdoor space. Enjoy the lush greenery without the hassle of watering and mowing, and relish in the knowledge that your sealed grass mat will continue to provide beauty and durability.
Remember to follow the specific instructions provided by the sealant manufacturer for the best results. Now you have all the knowledge and tools to successfully seal your ready grass mat and transform your outdoor space into a vibrant oasis that will be the envy of all. Happy sealing!
Frequently Asked Questions about How To Seal A Ready Grass Mat
Was this page helpful?
At Storables.com, we guarantee accurate and reliable information. Our content, validated by Expert Board Contributors, is crafted following stringent Editorial Policies. We're committed to providing you with well-researched, expert-backed insights for all your informational needs.


0 thoughts on “How To Seal A Ready Grass Mat”