Tableware
How To Make An Oval Tablecloth
Modified: October 18, 2024
Learn how to make an oval tablecloth to elevate your tableware game. Follow our step-by-step guide for a perfect fit and stylish finish.
(Many of the links in this article redirect to a specific reviewed product. Your purchase of these products through affiliate links helps to generate commission for Storables.com, at no extra cost. Learn more)
Introduction
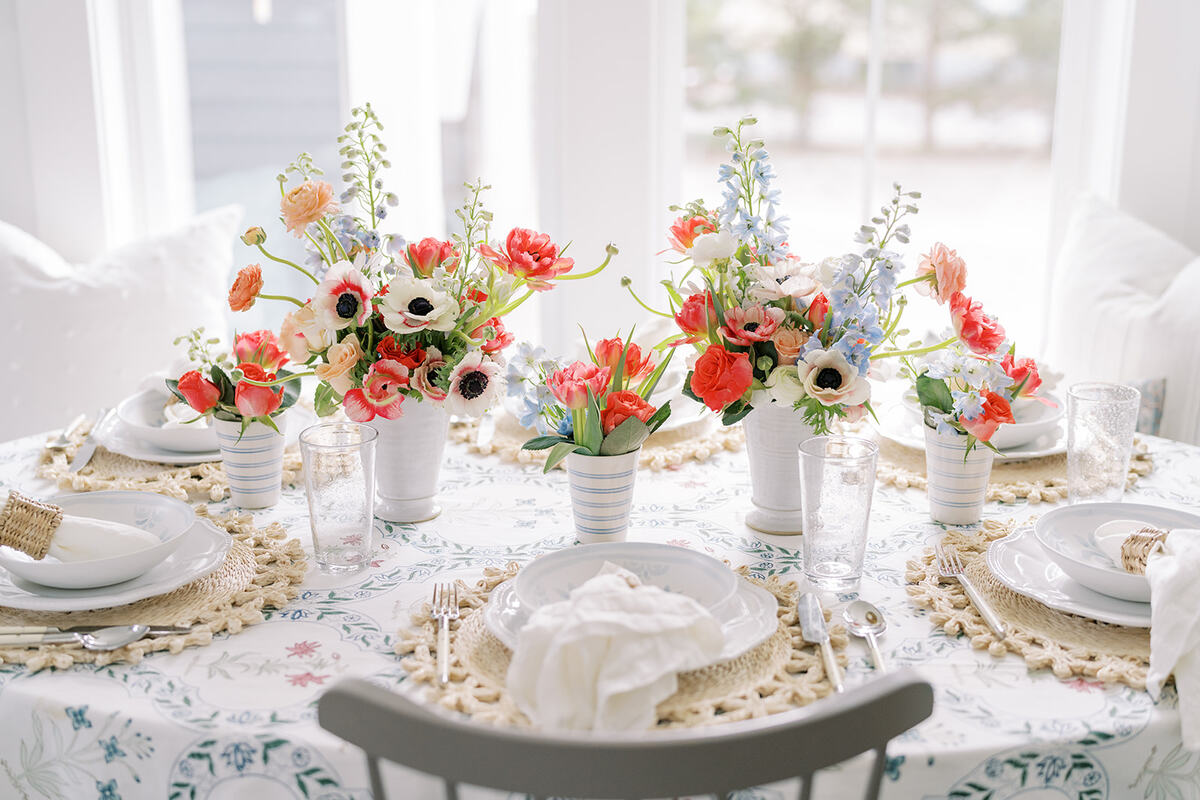
Welcome to the world of tableware crafting! Making your own oval tablecloth can be an enjoyable and rewarding experience. Whether you're a seasoned seamstress or a novice crafter, creating a customized tablecloth allows you to express your creativity and personalize your dining space.
Crafting a tablecloth from scratch provides the opportunity to select the perfect fabric, tailor the dimensions to fit your table precisely, and add unique embellishments to complement your décor. With a few essential materials and some basic sewing skills, you can embark on this delightful project and produce a stunning oval tablecloth that will be the envy of your guests.
In this comprehensive guide, we will walk you through the step-by-step process of making an oval tablecloth. From selecting the ideal fabric to sewing the perfect hem and creating the distinctive oval shape, you'll learn all the techniques necessary to bring your vision to life. Whether you're aiming for a rustic, farmhouse-inspired aesthetic or a more modern and elegant look, this guide will equip you with the knowledge and skills to craft a tablecloth that suits your style and preferences.
So, gather your materials, prepare your sewing machine, and let's embark on this creative journey together. By the end of this guide, you'll have a beautiful, handmade oval tablecloth that will add a touch of charm and sophistication to your dining area. Let's dive in and unleash your inner crafting prowess!
Key Takeaways:
- Crafting your own oval tablecloth allows you to express creativity, personalize your dining space, and add a touch of charm and sophistication to your home.
- By following simple steps and adding finishing touches, you can create a stunning oval tablecloth that reflects your style and elevates your dining area with elegance.
Materials Needed
Before diving into the crafting process, it’s essential to gather all the necessary materials. Here’s a list of items you’ll need to create your own oval tablecloth:
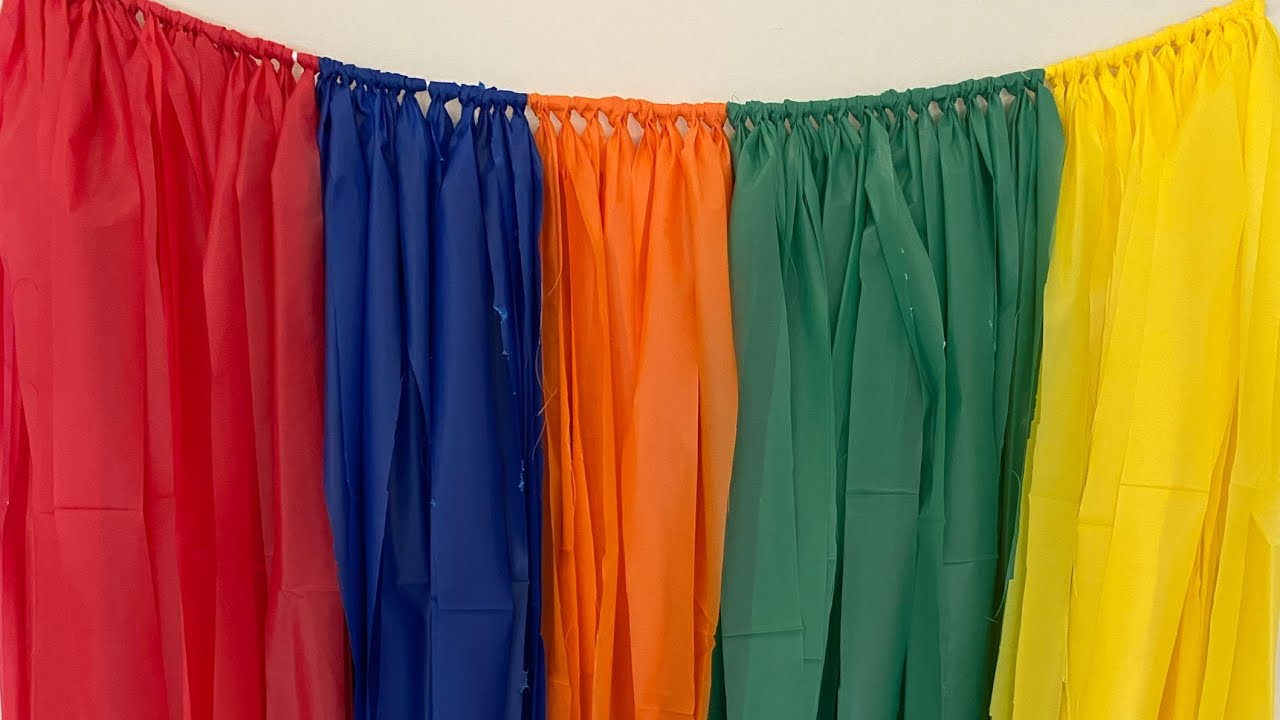
- Fabric: Choose a fabric that suits your style and complements your dining area. Cotton, linen, and polyester blends are popular choices. Ensure that the fabric is wide enough to accommodate the entire oval shape of your table.
- Measuring Tape: A flexible measuring tape will be indispensable for accurately determining the dimensions of your table and the fabric.
- Fabric Scissors: High-quality fabric scissors will make cutting the fabric a breeze and ensure clean, precise edges.
- Pins: Straight pins are essential for securing the fabric in place while sewing and cutting.
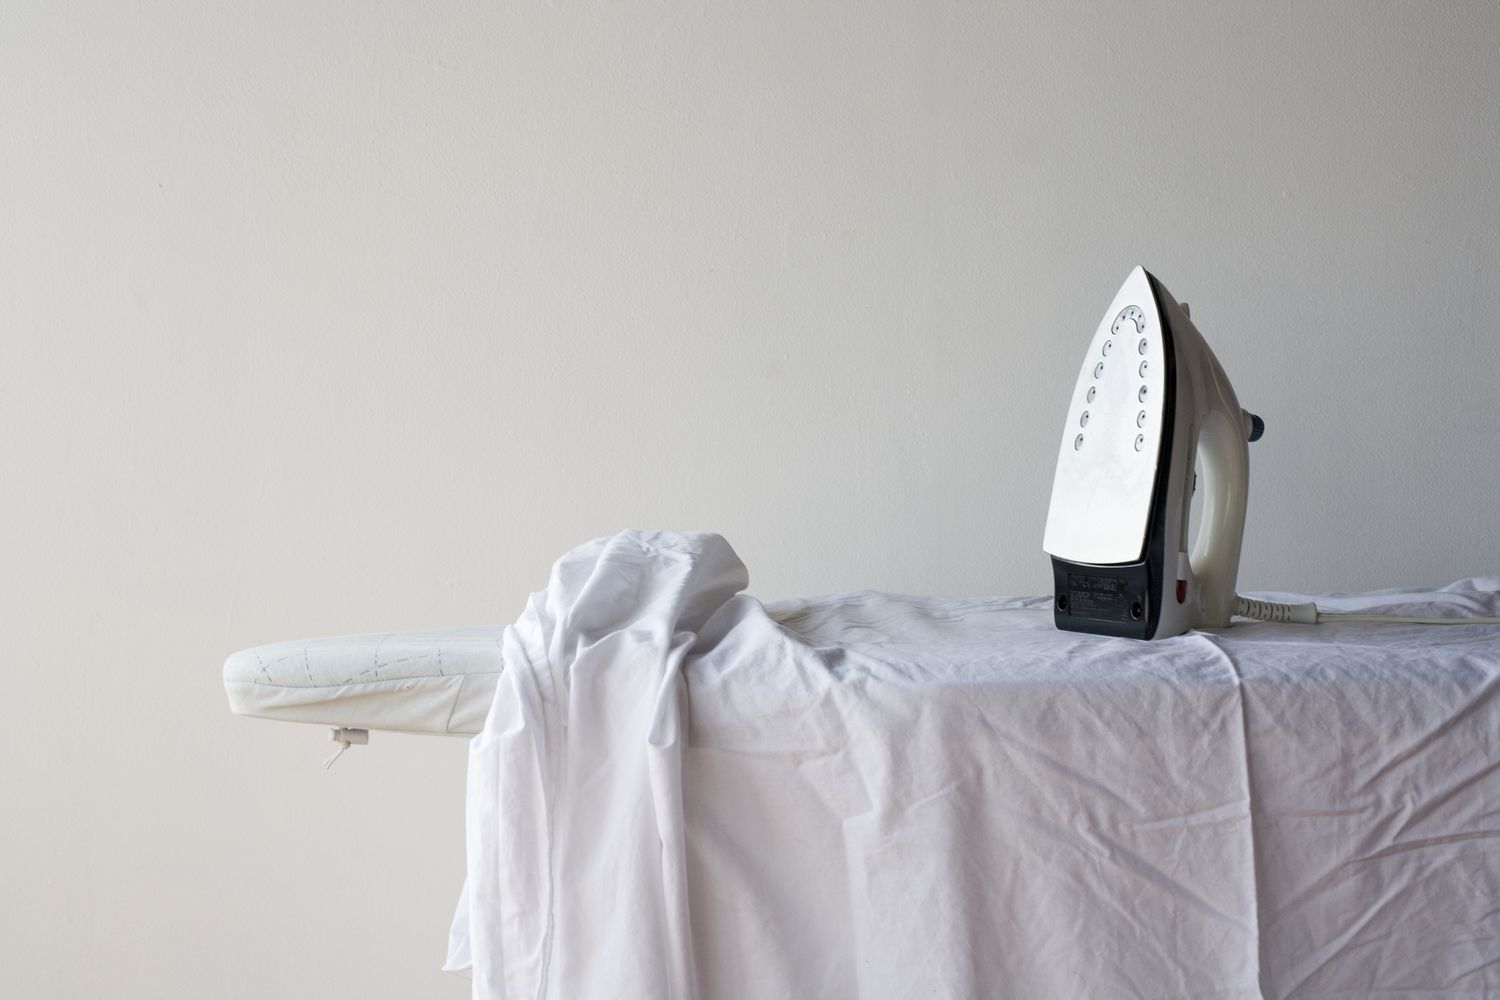
- Iron and Ironing Board: A well-pressed fabric is crucial for achieving professional-looking results. An iron and ironing board will be used throughout the crafting process.
- Sewing Machine and Thread: A reliable sewing machine and matching thread will be your primary tools for sewing the tablecloth.
- Chalk or Fabric Marker: These tools will be used for marking the fabric before cutting and sewing, ensuring accuracy and precision.
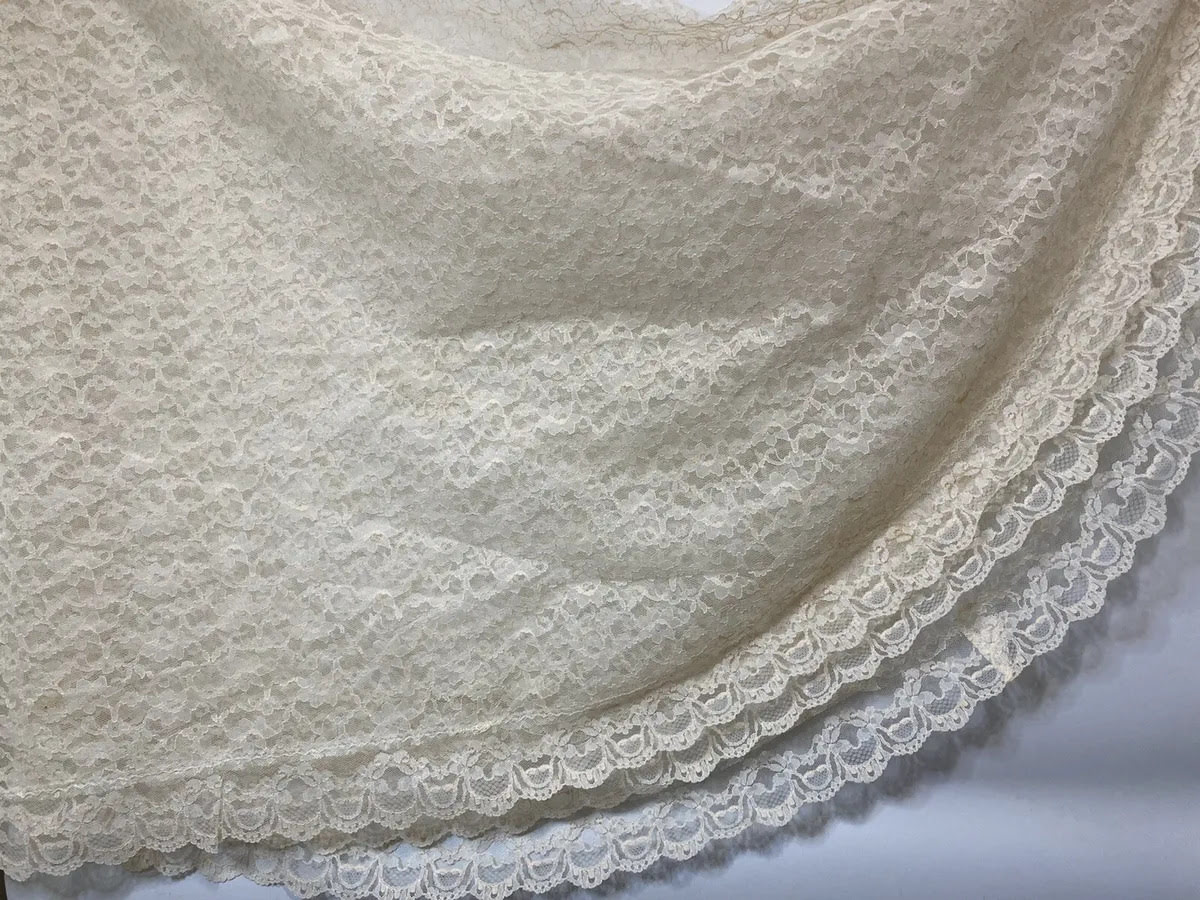
- Trim or Lace (Optional): If you desire decorative embellishments, consider adding trim or lace to adorn the edges of the tablecloth.
By having these materials at your disposal, you’ll be well-equipped to commence the crafting journey and create a stunning oval tablecloth that reflects your personal style and adds a touch of elegance to your dining space.
Measuring and Cutting the Fabric
Now that you have gathered all the necessary materials, it’s time to embark on the initial steps of crafting your oval tablecloth. Proper measurements and precise cutting are crucial for achieving a polished and professional-looking result. Here’s a detailed guide on measuring and cutting the fabric:
Step 1: Measure Your Table
Begin by measuring the length and width of your table. For an oval table, measure the longest length and the widest width, ensuring that the tape measure runs along the center of the table. Make a note of these measurements, as they will determine the dimensions of your tablecloth.
Step 2: Determine the Fabric Dimensions
To calculate the fabric dimensions, add the desired drop length to both the length and width measurements. The drop length refers to the amount of fabric that hangs over the edges of the table. A standard drop length is approximately 8 to 12 inches, but you can adjust this based on your preference.
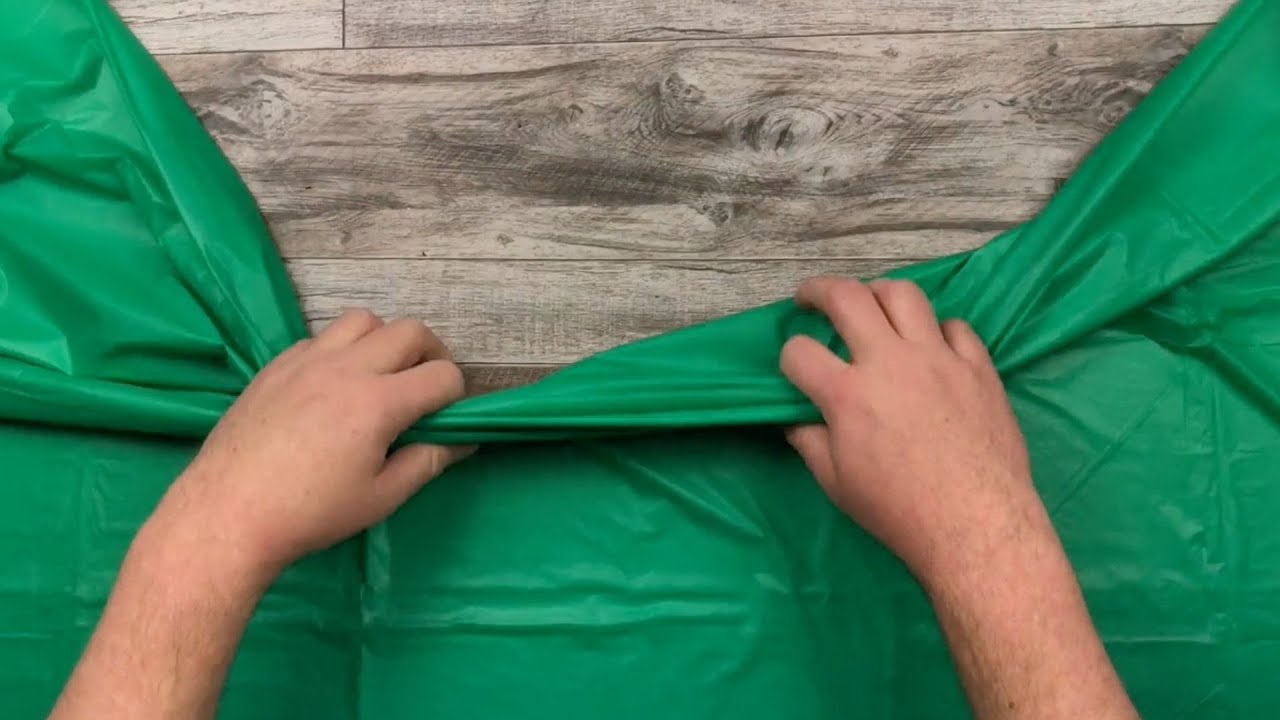
Step 3: Cut the Fabric
Lay the fabric on a flat, spacious surface, ensuring that it is free from wrinkles and creases. Use your measuring tape and fabric marker to outline the dimensions of the tablecloth, incorporating the drop length into your measurements. Carefully cut along the marked lines, using sharp fabric scissors to achieve clean and straight edges.
Step 4: Hem the Edges
Once the fabric is cut to the appropriate size, it’s time to sew the hem. Fold the edges of the fabric over by 1/4 inch and then fold them over again by the same width to conceal the raw edges. Secure the folded hems in place with pins and stitch along the edge to create a neat and durable hemline.
By meticulously following these steps, you’ll successfully measure, cut, and prepare the fabric for the subsequent stages of crafting your oval tablecloth. Accurate measurements and precise cutting are foundational elements in achieving a beautifully tailored and visually pleasing tablecloth.
When cutting fabric for an oval tablecloth, use a large piece of paper to create a template first. This will ensure that the oval shape is symmetrical and the right size for your table.
Sewing the Hem
With the fabric cut to the desired dimensions, the next crucial step in crafting your oval tablecloth is sewing the hem. A well-executed hem not only adds a polished and professional finish to the tablecloth but also ensures that the edges are neatly secured and resistant to fraying. Follow these steps to sew the perfect hem:
Step 1: Prepare the Sewing Machine
Thread your sewing machine with a thread color that complements the fabric. Set the machine to a straight stitch and adjust the stitch length according to the weight and type of fabric you’re working with. A shorter stitch length is suitable for lighter fabrics, while a longer stitch length is preferable for heavier materials.
Step 2: Fold and Pin the Hem
Begin by folding the edge of the fabric over by 1/4 inch to conceal the raw edge. Then, fold it over again by the same width to create a double-fold hem. Use straight pins to secure the folded hem in place at regular intervals along the edge of the fabric. Ensure that the pins are positioned perpendicular to the edge to facilitate easy removal as you sew.
Step 3: Stitch the Hem
With the hem securely pinned, guide the fabric under the presser foot of the sewing machine. Start sewing at one corner of the tablecloth, backstitching at the beginning to reinforce the stitching. Sew along the edge of the folded hem, removing the pins as you approach them. Maintain a consistent seam allowance to ensure an even and professional-looking hem.
Step 4: Finishing Touches
Once you’ve sewn around the entire perimeter of the tablecloth, backstitch at the end to secure the stitching. Trim any loose threads and inspect the hem for any irregularities or missed stitches. If desired, press the hem with an iron to ensure a crisp and smooth finish.
By following these steps, you’ll successfully sew a flawless hem, elevating the overall appearance of your oval tablecloth. A meticulously executed hem not only enhances the aesthetic appeal of the tablecloth but also contributes to its longevity and durability, ensuring that it withstands countless gatherings and occasions with grace and style.
Creating the Oval Shape
After sewing the hem, the next critical step in crafting your oval tablecloth is shaping the fabric to achieve the distinctive oval silhouette. This process requires precision and attention to detail to ensure that the tablecloth fits your oval table impeccably. Follow these steps to create the perfect oval shape:
Step 1: Find the Center Point
Lay the tablecloth fabric on a flat surface, ensuring that the hemmed edges are smooth and even. Locate the center point of the longer side of the tablecloth by folding it in half and marking the midpoint with a fabric marker or pin. This center point will serve as the reference for shaping the oval.
Step 2: Determine the Oval Dimensions
Using your measuring tape and fabric marker, measure and mark the desired width of the oval at the center point. The width should correspond to the widest part of your oval table, ensuring a snug and tailored fit. Then, mark the length of the oval from the center point to each end, ensuring symmetry and balance on both sides.
Step 3: Create the Curved Edges
With the dimensions marked, gently curve the fabric from the center point to the end points, creating a smooth and even curve on both sides. Use a fabric marker to outline the curved shape, ensuring that the curvature is consistent and symmetrical. Take your time to achieve the desired oval shape, adjusting the curves as needed to achieve a balanced and harmonious silhouette.
Step 4: Cut the Oval Shape
Once you’re satisfied with the marked oval shape, carefully cut along the lines to create the distinctive oval silhouette. Use sharp fabric scissors to ensure clean and precise edges, maintaining the curvature of the oval as you cut. Take care to trim any excess fabric, ensuring that the edges are smooth and free from jagged edges or irregularities.
By diligently following these steps, you’ll successfully shape the fabric into a refined and elegant oval, tailored to fit your table exquisitely. The creation of the oval shape is a pivotal stage in the crafting process, setting the stage for a beautifully customized tablecloth that will elevate your dining space with its charm and sophistication.
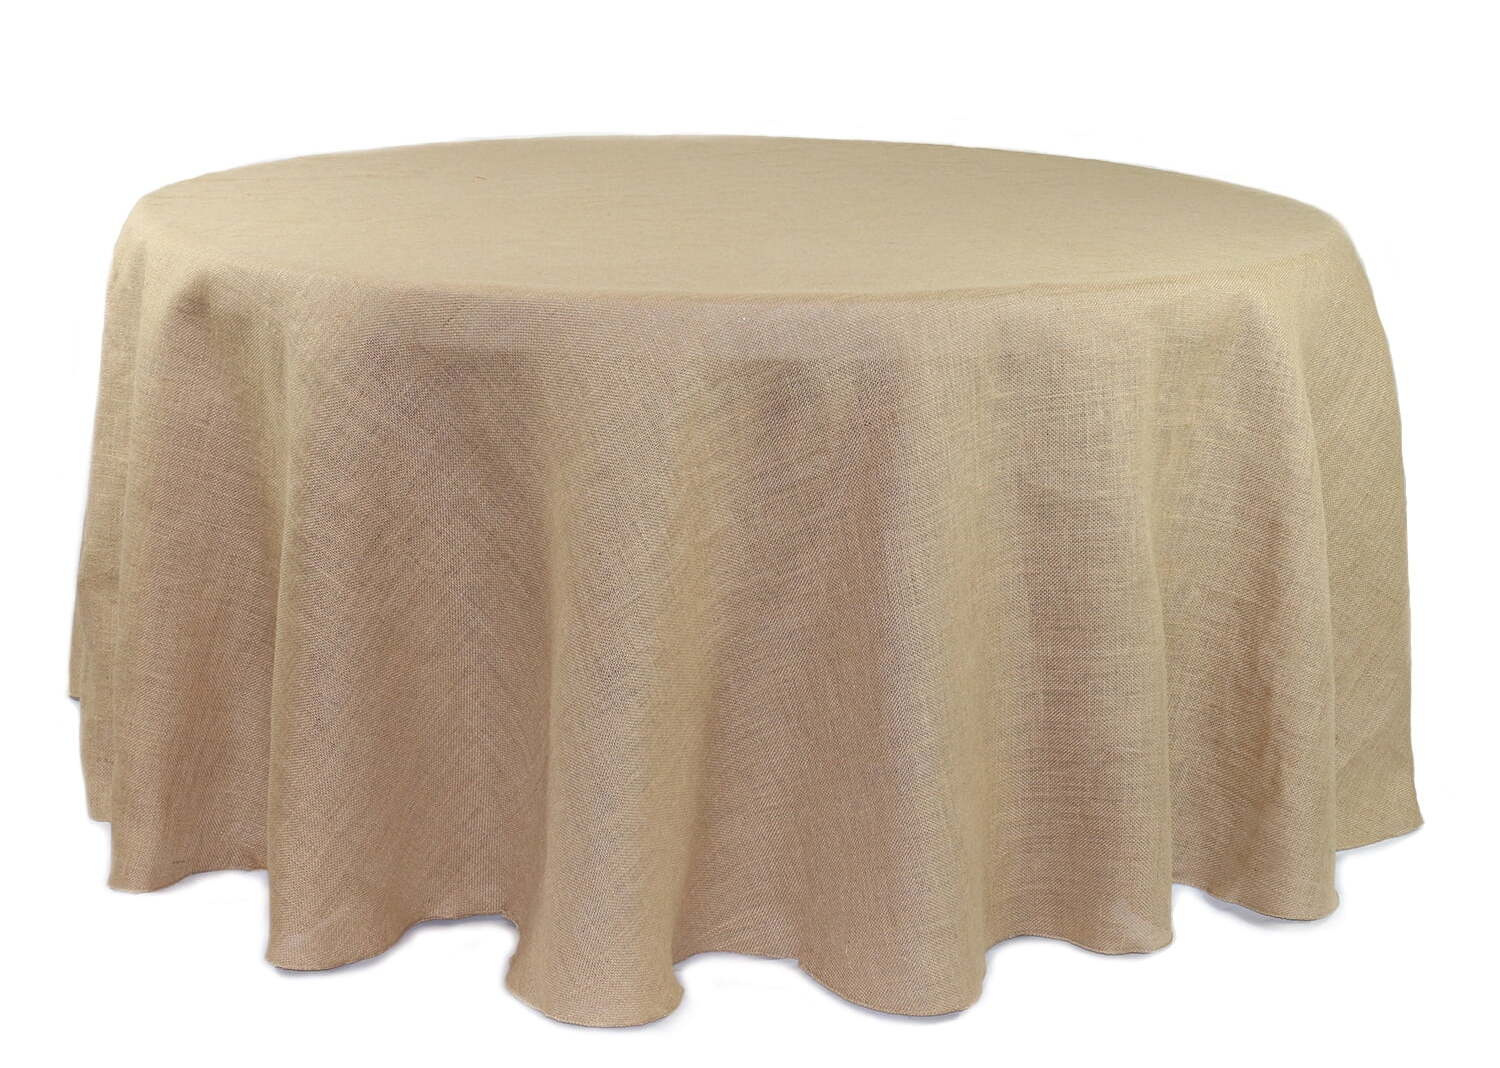
Read more: How To Make Burlap Tablecloths
Finishing Touches
As you near the completion of crafting your oval tablecloth, it’s time to add the finishing touches that will enhance its visual appeal and ensure its longevity. These final steps will elevate the tablecloth, transforming it into a stunning and functional centerpiece for your dining area. Here’s a guide to the finishing touches:
Step 1: Press the Tablecloth
Before showcasing your tablecloth, it’s essential to give it a final press to ensure a smooth and wrinkle-free appearance. Lay the tablecloth on an ironing board and gently press it with a warm iron, paying special attention to the hem and the newly shaped oval edges. A well-pressed tablecloth exudes a sense of elegance and refinement.
Step 2: Add Decorative Embellishments (Optional)
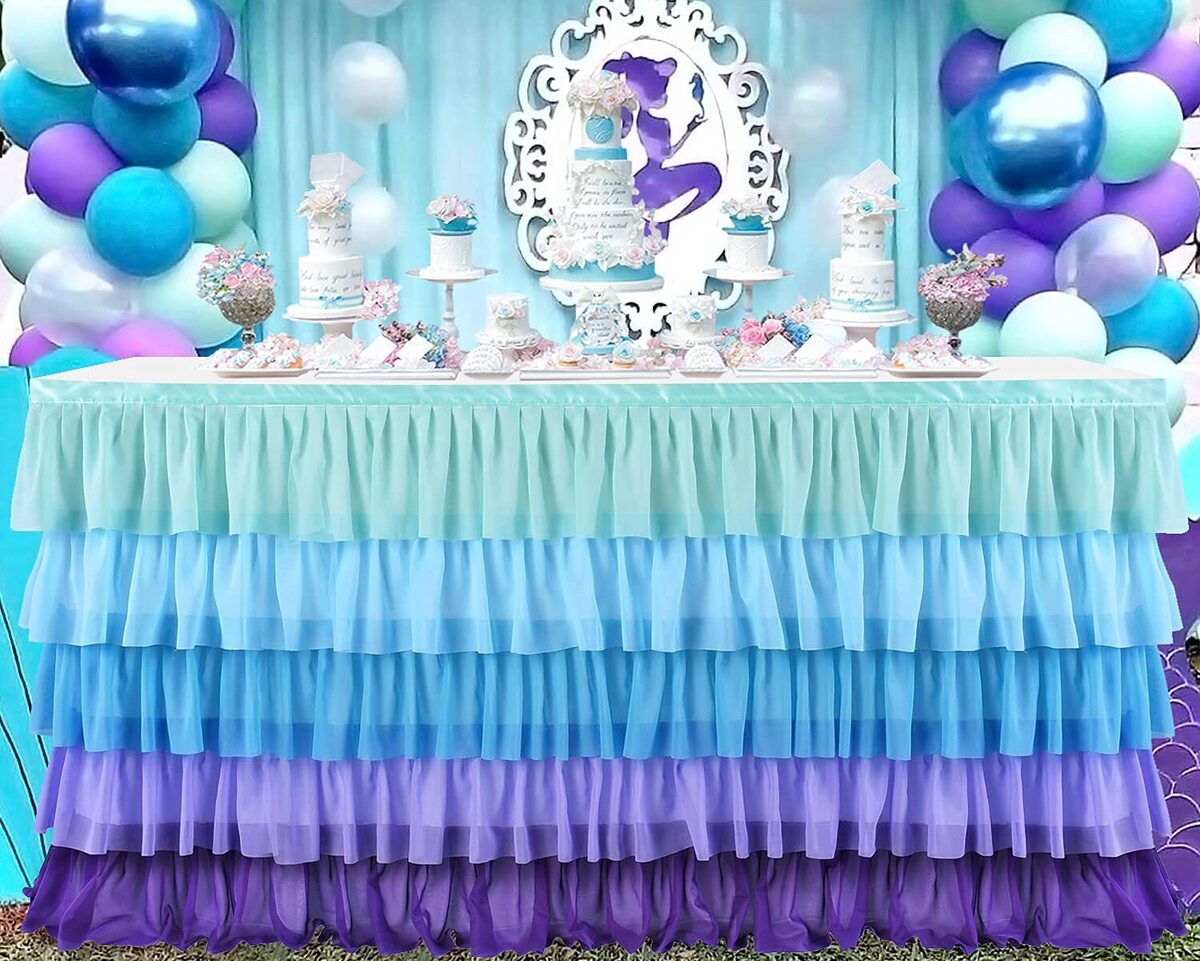
If you desire a decorative flourish, consider adding embellishments such as lace, trim, or embroidery to the edges of the tablecloth. These decorative elements can impart a touch of sophistication and individuality to the tablecloth, elevating its visual appeal and complementing your dining décor. Carefully sew the embellishments in place, ensuring that they are securely attached.
Step 3: Inspect and Reinforce Seams
Thoroughly inspect the seams and edges of the tablecloth to ensure that they are securely stitched and free from any loose threads or imperfections. Reinforce any weak spots or areas of concern by restitching them, ensuring that the tablecloth is durable and capable of withstanding regular use and laundering.
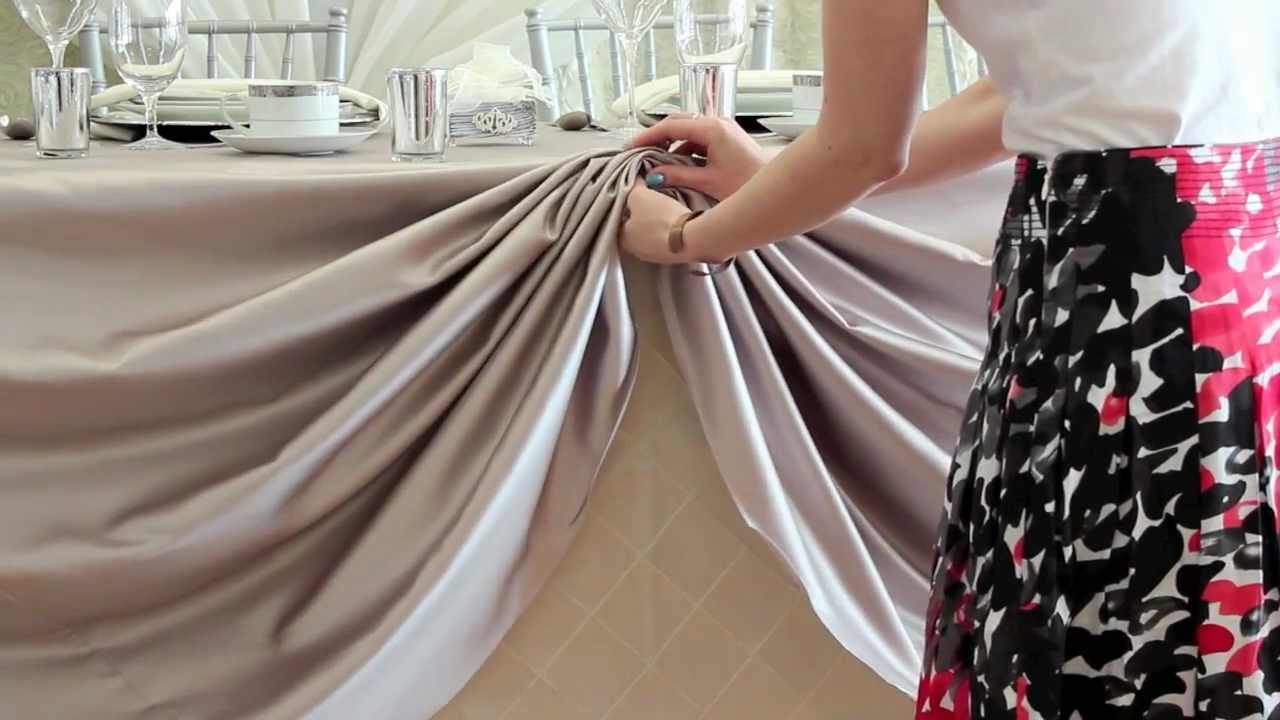
Step 4: Display and Enjoy
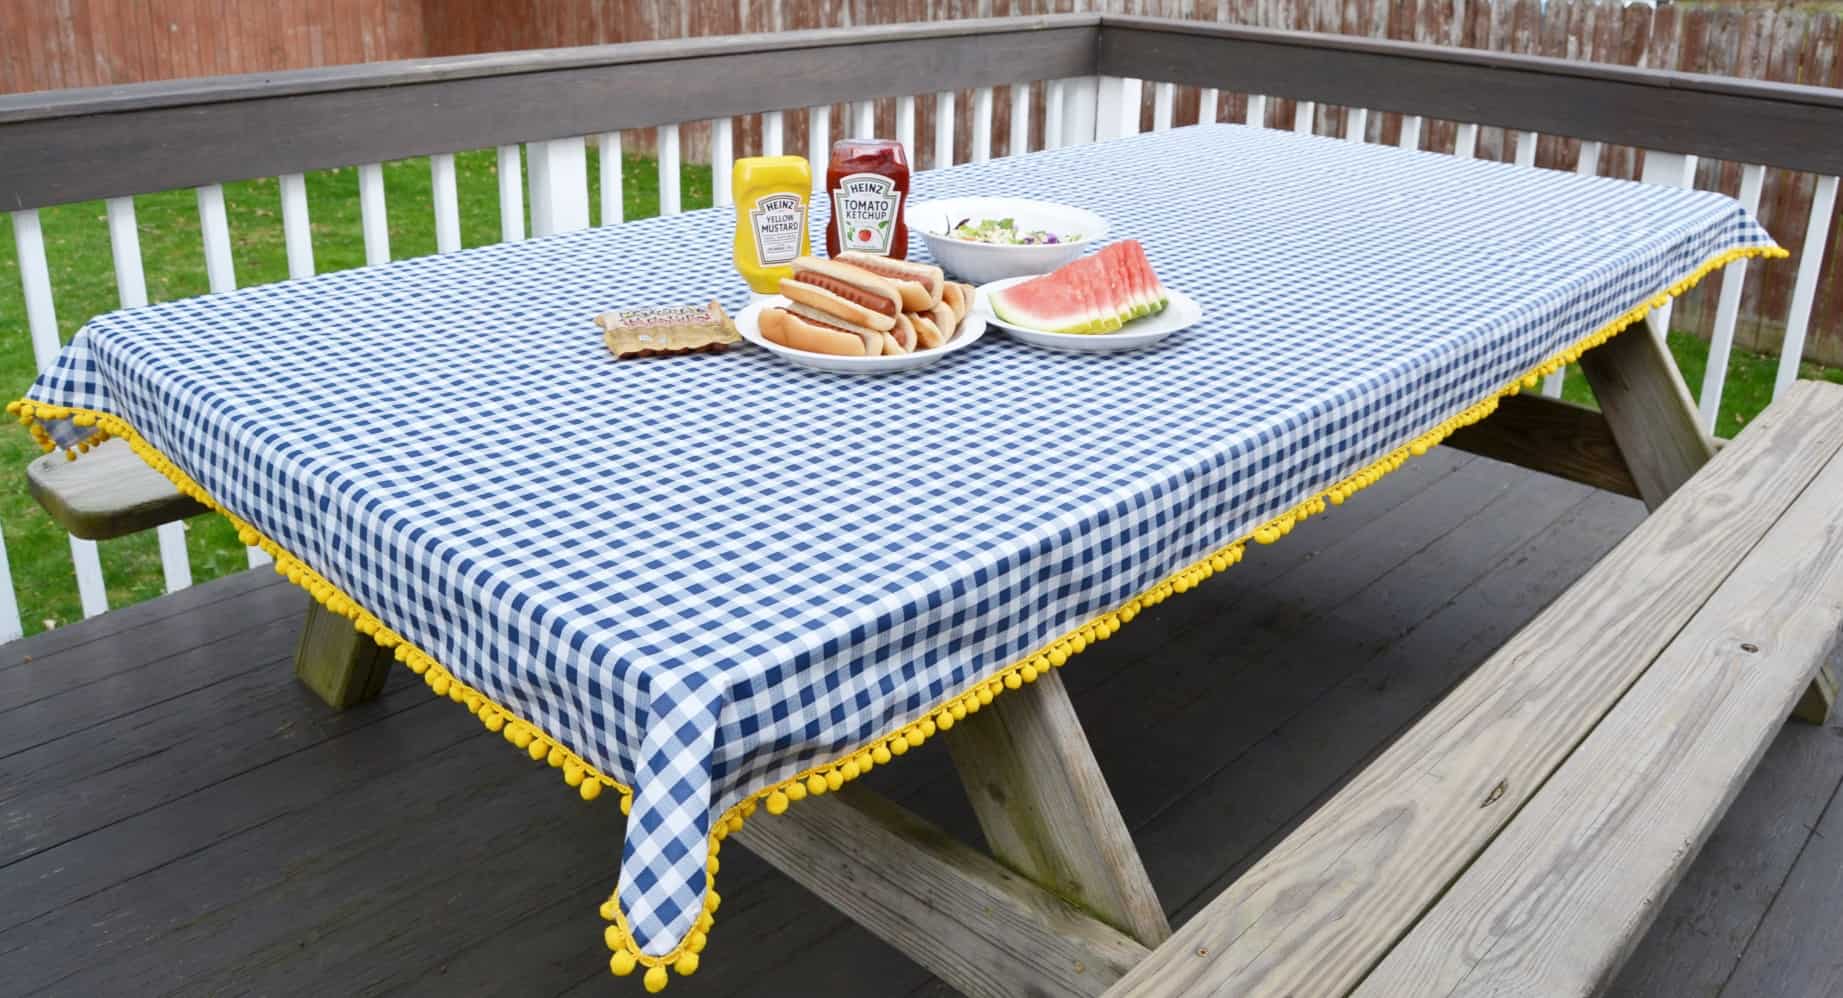
With the finishing touches complete, it’s time to proudly display your handmade oval tablecloth on your dining table. Admire the beauty of your creation and revel in the satisfaction of crafting a bespoke tablecloth that reflects your style and creativity. Whether for everyday use or special occasions, your tablecloth will serve as a charming and functional accent in your home.
By attending to these finishing touches, you’ll add a touch of finesse and individuality to your oval tablecloth, transforming it into a captivating and practical addition to your dining space. Embrace the opportunity to showcase your craftsmanship and enjoy the delightful ambiance that your handmade tablecloth brings to your home.
Frequently Asked Questions about How To Make An Oval Tablecloth
Was this page helpful?
At Storables.com, we guarantee accurate and reliable information. Our content, validated by Expert Board Contributors, is crafted following stringent Editorial Policies. We're committed to providing you with well-researched, expert-backed insights for all your informational needs.

0 thoughts on “How To Make An Oval Tablecloth”