Home>Gardening & Outdoor>Outdoor Recreation & Activities>How To Close A Swimming Pool For The Winter
Outdoor Recreation & Activities
How To Close A Swimming Pool For The Winter
Published: February 17, 2024
Learn the best way to close your swimming pool for the winter with our expert tips and advice. Keep your outdoor recreation area in top shape for the next season.
(Many of the links in this article redirect to a specific reviewed product. Your purchase of these products through affiliate links helps to generate commission for Storables.com, at no extra cost. Learn more)
Choosing the Right Time
Closing your swimming pool for the winter is a crucial task that requires careful planning and timing. The ideal time to close your pool largely depends on the climate of your region and the typical weather patterns during the fall and winter months. By choosing the right time to initiate the pool-closing process, you can effectively safeguard your pool from potential damage caused by freezing temperatures and harsh winter conditions.
In regions with distinct seasonal changes, it is generally recommended to close the pool when the average daily temperatures consistently drop below 70°F (21°C). This typically occurs in the late summer or early fall. By closing the pool during this period, you can prevent the water from becoming too cold, which can lead to the growth of algae and other microorganisms. Additionally, closing the pool before the temperatures plummet significantly reduces the risk of damage to the pool's plumbing and equipment.
However, in milder climates where temperatures remain relatively warm throughout the year, the timing for closing the pool may differ. It is essential to monitor the weather forecasts and consider the long-term outlook before deciding on the appropriate time to begin the winterization process. By doing so, you can ensure that the pool is closed at a time when the risk of freezing is minimal, thereby preserving the integrity of the pool's components.
Furthermore, it is important to take into account any upcoming events or gatherings that may necessitate the use of the pool. Planning the pool closure around such occasions allows you to maximize the enjoyment of the pool while also ensuring that it is properly prepared for the winter months.
Ultimately, choosing the right time to close your swimming pool for the winter is a strategic decision that requires careful consideration of the local climate, weather trends, and personal scheduling. By proactively assessing these factors, you can effectively protect your pool and set the stage for a smooth and successful winterization process.
Key Takeaways:
- Choose the right time to close your pool based on the weather to prevent damage and ensure a smooth winterization process. Consider upcoming events for optimal enjoyment and preparation.
- Balance your pool’s water chemistry, clean and vacuum the pool, remove accessories, lower the water level, drain and winterize the plumbing, and cover the pool for a hassle-free winterization process and a well-preserved pool.
Balancing the Water Chemistry
Balancing the water chemistry of your swimming pool is a critical step in preparing it for the winter months. Properly balanced water not only protects the pool's surfaces and equipment but also helps prevent the growth of algae and other harmful microorganisms during the dormant period. Here's a comprehensive guide to effectively balance the water chemistry of your pool before closing it for the winter:
1. Test the Water
Begin by testing the pool water using a reliable water testing kit. This will provide accurate readings of the water's pH, alkalinity, and calcium hardness levels. Understanding these parameters is essential for determining the necessary adjustments to achieve balanced water chemistry.
2. Adjust pH Levels
Maintaining the correct pH level is crucial for preserving the pool's surfaces and equipment. The ideal pH range for pool water is between 7.4 and 7.6. If the pH deviates from this range, use pH increaser or decreaser to bring it within the recommended levels.
3. Stabilize Alkalinity
Next, focus on stabilizing the alkalinity of the pool water. Alkalinity acts as a buffer, helping to prevent rapid pH fluctuations. The recommended alkalinity range is 80-120 parts per million (ppm). If necessary, use an alkalinity increaser or decreaser to achieve the optimal range.
Read more: How Do You Winterize A Swimming Pool
4. Adjust Calcium Hardness
Calcium hardness refers to the concentration of dissolved calcium in the water. Maintaining the appropriate calcium hardness level (generally 200-400 ppm) helps prevent corrosion of the pool surfaces and equipment. Use a calcium hardness increaser if the levels are too low, or consider dilution if they are excessively high.
5. Shock the Pool
Before closing the pool, it's advisable to shock the water with a high-quality pool shock treatment. This helps eliminate any lingering contaminants and organic matter, ensuring that the water is clean and sanitized before the winterization process.
6. Add Winterizing Chemicals
In addition to balancing the fundamental parameters, consider adding winterizing chemicals to the pool water. These specially formulated chemicals help prevent algae growth and protect the water from staining and scaling during the winter months.
By meticulously balancing the water chemistry of your swimming pool, you can safeguard its integrity and ensure that it remains in optimal condition throughout the winter. This proactive approach not only minimizes the risk of damage but also simplifies the process of reopening the pool when the warmer seasons return.
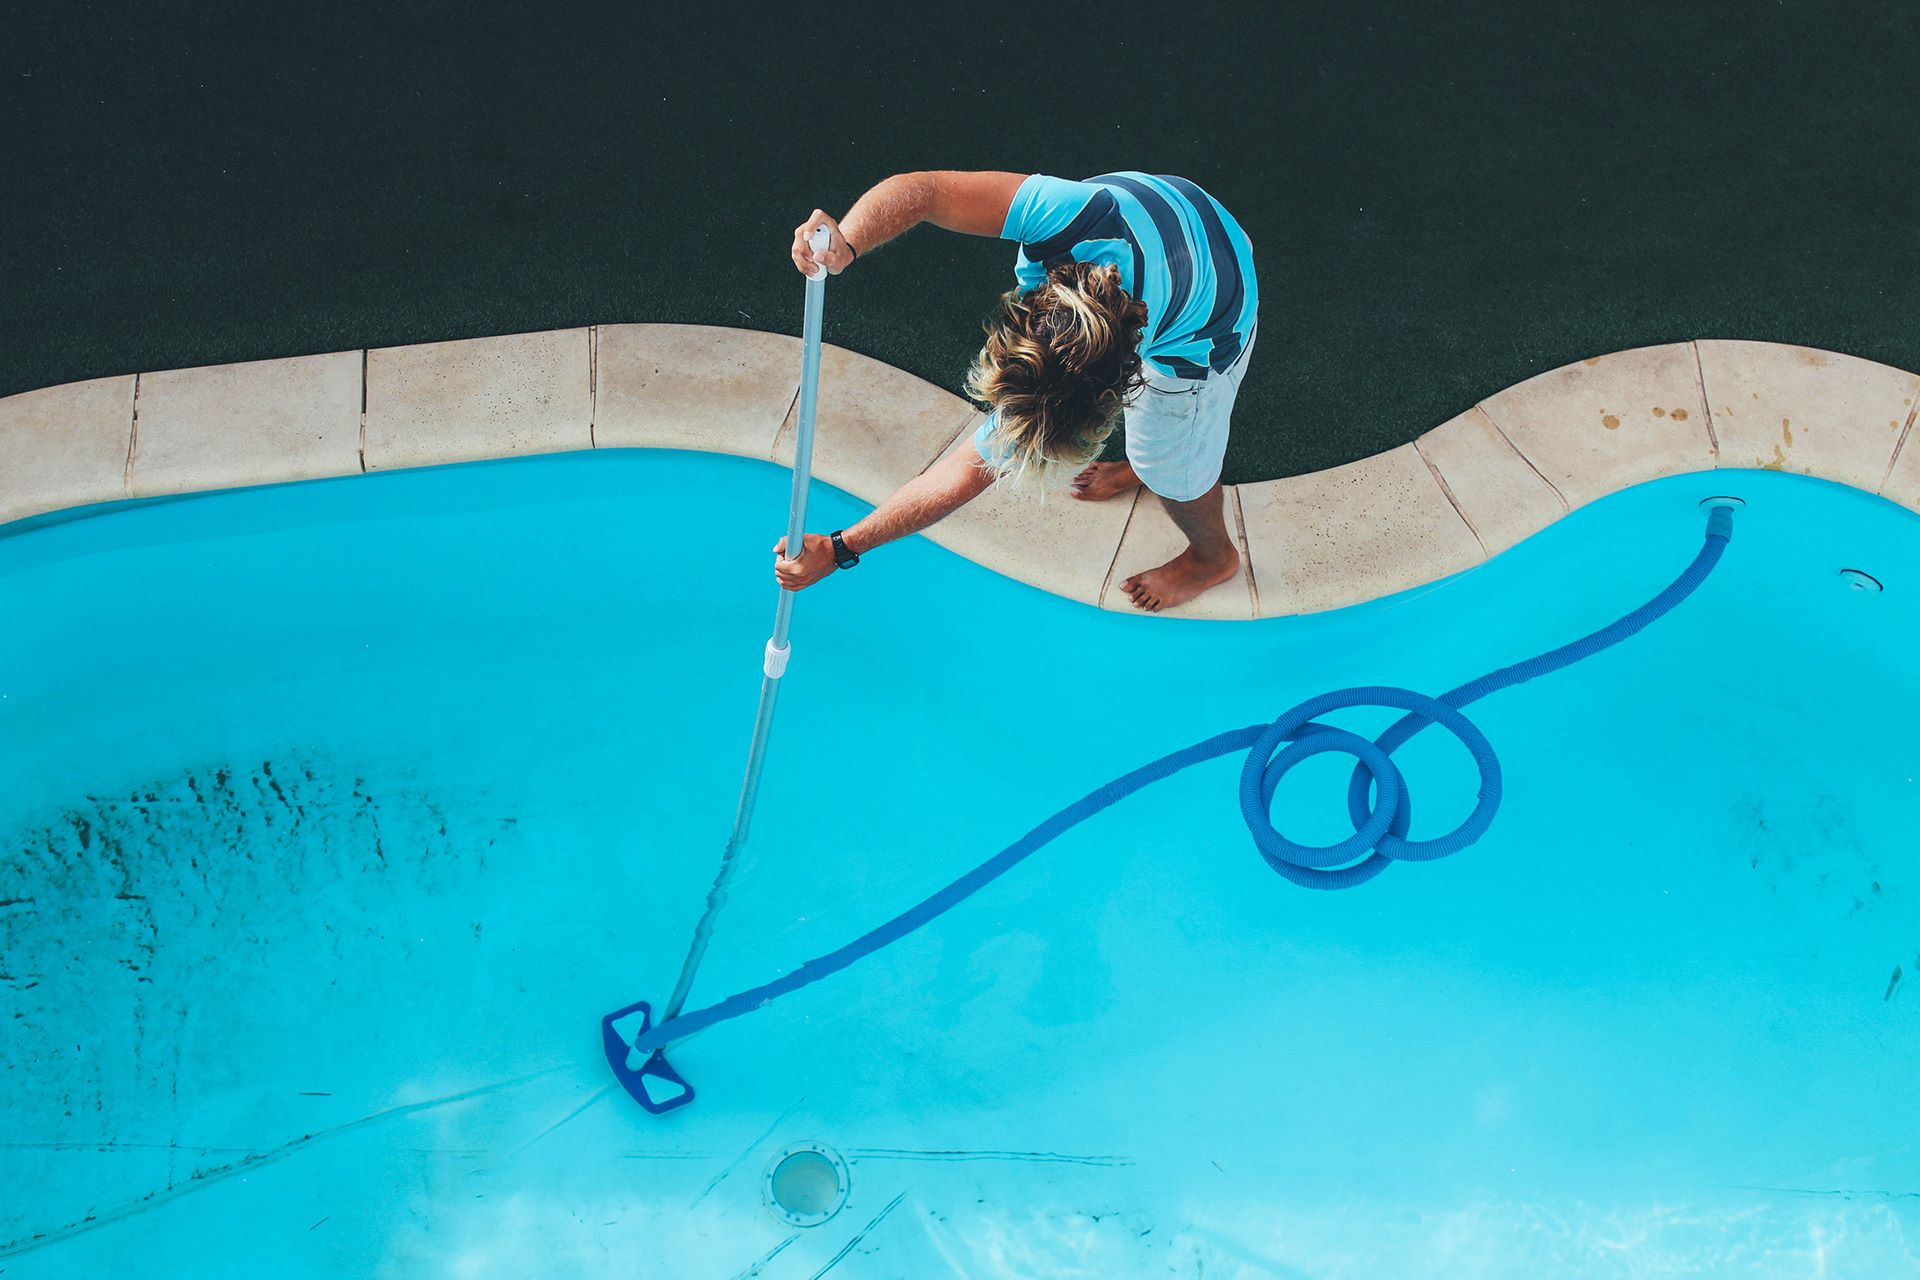
Cleaning and Vacuuming the Pool
Cleaning and vacuuming the pool is a crucial aspect of preparing it for the winter closure. As the swimming season draws to a close, ensuring that the pool is thoroughly cleaned and free of debris is essential for preserving its overall condition during the dormant months. Here's a comprehensive guide to effectively clean and vacuum your pool before winterizing it:
-
Skim the Surface: Begin by skimming the pool's surface to remove leaves, insects, and other floating debris. Using a skimmer net, carefully collect and discard any visible contaminants. This initial step helps prevent the accumulation of organic matter at the bottom of the pool, which can lead to staining and deterioration over time.
-
Brush the Walls and Floor: Utilize a pool brush to scrub the walls and floor of the pool, targeting areas where algae and other residues may have accumulated. By thoroughly brushing the surfaces, you can dislodge any stubborn debris and prevent the formation of unsightly stains. Pay particular attention to the waterline and corners, as these areas are prone to buildup.
-
Vacuum the Pool: After brushing, proceed to vacuum the pool to remove fine particles and sediment that may have settled on the bottom. Whether using a manual pool vacuum or an automatic cleaner, ensure that the entire pool floor is systematically covered to capture all debris. This step is essential for maintaining water clarity and preventing the accumulation of organic matter.
-
Clean the Filter: Regularly clean and backwash the pool filter to ensure optimal filtration efficiency. A clean filter effectively traps debris and contaminants, preventing them from circulating back into the pool water. Additionally, consider inspecting the filter for any signs of wear or damage, and address any issues before closing the pool for the winter.
-
Check and Maintain Water Level: As part of the cleaning process, monitor the water level in the pool. Ensure that it is at the appropriate level to facilitate proper circulation and filtration. Adjust the water level as needed, taking into account factors such as rainfall and evaporation.
By diligently cleaning and vacuuming the pool before winterizing it, you can mitigate the accumulation of debris and contaminants, thereby preserving the water quality and overall condition of the pool. This proactive approach not only contributes to a smooth winterization process but also sets the stage for a hassle-free reopening when the swimming season resumes.
Removing Pool Accessories
As part of the comprehensive process of closing a swimming pool for the winter, the removal of pool accessories plays a pivotal role in safeguarding the equipment and enhancing the overall effectiveness of the winterization process. Here's a detailed exploration of the essential steps involved in removing pool accessories:
-
Pool Toys and Floats: Begin by gathering and removing all pool toys, floats, and inflatable accessories from the pool and its surrounding area. Thoroughly clean and dry these items before storing them in a designated space. Properly storing pool toys prevents unnecessary wear and tear, prolonging their lifespan and ensuring they are ready for use when the pool reopens.
-
Ladders and Handrails: If your pool is equipped with ladders or handrails, carefully detach and remove these components. Inspect them for any signs of damage or corrosion, and address any issues promptly. Cleaning and storing these accessories in a dry environment helps prevent deterioration and extends their longevity.
-
Diving Boards and Slides: For pools featuring diving boards or slides, it is essential to follow manufacturer guidelines for their removal and storage. Safely disassemble these components, ensuring that all hardware and fasteners are securely stored for reassembly in the future. Thoroughly clean and inspect diving boards and slides for any wear or damage, addressing any maintenance needs before storage.
-
Pool Covers and Reels: If your pool is equipped with a cover and reel system, carefully remove the cover and clean it according to the manufacturer's recommendations. Inspect the cover for any tears or damage, and make any necessary repairs before storing it in a dry, well-ventilated area. Similarly, disassemble and store the reel system, ensuring that all components are organized and protected from potential damage.
-
Heaters and Filters: If your pool is equipped with a heater or filtration system that requires winterization, consult the manufacturer's instructions for proper removal and storage. It is essential to follow specific guidelines to prevent damage to these critical components during the dormant period.
By meticulously removing pool accessories and ensuring their proper storage, you can effectively protect the equipment, prolong its lifespan, and streamline the process of reopening the pool when the warmer seasons return. This proactive approach contributes to the overall maintenance and longevity of the pool and its associated components.
Lowering the Water Level
Lowering the water level of your swimming pool is a crucial step in the winterization process, as it helps protect the pool and its components from potential damage caused by freezing temperatures. Properly lowering the water level is particularly important in regions where winter temperatures can lead to the expansion of water, which may result in structural stress and damage to the pool's surfaces and plumbing.
To effectively lower the water level of your pool, follow these essential steps:
-
Determine the Optimal Level: Before initiating the water lowering process, it is important to determine the optimal water level for winterization. In general, the water level should be lowered to a point where it is below the skimmer opening and any water inlets. This prevents the water from entering the skimmer and potentially causing damage during freezing conditions.
-
Use a Submersible Pump: A submersible pump is an efficient tool for lowering the water level of the pool. Place the pump in the pool and ensure that it is positioned in an area where it can effectively remove water to the desired level. Activate the pump and allow it to gradually lower the water level, periodically checking the progress to ensure precision.
-
Monitor the Progress: As the submersible pump operates, monitor the water level closely to prevent it from dropping below the recommended threshold. Carefully observe the rate of water removal and adjust the pump as needed to achieve the optimal level for winterization.
-
Address Drainage Considerations: Depending on the layout of your pool and surrounding area, it may be necessary to consider proper drainage to accommodate the water being pumped out. Ensure that the discharged water is directed away from the pool and any sensitive areas to prevent potential flooding or erosion.
-
Inspect and Secure Pool Cover Components: If you plan to use a pool cover for winterization, take this opportunity to inspect and prepare the cover and its components. Ensure that the cover is clean and free of debris, and make any necessary adjustments to the cover's positioning and securing mechanisms in anticipation of the lowered water level.
By meticulously following these steps, you can effectively lower the water level of your swimming pool in preparation for the winter months. This proactive approach helps mitigate the risk of damage caused by freezing temperatures and sets the stage for a successful winterization process, ultimately contributing to the long-term preservation of your pool and its components.
Draining and Winterizing the Plumbing
Draining and winterizing the plumbing of your swimming pool is a critical step in preparing it for the dormant winter months. Properly addressing the plumbing system helps safeguard the pool from potential damage caused by freezing temperatures and ensures that the components remain in optimal condition for the following swimming season. Here's a comprehensive guide to effectively drain and winterize the plumbing of your pool:
-
Shut Off the Water Supply: Begin by shutting off the water supply to the pool. Locate the main water valve that feeds the pool's plumbing system and ensure that it is tightly closed to prevent any additional water from entering the pipes.
-
Drain the Plumbing Lines: Using a submersible pump or gravity drainage system, systematically drain the plumbing lines to remove any remaining water. Start with the skimmer lines, followed by the main drain and return lines. It is essential to expel as much water as possible to prevent freezing and potential damage to the pipes.
-
Blow Out the Lines: After draining the plumbing lines, use a high-capacity air compressor to blow out any residual water from the pipes. Attach the compressor to the plumbing lines, one at a time, and gradually introduce compressed air to force out the remaining water. This process helps ensure that the plumbing lines are thoroughly cleared of moisture, minimizing the risk of freeze-related issues.
-
Add Antifreeze (If Applicable): In regions where freezing temperatures are a concern, consider adding pool-specific antifreeze to the plumbing lines. This specialized antifreeze helps protect the pipes from freezing and potential expansion damage. Follow manufacturer recommendations for the proper application and quantity of antifreeze to effectively winterize the plumbing system.
-
Cap and Seal Openings: Once the plumbing lines are drained and prepared, cap and seal all openings to prevent debris, pests, or moisture from entering the pipes. Use appropriate fittings and plugs to securely seal the skimmer and return lines, ensuring a tight and reliable closure.
-
Insulate Exposed Components: In areas where extreme cold is anticipated, consider insulating exposed plumbing components to provide an additional layer of protection. Insulation sleeves or wraps can help mitigate the impact of freezing temperatures and safeguard the vulnerable areas of the plumbing system.
By meticulously following these steps, you can effectively drain and winterize the plumbing of your swimming pool, mitigating the risk of freeze-related damage and ensuring that the pool's components remain in optimal condition during the winter months. This proactive approach contributes to the long-term maintenance and preservation of your pool, setting the stage for a seamless reopening when the warmer seasons return.
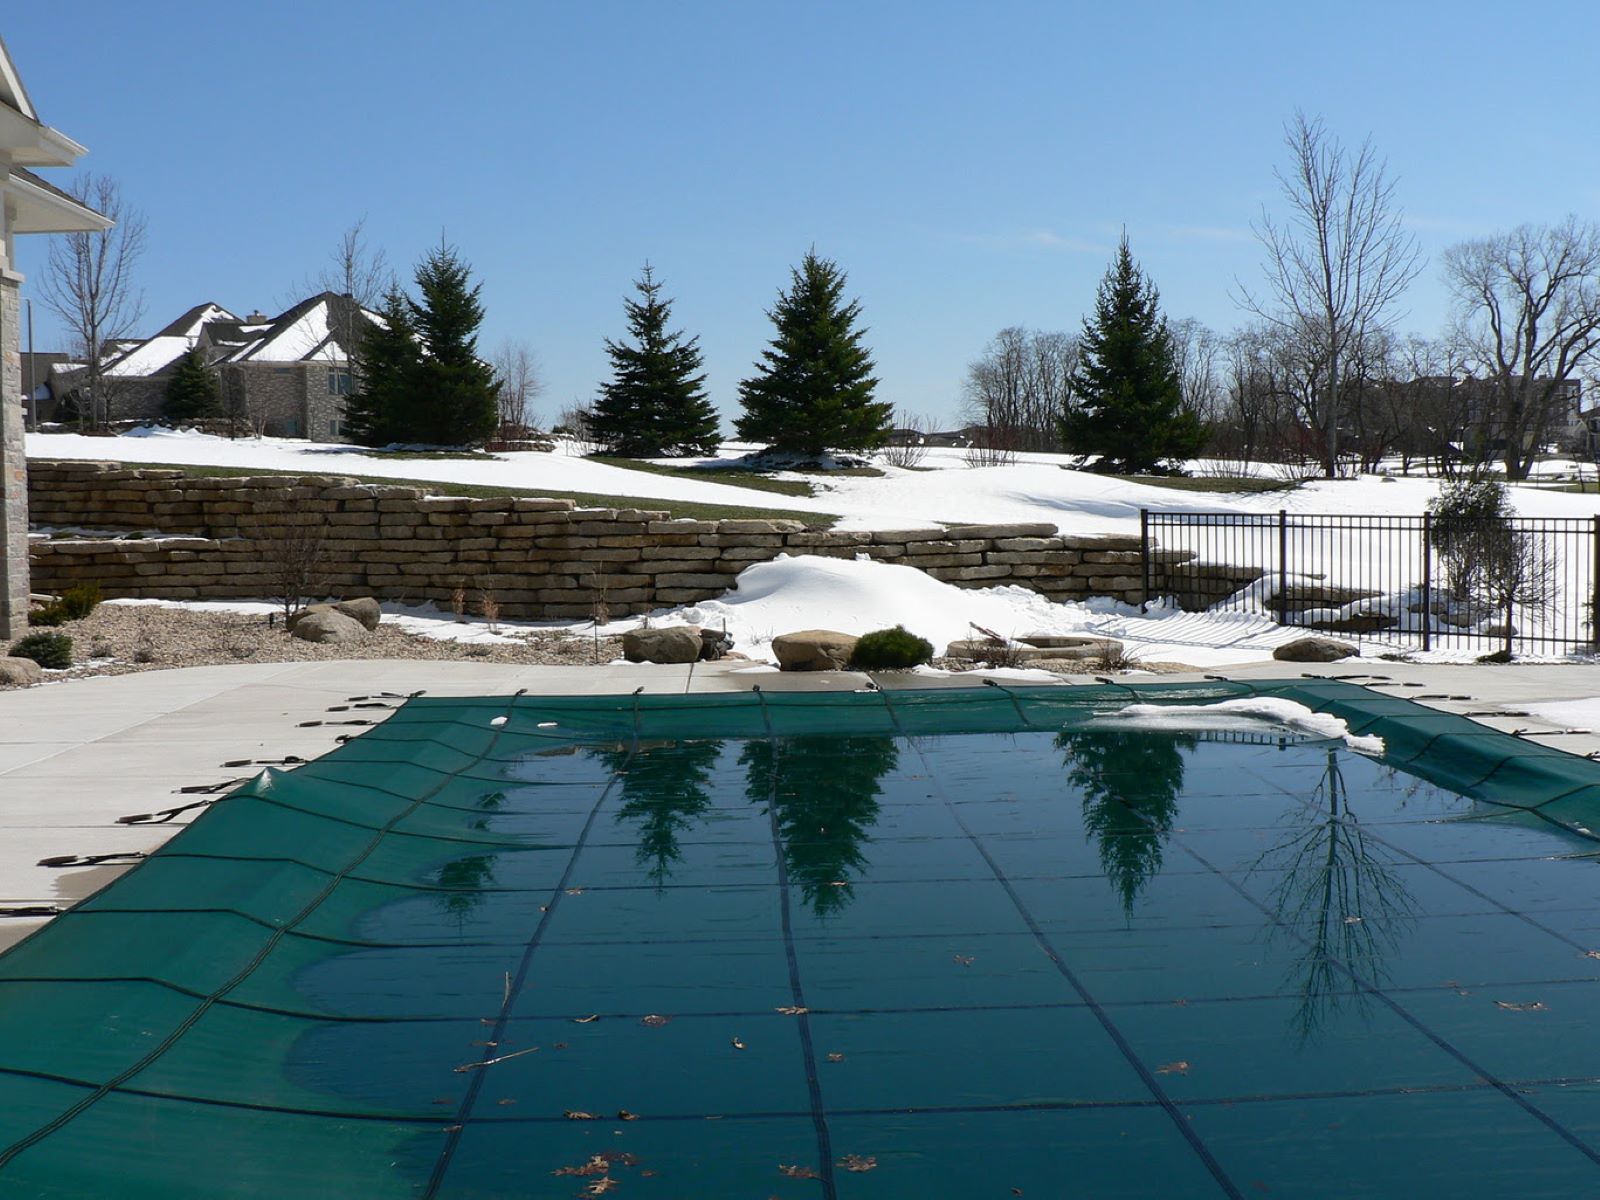
Covering the Pool
Covering the pool is a pivotal step in the comprehensive process of winterizing your swimming pool. A well-fitted and secure pool cover provides essential protection against debris, sunlight, and the elements, preserving the water quality and overall condition of the pool during the dormant winter months. Here's a detailed exploration of the essential considerations and steps involved in effectively covering your pool for winter:
-
Selecting the Right Cover: Begin by selecting a high-quality pool cover that is specifically designed for winterization. Consider factors such as the size and shape of your pool, the material and durability of the cover, and any additional features such as UV resistance and weatherproofing. Choosing the right cover tailored to your pool's specifications is crucial for ensuring optimal protection and longevity.
-
Thorough Cleaning and Preparation: Before placing the cover, thoroughly clean the pool's surfaces to remove any remaining debris, leaves, and organic matter. Skim the water, brush the walls and floor, and vacuum the pool to achieve pristine cleanliness. Additionally, ensure that the water chemistry is balanced and that all pool accessories and equipment are properly removed or secured.
-
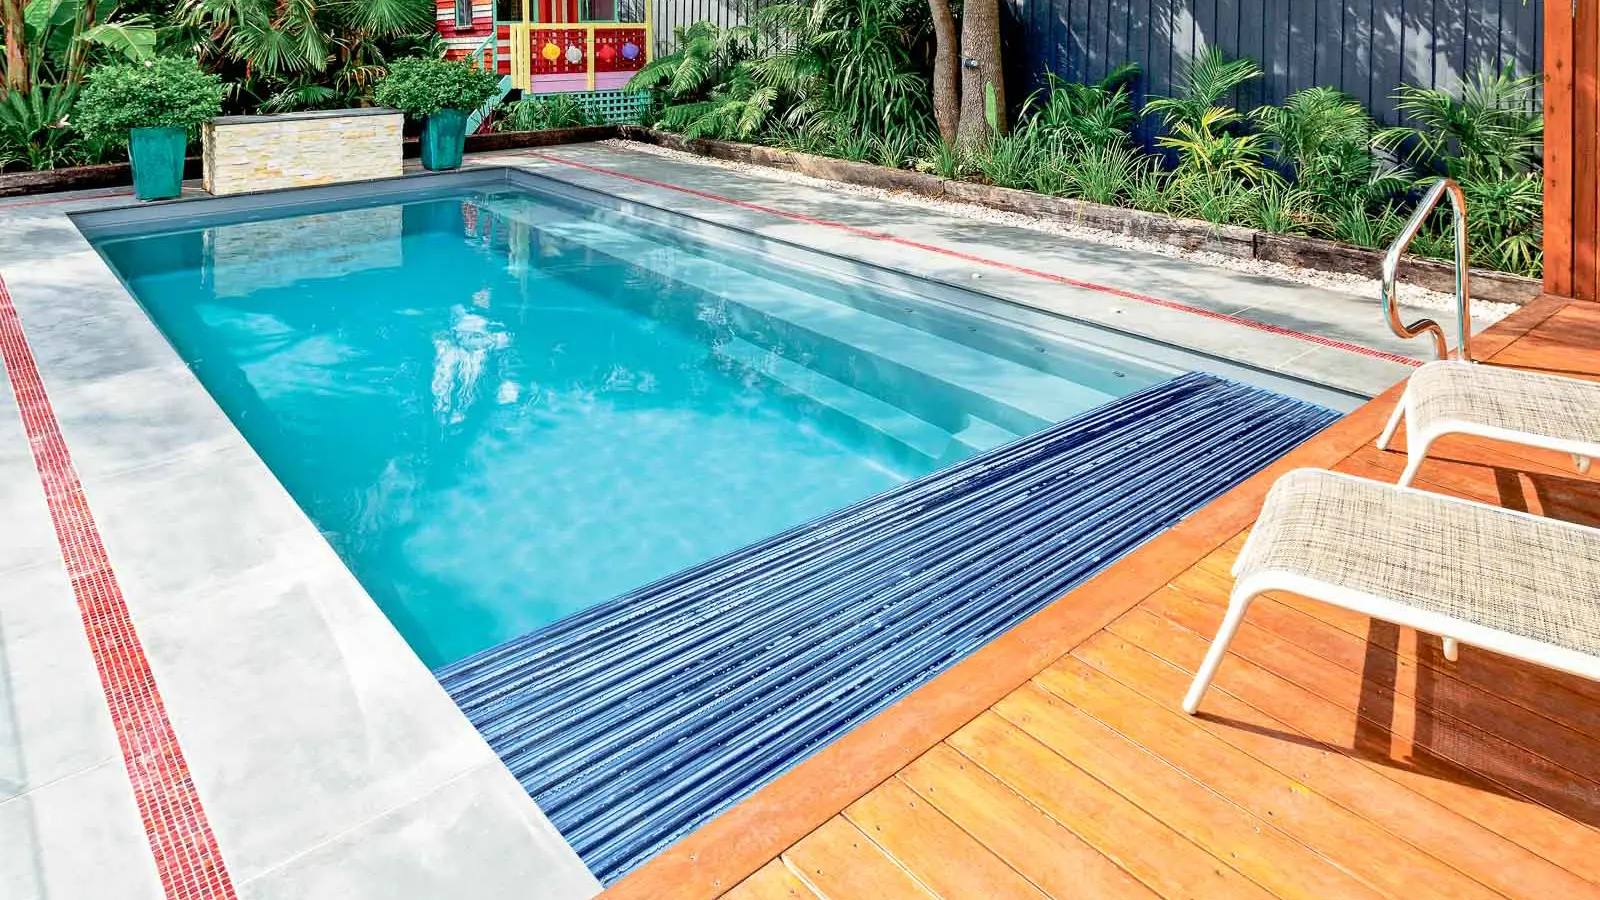
Positioning the Cover: Carefully position the pool cover over the water, ensuring that it is centered and aligned with the pool's edges. If your pool cover utilizes a reel system, follow the manufacturer's guidelines for smooth and even deployment. Proper positioning of the cover is essential for maximizing its protective function and minimizing the risk of debris infiltration.
-
Securing the Cover: Once the cover is in place, securely fasten it to the pool to prevent shifting or displacement. Utilize the provided anchors, straps, or fastening mechanisms to ensure a snug and reliable fit. Pay particular attention to the cover's tension and alignment, as a properly secured cover effectively shields the pool from external elements.
-
Addressing Drainage and Accumulation: To prevent the accumulation of standing water and debris on the cover, consider installing a cover pump or siphon to facilitate drainage. Regularly monitor the cover for any pooling water or debris buildup, and promptly address any issues to maintain its effectiveness.
-
Inspecting and Maintaining the Cover: Periodically inspect the pool cover throughout the winter months to ensure that it remains intact and free of damage. Address any tears, wear, or potential vulnerabilities promptly to prevent compromise. Additionally, consider applying a cover protectant or conditioner to maintain the cover's resilience and longevity.
By meticulously following these steps, you can effectively cover your pool for the winter, providing essential protection and preserving its overall condition. This proactive approach contributes to the long-term maintenance and integrity of your pool, setting the stage for a seamless reopening when the warmer seasons return.
Storing Pool Equipment
Properly storing pool equipment is a crucial aspect of the winterization process, as it ensures that essential components remain protected and well-maintained during the dormant months. From pool toys and accessories to filtration systems and cleaning tools, meticulous storage practices contribute to the longevity and optimal functionality of the equipment. Here's a comprehensive guide to effectively storing pool equipment for the winter:
1. Cleaning and Drying
Before storing any pool equipment, it is essential to thoroughly clean and dry each item to prevent the accumulation of mold, mildew, or corrosion. Pool toys, floats, and accessories should be washed with mild soap and water, ensuring that all debris and residues are removed. After cleaning, allow the items to air dry completely to prevent moisture-related issues during storage.
2. Organized Storage Space
Designate a specific storage area for pool equipment, ensuring that it is clean, dry, and well-ventilated. Whether utilizing a dedicated storage shed, garage space, or designated containers, organizing the storage space contributes to efficient retrieval and minimizes the risk of damage or misplacement.
3. Pool Toys and Accessories
For pool toys and accessories, consider utilizing storage bins or containers to keep them organized and protected. Ensure that inflatable items are fully deflated before storage to prevent strain on the materials. Additionally, store these items away from direct sunlight and extreme temperatures to maintain their integrity.
Read more: How To Close Hot Tub For Winter
4. Filtration and Cleaning Equipment
When storing filtration systems, pool pumps, and cleaning tools, it is crucial to follow manufacturer guidelines for proper maintenance and storage. Thoroughly clean and inspect filtration components, ensuring that any debris or contaminants are removed. Store these items in a dry and sheltered environment, protecting them from potential damage caused by freezing temperatures or moisture.
5. Chemicals and Treatments
If storing pool chemicals and treatments for the winter, ensure that they are securely sealed and stored in a cool, dry, and well-ventilated area. Follow safety guidelines and manufacturer recommendations for the storage of pool chemicals, preventing potential hazards and ensuring their effectiveness for future use.
6. Cover and Reel Systems
For pools equipped with cover and reel systems, carefully disassemble and store these components according to manufacturer instructions. Clean the cover and reel system, ensuring that all components are organized and protected from potential damage during storage. Properly storing these systems contributes to their longevity and functionality.
By meticulously following these storage practices, you can effectively protect and maintain pool equipment during the winter months, setting the stage for a seamless reopening when the swimming season resumes. This proactive approach contributes to the overall preservation and longevity of the equipment, ensuring that it remains in optimal condition for future use.
Frequently Asked Questions about How To Close A Swimming Pool For The Winter
Was this page helpful?
At Storables.com, we guarantee accurate and reliable information. Our content, validated by Expert Board Contributors, is crafted following stringent Editorial Policies. We're committed to providing you with well-researched, expert-backed insights for all your informational needs.


0 thoughts on “How To Close A Swimming Pool For The Winter”