Home>Gardening & Outdoor>Outdoor Recreation & Activities>How To Close An Inground Swimming Pool For Winter
Outdoor Recreation & Activities
How To Close An Inground Swimming Pool For Winter
Modified: February 18, 2024
Learn how to properly close your inground swimming pool for the winter season with our comprehensive guide. Ensure your outdoor-recreation-and-activities area is well-maintained and protected.
(Many of the links in this article redirect to a specific reviewed product. Your purchase of these products through affiliate links helps to generate commission for Storables.com, at no extra cost. Learn more)
Introduction
Closing an inground swimming pool for winter is a crucial step in maintaining its longevity and ensuring a smooth reopening when the warmer months return. As the temperatures drop and the leaves begin to change, it's time to prepare your pool for the dormant season ahead. Properly winterizing your pool not only protects it from potential damage caused by freezing temperatures but also minimizes the time and effort required to get it ready for swimming season next year.
Winterizing your inground pool involves a series of essential steps, from cleaning and balancing the water to safeguarding the plumbing and covering the pool to shield it from debris and harsh weather conditions. By following a comprehensive winterization process, you can safeguard your pool investment and enjoy peace of mind during the colder months.
In this guide, we will walk you through the step-by-step process of closing your inground swimming pool for winter. From preparing the water and removing accessories to winterizing the plumbing and securely covering the pool, each step is vital in ensuring that your pool remains in top condition throughout the winter season. By understanding and implementing these essential measures, you can protect your pool from potential damage and simplify the reopening process when the time comes to dive back in.
As we delve into the intricacies of winterizing your inground pool, it's important to approach each step with care and attention to detail. While the process may seem daunting at first, the long-term benefits of properly closing your pool for winter far outweigh the initial effort. With the right approach and a commitment to thorough preparation, you can safeguard your pool and set the stage for a seamless transition into the next swimming season.
Now, let's embark on this winterization journey together, ensuring that your inground swimming pool remains in optimal condition and ready for enjoyment when the warmer days return.
Key Takeaways:
- Properly closing an inground pool for winter involves cleaning, balancing water chemistry, lowering the water level, removing accessories, winterizing plumbing, and covering the pool. This protects the pool from damage and simplifies reopening in the next swimming season.
- Winterizing your inground pool requires attention to detail and proactive measures to safeguard its surfaces, equipment, and plumbing from potential freezing damage. By following the step-by-step process, you can ensure a worry-free transition into the next swimming season.
Read more: How To Close A Swimming Pool For The Winter
Step 1: Clean and Balance the Water
Before closing your inground swimming pool for winter, it's essential to start with a thorough cleaning and water balancing process. This step sets the foundation for a healthy pool environment during the dormant season and minimizes the risk of algae growth, staining, and equipment damage. Here's a detailed look at the key tasks involved in cleaning and balancing the water:
-
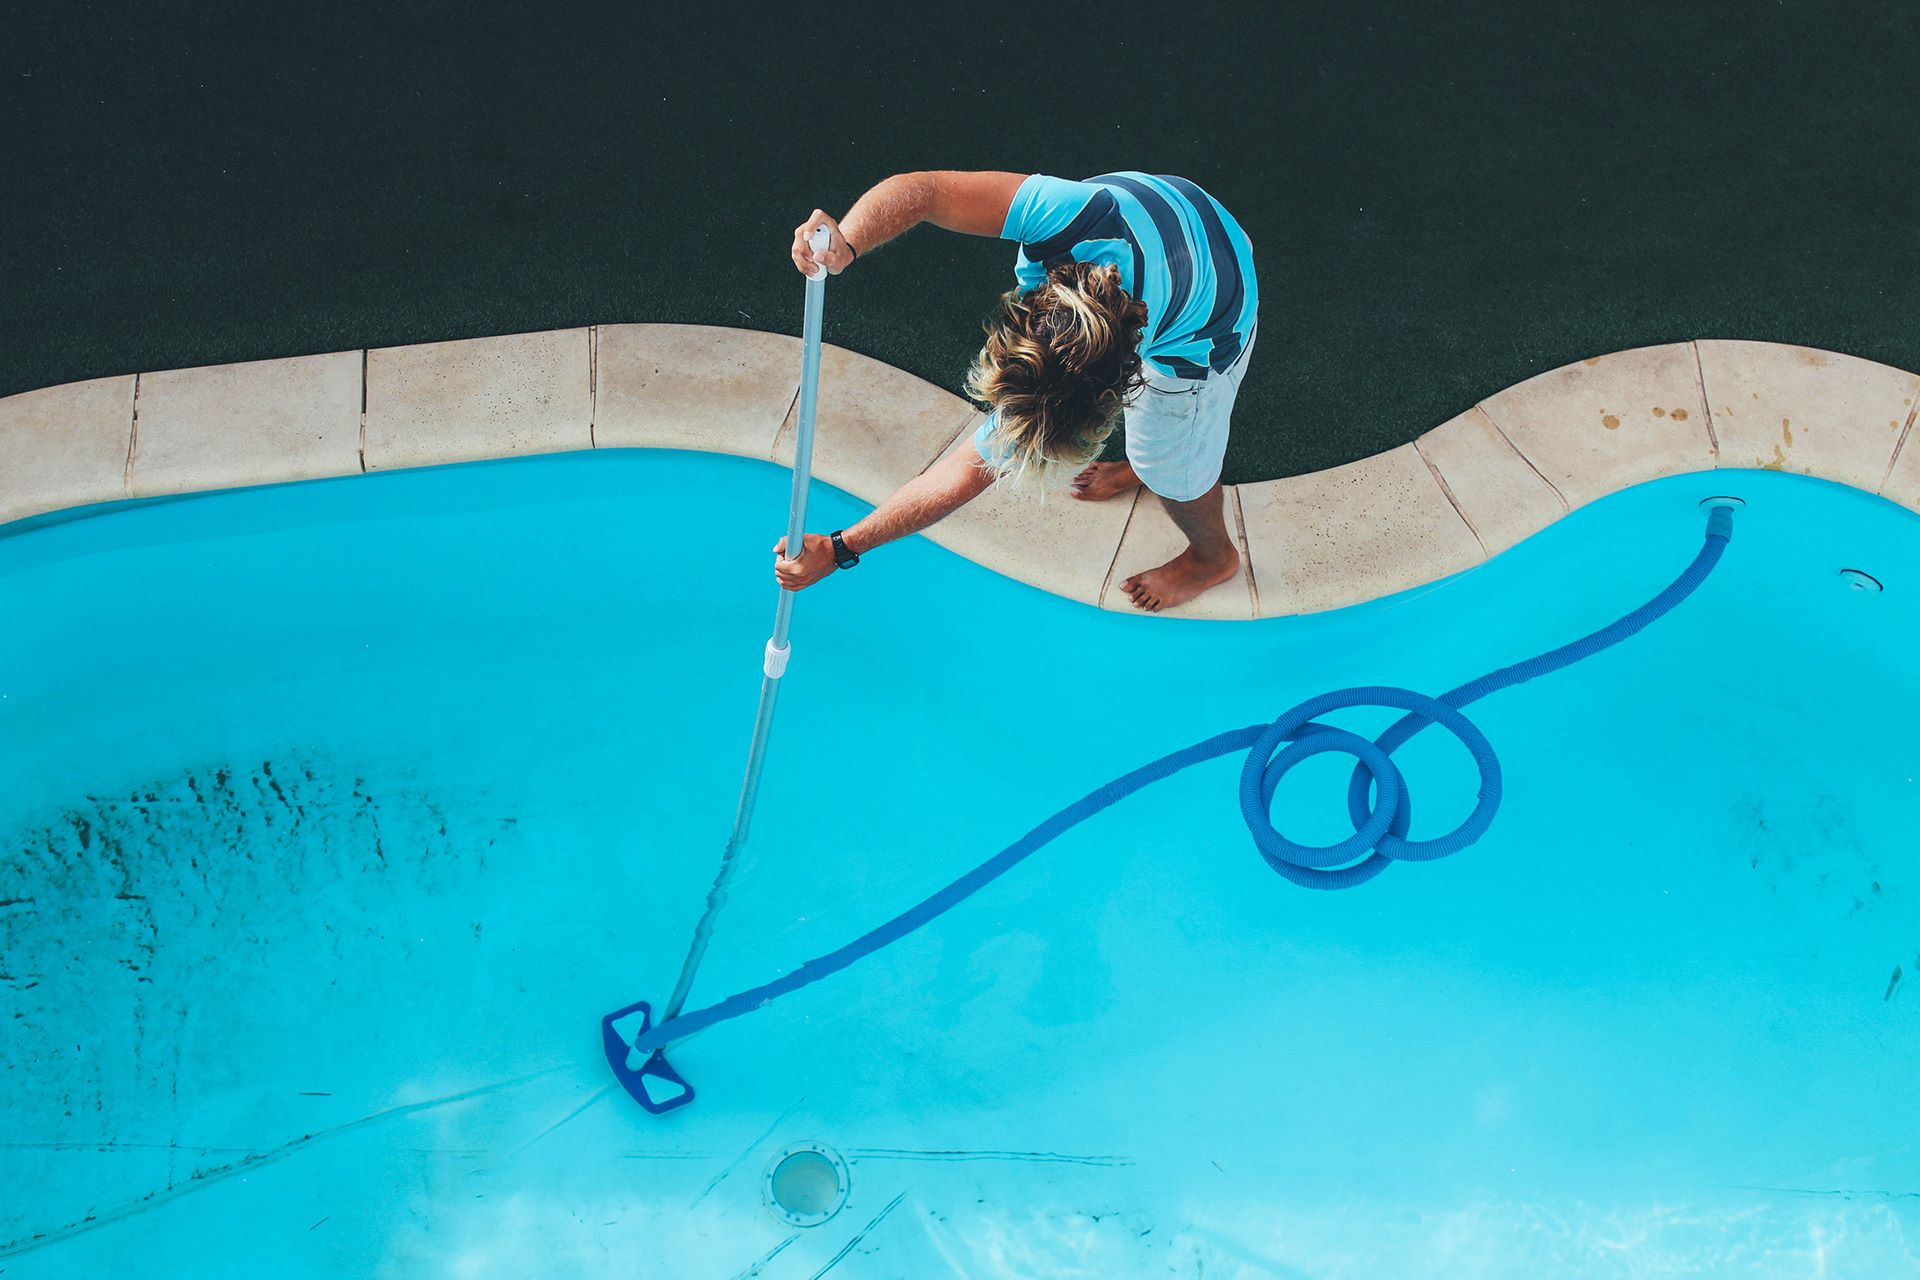
Skim and Vacuum: Begin by skimming the pool's surface to remove leaves, debris, and any floating contaminants. Follow this up with a comprehensive vacuuming to eliminate dirt, sediment, and other particles that may have settled on the pool floor. By starting with a clean pool, you can prevent organic matter from decomposing and causing water quality issues over the winter months.
-
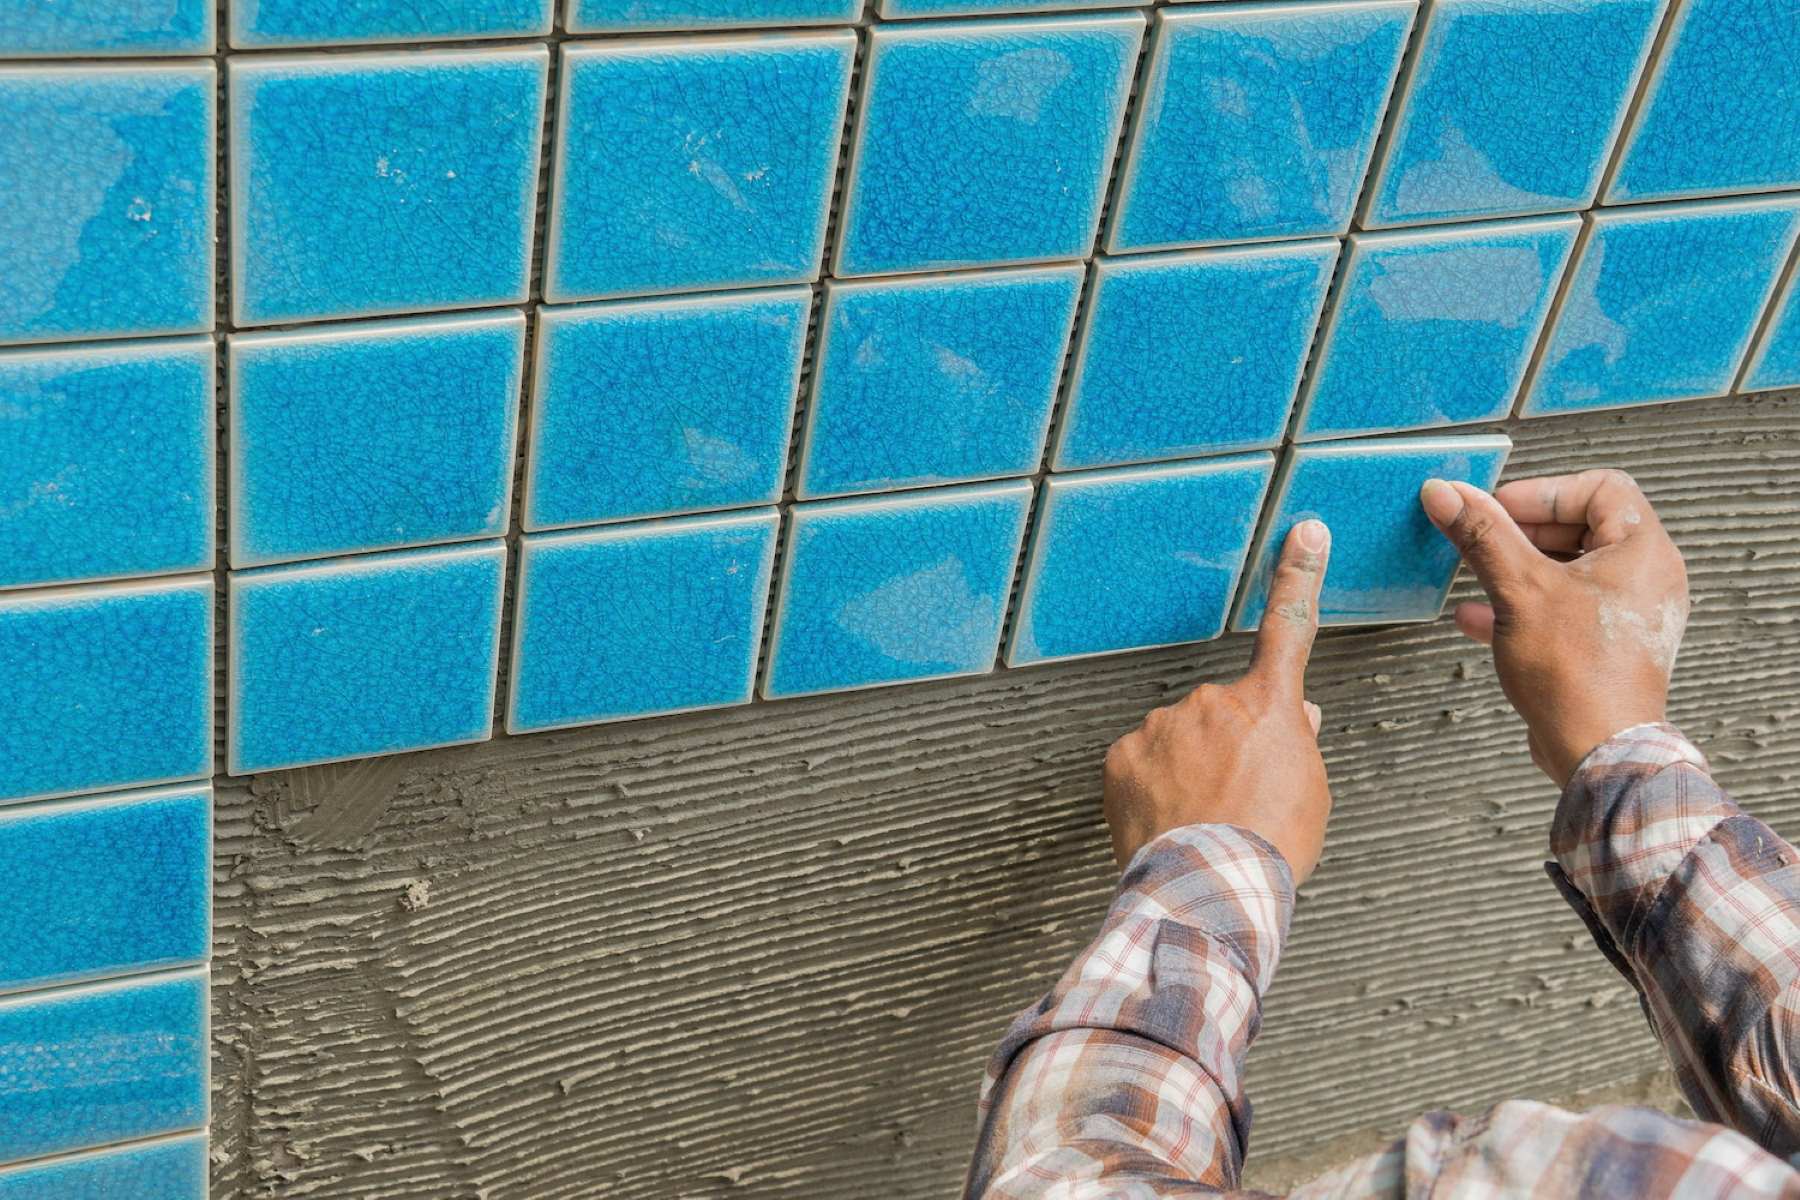
Brush the Walls and Tiles: Use a pool brush to scrub the walls and tiles, removing any algae, scale, or buildup that could compromise the pool's surface. Pay close attention to areas with poor circulation or limited sunlight, as these are more prone to algae growth and staining. By thoroughly brushing the pool's interior, you can maintain its visual appeal and prevent the accumulation of stubborn stains.
-
Test and Balance the Water Chemistry: After cleaning the pool, it's crucial to test the water chemistry and ensure that it's properly balanced. Use a reliable pool water testing kit to measure the pH, alkalinity, and calcium hardness levels. Adjust these parameters as needed to fall within the recommended ranges, as balanced water prevents corrosion, scaling, and cloudy conditions. Additionally, consider adding a winterizing algaecide and a quality winter closing chemical kit to inhibit algae growth and protect the pool's surfaces and equipment.
-
Lower the Water Temperature: As part of the water balancing process, consider lowering the water temperature to reduce the risk of algae proliferation. Cooler water is less conducive to algae growth, helping to maintain water clarity and quality throughout the winter. If your pool has a heater, adjust the settings to gradually lower the water temperature to the desired level.
By meticulously cleaning and balancing the water in your inground pool, you establish a healthy and stable environment that can withstand the challenges of winter. This proactive approach not only safeguards the pool's surfaces and equipment but also simplifies the reopening process when the time comes to prepare for the next swimming season. With the water in optimal condition, you can proceed to the next crucial steps in the winterization process, ensuring that your inground pool remains in top shape during its seasonal hibernation.
Step 2: Lower the Water Level
As part of the comprehensive process of winterizing your inground swimming pool, lowering the water level is a crucial step that helps protect the pool and its surrounding structures from potential damage caused by freezing temperatures. By reducing the water level to the appropriate height, you can mitigate the risk of ice expansion and ensure that the pool remains in optimal condition throughout the winter months.
To begin, it's important to determine the recommended water level for winterization based on your specific pool type and local climate conditions. In general, the water level should be lowered to a point where it is below the skimmer opening and any water return lines. This typically involves reducing the water level by approximately 12 to 18 inches, although it's advisable to consult your pool manufacturer's guidelines or seek professional advice to determine the precise water level adjustment for your pool.
Lowering the water level serves several important purposes:
-
Preventing Freezing Damage: By lowering the water level below the skimmer and return lines, you reduce the risk of these components sustaining damage from freezing water. When water freezes, it expands, and if the pool is not properly winterized, this expansion can lead to cracked pipes, damaged skimmers, and other costly issues. Lowering the water level helps safeguard these vital components from the destructive forces of ice formation.
-
Protecting Pool Surfaces: Maintaining the appropriate water level during winterization also helps protect the pool's interior surfaces. By lowering the water level, you minimize the potential for water to come into contact with tile and coping materials, reducing the risk of damage due to freezing and thawing cycles. This proactive measure contributes to the longevity and structural integrity of the pool's surfaces.
-
Facilitating Cover Installation: A lowered water level makes it easier to install the pool cover securely. With the water level below the skimmer and return lines, the cover can be positioned without the risk of submersion, ensuring a tight and effective seal that shields the pool from debris, sunlight, and other external elements.
When lowering the water level, it's essential to use a submersible pump or siphon to gradually reduce the water to the desired height. This gradual approach helps maintain the pool's structural stability and prevents any potential damage that could arise from sudden water level changes. Additionally, be mindful of local regulations and water conservation guidelines when discharging pool water, ensuring that it is done in a responsible and environmentally conscious manner.
By meticulously lowering the water level as part of the winterization process, you take proactive measures to protect your inground swimming pool from potential freezing damage and set the stage for a smooth and worry-free dormant season. This essential step, when combined with other winterization measures, contributes to the overall health and longevity of your pool, ensuring that it emerges from winter ready for another season of enjoyment and relaxation.
Step 3: Remove Accessories and Equipment
As you prepare to close your inground swimming pool for the winter, the meticulous removal of accessories and equipment plays a pivotal role in safeguarding these components from potential damage and deterioration. By systematically addressing the various accessories and equipment surrounding your pool, you can ensure that they remain in optimal condition during the dormant season and are ready for seamless use when the warmer months return.
Pool Accessories Removal
Begin by carefully removing all removable pool accessories, such as ladders, handrails, diving boards, and slides. Thoroughly clean each item to remove any accumulated debris, sunscreen residue, or other contaminants that could compromise their integrity over the winter months. Once cleaned, store these accessories in a secure and sheltered location, such as a dedicated storage area or a protective cover, to shield them from the elements and prolong their lifespan.
Read more: How To Build An Inground Swimming Pool
Pool Equipment Maintenance
Next, turn your attention to the pool equipment, including pumps, filters, heaters, and any other mechanical components. Start by conducting a comprehensive inspection of each piece of equipment to identify any signs of wear, damage, or potential issues. Address any maintenance or repair needs promptly to prevent minor issues from escalating into major problems during the winter hiatus.
After inspection, it's essential to properly drain and winterize the pool equipment according to the manufacturer's guidelines and best practices. This may involve purging the plumbing lines, draining the pump and filter, and adding appropriate winterizing chemicals to protect the equipment from freezing temperatures and corrosion. By meticulously winterizing the pool equipment, you can prolong its longevity and ensure that it operates efficiently when the pool is reopened.
Storage and Protection
Once the pool accessories and equipment have been removed and prepared for winter, it's crucial to store them in a manner that safeguards their structural integrity and functionality. Consider utilizing durable covers, protective coatings, or designated storage containers to shield these items from moisture, UV exposure, and other environmental factors that could lead to deterioration.
By systematically removing accessories and winterizing pool equipment, you take proactive measures to preserve these vital components and set the stage for a smooth and worry-free transition into the next swimming season. This meticulous approach not only safeguards your pool accessories and equipment but also contributes to the overall longevity and performance of your inground swimming pool, ensuring that it remains a source of enjoyment and relaxation for years to come.
Step 4: Winterize the Plumbing
Winterizing the plumbing of your inground swimming pool is a critical step in the comprehensive process of preparing it for the dormant winter season. By safeguarding the pool's plumbing system from potential damage caused by freezing temperatures, you can mitigate the risk of costly repairs and ensure that the pool emerges from winter in optimal condition.
The winterization of the pool's plumbing involves a series of essential tasks aimed at purging water from the pipes, preventing ice formation, and protecting the components from the detrimental effects of cold weather. Here's a detailed look at the key measures involved in winterizing the plumbing of your inground pool:
Drain the Plumbing Lines
Begin by thoroughly draining the plumbing lines to remove any remaining water that could freeze and cause damage. This typically involves using a powerful air compressor to blow out the water from the pipes, ensuring that no residual moisture remains. By effectively purging the plumbing lines of water, you reduce the risk of ice formation and the associated pressure that could lead to pipe cracks or damage.
Add Antifreeze Solution
After draining the plumbing lines, it's advisable to introduce a pool-safe antifreeze solution to further protect the pipes from freezing temperatures. The antifreeze helps lower the freezing point of any residual water in the plumbing, providing an additional layer of protection against ice formation. When selecting an antifreeze product, ensure that it is specifically designed for pool plumbing systems and follow the manufacturer's recommendations for proper application.
Protect Valves and Fittings
As part of the winterization process, it's crucial to safeguard the pool's valves, fittings, and other plumbing components from potential damage. This may involve disassembling certain parts to ensure that water is completely removed and applying lubricants or protective coatings to prevent corrosion and freezing. By addressing these critical elements, you can prolong the lifespan of the plumbing system and minimize the risk of malfunctions when the pool is reopened.
Insulate Exposed Pipes
In regions with particularly harsh winter conditions, insulating exposed pipes can provide an added layer of protection against freezing. Utilize foam pipe insulation or heating cables to shield vulnerable sections of the plumbing from the cold, reducing the likelihood of ice-related damage. Proper insulation helps maintain the integrity of the plumbing system and minimizes the risk of costly repairs due to winter weather effects.
By meticulously winterizing the plumbing of your inground swimming pool, you take proactive measures to protect the vital components from potential freezing damage and ensure that the pool remains in optimal condition throughout the winter months. This comprehensive approach, when combined with other essential winterization steps, contributes to the longevity and performance of your pool, setting the stage for a seamless reopening when the next swimming season arrives.
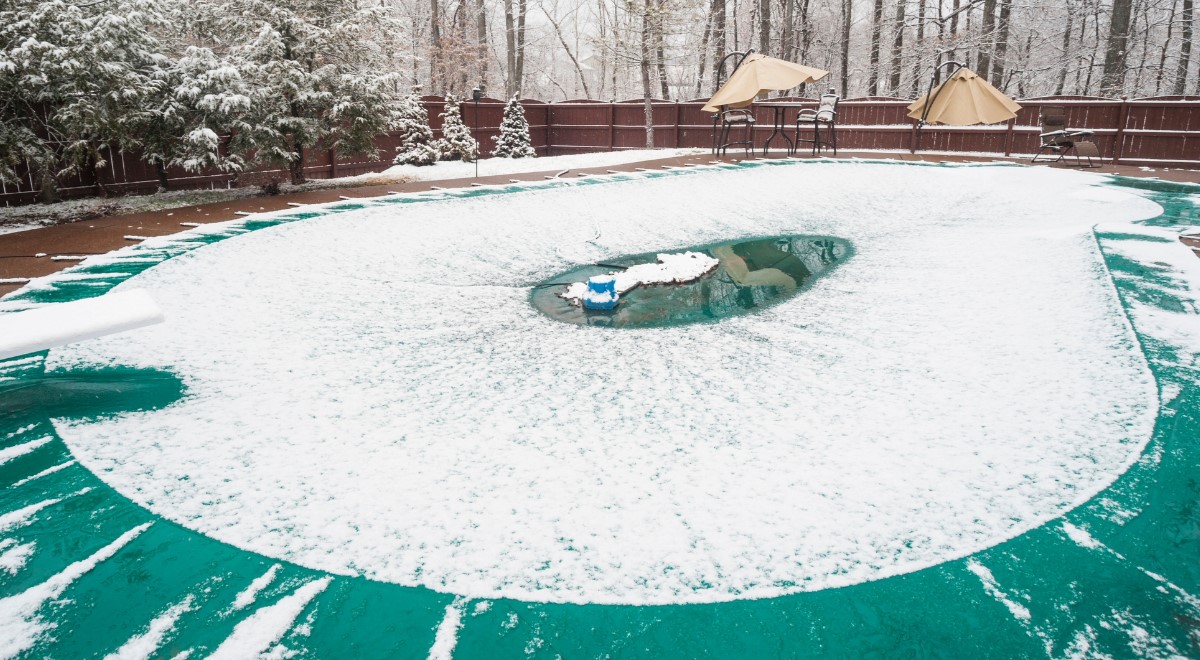
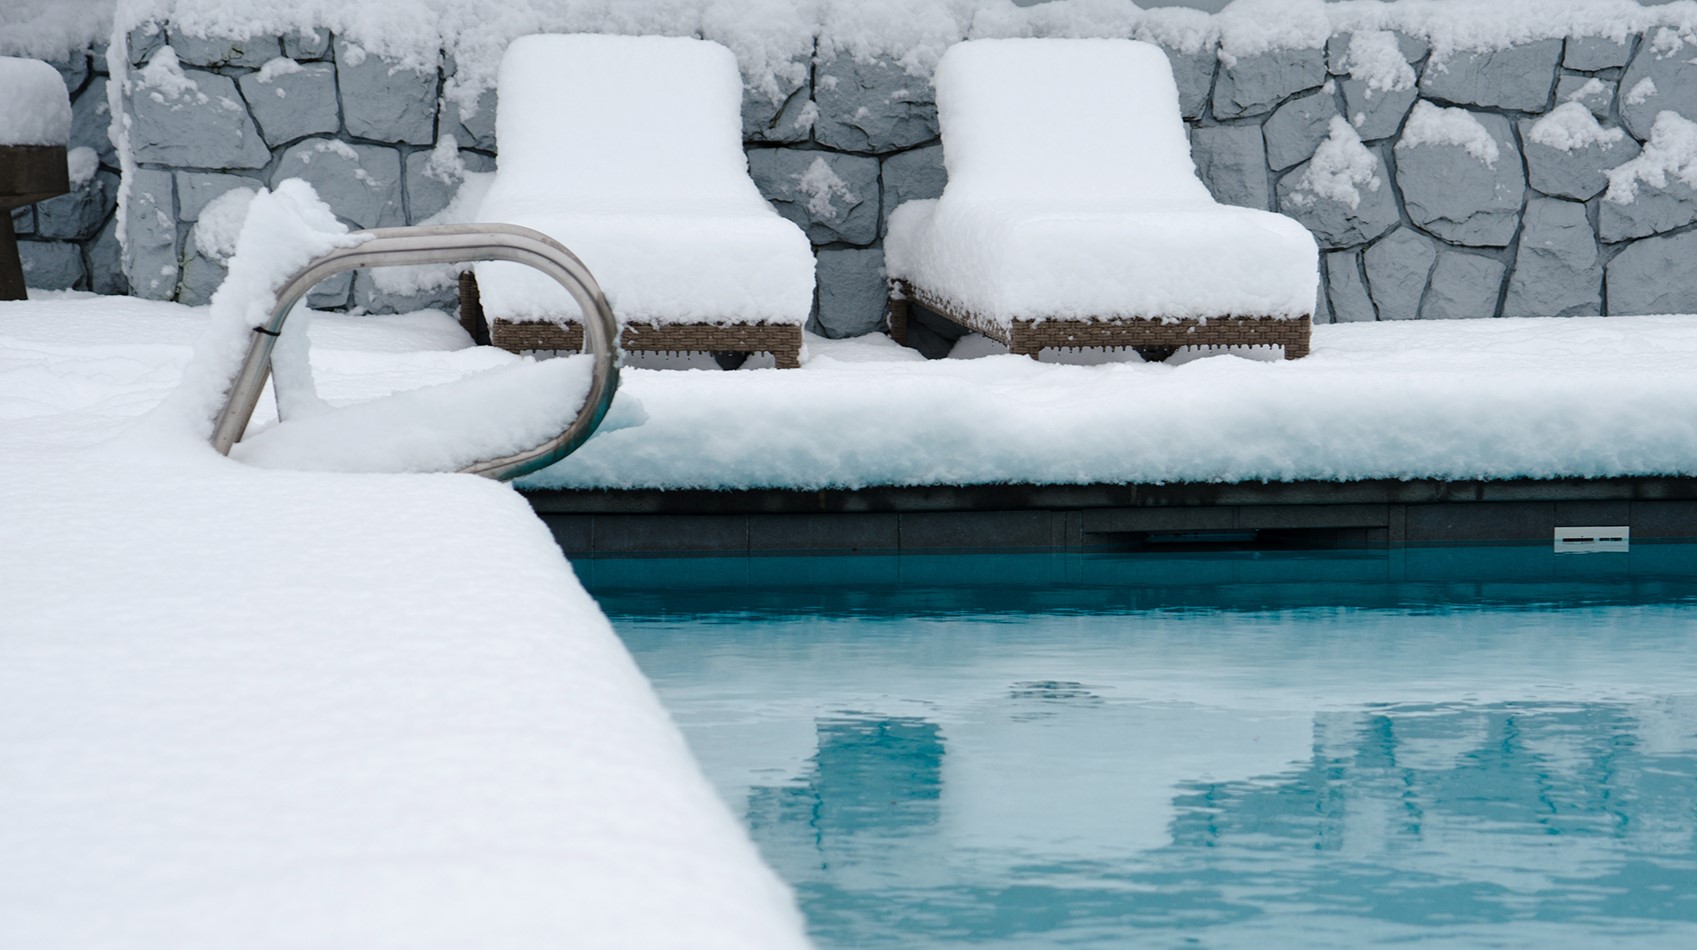
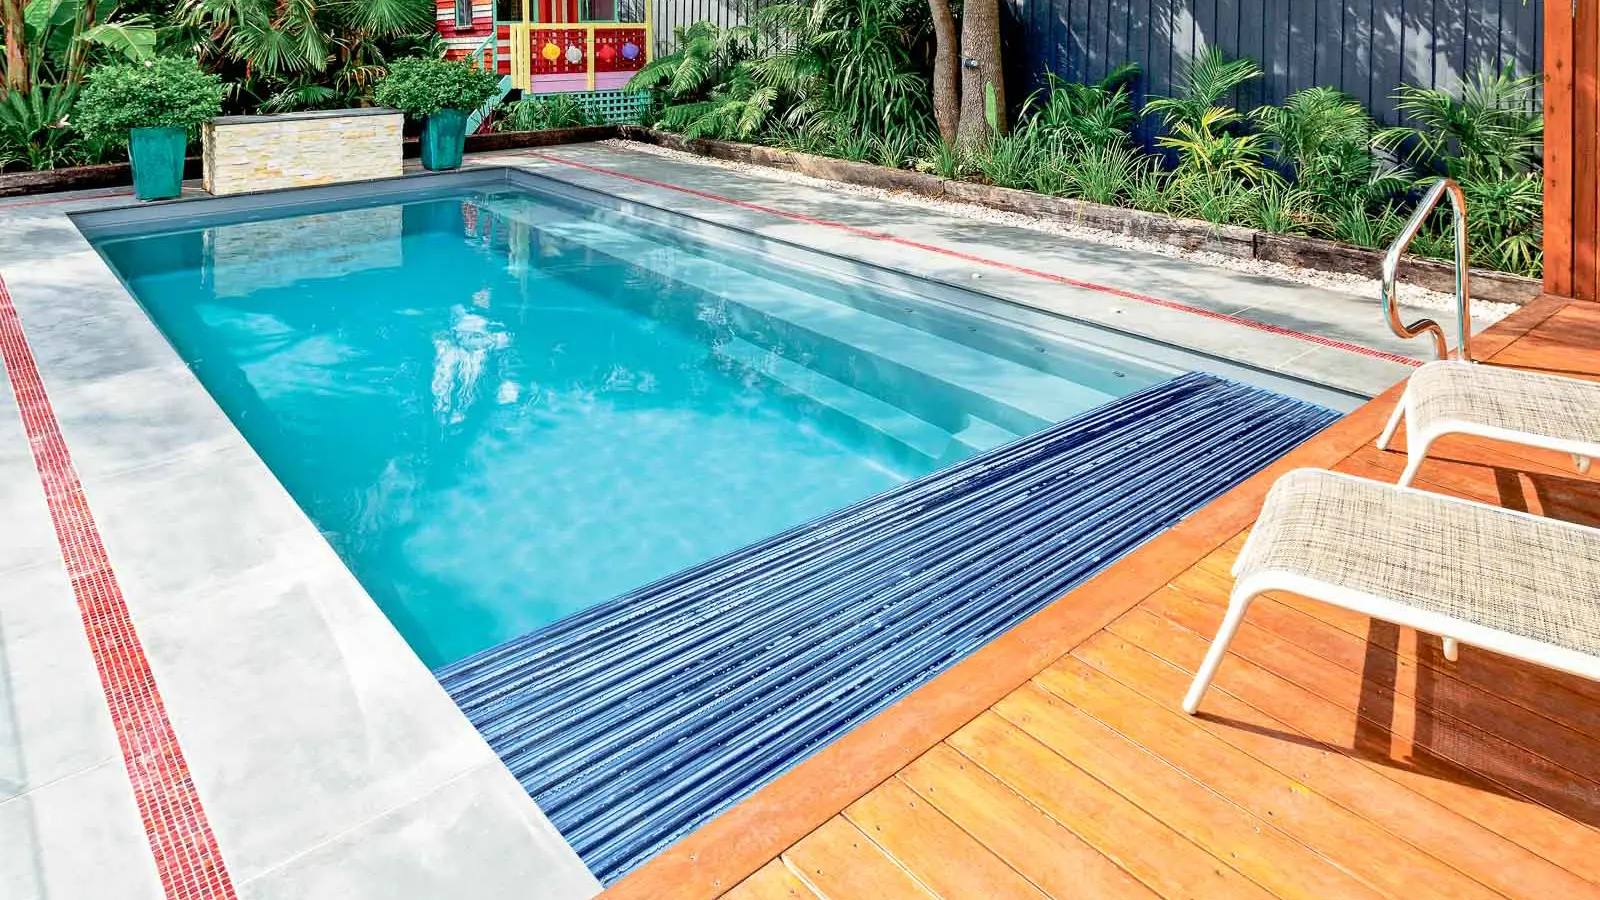
Step 5: Cover the Pool
As the final step in the winterization process for your inground swimming pool, covering the pool is a crucial measure that provides essential protection against debris, sunlight, and harsh weather conditions. By securely covering the pool, you create a barrier that safeguards its surfaces, water quality, and overall integrity throughout the dormant winter season. Here's a detailed look at the key considerations and best practices for covering your inground pool:
Selecting the Right Cover
Begin by selecting a high-quality pool cover that is specifically designed for winter use. Consider factors such as material durability, UV resistance, and the cover's ability to withstand heavy loads, including snow and debris. A well-fitted and robust cover provides an effective shield against external elements, minimizing the need for extensive cleaning and maintenance when the pool is reopened.
Clean and Prep the Pool
Before installing the cover, ensure that the pool is thoroughly clean and free of debris. Skim the surface, vacuum the pool floor, and brush the walls to eliminate any remaining particles that could compromise water quality or stain the pool surfaces. Additionally, ensure that the water chemistry is properly balanced, adding any necessary winterizing chemicals to inhibit algae growth and maintain clarity.
Positioning and Securing the Cover
Carefully position the pool cover over the water surface, ensuring a snug and secure fit that minimizes the risk of debris infiltration and water exposure. Depending on the cover type, utilize the provided anchors, water bags, or securing mechanisms to hold the cover in place and prevent it from shifting or becoming dislodged during winter storms and high winds.
Addressing Water Accumulation
To prevent water accumulation on the cover, consider utilizing a cover pump or siphon to remove excess water and minimize the risk of damage or stretching. Regularly monitor the cover for any pooling or sagging, promptly addressing any areas of concern to maintain its integrity and effectiveness.
Regular Inspections and Maintenance
Throughout the winter season, periodically inspect the pool cover for signs of wear, damage, or shifting. Address any issues promptly to prevent debris infiltration, water exposure, or structural damage. By proactively maintaining the cover, you ensure that the pool remains protected and ready for a smooth reopening when the warmer months arrive.
By diligently covering your inground swimming pool as part of the winterization process, you establish a protective barrier that safeguards the pool's surfaces, water quality, and overall condition. This final step, when combined with the preceding measures, contributes to the longevity and resilience of your pool, ensuring that it emerges from winter ready for another season of enjoyment and relaxation.
Conclusion
As the winterization process for your inground swimming pool nears its completion, it's essential to reflect on the comprehensive measures undertaken to safeguard your pool during the dormant winter season. By meticulously following each step, from cleaning and balancing the water to lowering the water level, removing accessories and equipment, winterizing the plumbing, and securely covering the pool, you have taken proactive measures to protect your pool investment and ensure its longevity.
The meticulous cleaning and balancing of the water set the stage for a healthy pool environment, minimizing the risk of algae growth, staining, and equipment damage. By skimming, vacuuming, and balancing the water chemistry, you established a stable foundation that will endure the challenges of winter, simplifying the reopening process when the time comes to dive back in.
Lowering the water level was a crucial step in protecting the pool and its surrounding structures from potential damage caused by freezing temperatures. By reducing the water level to the appropriate height, you mitigated the risk of ice expansion and ensured that the pool remains in optimal condition throughout the winter months.
The systematic removal of accessories and equipment played a pivotal role in safeguarding these components from potential damage and deterioration. By carefully cleaning, inspecting, and storing pool accessories and equipment, you have preserved their integrity and functionality, setting the stage for a worry-free transition into the next swimming season.
Winterizing the plumbing of your inground swimming pool was a critical measure in protecting the vital components from potential freezing damage. By draining the plumbing lines, adding antifreeze solution, protecting valves and fittings, and insulating exposed pipes, you have taken proactive steps to ensure the plumbing system's resilience during the winter hiatus.
Finally, covering the pool provided essential protection against debris, sunlight, and harsh weather conditions, creating a barrier that safeguards its surfaces, water quality, and overall integrity throughout the dormant winter season. By selecting the right cover, preparing the pool, securing the cover, addressing water accumulation, and conducting regular inspections and maintenance, you have established a protective shield that will ensure a smooth reopening when the warmer months arrive.
As you conclude the winterization process for your inground swimming pool, you can take pride in the meticulous care and attention to detail invested in safeguarding your pool investment. By following these essential steps, you have not only protected your pool from potential damage but also set the stage for another season of enjoyment and relaxation. With the right approach and a commitment to thorough preparation, you can look forward to the seamless transition into the next swimming season, knowing that your inground pool remains in optimal condition and ready for continued enjoyment.
Frequently Asked Questions about How To Close An Inground Swimming Pool For Winter
Was this page helpful?
At Storables.com, we guarantee accurate and reliable information. Our content, validated by Expert Board Contributors, is crafted following stringent Editorial Policies. We're committed to providing you with well-researched, expert-backed insights for all your informational needs.
0 thoughts on “How To Close An Inground Swimming Pool For Winter”