Articles
How Do You Set Up Ring Doorbell
Modified: August 27, 2024
Learn how to set up your Ring Doorbell with this comprehensive guide. Read articles from experts with step-by-step instructions and troubleshooting tips.
(Many of the links in this article redirect to a specific reviewed product. Your purchase of these products through affiliate links helps to generate commission for Storables.com, at no extra cost. Learn more)
Introduction
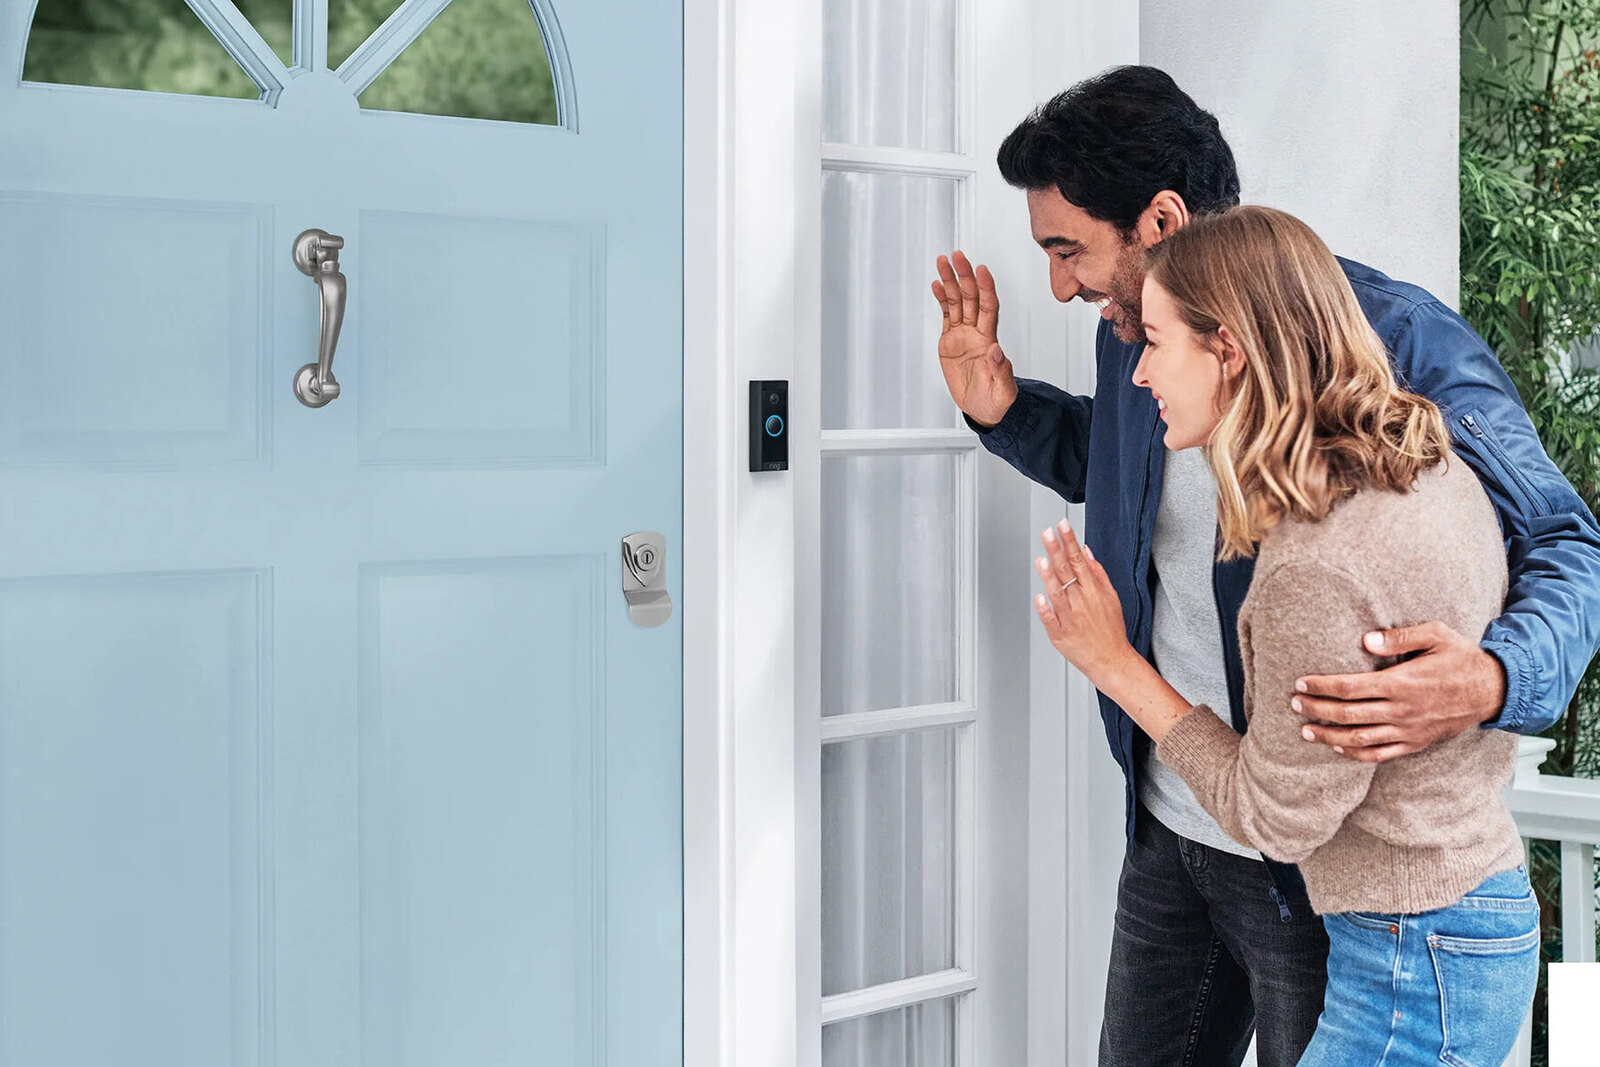
Welcome to the world of smart home technology! If you’ve recently purchased a Ring Doorbell, you’re well on your way to increasing the security and convenience of your home. Setting up your Ring Doorbell may seem like a daunting task, but fear not! In this article, we will guide you through the step-by-step process of how to set up your Ring Doorbell without any hassle.
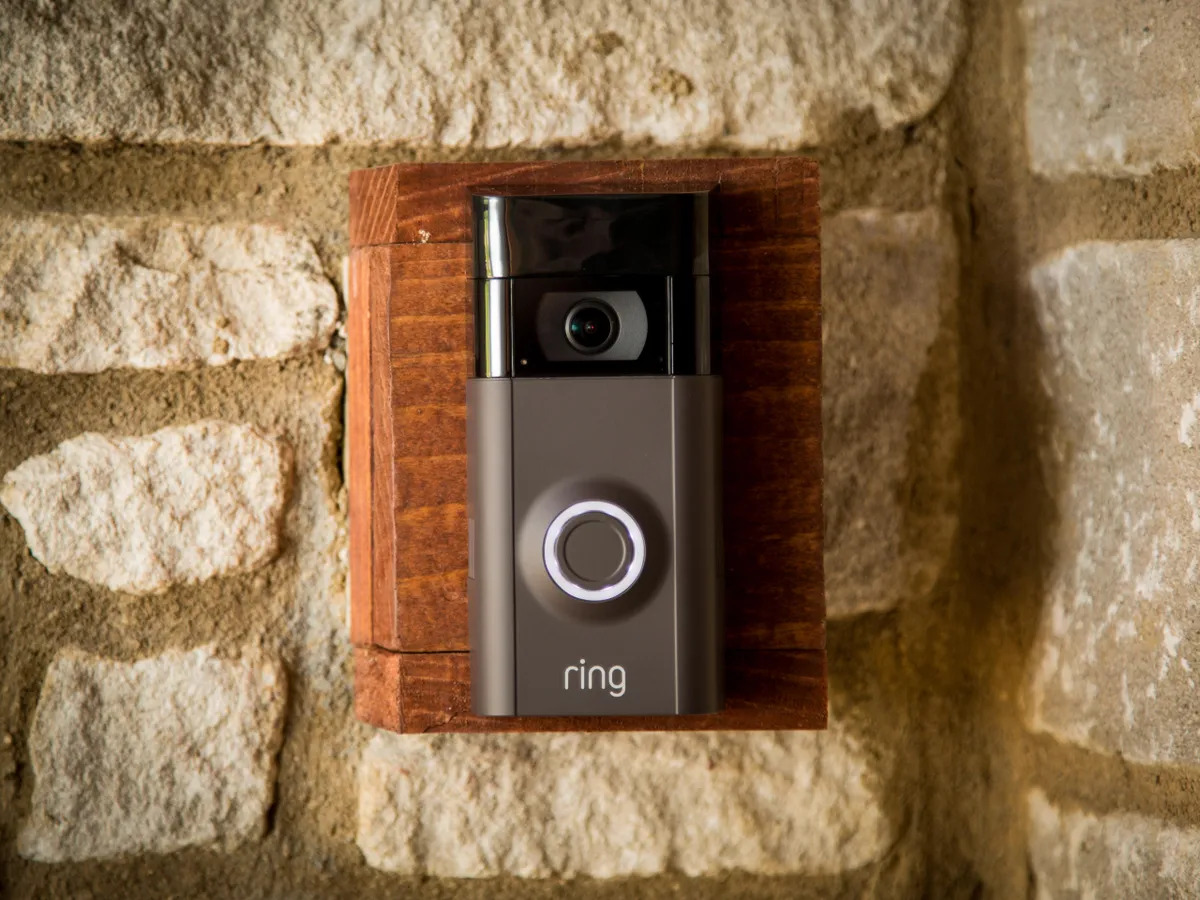
The Ring Doorbell is a popular smart doorbell that allows you to see, hear, and speak to anyone at your front door using your smartphone or tablet. With motion-detection capabilities and live video streaming, this device provides an added layer of security and peace of mind. Whether you’re expecting a package delivery, screening visitors, or simply keeping an eye on your property, the Ring Doorbell is an excellent choice.
Before diving into the setup process, there are a few things you’ll need. First and foremost, make sure you have a strong Wi-Fi connection at your front door. This will ensure uninterrupted communication between the Ring Doorbell and your smartphone. You’ll also need a Phillips screwdriver, a drill (if you choose the screw-in installation method), and a smartphone or tablet with the Ring app installed.
Now that you’re equipped with the necessary tools, let’s get started! In the following steps, we will walk you through the process of unboxing the Ring Doorbell, choosing the installation method, mounting the doorbell, connecting it to Wi-Fi, setting up the Ring app, customizing the doorbell settings, and finally, testing and troubleshooting any issues that may arise.
By the end of this article, you’ll have your Ring Doorbell up and running, ready to provide you with enhanced security and remote access to your front door. So, let’s dive in and learn how to set up your Ring Doorbell!
Key Takeaways:
- Enhance Home Security with Ease
Setting up your Ring Doorbell is a straightforward process that empowers you to increase the security and convenience of your home. From unboxing to customization, this guide provides a seamless journey to a safer living environment. - Personalized Security at Your Fingertips
With the Ring Doorbell, you can tailor motion detection, audio settings, and more to fit your specific needs. Enjoy real-time monitoring, remote access, and peace of mind knowing that your home is well-protected.
Read more: How Do You Hook Up A Ring Doorbell
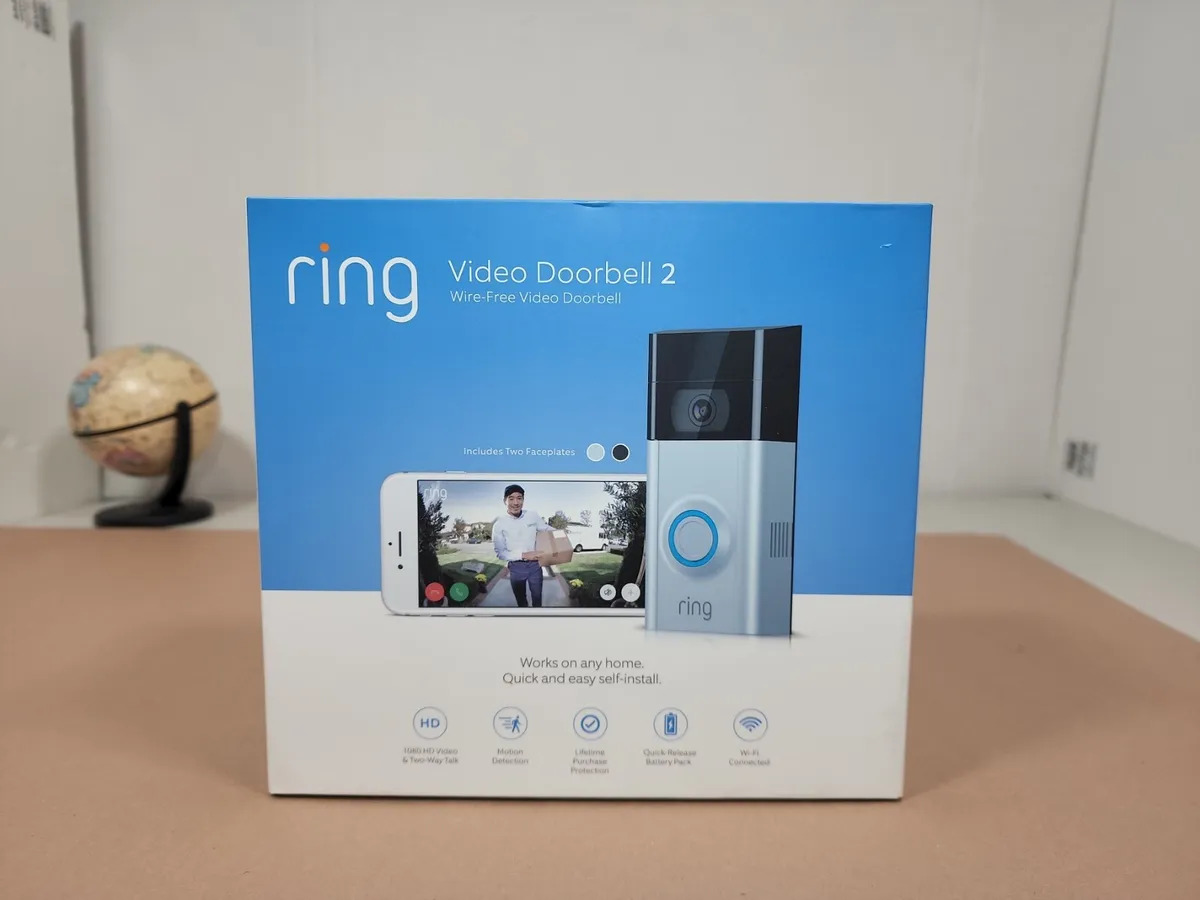
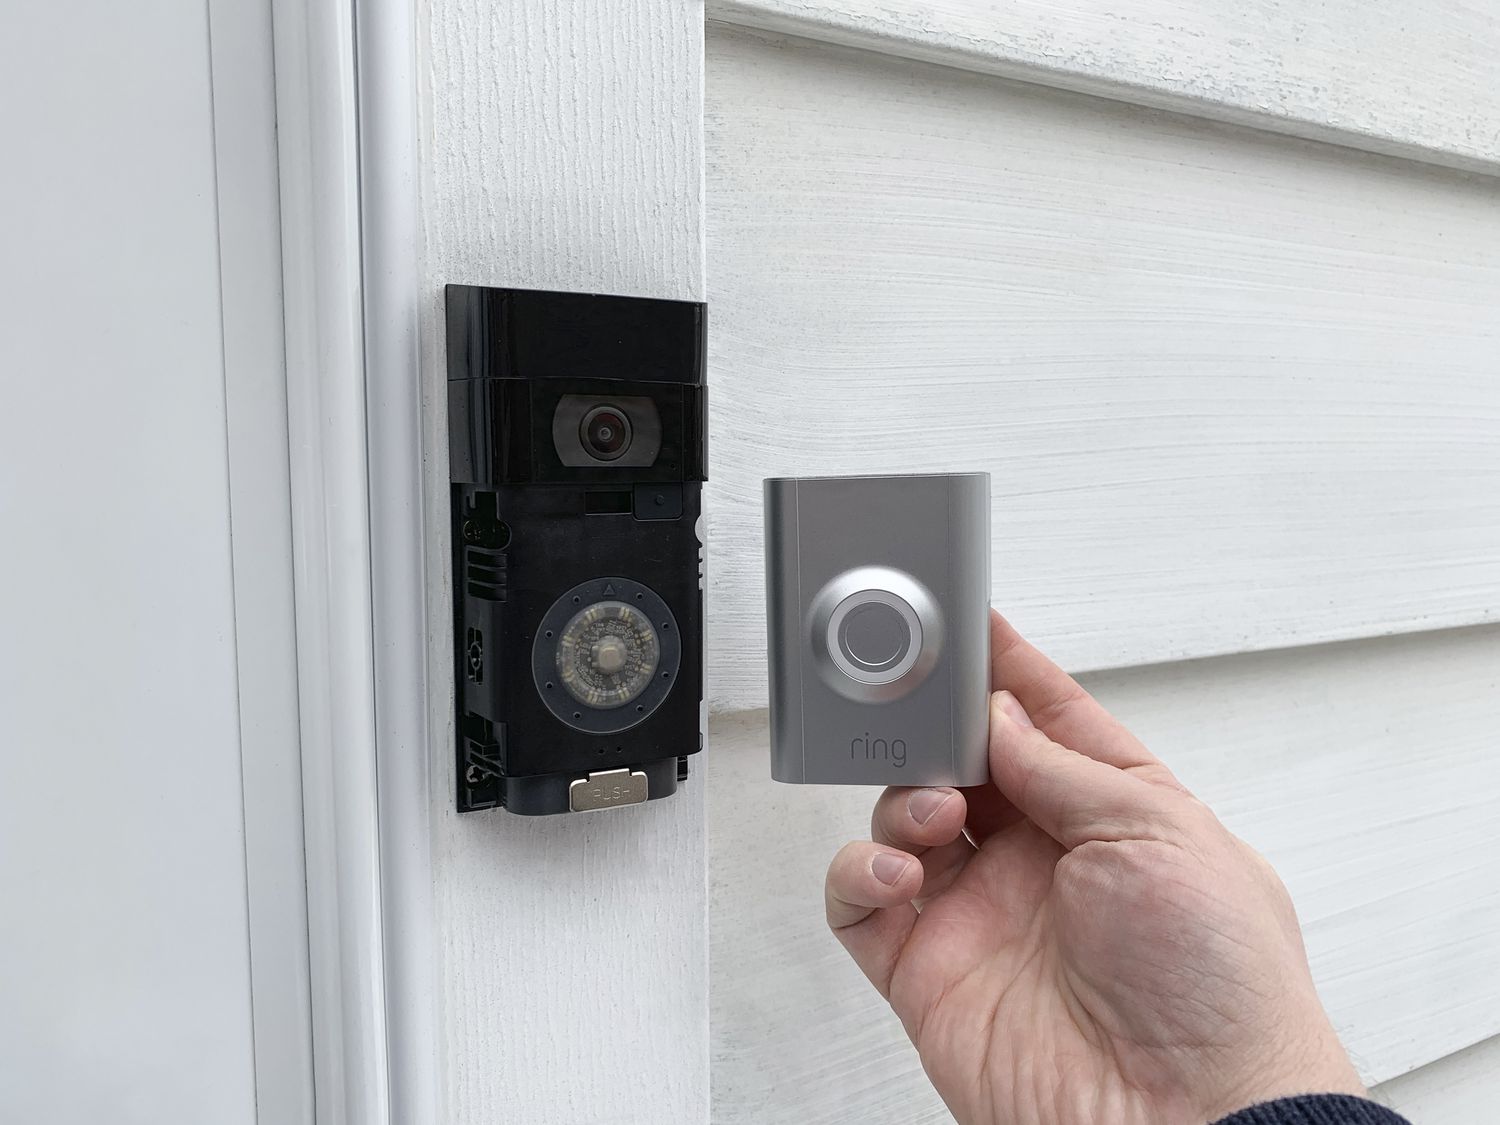
Step 1: Unboxing the Ring Doorbell
Congratulations on your new Ring Doorbell! To start the setup process, begin by unboxing the device.
First, carefully remove the Ring Doorbell from its packaging. Check for any protective films or stickers on the device and peel them off. Inspect the doorbell and ensure that all the necessary components are included. These components typically include the doorbell itself, a mounting bracket, screws, anchors, a charging cable, and any additional accessories or documentation.
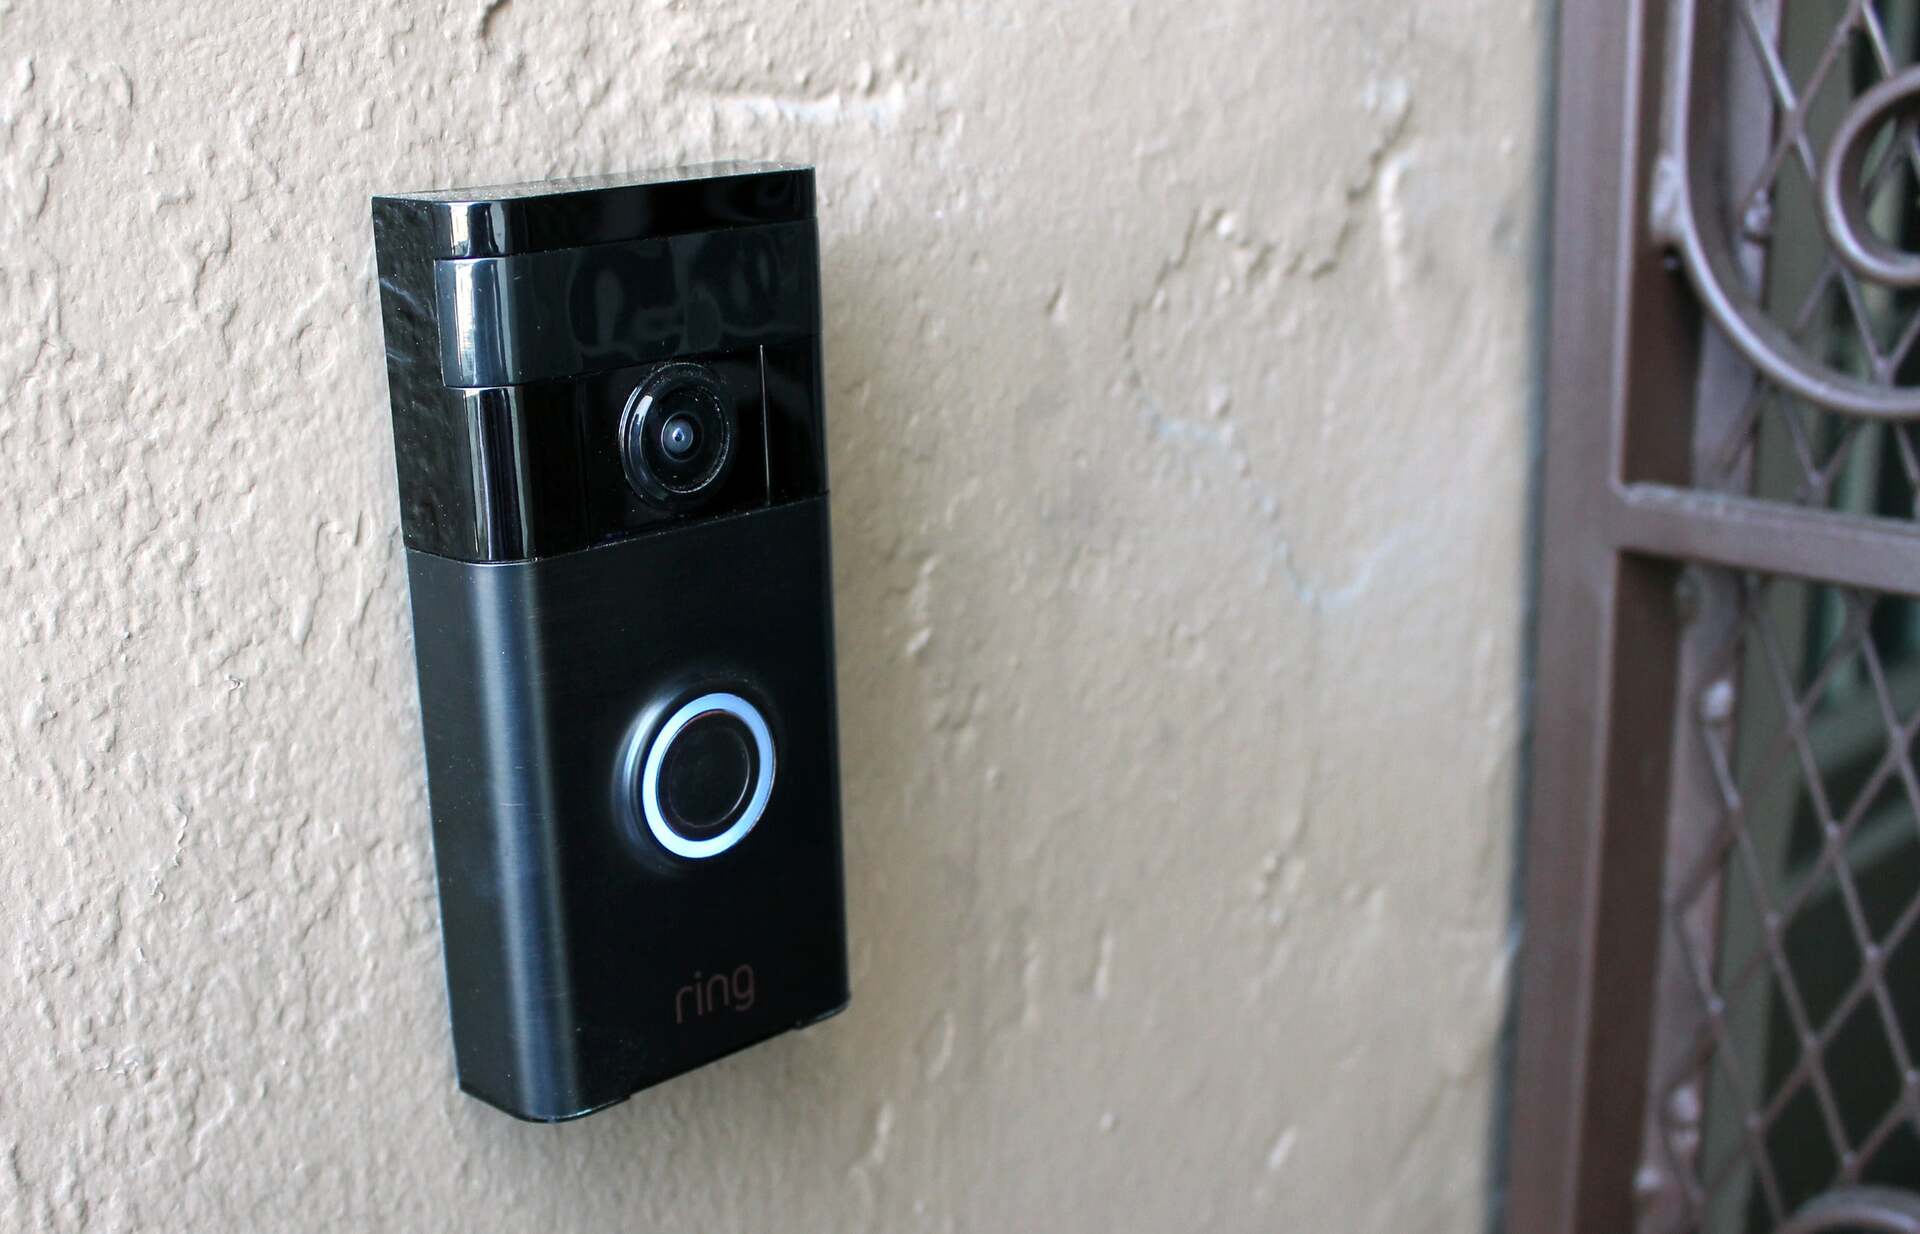
Once you have confirmed everything is present, take a moment to familiarize yourself with the different parts of the Ring Doorbell. The main unit will have a camera lens, a button, and an indicator light. The mounting bracket is designed to hold the doorbell securely in place. Take note of the screw holes and other attachment points on the doorbell and mounting bracket.
Now, it’s time to decide how you want to power your Ring Doorbell. There are two options available: battery-powered or hardwired. If you choose the battery-powered option, you’ll need to charge the doorbell before proceeding with the setup. Connect the charging cable to the port on the back of the doorbell and plug it into a power source. Allow the doorbell to charge fully before moving on.
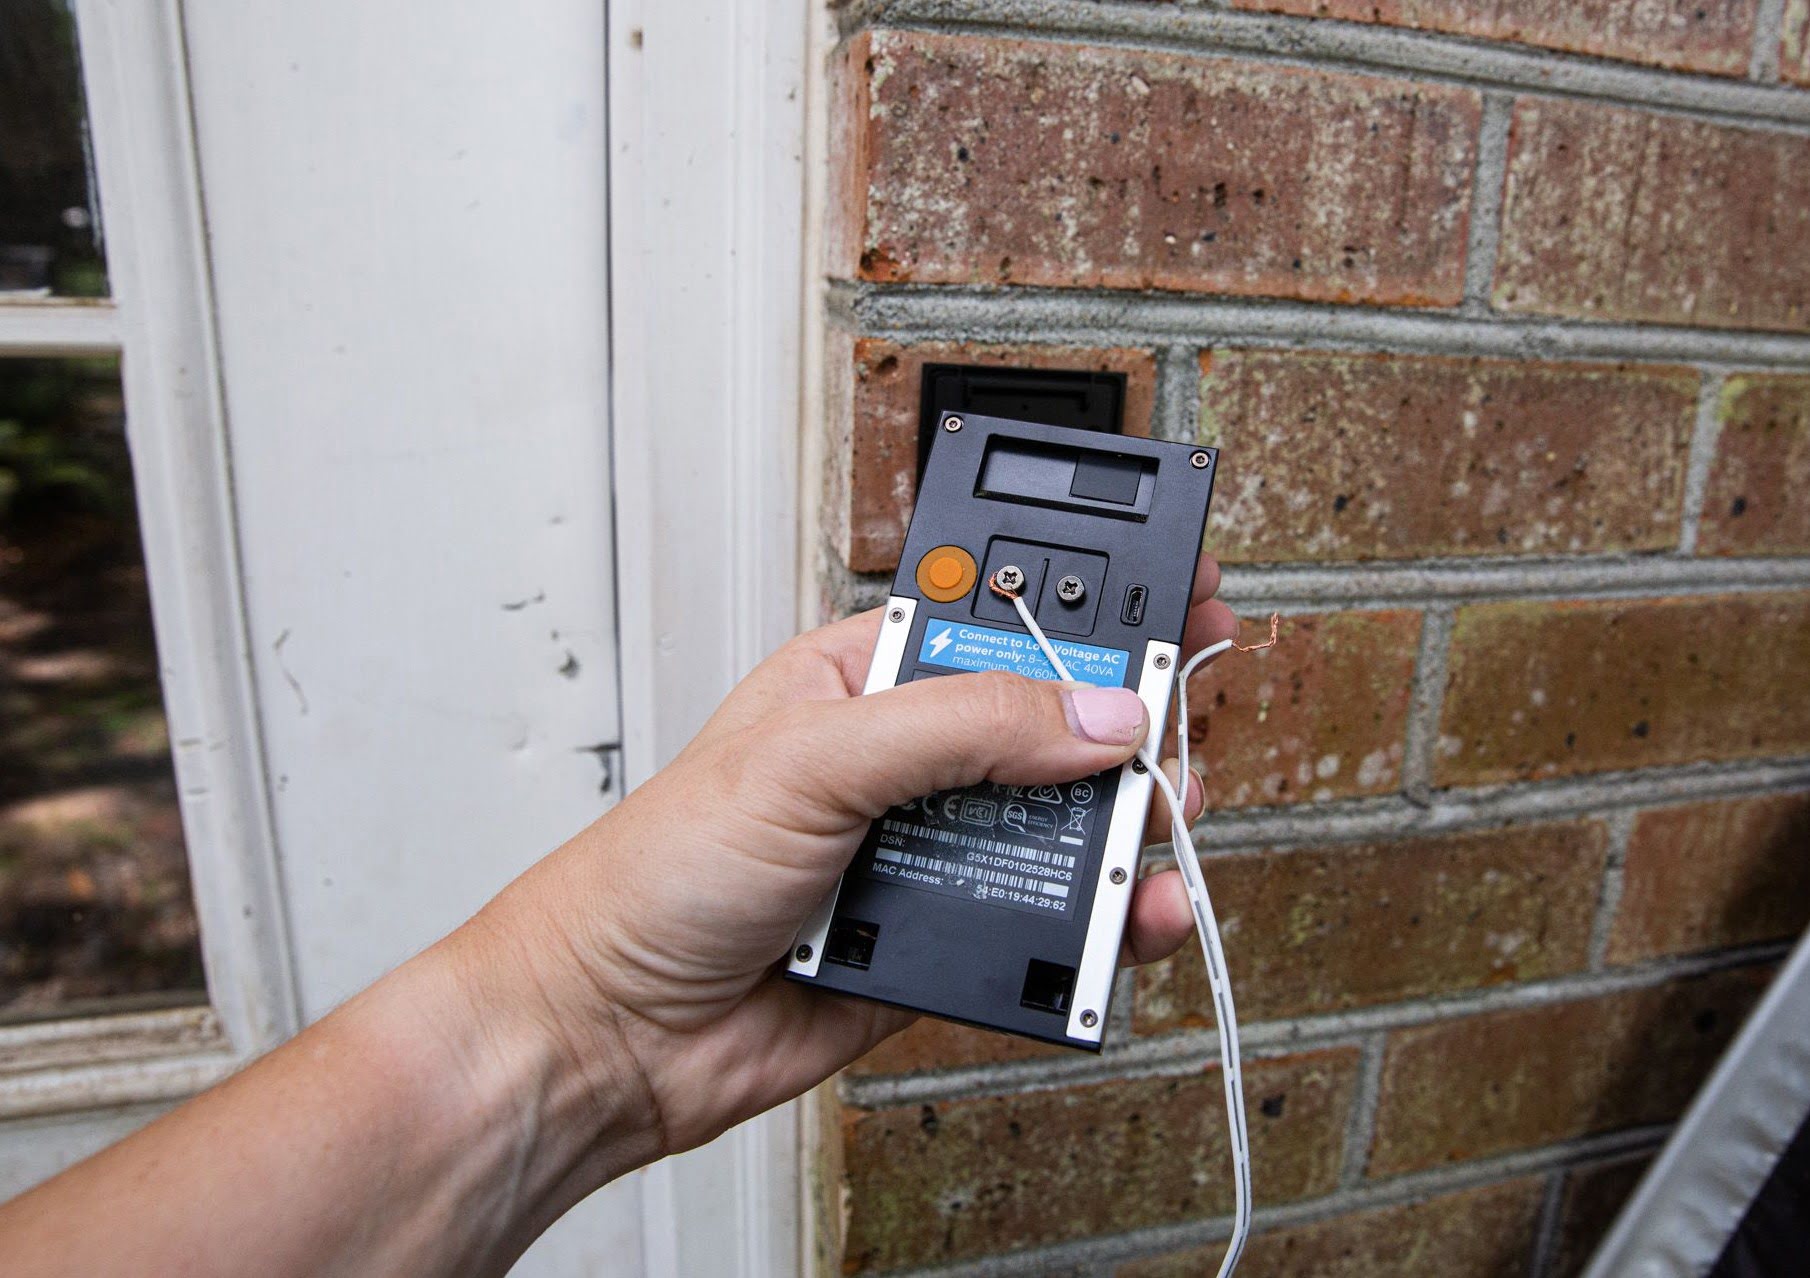
If you decide to hardwire your Ring Doorbell, make sure you have a compatible doorbell wiring in place. Typically, this involves connecting the existing doorbell wires to the back of the Ring Doorbell. If you’re unsure about the wiring or need assistance, it’s recommended to consult a professional electrician.
With the doorbell unboxed and charged (if battery-powered) or ready for wiring (if hardwired), you’re now ready to move on to the next step: choosing the installation method.
Step 2: Choosing the Installation Method
Now that you’ve unboxed your Ring Doorbell, it’s time to decide on the installation method that best suits your needs. The Ring Doorbell offers two installation options: screw-in or adhesive mount.
The screw-in method provides a more secure and permanent installation. It involves attaching the mounting bracket to a surface using screws and anchors. This is ideal for those who want a stable and reliable installation that won’t be easily tampered with. It’s important to note that choosing the screw-in method requires drilling holes into your wall or door frame, so make sure you’re comfortable with this before proceeding.
If you prefer a more temporary installation that doesn’t require drilling, you can opt for the adhesive mount. This method utilizes a strong adhesive tape to secure the mounting bracket. It’s a great choice for those who are renting a property or want the flexibility to move the doorbell to different locations in the future. However, keep in mind that the adhesive may not hold up as well in extreme weather conditions, so it’s best to use the adhesive mount in a covered or protected area.
Consider the pros and cons of each installation method and choose the one that best suits your preferences and situation. Once you’ve made your decision, gather the necessary tools for the chosen method. If you’re using the screw-in method, make sure you have a drill, a Phillips screwdriver, and the included screws and anchors. For the adhesive mount, ensure that you have cleaned and dried the installation surface and have the adhesive tape ready.
Now that you’ve chosen your installation method and gathered the required tools, it’s time to move on to the next step: mounting the Ring Doorbell.
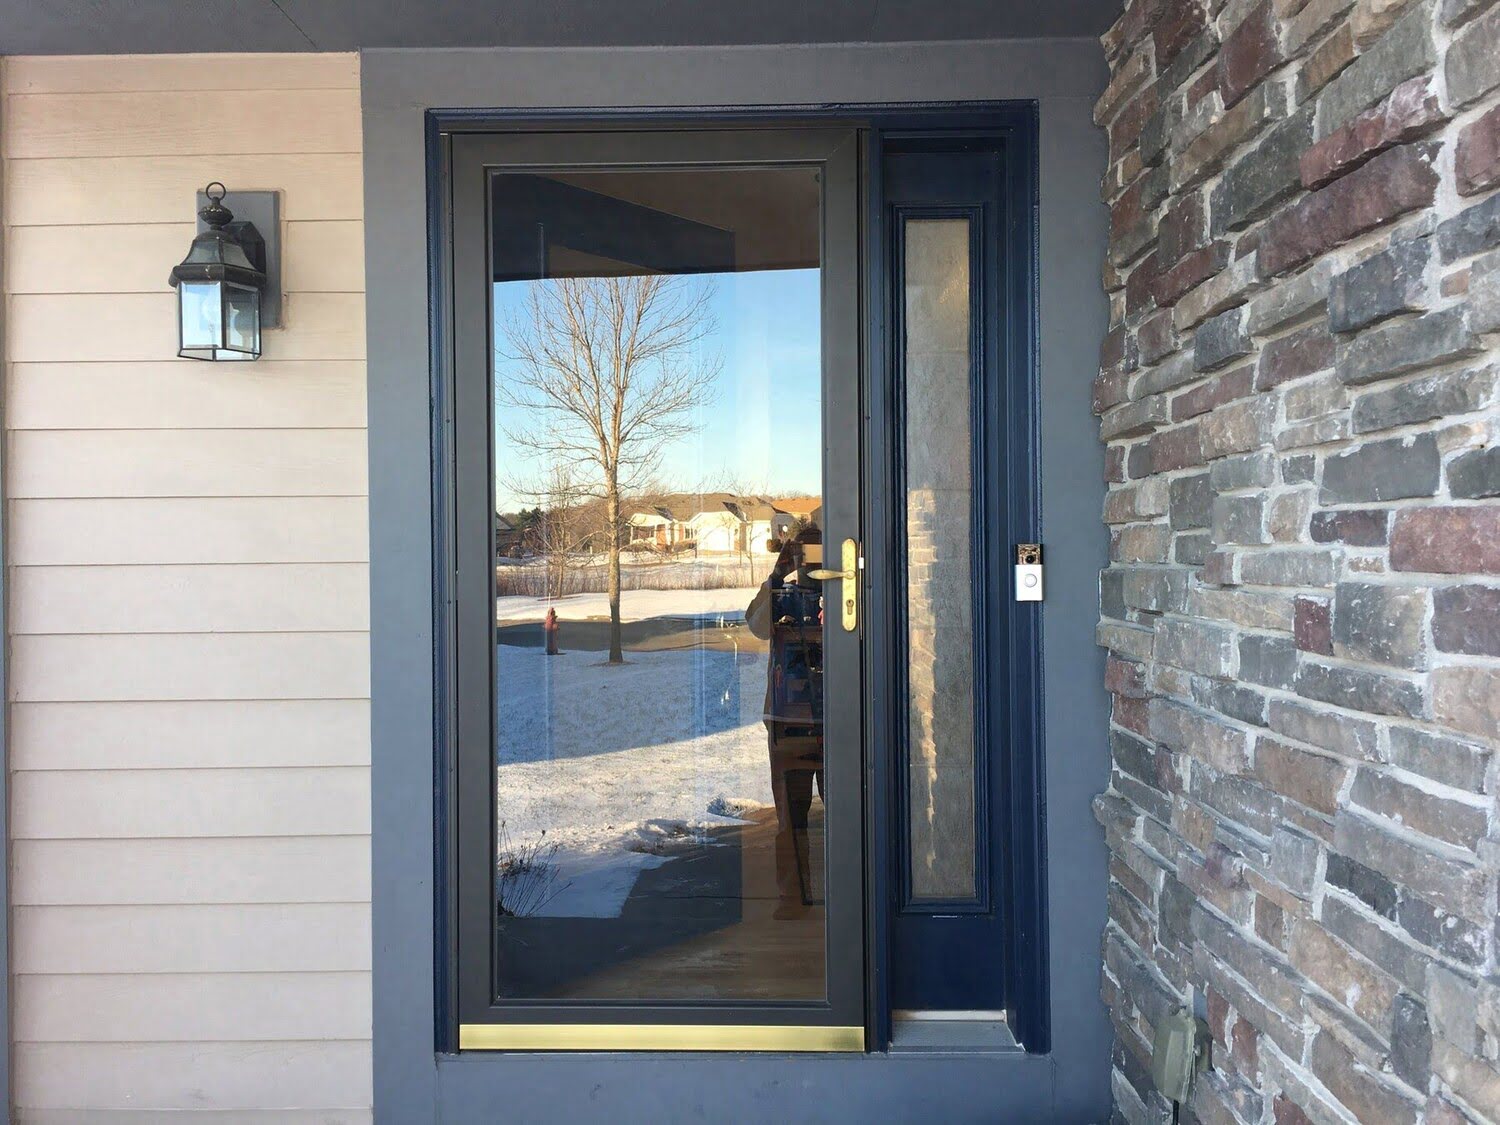
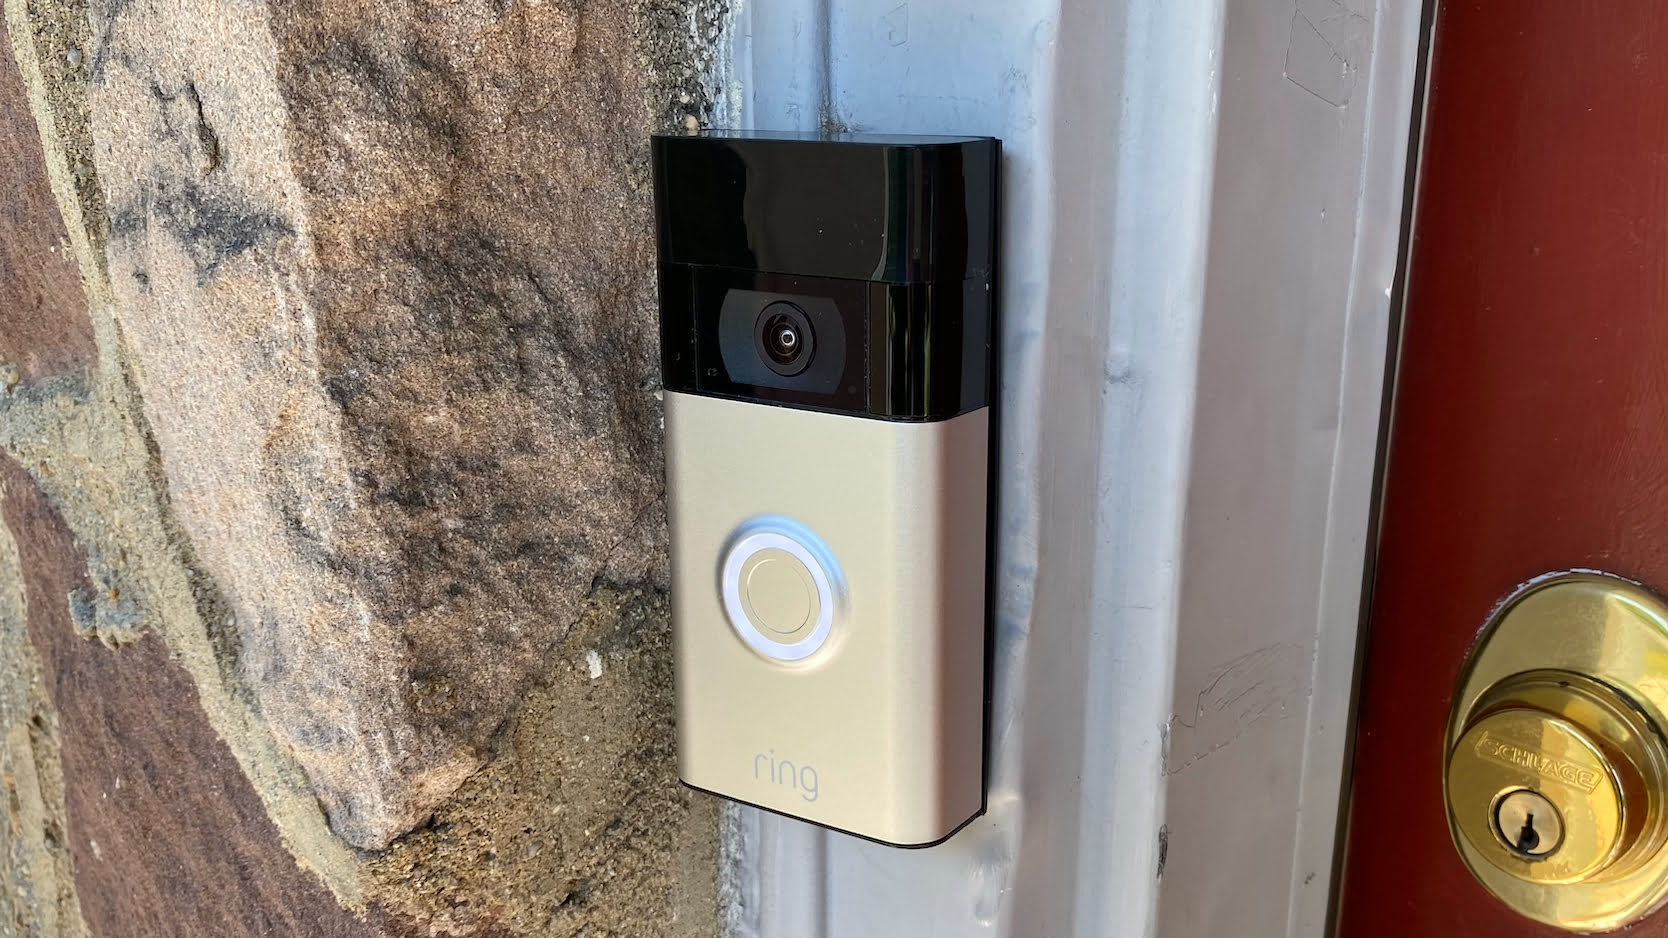
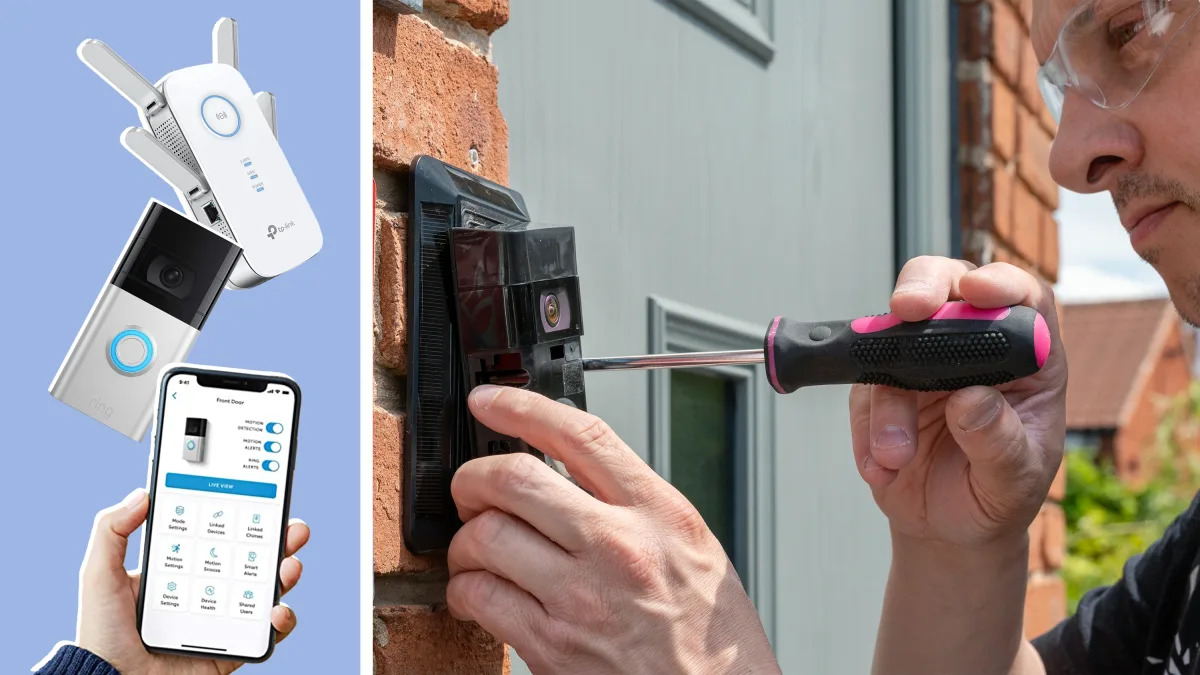
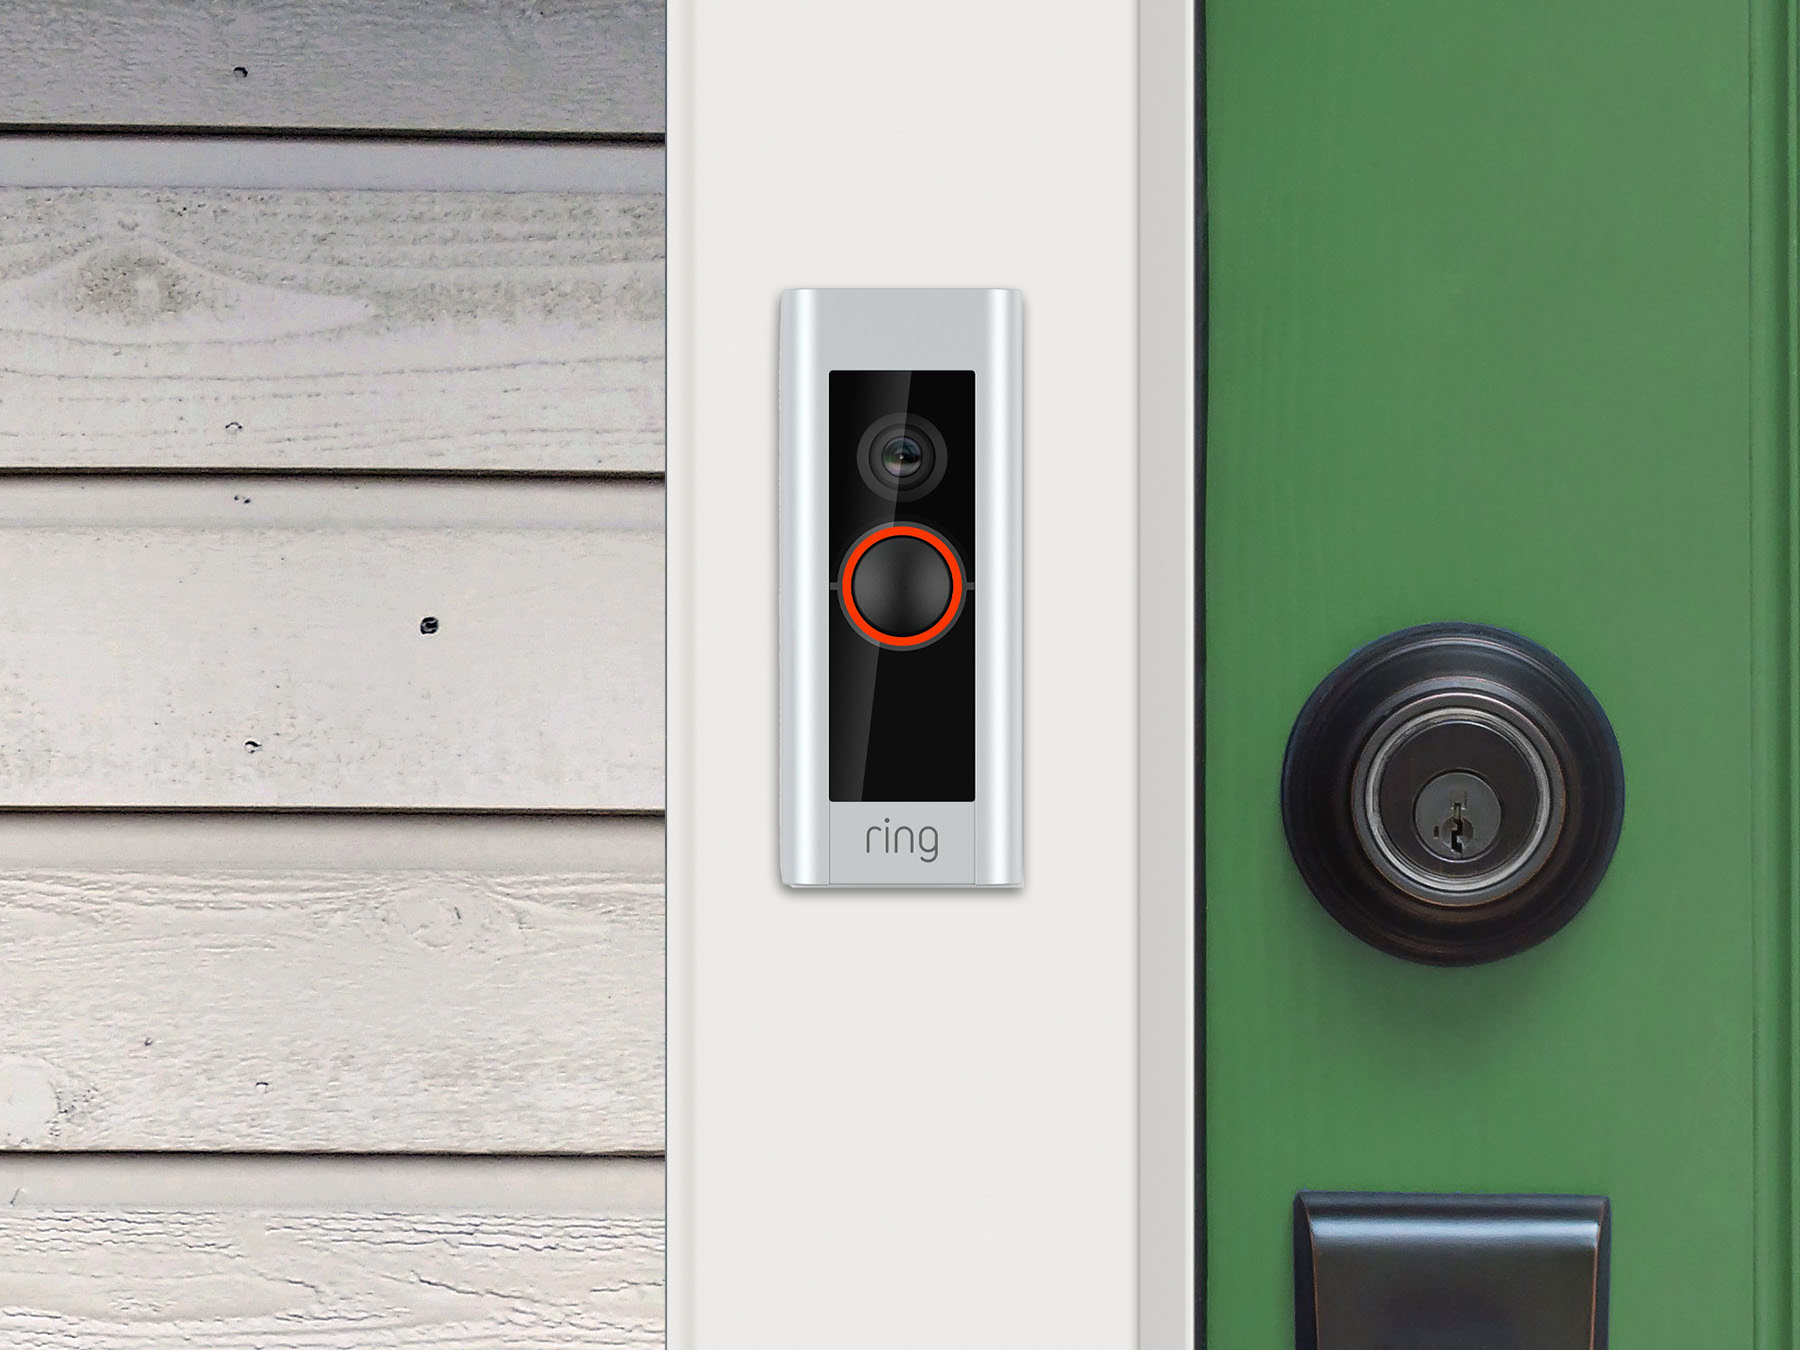
Step 3: Mounting the Ring Doorbell
With your chosen installation method in mind, it’s time to mount your Ring Doorbell. Whether you’ve opted for the screw-in or adhesive mount, this step is crucial for ensuring that your doorbell is securely attached to your desired location.
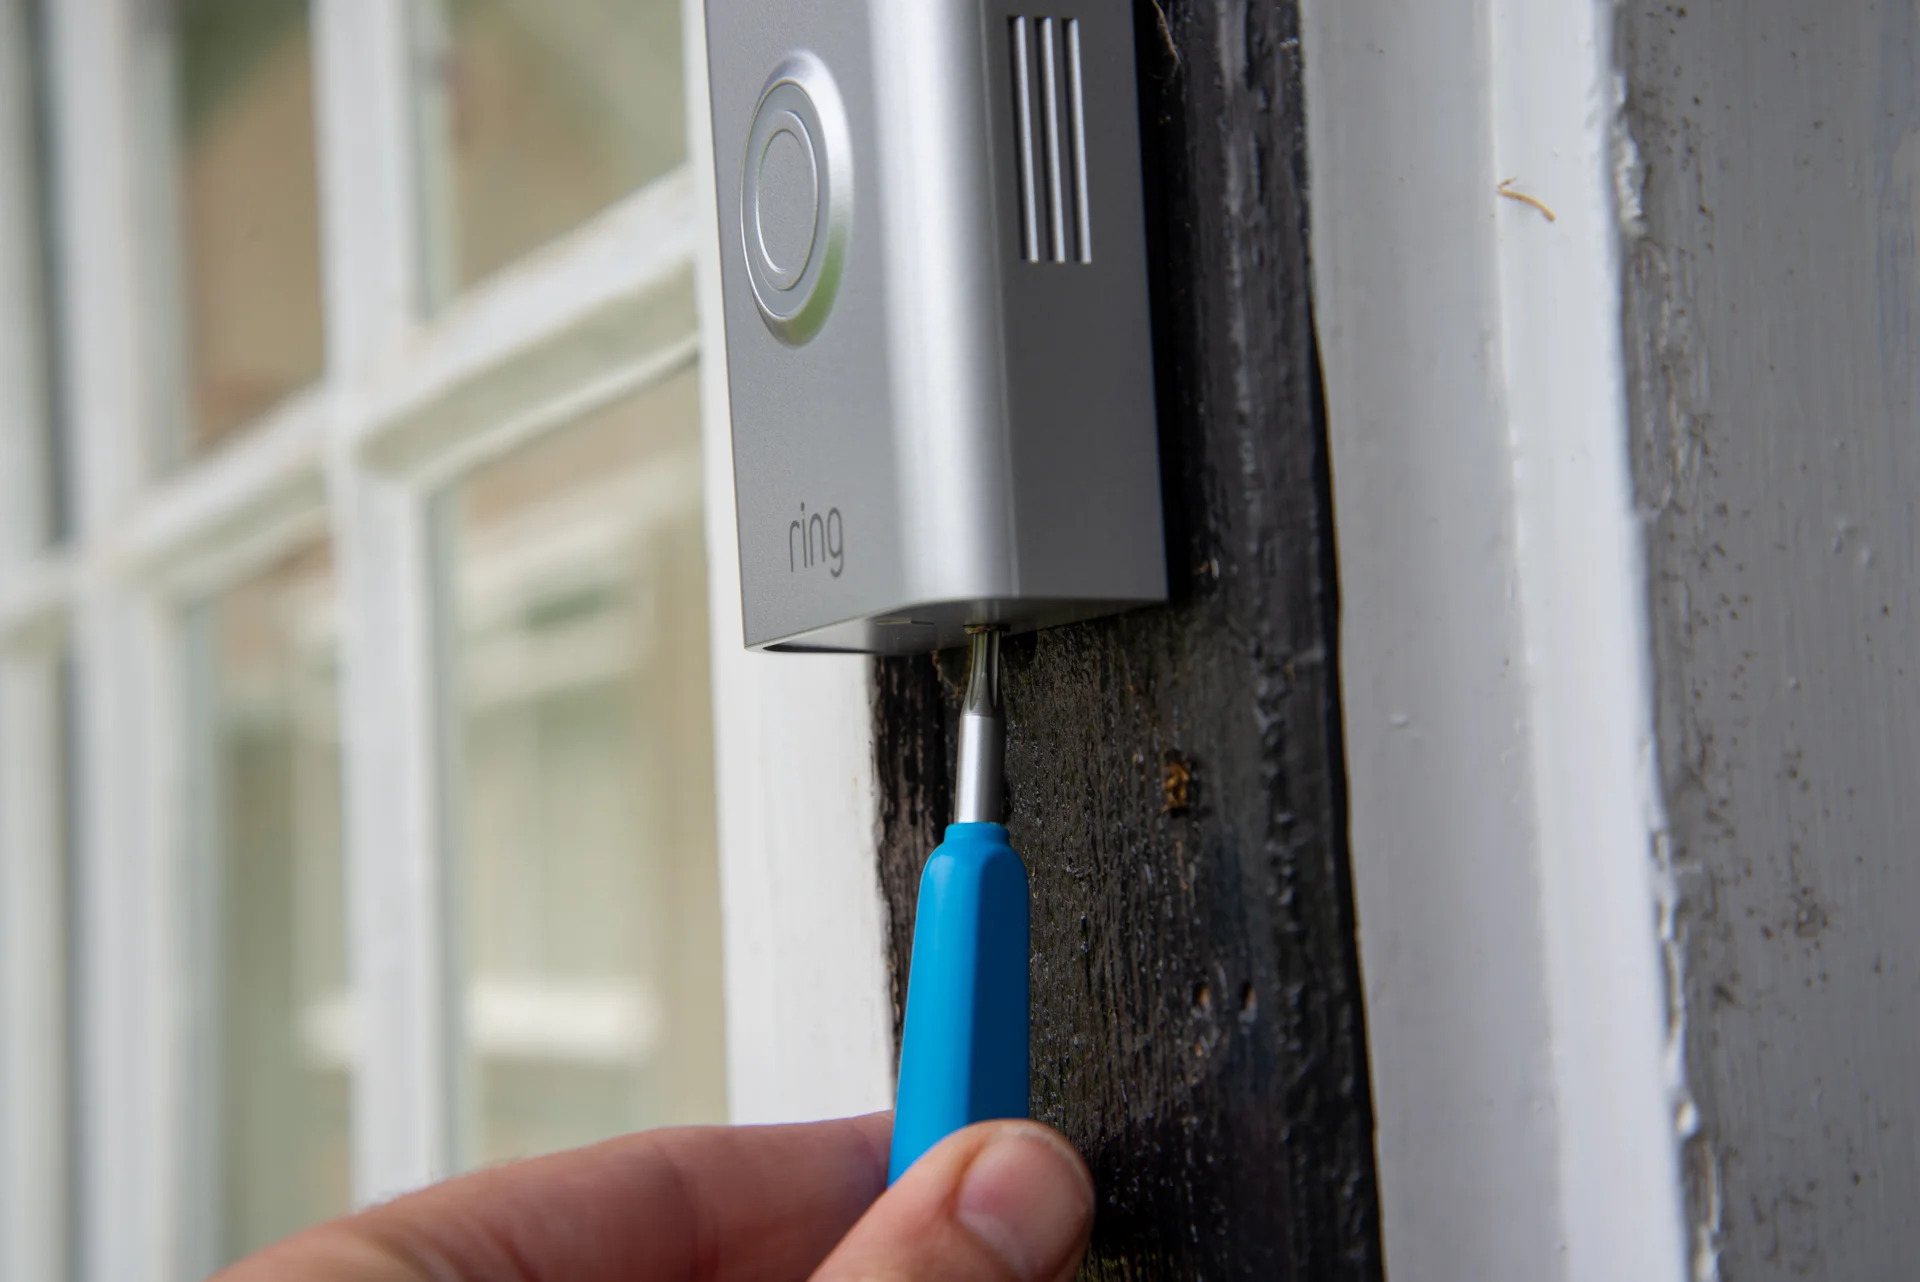
If you’ve chosen the screw-in method, begin by positioning the mounting bracket at your desired location. Ensure that it is level and aligned properly. Use a pencil or marker to mark the screw holes on the wall or door frame. Next, carefully drill pilot holes at the marked locations. Insert the provided anchors into the pilot holes, and then attach the mounting bracket using the included screws. Make sure the bracket is tight and doesn’t wobble.
If you’ve opted for the adhesive mount, start by cleaning and drying the installation surface thoroughly. Remove any dirt, dust, or residue that may prevent the adhesive from sticking properly. Once the surface is clean, peel off the backing from the adhesive tape on the mounting bracket. Position the bracket at your desired location and press firmly to ensure a strong bond between the bracket and the surface. Hold the bracket in place for a few seconds to allow the adhesive to set.
After mounting the bracket, it’s time to attach the Ring Doorbell itself. Align the back of the doorbell with the corresponding attachment points on the mounting bracket. Depending on the model of your Ring Doorbell, you may need to slide or twist the doorbell onto the bracket. Once properly aligned, apply gentle pressure to secure the doorbell in place. You should hear a click or feel a snug fit when the doorbell is attached correctly.
Now that your Ring Doorbell is securely mounted, it’s time to move on to the next step: connecting the doorbell to Wi-Fi.
Step 4: Connecting the Doorbell to Wi-Fi
With your Ring Doorbell securely mounted, it’s time to connect it to your Wi-Fi network so you can access its features and receive real-time alerts on your smartphone or tablet.
Start by opening the Ring app on your mobile device. If you haven’t downloaded the app yet, you can find it in the App Store for iOS devices or the Google Play Store for Android devices. Sign in to your Ring account or create a new account if you don’t already have one.
In the app, select the option to set up a new device. Follow the on-screen instructions to select your specific Ring Doorbell model and begin the setup process. Make sure your mobile device is connected to the Wi-Fi network that you want to connect your doorbell to.
The app will prompt you to provide the necessary information to connect your doorbell to Wi-Fi. This typically involves scanning a QR code on the back of your Ring Doorbell or manually entering a code or serial number. Follow the instructions carefully and ensure that the information is entered accurately.
Once you’ve entered the required information, the app will guide you through the process of connecting your Ring Doorbell to your Wi-Fi network. This usually involves selecting your Wi-Fi network from a list of available networks and entering the password. Make sure you have the correct Wi-Fi name and password handy.
After entering the Wi-Fi information, the app will attempt to connect your Ring Doorbell to your network. This may take a few moments, so be patient and ensure that your mobile device is in range of your Wi-Fi router. Once the connection is established, you will receive a confirmation in the app.
Now that your Ring Doorbell is successfully connected to your Wi-Fi network, you can proceed to the next step: setting up the Ring app.
When setting up your Ring Doorbell, make sure to follow the manufacturer’s instructions carefully. Ensure that the device is properly connected to your Wi-Fi network and that the Ring app is installed on your smartphone for easy access and control.
Read more: How Do You Reset A Ring Doorbell
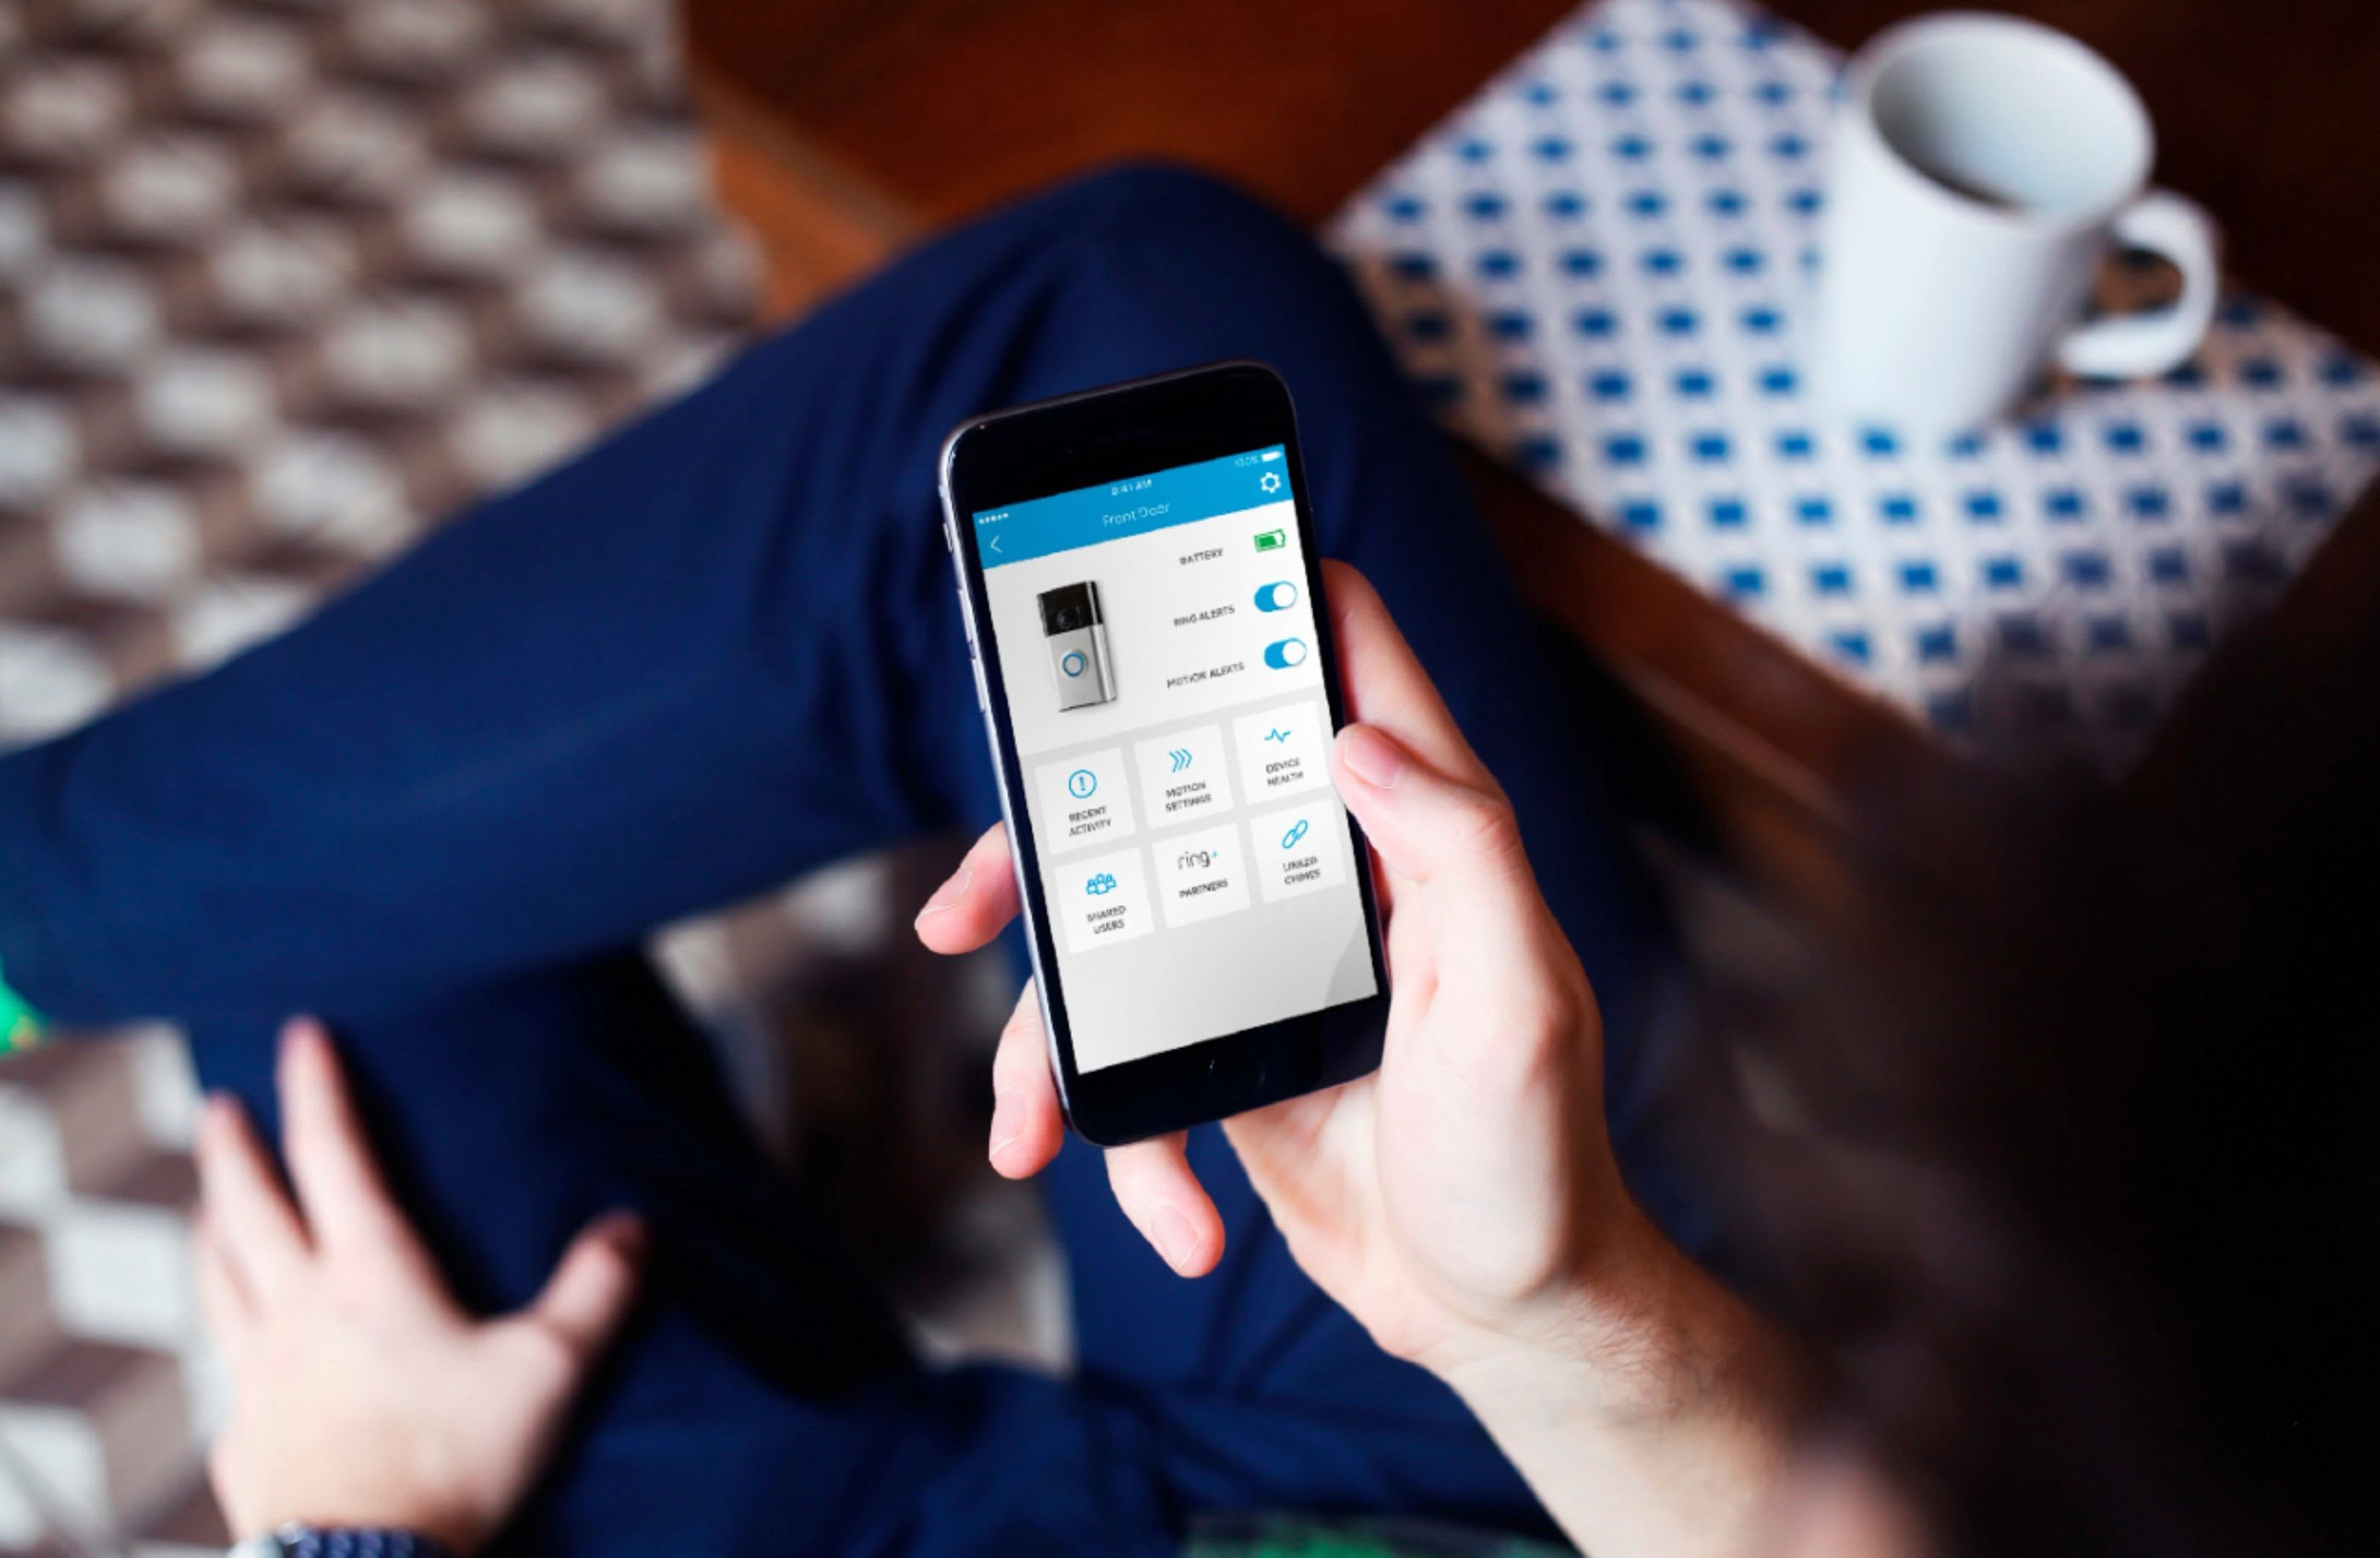
Step 5: Setting Up the Ring App
Now that your Ring Doorbell is connected to your Wi-Fi network, it’s time to set up the Ring app on your mobile device. The Ring app is your portal to accessing and managing all the features and settings of your Ring Doorbell.
If you haven’t done so already, open the Ring app on your mobile device. Sign in to your Ring account using the credentials you created earlier or create a new account within the app. Once you’re logged in, you’ll be greeted with the app’s main dashboard.
Before diving into the various features, take a moment to explore the app’s settings. Locate the menu or settings icon, typically found in the top-left or bottom-right corner of the app’s interface. From here, you can customize various aspects of your Ring Doorbell, such as motion detection sensitivity, notification settings, and video quality.
One of the key features of the Ring app is its live view functionality, which allows you to view real-time video streaming from your Ring Doorbell. To access the live view, select your Ring Doorbell from the app’s dashboard or navigate to the live view section. From there, you’ll be able to see what’s happening at your front door, initiate two-way audio communication, and even record or take snapshots of the video feed.
In addition to live view, the Ring app also offers a history section where you can view past events and recordings. You can scroll through the timeline and review any detected motion events or doorbell button presses. You can also access saved recordings and snapshots from here.
The Ring app also allows you to customize your notification preferences. You can choose to receive alerts for specific events such as motion detection or doorbell button presses. You can also adjust the frequency and timing of these notifications to better suit your needs.
Lastly, don’t forget to explore any additional features or settings specific to your Ring Doorbell model. This may include options for sharing access with other users, integrating with other smart home devices, or setting up specific motion zones.
With the Ring app set up on your mobile device, you’re now ready to move on to the next step: customizing your Ring Doorbell settings.
Step 6: Customizing Ring Doorbell Settings
Now that you have the Ring app set up on your mobile device, it’s time to customize the settings of your Ring Doorbell. This step allows you to tailor the device to your specific preferences and needs.
Open the Ring app and navigate to the settings section. Here, you’ll find a range of options that you can adjust to customize your Ring Doorbell experience.
One of the key settings you may want to customize is the motion detection sensitivity. By adjusting this setting, you can control how sensitive your Ring Doorbell is to detecting motion. If you find that you’re receiving too many false alerts, you can decrease the sensitivity. Conversely, if you’re missing important events, you can increase the sensitivity. Experiment with different levels until you find the right balance for your situation.
Another important setting is the motion zones. This feature allows you to define specific areas in the camera’s field of view where motion detection will occur. By creating custom motion zones, you can reduce false alerts triggered by irrelevant motion, such as passing cars or trees swaying in the wind. Simply draw or adjust the boundaries of the zones within the app, taking care to focus on the areas that are of most interest to you.
Additionally, you may want to explore the advanced settings, such as video quality and audio settings. Adjusting the video quality can help optimize the streaming and recording performance based on your internet connection. Similarly, you can adjust the audio settings to enhance the clarity of two-way communication between you and your visitors.
Don’t forget about other features and settings that might be available for your specific Ring Doorbell model. This could include options for night vision, setting schedules for when motion detection is active, or integrating with other smart home devices and platforms.
Take some time to explore and experiment with these settings to ensure that your Ring Doorbell is fine-tuned to meet your preferences and requirements.
Once you’ve customized your Ring Doorbell settings, you’re ready for the final step: testing and troubleshooting any potential issues.
Step 7: Testing and Troubleshooting
Now that you’ve set up and customized your Ring Doorbell, it’s time to put it to the test and ensure everything is working as expected. This final step involves testing the various features and functionalities of your Ring Doorbell and troubleshooting any issues that may arise.
Start by conducting a test of the motion detection feature. Walk within the camera’s field of view and check if you receive a motion alert on your mobile device. If necessary, adjust the sensitivity and motion zones to optimize the detection accuracy. You can also test the motion detection by ringing the doorbell button or simulating a visitor at your front door.
Next, test the two-way audio communication. Use the live view feature in the Ring app to initiate a conversation with someone at your front door. Ensure that the audio quality is clear and that you can both hear and be heard. Make any necessary adjustments to the audio settings to improve the communication experience.
Another aspect to test is the video quality. While viewing the live feed or recorded events, observe the clarity and resolution of the video. Check for any issues such as pixelation or lag. If you encounter any problems, verify that your Wi-Fi signal is strong and that there are no obstructions affecting the camera’s view.
If you encounter any issues during the testing phase, consult the troubleshooting section of the Ring app or visit the Ring support website for assistance. Common issues include connectivity problems, device placement issues, or power-related concerns. Follow the provided guidelines to troubleshoot and resolve the issue.
In some cases, you may need to contact Ring customer support for further assistance. They can provide personalized guidance and troubleshooting steps to help you overcome any challenges you may be facing.
By thoroughly testing your Ring Doorbell and addressing any troubleshooting issues, you can ensure that your device is fully operational and ready to provide you with enhanced security and convenience.
With that, you have successfully set up your Ring Doorbell and completed all the required steps. Congratulations! You can now enjoy the benefits of your Ring Doorbell, including real-time monitoring, remote access, and peace of mind knowing that your home is well-protected.
Remember, keep the Ring app up to date, periodically check for firmware updates for your Ring Doorbell, and maintain a strong Wi-Fi connection to ensure optimal performance. Enjoy your Ring Doorbell and the added security it brings to your home!
Conclusion
Congratulations on successfully setting up your Ring Doorbell! By following the step-by-step process outlined in this guide, you have gained the knowledge and skills to install, connect, and customize your Ring Doorbell to fit your specific needs and preferences.
The Ring Doorbell offers a range of features and functionalities that enhance the security and convenience of your home. With its motion detection capabilities, live video streaming, and two-way audio communication, you can stay connected to your front door from anywhere, anytime.
Throughout the setup process, you unboxed your Ring Doorbell, chose the appropriate installation method, mounted the device securely, connected it to your Wi-Fi network, set up the Ring app, customized the settings, and tested the features for optimal performance.
Remember to regularly check for any firmware updates for your Ring Doorbell and keep the Ring app up to date. This ensures that you have access to the latest features and improvements for your device.
With your Ring Doorbell in place, you now have the peace of mind knowing that you have an added layer of security for your home. Whether it’s monitoring package deliveries, screening visitors, or keeping a watchful eye on your property, your Ring Doorbell is designed to provide you with the convenience and security you desire.
Should you encounter any issues or have any questions in the future, refer to the Ring app’s troubleshooting section or contact the Ring customer support. They are there to assist you and ensure you have the best experience with your Ring Doorbell.
Enjoy the benefits of your Ring Doorbell and take delight in the added protection and peace of mind it brings to your home. Embrace the world of smart home technology and make the most of your Ring Doorbell to create a safer and more connected living environment.
Thank you for choosing Ring, and we hope you have an excellent experience with your new Ring Doorbell!
Frequently Asked Questions about How Do You Set Up Ring Doorbell
Was this page helpful?
At Storables.com, we guarantee accurate and reliable information. Our content, validated by Expert Board Contributors, is crafted following stringent Editorial Policies. We're committed to providing you with well-researched, expert-backed insights for all your informational needs.


0 thoughts on “How Do You Set Up Ring Doorbell”