Home>Gardening & Outdoor>Outdoor Recreation & Activities>How To Make A Trampoline Bike
Outdoor Recreation & Activities
How To Make A Trampoline Bike
Modified: August 17, 2024
Learn how to make a trampoline bike for outdoor recreation and activities. Follow our step-by-step guide for a fun and exciting DIY project.
(Many of the links in this article redirect to a specific reviewed product. Your purchase of these products through affiliate links helps to generate commission for Storables.com, at no extra cost. Learn more)
Introduction
So, you've seen those amazing videos of people bouncing on trampolines and performing jaw-dropping stunts. You may have even tried a few tricks yourself. But what if you could take the exhilarating fun of trampolining to a whole new level? Imagine combining the thrill of bouncing with the excitement of riding a bike. Yes, you read that right – a trampoline bike! This innovative and adrenaline-pumping creation allows you to soar through the air while experiencing the joy of cycling. In this article, we'll delve into the fascinating world of trampoline bikes and guide you through the process of creating your very own. Get ready to embark on an extraordinary journey that blends the thrill of two beloved activities – trampolining and biking. Let's dive in and discover how to make a trampoline bike that will elevate your outdoor adventures to new heights!
Key Takeaways:
- Transform a trampoline into a thrilling trampoline bike by disassembling, building, and integrating components. Prioritize safety and enjoy the unique fusion of trampolining and biking for unforgettable outdoor adventures.
- Embrace DIY innovation and outdoor excitement with a trampoline bike. Safeguard yourself, maintain your creation, and inspire others to explore the limitless possibilities of creativity and adventure.
Read more: How To Make A Trampoline
Materials Needed
Before you embark on this exciting DIY project, it’s essential to gather all the necessary materials. Here’s a comprehensive list of what you’ll need to bring your trampoline bike to life:
- Trampoline frame: Look for a sturdy and durable trampoline frame that can support the weight and movement of a bike.
- Trampoline mat: Ensure that the trampoline mat is in good condition, free from tears or excessive wear.
- Steel tubing: You’ll need steel tubing to construct the frame of the bike, providing the necessary structure and support.
- Welding equipment: If you’re proficient in welding, you’ll require welding equipment to securely join the steel tubing and create the bike frame.
- Bike wheels: Select high-quality bike wheels that are suitable for the terrain on which you plan to ride your trampoline bike.
- Handlebars and grips: Choose comfortable handlebars and grips that provide a secure and ergonomic grip for steering.
- Brake system: Install a reliable brake system to ensure safe and efficient stopping power.
- Springs and connectors: Gather springs and connectors to attach the trampoline mat to the frame, allowing for the characteristic bounce.
- Protective gear: Prioritize safety by acquiring a helmet, knee and elbow pads, and other protective gear to safeguard yourself while riding.
- Tools: Stock up on essential tools such as wrenches, screwdrivers, pliers, and a hacksaw for assembly and adjustments.
With these materials at your disposal, you’ll be well-equipped to begin the exhilarating process of building your very own trampoline bike.
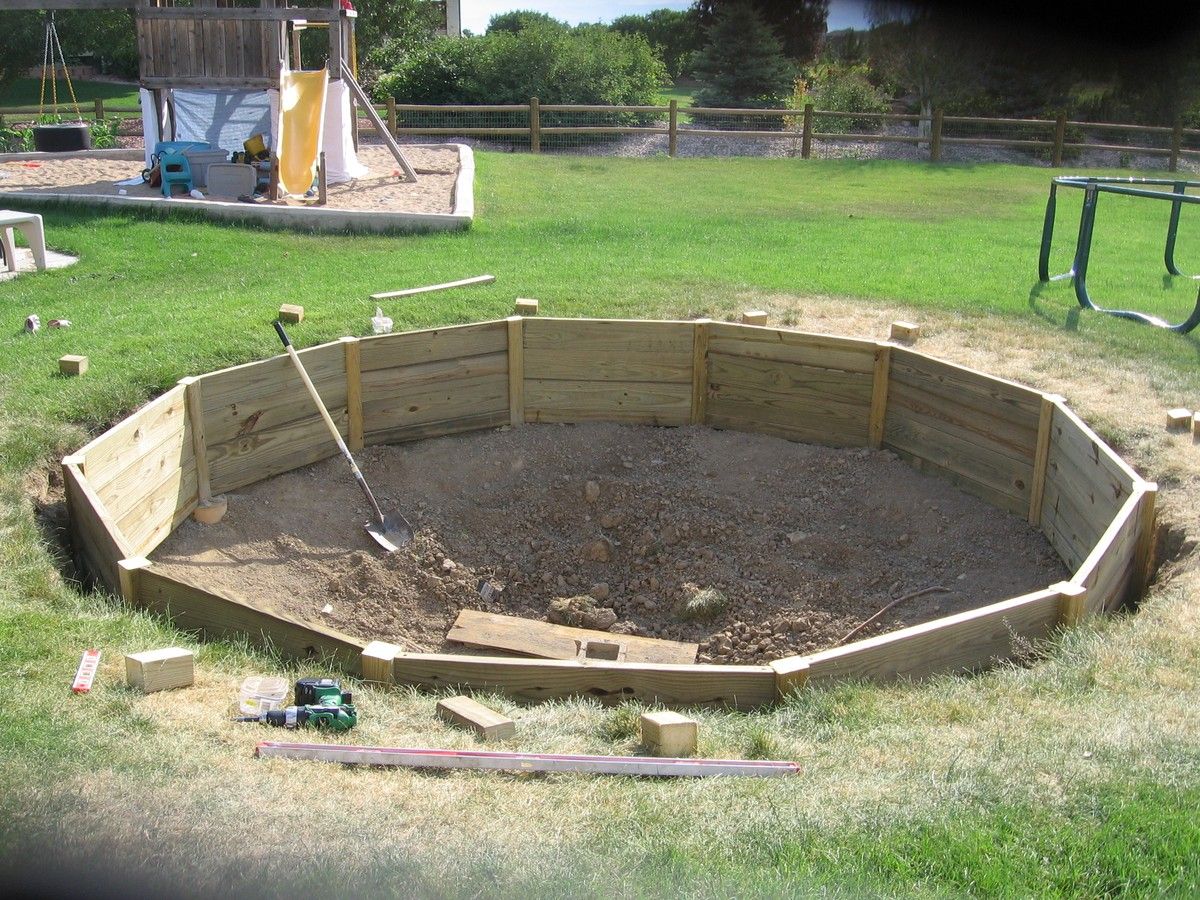
Step 1: Disassembling the Trampoline
Before you can transform your trampoline into a thrilling bike-compatible apparatus, you’ll need to carefully disassemble its components. Here’s a detailed guide on how to proceed:
- Clear the Area: Start by clearing the space around the trampoline to ensure easy access to all parts. Remove any obstacles that may hinder the disassembly process.
- Remove the Safety Enclosure: If your trampoline is equipped with a safety enclosure, detach it by following the manufacturer’s instructions. Typically, this involves unhooking the enclosure poles and carefully disengaging the netting.
- Take Apart the Springs: Using a spring puller tool or a suitable alternative, carefully disconnect the springs from the trampoline frame. Work methodically around the perimeter, gradually releasing the tension from each spring.
- Separate the Mat from the Frame: Once the springs are detached, carefully lift the trampoline mat from the frame, ensuring that it’s free from any remaining attachments.
- Dismantle the Frame: Disassemble the trampoline frame by following the manufacturer’s instructions in reverse order. If welding is involved, exercise caution and consider seeking professional assistance if needed.
- Inspect and Store Components: Thoroughly inspect all components for wear and damage. Store the trampoline parts in a safe and organized manner, as you may need them for future modifications or repairs.
By meticulously disassembling the trampoline, you’ll lay the groundwork for the exciting process of repurposing its elements to create a one-of-a-kind trampoline bike. With the disassembly complete, it’s time to move on to the next thrilling phase – building the frame for your innovative outdoor contraption.
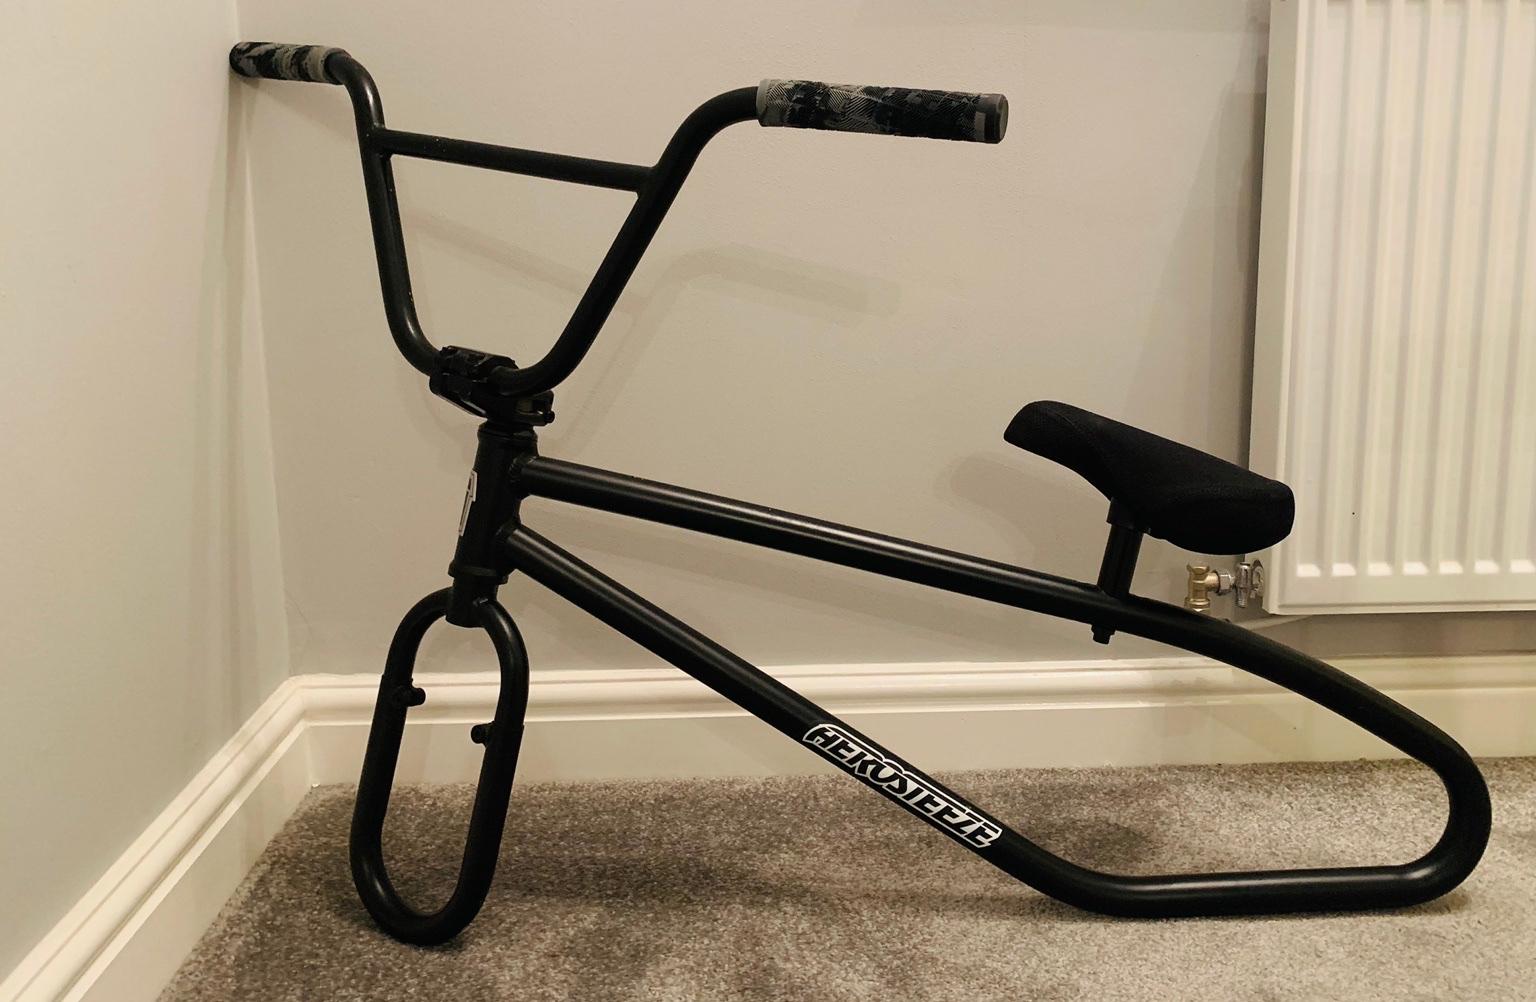
Step 2: Building the Frame
With the trampoline disassembled, it’s time to embark on the exhilarating process of constructing the frame for your trampoline bike. The frame serves as the backbone of the entire apparatus, providing stability and support for the dynamic fusion of trampolining and biking. Here’s a comprehensive guide to help you bring this essential component to life:
- Measure and Cut the Steel Tubing: Begin by carefully measuring and cutting the steel tubing to the required lengths, following a precise blueprint or design plan for the frame. Accuracy is crucial to ensure a secure and well-proportioned structure.
- Welding the Frame: If you have welding skills and equipment, proceed with welding the steel tubing according to the design specifications. Precision and attention to detail are paramount to create a robust and resilient frame that can withstand the dynamic forces of trampolining and biking.
- Frame Reinforcement: Consider reinforcing critical joints and connection points to enhance the frame’s strength and durability. This may involve additional welding or the use of sturdy connectors to fortify the structure.
- Test for Stability: Once the frame is assembled, carefully assess its stability and structural integrity. Test for any signs of weakness or instability, and make necessary adjustments to ensure a solid foundation for the trampoline bike.
- Frame Finishing: After confirming the frame’s stability, attend to any finishing touches such as smoothing rough edges, applying protective coatings, or incorporating design elements that reflect your personal style.
By meticulously crafting the frame with precision and care, you’ll lay the groundwork for an extraordinary trampoline bike that seamlessly integrates the exhilarating bounce of a trampoline with the thrill of cycling. With the frame in place, it’s time to move on to the next exciting phase – attaching the trampoline mat to bring the trampoline bike to life.
When making a trampoline bike, make sure to use a sturdy frame and secure the trampoline mat tightly to the frame to prevent any accidents. Also, ensure that the trampoline mat is properly stretched and evenly supported to provide a safe and enjoyable bouncing experience.
Step 3: Attaching the Trampoline Mat
As you progress in the construction of your trampoline bike, the next crucial step involves integrating the trampoline mat into the innovative design. This essential component will provide the characteristic bounce that sets the trampoline bike apart, elevating your outdoor adventures to exhilarating new heights. Here’s a detailed guide to help you seamlessly attach the trampoline mat to the frame:
- Positioning the Trampoline Mat: Carefully position the trampoline mat over the frame, ensuring that it aligns with the dimensions and contours of the frame’s surface. Smooth out any wrinkles or folds to achieve a taut and even fit.
- Securing the Mat with Springs: Using durable and resilient springs, securely fasten the trampoline mat to the frame, maintaining an even distribution of tension across the surface. Work methodically around the perimeter, attaching the springs to anchor points on the frame while maintaining consistent tension.
- Ensuring Adequate Tension: Verify that the trampoline mat is uniformly tensioned and free from sagging or excessive slack. Adjust the tension of the springs as needed to achieve an optimal bounce and a secure, even surface for trampolining.
- Inspecting the Attachment: Thoroughly inspect the attachment of the trampoline mat, ensuring that it is securely fastened to the frame and free from any potential hazards or instability. Address any issues promptly to guarantee a safe and enjoyable trampolining experience.
By skillfully integrating the trampoline mat into the design, you’ll infuse your trampoline bike with the exhilarating bounce that defines trampolining, creating a unique fusion of two beloved activities. With the trampoline mat securely attached, the stage is set for the next thrilling phase – adding the handlebars and wheels to transform your creation into a fully functional trampoline bike.
Read more: How To Make An In Ground Trampoline
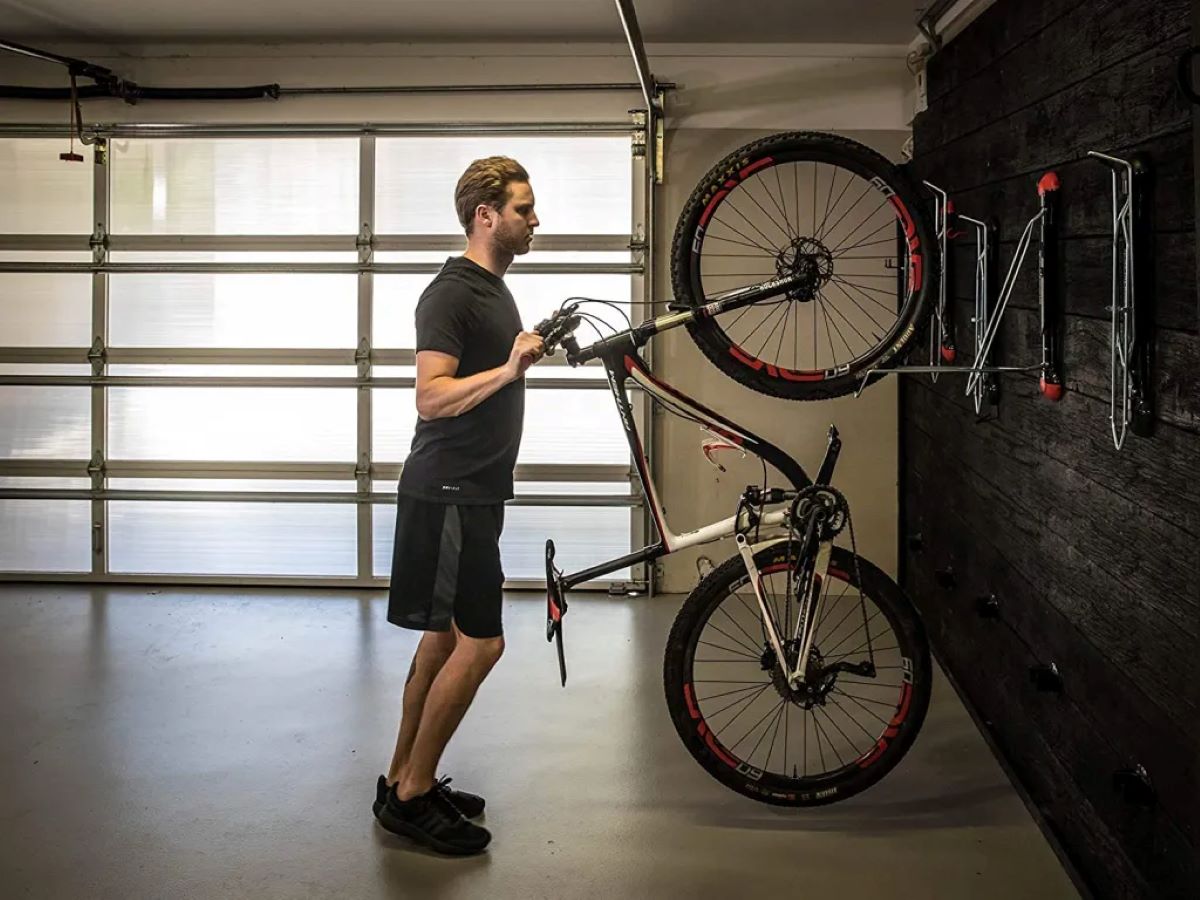
Step 4: Adding the Handlebars and Wheels
As you approach the culmination of your trampoline bike project, it’s time to incorporate the essential components that will facilitate control and mobility – the handlebars and wheels. These elements will transform your creation into a fully functional and exhilarating mode of outdoor recreation. Here’s a comprehensive guide to help you seamlessly add the handlebars and wheels to your trampoline bike:
- Mounting the Handlebars: Position the handlebars securely onto the frame, ensuring a comfortable and ergonomic alignment for steering. Fasten the handlebars using appropriate clamps or fixtures, ensuring a stable and reliable connection.
- Securing the Grips: Install durable and comfortable grips on the handlebars, providing a secure and cushioned surface for gripping during rides. Verify that the grips are firmly attached and free from any slippage or instability.
- Attaching the Bike Wheels: Mount the bike wheels onto the frame, ensuring that they are aligned and centered for optimal stability and maneuverability. Secure the wheels using reliable axle systems, verifying that they rotate smoothly and freely.
- Integrating the Brake System: Install a dependable brake system that provides efficient stopping power, enhancing safety during rides. Verify that the brakes are properly adjusted and responsive, allowing for confident control and maneuvering.
- Testing for Functionality: Conduct thorough tests to ensure that the handlebars and wheels are securely integrated and fully functional. Verify smooth steering, stable handling, and responsive braking to guarantee a safe and enjoyable riding experience.
With the addition of the handlebars and wheels, your trampoline bike evolves into a dynamic and exhilarating fusion of trampolining and cycling. This transformative phase brings your creation to life, paving the way for thrilling outdoor adventures that blend the joy of bouncing with the excitement of biking. With the handlebars and wheels in place, it’s essential to prioritize safety as you prepare to embark on unforgettable trampoline bike rides.
Step 5: Safety Precautions
As you prepare to embark on exhilarating rides with your trampoline bike, prioritizing safety is paramount to ensure enjoyable and secure outdoor adventures. By implementing essential safety precautions, you can confidently experience the unique fusion of trampolining and biking while minimizing risks. Here’s a comprehensive guide to help you establish and maintain safety protocols for your trampoline bike:
- Protective Gear: Prior to riding, always don appropriate protective gear, including a certified helmet, knee and elbow pads, and suitable footwear. This essential equipment provides vital protection and minimizes the risk of injury during trampoline bike rides.
- Inspection and Maintenance: Regularly inspect your trampoline bike for any signs of wear, damage, or loose components. Ensure that all connections, fasteners, and structural elements are secure and functioning optimally. Perform routine maintenance to uphold the integrity and safety of your trampoline bike.
- Safe Riding Environment: Select suitable riding locations that offer ample space, even terrain, and minimal obstacles. Avoid areas with potential hazards such as sharp protrusions, loose debris, or uneven surfaces that may compromise your safety while riding.
- Supervision and Training: If introducing others to the trampoline bike, provide clear instructions on safe riding practices and ensure appropriate supervision, particularly for beginners. Offer guidance and support to promote responsible and secure trampoline bike experiences.
- Weather Considerations: Exercise caution and adapt your riding plans based on weather conditions. Avoid riding in inclement weather or on slippery surfaces to mitigate the risk of accidents and maintain optimal safety during trampoline bike outings.
By diligently adhering to these safety precautions, you can savor the exhilarating experiences offered by your trampoline bike while safeguarding yourself and others from potential risks. Prioritizing safety not only enhances the enjoyment of trampoline biking but also fosters a secure and responsible approach to outdoor recreation. With these precautions in place, you’re poised to embark on unforgettable trampoline bike adventures with confidence and peace of mind.
Conclusion
Congratulations on embarking on the extraordinary journey of creating your very own trampoline bike! Through meticulous disassembly, innovative construction, and the integration of essential components, you’ve transformed a conventional trampoline into a dynamic fusion of trampolining and biking. This remarkable DIY project has not only yielded a unique and exhilarating outdoor contraption but has also ignited boundless opportunities for unforgettable adventures.
As you prepare to take your trampoline bike for thrilling rides, remember that safety and responsible enjoyment are paramount. By prioritizing protective gear, regular maintenance, safe riding environments, and thoughtful supervision, you can ensure secure and memorable experiences with your innovative creation.
With the characteristic bounce of a trampoline and the thrill of cycling seamlessly combined, your trampoline bike represents the embodiment of creativity, ingenuity, and the pursuit of outdoor excitement. Whether you’re soaring through the air, performing awe-inspiring tricks, or simply relishing the joy of trampoline biking, your creation stands as a testament to the limitless possibilities of DIY innovation and outdoor recreation.
Embrace the exhilarating experiences that await you with your trampoline bike, and share the joy of this unique creation with fellow outdoor enthusiasts. Celebrate the fusion of two beloved activities and inspire others to explore the boundless realms of creativity and adventure. Your trampoline bike is not just a remarkable DIY project – it’s a testament to the spirit of innovation and the endless pursuit of outdoor thrills.
As you set out on your trampoline bike adventures, may the exhilaration of trampolining and the freedom of cycling converge to create indelible memories and moments of pure joy. Embrace the extraordinary and revel in the thrill of your one-of-a-kind trampoline bike – a testament to the boundless possibilities of imaginative outdoor pursuits.
Now that you're all set with your DIY trampoline bike, why not take your skills up a notch? Mastering some impressive trampoline tricks could be your next adventure. From basic bounces to advanced flips, our guide offers everything needed for fun and safe trick learning. So, if you're ready to impress friends with new moves, don't miss out on our exciting article about trampoline tricks that can transform any beginner into a pro. Challenge yourself today and start bouncing towards greatness!
Frequently Asked Questions about How To Make A Trampoline Bike
Was this page helpful?
At Storables.com, we guarantee accurate and reliable information. Our content, validated by Expert Board Contributors, is crafted following stringent Editorial Policies. We're committed to providing you with well-researched, expert-backed insights for all your informational needs.

0 thoughts on “How To Make A Trampoline Bike”