Home>Gardening & Outdoor>Outdoor Recreation & Activities>How To Disassemble A Trampoline
Outdoor Recreation & Activities
How To Disassemble A Trampoline
Modified: April 22, 2024
Learn how to safely disassemble a trampoline with our step-by-step guide. Ensure outdoor recreation and activities are enjoyed responsibly.
(Many of the links in this article redirect to a specific reviewed product. Your purchase of these products through affiliate links helps to generate commission for Storables.com, at no extra cost. Learn more)
Introduction
Disassembling a trampoline may seem like a daunting task, but with the right guidance and a systematic approach, it can be a straightforward and manageable process. Whether you're preparing for a move, storing the trampoline for the winter, or simply need to disassemble it for maintenance, knowing how to properly take it apart is essential.
In this comprehensive guide, we will walk you through the step-by-step process of disassembling a trampoline, providing you with the knowledge and confidence to tackle this task effectively. By following these instructions, you can ensure the safe and efficient disassembly of your trampoline, allowing for easy reassembly when the time comes.
So, gather your tools and let's embark on this disassembly journey together. Whether you're a seasoned trampoline owner or a newcomer to the world of backyard bouncing, this guide will equip you with the know-how to deconstruct your trampoline with ease.
Key Takeaways:
- Gather the right tools and follow a systematic approach to safely disassemble your trampoline. This ensures efficient disassembly and easy reassembly in the future.
- Clean and store trampoline parts carefully to maintain their integrity for future use. Organize and label components for a smooth reassembly process.
Read more: How To Disassemble A Springfree Trampoline
Step 1: Gather the Necessary Tools
Before you begin the process of disassembling your trampoline, it’s crucial to gather all the essential tools and equipment. Having the right tools at your disposal will streamline the disassembly process and ensure that you can work efficiently and safely. Here’s a list of the tools you’ll need:
- Spring Pulling Tool: This specialized tool is designed to help you safely remove the springs from the trampoline frame. It provides leverage and control, making the task much easier and preventing potential injuries.
- Socket Wrench Set: A socket wrench set will be indispensable for removing bolts and nuts from the trampoline frame. Ensure that you have the appropriate socket sizes for the specific hardware used in your trampoline.
- Allen Wrench Set: Many trampolines use hexagonal socket head bolts, which require an Allen wrench for removal. Make sure you have a set of Allen wrenches in various sizes to accommodate different bolt dimensions.
- Step Ladder: A sturdy step ladder will provide the necessary elevation for accessing the top of the trampoline safely. Choose a ladder with a height that allows you to comfortably reach all parts of the trampoline without overreaching.
- Protective Gloves: Working with metal components and springs can be tough on the hands. Wearing protective gloves will shield your skin and provide a better grip when handling various parts of the trampoline.
- Container for Hardware: As you disassemble the trampoline, you’ll encounter numerous bolts, nuts, and other small hardware components. Keep a container or small organizer on hand to collect and store these items. This will prevent them from getting lost and ensure that you have everything you need for reassembly.
- Marker or Labeling Tape: It’s helpful to label or mark the components of the trampoline as you disassemble them. This will simplify the reassembly process by indicating where each part belongs and how it should be oriented.
By ensuring that you have all these tools readily available, you’ll be well-prepared to commence the disassembly of your trampoline. With the right equipment at your disposal, you can proceed to the next steps with confidence, knowing that you have everything you need to complete the task efficiently.
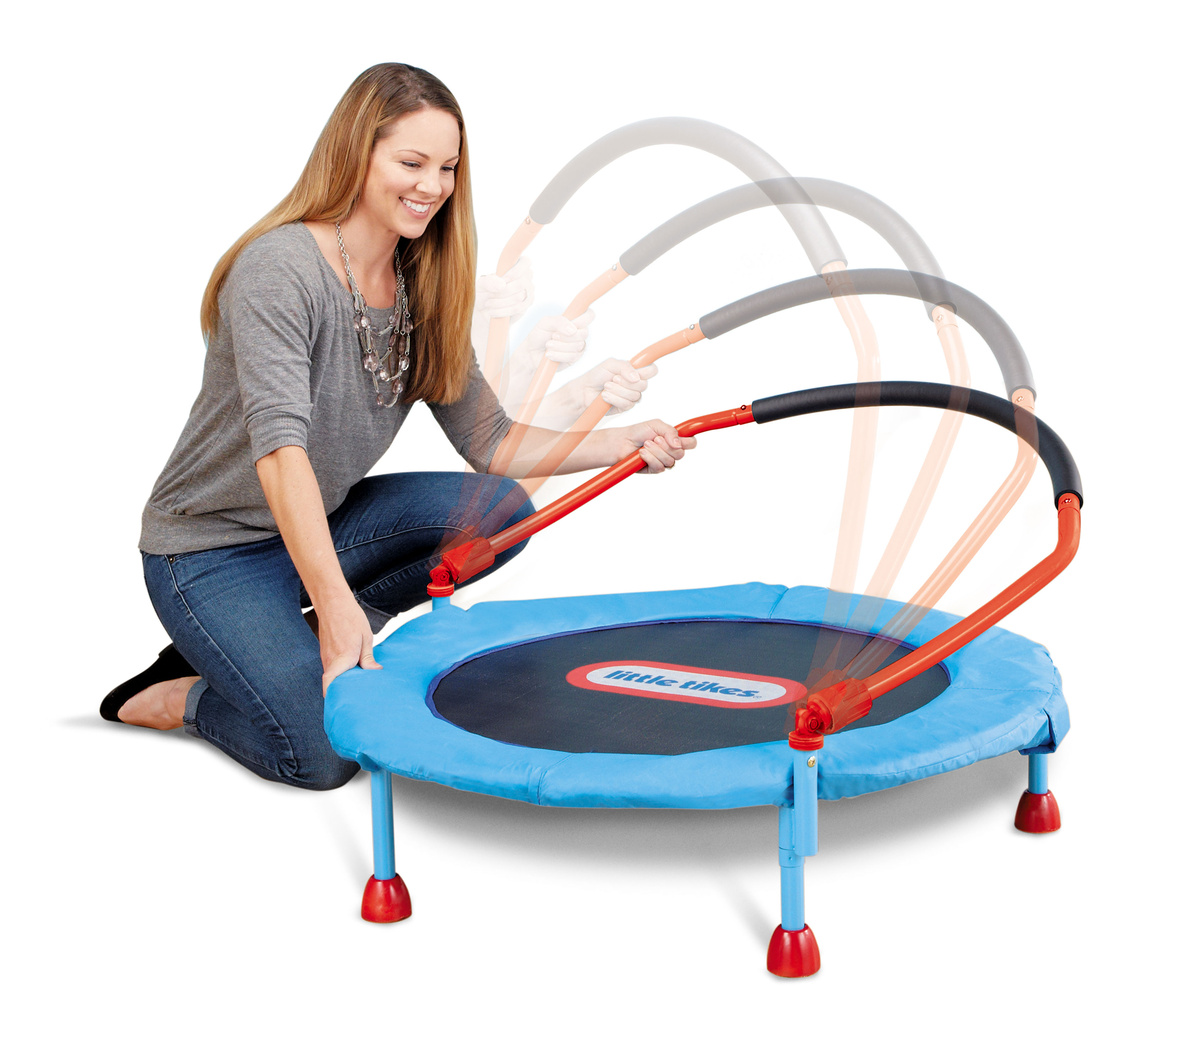
Step 2: Remove the Safety Enclosure
Once you have gathered the necessary tools, it’s time to begin the disassembly process. The first step is to remove the safety enclosure, if your trampoline is equipped with one. The safety enclosure typically consists of a netting or mesh barrier that surrounds the trampoline to prevent users from falling off during use. Here’s how to remove it:
- Detach the Netting: Start by unhooking or untying the netting from the trampoline frame. Most safety enclosures are attached with hooks or straps that can be easily released. Carefully remove any securing mechanisms to free the netting from the frame.
- Remove the Poles: The safety enclosure is supported by vertical poles that are inserted into designated sockets or brackets on the trampoline frame. Unscrew or release the fastenings that secure the poles in place. Once the poles are detached, carefully lower them to the ground and set them aside.
- Inspect and Clean: With the netting and poles removed, take the opportunity to inspect the safety enclosure components for any signs of wear or damage. This is also a good time to clean the netting and poles, especially if they will be stored for an extended period.
- Secure and Store: If you plan to store the safety enclosure, ensure that it is properly folded or rolled to minimize creases and damage to the netting. Store the poles in a secure location where they won’t be at risk of damage or misplacement.
By following these steps, you can safely and effectively remove the safety enclosure from your trampoline. With the enclosure out of the way, you can proceed to the next phase of disassembly with a clear and unobstructed view of the trampoline frame and components.
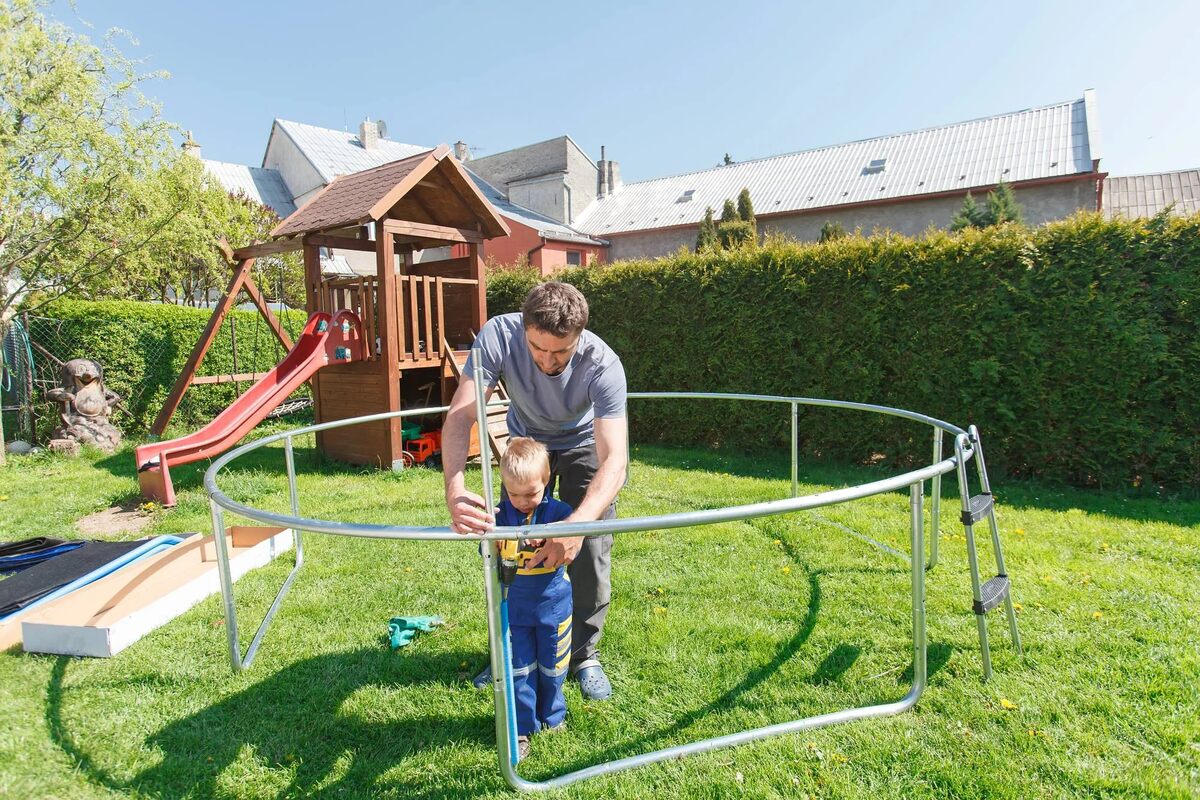
Step 3: Disassemble the Frame
With the safety enclosure removed, the next phase of the disassembly process involves taking apart the trampoline frame. This step requires careful attention to detail and a systematic approach to ensure that the frame components are removed safely and efficiently. Here’s how to disassemble the frame of your trampoline:
- Remove the Frame Pads: Start by detaching the frame pads that cover the springs and frame edges. These pads are typically secured with straps, hooks, or elastic fastenings. Carefully release the attachments and set the frame pads aside for cleaning and storage.
- Unhook the Springs: Using a spring pulling tool, unhook the springs from the trampoline frame. Work methodically around the perimeter of the trampoline, gradually releasing the tension from each spring. Exercise caution and ensure that the springs are fully detached before proceeding.
- Disassemble the Frame Sections: Depending on the design of your trampoline, the frame may consist of sections that are bolted or clipped together. Use a socket wrench or appropriate tools to remove the bolts or fasteners that hold the frame sections in place. As you disassemble the frame, have a container ready to collect and store the hardware.
- Lay Out and Inspect Components: Once the frame sections are detached, carefully lay them out in an organized manner. Take this opportunity to inspect the frame components for any signs of wear, damage, or corrosion. Address any maintenance or repair needs before storing the frame sections.
- Clean and Store: Thoroughly clean the frame sections, removing any dirt, debris, or moisture that may have accumulated. Properly store the frame sections in a dry and secure location, ensuring that they are protected from environmental elements that could cause deterioration.
By following these steps, you can effectively disassemble the frame of your trampoline, preparing it for safe storage or transportation. Taking the time to carefully remove and store the frame components will ensure that they remain in good condition and are ready for reassembly when the time comes.
When disassembling a trampoline, start by removing the springs and net enclosure. Then, take apart the frame and legs, making sure to keep track of all the pieces for reassembly. Store the parts in a safe place to avoid losing any components.
Step 4: Remove the Springs
Removing the springs from your trampoline is a crucial step in the disassembly process, as these components play a pivotal role in the trampoline’s functionality and safety. Properly detaching the springs requires attention to detail and the use of specialized tools to ensure that the task is carried out safely and efficiently. Here’s how to remove the springs from your trampoline:
- Secure the Spring Pulling Tool: Position the spring pulling tool at the attachment point of the first spring you intend to remove. Ensure that the tool is securely in place to provide leverage and control during the removal process.
- Release Tension and Unhook: Using the spring pulling tool, carefully release the tension from the spring by pulling it away from the frame attachment point. Once the tension is relieved, unhook the spring from the frame, taking care to prevent it from snapping back unexpectedly.
- Work Methodically: Proceed to remove the remaining springs in a systematic manner, working around the perimeter of the trampoline. Exercise caution and patience, ensuring that each spring is fully detached before moving on to the next one.
- Inspect the Springs: As you remove the springs, take the opportunity to inspect them for any signs of damage, corrosion, or excessive wear. Set aside any springs that show signs of deterioration for replacement before reassembly.
- Organize and Store: Once all the springs are removed, organize them and store them in a secure container or designated storage area. Keep the springs in a dry and protected environment to prevent rust or degradation during storage.
By following these steps and exercising caution throughout the process, you can safely remove the springs from your trampoline, setting the stage for the remaining disassembly tasks. With the springs detached, you can proceed to the next phase of dismantling the trampoline with confidence and efficiency.
Step 5: Take Apart the Jumping Mat
As you progress through the disassembly of your trampoline, the next essential step involves removing the jumping mat. The jumping mat is a central component of the trampoline, providing the surface for bouncing and play. Properly disassembling and storing the jumping mat is crucial for maintaining its integrity and ensuring that it can be reinstalled safely in the future. Here’s how to take apart the jumping mat:
- Clear the Surrounding Area: Before removing the jumping mat, ensure that the immediate area around the trampoline is clear of any obstructions or potential tripping hazards. This will provide you with ample space to work and maneuver the mat during removal.
- Release Mat Attachments: Depending on the design of your trampoline, the jumping mat may be secured to the frame using hooks, straps, or other fastening mechanisms. Carefully release these attachments, ensuring that the mat is free from the frame.
- Fold and Store the Mat: Once the mat is detached, carefully fold it in a manner that minimizes creases and stress on the fabric. Avoid dragging or dragging the mat to prevent damage. Store the jumping mat in a clean, dry location, protecting it from moisture and potential damage.
- Inspect for Damage: While removing the jumping mat, take the opportunity to inspect it for any signs of wear, tear, or damage. Address any issues promptly to ensure that the mat remains in good condition for future use.
- Clean and Maintain: If the jumping mat shows signs of dirt or debris, gently clean it using a mild detergent and water. Allow the mat to air dry completely before storing it to prevent mold or mildew growth.
By following these steps, you can effectively take apart the jumping mat of your trampoline, setting the stage for the final phase of disassembly. Properly storing the jumping mat will help preserve its longevity and ensure that it can be reinstalled with ease when the time comes to reassemble the trampoline.
Step 6: Clean and Store the Trampoline Parts
As you near the completion of the trampoline disassembly process, it’s essential to devote attention to cleaning and properly storing the disassembled parts. This final step is crucial for preserving the integrity and functionality of the trampoline components, ensuring that they remain in optimal condition for future reassembly. Here’s how to clean and store the trampoline parts:
- Clean Frame Components: Thoroughly clean the frame sections, ensuring that any dirt, debris, or moisture is removed. Use a mild detergent and water to gently wash the metal components, and then dry them completely to prevent rust or corrosion.
- Inspect for Damage: While cleaning the frame components, inspect them for any signs of wear, damage, or corrosion. Address any issues promptly to prevent further deterioration during storage.
- Organize and Label: As you prepare to store the trampoline parts, organize them in a systematic manner. Use labeling tape or markers to indicate the orientation and assembly sequence of the components, simplifying the reassembly process in the future.
- Store in a Dry Location: Choose a dry and well-ventilated storage area for the trampoline parts. Avoid areas prone to moisture or extreme temperature fluctuations, as these conditions can compromise the integrity of the components.
- Protect Springs and Mat: If possible, store the springs and jumping mat in a separate container from the frame components. This will prevent potential damage or distortion to these crucial elements of the trampoline.
- Secure Hardware: Ensure that all bolts, nuts, and small hardware components are securely stored in a container. Keeping these items organized and labeled will facilitate the reassembly process and prevent the loss of essential hardware.
- Cover and Protect: Consider using a protective cover or tarp to shield the stored trampoline parts from dust and potential damage. This extra layer of protection can help maintain the condition of the components during storage.
By following these steps and taking the time to clean and store the trampoline parts properly, you can safeguard the longevity and functionality of the components. When the time comes to reassemble the trampoline, you’ll have the peace of mind knowing that the parts are well-maintained and ready for use.
Conclusion
Disassembling a trampoline is a task that requires careful planning, attention to detail, and a systematic approach. By following the step-by-step process outlined in this guide, you can effectively dismantle your trampoline while ensuring that each component is properly cleaned and stored for future use. Whether you’re preparing the trampoline for seasonal storage, transportation, or maintenance, the knowledge and skills acquired through this guide will empower you to tackle the disassembly process with confidence.
From gathering the necessary tools to carefully removing the jumping mat and springs, each step plays a crucial role in preserving the integrity and functionality of the trampoline components. By maintaining a focus on safety and organization throughout the disassembly process, you can mitigate the risk of damage to the trampoline and its parts, setting the stage for a smooth reassembly in the future.
As you complete the disassembly and storage of the trampoline parts, take pride in knowing that you have taken the necessary steps to maintain the trampoline’s longevity and usability. By properly cleaning, inspecting, and storing the components, you are investing in the continued enjoyment and safety of trampoline use for years to come.
Remember, when the time comes to reassemble the trampoline, refer back to this guide to ensure that each component is handled and installed with care. By doing so, you can look forward to many more bouncing adventures and countless moments of outdoor fun on your trampoline.
With this comprehensive guide as your companion, you are well-equipped to navigate the disassembly and storage of your trampoline, setting the stage for its future reassembly and continued enjoyment.
Frequently Asked Questions about How To Disassemble A Trampoline
Was this page helpful?
At Storables.com, we guarantee accurate and reliable information. Our content, validated by Expert Board Contributors, is crafted following stringent Editorial Policies. We're committed to providing you with well-researched, expert-backed insights for all your informational needs.


0 thoughts on “How To Disassemble A Trampoline”