Home>Gardening & Outdoor>Outdoor Recreation & Activities>How To Make A Wrestling Ring From A Trampoline
Outdoor Recreation & Activities
How To Make A Wrestling Ring From A Trampoline
Modified: October 21, 2024
Learn how to transform your trampoline into a wrestling ring for outdoor recreation and activities. Follow these simple steps to create a safe and fun wrestling space at home.
(Many of the links in this article redirect to a specific reviewed product. Your purchase of these products through affiliate links helps to generate commission for Storables.com, at no extra cost. Learn more)
Introduction
Are you a wrestling enthusiast looking to create your very own wrestling ring from a trampoline? With some creativity and a few supplies, you can transform a standard trampoline into a safe and entertaining wrestling ring. This DIY project offers an exciting opportunity to customize your wrestling experience and bring the thrill of the ring to your backyard. In this guide, we will walk you through the step-by-step process of converting a trampoline into a wrestling ring, ensuring both safety and durability. Get ready to embark on an engaging and rewarding project that will elevate your wrestling matches to a whole new level!
Key Takeaways:
- Transform your trampoline into a wrestling ring by disassembling it, constructing a sturdy frame, attaching ropes, adding a quality mat, and prioritizing safety for an exciting DIY project.
- Prioritize safety and maintenance to ensure a secure and enjoyable wrestling experience in your newly crafted DIY ring, ready to host thrilling matches and countless hours of entertainment.
Read more: How To Make A Trampoline
Materials Needed
Before diving into the transformation process, it’s essential to gather the necessary materials to ensure a smooth and successful project. Here’s a list of the items you’ll need to create your wrestling ring from a trampoline:
- Trampoline
- Measuring tape
- 4×4 wooden posts
- 2×4 wooden planks
- Heavy-duty screws and bolts
- Rope or cable
- Wrestling mat or foam padding
- Power drill
- Wrench
- Paint and brushes (optional for customizing the ring)
- Safety goggles and gloves
With these materials in hand, you’ll be well-equipped to begin the exciting process of converting your trampoline into a wrestling ring. Let’s move on to the first step: disassembling the trampoline.
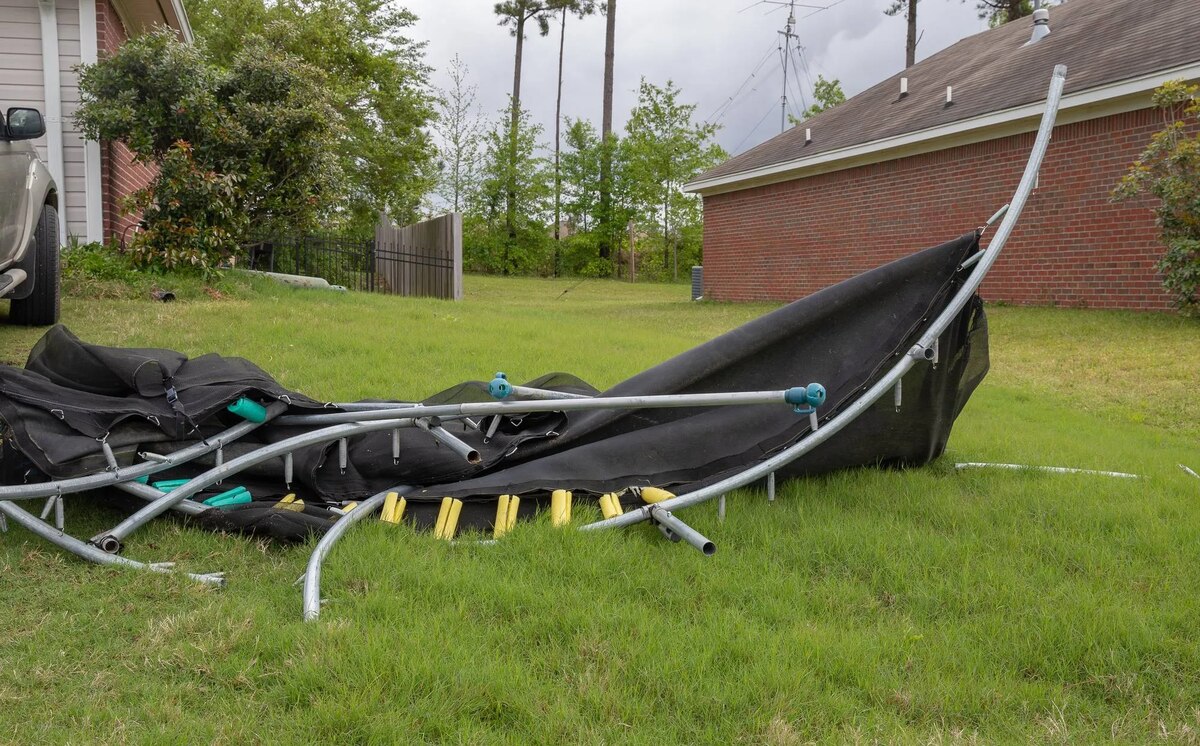
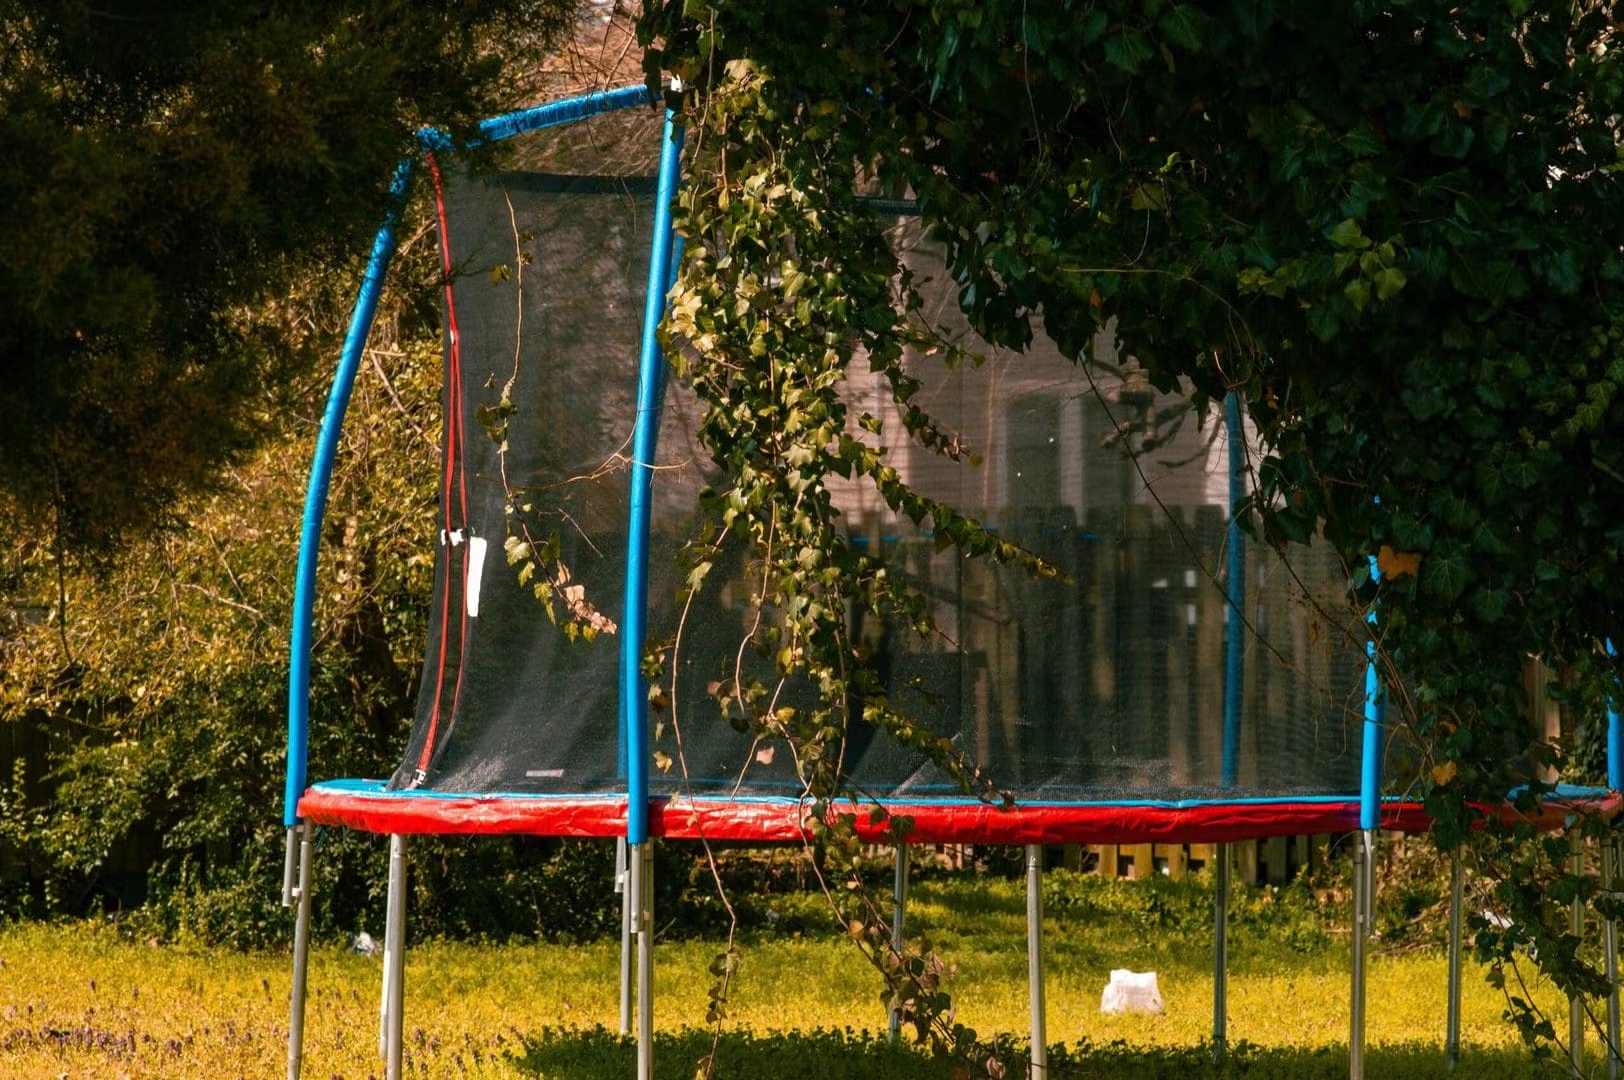
Step 1: Disassembling the Trampoline
The first step in creating a wrestling ring from a trampoline involves disassembling the trampoline to prepare the base for the ring frame. Start by removing the safety enclosure, netting, and any other accessories attached to the trampoline. Carefully unscrew and detach the springs, ensuring that each component is safely set aside for future use or disposal.
Once the trampoline is stripped down to its bare frame, use a measuring tape to determine the exact dimensions of the circular frame. This measurement will guide the construction of the wrestling ring frame, ensuring a precise fit for the ropes and mat. With the trampoline disassembled and the measurements recorded, you’re ready to move on to the next step: constructing the ring frame.
Step 2: Constructing the Ring Frame
With the trampoline disassembled, it’s time to begin constructing the frame for your wrestling ring. This step will involve creating a sturdy and secure structure to support the ropes and mat, providing a safe and stable environment for wrestling matches.
Start by acquiring 4×4 wooden posts that will serve as the corner supports for the ring. These posts should be cut to match the diameter of the trampoline frame, ensuring a seamless fit. Position each post at the corners of the trampoline’s circular frame, securing them firmly to the ground to prevent any movement during intense wrestling matches.
Next, connect the wooden posts with 2×4 wooden planks, creating a solid framework that will support the ropes and provide stability to the ring. Use heavy-duty screws and bolts to secure the planks to the posts, reinforcing the structure and ensuring its durability. It’s crucial to double-check the stability of the frame to guarantee a safe wrestling environment.
Once the ring frame is securely in place, you’re ready to move on to the next step: attaching the ropes to create the boundaries of the wrestling ring.
When making a wrestling ring from a trampoline, make sure to reinforce the trampoline frame with sturdy materials like wood or metal to provide extra support and stability for wrestling activities.
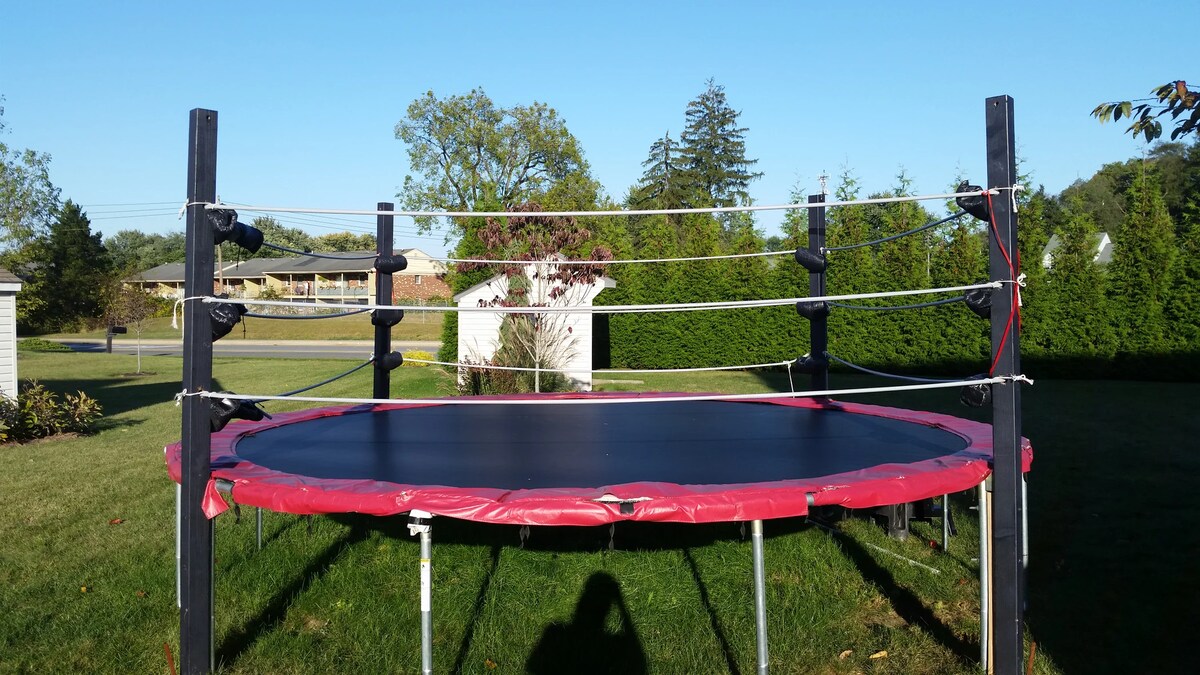
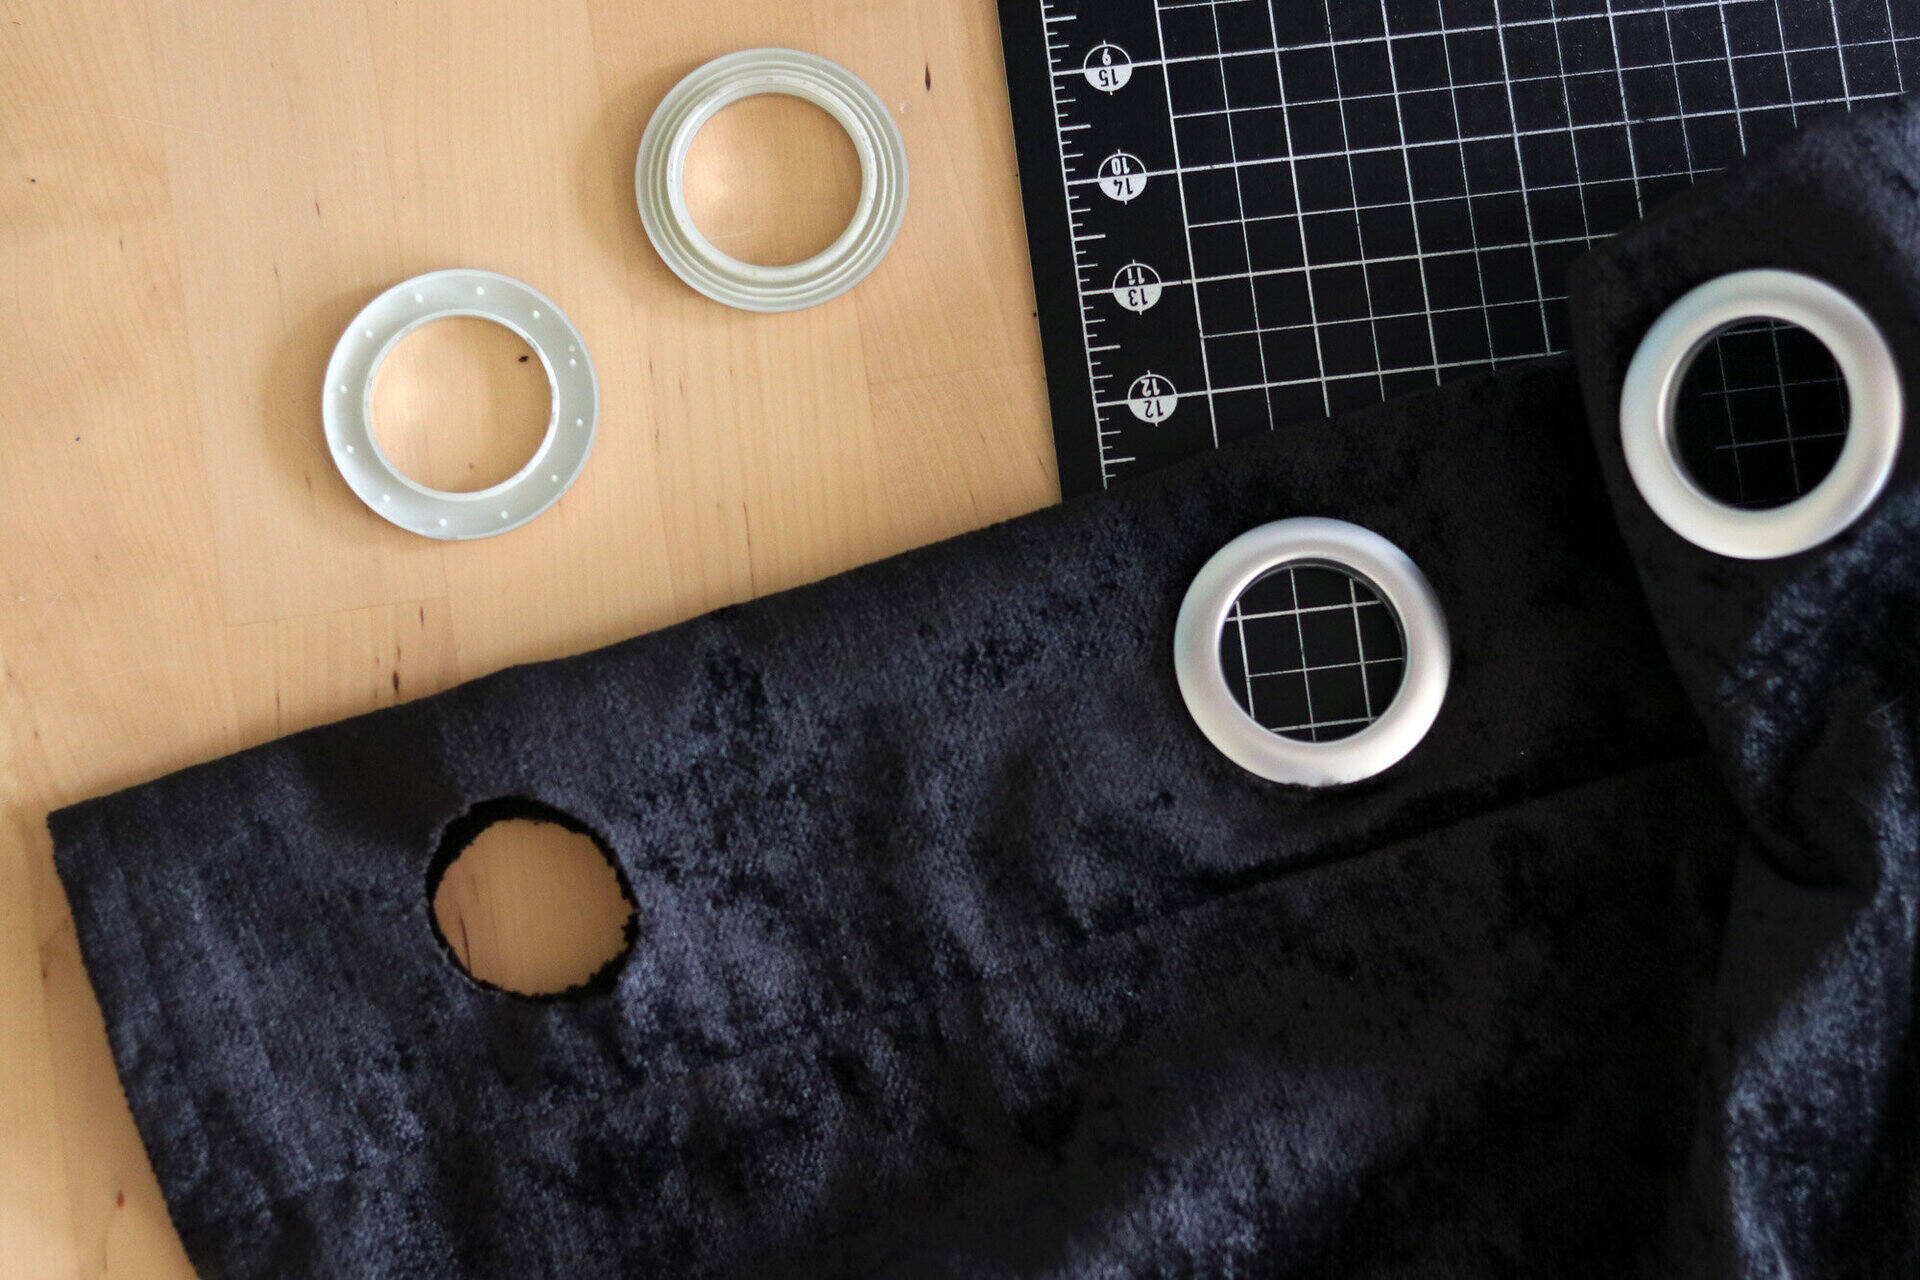
Step 3: Attaching the Ropes
Attaching the ropes is a crucial step in creating the boundaries of your wrestling ring. These ropes will not only define the wrestling area but also provide essential support and safety for the wrestlers during intense matches. To begin this process, you’ll need high-quality rope or cable that can withstand the rigors of wrestling.
Start by measuring and cutting the ropes to the appropriate length, ensuring that they align with the dimensions of the trampoline frame. Typically, three ropes are used to encircle the ring, creating distinct layers that demarcate the wrestling area. Securely attach the ropes to the ring frame, ensuring that they are evenly spaced and taut to maintain their shape during matches.
It’s essential to fasten the ropes securely to the ring frame, using heavy-duty clamps or fasteners to prevent any slippage or movement during wrestling bouts. Additionally, regularly inspect the ropes for signs of wear and tear, replacing them as needed to maintain a safe and reliable wrestling environment.
Once the ropes are securely in place, you’re ready to move on to the next step: adding the wrestling mat to the ring, providing a cushioned and resilient surface for matches.
Read more: How To Make Rings For A Ring Toss Game
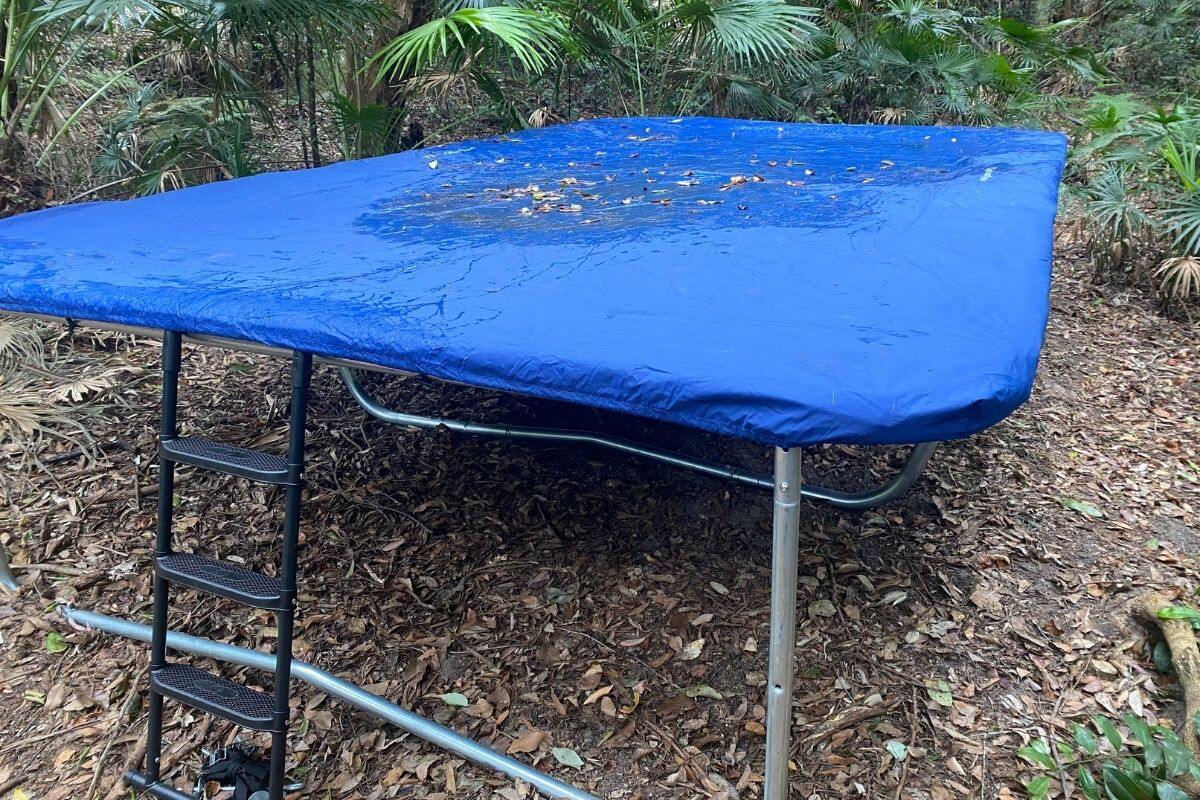
Step 4: Adding the Mat
Adding the wrestling mat is a critical step in completing your DIY wrestling ring. The mat provides a cushioned and impact-absorbing surface, ensuring the safety and comfort of the wrestlers during matches. When selecting a wrestling mat, prioritize quality and durability to withstand the physical demands of wrestling.
Start by carefully laying the wrestling mat over the trampoline frame, ensuring that it fits snugly within the boundaries defined by the ropes. The mat should be securely fastened to the frame to prevent any shifting or displacement during matches. Consider using heavy-duty fasteners or adhesive strips to keep the mat in place, providing a stable and reliable surface for wrestling.
It’s essential to choose a wrestling mat with adequate thickness and shock-absorbing properties to minimize the risk of injuries during high-impact maneuvers. Additionally, regularly inspect the mat for any signs of wear and tear, replacing it as needed to maintain a safe and supportive wrestling environment.
Once the wrestling mat is securely in place, you’re ready to move on to the final step: adding any finishing touches and implementing safety precautions to ensure a safe and enjoyable wrestling experience.
Step 5: Final Touches and Safety Precautions
As you near the completion of your DIY wrestling ring, it’s essential to add final touches and implement safety precautions to create a secure and enjoyable wrestling environment. Paying attention to these details will ensure that your wrestling ring is not only visually appealing but also prioritizes the safety of the wrestlers.
Consider customizing the appearance of the wrestling ring by painting the ring frame and adding any desired graphics or designs to the wrestling mat. This personal touch can enhance the overall aesthetic and create an engaging atmosphere for wrestling matches.
Furthermore, prioritize safety precautions by inspecting the entire wrestling ring for any potential hazards or sharp edges. Address any protruding elements and ensure that all components are securely fastened to prevent accidents during matches. Additionally, provide ample space around the wrestling ring to allow for safe entry and exit for the wrestlers.
It’s crucial to establish and communicate clear safety guidelines and rules for using the wrestling ring, emphasizing the importance of proper supervision and adherence to safety protocols during matches. Educating participants about safe wrestling practices and the proper use of the ring will contribute to a secure and enjoyable wrestling experience.
Finally, regularly maintain and inspect the wrestling ring, addressing any wear and tear, and promptly replacing any damaged components to uphold its safety and functionality. By prioritizing safety and maintenance, you can ensure that your DIY wrestling ring continues to provide a reliable and secure platform for wrestling matches.
With the final touches and safety precautions in place, your DIY wrestling ring is ready to host thrilling matches and provide an engaging space for wrestling enthusiasts. Congratulations on successfully transforming a trampoline into a safe and dynamic wrestling ring!
Conclusion
Creating a wrestling ring from a trampoline is a rewarding DIY project that allows you to customize your wrestling experience and bring the excitement of the ring to your backyard. By following the step-by-step process outlined in this guide, you’ve transformed a standard trampoline into a safe and engaging wrestling platform that prioritizes both fun and safety.
Throughout the transformation process, you’ve disassembled the trampoline, constructed a sturdy ring frame, attached the ropes, added a high-quality wrestling mat, and implemented essential safety precautions. These efforts have culminated in the creation of a unique and dynamic wrestling ring that is ready to host thrilling matches and provide countless hours of entertainment.
As you prepare to unleash the excitement of wrestling in your DIY ring, remember to prioritize safety and maintenance to ensure a secure and enjoyable environment for all participants. Regularly inspecting the ring, communicating safety guidelines, and addressing any wear and tear will contribute to the longevity and reliability of your wrestling ring.
Whether you’re a wrestling enthusiast, a dedicated DIYer, or simply looking to add an entertaining element to your outdoor space, your newly crafted wrestling ring is sure to be a hit. Get ready to step into the ring, showcase your skills, and create lasting memories in a space that you’ve personally transformed into a hub of wrestling excitement.
With your DIY wrestling ring now complete, it’s time to embrace the thrill of the ring and enjoy the countless wrestling matches that await in your backyard arena. Get ready to experience the adrenaline, athleticism, and camaraderie that wrestling brings, all within the unique and personalized space you’ve brought to life through your creativity and dedication.
Frequently Asked Questions about How To Make A Wrestling Ring From A Trampoline
Was this page helpful?
At Storables.com, we guarantee accurate and reliable information. Our content, validated by Expert Board Contributors, is crafted following stringent Editorial Policies. We're committed to providing you with well-researched, expert-backed insights for all your informational needs.

0 thoughts on “How To Make A Wrestling Ring From A Trampoline”