Home>Gardening & Outdoor>Outdoor Recreation & Activities>How To Fix A Hole In A Trampoline
Outdoor Recreation & Activities
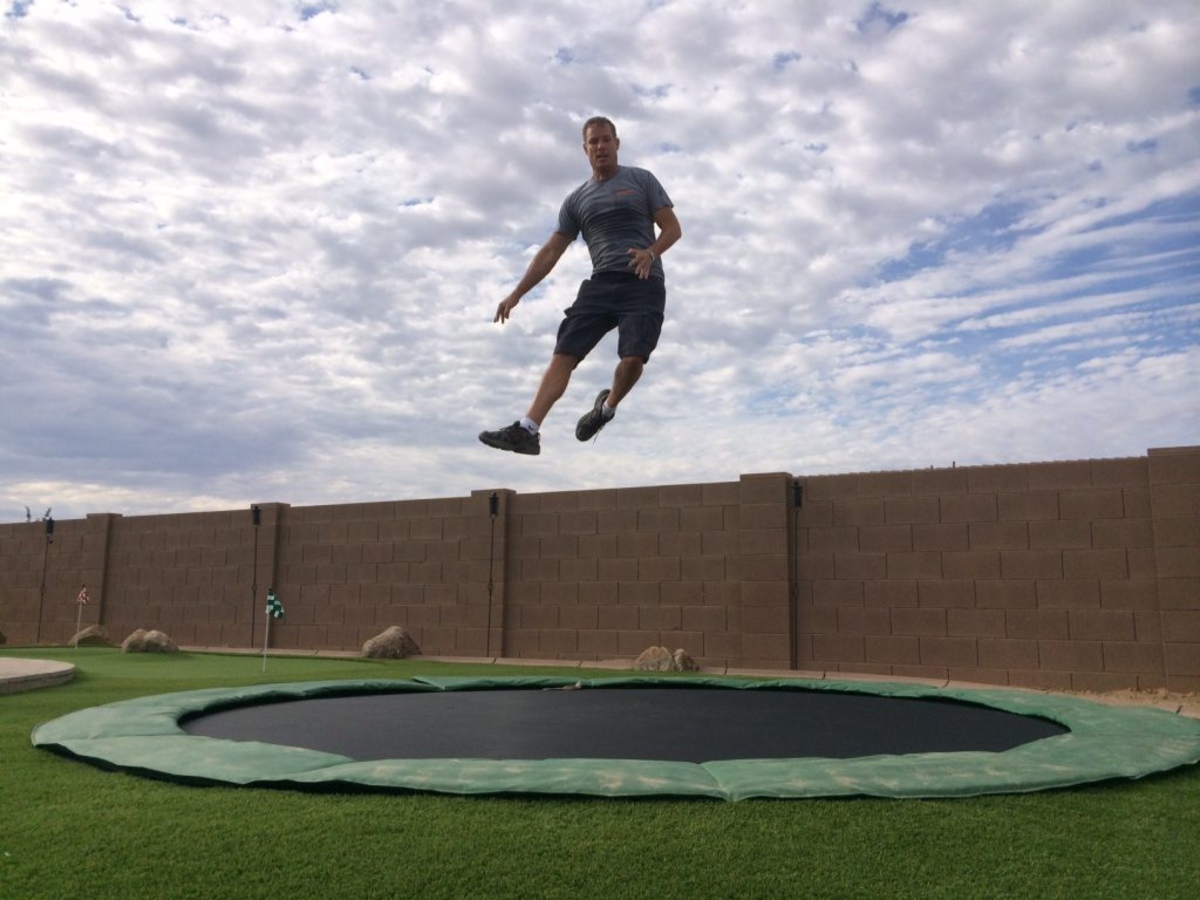
How To Fix A Hole In A Trampoline
Modified: January 9, 2024
Learn how to easily fix a hole in your trampoline and get back to enjoying outdoor recreation and activities. Our step-by-step guide will have your trampoline ready for fun in no time!
(Many of the links in this article redirect to a specific reviewed product. Your purchase of these products through affiliate links helps to generate commission for Storables.com, at no extra cost. Learn more)
Introduction
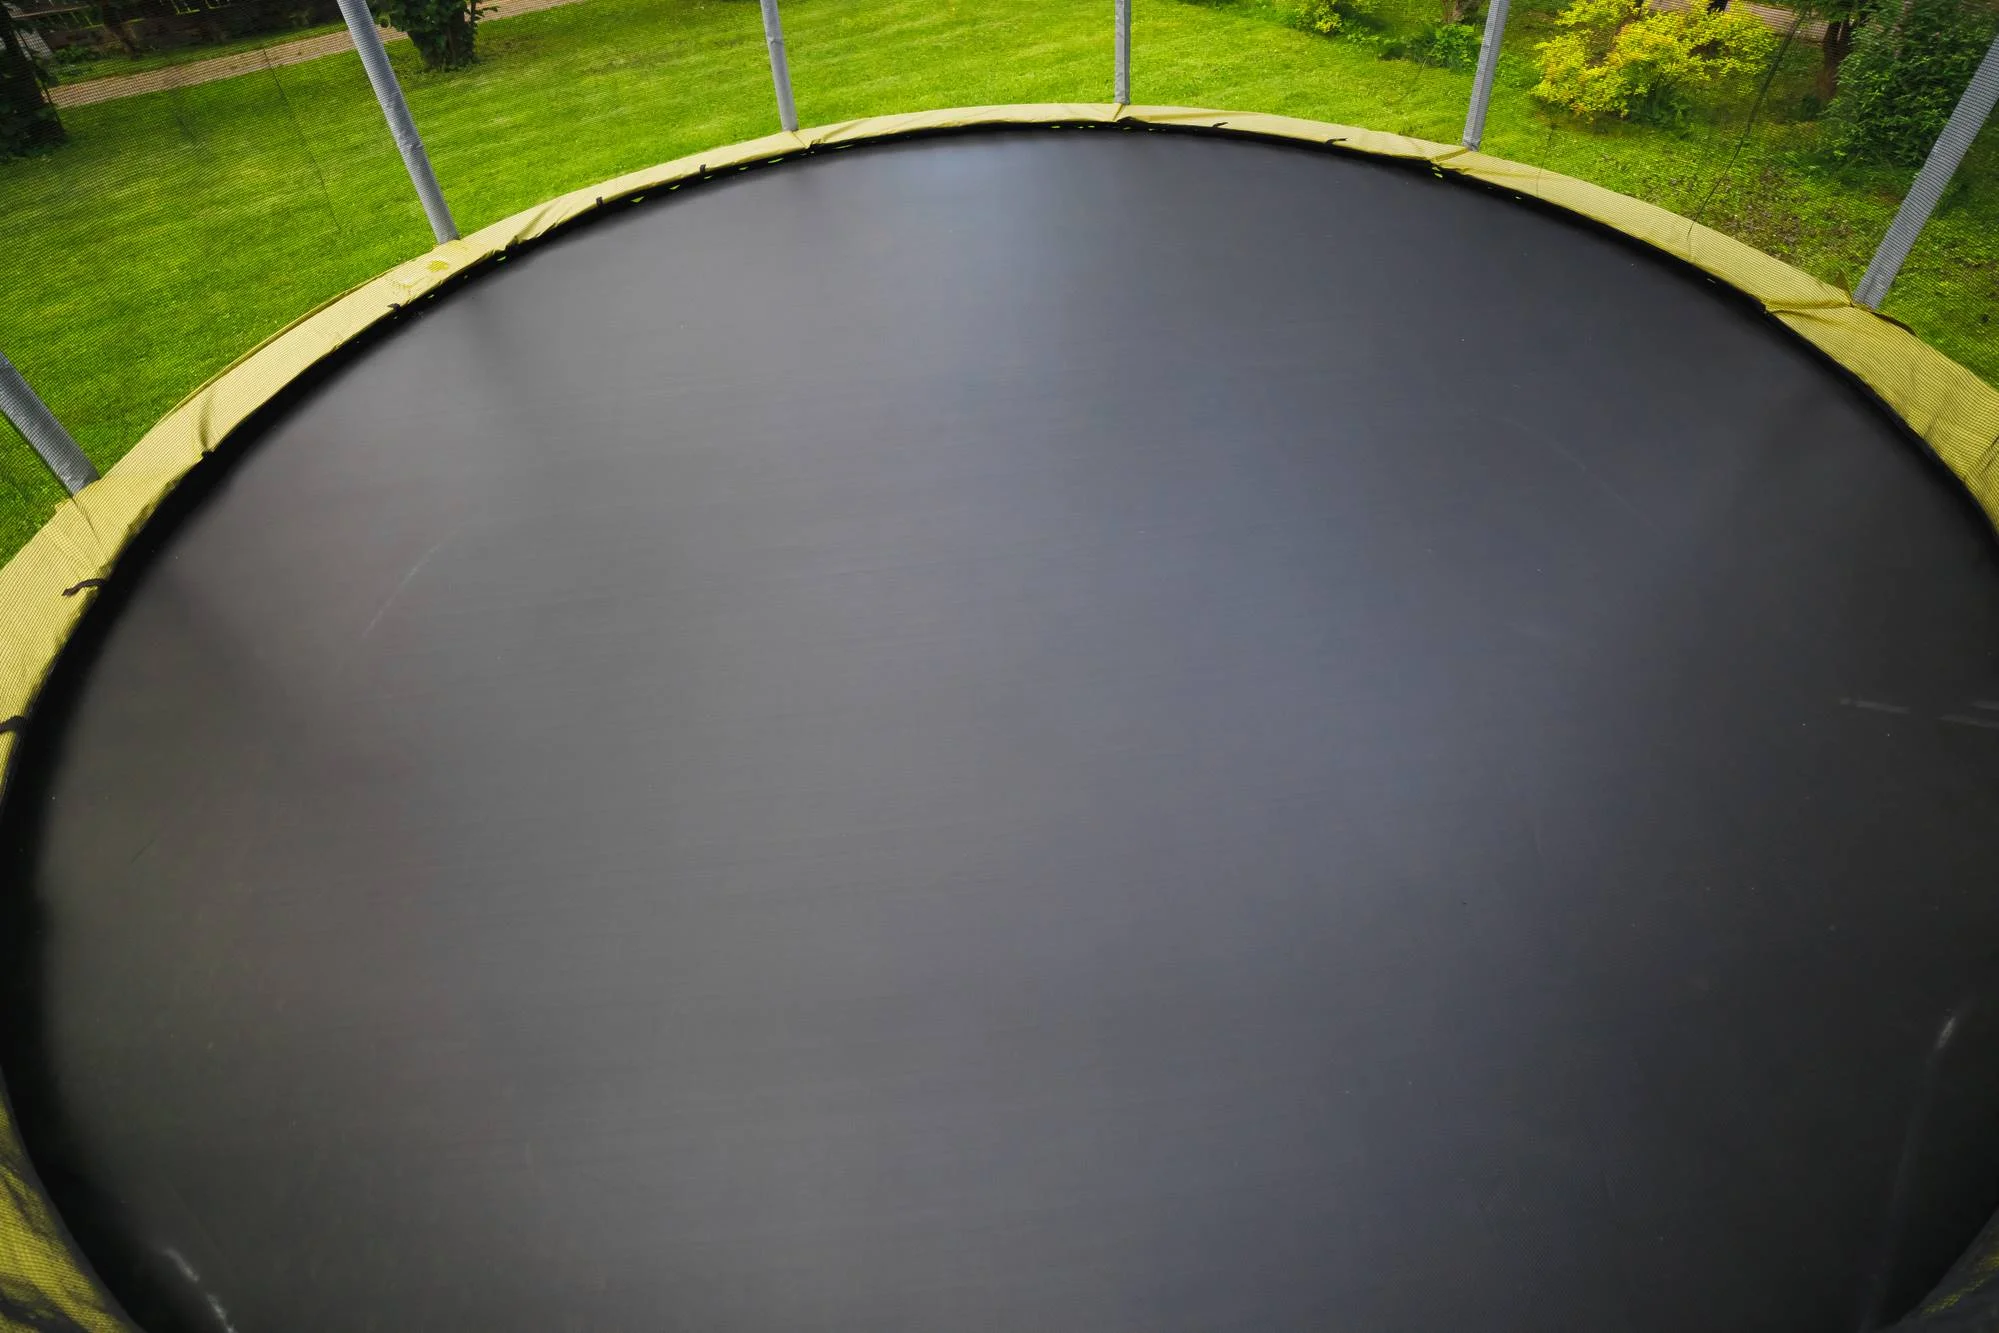
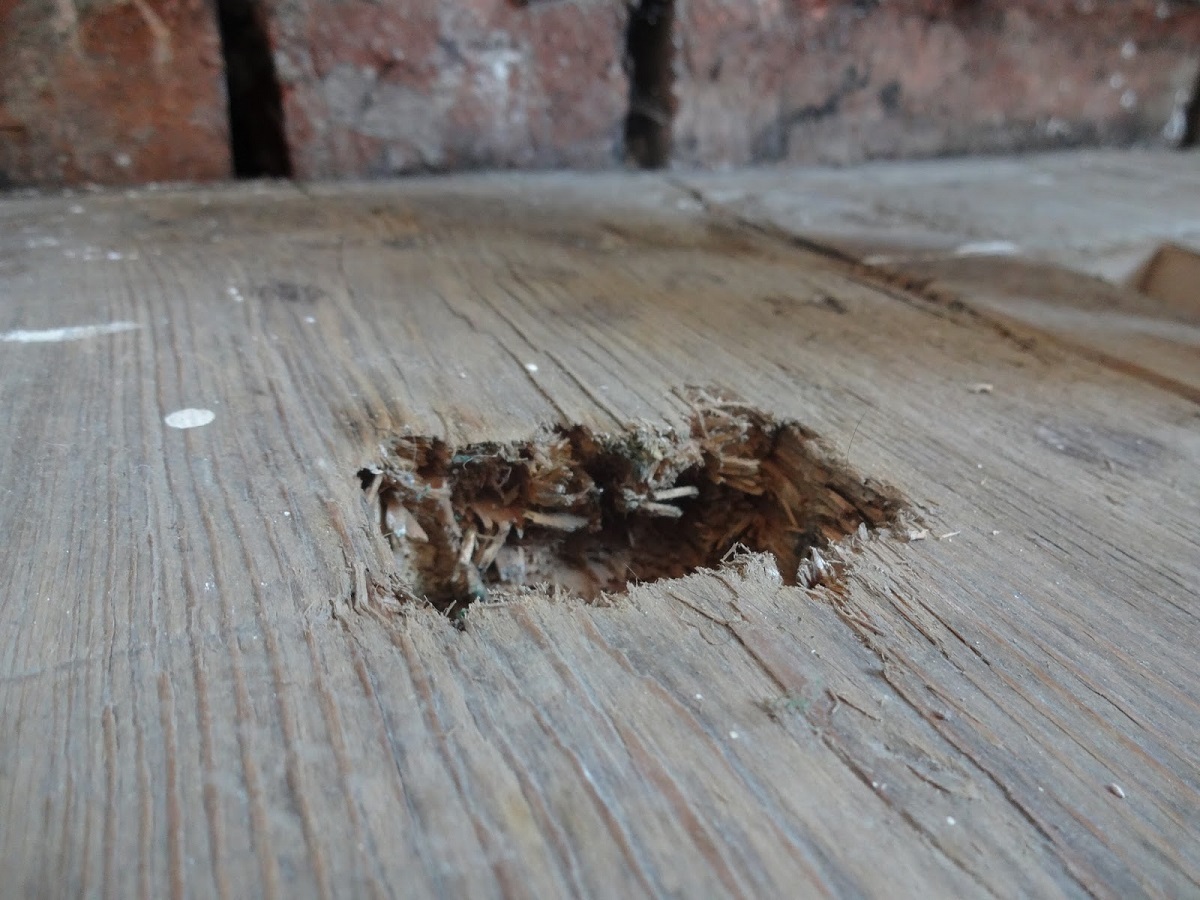
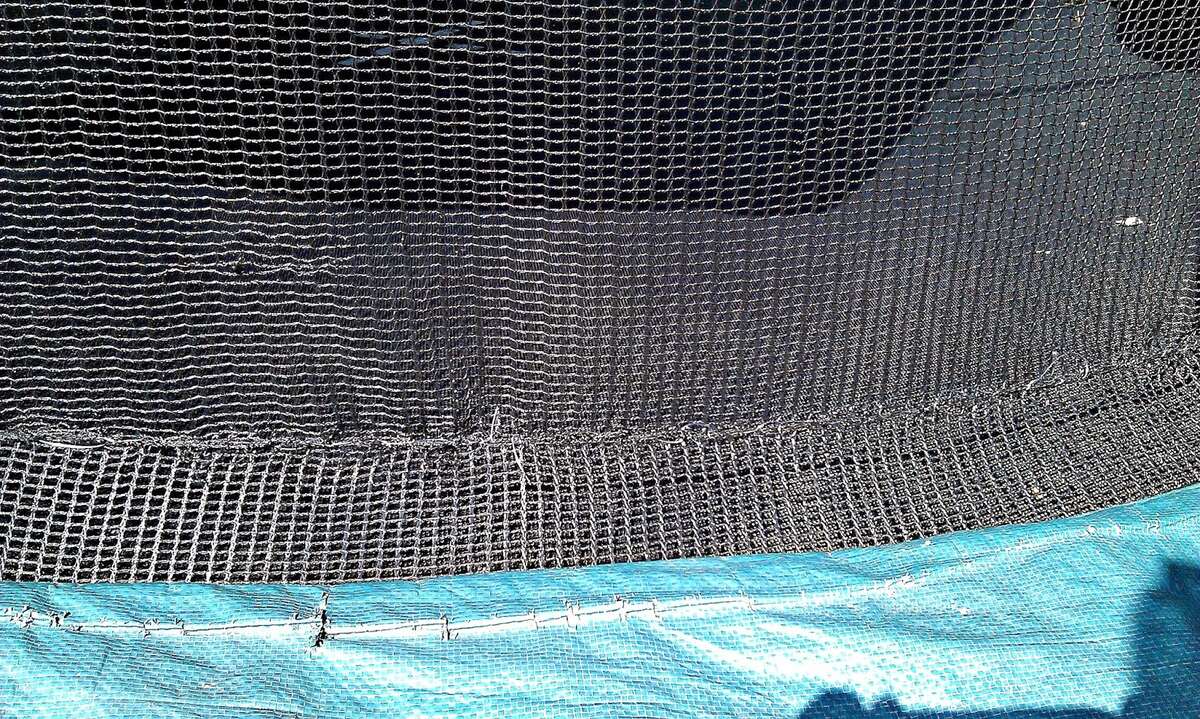
So, your trampoline has a hole in it. Don't worry! It's a common issue, especially with regular use. Whether it's due to wear and tear, a rogue pet, or an unforeseen accident, a hole in a trampoline can be a major inconvenience. However, with a little know-how and the right materials, you can easily fix it and get back to bouncing in no time.
In this comprehensive guide, we'll walk you through the step-by-step process of repairing a hole in your trampoline. From assessing the damage to securing the patch, we've got you covered. By the end of this article, you'll have the confidence and skills to tackle this repair with ease.
So, grab your tools and let's get started on restoring your trampoline to its former glory!
Key Takeaways:
- Assess the damage, gather materials, and follow step-by-step instructions to fix a trampoline hole. Prioritize safety and maintenance for a secure and enjoyable bouncing experience.
- With the right materials and careful patching, you can restore your trampoline for hours of family fun. Remember to prioritize safety and maintenance for long-lasting enjoyment.
Read more: How To Fix A Hole In A Blanket
Assessing the Damage
Before diving into the repair process, it’s crucial to assess the extent of the damage to your trampoline. Start by carefully inspecting the area surrounding the hole. Look for any additional tears, stretched fabric, or weakened stitching that may have occurred as a result of the initial damage.
Next, examine the size and shape of the hole. Is it a small puncture or a larger tear? Understanding the precise dimensions of the damaged area will help you determine the amount of repair material needed and the best approach for fixing it.
Additionally, take note of the trampoline’s overall condition. Check for signs of rust, corrosion, or structural wear that may have contributed to the hole. It’s essential to address any underlying issues to prevent future damage and ensure the longevity of your trampoline.
Finally, consider the location of the hole. Is it near a seam, a frame joint, or a high-stress area? Identifying the specific location of the damage will influence the type of patching material and technique you’ll use to reinforce the trampoline’s integrity.
By thoroughly assessing the damage, you’ll gain a clear understanding of the repair requirements and be better equipped to proceed with confidence. Remember, a meticulous evaluation now can save you time and effort in the long run.
Gathering Materials
Before embarking on the trampoline repair journey, it’s essential to gather the necessary materials and tools. Here’s a comprehensive list of items you’ll need to effectively patch the hole in your trampoline:
- Patch Material: Opt for a durable, weather-resistant material designed specifically for trampoline repairs. Heavy-duty nylon or polypropylene fabric is ideal for withstanding the rigors of outdoor use.
- Adhesive or Repair Kit: Look for a high-quality adhesive specially formulated for trampoline repairs. Alternatively, consider a repair kit that includes patch material and adhesive for added convenience.
- Scissors: A pair of sharp scissors will be indispensable for cutting the patch material to the required size and shape.
- Clean Cloth and Mild Soap: Prepare a solution of mild soap and water to clean the damaged area before applying the patch. This will ensure proper adhesion and a seamless repair.
- Marker or Chalk: Use a marker or chalk to outline the boundaries of the damaged area, making it easier to measure and cut the patch material accurately.
- Protective Gloves: Consider wearing protective gloves to shield your hands during the repair process, especially when handling adhesive or cleaning solutions.
- Assistance: Depending on the size of your trampoline and the location of the damage, having an extra pair of hands to assist with holding the patch in place can be immensely helpful.
By ensuring you have all the necessary materials at your disposal, you’ll be well-prepared to tackle the repair process efficiently. Remember, quality materials and proper tools are key to achieving a long-lasting and effective trampoline patch.
Patching the Hole
With the damage assessed and the materials gathered, it’s time to begin the patching process. Follow these step-by-step instructions to effectively repair the hole in your trampoline:
- Clean the Area: Start by gently cleaning the damaged area with a clean cloth and a mild soap solution. Ensure that the surface is free from dirt, debris, and moisture, as this will promote better adhesion of the patch material.
- Measure and Cut: Using a marker or chalk, outline the boundaries of the damaged area. Measure the dimensions of the hole and cut the patch material to a size slightly larger than the damaged area. This will allow for adequate coverage and a secure repair.
- Apply Adhesive: If using an adhesive, carefully follow the manufacturer’s instructions for application. Apply a thin, even layer of adhesive to the underside of the patch material, ensuring full coverage up to the edges.
- Position the Patch: Carefully place the patch over the damaged area, ensuring it aligns precisely with the outlined boundaries. Gently press down on the patch to secure it in place, smoothing out any air bubbles or wrinkles.
- Allow for Bonding: If using an adhesive, allow sufficient time for the patch to bond with the trampoline fabric as per the product’s recommended curing duration. This will ensure a strong and lasting repair.
It’s important to approach the patching process with precision and attention to detail. By following these steps diligently, you’ll effectively cover the hole and reinforce the structural integrity of your trampoline.
To fix a hole in a trampoline, use a trampoline repair kit or a patch made of strong, waterproof material. Clean the area around the hole, apply the patch, and secure it with adhesive or stitching for a safe and durable repair.
Securing the Patch
Securing the patch is a critical step in ensuring a durable and long-lasting repair. Follow these guidelines to effectively secure the patch over the repaired area of your trampoline:
- Inspect the Adhesion: After allowing the patch to bond with the trampoline fabric, carefully inspect the edges and surface to ensure that the patch is securely adhered and free from any lifting or detachment.
- Reinforce the Edges: If necessary, apply additional adhesive around the edges of the patch to reinforce the bond. Be sure to follow the manufacturer’s recommendations for reapplication and curing times.
- Test the Bond: Gently tug on the edges of the patch to test the strength of the bond. If the patch remains firmly in place without peeling or lifting, it is securely attached to the trampoline fabric.
- Trim Excess Material: Carefully trim any excess patch material extending beyond the repaired area. Use sharp scissors to create a smooth and uniform surface, ensuring that the patch blends seamlessly with the surrounding fabric.
- Reinforcement Options: For added reinforcement, especially for larger tears or high-stress areas, consider applying an additional layer of patch material on the reverse side of the trampoline fabric. This extra layer can provide enhanced strength and durability.
By meticulously securing the patch and reinforcing the repaired area, you’ll fortify the trampoline against future wear and tear, ensuring a reliable and safe bouncing experience for years to come.
Read more: How To Fix Holes In Siding
Final Checks and Safety Measures
Before putting your trampoline back into action, it’s crucial to perform final checks and implement safety measures to guarantee a secure and enjoyable experience. Here are the essential steps to complete before resuming trampoline use:
- Visual Inspection: Conduct a thorough visual inspection of the repaired area, ensuring that the patch is firmly secured, free from wrinkles, and seamlessly integrated with the trampoline fabric. Address any irregularities or concerns before proceeding.
- Weight Capacity: Verify that the trampoline’s weight capacity, as specified by the manufacturer, is not exceeded. Adhering to weight restrictions is vital for preventing damage and ensuring user safety.
- Spring and Frame Integrity: Check the condition of the trampoline’s springs, frame, and safety enclosure, if applicable. Ensure that all components are in good working order and free from damage or deterioration.
- Secure Enclosure: If your trampoline is equipped with a safety enclosure, confirm that it is securely attached and free from tears or openings. The enclosure plays a crucial role in preventing falls and ensuring a safe bouncing environment.
- User Guidelines: Remind users of the trampoline’s safety guidelines, emphasizing proper jumping techniques, limited occupancy, and adult supervision for young children. Educating users on trampoline safety practices is essential for accident prevention.
- Regular Maintenance: Implement a routine maintenance schedule for your trampoline, including inspections for wear and tear, cleaning, and proactive repairs. Regular upkeep can extend the lifespan of your trampoline and enhance user safety.
By conducting thorough checks and adhering to safety measures, you’ll create a secure and enjoyable trampoline environment for users of all ages. Remember, prioritizing safety and maintenance is key to maximizing the longevity and functionality of your trampoline.
Conclusion
Congratulations! You’ve successfully navigated the process of repairing a hole in your trampoline, restoring it to a safe and functional state. By carefully assessing the damage, gathering the necessary materials, and following the step-by-step patching and securing procedures, you’ve effectively revitalized your trampoline for continued enjoyment.
As you reflect on this repair journey, it’s important to recognize the value of regular maintenance and proactive care for your trampoline. By promptly addressing damage and implementing safety measures, you contribute to the longevity and reliability of your outdoor recreational equipment.
Remember, trampoline safety is paramount. Educate users on proper usage guidelines, adhere to weight capacities, and conduct routine inspections to ensure a secure and enjoyable bouncing experience for all. By prioritizing safety and maintenance, you can maximize the benefits of your trampoline while minimizing the risk of accidents or damage.
With your trampoline now fully repaired and safeguarded, it’s time to bounce back into the fun and excitement of outdoor play. Whether it’s a leisurely bounce or an exhilarating workout, your well-maintained trampoline is ready to provide hours of entertainment for the whole family.
So, go ahead, take a leap, and enjoy the boundless thrills of your newly restored trampoline!
Frequently Asked Questions about How To Fix A Hole In A Trampoline
Was this page helpful?
At Storables.com, we guarantee accurate and reliable information. Our content, validated by Expert Board Contributors, is crafted following stringent Editorial Policies. We're committed to providing you with well-researched, expert-backed insights for all your informational needs.

0 thoughts on “How To Fix A Hole In A Trampoline”