Home>Gardening & Outdoor>Outdoor Recreation & Activities>How To Make A Trampoline
Outdoor Recreation & Activities
How To Make A Trampoline
Modified: October 19, 2024
Learn how to make a trampoline for outdoor recreation and activities with our step-by-step guide. Enjoy fun and fitness in your backyard!
(Many of the links in this article redirect to a specific reviewed product. Your purchase of these products through affiliate links helps to generate commission for Storables.com, at no extra cost. Learn more)
Introduction
So, you’ve decided to take the plunge and set up a trampoline in your backyard. Congratulations! A trampoline can be an exhilarating addition to your outdoor space, providing endless hours of fun and entertainment for the whole family. Whether it’s for energetic bouncing sessions, acrobatic stunts, or simply lounging in the sun, a trampoline promises a myriad of enjoyable experiences.
Building a trampoline from scratch might seem like a daunting task, but fear not! With the right guidance and a bit of elbow grease, you can bring this exciting recreational equipment to life in no time. This step-by-step guide will walk you through the process of assembling a trampoline, from laying out the materials to ensuring its safety for all users.
Before diving into the construction process, it’s important to emphasize the significance of safety when it comes to trampolines. While they offer a thrilling way to stay active, trampolines can also pose risks if not used and maintained properly. As we delve into the construction steps, we’ll also highlight essential safety precautions to keep in mind throughout the entire setup process.
So, let’s roll up our sleeves and embark on this trampoline-building adventure. Get ready to create a hub of laughter, exercise, and outdoor enjoyment right in your own backyard!
Key Takeaways:
- Building a trampoline requires careful assembly of the frame, springs, jumping mat, and safety enclosure. Prioritize safety, follow instructions, and conduct thorough testing for a fun and secure bouncing experience.
- Assembling a trampoline is a rewarding adventure that brings joy and bonding to your outdoor space. Emphasize safety, follow each step diligently, and enjoy countless moments of laughter and recreation with your loved ones.
Read more: How To Make A Trampoline Bike
Materials Needed
Before you begin assembling your trampoline, it’s crucial to gather all the necessary materials and tools. Having everything at your fingertips will streamline the construction process and minimize interruptions. Here’s a comprehensive list of the items you’ll need:
- Trampoline Kit: This includes the frame, springs, jumping mat, safety enclosure, and any additional components specific to your trampoline model.
- Wrenches and Screwdrivers: Ensure you have a set of wrenches and screwdrivers in various sizes to accommodate different fasteners on the trampoline.
- Rubber Mallet: A rubber mallet will come in handy for gently tapping components into place without causing damage.
- Level: To ensure the trampoline frame is set up on even ground, a level will help you achieve a stable and safe foundation.
- Measuring Tape: Precise measurements are crucial during assembly, making a measuring tape an indispensable tool.
- Ladder: A ladder will facilitate reaching higher points of the trampoline during the setup process.
- Work Gloves: Protect your hands from potential scrapes and cuts by wearing sturdy work gloves throughout the assembly.
- Assistant: While not a physical material, having an extra pair of hands to assist with certain steps can greatly expedite the process and enhance safety.
Ensuring that all the required materials and tools are readily available will set the stage for a smooth and efficient trampoline assembly. With everything in place, you’re now ready to dive into the exciting process of bringing your trampoline to life!
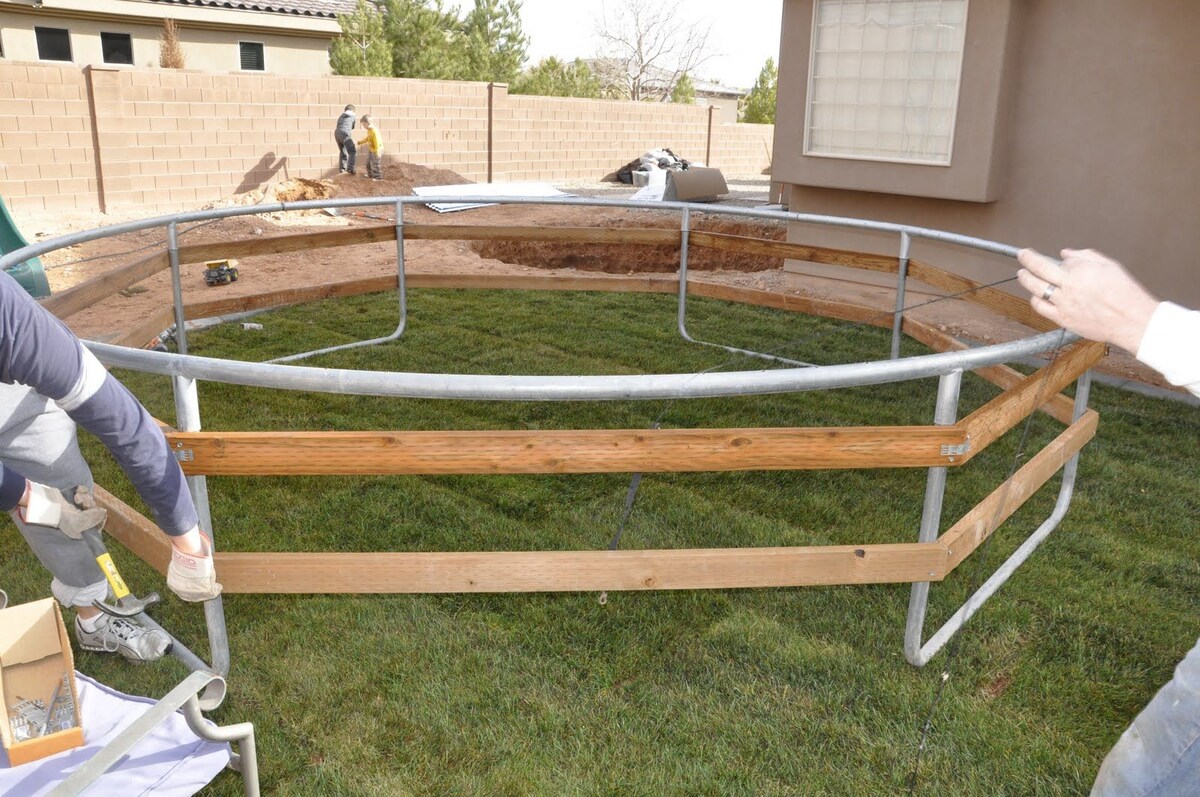
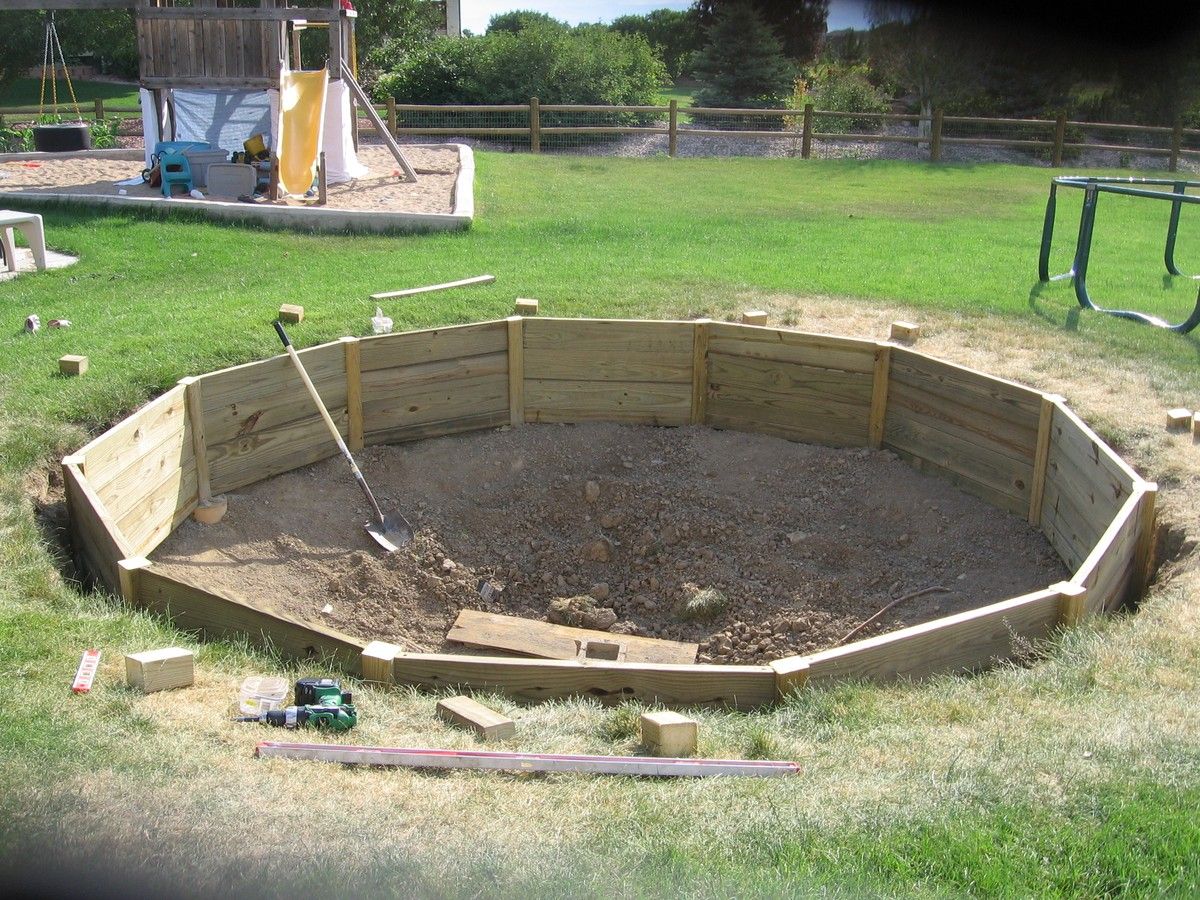
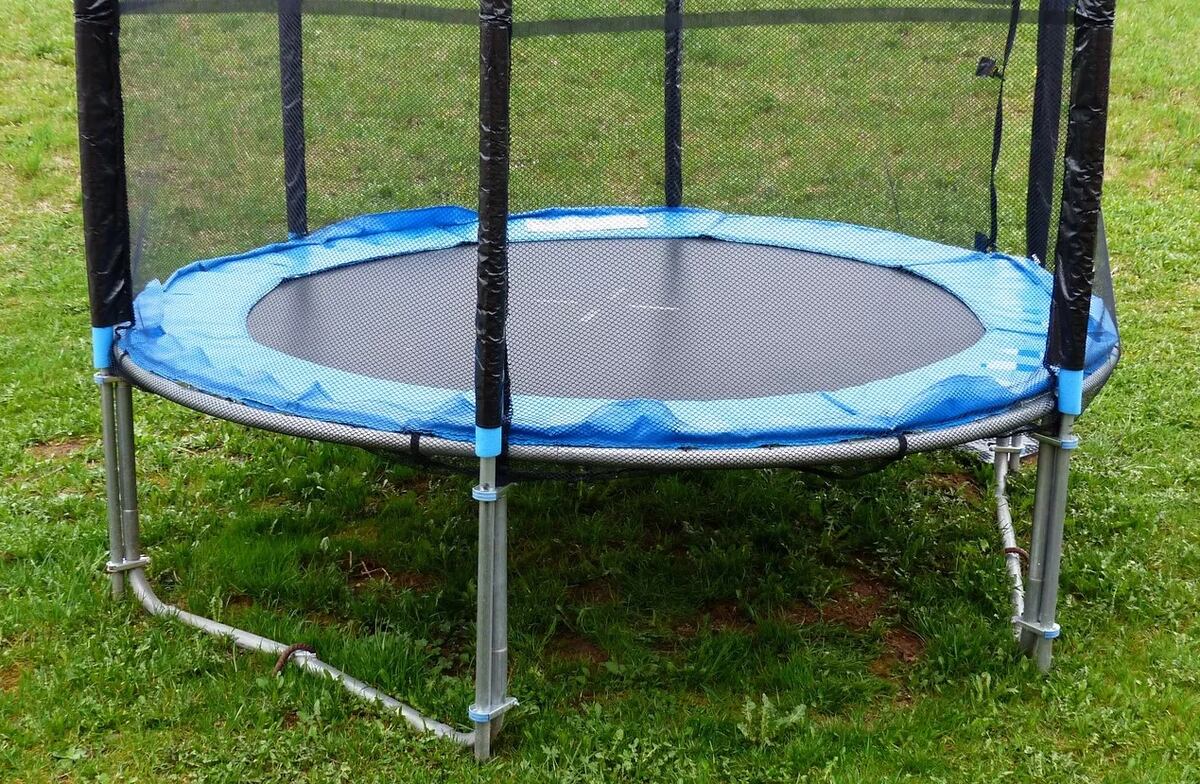
Step 1: Assembling the Frame
The first step in constructing your trampoline is assembling the frame, which serves as the foundation for the entire structure. Follow these detailed instructions to ensure the frame is securely and accurately put together:
- Layout the Components: Unpack the trampoline kit and lay out all the frame components in an organized manner. This will provide a clear overview of the parts and streamline the assembly process.
- Connect the Frame Sections: Begin by connecting the frame sections according to the manufacturer’s instructions. Typically, this involves aligning the frame pieces and securing them with the provided fasteners, such as bolts and nuts.
- Check for Stability: Once the frame is assembled, ensure that it stands level and stable. Use a level to confirm that the frame is not tilted or uneven, as this is crucial for the trampoline’s overall safety and performance.
- Secure the Joints: Double-check that all joints and connections are tightly secured. This step is essential for preventing any wobbling or shifting of the frame during use.
- Inspect for Sharp Edges: Carefully run your hands along the frame components to check for any sharp edges or protruding hardware. If any are found, use a file or sandpaper to smooth out these areas, reducing the risk of accidental injuries.
By meticulously following these steps, you’ll lay a solid foundation for your trampoline, ensuring that the frame is sturdy, secure, and free from potential hazards. With the frame assembled, you’re now ready to progress to the next phase of the construction process!
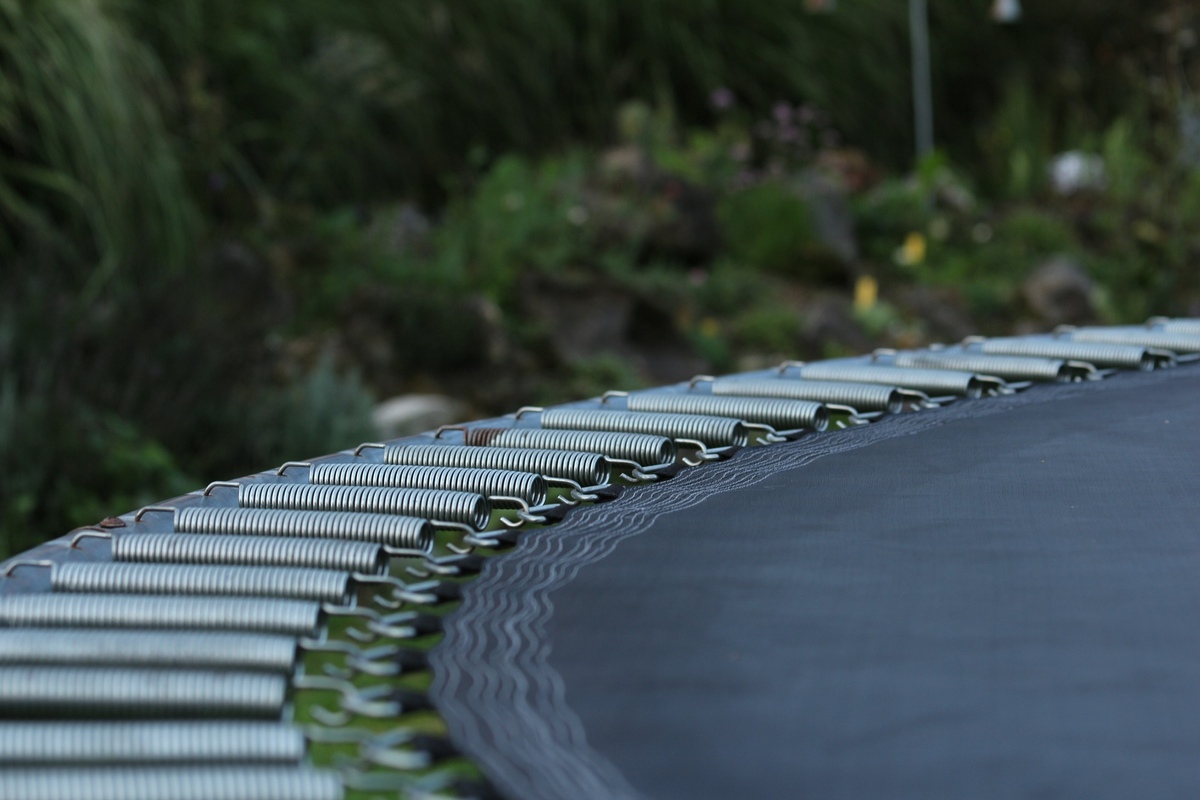
Step 2: Attaching the Springs
With the frame securely assembled, the next pivotal step in constructing your trampoline is attaching the springs. These coiled springs are instrumental in providing the necessary bounce and rebound for an exhilarating jumping experience. Follow these detailed instructions to ensure the springs are correctly affixed to the trampoline frame:
- Identify Spring Attachment Points: Locate the designated attachment points on the trampoline frame where the springs will be connected. These attachment points are typically evenly spaced around the frame.
- Attach the First Spring: Begin by attaching the first spring to its designated point on the frame. This may require some physical exertion, as the springs are designed to provide ample tension for optimal bounce.
- Use a Spring Tool: Consider using a spring tool, if available, to facilitate the attachment process. A spring tool can provide leverage and make it easier to stretch and connect the springs to the frame.
- Work in a Clockwise Pattern: Once the first spring is attached, continue connecting the remaining springs in a clockwise pattern around the frame. This systematic approach ensures uniform tension and balance across the trampoline surface.
- Confirm Secure Attachment: After attaching all the springs, double-check each connection to ensure that the springs are securely fastened to the frame. This step is crucial for maintaining the trampoline’s stability and safety during use.
By following these steps, you’ll successfully attach the springs to the trampoline frame, setting the stage for a responsive and enjoyable bouncing experience. With the springs in place, you’re now ready to move on to the next phase of the construction process!
When making a trampoline, make sure to use strong and durable materials for the frame and springs to ensure safety and longevity. Regularly check for wear and tear to prevent accidents.
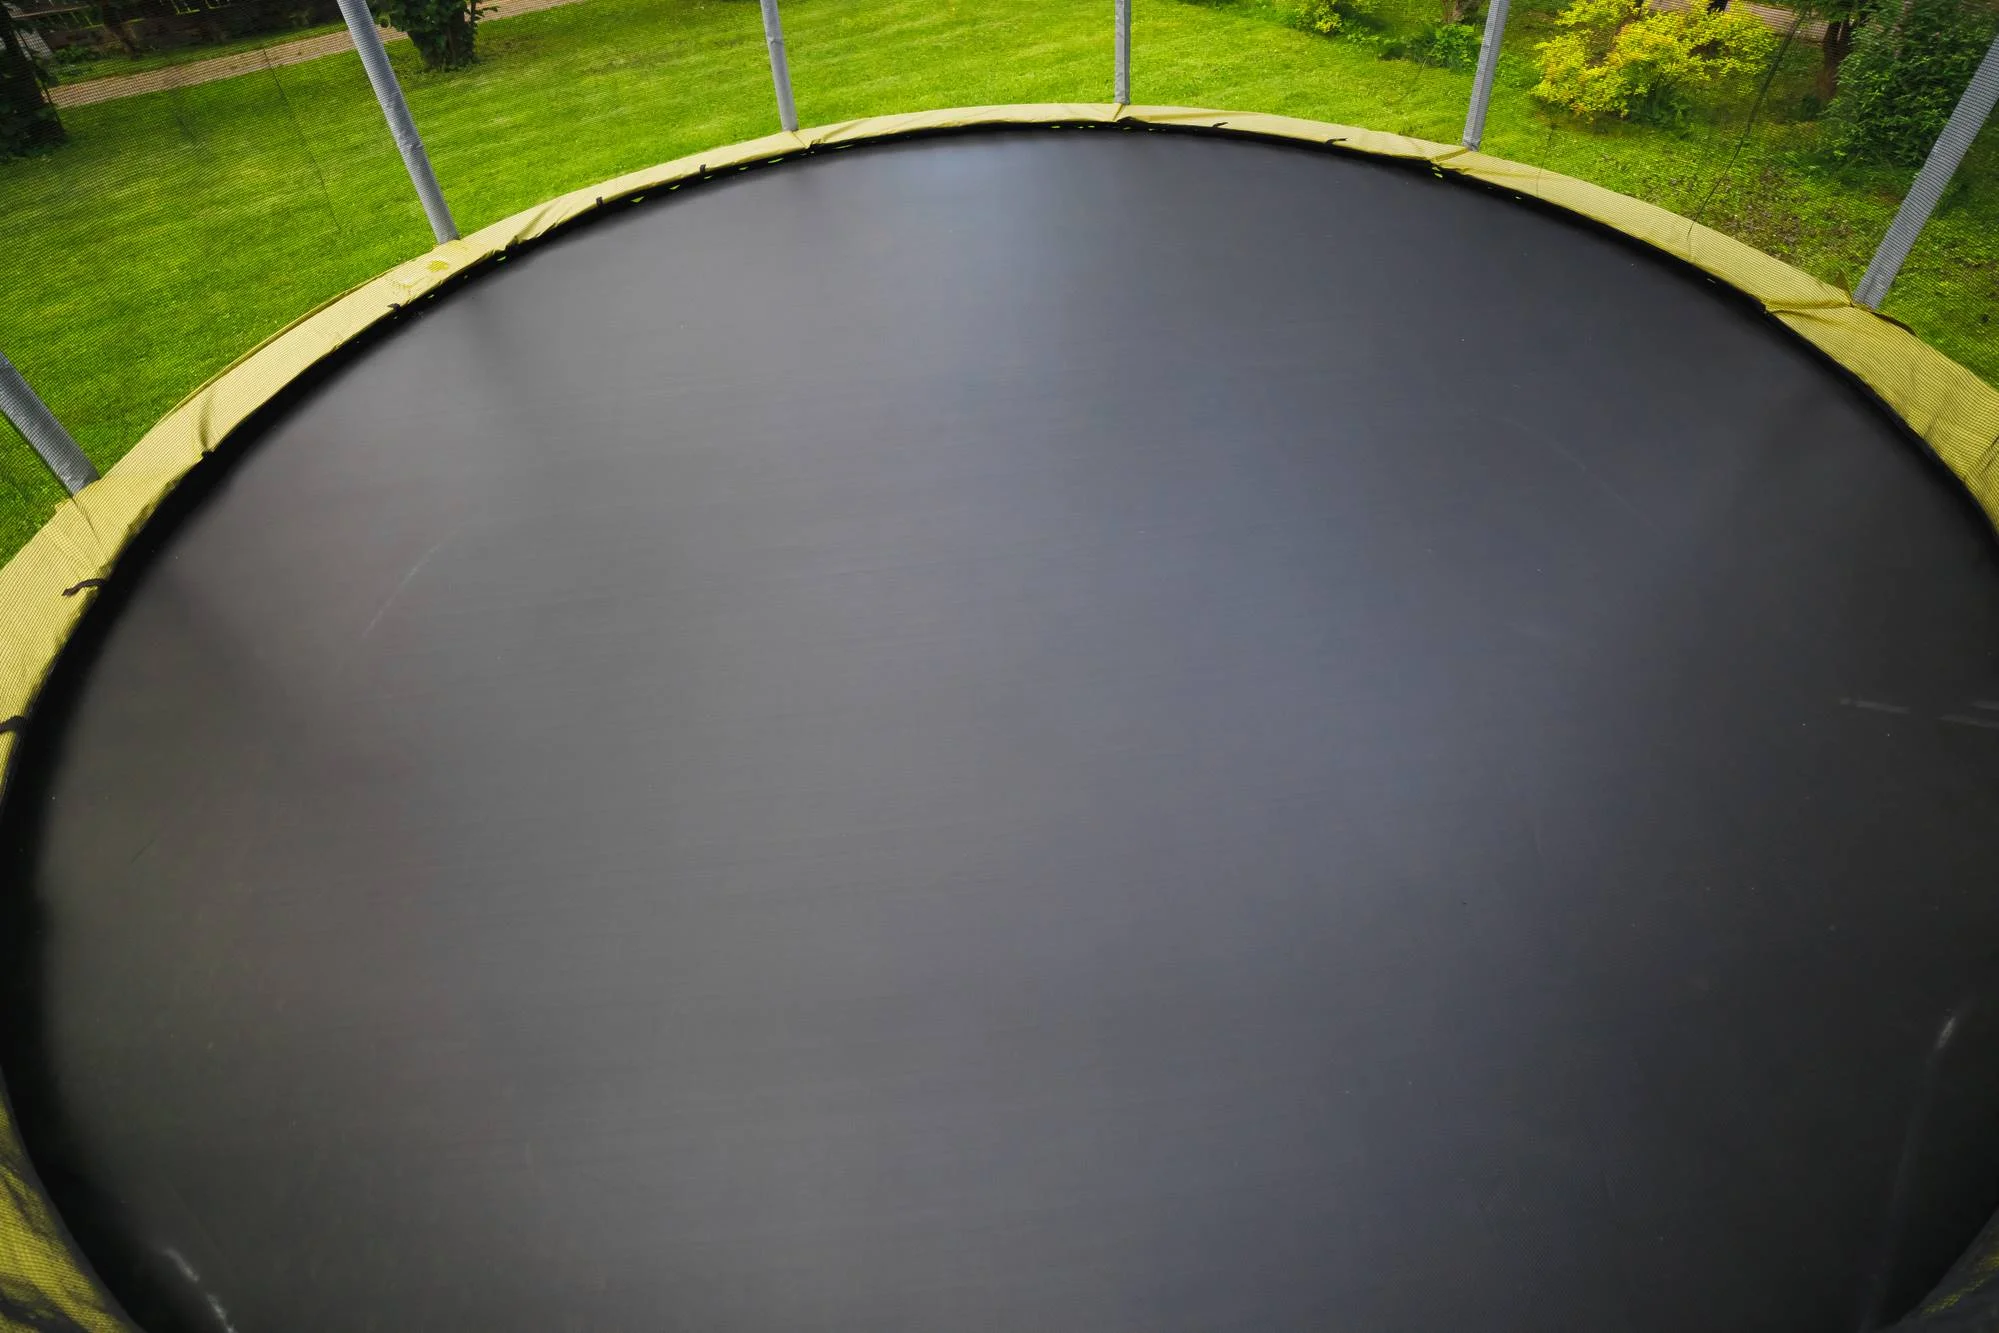
Step 3: Adding the Jumping Mat
As you progress in assembling your trampoline, the next essential step is adding the jumping mat. This resilient surface serves as the platform for all bouncing activities and must be securely and accurately installed. Follow these detailed instructions to ensure the jumping mat is properly positioned and fastened to the trampoline frame:
- Position the Mat: Lay the jumping mat flat in the center of the trampoline frame, ensuring that it is evenly aligned and free from any twists or folds.
- Attach the Springs to the Mat: Begin attaching the springs to the designated attachment points on the jumping mat. This process requires stretching the springs to create tension and secure attachment.
- Work Methodically: Proceed to attach the springs to the mat in a systematic manner, working around the perimeter. This approach ensures uniform tension and stability across the entire surface of the jumping mat.
- Confirm Secure Attachment: After all the springs are connected to the mat, double-check each attachment point to ensure that the springs are securely fastened. This step is crucial for maintaining the integrity and safety of the trampoline surface.
- Inspect the Mat: Once the mat is in place, inspect it for any signs of wear, tear, or damage. Ensure that the stitching and material of the mat are in optimal condition, as these factors directly impact the trampoline’s performance and longevity.
By meticulously following these steps, you’ll successfully install the jumping mat, creating a resilient and responsive surface for countless bouncing adventures. With the jumping mat securely in place, you’re now ready to proceed to the next phase of the construction process!
Read more: How To Make An In Ground Trampoline
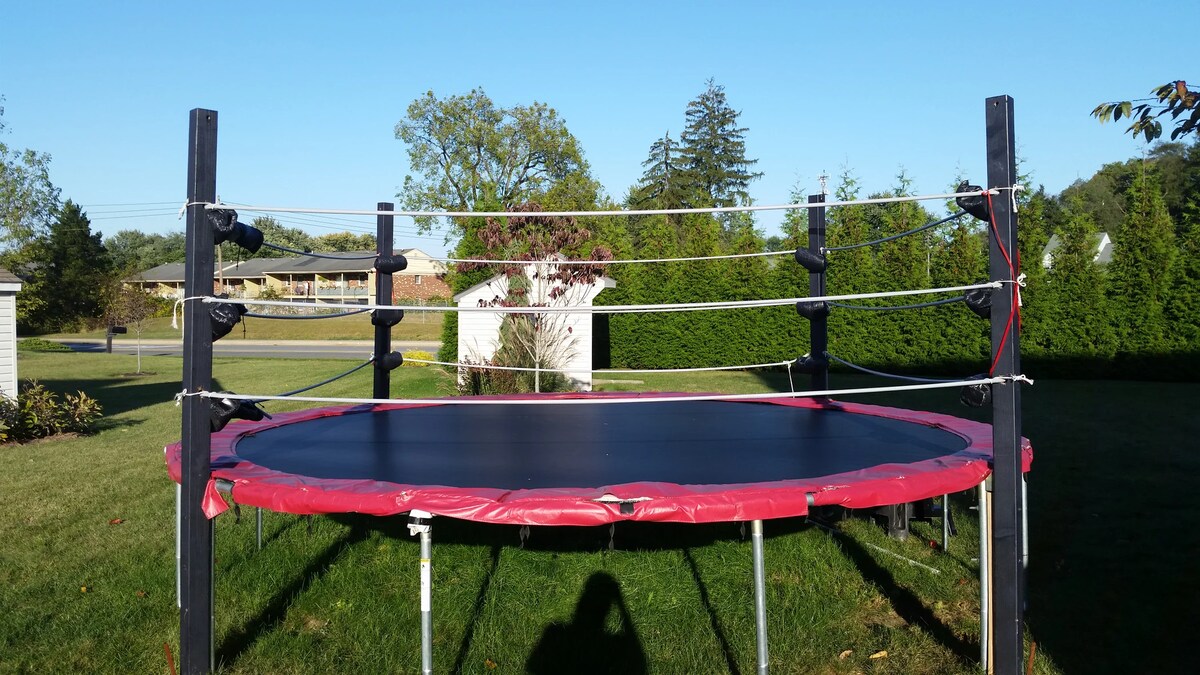
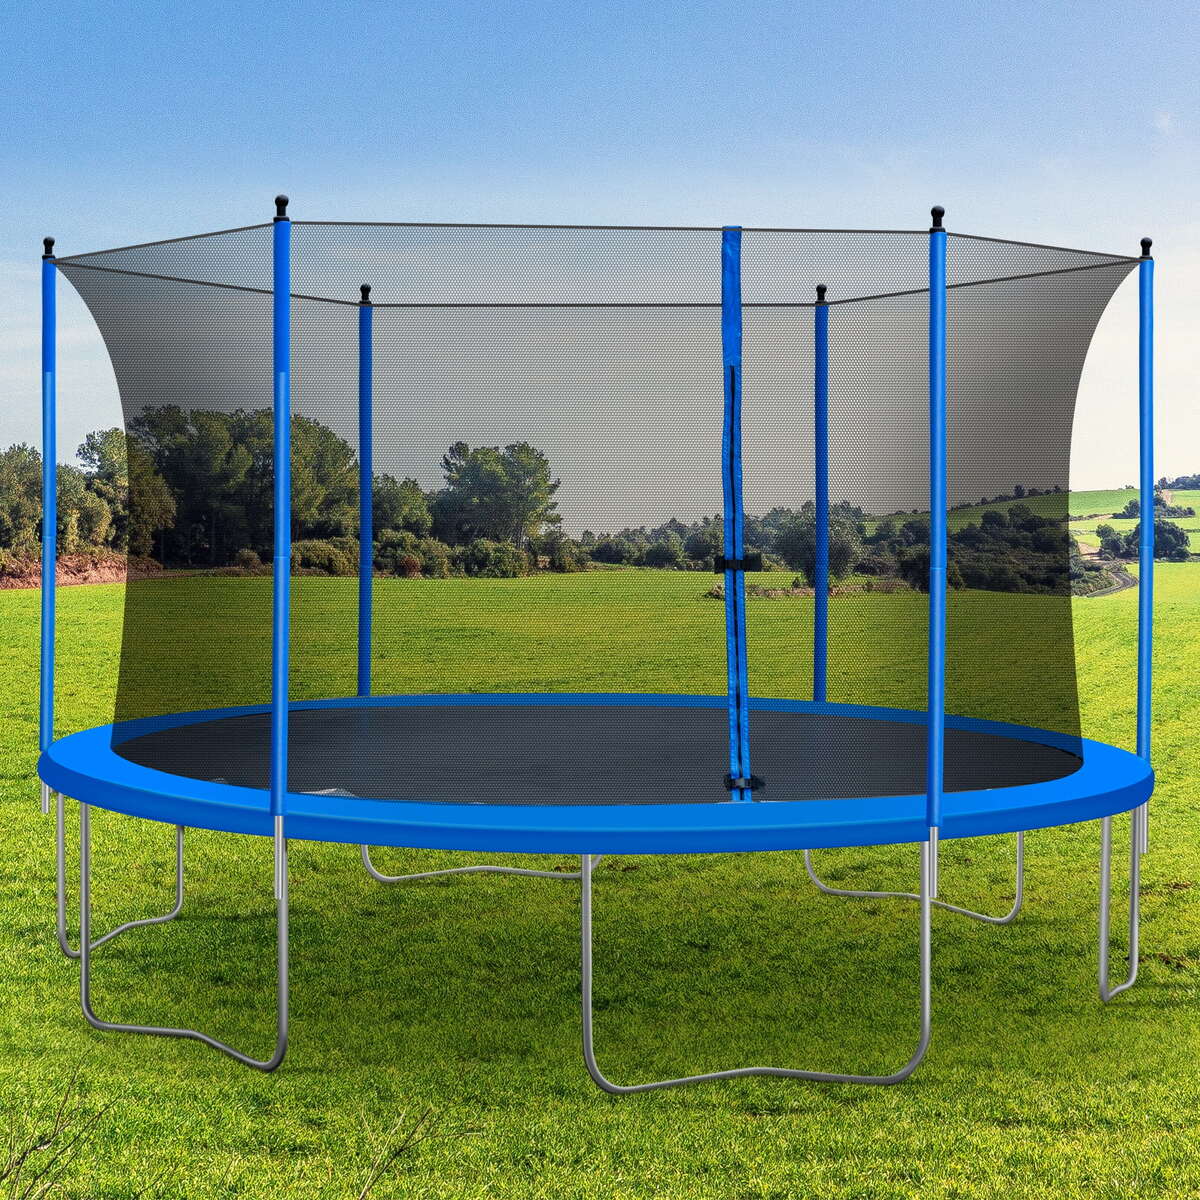
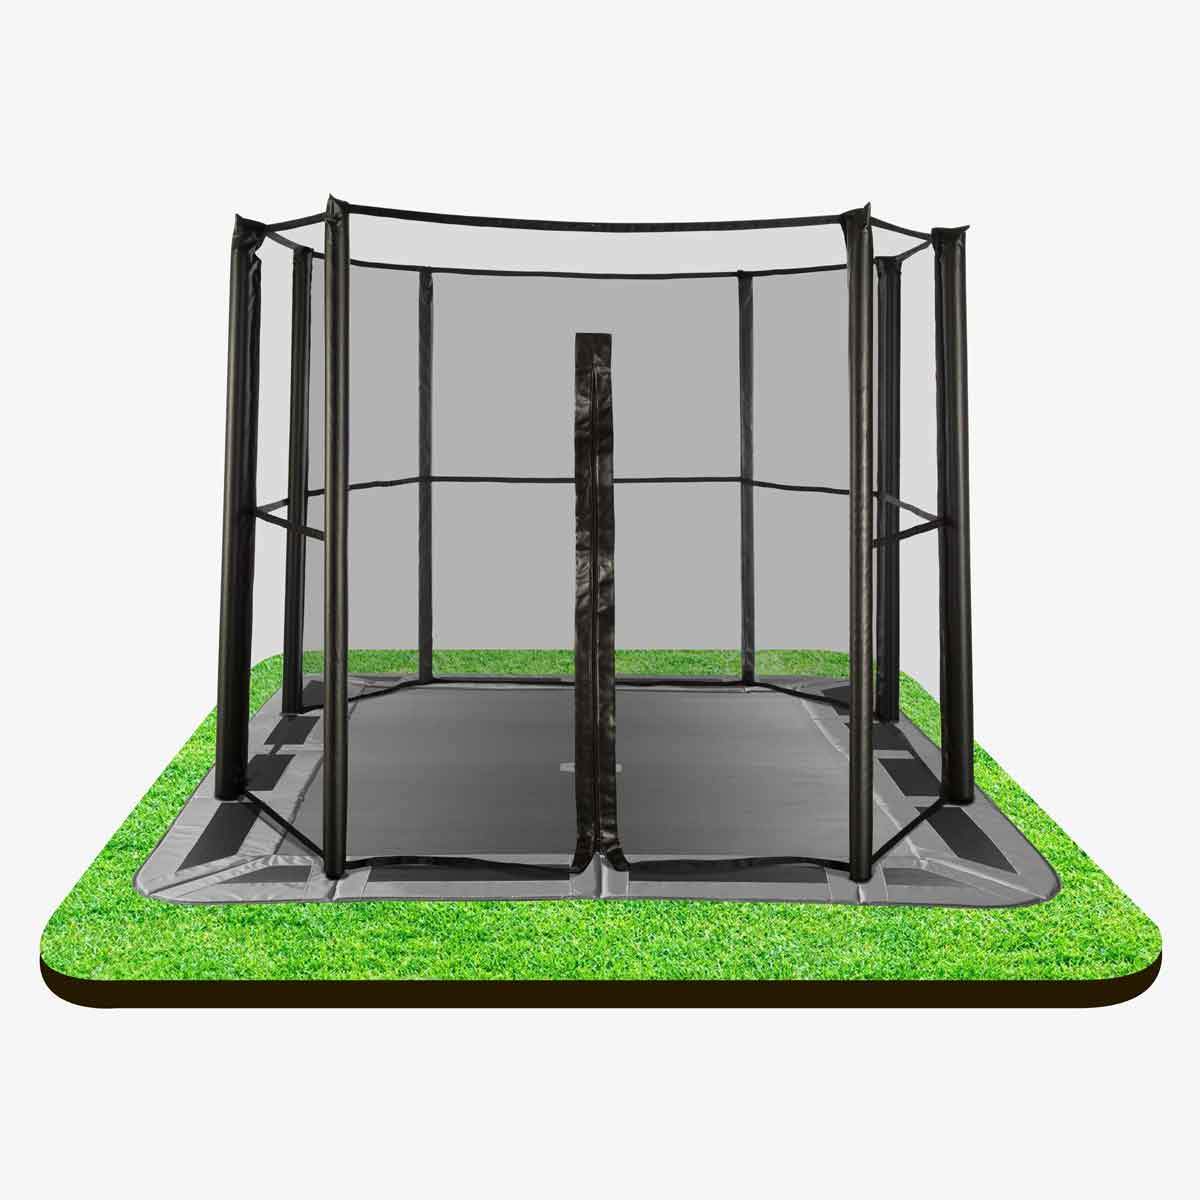
Step 4: Attaching the Safety Enclosure
When assembling a trampoline, ensuring the safety of its users is paramount. Attaching a safety enclosure is a crucial step in creating a secure and protected environment for bouncing activities. Follow these detailed instructions to properly affix the safety enclosure to your trampoline:
- Unpack and Organize: Begin by unpacking the safety enclosure components and laying them out in an organized manner. This will provide a clear overview of the parts and streamline the attachment process.
- Secure the Enclosure Poles: Position the enclosure poles around the perimeter of the trampoline, ensuring that they are evenly spaced and aligned with the frame. These poles will serve as the support structure for the safety net.
- Attach the Netting: Carefully attach the safety netting to the enclosure poles, ensuring that it is securely fastened and free from any tangles or twists. Follow the manufacturer’s instructions for the specific attachment method.
- Confirm Stability: Once the safety enclosure is in place, verify that the poles and netting are stable and taut. This step is crucial for preventing any potential entanglement or collapse during use.
- Inspect for Safety: Thoroughly inspect the safety enclosure to ensure that there are no gaps, tears, or defects in the netting. The enclosure should provide a secure barrier to prevent users from falling off the trampoline.
By meticulously following these steps, you’ll successfully attach the safety enclosure, creating a protected and secure space for bouncing activities. With the safety enclosure in place, you’re now ready to move on to the final phase of the construction process!
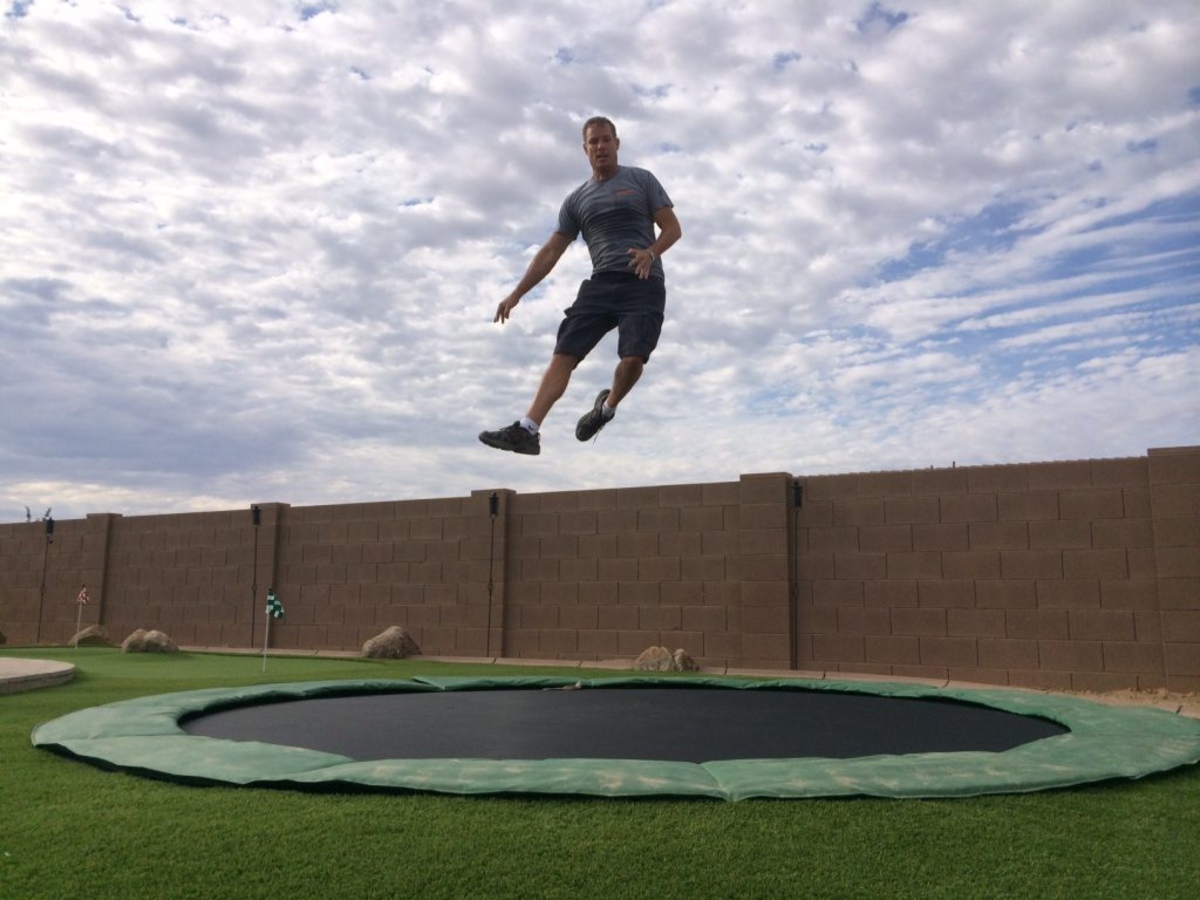
Step 5: Testing and Safety Precautions
As you near the completion of assembling your trampoline, it’s crucial to conduct thorough testing and implement essential safety precautions to ensure a secure and enjoyable experience for all users. Follow these comprehensive instructions to validate the trampoline’s functionality and establish critical safety measures:
- Inspect All Connections: Before allowing anyone to use the trampoline, thoroughly inspect all the connections, including the frame, springs, jumping mat, and safety enclosure. Ensure that every component is securely fastened and free from any defects or hazards.
- Conduct a Bounce Test: Test the trampoline’s bounce by applying gentle pressure to the jumping mat. Verify that the mat and springs respond uniformly and that there are no unusual noises or movements. This step will help identify any potential issues with the trampoline’s functionality.
- Establish Safety Rules: Clearly communicate and establish safety rules for trampoline usage, especially if it will be used by children. Emphasize the importance of one user at a time, no somersaults or flips, and adult supervision for younger users.
- Set Up a Safe Landing Area: Ensure that the area around the trampoline is clear of any obstacles or hazards. Establish a soft landing surface, such as grass or impact-absorbing material, to cushion any accidental falls.
- Implement Regular Inspections: Schedule routine inspections of the trampoline to check for wear, tear, or any potential issues. Regular maintenance and upkeep are essential for preserving the trampoline’s safety and longevity.
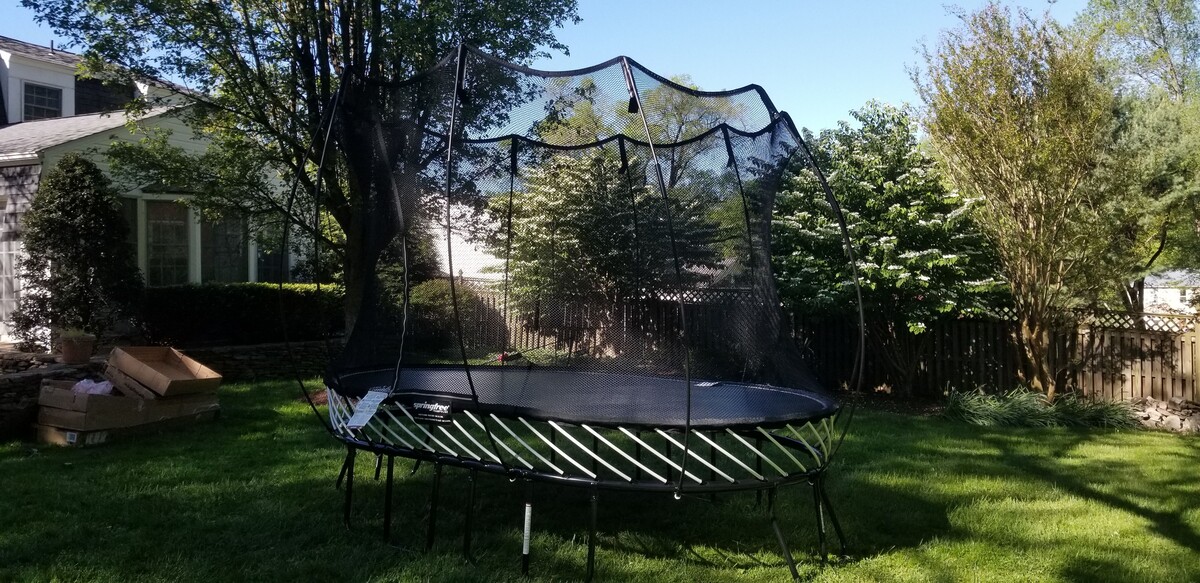
By diligently following these steps and precautions, you’ll validate the trampoline’s functionality and establish a safe environment for all users. With these measures in place, you can confidently introduce a source of outdoor fun and exercise to your backyard, knowing that safety is a top priority!
Conclusion
Congratulations on successfully completing the construction of your trampoline! By following the step-by-step guide provided, you’ve transformed a collection of components into a thrilling and safe recreational space that promises endless hours of enjoyment for your family and friends.
As you stand back and admire your newly assembled trampoline, it’s important to reflect on the significance of safety and responsible usage. While trampolines offer boundless fun, they also demand vigilance and adherence to safety guidelines to prevent accidents and injuries.
By prioritizing safety precautions, conducting thorough testing, and establishing clear usage rules, you’ve taken essential steps to create a secure environment for bouncing activities. Additionally, regular maintenance and inspections will ensure that your trampoline remains in optimal condition, providing long-lasting entertainment for years to come.
With your trampoline in place, you’ve introduced a dynamic and engaging element to your outdoor space, encouraging physical activity, laughter, and memorable moments. Whether it’s a leisurely bounce, an impromptu acrobatics display, or simply soaking up the sunshine, your trampoline is poised to become a hub of joyful experiences.
As you embark on this exciting trampoline adventure, remember to cherish the shared moments of laughter and play that it fosters. Your backyard trampoline is not just a piece of equipment; it’s a catalyst for bonding, laughter, and creating lasting memories with your loved ones.
So, go ahead, take that first exhilarating bounce, and savor the excitement that your new trampoline brings to your outdoor haven. Here’s to countless moments of fun, laughter, and wholesome recreation on your fantastic new trampoline!
Frequently Asked Questions about How To Make A Trampoline
Was this page helpful?
At Storables.com, we guarantee accurate and reliable information. Our content, validated by Expert Board Contributors, is crafted following stringent Editorial Policies. We're committed to providing you with well-researched, expert-backed insights for all your informational needs.


0 thoughts on “How To Make A Trampoline”