Home>Gardening & Outdoor>Outdoor Recreation & Activities>How To Put In A Swimming Pool Liner

Outdoor Recreation & Activities
How To Put In A Swimming Pool Liner
Modified: October 27, 2024
Learn how to properly install a swimming pool liner with our comprehensive guide. Enhance your outdoor recreation and activities with a professionally installed pool liner.
(Many of the links in this article redirect to a specific reviewed product. Your purchase of these products through affiliate links helps to generate commission for Storables.com, at no extra cost. Learn more)
Introduction
Installing a swimming pool liner is a crucial step in maintaining the integrity and functionality of your pool. Whether you're replacing an old liner or installing a new one, the process requires careful planning and precise execution. A high-quality pool liner not only enhances the aesthetic appeal of your pool but also provides a protective barrier against wear and tear, ensuring longevity.
Proper installation of a swimming pool liner involves several key steps, from preparing the pool surface to selecting the right liner and executing the installation with precision. By following a systematic approach and paying attention to detail, you can ensure that your pool liner is installed correctly, providing a seamless and durable surface for years to come.
In this comprehensive guide, we will walk you through the essential steps of installing a swimming pool liner, offering valuable insights and practical tips to help you navigate the process with confidence. From preparing the pool and measuring the dimensions to selecting the appropriate liner and executing the installation, each step plays a crucial role in achieving a successful outcome.
By understanding the intricacies of pool liner installation and following the recommended procedures, you can elevate the functionality and visual appeal of your pool while safeguarding it against potential damage. So, let's dive into the step-by-step process of installing a swimming pool liner and unlock the key to preserving the beauty and functionality of your pool.
Key Takeaways:
- Properly preparing the pool surface, measuring accurately, and choosing the right liner are crucial for a successful swimming pool liner installation. Attention to detail ensures a durable and visually appealing result.
- Installing a swimming pool liner requires meticulous steps, from laying out the liner to filling the pool gradually. Precision and care at each stage lead to a professionally finished pool, ready for years of enjoyment.
Read more: How To Clean A Swimming Pool Liner
Step 1: Prepare the Pool
Before embarking on the installation of a new swimming pool liner, it is crucial to prepare the pool meticulously to ensure a smooth and durable installation process. Proper preparation not only sets the stage for a successful liner installation but also contributes to the overall longevity and performance of the pool. Here's a detailed breakdown of the essential tasks involved in preparing the pool for a new liner:
-
Drain the Pool: The first step in preparing the pool for a new liner is to drain the existing water completely. This allows for a clear view of the pool's surface and facilitates thorough cleaning and inspection.
-
Inspect the Pool Surface: Once the pool is drained, carefully inspect the entire surface for any signs of damage, wear, or irregularities. Address any cracks, chips, or rough patches by smoothing and repairing the surface as needed. It's essential to ensure that the pool's structure is sound and free from any potential hazards that could affect the new liner.
-
Clean the Pool: After inspecting the surface, thoroughly clean the pool to remove any debris, dirt, or algae buildup. Use a combination of scrubbing, pressure washing, and chemical cleaners to achieve a clean and smooth surface. Proper cleaning is vital for promoting adhesion and preventing imperfections under the new liner.
-
Repair and Level the Bottom: If the pool bottom is uneven or damaged, take the necessary steps to repair and level it. This may involve filling in low spots, addressing uneven areas, and ensuring a uniformly smooth base for the new liner. A level and well-prepared bottom surface are essential for a proper fit and appearance of the new liner.
-
Inspect and Replace Fittings: Inspect all fittings, such as skimmers, drains, and return jets, to ensure they are in good condition and properly sealed. Replace any damaged or worn fittings to prevent potential leaks or issues after the new liner is installed.
-
Address Potential Leaks: Before proceeding with the new liner installation, conduct a thorough check for any potential leaks in the pool structure. Addressing leaks at this stage prevents future complications and ensures that the new liner is installed on a watertight surface.
By meticulously preparing the pool according to these steps, you can lay a solid foundation for the successful installation of a new swimming pool liner. This proactive approach not only enhances the aesthetics and functionality of the pool but also contributes to its long-term durability and performance.
Step 2: Measure the Pool
Accurate measurements are paramount when installing a swimming pool liner, as they ensure a precise fit and a seamless finish. Before proceeding with the selection and installation of the liner, it is essential to measure the pool meticulously to determine the exact dimensions and shape. Here's a detailed overview of the crucial steps involved in measuring the pool for a new liner:
-
Measure the Perimeter: Begin by measuring the perimeter of the pool to ascertain the total linear footage required for the liner. Use a flexible measuring tape to trace the outline of the pool, capturing the curves and contours accurately. It's important to measure both the length and width of the pool, accounting for any irregularities in shape.
-
Account for Overlaps: When measuring the pool, factor in the necessary overlap for the liner. Overlaps ensure that the liner extends beyond the pool's edge, allowing for secure installation and preventing any gaps. The standard overlap is typically around 2 feet, but it's advisable to consult with the liner manufacturer for specific recommendations based on the pool's design.
-
Consider Depth and Slope: Measure the depth of the pool at various points, especially if it features a sloped or graduated bottom. Accurately capturing the depth ensures that the liner is tailored to fit the pool's contours seamlessly, maintaining a uniform appearance and structural integrity.
-
Account for Steps and Features: If the pool includes steps, benches, or other features, take precise measurements of these elements. Specialized liners may be required to accommodate these features, and accurate measurements are crucial to ensure a custom fit.
-
Document the Measurements: Record all measurements meticulously, noting the dimensions of the pool, the depth at different locations, and any unique features that may impact the liner installation. Keeping detailed records facilitates the selection of the appropriate liner and serves as a valuable reference during the installation process.
-
Consult with Professionals: If you're uncertain about the measuring process or encounter complexities such as irregular pool shapes, seeking guidance from pool professionals or liner experts can provide invaluable insights. They can offer expertise in capturing accurate measurements and guide you in selecting the most suitable liner for your pool.
By meticulously measuring the pool and accounting for all relevant factors, you can lay the groundwork for a successful liner installation. Accurate measurements not only ensure a tailored fit but also contribute to the overall aesthetics and functionality of the pool, setting the stage for a seamless and durable liner installation.
Step 3: Choose the Liner
Selecting the right swimming pool liner is a pivotal decision that significantly influences the aesthetics, durability, and overall performance of your pool. With a myriad of options available, ranging from different materials to patterns and thicknesses, choosing the ideal liner requires careful consideration and a thorough understanding of the available choices. Here's a detailed exploration of the key factors to consider when choosing a swimming pool liner:
-
Material Selection: Pool liners are commonly available in vinyl, fiberglass, and other synthetic materials. Vinyl liners are popular for their versatility, cost-effectiveness, and wide range of design options. Fiberglass liners offer exceptional durability and low maintenance, making them a long-term investment. Understanding the unique characteristics of each material is crucial in aligning the liner with your specific preferences and budget.
-
Pattern and Design: The visual appeal of the pool is greatly influenced by the pattern and design of the liner. Whether you prefer a vibrant mosaic, a serene solid color, or a natural stone pattern, the design choice can transform the ambiance of your pool area. Consider the surrounding landscape, architectural elements, and your personal style when selecting a pattern that harmonizes with the overall aesthetic.
-
Thickness and Durability: The thickness of the liner directly impacts its durability and resistance to wear and tear. Thicker liners offer enhanced durability and longevity, making them suitable for high-traffic pools or areas prone to harsh weather conditions. Assessing the expected usage and environmental factors can guide you in choosing a liner with the appropriate thickness to withstand the demands of your pool environment.
-
Customization and Fit: If your pool features unique contours, steps, or intricate shapes, opting for a custom-fit liner ensures a seamless and tailored installation. Custom liners are designed to accommodate specific pool features, providing a precise fit that enhances the overall appearance and structural integrity. Prioritize customization if your pool exhibits non-standard dimensions or design elements.
-
Warranty and Manufacturer Reputation: When evaluating potential liners, consider the warranty offered by the manufacturer and their reputation in the industry. A comprehensive warranty provides assurance against defects and premature wear, reflecting the manufacturer's confidence in the product. Additionally, reputable manufacturers often prioritize quality and customer satisfaction, contributing to a positive overall experience.
By carefully evaluating these factors and aligning them with your preferences and pool requirements, you can make an informed decision when choosing a swimming pool liner. The selected liner should not only complement the visual appeal of your pool but also deliver long-lasting performance and protection, ensuring that your investment yields enduring value.
Before installing a swimming pool liner, make sure to properly measure the pool dimensions and choose a liner that fits snugly. Smooth out any wrinkles or air pockets to ensure a tight and secure fit.
Step 4: Install the Liner
The installation of a swimming pool liner is a precise and methodical process that demands attention to detail and adherence to specific guidelines. Executing the installation with precision is essential to ensure a seamless fit, optimal functionality, and long-term durability. Here's a comprehensive overview of the key steps involved in installing a swimming pool liner:
-
Lay Out the Liner: Begin by unrolling the liner on a clean and flat surface near the pool area. Allow the liner to relax and acclimate to the ambient temperature, which facilitates flexibility and ease of handling during the installation process. It's crucial to avoid any wrinkles or folds in the liner, as they can affect the final fit and appearance.
-
Position the Liner: Carefully position the liner in the pool, ensuring that it aligns with the contours and features of the pool's interior. Take extra care to match any specific design elements or patterns to achieve a visually appealing result. Proper positioning sets the stage for a smooth and accurate installation.
-
Smooth Out the Wrinkles: As the liner is positioned in the pool, work systematically to smooth out any wrinkles or air pockets. This process may involve gentle stretching and adjustment to ensure a snug and uniform fit. Pay close attention to corners, steps, and other intricate areas to eliminate any irregularities.
-
Secure the Liner: Once the liner is properly positioned and smoothed, secure it in place using specialized coping strips or track systems designed for liner retention. These securing mechanisms hold the liner firmly against the pool walls, preventing displacement and ensuring a secure fit. Follow the manufacturer's recommendations for the specific securing method employed.
-
Trim Excess Material: After securing the liner, carefully trim any excess material along the edges, maintaining the recommended overlap for a secure and aesthetically pleasing finish. Precision trimming contributes to a polished appearance and eliminates any unnecessary bulk that could impact the final fit.
-
Inspect and Adjust: Thoroughly inspect the installed liner for any imperfections, wrinkles, or misalignments. Address any minor issues promptly, making necessary adjustments to achieve a flawless result. A meticulous inspection ensures that the liner is installed to the highest standards.
-
Fill the Pool: Once the liner is securely installed and inspected, gradually fill the pool with water, monitoring the liner for any signs of stress or displacement. The gradual filling process allows the liner to settle and conform to the pool's contours, minimizing the risk of wrinkles or unevenness.
By following these detailed steps and exercising precision throughout the installation process, you can achieve a professionally installed swimming pool liner that enhances the visual appeal and functionality of your pool. A meticulously installed liner not only elevates the aesthetics of the pool but also contributes to its structural integrity and long-term performance.
Read more: How To Find A Leak In A Swimming Pool Liner
Step 5: Finish and Fill the Pool
With the swimming pool liner securely installed, the final steps involve meticulous attention to detail to ensure a seamless finish and the gradual filling of the pool to achieve the optimal water level. Here's a comprehensive overview of the essential tasks involved in completing the installation process and filling the pool:
-
Trim and Final Adjustments: After the liner is in place and secured, any remaining excess material is carefully trimmed along the edges to achieve a clean and polished appearance. Precision trimming contributes to a seamless transition between the liner and the pool's structure, enhancing the overall aesthetics.
-
Inspect for Imperfections: Thoroughly inspect the entire pool interior, paying close attention to the liner's fit and any potential imperfections. Address any minor issues promptly, ensuring that the liner is free from wrinkles, folds, or misalignments. A meticulous inspection sets the stage for a flawless finish.
-
Install Accessories and Features: If the pool includes accessories such as ladders, handrails, or in-pool lighting, this is the opportune time to install or reattach these features. Ensuring that all accessories are securely in place contributes to the functionality and safety of the pool environment.
-
Gradual Pool Filling: Begin the process of filling the pool with water, allowing for a gradual and controlled flow. Monitoring the filling process is essential to observe how the liner adjusts to the water pressure and conforms to the pool's contours. This gradual filling approach minimizes the risk of wrinkles or unevenness in the liner.
-
Monitor and Adjust Water Level: As the pool fills, monitor the water level closely, making adjustments as needed to achieve the desired depth. Maintaining a consistent water level ensures optimal functionality and visual appeal while preventing strain on the liner.
-
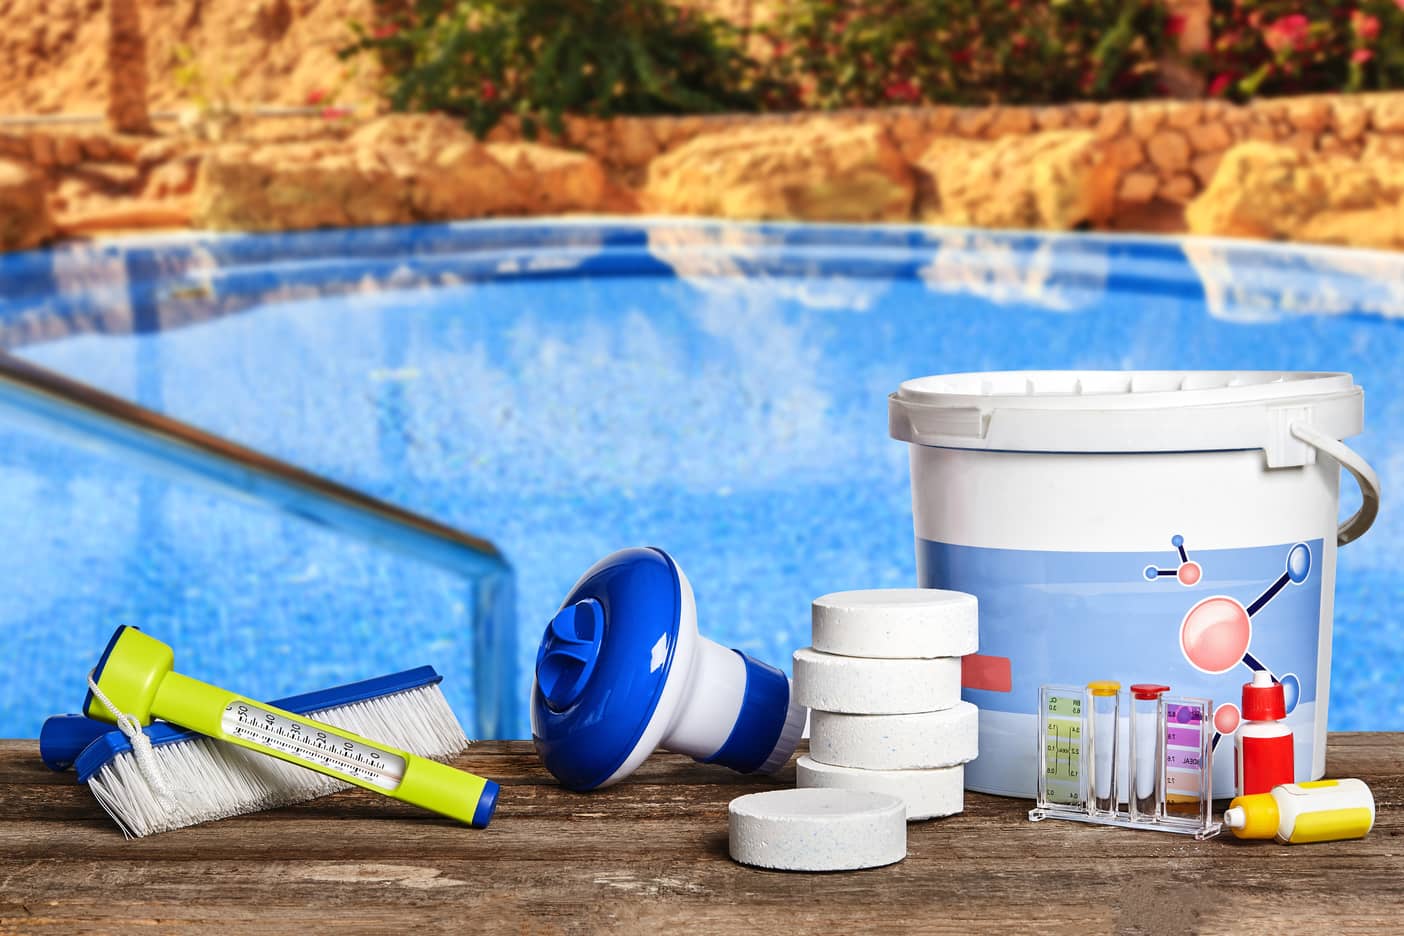
Water Treatment and Balancing: Once the pool is filled to the appropriate level, initiate the water treatment process by adding necessary chemicals to achieve a balanced and safe swimming environment. Proper water balancing contributes to water clarity, sanitation, and overall swimmer comfort.
-
Final Inspection and Testing: Conduct a final inspection of the filled pool, checking for any signs of leaks, irregularities, or operational issues. Test the pool equipment, such as pumps and filtration systems, to ensure they are functioning effectively in conjunction with the new liner.
By meticulously completing these final steps, you can achieve a professionally finished swimming pool with a newly installed liner, ready to provide a refreshing and inviting aquatic space for relaxation and recreation. The attention to detail in the finishing and filling process contributes to the overall longevity, functionality, and visual appeal of the pool, ensuring a rewarding and enjoyable swimming experience for years to come.
Conclusion
In conclusion, the installation of a swimming pool liner is a meticulous and multi-faceted process that demands careful planning, precise execution, and a keen eye for detail. By following the comprehensive steps outlined in this guide, you can navigate the installation journey with confidence and ensure a successful outcome that enhances the aesthetics, functionality, and longevity of your pool.
From the initial preparation of the pool surface to the selection of the appropriate liner and the methodical installation process, each step plays a crucial role in achieving a seamless and durable result. Meticulously preparing the pool by addressing surface irregularities, cleaning thoroughly, and inspecting for potential issues sets the stage for a smooth installation process. Accurate measurement of the pool dimensions and features is essential in selecting a liner that fits perfectly and complements the pool's design.
Choosing the right liner involves considering factors such as material selection, pattern and design, thickness, and customization options, ensuring that the chosen liner aligns with your preferences and the specific requirements of your pool. The installation process itself demands precision, from laying out the liner and securing it in place to the gradual filling of the pool and meticulous finishing touches.
By adhering to these guidelines and investing attention and care at each stage, you can achieve a professionally installed swimming pool liner that not only elevates the visual appeal of your pool but also contributes to its structural integrity and long-term performance. The result is a rejuvenated and inviting aquatic space that provides a refreshing retreat for relaxation and recreation.
It's important to note that while the installation process can be approached as a DIY project, seeking guidance from pool professionals or liner experts can provide valuable insights and ensure that the installation is carried out to the highest standards. Additionally, adhering to manufacturer recommendations and guidelines specific to the chosen liner contributes to the overall success of the installation.
Ultimately, the installation of a swimming pool liner represents an investment in the long-term enjoyment and maintenance of your pool. By embracing the recommended steps and infusing the process with attention to detail and precision, you can achieve a stunning and enduring result that enhances the beauty and functionality of your pool, creating a captivating aquatic oasis for years to come.
Frequently Asked Questions about How To Put In A Swimming Pool Liner
Was this page helpful?
At Storables.com, we guarantee accurate and reliable information. Our content, validated by Expert Board Contributors, is crafted following stringent Editorial Policies. We're committed to providing you with well-researched, expert-backed insights for all your informational needs.


0 thoughts on “How To Put In A Swimming Pool Liner”