Home>Gardening & Outdoor>Outdoor Recreation & Activities>How To Fix A Hole In A Swimming Pool Liner
Outdoor Recreation & Activities
How To Fix A Hole In A Swimming Pool Liner
Modified: February 18, 2024
Learn how to easily fix a hole in your swimming pool liner with our step-by-step guide. Keep enjoying outdoor recreation and activities worry-free!
(Many of the links in this article redirect to a specific reviewed product. Your purchase of these products through affiliate links helps to generate commission for Storables.com, at no extra cost. Learn more)
Introduction
Repairing a hole in a swimming pool liner is a crucial task to ensure the longevity and safety of your pool. Whether the damage is the result of wear and tear, a puncture, or a tear, addressing it promptly is essential to prevent further deterioration and potential water leakage. By following a few simple steps, you can effectively mend the hole and restore the integrity of your pool liner.
A damaged pool liner not only compromises the aesthetics of your pool but also poses a risk of water loss and potential structural issues. Therefore, taking the time to address the problem with precision and care is vital. With the right tools and a methodical approach, you can successfully repair the hole, allowing you to continue enjoying your pool without concerns about leaks or further damage.
In the following steps, we will guide you through the process of identifying the location and size of the hole, draining the pool, cleaning and drying the area around the hole, applying the patch, allowing the patch to cure, and refilling the pool. Each step is crucial in ensuring a successful repair, and by following these guidelines, you can restore your pool to its optimal condition.
Whether you are a seasoned pool owner or a novice in the realm of pool maintenance, this comprehensive guide will equip you with the knowledge and confidence to tackle the task of fixing a hole in your swimming pool liner. With a bit of patience and attention to detail, you can effectively address the issue and prolong the life of your pool, allowing for countless hours of relaxation and enjoyment in the crystal-clear waters.
Now, let's dive into the step-by-step process of repairing the hole in your swimming pool liner, ensuring that your pool remains a source of joy and relaxation for years to come.
Key Takeaways:
- Don’t let a hole in your swimming pool liner ruin your fun! By following simple steps like identifying, cleaning, and patching, you can easily fix the damage and get back to enjoying your pool.
- Taking the time to properly drain, clean, and apply a patch to your pool liner can ensure a long-lasting repair. With patience and attention to detail, you can keep your pool in top shape for years to come.
Read more: How To Put In A Swimming Pool Liner
Step 1: Identify the Location and Size of the Hole
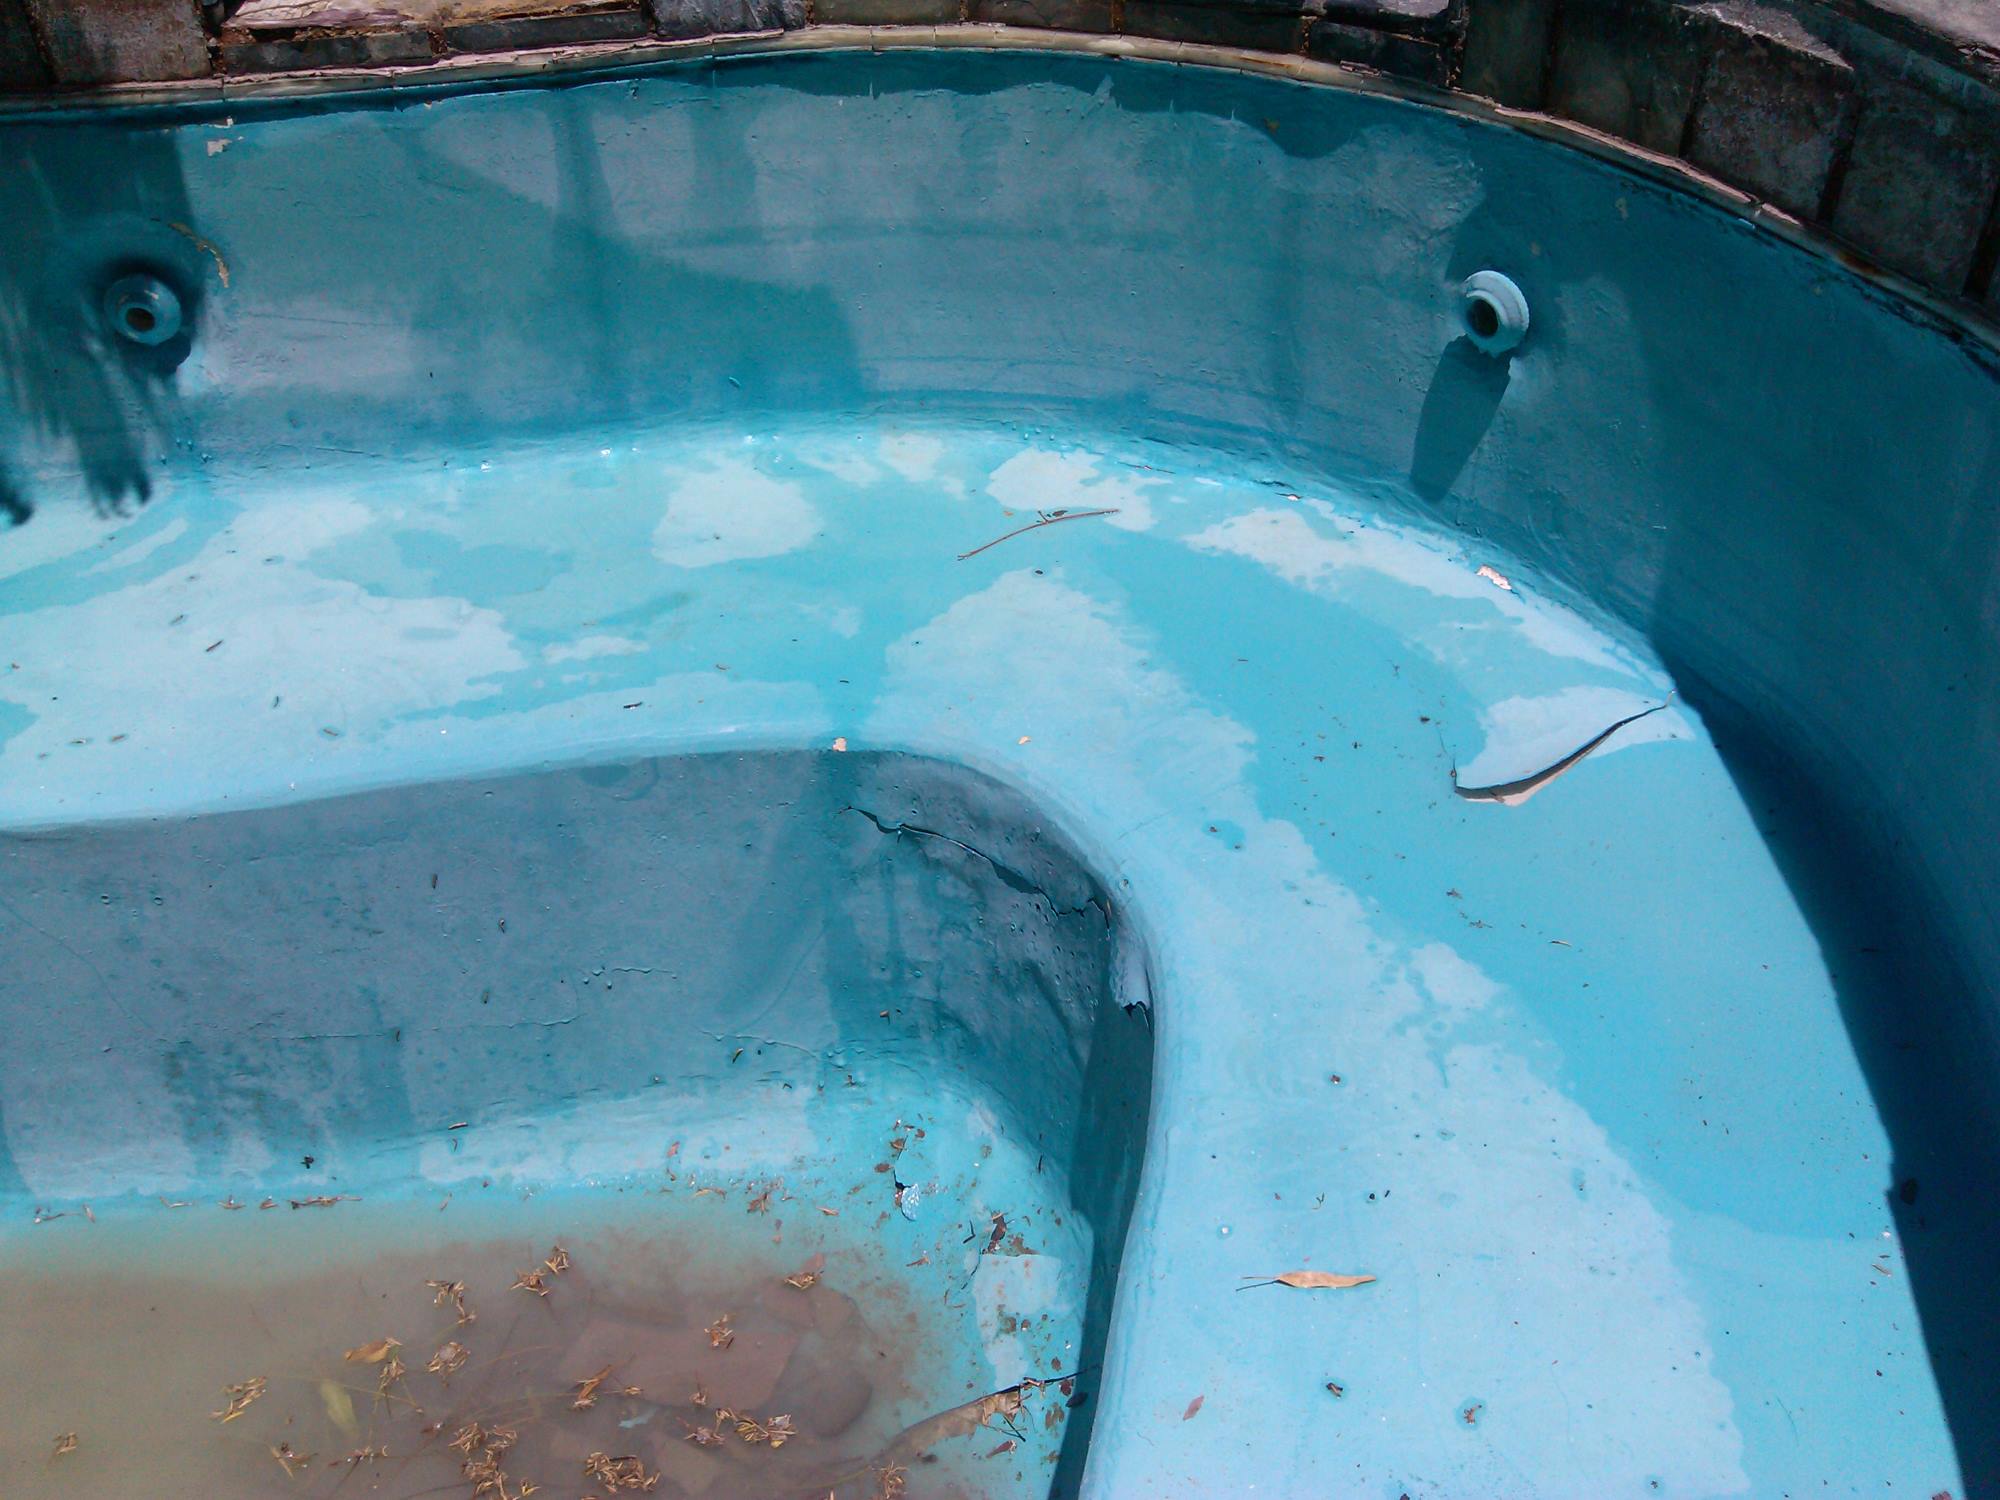
The first and most crucial step in repairing a hole in a swimming pool liner is to accurately identify the location and size of the damage. This initial assessment sets the foundation for a successful repair process. To begin, carefully inspect the pool's surface, paying close attention to any signs of discoloration, bulging, or water leakage. These indicators can help pinpoint the area where the liner has been compromised.
Next, it's essential to visually examine the pool from both inside and outside, as the hole may be visible from only one side. Look for any irregularities in the liner, such as tears, punctures, or areas where the material appears stretched or distorted. Additionally, if there is water loss, observe the water level to determine the approximate location of the hole.
Once you have visually identified a potential area of damage, it's time to conduct a more thorough inspection. One effective method is to use a dye test, which involves adding a small amount of food coloring to the water near the suspected area. As the water seeps through the hole, the dye will be drawn into the opening, creating a visible mark on the liner. This technique helps confirm the precise location of the hole, ensuring that no damage goes unnoticed.
After confirming the location, the next step is to assess the size of the hole. This can be done by measuring the length and width of the damaged area. It's important to note that the visible hole may be smaller than the actual damaged area, as the liner material can stretch or tear beyond the initial impact point. By accurately determining the size of the hole, you can prepare for the appropriate patch size and ensure comprehensive coverage during the repair process.
In summary, identifying the location and size of the hole is a critical first step in repairing a swimming pool liner. Through visual inspection, dye testing, and precise measurements, you can confidently pinpoint the area of damage and gather essential information for the subsequent repair steps. This meticulous approach sets the stage for a thorough and effective repair, ultimately preserving the integrity of your pool and ensuring continued enjoyment for years to come.
Step 2: Drain the Pool
Once the location and size of the hole in the swimming pool liner have been identified, the next crucial step is to drain the pool. Draining the pool is essential to create a dry and accessible environment for the repair process. Before initiating the draining process, it's important to ensure that all necessary precautions are taken to safeguard the pool's structural integrity and prevent any potential damage to surrounding areas.
To begin, switch off the pool's filtration system and any other related equipment. This prevents the circulation of water during the draining process and minimizes the risk of damage to the pool's components. Additionally, it's advisable to disconnect any automatic fill devices to prevent them from refilling the pool while the repair is in progress.
Next, locate the pool's drainage outlet and connect a suitable drainage hose. The hose should be positioned to direct the discharged water away from the pool area to prevent flooding or erosion. It's important to consider local regulations and environmental guidelines when discharging pool water, ensuring that it is directed to an appropriate drainage point.
As the pool begins to drain, monitor the water level closely. Depending on the size of the pool and the flow rate of the drainage system, the process may take several hours to complete. During this time, it's essential to keep a watchful eye on the water level to prevent overdraining, which can lead to structural issues or damage to the pool's interior.
While the pool is draining, take the opportunity to inspect the pool's interior for any signs of additional damage or areas of concern. This thorough assessment can help identify any underlying issues that may require attention during the repair process, ensuring a comprehensive approach to restoring the pool's integrity.
Once the pool has been drained to the appropriate level, the drainage hose can be disconnected, and the pool's interior should be allowed to dry completely. This drying period is essential to prepare the area around the hole for the subsequent cleaning and patching steps. It's important to exercise patience during this phase, allowing the pool's interior to dry thoroughly before proceeding with the repair.
In summary, draining the pool is a critical step in the process of repairing a hole in the swimming pool liner. By following proper drainage procedures and allowing the pool to dry completely, you can create an optimal environment for the subsequent repair steps. This meticulous approach sets the stage for a successful and enduring repair, ensuring that your pool remains a source of relaxation and enjoyment for years to come.
Step 3: Clean and Dry the Area Around the Hole
After draining the pool, the next crucial step in repairing a hole in the swimming pool liner is to thoroughly clean and dry the area surrounding the damaged section. This meticulous process is essential to ensure proper adhesion and longevity of the patch, as any residual moisture, debris, or contaminants can compromise the effectiveness of the repair.
To begin, use a soft-bristled brush or a clean cloth to gently remove any dirt, algae, or debris from the area around the hole. It's important to exercise caution and avoid using abrasive materials that could potentially damage the pool liner. By carefully clearing the surface, you create a clean and smooth canvas for the subsequent repair steps.
Once the visible debris has been removed, it's time to address any residual moisture in the area. Use clean, dry towels to carefully blot and absorb any remaining water, ensuring that the surrounding surface is completely dry. Pay close attention to any creases, folds, or seams in the liner, as these areas may harbor hidden moisture that could compromise the patch's adhesion.
In addition to physical cleaning and drying, it's important to consider the presence of any chemical residues or contaminants on the pool liner. If the area has been treated with algaecides, chlorine, or other pool chemicals, it's advisable to rinse the surrounding area with clean water to remove any lingering traces of these substances. This step helps create an optimal surface for the patch to adhere to, minimizing the risk of chemical interference with the repair.
As the cleaning and drying process nears completion, take a moment to inspect the area for any remaining signs of damage or irregularities. Ensure that the surrounding material is free from tears, stretching, or weak spots that could compromise the effectiveness of the patch. This thorough assessment sets the stage for a successful repair, providing confidence in the integrity of the prepared surface.
By meticulously cleaning and drying the area around the hole, you establish a pristine foundation for the subsequent patch application. This attention to detail and precision in preparation ensures that the repair process unfolds smoothly, ultimately leading to a durable and effective solution for the damaged pool liner. With the area now clean, dry, and free from contaminants, you are ready to proceed to the next step of applying the patch, bringing you one step closer to restoring your pool to its optimal condition.
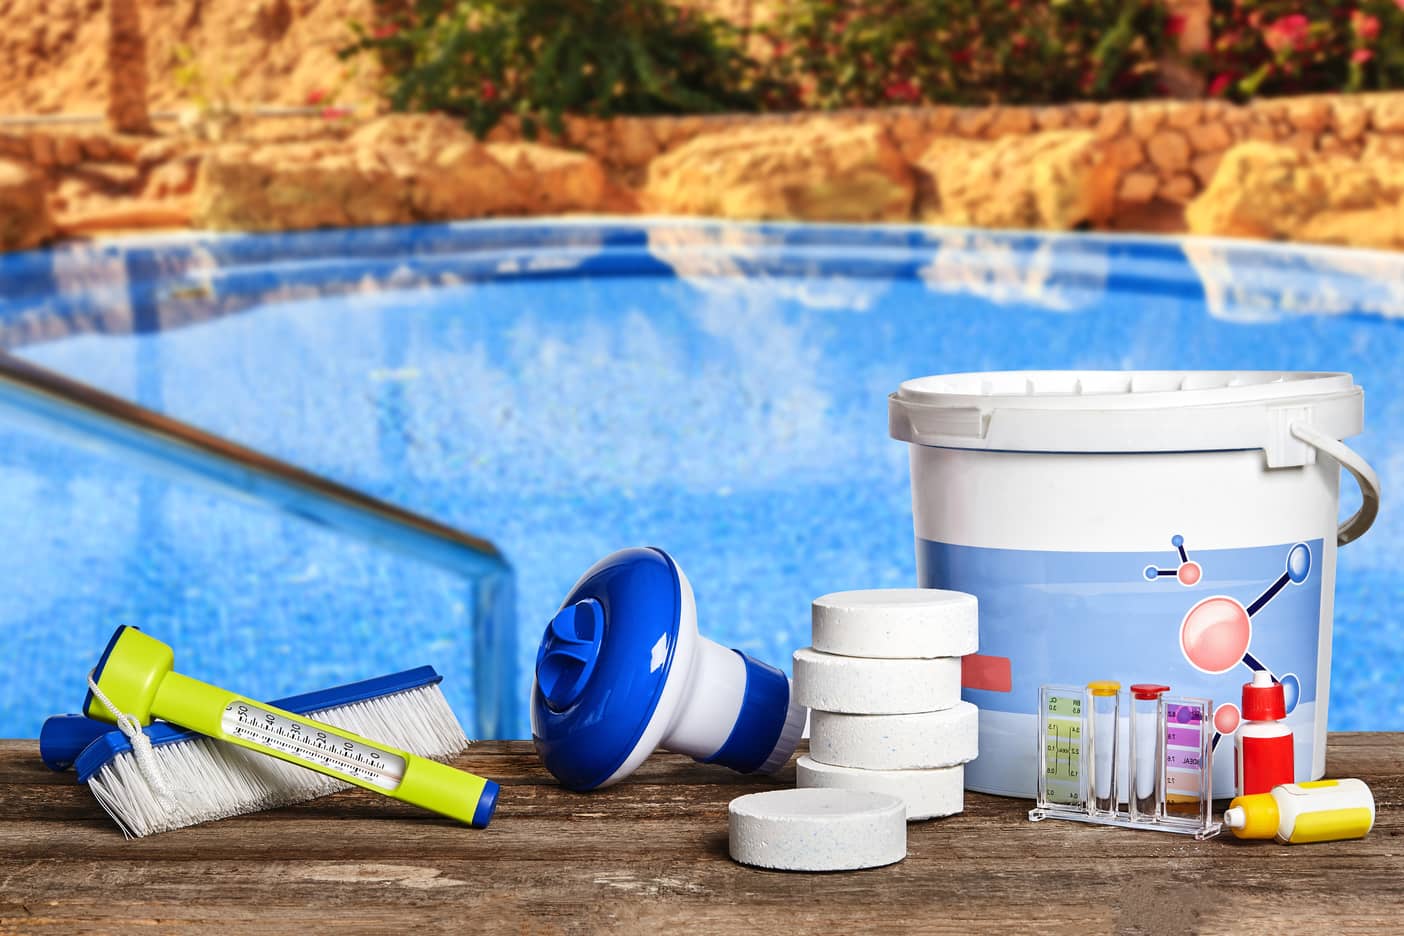
To fix a hole in a swimming pool liner, use a vinyl patch kit. Clean and dry the area around the hole, then apply the patch according to the kit instructions. Smooth out any air bubbles for a secure seal.
Step 4: Apply the Patch
With the area surrounding the hole meticulously cleaned, dried, and prepared, the next critical step in repairing a hole in the swimming pool liner is to apply the patch. This process involves carefully affixing a suitable patch over the damaged area, creating a secure and watertight seal that restores the integrity of the pool liner.
To begin, select a high-quality patch specifically designed for swimming pool liners. It's essential to choose a patch that is compatible with the material of your pool liner, ensuring optimal adhesion and longevity. Common patch materials include vinyl or PVC, and they are often accompanied by adhesive solutions designed to create a strong and durable bond.
Before applying the patch, carefully measure and cut it to a size that provides comprehensive coverage of the damaged area. The patch should extend beyond the edges of the hole, creating a secure seal that prevents water from seeping through. It's advisable to round the corners of the patch to minimize the risk of peeling or lifting over time, ensuring a smooth and secure fit.
Next, apply a generous amount of the recommended adhesive to the back of the patch, ensuring even coverage across the entire surface. It's important to follow the manufacturer's instructions regarding the application and curing of the adhesive, as proper adherence is crucial to the effectiveness of the patch. Additionally, if the patch material requires activation or heating, ensure that these steps are carried out according to the provided guidelines.
With the adhesive applied, carefully position the patch over the damaged area, ensuring that it aligns smoothly and securely with the surrounding pool liner. Use gentle pressure to press the patch into place, smoothing out any air bubbles or wrinkles to create a tight and uniform bond. It's important to exercise patience and precision during this step, as a well-applied patch is essential to the long-term success of the repair.
Once the patch is in position, allow it to cure and bond with the pool liner according to the manufacturer's recommended timeframe. This curing period is crucial to the establishment of a strong and watertight seal, ensuring that the repaired area is fully protected against leaks and damage. It's important to avoid disturbing or applying stress to the patch during this time, allowing it to set undisturbed for the specified duration.
By meticulously applying the patch in accordance with the manufacturer's guidelines, you establish a durable and effective solution for the damaged pool liner. This meticulous approach ensures that the repaired area is fully fortified against water leakage and potential deterioration, ultimately preserving the integrity of your pool for continued enjoyment and relaxation.
Now that the patch has been successfully applied, you are ready to proceed to the next step of allowing the patch to cure, bringing you one step closer to restoring your pool to its optimal condition.
Read more: How To Clean A Swimming Pool Liner
Step 5: Allow the Patch to Cure
After the meticulous application of the patch over the damaged area of the swimming pool liner, it is crucial to allow the patch to cure thoroughly. The curing process is a vital stage in ensuring the effectiveness and longevity of the repair, as it allows the adhesive to form a strong and watertight bond with the pool liner, creating a seamless and durable seal.
During the curing period, it is essential to prevent any disturbances or stress to the patch, as these can compromise the integrity of the bond. The duration of the curing process may vary depending on the type of adhesive used and the environmental conditions, so it is important to refer to the manufacturer's guidelines for specific instructions.
As the patch cures, it undergoes a transformation, gradually forming a secure and resilient connection with the pool liner. This process is essential for achieving a long-lasting repair that effectively safeguards the pool against water leakage and potential damage. By allowing the patch to cure undisturbed, you are ensuring that the repaired area is fully fortified and ready to withstand the rigors of regular pool usage.
It is important to exercise patience during the curing period, refraining from any activities that may impact the patch. This includes avoiding water exposure, physical contact, or any actions that could disrupt the bonding process. By allowing the patch to cure according to the recommended timeframe, you are investing in the durability and effectiveness of the repair, ultimately contributing to the prolonged integrity of your pool liner.
As the patch completes its curing process, it forms a seamless integration with the surrounding pool liner, creating a unified and watertight surface. This ensures that the repaired area is fully protected against leaks and damage, providing you with the confidence and assurance that your pool is restored to its optimal condition.
By allowing the patch to cure thoroughly, you are taking a proactive step in preserving the longevity and functionality of your swimming pool. This meticulous approach ensures that the repair is robust and enduring, allowing you to continue enjoying your pool without concerns about the previously damaged area. With the patch now fully cured, you are ready to proceed to the final step of refilling the pool, bringing you one step closer to the complete restoration of your pool's integrity and functionality.
Step 6: Refill the Pool
With the patch fully cured and the repaired area fortified against leaks, it is time to initiate the process of refilling the pool. Refilling the pool is a pivotal step in restoring its functionality and ensuring that it is ready for regular use. This process involves carefully reintroducing water into the pool, gradually bringing it back to its optimal operating level.
To begin, ensure that the pool's filtration system and related equipment are in proper working condition and ready to be activated. It's important to conduct a thorough inspection of the pool's components, including the filtration system, pumps, and valves, to confirm that they are free from any damage or issues that could impact the refilling process.
Next, locate the pool's water supply source, which may be a dedicated water line or an external water delivery service. It's important to consider the quality of the water being introduced into the pool, ensuring that it meets the necessary standards for pH balance and cleanliness. If using tap water, consider conducting a water quality test to verify its suitability for refilling the pool.
As the pool begins to fill, monitor the water level closely to ensure a gradual and controlled refill process. It's important to avoid rapid or excessive filling, as this can lead to water overflow and potential damage to the pool's surroundings. By maintaining a steady and measured refill rate, you can safeguard the pool's integrity and prevent any unexpected issues during the process.
During the refilling process, take the opportunity to observe the pool's interior for any signs of irregularities or leaks. As the water level rises, carefully inspect the patched area for any indications of water seepage or compromised integrity. This thorough assessment ensures that the repair has effectively addressed the previous damage, providing confidence in the pool's restored functionality.
Once the pool has been refilled to its optimal operating level, activate the filtration system and allow it to circulate the water effectively. This helps distribute the newly introduced water and ensures proper mixing and filtration, contributing to the overall cleanliness and balance of the pool.
By completing the refilling process with care and attention to detail, you are finalizing the comprehensive repair of the swimming pool liner. The refilled pool is now ready for regular use, providing a safe and enjoyable environment for relaxation and recreation. With the pool fully restored to its optimal condition, you can look forward to countless hours of rejuvenating and refreshing experiences in the crystal-clear waters, knowing that the repair has effectively preserved the integrity and functionality of your pool.
Conclusion
In conclusion, repairing a hole in a swimming pool liner is a meticulous yet rewarding process that ensures the longevity, functionality, and safety of your pool. By following the step-by-step guidelines outlined in this comprehensive guide, you have successfully addressed the damage, restored the integrity of the pool liner, and prepared the pool for continued enjoyment and relaxation.
The journey of repairing the hole in the swimming pool liner began with the crucial step of identifying the location and size of the damage. Through visual inspection, dye testing, and precise measurements, you meticulously pinpointed the area of the hole, laying the groundwork for a thorough and effective repair.
Subsequently, the process of draining the pool was undertaken with precision and care, creating a dry and accessible environment for the repair. By following proper drainage procedures and allowing the pool to dry completely, you established an optimal foundation for the subsequent steps, ensuring that the repair process unfolded smoothly and effectively.
The meticulous cleaning and drying of the area around the hole further prepared the surface for the application of the patch. By removing debris, absorbing moisture, and addressing chemical residues, you created a pristine canvas for the patch, setting the stage for a durable and long-lasting repair.
The application of the patch itself was a critical step in fortifying the damaged area, creating a secure and watertight seal that safeguards the pool against leaks and potential deterioration. By carefully selecting, cutting, and affixing the patch, you ensured a comprehensive and effective solution for the damaged pool liner.
Allowing the patch to cure thoroughly was a proactive investment in the durability and effectiveness of the repair. By refraining from disturbances and patiently allowing the patch to form a strong bond with the pool liner, you contributed to the long-term integrity and functionality of the repaired area.
Finally, the process of refilling the pool marked the completion of the repair journey, bringing the pool back to its optimal operating level and readiness for regular use. By maintaining a controlled refill process and conducting a thorough inspection, you confirmed the successful restoration of the pool's functionality and integrity.
In essence, the meticulous approach to repairing the hole in the swimming pool liner has not only addressed the immediate damage but also contributed to the prolonged life and functionality of your pool. With the repair process completed, you can now look forward to countless hours of relaxation, rejuvenation, and enjoyment in the crystal-clear waters, knowing that your pool is restored to its optimal condition.
Frequently Asked Questions about How To Fix A Hole In A Swimming Pool Liner
Was this page helpful?
At Storables.com, we guarantee accurate and reliable information. Our content, validated by Expert Board Contributors, is crafted following stringent Editorial Policies. We're committed to providing you with well-researched, expert-backed insights for all your informational needs.


0 thoughts on “How To Fix A Hole In A Swimming Pool Liner”