Home>Gardening & Outdoor>Outdoor Recreation & Activities>How To Repair A Trampoline Zipper

Outdoor Recreation & Activities
How To Repair A Trampoline Zipper
Modified: January 9, 2024
Learn how to repair a trampoline zipper with our step-by-step guide. Keep your outdoor recreation and activities equipment in top shape.
(Many of the links in this article redirect to a specific reviewed product. Your purchase of these products through affiliate links helps to generate commission for Storables.com, at no extra cost. Learn more)
Introduction
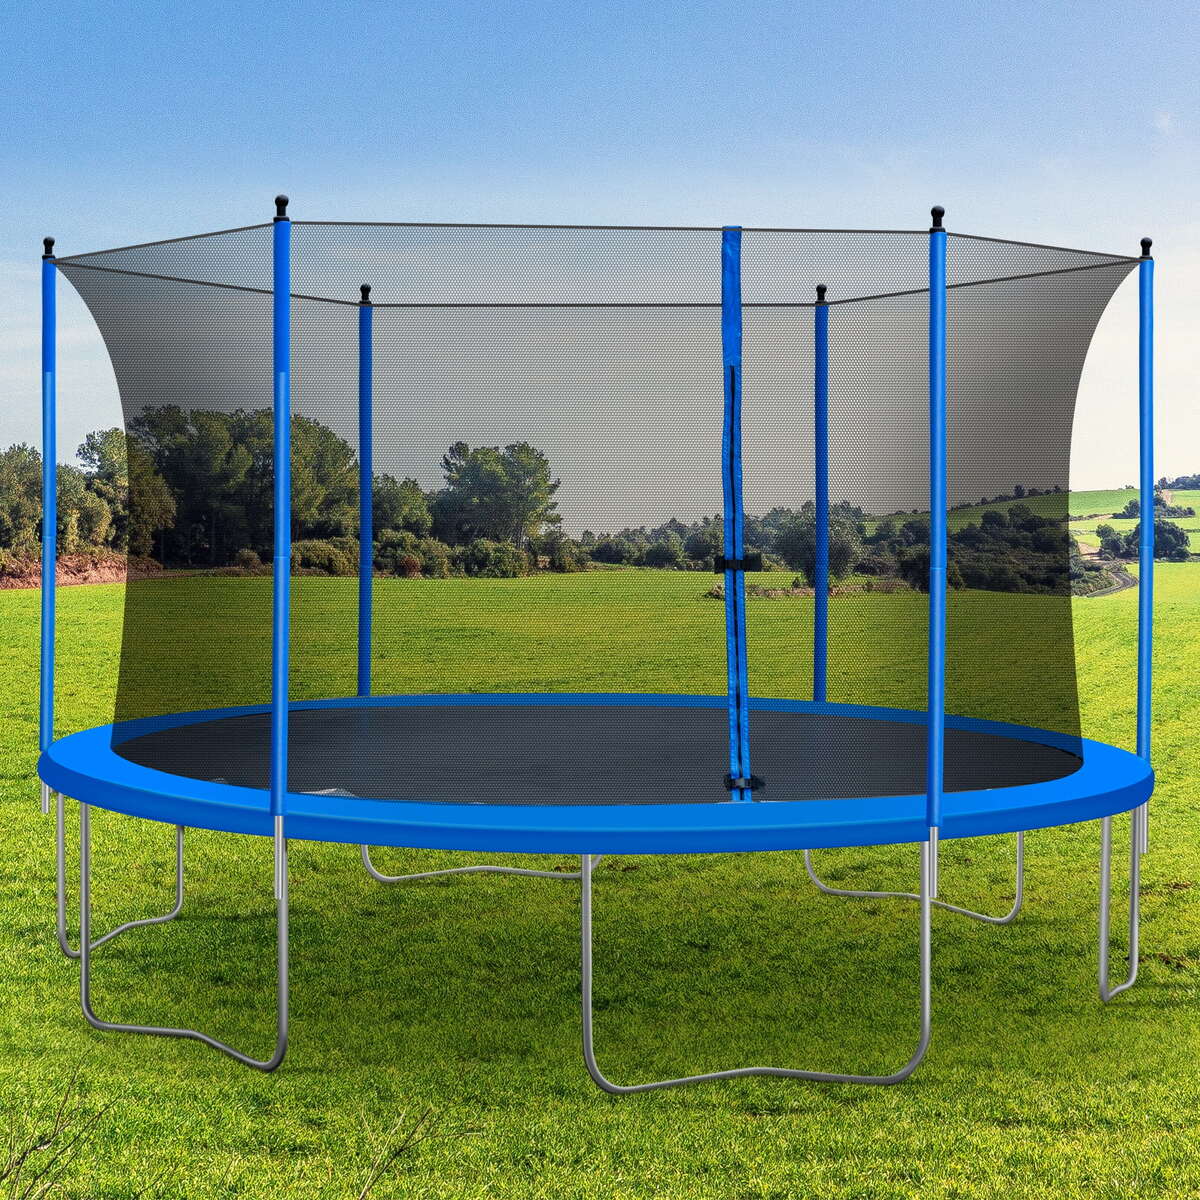
Welcome to the world of trampolining, where the exhilarating bounce meets the great outdoors. Whether you're a seasoned trampoline enthusiast or a newcomer to the sport, one thing is for sure: a well-maintained trampoline is essential for safety and enjoyment. One common issue that trampoline owners encounter is a broken or malfunctioning zipper on the safety enclosure net. A damaged zipper compromises the safety of the trampoline, as it allows easy access for unauthorized use or, worse, accidental falls.
In this guide, we will walk you through the process of repairing a trampoline zipper, ensuring that your trampoline remains a safe and secure space for bouncing fun. You don't need to be a master seamstress or a handyman to accomplish this task. With a few simple tools and a bit of patience, you can restore the functionality of your trampoline zipper and get back to enjoying the countless benefits of trampolining.
So, let's dive into the details and learn how to assess the damage, prepare for repair, and ultimately restore the functionality of your trampoline zipper. By the end of this guide, you'll have the knowledge and skills to tackle this common trampoline maintenance issue with confidence. Let's get started!
Key Takeaways:
- Repairing a trampoline zipper is essential for safety and enjoyment. Thoroughly assess the damage, gather necessary tools, and follow step-by-step instructions to restore functionality and ensure a secure enclosure for bouncing fun.
- Conduct comprehensive testing after repairing the zipper to verify smooth operation, secure closure, and durability. By staying proactive in maintenance, you can prolong the lifespan of the repaired zipper and uphold safety standards for trampoline use.
Read more: How To Open Childproof Zippers
Assessing the Damage
Before diving into the repair process, it’s crucial to thoroughly assess the extent of the damage to the trampoline zipper. Start by inspecting the zipper and the surrounding area for any visible signs of wear, tear, or breakage. Common issues include missing teeth on the zipper, detached zipper pulls, or fabric damage around the zipper track.
Begin by carefully examining the zipper track for any obstructions or debris that may be impeding its functionality. Clear away any dirt, leaves, or other foreign objects that could be interfering with the zipper’s movement. Next, gently attempt to zip and unzip the enclosure net to identify any areas where the zipper gets stuck or fails to close properly.
Inspect the zipper teeth for signs of damage or misalignment. If any teeth are missing, bent, or misshapen, this could be a significant factor in the zipper’s malfunction. Similarly, check the zipper pulls for any signs of breakage or detachment. A missing or broken pull can make it challenging to operate the zipper smoothly.
Additionally, examine the fabric surrounding the zipper for any tears, fraying, or stretching. Damage to the fabric can affect the zipper’s ability to close securely, compromising the safety of the trampoline enclosure. Take note of any areas where the fabric appears weakened or compromised.
Finally, consider the environmental factors that may have contributed to the zipper’s deterioration. Exposure to sunlight, moisture, and temperature fluctuations can all impact the integrity of the zipper and surrounding materials. Understanding the underlying causes of the damage can help you implement effective preventive measures during the repair process.
By thoroughly assessing the damage, you’ll gain valuable insights into the specific issues affecting your trampoline zipper. This knowledge will guide your approach to preparing for and executing the repair, ensuring that you address the root causes of the problem and restore the zipper to optimal functionality.
Preparing for Repair
With a clear understanding of the damage to your trampoline zipper, it’s time to prepare for the repair process. Before diving into the hands-on work, gather the necessary tools and materials to ensure a smooth and efficient repair experience.
Here’s a list of essential items to have on hand:
- Replacement zipper: If the damage to the existing zipper is extensive, you may need to acquire a new zipper of the appropriate size and type for your trampoline enclosure net. Ensure that the replacement zipper matches the specifications of the original one.
- Needle and heavy-duty thread: High-quality, durable thread is essential for securing the new zipper in place. Choose a thread that can withstand the rigors of outdoor use and repetitive opening and closing of the zipper.
- Scissors: Sharp scissors will be necessary for cutting the thread and any excess fabric during the repair process.
- Seam ripper: If the existing zipper needs to be removed before installing the replacement, a seam ripper can facilitate the careful extraction of the old zipper without damaging the surrounding fabric.
- Pins or clips: These will help hold the fabric in place during the repair, ensuring that the zipper is properly aligned and secured before stitching.
- Clean cloth and mild detergent: Before installing the new zipper, clean the area around the zipper track to remove any dirt, grime, or residue that could interfere with the smooth operation of the replacement zipper.
- Protective gloves: Depending on the condition of the existing zipper and surrounding fabric, protective gloves can safeguard your hands during the repair process.
Once you’ve gathered the necessary tools and materials, select a well-lit and spacious area to carry out the repair. Lay out the trampoline enclosure net flat, ensuring that the zipper area is easily accessible and free from obstructions. If possible, enlist the assistance of a friend or family member to provide an extra set of hands and eyes during the repair.
Before proceeding with the repair, take a moment to review the manufacturer’s instructions for installing a replacement zipper, if available. Familiarizing yourself with any specific guidelines or recommendations can streamline the repair process and ensure that the new zipper is installed correctly.
By thoroughly preparing for the repair and assembling the necessary tools and materials, you’ll set the stage for a successful trampoline zipper restoration. With everything in place, you’re ready to embark on the next phase: repairing the zipper and restoring the safety and functionality of your trampoline enclosure net.
To repair a trampoline zipper, first clean the zipper and surrounding area. Then, use a zipper lubricant to help the zipper slide more easily. If the zipper is damaged, consider replacing it with a new one for a long-term solution.
Repairing the Zipper
Now that you’ve assessed the damage and prepared for the repair, it’s time to roll up your sleeves and begin the process of restoring the functionality of your trampoline zipper. Follow these step-by-step instructions to effectively repair the zipper and ensure a secure and reliable closure for the trampoline enclosure net.
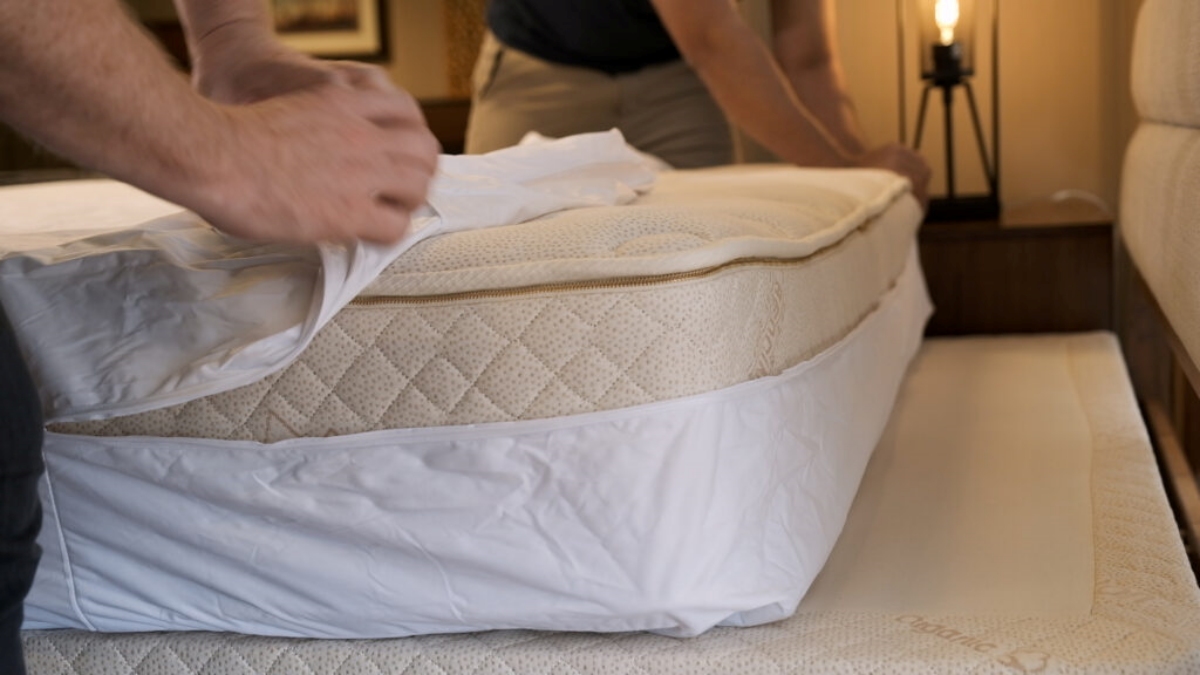
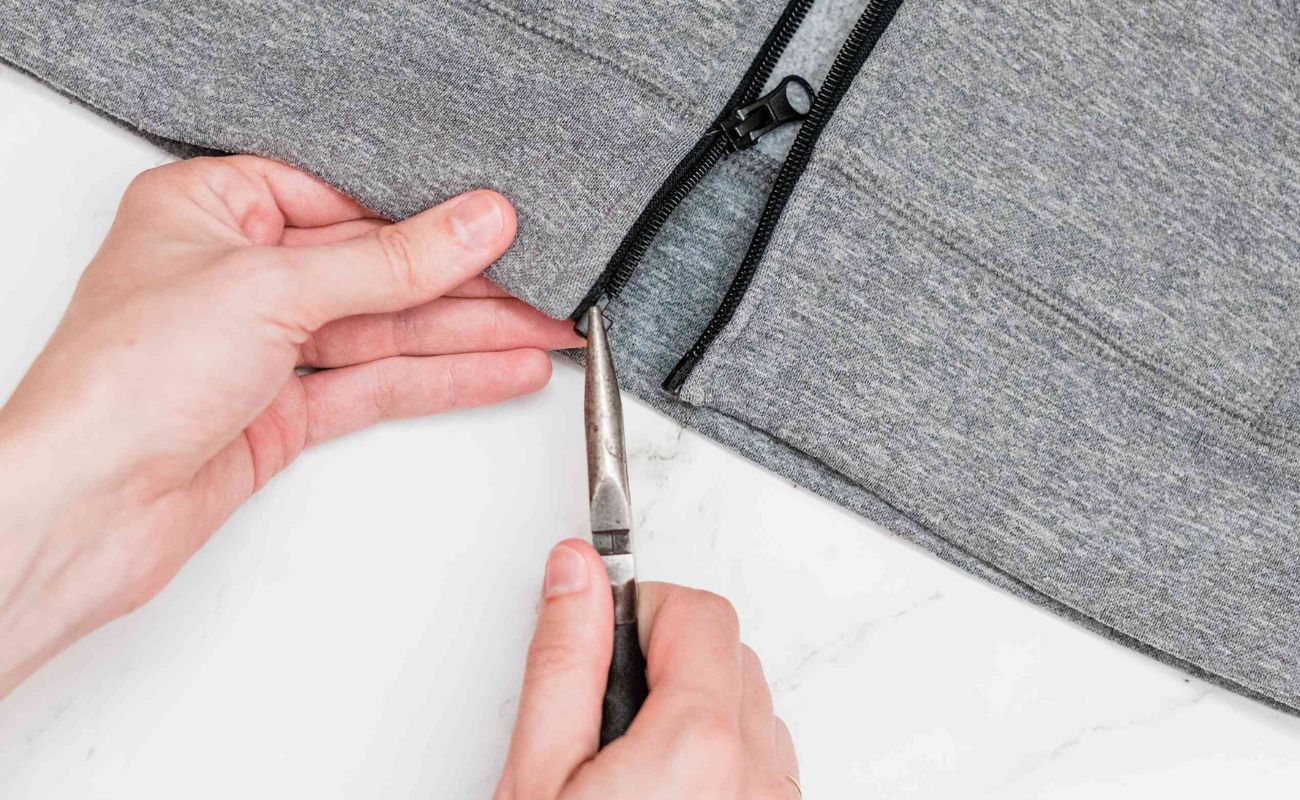
- Remove the Old Zipper: If the existing zipper is damaged beyond repair, carefully use a seam ripper to remove the old zipper from the fabric. Take your time to avoid tearing or stretching the surrounding material. Once the old zipper is removed, clean the zipper track and surrounding area with a damp cloth and mild detergent to ensure a clean surface for the new zipper installation.
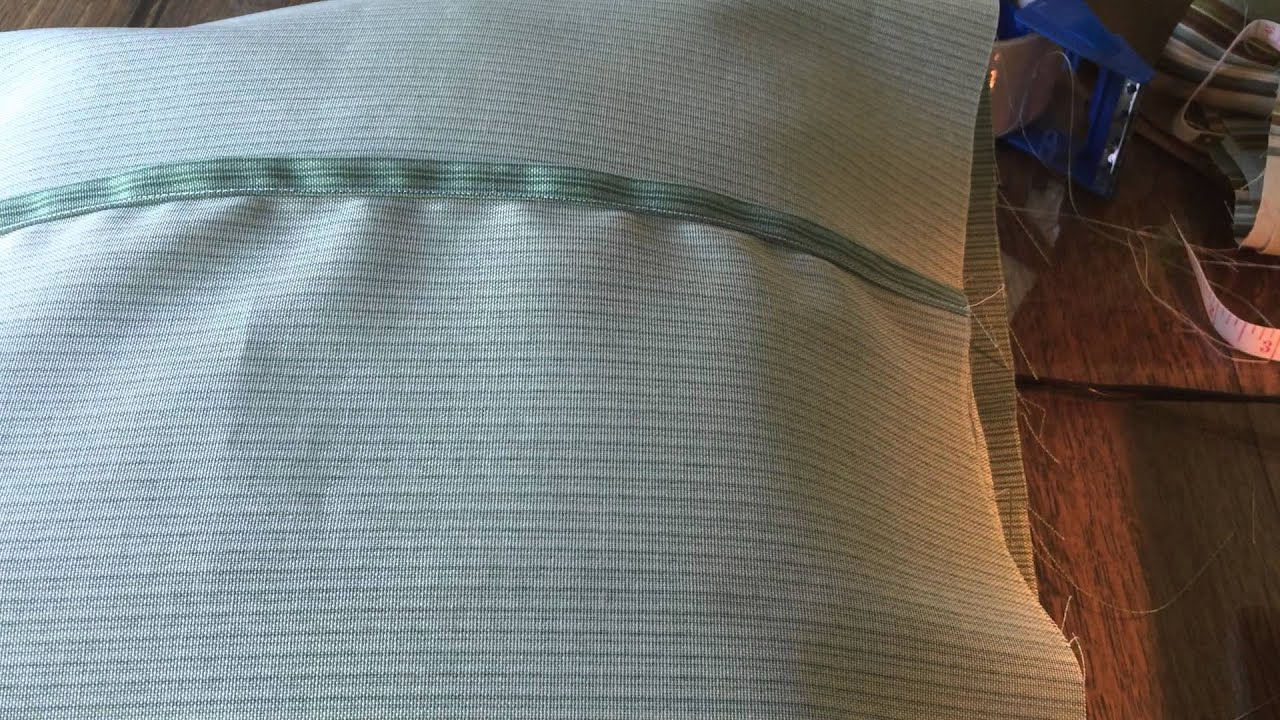
- Position the Replacement Zipper: Lay the replacement zipper along the zipper track, aligning it with the edges of the fabric. Use pins or clips to secure the zipper in place, ensuring that it runs smoothly along the track without any obstructions or misalignments.
- Secure the Zipper in Place: Thread a heavy-duty needle with durable thread, and begin stitching the replacement zipper to the fabric. Use a strong, secure stitch to firmly attach the zipper, ensuring that it can withstand the tension and movement associated with opening and closing the enclosure net.
- Test the Zipper: Once the replacement zipper is securely installed, carefully zip and unzip the enclosure net to test its functionality. Ensure that the zipper moves smoothly along the track and securely closes the opening without any snags or resistance.
- Reinforce the Stitching: To further strengthen the attachment of the zipper, consider adding a second row of stitching along the zipper track. This additional reinforcement can provide extra durability and longevity to the repair, especially in areas prone to high stress and tension.
- Trim Excess Thread and Fabric: After confirming that the zipper operates smoothly and securely, carefully trim any excess thread and fabric to create a clean and tidy finish. Be mindful of the surrounding material, ensuring that the trimmed edges are neat and free from fraying.
Throughout the repair process, maintain a steady and patient approach, paying close attention to the alignment and tension of the zipper and fabric. Take breaks as needed to assess your progress and make any necessary adjustments to ensure a high-quality repair.
By following these steps and exercising care and precision, you can effectively repair the zipper on your trampoline enclosure net, restoring its safety and functionality for countless hours of bouncing enjoyment.
Testing the Zipper
After successfully repairing the zipper on your trampoline enclosure net, it’s essential to conduct thorough testing to ensure that the zipper operates smoothly, securely, and reliably. Testing the zipper will provide peace of mind, knowing that the trampoline remains a safe and secure space for recreational use. Follow these steps to conduct a comprehensive evaluation of the repaired zipper:
- Operate the Zipper: Begin by gently zipping and unzipping the enclosure net to test the functionality of the repaired zipper. Pay close attention to the smoothness of the zipper’s movement and its ability to securely close the opening without any snags or resistance.
- Apply Pressure: To simulate real-world usage, apply gentle pressure to the closed zipper to ensure that it can withstand the forces associated with active trampoline play. The zipper should remain securely closed without any signs of strain or weakness.
- Inspect the Stitching: Carefully examine the stitching that secures the replacement zipper to the fabric. Look for any signs of loose threads, weak spots, or areas that may require additional reinforcement. Ensure that the stitching is uniform, strong, and capable of withstanding the demands of regular use.
- Verify Alignment: Confirm that the zipper remains aligned with the fabric and that it runs smoothly along the zipper track without veering off course or becoming misaligned. A properly aligned zipper ensures consistent and trouble-free operation.
- Test Durability: If possible, enlist the assistance of family members or friends to engage in gentle bouncing activities on the trampoline while the enclosure net is securely closed. Observe how the zipper holds up under the gentle bouncing motion, ensuring that it maintains its integrity and security.
- Conduct Multiple Tests: Repeat the zipper operation and durability tests multiple times to assess its performance under varying conditions. By conducting thorough and repeated tests, you can gain confidence in the reliability and durability of the repaired zipper.
Throughout the testing process, maintain a keen eye for any signs of strain, weakness, or malfunction. Address any issues promptly, making any necessary adjustments or reinforcements to ensure the long-term functionality and safety of the trampoline zipper.
By conducting comprehensive testing, you can rest assured that the repaired zipper meets the highest standards of safety and reliability, providing a secure enclosure for trampoline enthusiasts of all ages. With a successfully repaired zipper, you can look forward to countless hours of bouncing fun in a safe and secure environment.
Read more: How To Open Bean Bag Zipper
Conclusion
Congratulations on successfully repairing the zipper on your trampoline enclosure net! By taking the time to assess the damage, prepare for the repair, and execute the restoration process, you’ve ensured that your trampoline remains a safe and secure space for recreational enjoyment. Whether you’re a trampoline enthusiast yourself or providing a safe play area for your family, the functionality of the zipper is crucial for maintaining a secure enclosure.
Through careful assessment, you gained valuable insights into the specific issues affecting the zipper, allowing you to approach the repair process with confidence and precision. By thoroughly preparing for the repair and assembling the necessary tools and materials, you set the stage for a successful restoration, ensuring that the new zipper is securely installed and capable of withstanding the demands of regular use.
As you conducted thorough testing, you verified the smooth operation, secure closure, and durability of the repaired zipper, providing peace of mind and assurance that the trampoline remains a safe and reliable space for recreational activities. By engaging in multiple tests and inspections, you demonstrated a commitment to upholding the highest standards of safety and functionality for your trampoline enclosure net.
Moving forward, continue to monitor the zipper’s performance and conduct periodic inspections to ensure its ongoing reliability. By staying proactive in your maintenance efforts, you can prolong the lifespan of the repaired zipper and address any potential issues before they compromise the safety and enjoyment of the trampoline.
By mastering the art of trampoline zipper repair, you’ve empowered yourself to tackle common maintenance issues and uphold the safety and functionality of your trampoline enclosure net. With a secure and properly functioning zipper, you can look forward to countless hours of bouncing fun, knowing that the trampoline provides a safe and enjoyable recreational space for all who use it.
Thank you for taking the time to prioritize the repair and maintenance of your trampoline, ensuring that it remains a source of outdoor recreation and enjoyment for years to come. Happy bouncing!
Frequently Asked Questions about How To Repair A Trampoline Zipper
Was this page helpful?
At Storables.com, we guarantee accurate and reliable information. Our content, validated by Expert Board Contributors, is crafted following stringent Editorial Policies. We're committed to providing you with well-researched, expert-backed insights for all your informational needs.


0 thoughts on “How To Repair A Trampoline Zipper”