Home>Gardening & Outdoor>Outdoor Recreation & Activities>How To Dig In A Trampoline
Outdoor Recreation & Activities
How To Dig In A Trampoline
Modified: August 25, 2024
Learn the best techniques for digging in a trampoline to ensure safety and stability. Join the fun of outdoor recreation and activities with confidence.
(Many of the links in this article redirect to a specific reviewed product. Your purchase of these products through affiliate links helps to generate commission for Storables.com, at no extra cost. Learn more)
Introduction
Are you ready to take your trampoline experience to the next level? Digging a trampoline into the ground can transform your backyard into a more aesthetically pleasing and safer space for exhilarating bounces. By integrating the trampoline into the ground, you not only reduce its visual impact but also enhance its safety and accessibility. This comprehensive guide will walk you through the process of digging in a trampoline, ensuring that you have all the necessary information to embark on this exciting project.
So, let's dive into the details and discover the steps required to successfully dig in a trampoline. But before we get started, it's crucial to emphasize the importance of safety precautions to prevent any potential mishaps during the installation process. Let's jump in and explore the safety measures that should be prioritized before commencing this project.
Key Takeaways:
- Prioritize safety by wearing protective gear, checking for utilities, and working in favorable weather conditions. This ensures a secure and accident-free trampoline installation process.
- Choose a level, spacious, and accessible location for your sunken trampoline, and meticulously prepare the area for a visually appealing and durable installation.
Read more: How To Dig For A Patio
Safety Precautions
Before embarking on the project of digging in a trampoline, it’s paramount to prioritize safety. Ensuring a safe environment for both yourself and others is crucial throughout the entire process. Here are some essential safety precautions to consider:
- Protective Gear: Prior to initiating any physical work, it’s imperative to equip yourself with the appropriate protective gear. This includes wearing sturdy gloves, safety goggles, and durable footwear to safeguard against potential injuries.
- Check for Utilities: Before digging, it’s vital to contact your local utility companies to identify and mark the locations of any underground utilities, such as gas, water, and electrical lines. This precautionary measure helps prevent accidental damage to essential services and ensures a safe digging process.
- Weather Conditions: Be mindful of the weather conditions when planning the installation. Avoid working in extreme heat, heavy rain, or strong winds, as these conditions can pose hazards and impede the progress of the project.
- Supervision: If you’re involving others in the process, especially if it’s a family project, ensure that everyone is aware of safety protocols and is supervised, particularly when using tools and machinery.
- Proper Tools: Utilize the appropriate tools for the job, and ensure they are in good working condition. This includes shovels, a level, measuring tape, and any other equipment necessary for digging and installing the trampoline.
By prioritizing safety precautions, you can significantly minimize the risk of accidents and ensure a secure and successful trampoline installation process. Now that we’ve highlighted the crucial safety measures, let’s delve into the next step: choosing the right location for your sunken trampoline.
Choosing the Right Location
When it comes to digging in a trampoline, selecting the ideal location is a pivotal decision that directly impacts the safety and functionality of the installation. Here are essential factors to consider when choosing the right location:
- Level Ground: Opt for a spot in your yard that offers relatively level ground. This ensures stability and reduces the need for extensive ground leveling during the installation process.
- Sufficient Space: Assess the area to ensure that there is ample space around the trampoline for unrestricted movement. A clearance of at least 3 feet around the trampoline is recommended to prevent any potential collisions with surrounding objects or obstacles.
- Natural Surroundings: Consider the natural surroundings, such as trees and shrubbery, and choose a location that minimizes potential hazards from falling debris or overhanging branches. This helps maintain a safe environment for trampoline use.
- Sun Exposure: Evaluate the sun exposure in different areas of your yard. Select a location that offers a balance of sun and shade to provide comfortable trampolining conditions throughout the day.
- Accessibility: Ensure that the chosen location allows easy access to the trampoline. This includes convenient entry and exit points, especially if the trampoline will be used by children.
By carefully considering these factors, you can identify the optimal location for your sunken trampoline, setting the stage for a successful and enjoyable installation. Once you’ve selected the perfect spot, the next step involves preparing the area for the trampoline’s placement. Let’s explore the essential preparations required before digging in the trampoline.
Preparing the Area
Before commencing the actual digging process, it’s essential to prepare the designated area meticulously to ensure a seamless and efficient installation. Here are the crucial steps involved in preparing the area for the trampoline:
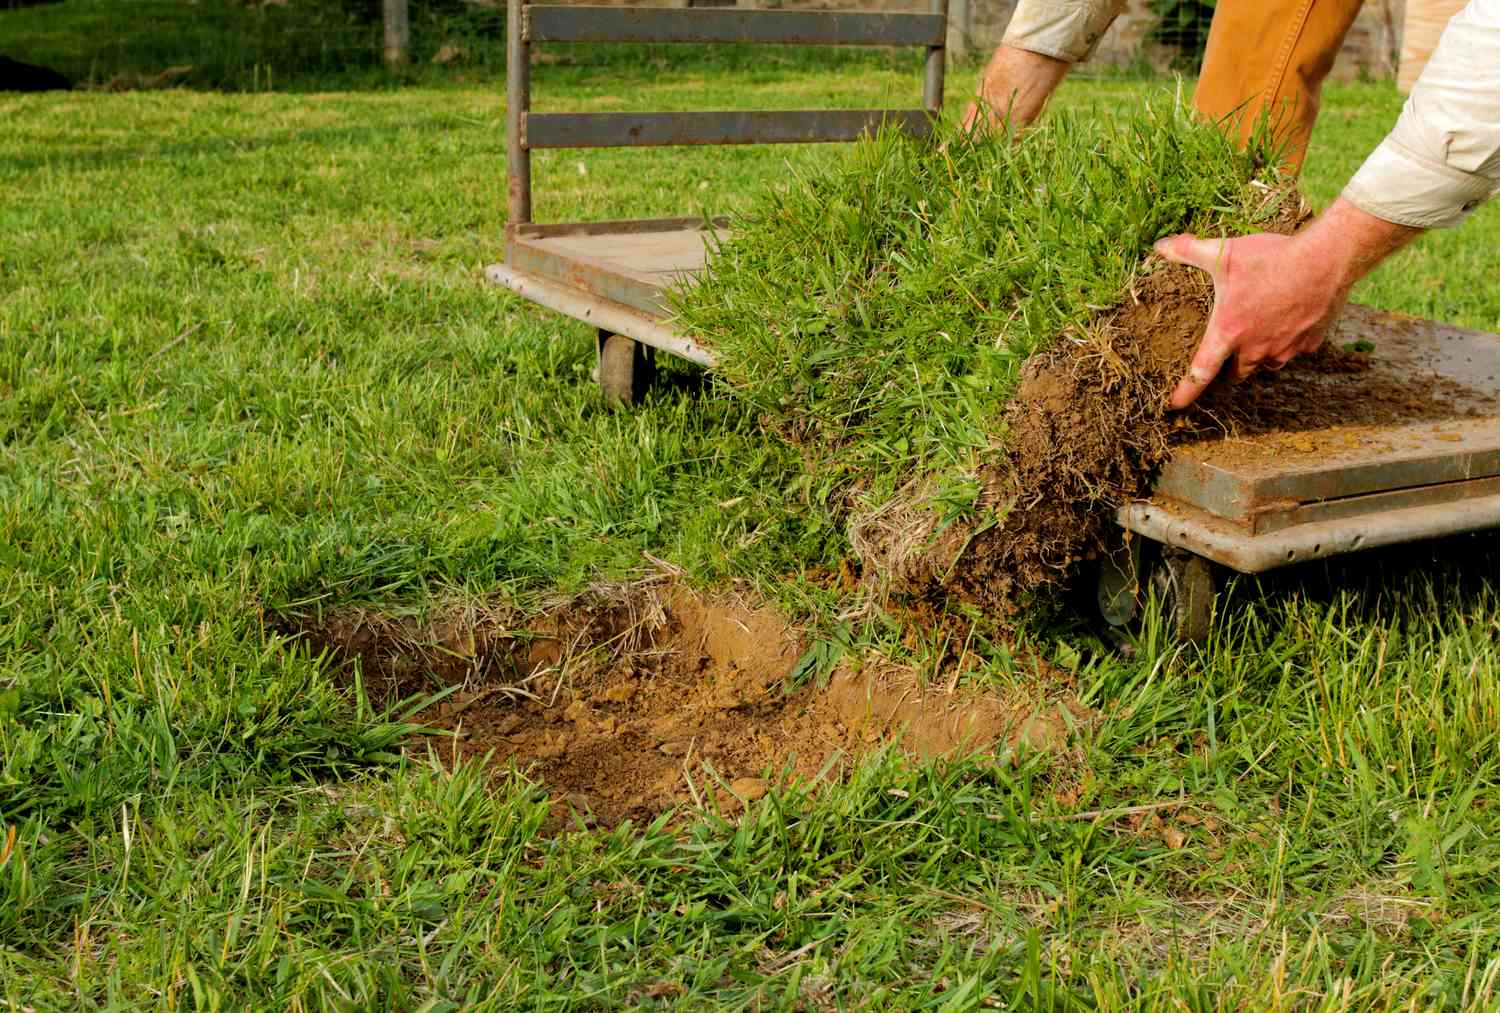
- Clearing the Site: Begin by clearing the chosen location of any debris, rocks, or obstructions that could impede the installation process. This includes removing any surface vegetation, such as grass or plants, to create a clean and level area for the trampoline.
- Marking the Perimeter: Use marking paint or stakes to outline the perimeter of the trampoline’s designated area. This visual guide will help maintain precision during the digging process and ensure that the hole is appropriately sized for the trampoline’s dimensions.
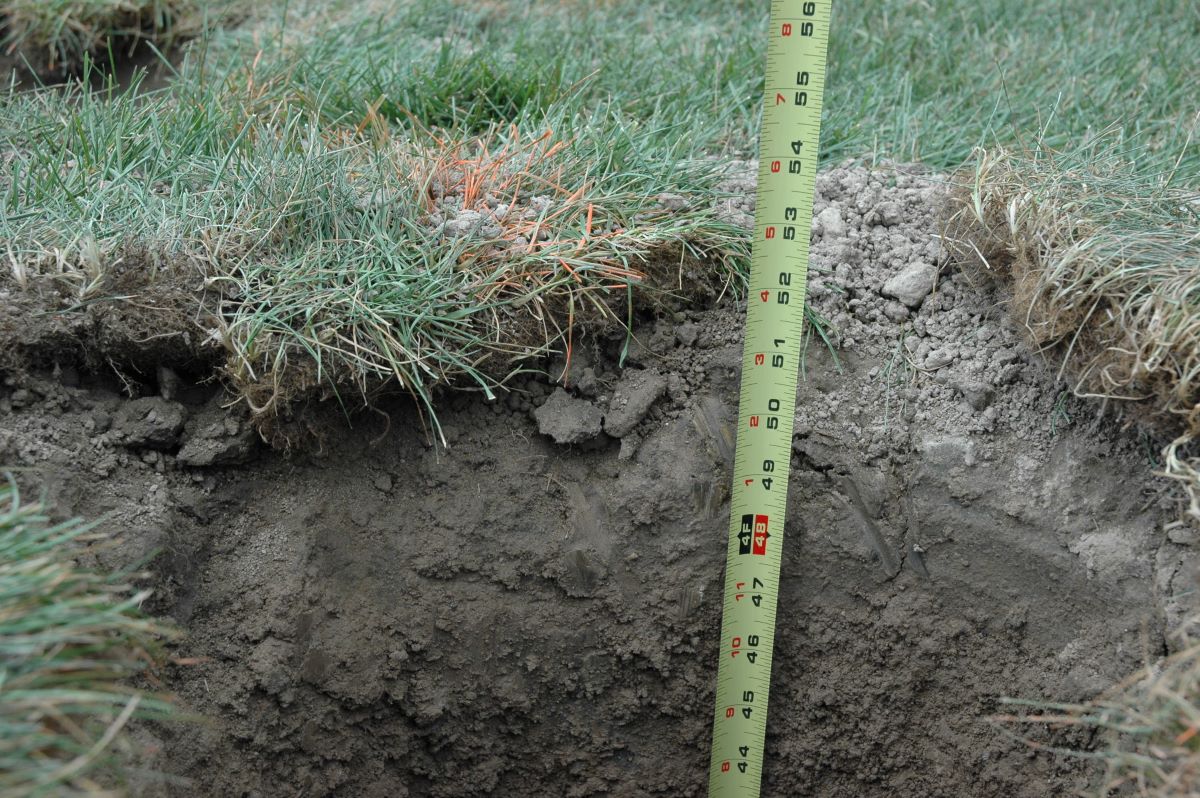
- Measuring Depth: Determine the required depth for the trampoline installation based on the manufacturer’s guidelines. Measure and mark the depth at various points within the outlined area to ensure uniformity during the digging process.
- Assessing Drainage: Evaluate the area’s drainage to prevent water accumulation within the trampoline pit. If the location is prone to water pooling, consider incorporating drainage solutions, such as gravel or perforated pipes, to facilitate proper water runoff.
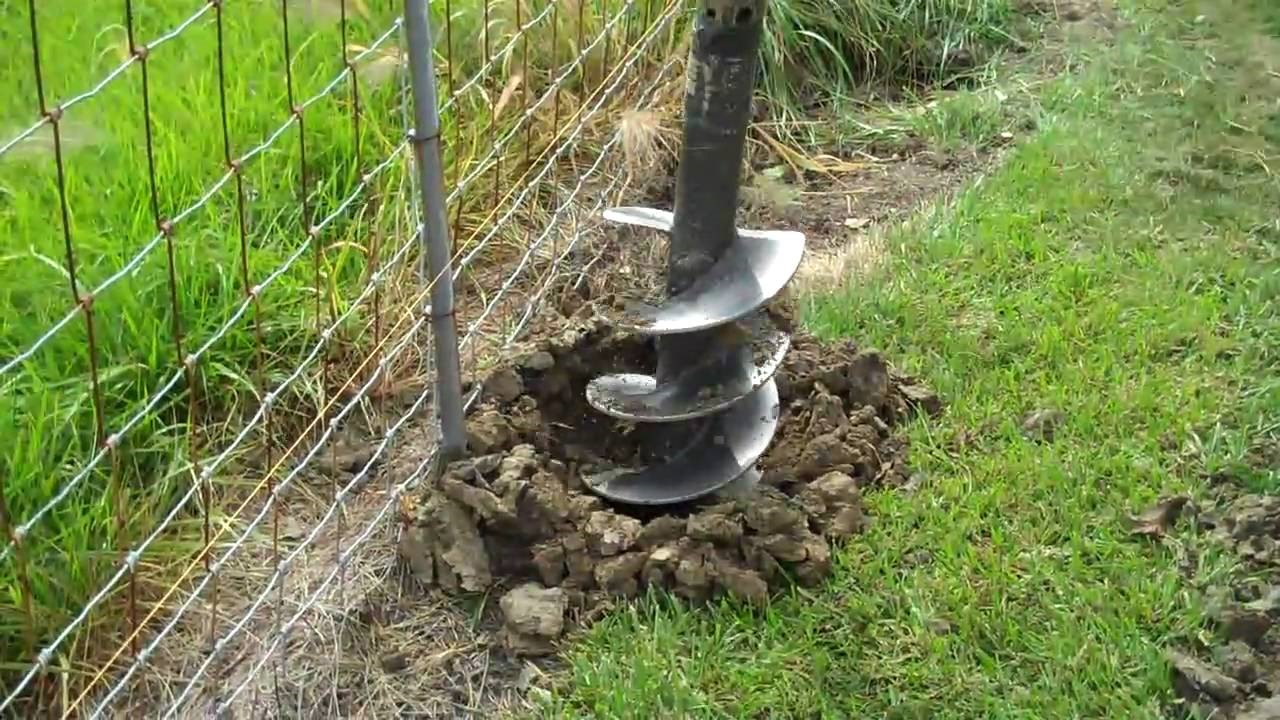
- Inspecting Soil Composition: Assess the soil composition to identify any potential challenges during the digging process. Soil that is predominantly rocky or compacted may require additional effort and specialized tools for excavation.
By meticulously preparing the area for the trampoline installation, you can streamline the subsequent steps and ensure a well-executed and durable outcome. With the site meticulously prepared, you’re now ready to embark on the exciting phase of digging the hole for the trampoline. Let’s delve into the essential guidelines for this pivotal stage of the installation process.
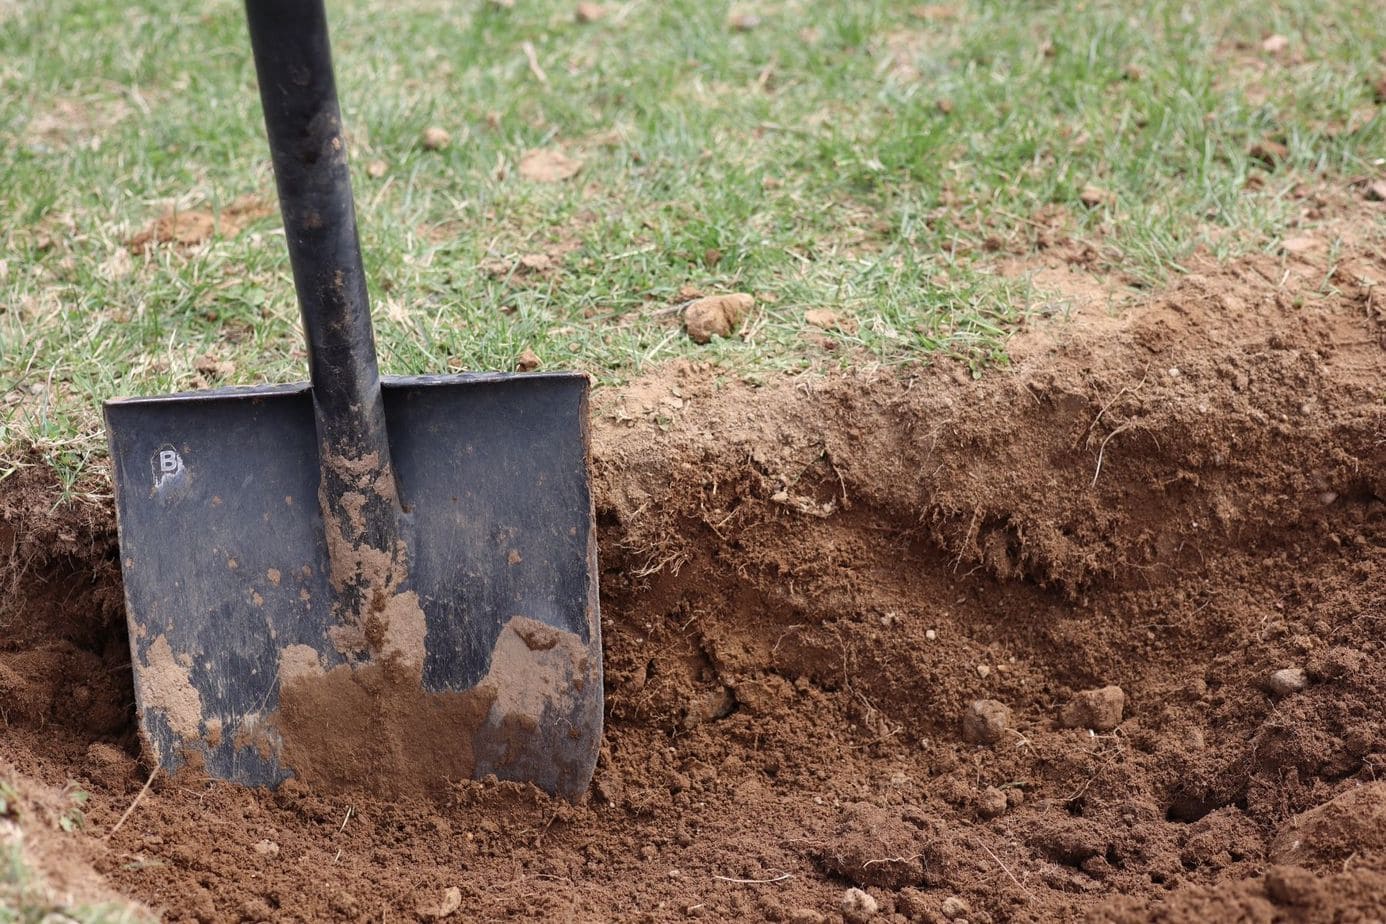
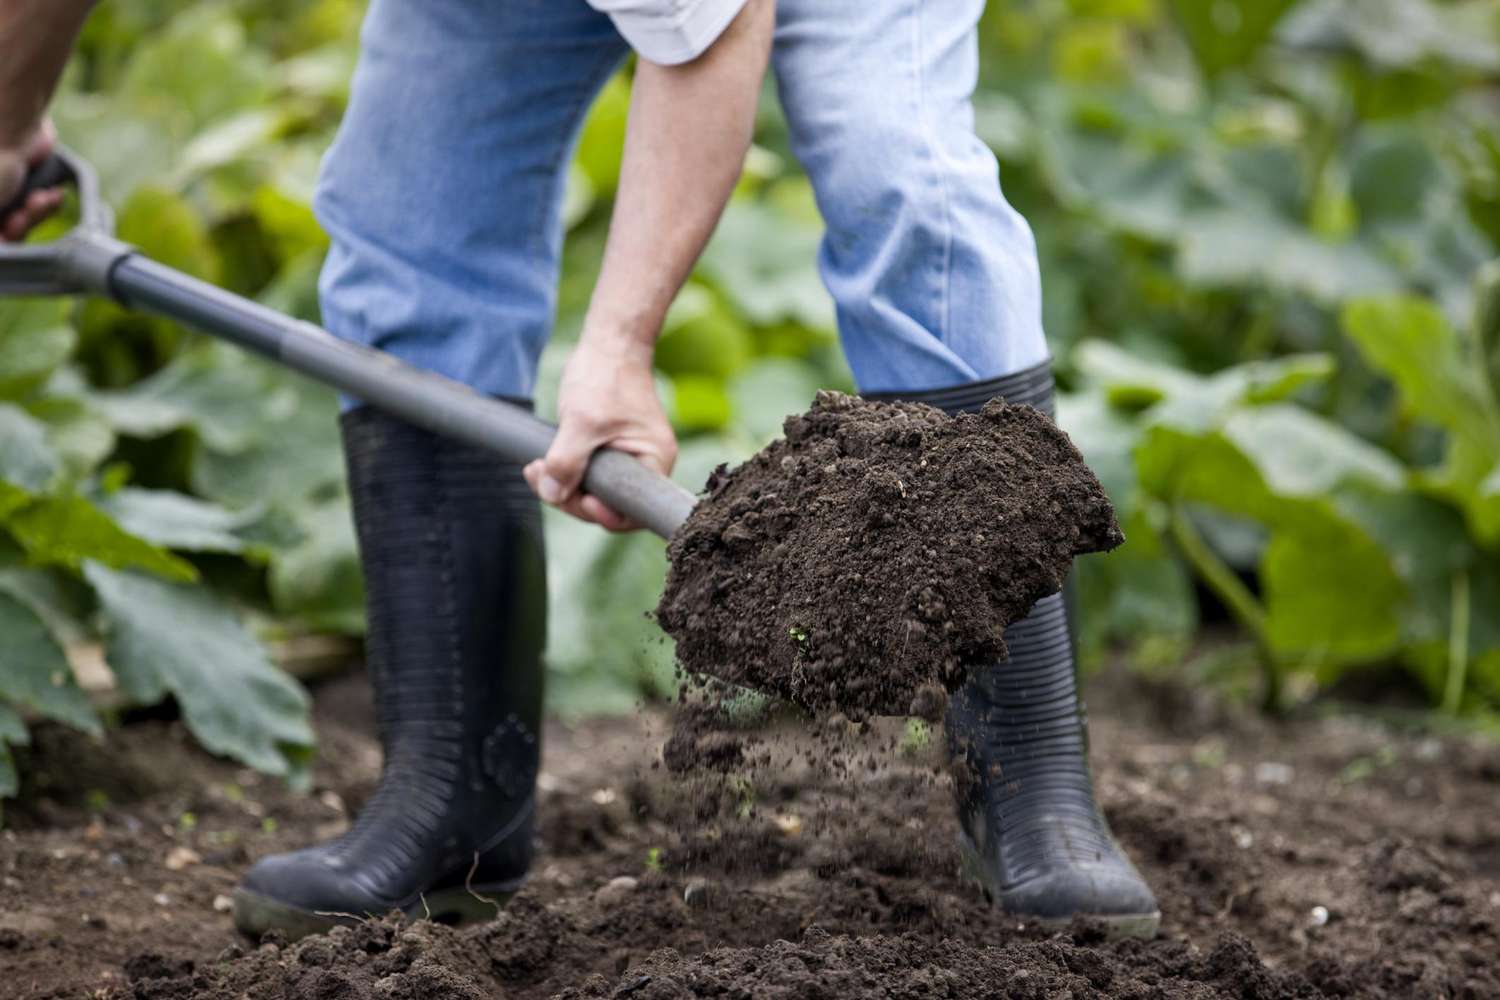
Always make sure to clear the area underneath the trampoline before digging. Use a shovel to carefully remove the soil, making sure to keep the ground level. Be cautious of any rocks or roots that may be in the way.
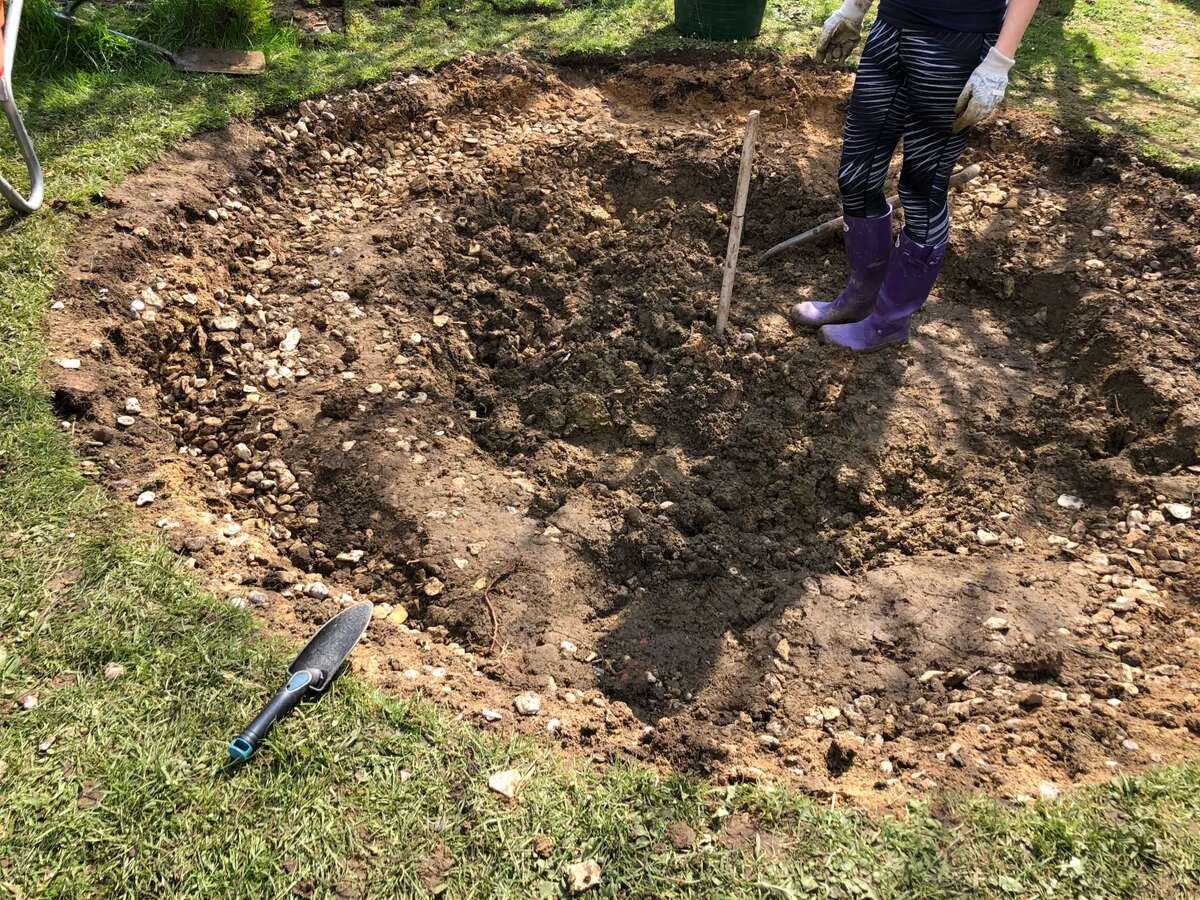
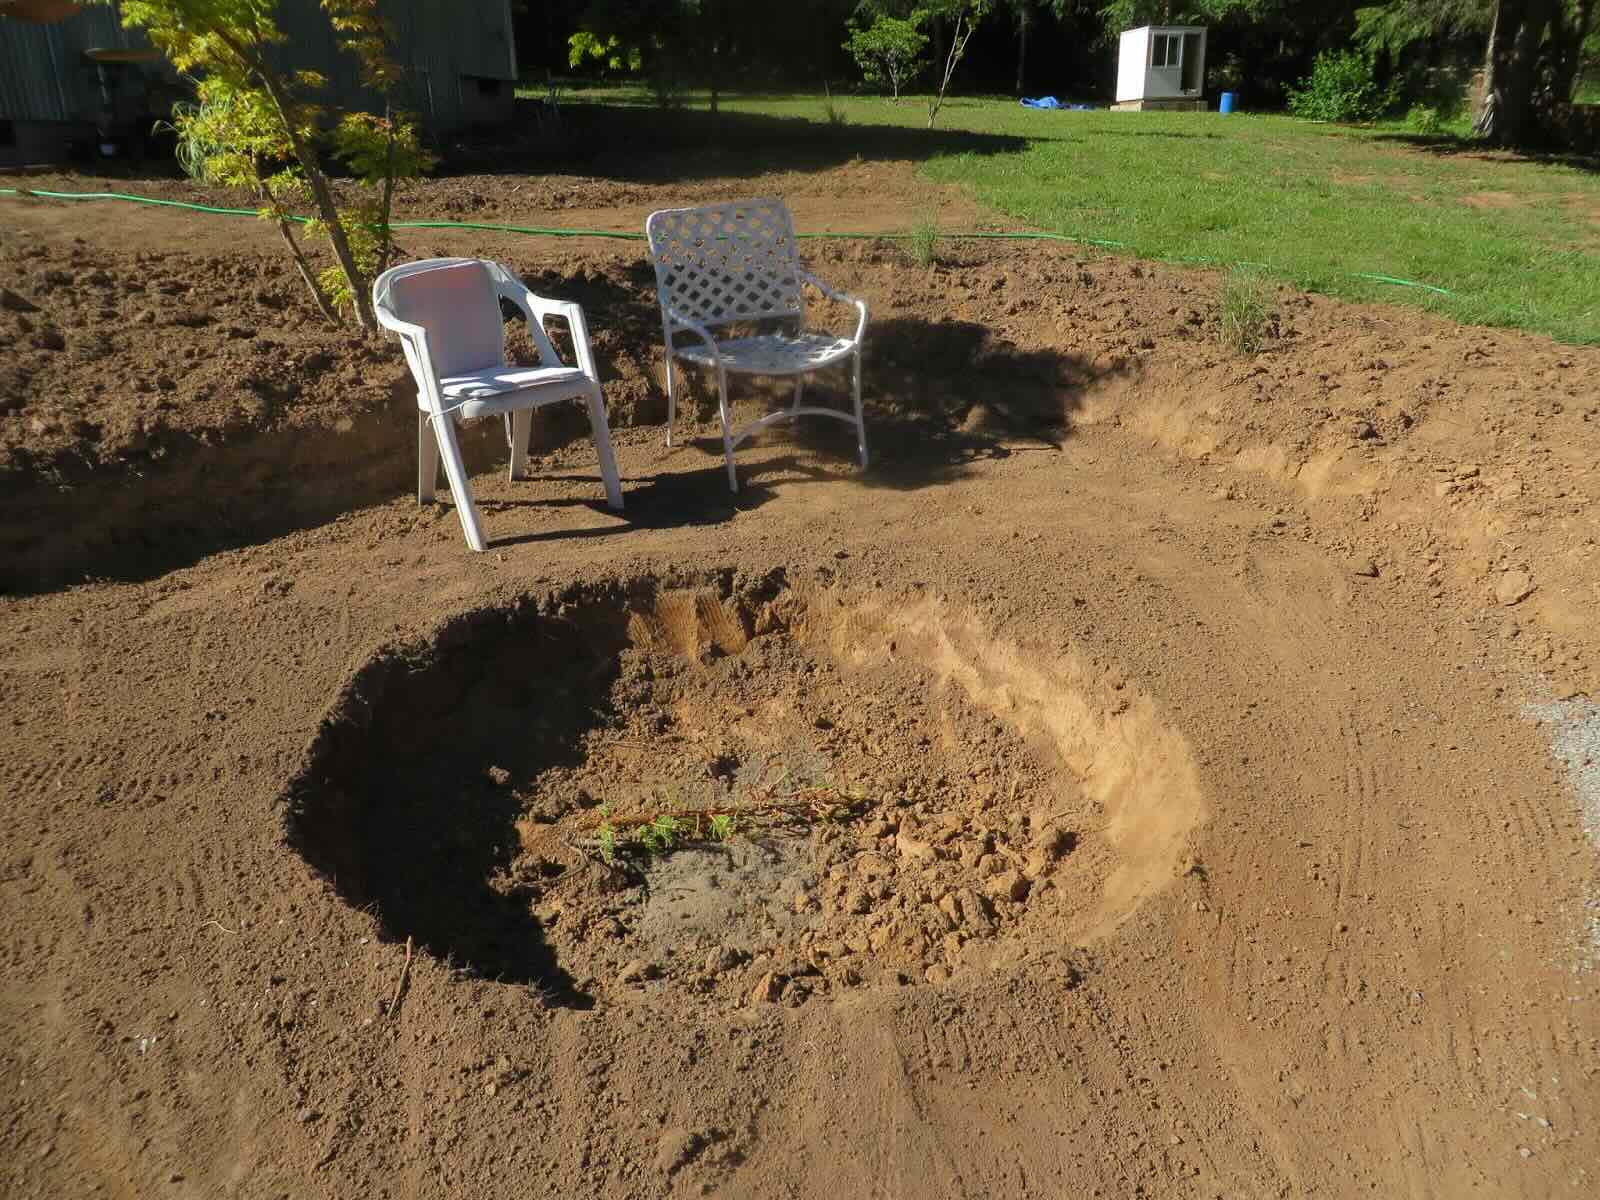
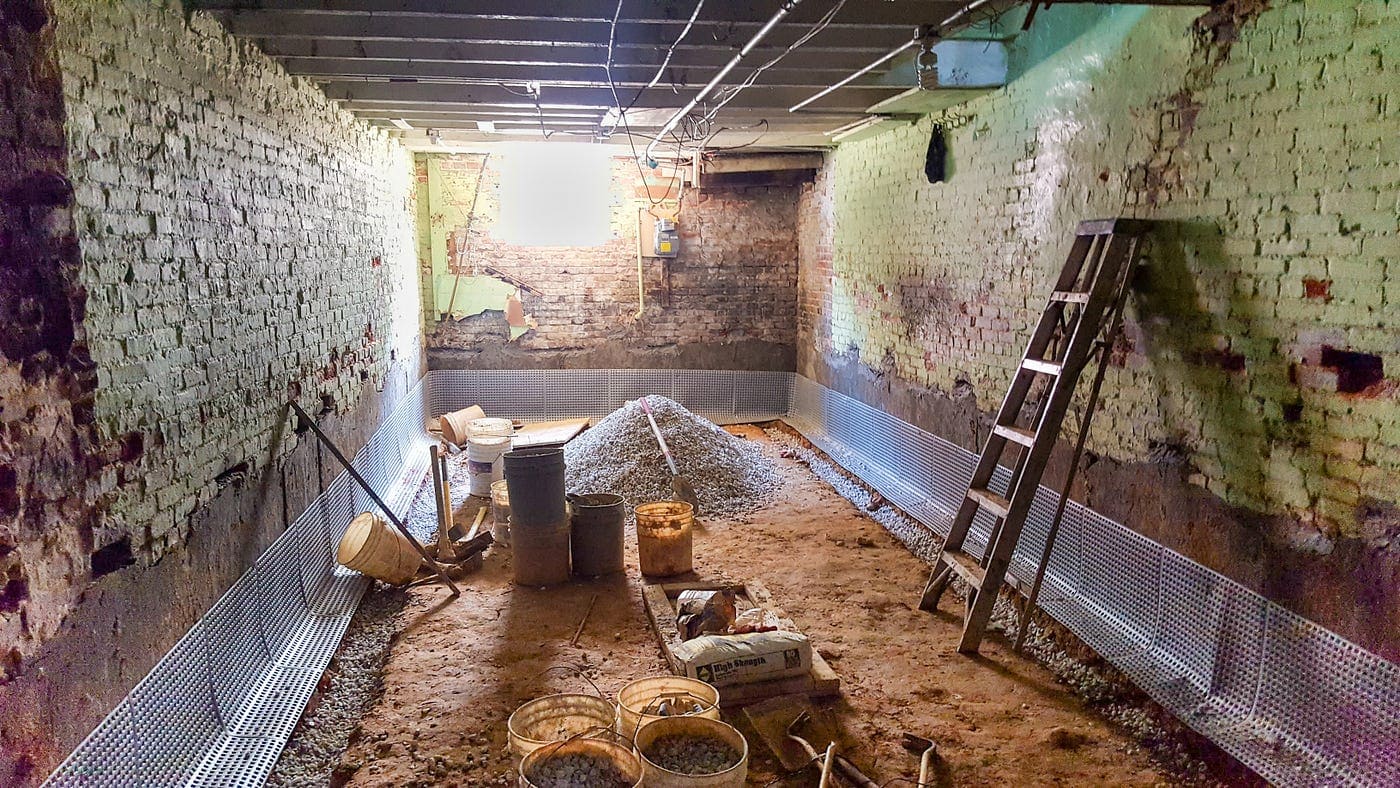
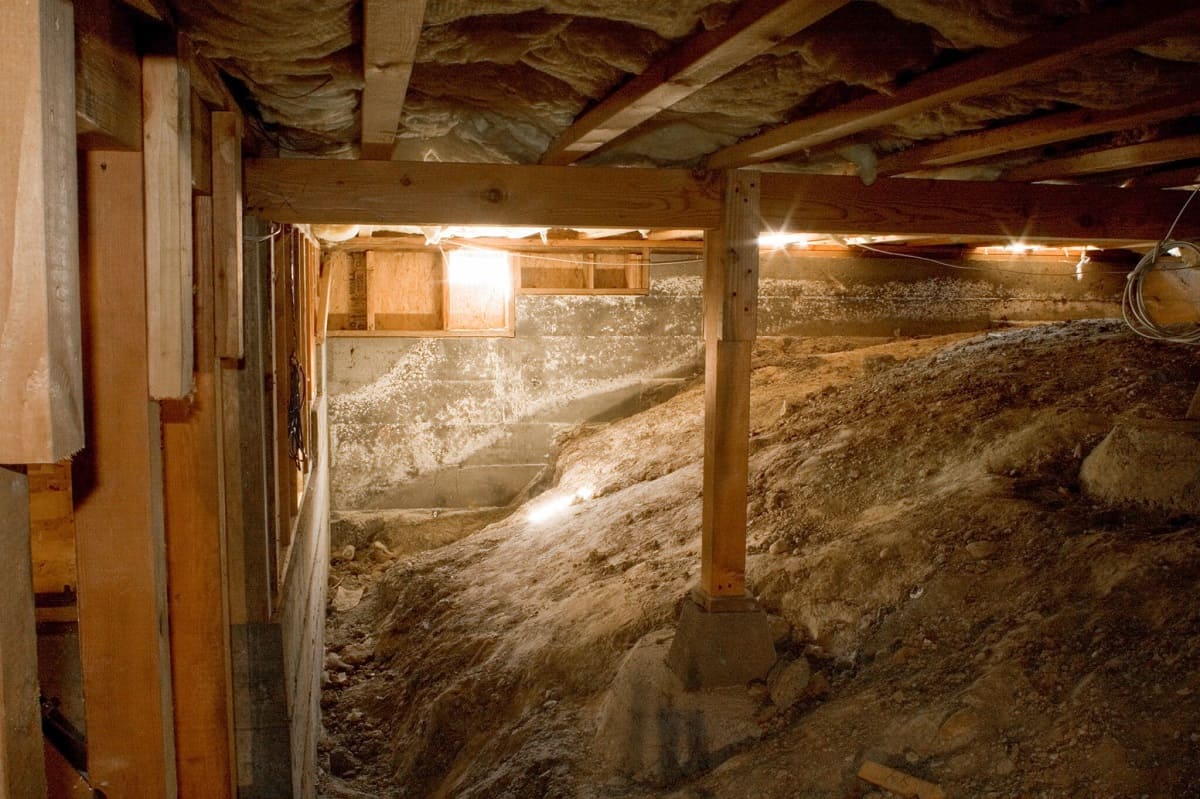
Digging the Hole
As you transition into the physical phase of the trampoline installation, the process of digging the hole requires precision, patience, and attention to detail. Here’s a comprehensive guide to effectively excavating the hole for your sunken trampoline:
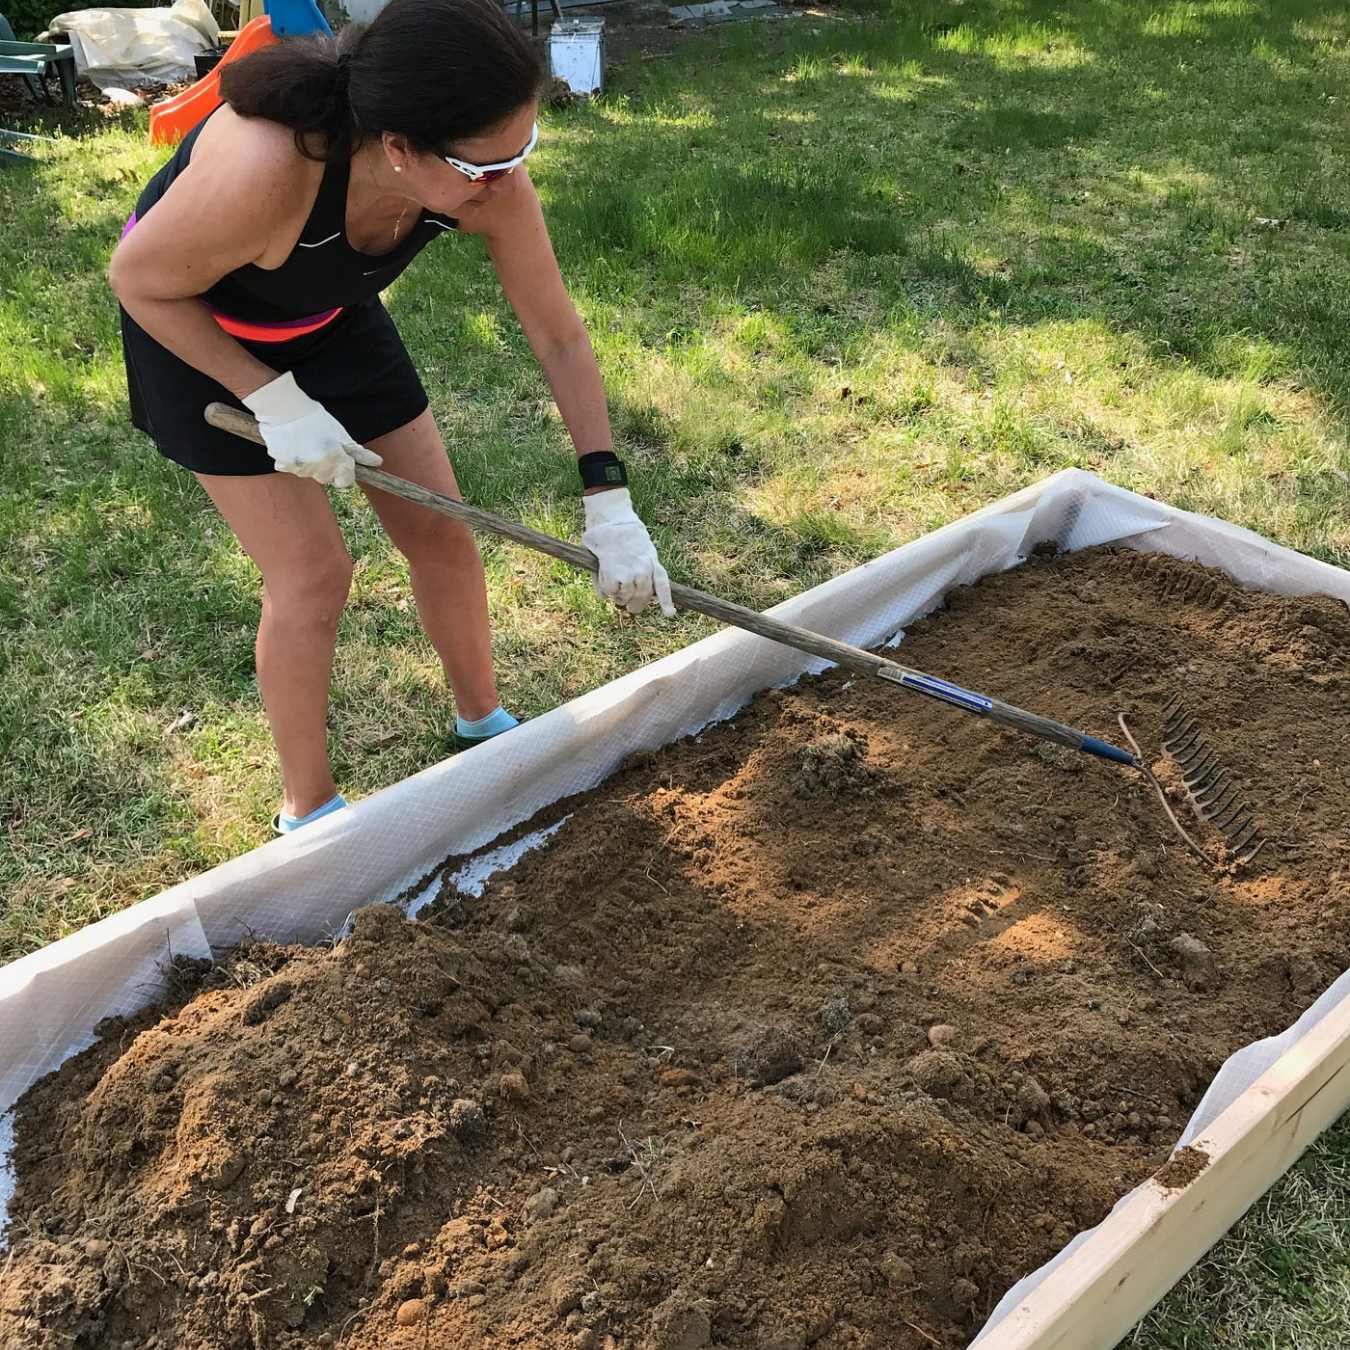
- Commence Excavation: Using a sturdy shovel, begin digging within the marked perimeter, gradually removing the soil to the specified depth. Exercise caution to maintain the integrity of the outlined area and ensure uniform depth throughout the excavation.
- Check Depth Consistency: Periodically measure the depth of the hole at various points to verify uniformity. This step is crucial to ensure that the trampoline sits level and stable once installed.
- Manage Soil Disposal: As you excavate, designate a designated area for the displaced soil. Depending on the quantity of soil and local regulations, you may need to arrange for its proper disposal or repurposing.
- Address Soil Challenges: If you encounter rocky or compacted soil, consider utilizing specialized tools, such as a pickaxe or soil auger, to effectively excavate the area. Take care to remove any debris or obstructions that could affect the trampoline’s placement.
- Smooth the Base: Once the desired depth is achieved, carefully smooth the base of the hole to create a level surface for the trampoline. This step is vital for ensuring a stable and secure foundation for the trampoline’s installation.
- Inspect for Debris: Thoroughly inspect the excavated hole for any remaining debris, roots, or rocks that could compromise the trampoline’s positioning. Clear the area of any obstructions to facilitate a seamless installation process.
By meticulously following these guidelines, you can effectively excavate the hole for your sunken trampoline, laying the groundwork for the subsequent phase of installing the trampoline within the prepared area. With the hole meticulously excavated, you’re now ready to proceed with the installation of the trampoline. Let’s explore the essential steps involved in this exciting phase of the project.
Read more: How To Install A No Dig Fence
Installing the Trampoline
With the hole meticulously excavated, the installation phase marks a significant step in bringing your sunken trampoline project to fruition. Here’s a detailed guide to effectively installing the trampoline within the prepared area:
- Positioning the Trampoline: Carefully lower the trampoline into the excavated hole, ensuring that it aligns with the dimensions and orientation of the prepared area. Enlist the assistance of others to maneuver the trampoline into place, maintaining precision and caution throughout the process.
- Leveling the Trampoline: Utilize a spirit level to verify that the trampoline is positioned evenly within the hole. Adjust the trampoline’s placement as needed to achieve a level orientation, which is crucial for optimal performance and safety.
- Securing the Trampoline: Once the trampoline is positioned correctly, secure it in place according to the manufacturer’s guidelines. This may involve anchoring the trampoline to the ground or utilizing specialized securing mechanisms to prevent movement and ensure stability.
- Verifying Accessibility: Confirm that the trampoline’s entry and exit points are easily accessible and unobstructed. This is particularly important for ensuring safe and convenient usage, especially for younger individuals who will be enjoying the trampoline.
- Inspecting the Surroundings: Evaluate the immediate surroundings of the installed trampoline to ensure that there are no potential hazards or obstructions that could compromise its safety or functionality. Clear the area of any debris or objects that could interfere with trampoline usage.
By meticulously following these steps, you can effectively install the trampoline within the prepared area, setting the stage for a safe, enjoyable, and visually appealing addition to your backyard. With the trampoline securely in place, the final phase involves filling the hole to seamlessly integrate the trampoline into its sunken position. Let’s explore the essential guidelines for this concluding stage of the installation process.
Filling the Hole
As the installation of the trampoline nears completion, the process of filling the hole is crucial for seamlessly integrating the trampoline into its sunken position. Here’s a comprehensive guide to effectively filling the hole and completing the installation:
- Backfilling with Soil: Begin by carefully backfilling the excavated hole around the trampoline with the displaced soil. Gradually distribute the soil to ensure uniform coverage, taking care to avoid displacing or damaging any components of the trampoline.
- Leveling the Surrounding Area: Once the hole is filled, meticulously level the surrounding area to create a seamless transition from the trampoline to the surrounding ground. This enhances the visual appeal of the installation and ensures a safe and accessible environment.
- Compact the Soil: Utilize a tamper or suitable compacting tool to firmly pack the backfilled soil around the trampoline. This process enhances stability and minimizes the risk of soil settling over time, contributing to a durable and secure installation.
- Assess Drainage: Verify that the filled area facilitates proper drainage to prevent water accumulation around the trampoline. This is essential for maintaining the integrity of the installation and preventing potential water-related issues.
- Inspect for Debris: Thoroughly inspect the filled area for any remaining debris, rocks, or roots that could affect the trampoline’s surroundings. Clear any obstructions to ensure a clean and hazard-free environment.
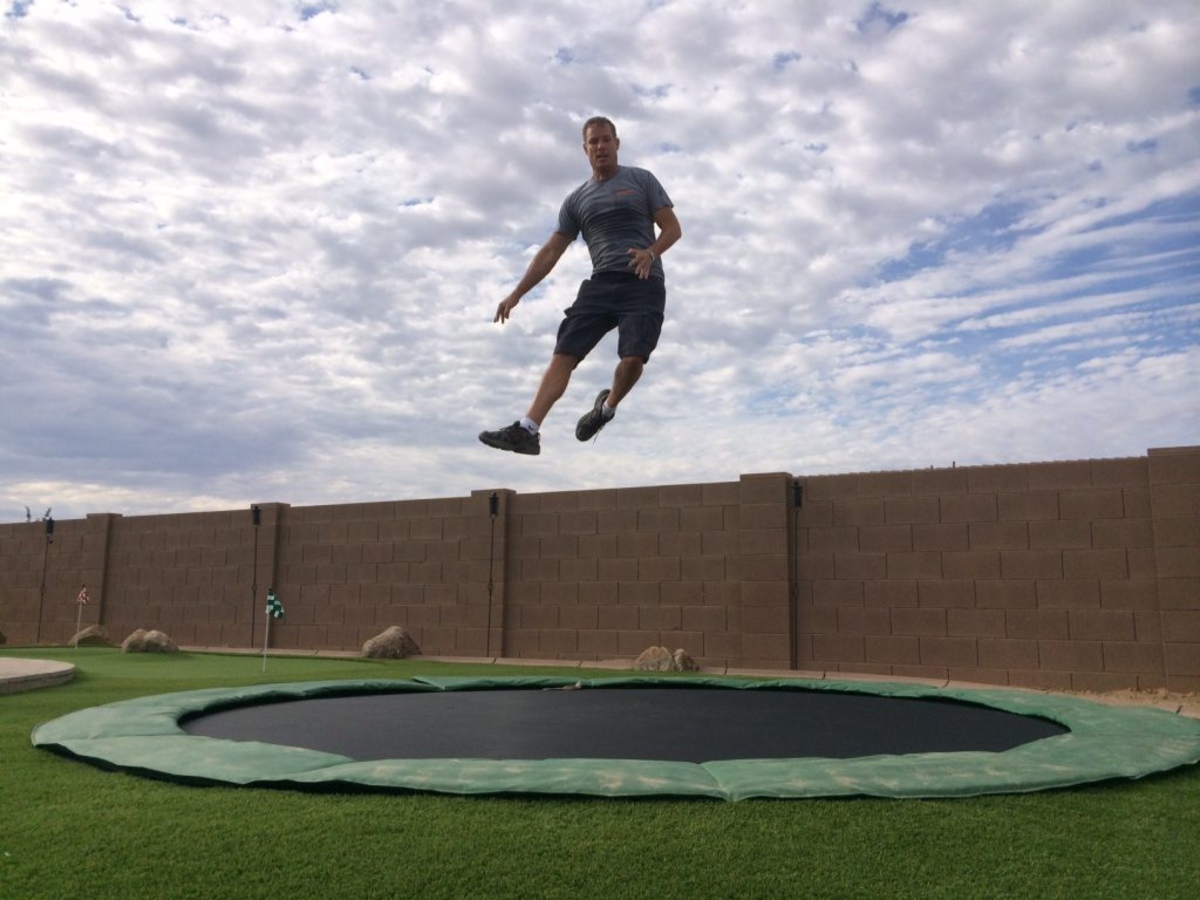
By meticulously following these guidelines, you can effectively fill the hole and seamlessly integrate the trampoline into its sunken position, culminating in a visually appealing, safe, and functional addition to your outdoor space. With the installation process now complete, let’s reflect on the key considerations and celebrate the successful transformation of your backyard with a sunken trampoline.
Conclusion
Congratulations on successfully completing the installation of your sunken trampoline! By following the comprehensive guidelines outlined in this guide, you’ve transformed your backyard into a safer, visually appealing, and enjoyable space for trampolining adventures. As you reflect on this transformative project, it’s essential to consider the key takeaways and celebrate the accomplishments of this endeavor.
First and foremost, prioritizing safety precautions throughout the installation process is paramount. By equipping yourself with the necessary protective gear, ensuring proper supervision, and adhering to safety protocols, you’ve created a secure environment for trampoline usage, promoting peace of mind for all users.
Furthermore, the meticulous selection of the installation location and thorough preparation of the area have contributed to the success of the project. By choosing a level, spacious, and accessible location and meticulously preparing the site, you’ve laid the foundation for a durable and visually appealing installation.
The precise excavation of the hole and the careful installation of the trampoline have resulted in a seamlessly integrated addition to your outdoor space. The attention to detail during the installation process, including leveling the trampoline and securing it in place, has culminated in a stable and visually pleasing outcome.
Finally, the meticulous filling of the hole has completed the integration of the trampoline into its sunken position, ensuring a seamless transition from the trampoline to its surroundings. The careful backfilling, leveling, and compacting of the soil have contributed to the visual appeal and longevity of the installation.
As you admire the sunken trampoline in its new home, take pride in the dedication and effort invested in creating a safe, visually appealing, and enjoyable space for trampolining adventures. Whether it’s for family fun, fitness pursuits, or leisurely bouncing, your sunken trampoline stands as a testament to your commitment to enhancing your outdoor recreation and activities.
Now, it’s time to embrace the exhilarating experiences and cherished moments that await in your transformed backyard. So, go ahead, bounce to your heart’s content, and relish the joy of your sunken trampoline – a captivating addition that embodies the spirit of outdoor fun and recreation.
Frequently Asked Questions about How To Dig In A Trampoline
Was this page helpful?
At Storables.com, we guarantee accurate and reliable information. Our content, validated by Expert Board Contributors, is crafted following stringent Editorial Policies. We're committed to providing you with well-researched, expert-backed insights for all your informational needs.

0 thoughts on “How To Dig In A Trampoline”