Home>Gardening & Outdoor>Outdoor Structures>How Can I Move A Shed

Outdoor Structures
How Can I Move A Shed
Modified: October 30, 2024
Learn how to move a shed safely and efficiently with our expert tips and techniques for outdoor structures. Get step-by-step guidance for relocating your shed.
(Many of the links in this article redirect to a specific reviewed product. Your purchase of these products through affiliate links helps to generate commission for Storables.com, at no extra cost. Learn more)
Introduction
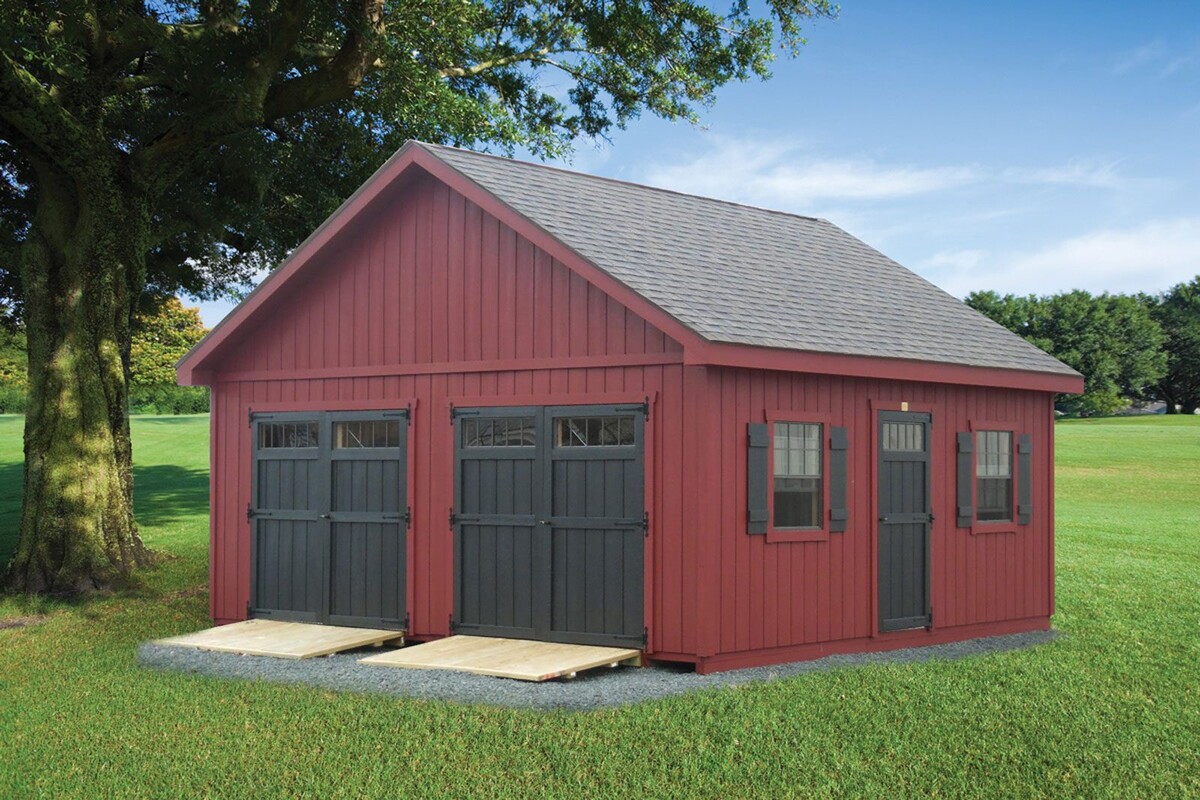
So, you've decided it's time to move your shed. Whether you're relocating to a new home, rearranging your backyard, or simply looking for a change of scenery, moving a shed is a task that requires careful planning and execution. This comprehensive guide will walk you through the essential steps to successfully relocate your shed without causing damage to the structure or your property.
Moving a shed may seem like a daunting endeavor, but with the right preparation and know-how, it can be a manageable project. From assessing the shed's current condition to disassembling, transporting, and reassembling it at the new location, each phase of the process demands attention to detail and a strategic approach. By following the guidance provided in this article, you'll gain the confidence and knowledge needed to tackle this project effectively.
So, let's roll up our sleeves and delve into the intricacies of moving a shed. Whether you're a seasoned DIY enthusiast or a novice looking to expand your skill set, this guide is designed to equip you with the insights and techniques essential for a successful shed relocation. Let's get started!
Key Takeaways:
- Moving a shed requires careful assessment, disassembly, transportation, and reassembly. Thorough planning and attention to detail are essential for a successful relocation.
- Whether using a DIY approach or professional services, safety and precision are crucial when moving a shed. The process demands patience, organization, and proactive preparation for the new site.
Read more: Who Can Move A Storage Shed Near Me
Assessing the Shed
Before embarking on the task of moving your shed, it’s crucial to conduct a thorough assessment of the structure. Start by inspecting the overall condition of the shed, paying close attention to any signs of wear and tear, rot, or damage. Assess the integrity of the foundation, flooring, walls, roof, and any attached components such as windows, doors, and trim.
Take note of any structural weaknesses, such as rotting wood, rusted metal components, or compromised support beams. It’s essential to address these issues before attempting to move the shed to prevent further damage during the relocation process.
Next, consider the size and weight of the shed. Measure its dimensions and estimate its weight to determine the equipment and manpower needed for the move. Additionally, assess the accessibility of the current location and the new site. Take into account any obstacles, such as trees, fences, or other structures, that may impede the movement of the shed.
Furthermore, evaluate the condition of the surrounding ground at both locations. Ensure that the terrain is level and stable to facilitate the disassembly, transport, and reassembly of the shed. If necessary, make preparations to address any uneven or soft ground to prevent complications during the relocation process.
Finally, consider the utilities connected to the shed, such as electricity, water, or gas. If the shed is powered or plumbed, make arrangements to safely disconnect and reestablish these utilities at the new site. This may require the assistance of qualified professionals to ensure compliance with safety regulations and building codes.
By thoroughly assessing the shed and its surroundings, you’ll gain valuable insights that will inform the planning and execution of the relocation process. This proactive approach will help you anticipate and address potential challenges, ultimately contributing to a smoother and more successful shed move.
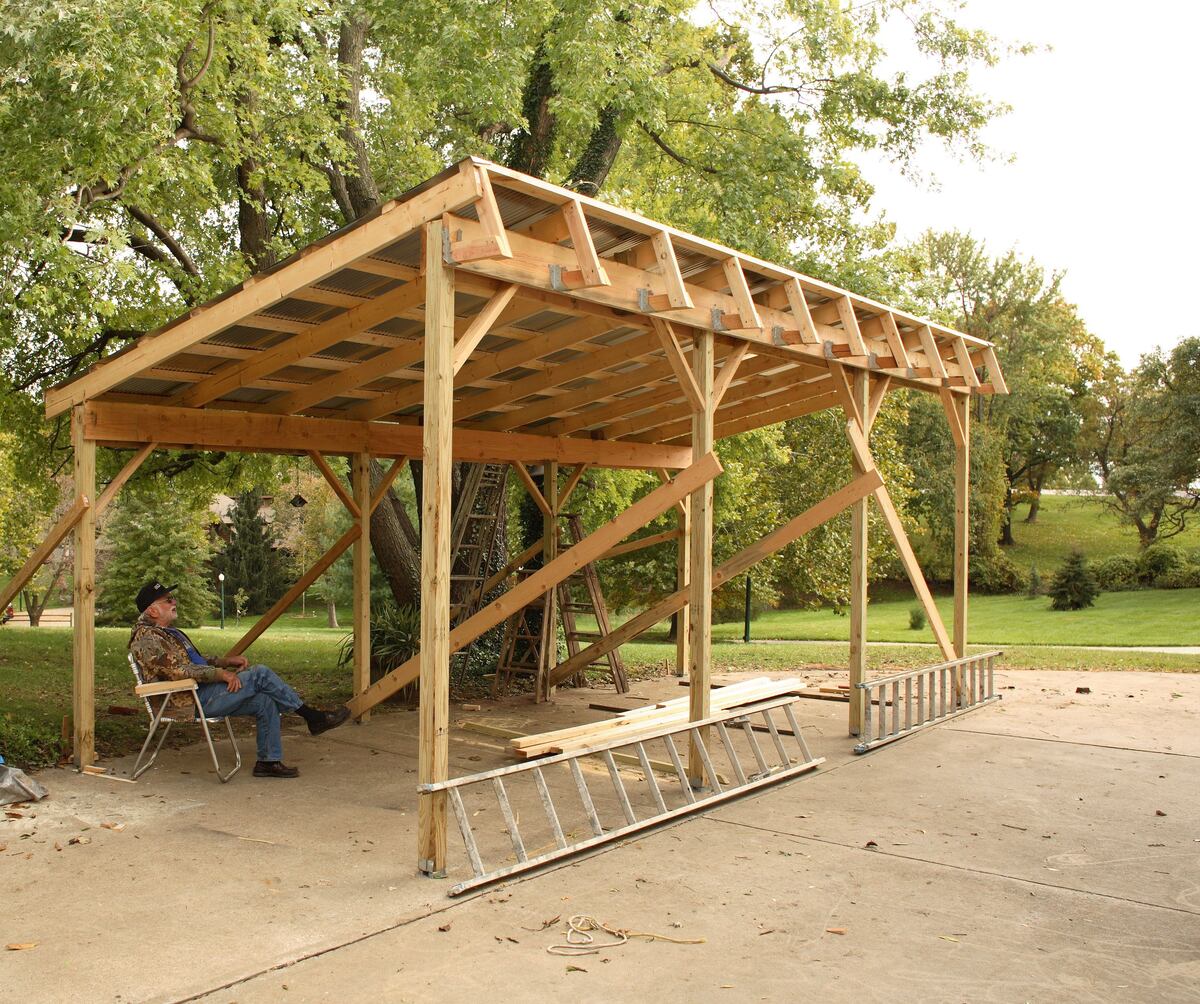
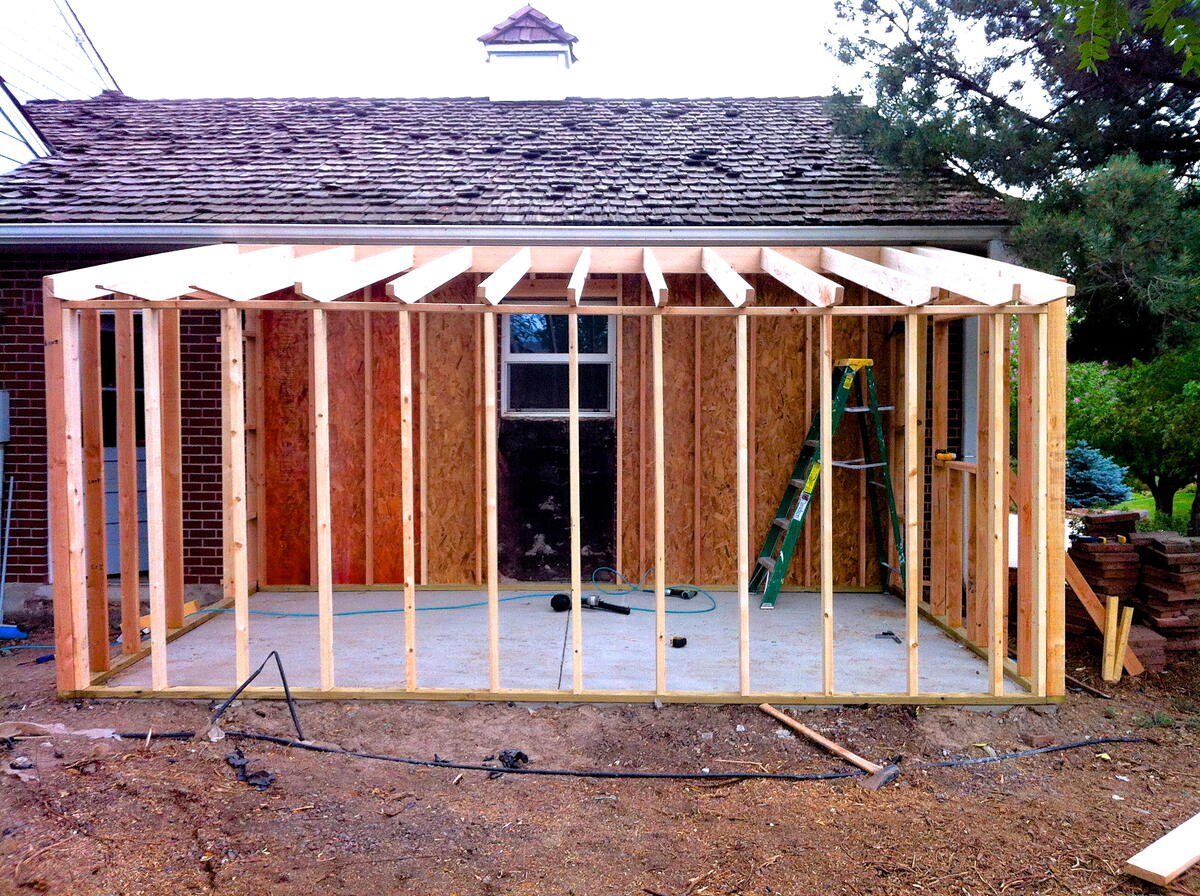
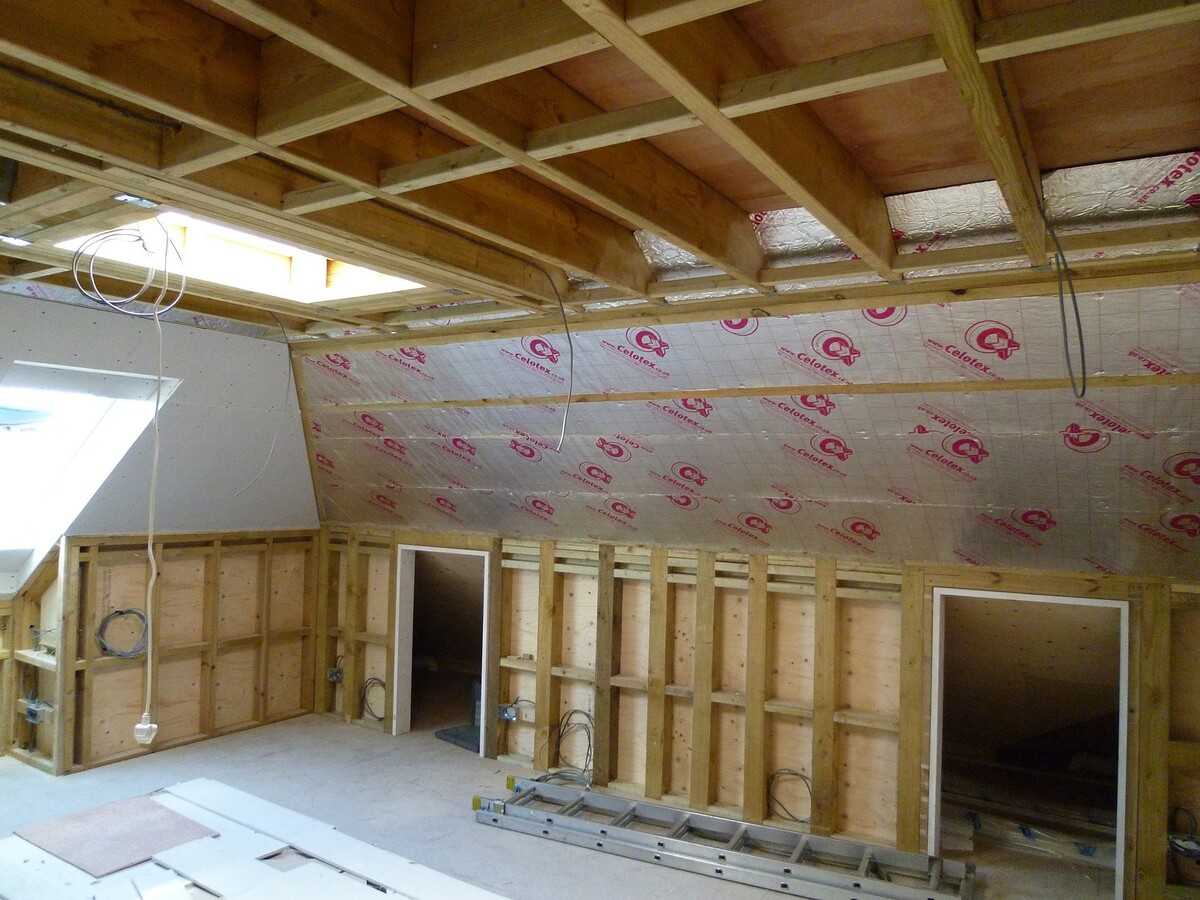
Disassembling the Shed
Disassembling the shed is a critical phase of the relocation process that requires careful attention to detail and a methodical approach. Before initiating the disassembly, gather the necessary tools and equipment, including screwdrivers, wrenches, hammers, pry bars, and a power drill. Additionally, have plenty of storage containers, bags, and labels on hand to organize and store the shed’s components during transport.
Start by removing any external attachments, such as gutters, downspouts, and exterior lighting fixtures. Next, carefully detach doors, windows, and any other removable components, ensuring that they are labeled and securely stored to prevent damage or loss. If the shed is equipped with electricity or plumbing, enlist the assistance of qualified professionals to safely disconnect these utilities.
Once the external components have been removed, focus on the shed’s structure. Begin by disassembling the roof, taking care to remove roofing materials, trusses, and any associated hardware. Proceed to dismantle the walls and flooring, unscrewing or unbolting the sections and carefully separating them to avoid splintering or breakage.
As you disassemble the shed, take note of the arrangement and orientation of the components, as this will facilitate the reassembly process at the new site. Keep hardware, such as screws, bolts, and nails, organized and clearly labeled to ensure that the shed can be reconstructed with precision and stability.
Throughout the disassembly, prioritize safety by enlisting the help of others when handling heavy or unwieldy components. Use proper lifting techniques and protective gear to minimize the risk of injury. Additionally, be mindful of any hazardous materials, such as treated lumber or chemical residues, and take appropriate precautions for their safe handling and disposal.
By approaching the disassembly process with care and thoroughness, you’ll set the stage for a successful shed relocation. Taking the time to methodically disassemble and organize the shed’s components will streamline the subsequent phases of the move and contribute to a seamless reassembly at the new location.
Preparing the New Site
Before transporting the shed to its new location, it’s essential to prepare the site to ensure a smooth and efficient reassembly process. Start by clearing the designated area of any debris, vegetation, or obstacles that could impede the placement of the shed. If the ground is uneven or unstable, consider grading the site or adding a foundation to create a level and secure base for the shed.
Take into account the shed’s dimensions and layout to determine the optimal placement on the new site. Ensure that there is adequate space around the shed for maintenance, access, and aesthetic considerations. If the shed will be situated on a concrete pad or pavers, verify that the dimensions and orientation align with the structure’s footprint.
Consider the accessibility of the new site, particularly if the shed will be delivered on a trailer or flatbed truck. Clear any pathways or entry points to accommodate the transportation and positioning of the shed. If necessary, trim overhanging branches or bushes to create sufficient clearance for the shed’s arrival.
Depending on the local regulations and building codes, you may need to obtain permits or approvals for placing the shed at the new location. Research the requirements specific to your area and ensure that all necessary documentation is secured before moving forward with the relocation.
If the shed is equipped with utilities, such as electricity or plumbing, make arrangements to reconnect these services at the new site. Ensure that the electrical wiring, outlets, and fixtures are compatible with the shed’s intended use, and enlist the assistance of qualified professionals to handle any necessary installations or modifications.
Finally, consider the landscaping and aesthetics of the new site. Plan for any desired enhancements, such as landscaping around the shed, adding pathways, or incorporating decorative elements to complement the structure. By envisioning the shed within its new environment, you can create a welcoming and harmonious setting that enhances the overall appeal of your outdoor space.
By thoroughly preparing the new site for the shed’s arrival, you’ll streamline the reassembly process and set the stage for a seamless transition to its new home. Attention to detail and proactive planning at this stage will contribute to a successful and satisfying outcome as you bring your shed to its fresh location.
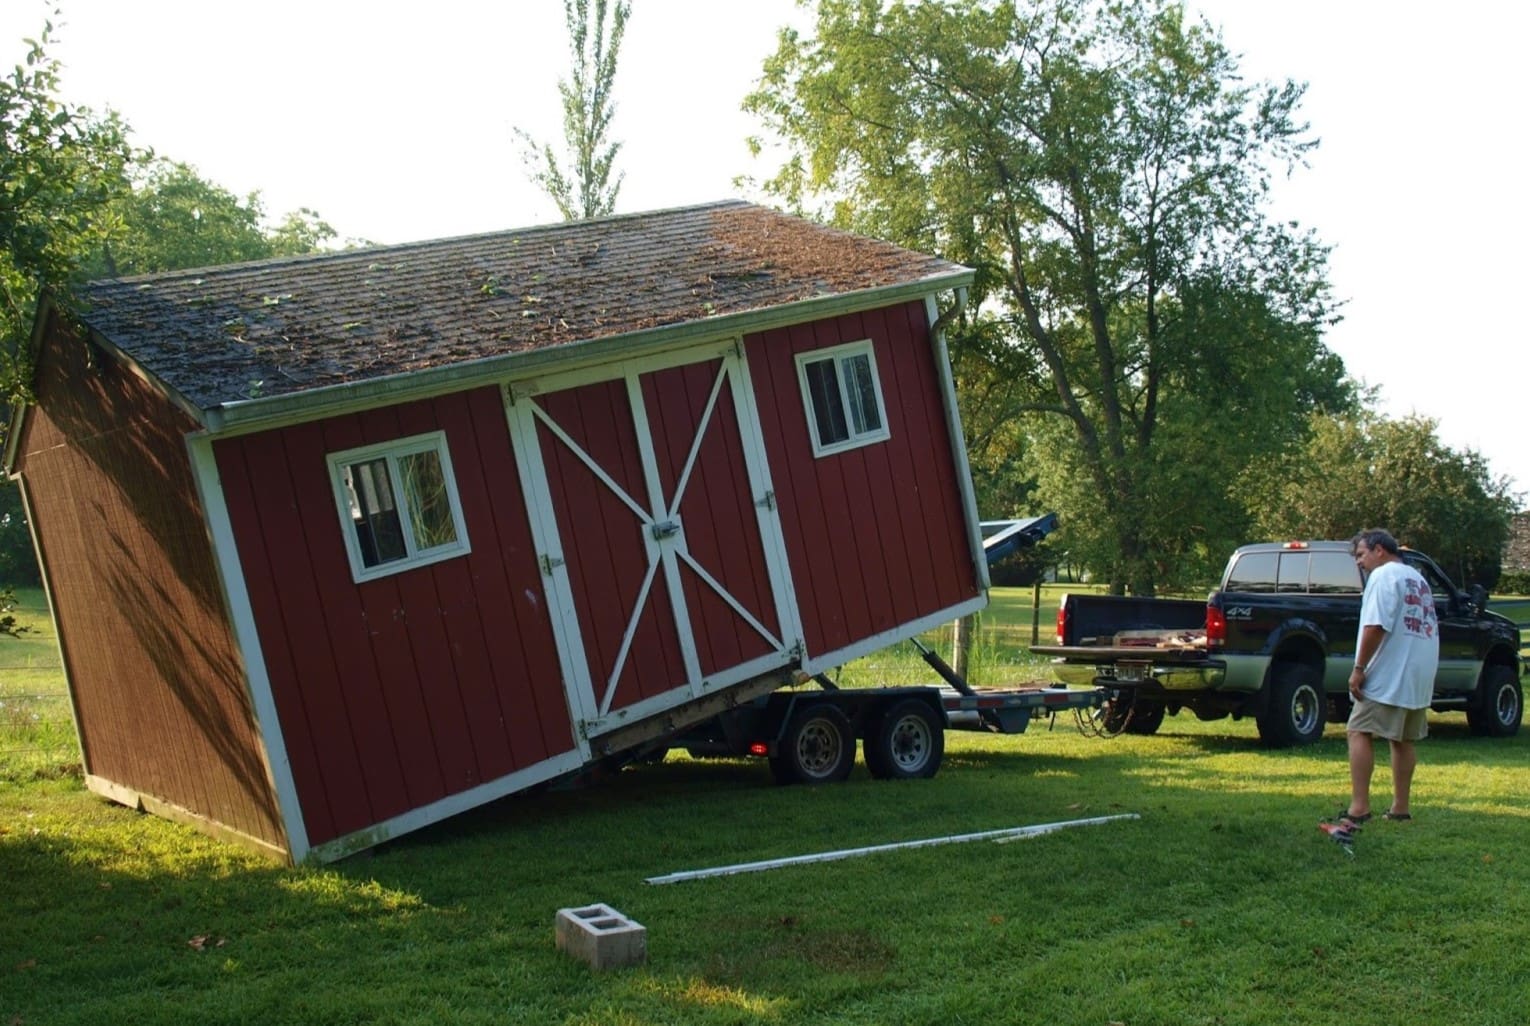
Before moving a shed, make sure to empty it of all contents and disconnect any utilities. Use a jack to lift the shed and place it on skids or a trailer for transport. Always use proper safety equipment and get help from others.
Moving the Shed
With the shed disassembled and the new site prepared, it’s time to tackle the crucial phase of moving the shed to its fresh location. Depending on the size and weight of the shed, as well as the distance to be covered, you may opt for different methods of transportation and relocation. Here are some key considerations and approaches for moving your shed:
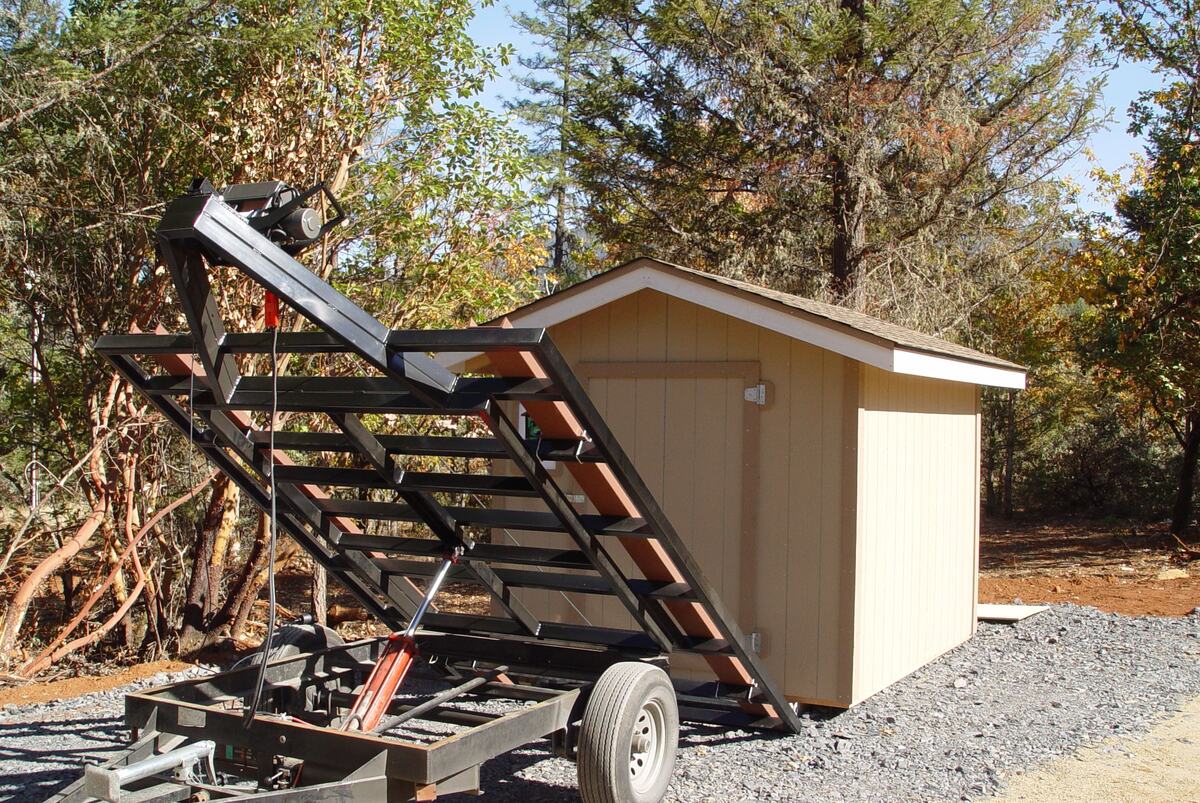
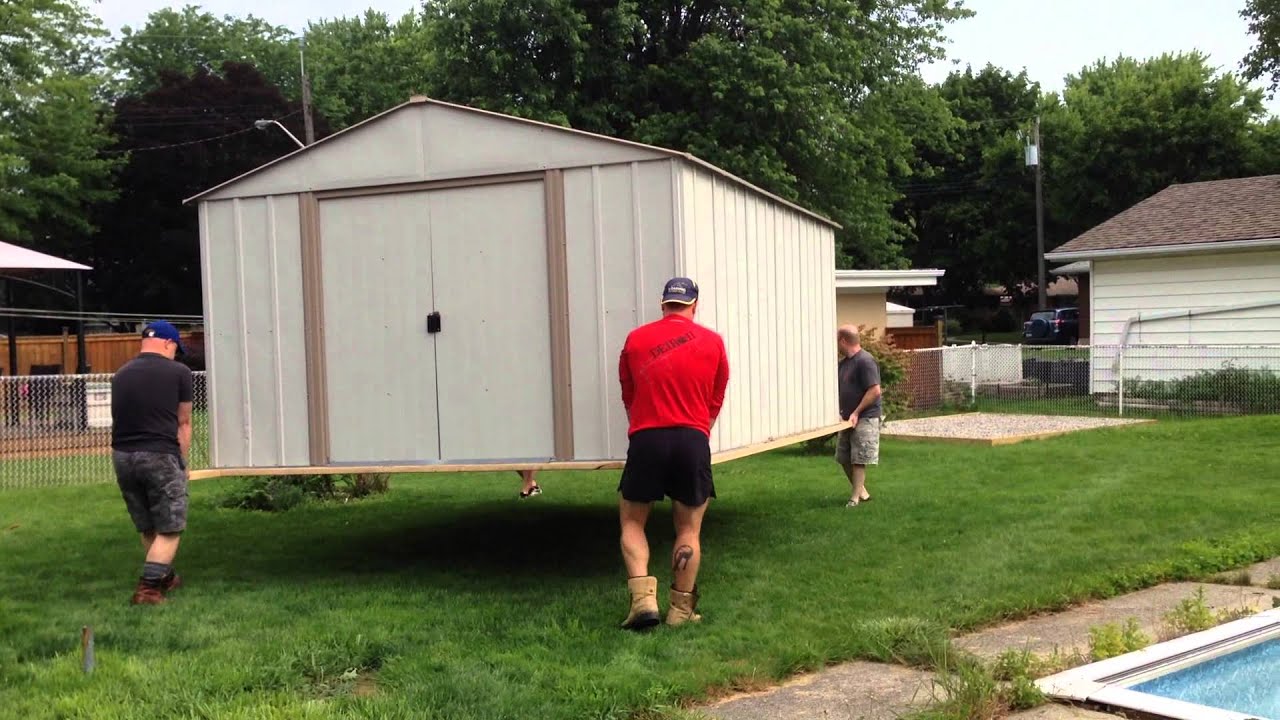
- DIY Approach: If the shed is relatively small and lightweight, it may be feasible to transport it using a trailer, flatbed truck, or even a sturdy utility trailer attached to a vehicle. Ensure that the shed components are securely loaded and properly tied down to prevent shifting or damage during transit. Enlist the help of friends or family members to assist with the loading, transport, and unloading process, prioritizing safety and coordination throughout.
- Professional Services: For larger or more complex shed relocations, consider engaging professional shed movers or building movers who specialize in transporting structures to new locations. These experts have the equipment, expertise, and experience to handle the intricacies of moving sheds, ensuring a safe and efficient transfer to the new site.
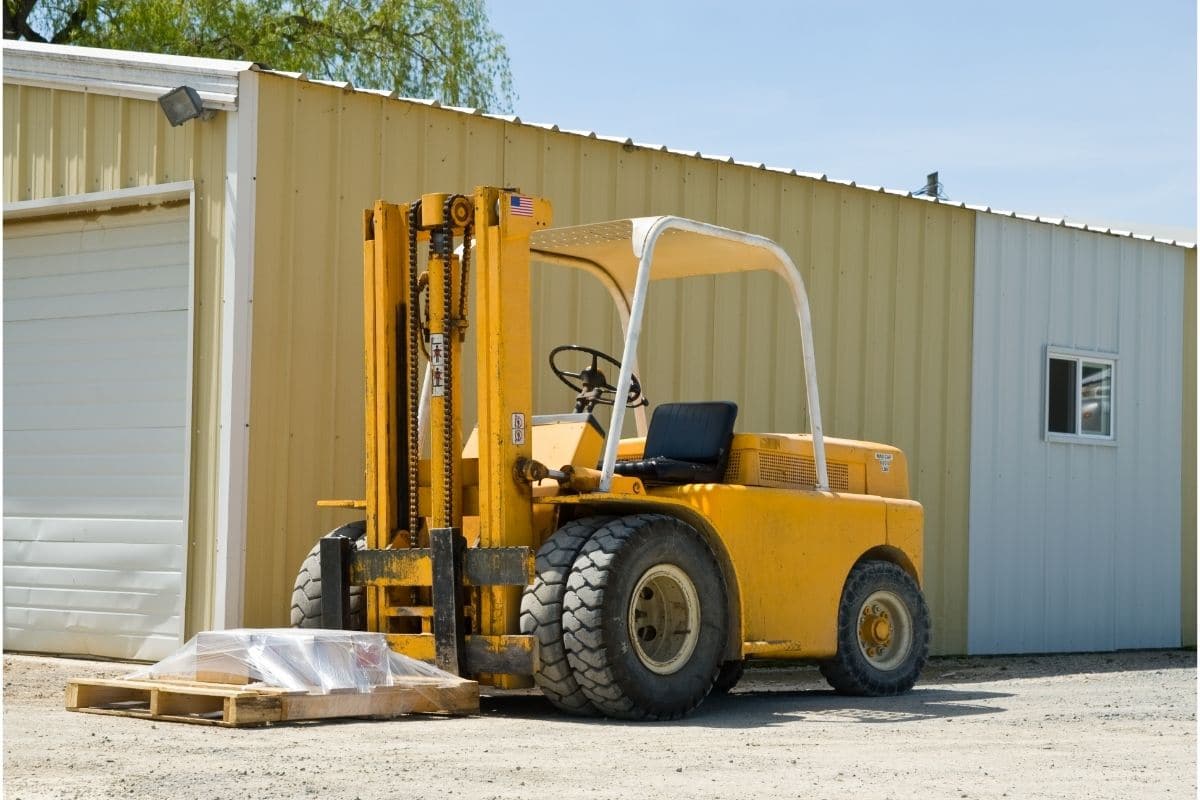
- Equipment and Tools: Regardless of the chosen approach, ensure that you have the necessary equipment and tools on hand to facilitate the shed’s movement. This may include lifting straps, dollies, jacks, and other specialized gear to maneuver and position the shed with precision and care.
Prior to initiating the move, verify that the transportation route is clear of obstacles, and that the new site is accessible and ready to receive the shed. Coordinate the timing of the shed’s arrival with any necessary preparations at the new location, such as crane services, leveling the ground, or arranging for equipment to facilitate the shed’s placement.
Throughout the transportation process, prioritize safety and stability to safeguard both the shed and the individuals involved in the move. Secure the shed components to prevent shifting or damage, and adhere to safe loading and unloading practices to minimize the risk of accidents or injuries.
By approaching the shed relocation with careful planning and attention to detail, you can ensure a successful and efficient move to its new location. Whether you opt for a DIY approach or enlist professional assistance, the coordinated effort and strategic execution will culminate in the seamless transfer of your shed to its fresh setting.
Read more: How To Move Storage Shed
Reassembling the Shed
With the shed safely transported to its new location, the next phase involves reassembling the structure to restore it to its functional and aesthetically pleasing state. This critical step requires precision, organization, and attention to detail to ensure that the shed is reconstructed with stability and integrity.
Begin by referencing the labels and documentation created during the disassembly process to identify and sort the shed components. Lay out the parts in an organized manner, grouping them according to their respective sections, such as walls, flooring, roof, doors, and windows. This systematic approach will streamline the reassembly and minimize the risk of overlooking essential components.
As you reconstruct the shed, follow the reverse order of the disassembly process, starting with the flooring and walls, and progressing to the roof and exterior components. Use the appropriate tools and hardware to secure the components, ensuring that they are aligned, level, and structurally sound. Enlist the assistance of others to handle heavy or cumbersome sections, prioritizing safety and coordination throughout the reassembly.
Pay close attention to the alignment and fit of the shed components, making any necessary adjustments to ensure a snug and secure assembly. Verify that the roofing materials are installed correctly, the walls are properly aligned, and the doors and windows function smoothly. This meticulous approach will contribute to the structural integrity and longevity of the reassembled shed.
If the shed is equipped with utilities, such as electricity or plumbing, carefully reconnect these services according to the appropriate safety standards and regulations. Ensure that the wiring, fixtures, and connections are secure and compliant with building codes to guarantee the safe and reliable operation of the shed’s utilities.
Finally, conduct a thorough inspection of the reassembled shed to identify any areas that may require additional reinforcement, adjustments, or finishing touches. Address any discrepancies promptly to ensure that the shed is fully restored to its original or improved condition, ready to serve its intended purpose in its new environment.
By approaching the reassembly process with patience, precision, and a methodical approach, you’ll achieve a successful restoration of the shed at its fresh location. The careful execution of this phase will culminate in a structurally sound and visually appealing shed, ready to fulfill its role in your outdoor space for years to come.
Conclusion
Congratulations! You’ve successfully navigated the intricate process of moving a shed, from the initial assessment to the reassembly at its new location. This undertaking demanded careful planning, diligent preparation, and strategic execution, and your efforts have resulted in the successful relocation of your shed.
Throughout this journey, you’ve demonstrated resourcefulness, adaptability, and a willingness to tackle challenges head-on. By approaching the shed relocation with a proactive mindset and attention to detail, you’ve not only accomplished the task at hand but also expanded your skills and knowledge in the realm of outdoor structure management.
As you admire the freshly relocated shed in its new setting, take pride in the accomplishment and the transformation it represents. The shed now stands as a testament to your dedication and capability, enhancing the functionality and aesthetic appeal of your outdoor space.
Moreover, the experience gained from this endeavor equips you with valuable insights and expertise that can be applied to future projects and endeavors. Whether it’s relocating another structure, undertaking a renovation, or engaging in new DIY initiatives, the lessons learned from moving a shed will serve as a foundation for your continued success in outdoor structure management.
Remember, the process of moving a shed is not merely a physical relocation but a journey of growth, learning, and mastery. Embrace the challenges, celebrate the victories, and continue to explore the possibilities that await in your outdoor space. Your shed’s new location is a testament to your capability and determination, and it stands as a symbol of the potential for transformation and renewal in your surroundings.
So, as you embark on future projects and adventures, carry forward the lessons and experiences from moving your shed, knowing that you possess the skills and resilience to overcome any obstacle and achieve your desired outcomes. Your outdoor space has been enriched by this endeavor, and your shed now stands as a testament to your dedication and ingenuity.
Frequently Asked Questions about How Can I Move A Shed
Was this page helpful?
At Storables.com, we guarantee accurate and reliable information. Our content, validated by Expert Board Contributors, is crafted following stringent Editorial Policies. We're committed to providing you with well-researched, expert-backed insights for all your informational needs.


0 thoughts on “How Can I Move A Shed”