Articles
How To Move Storage Shed
Modified: October 19, 2024
Looking for outdoor storage solutions? Learn how to efficiently move your storage shed to a new location with our step-by-step guide.
(Many of the links in this article redirect to a specific reviewed product. Your purchase of these products through affiliate links helps to generate commission for Storables.com, at no extra cost. Learn more)
Introduction
Moving a storage shed may seem like a daunting task, but with proper planning and the right tools, it can be accomplished smoothly and efficiently. Whether you are relocating the shed to a new area of your property or to a completely different location, this guide will provide you with step-by-step instructions on how to move your storage shed.
Before you begin, it’s important to assess the shed’s condition and size, as well as the accessibility of both the current and new locations. This will help you determine if you can move the shed on your own or if you need to enlist the help of professionals.
In this article, we will cover everything from gathering the necessary tools and materials to reassembling the shed in its new location. By following these guidelines, you will be able to ensure the safe and successful relocation of your storage shed.
Key Takeaways:
- Moving a storage shed requires careful assessment, preparation, and execution. From assessing the shed’s condition to reassembling it in a new location, thorough planning and attention to detail are essential for a successful relocation.
- Organizing and cleaning the shed post-relocation is crucial for maximizing functionality and longevity. Implementing effective organizational systems, maintaining a clean environment, and addressing potential issues promptly will ensure a well-organized and functional storage space.
Read more: How To Move A Heavy Shed
Assessing the Shed
Before you begin the process of moving your storage shed, it’s crucial to assess its condition and determine if it is structurally sound enough to be relocated. Inspect the shed to identify any signs of damage, such as rotting wood, broken or loose panels, or a compromised foundation. If the shed is in poor condition, it may be wise to consider repairing or replacing it instead of moving it.
Next, measure the dimensions of the shed to ensure it will fit in its new location. Take note of the width, length, and height of the shed, as well as any protruding features, such as windows or doors. This information will help you determine if the shed can be transported without any issues and if any modifications will be needed at the new site.
Consider the weight of the shed as well. If it is too heavy to be lifted by manpower alone, you may need to rent equipment like a forklift or hire professional movers who specialize in shed relocation. Keep in mind that larger sheds may require additional permits or specialized equipment to move.
Take into account the accessibility of both the current and new locations. Assess any obstacles, such as fences, trees, or other structures that may impede the movement of the shed. Measure the clearance and ensure there is enough space to maneuver the shed safely. It’s also essential to check if the shed can be transported without damaging any surrounding landscape, utilities, or property features.
Lastly, consider the requirements and regulations of your local municipality. Some areas may have restrictions or permits necessary for moving a shed. Research the rules and regulations in your area to ensure compliance and avoid any fines or penalties.
By thoroughly assessing the shed’s condition, dimensions, weight, accessibility, and local regulations, you will have a clear understanding of the feasibility and requirements for moving your storage shed.
Gathering the Necessary Tools and Materials
Before you start the process of moving your storage shed, it’s crucial to gather all the necessary tools and materials to ensure a smooth relocation. Here is a list of items you will need:
- Gloves and Safety Gear: Protect your hands with sturdy work gloves to prevent injuries while handling heavy or sharp objects. Consider wearing safety goggles, ear protection, and steel-toed shoes for additional safety.
- Measuring Tape and Level: Accurate measurements are essential for determining the shed’s dimensions, leveling the shed at its new location, and ensuring proper alignment.
- Screwdrivers, Wrenches, and Power Tools: Depending on the construction of your shed, you may need various types of screwdrivers, wrenches, or power tools, such as drills or saws, to dismantle and reassemble the shed.
- Pry Bars and Crowbars: These tools are helpful for gently prying apart sections of the shed that may be nailed or screwed together.
- Wheelbarrow or Dolly: If the shed is not too heavy, a wheelbarrow or dolly will make it easier to transport tools, materials, and smaller shed components to their new location.
- Fasteners and Hardware: Collect an assortment of screws, nails, bolts, and other fasteners to secure the shed during the move and for the reassembly process.
- Tarp or Plastic Sheets: Protect the shed and its contents from rain, dirt, or other elements during the moving process by covering it with a tarp or plastic sheets.
- Safety Straps and Ropes: Secure the shed and its components to a trailer or truck bed using heavy-duty safety straps or ropes to prevent shifting or tipping during transportation.
- Markers and Labels: Labeling shed components will make the reassembly process much easier. Use markers or labels to identify which pieces go where, especially if you need to dismantle the shed into smaller sections.
- Assistance and Communication: Enlist the help of a few friends or family members who can assist you with the move. Effective communication is key to ensuring everyone is on the same page and working together safely.
Make sure all tools and materials are easily accessible and in good working condition before you begin the shed-moving process. Being well-prepared will save you time and reduce the chances of encountering any unexpected obstacles along the way.
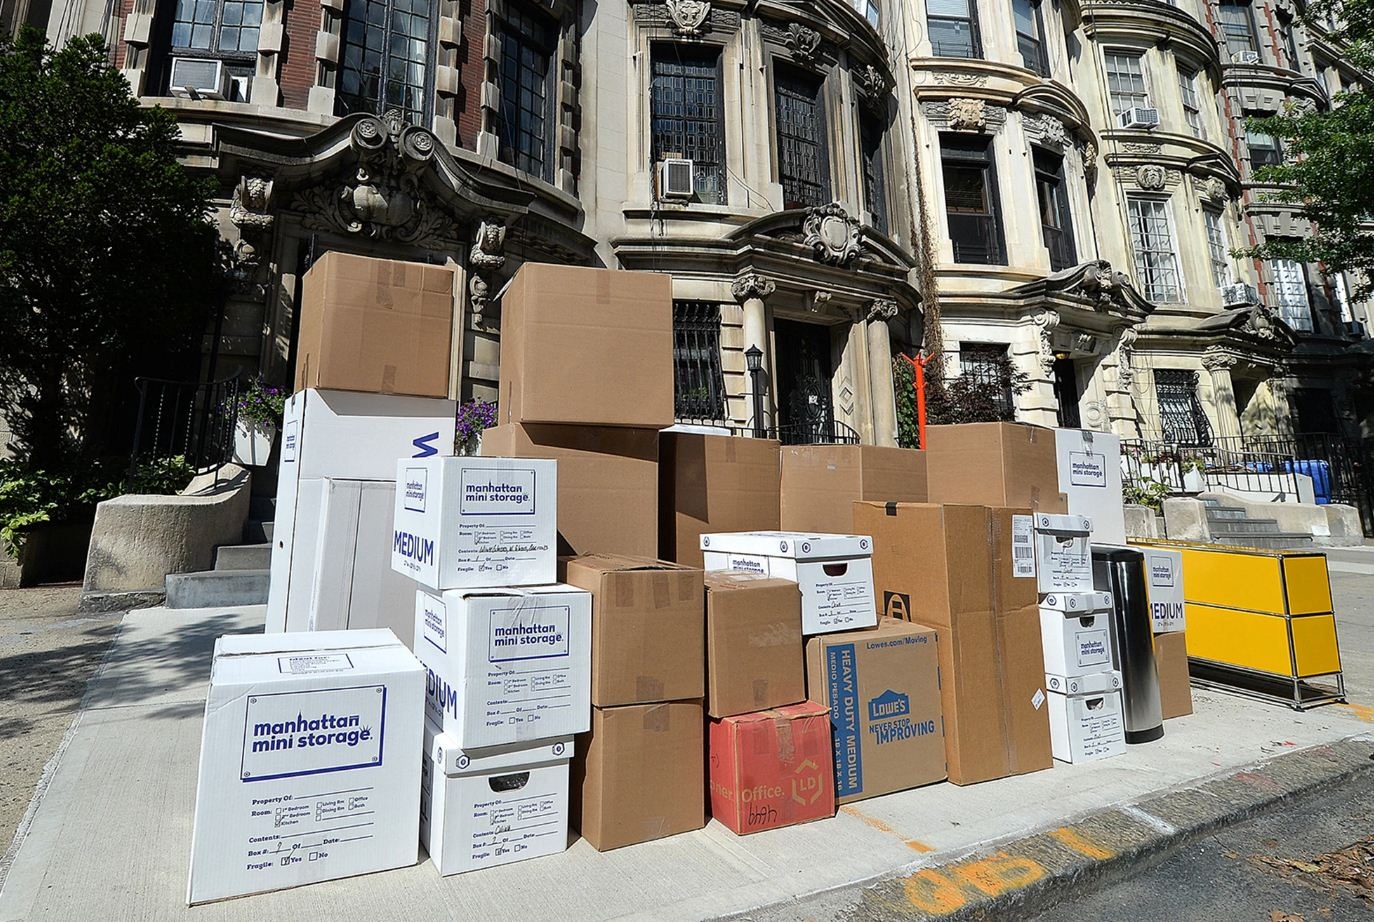
Emptying the Shed
Before you can start dismantling and moving your storage shed, it’s essential to empty its contents. By doing this, you’ll make the shed lighter and avoid any damage to the items inside during the relocation process. Follow these steps to efficiently empty your shed:
- Create an inventory: Take stock of all the items in your shed. This will help you keep track of your belongings, identify any fragile items that need special care, and make it easier to organize them once the shed has been moved.
- Sort and declutter: Decide which items you want to keep, discard, or donate. Sort through your belongings and separate them into different piles. Consider the condition, usefulness, and sentimental value of each item to make informed decisions.
- Secure loose items: If there are any loose items or small tools in the shed, gather them and place them in boxes or containers. Use zip ties or twine to secure any long handled or bulky tools together for easier handling and storage.
- Pack fragile items: For any fragile items, wrap them in bubble wrap, towels, or blankets to provide extra protection during the move. Make sure to label these boxes as “fragile” for careful handling and proper placement in the new location.
- Dispose of hazardous materials: If you come across any hazardous materials, such as motor oil, paint, or chemicals, check your local regulations for proper disposal methods. Contact your waste management facility or consult with professionals to ensure safe and legal disposal.
- Consider temporary storage: If you need to move your shed to a different location before having a new space ready, consider renting a storage unit to keep your belongings safe and secure during the transition.
Emptying your shed before moving it will not only make the relocation easier and safer, but it also gives you an opportunity to reassess your storage needs and declutter your belongings. By organizing and packing your items properly, you’ll be able to streamline the moving process and have a smoother transition to your new shed location.
Dismantling the Shed
Once you have emptied the contents of your storage shed, it’s time to dismantle it in preparation for the move. Dismantling the shed will make it easier to transport and reassemble in its new location. Follow these steps to safely dismantle your shed:
- Start with the roof: Begin by removing the roofing material, whether it’s shingles, metal sheets, or another type. Use a pry bar or screwdriver to carefully detach the roofing from the framework of the shed. Work methodically to avoid damaging the roofing material.
- Remove doors and windows: Take off any doors or windows attached to the shed by unscrewing or unbolting them. Carefully set them aside, making sure they are secure and protected to prevent any damage during transport.
- Take apart the walls: Depending on the construction of your shed, it may have individual panels or sections that can be disassembled. Remove any screws, nails, or bolts securing the walls to the framework. Have a friend or family member help you safely lower and stack the wall panels to avoid any accidents.
- Dismantle the framework: Once the walls are removed, you can start dismantling the framework. Use appropriate tools, such as a wrench or screwdriver, to detach any beams, posts, or support structures. Take extra care when removing any anchors or footings attached to the shed’s foundation.
- Organize and label the components: As you dismantle the shed, it’s vital to label each component and keep them organized. Use markers or labels to indicate the corresponding location or section of the shed they belong to. This will make the reassembly process much smoother.
- Disassemble any additional features: If your shed has any additional features, such as a ramp, shelves, or hooks, remove them accordingly. Keep all the small parts and hardware in labeled bags or containers to ensure they aren’t misplaced or lost during the move.
- Inspect and repair: While dismantling the shed, take the opportunity to inspect the individual components for any damage. Repair or replace any rotten or broken sections as needed before transporting them to the new location.
Dismantling your shed requires patience, caution, and proper tools. Working methodically and safely will help ensure that all components are properly dismantled and ready for transport. By organizing and labeling each part, you’ll make the reassembly process much more efficient and less stressful.
Before moving a storage shed, make sure to empty it of all contents and disconnect any utilities. Use a dolly or rollers to carefully move the shed to its new location, and ensure it is properly secured during transportation.
Read more: How To Move A Shed On A Trailer
Preparing the New Location
Before you can begin moving your storage shed to its new location, it’s important to prepare the area to ensure a smooth and successful transition. Taking the time to properly prepare the new location will help avoid any potential obstacles and make the reassembly process much easier. Follow these steps to prepare the new location:
- Clear the area: Remove any objects, debris, or obstacles from the area where the shed will be placed. This includes rocks, tree roots, and any vegetation that may be in the way. Clearing the area will provide a level and stable foundation for the shed.
- Ensure proper drainage: Check if the new location has proper drainage to avoid water pooling around the shed. You may need to make adjustments such as adding gravel or regrading the area to ensure proper water runoff.
- Create a leveled foundation: It’s crucial to have a level foundation to ensure the stability and longevity of the shed. Depending on the type of shed, you may choose to have a concrete slab, gravel pad, or blocks as the foundation. Follow the manufacturer’s instructions or consult with a professional to ensure proper installation.
- Measure and mark the shed’s footprint: Use measuring tape to mark the exact spot where the shed will be placed. Ensure that the dimensions match those of the shed and that it fits properly in the designated area. Double-check the measurements to avoid any issues during the reassembly process.
- Prepare utilities: If your shed requires electricity, water, or any other utilities, make sure they are properly installed and ready at the new location. Consult with professionals if you require assistance with connecting these utilities.
- Consider landscaping: Take the opportunity to enhance the aesthetics of the shed’s new location by adding landscaping elements. This can include planting flowers, shrubs, or creating pathways around the area. Just ensure that any landscaping features do not obstruct the shed or impede its access.
- Obtain necessary permits: Depending on your local regulations, you may need to obtain permits before moving or installing a shed in the new location. Check with your city or municipality to ensure compliance with any necessary permits or regulations.
By properly preparing the new location, you will set a solid foundation for the shed and ensure a smooth transition when it comes time to reassemble it. Taking the time to clear the area, create a level foundation, and address any drainage or utility needs will help ensure the long-term stability and functionality of your storage shed in its new home.
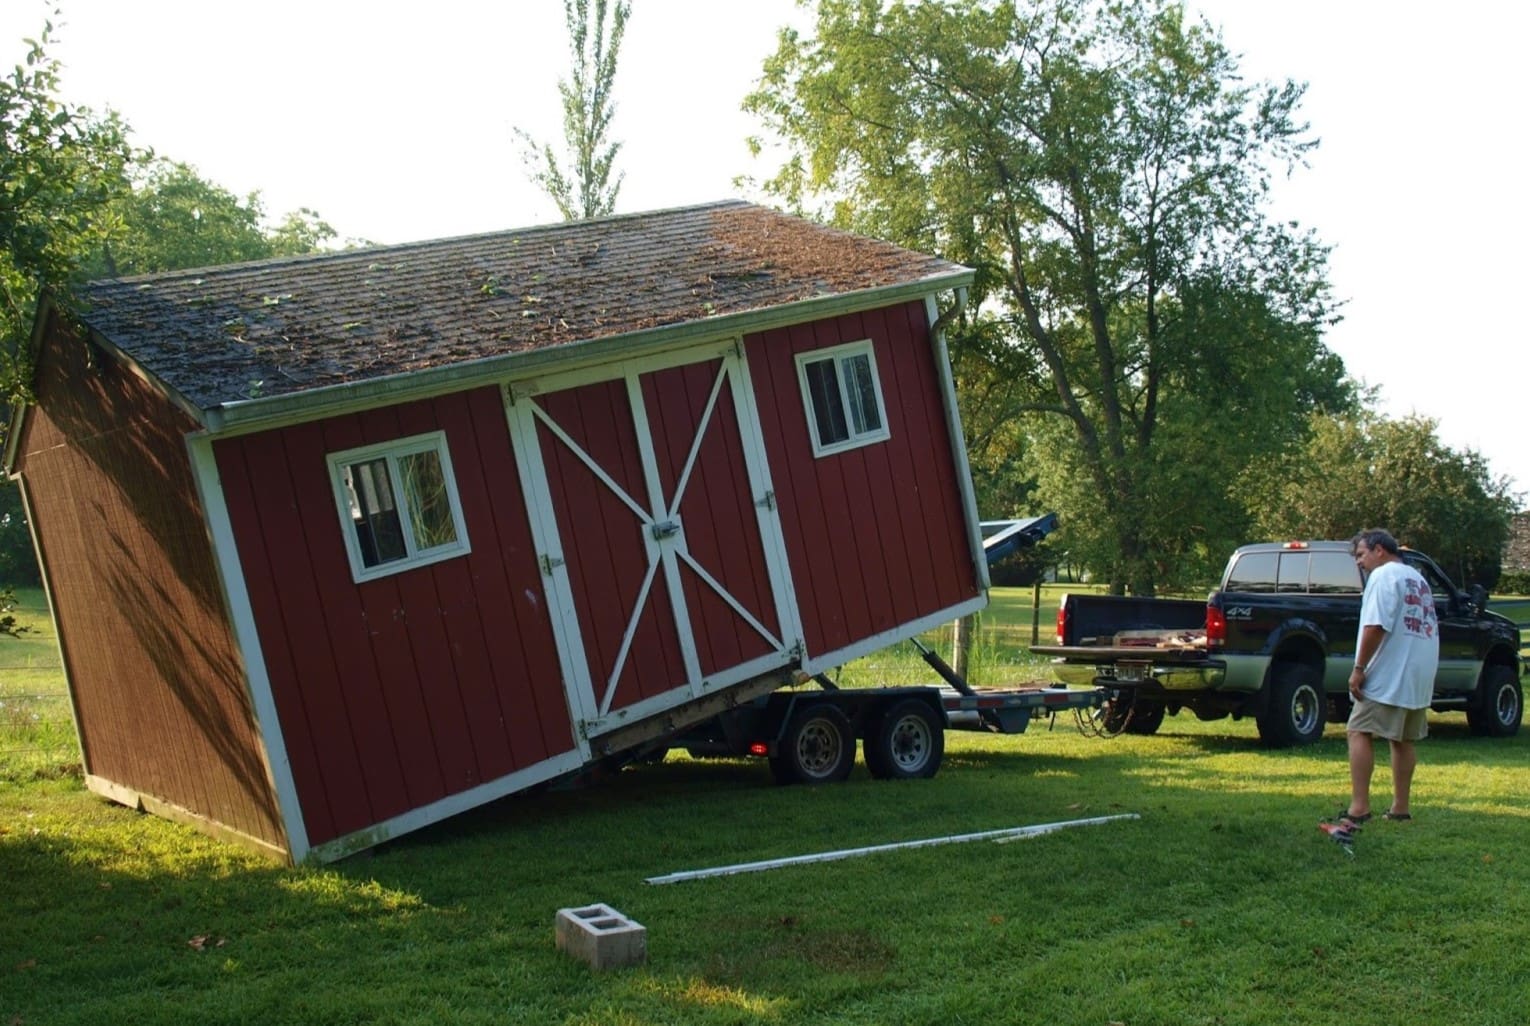
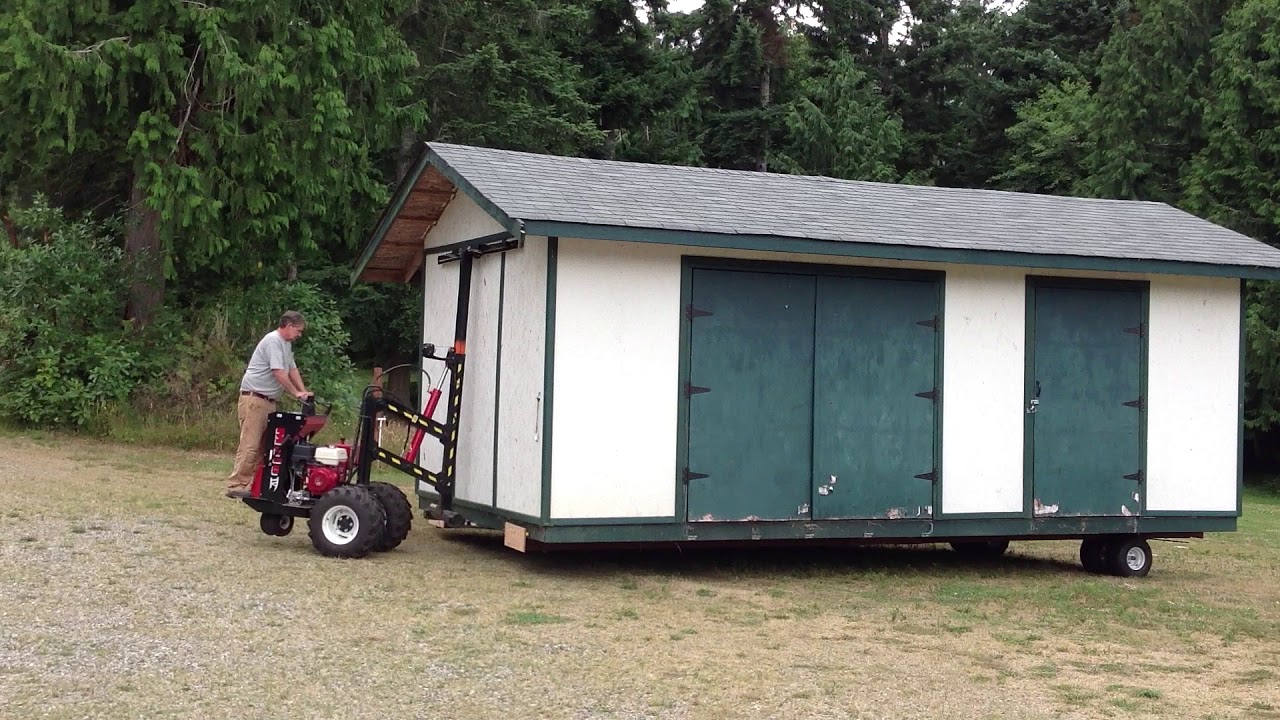
Moving the Shed
Now that you have assessed the shed, gathered the necessary tools, emptied its contents, and prepared the new location, it’s time to start moving the shed to its new home. Follow these steps to safely transport and position the shed:
- Enlist the help of others: Moving a shed is a team effort, so gather a few friends or family members to assist you. Communication and coordination will be key throughout the process.
- Secure the shed: Before you start moving the shed, ensure it is securely fastened to prevent any loose components or shifting during transportation. Use heavy-duty straps or ropes to secure the shed to a trailer or truck bed. Ensure the shed is balanced and centered on the trailer for optimal stability.
- Use the proper equipment: Depending on the size and weight of the shed, you may need to rent or borrow equipment like a forklift, dolly, or trailer to aid in the move. Make sure the equipment is in good working condition and properly rated to handle the weight of the shed.
- Coordinate the movement: With the help of your team, carefully guide and maneuver the shed to its new location. Use clear and concise communication to ensure everyone is on the same page. Take breaks if needed to rest and reevaluate the shed’s position during the move.
- Observe safety precautions: Safety should always be a top priority during the shed-moving process. Lift with your legs and not your back, wear proper safety gear, and use caution when navigating around obstacles. Avoid rushing and take your time to ensure a safe and accident-free move.
- Position the shed: Once the shed has been transported to the new location, carefully position it on the prepared foundation. Use a level to ensure the shed is properly aligned and adjust as necessary. Take into consideration any door or window openings, entrances, and utilities that need to be connected.
- Lower the shed: Gradually and evenly lower the shed onto the foundation, making sure it is level and secure. Take your time during this step to ensure a proper fit and alignment within the designated area.
- Remove securing straps: Once the shed is in its final position, carefully remove any securing straps or ropes. Avoid sudden movements or jerking that may cause the shed to shift or topple. Dispose of the straps properly or set them aside for future use.
Moving a shed requires careful planning, coordination, and physical effort. By following these steps and taking the necessary safety precautions, you can ensure a successful and smooth transfer of your storage shed to its new location.
Reassembling the Shed
After successfully moving your shed to its new location, it’s time to reassemble it. Reassembling the shed requires careful attention to detail and accuracy to ensure a sturdy and functional structure. Follow these steps to reassemble your shed:
- Refer to the shed’s manual or blueprint: If you have the original shed manual or blueprint, refer to it for guidance during the reassembly process. It will provide specific instructions and diagrams that can help you properly reassemble the shed.
- Organize the shed components: Locate all the labeled shed components and lay them out in an organized manner. Sort them according to their sections or areas of installation. This will make it easier to find and assemble the necessary parts during the reassembly process.
- Start with the foundation: Begin by setting up the foundation according to the manufacturer’s instructions. Install the support beams, concrete blocks, or any other foundation elements as necessary. Ensure that the foundation is level and secure before proceeding.
- Assemble the framework: Using the labeled components, systematically reassemble the shed’s framework. Follow the original construction order, connecting beams, posts, and support structures as specified. Use the necessary screws, nails, or bolts to secure the frame tightly.
- Reattach walls and panels: Carefully attach the wall panels to the newly constructed framework. Align them accurately and use the appropriate fasteners to secure them in place. Ensure that the walls are level and plumb as you work your way around the shed.
- Install doors and windows: Reattach the doors and windows to the shed, following the manufacturer’s instructions. Make sure they are installed securely and operate smoothly. Adjust hinges and locks as needed.
- Replace the roof: Install the roofing material, whether it’s shingles, metal sheets, or another type, according to the manufacturer’s specifications. Ensure that the roof is properly aligned, and all edges are secured and sealed.
- Check for stability: Once all the components are in place, carefully inspect the shed for stability. Check for any loose connections or areas that may require reinforcement. Make any necessary adjustments to ensure the shed is solid and well-constructed.
- Clean and organize the shed: After completing the reassembly process, clean the shed thoroughly, removing any dust or debris. Organize your belongings and return them to the shed, taking care to create an efficient and functional storage space.
Reassembling your shed requires patience and precision. Following the original construction order, using the appropriate tools and fasteners, and paying attention to detail will ensure a successful reassembly process. By taking the time to properly reassemble your shed, you can enjoy a sturdy and functional storage space in its new location.
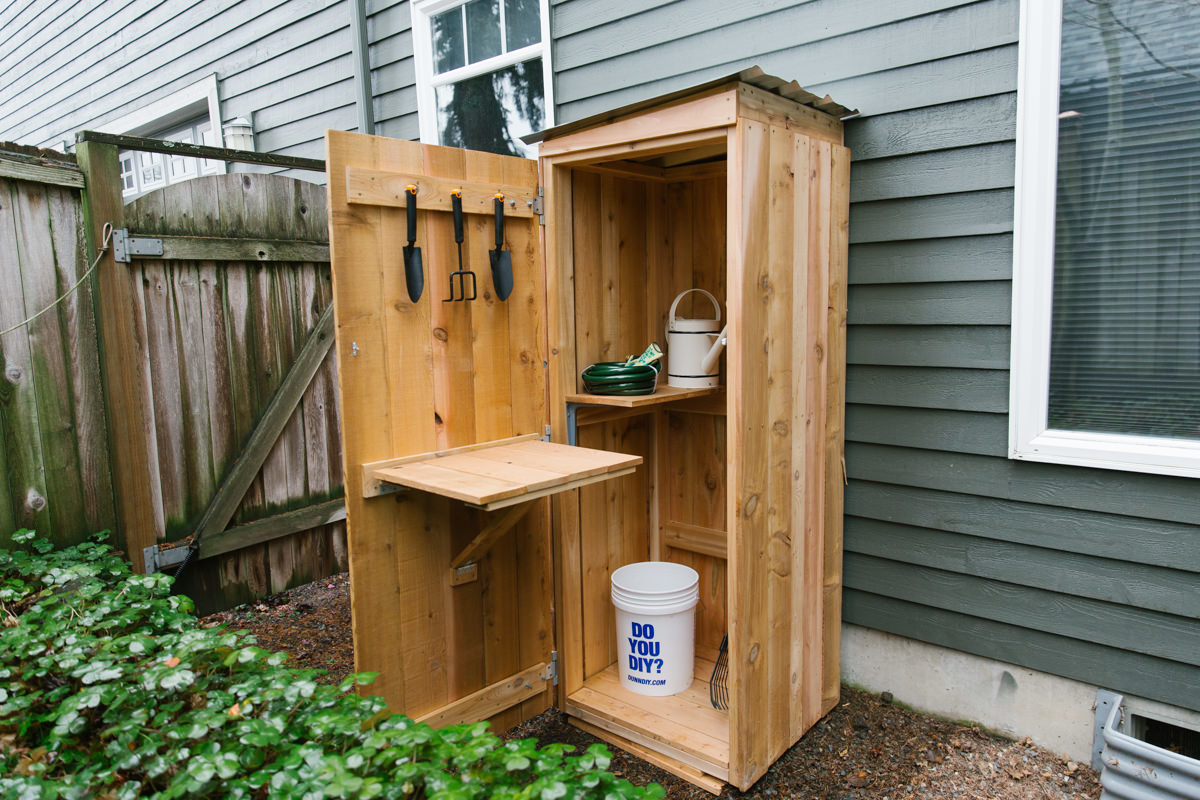
Organizing and Cleaning the Shed
Once you have reassembled your shed in its new location, it’s time to focus on organizing and cleaning the space. By implementing effective organizational systems and maintaining a clean environment, you’ll maximize the functionality and usability of your shed. Follow these steps to organize and clean your shed:
- Assess your storage needs: Before organizing your shed, evaluate your storage needs and prioritize the items you need to store. Determine the best layout for your storage to ensure easy access and optimized space utilization.
- Categorize items: Group similar items together to create categories. This helps create a logical and organized system for locating and retrieving your belongings. Consider using bins, shelves, or storage containers to keep items organized and easily accessible.
- Utilize vertical space: Make the most of the vertical space in your shed by installing shelves, hooks, or pegboards. These will help you maximize storage capacity and keep frequently used tools or equipment within reach.
- Label and inventory: Label boxes, bins, or shelves to clearly identify the contents of each section. This will make it easier to locate items when you need them and maintain an organized system over time. Consider creating an inventory list of the items stored in your shed for easy reference.
- Create zones: Divide the shed into functional zones based on the type of items or activities. For example, designate one area for gardening tools and supplies, another for sports equipment, and a separate area for seasonal decorations. This organization will ensure that everything has its place.
- Implement a cleaning routine: Regularly clean your shed to maintain a tidy and pest-free environment. Sweep the floors, dust off shelves, and wipe down surfaces. Fix any leaks, rips, or damages as soon as possible to prevent further deterioration.
- Remove clutter: Periodically review the contents of your shed and declutter any items you no longer need or use. This will free up valuable space and keep your shed organized and efficient.
- Maintain proper ventilation: Ensure good airflow in your shed to prevent the build-up of moisture, which can lead to mold or corrosion. Use vents, windows, or fans to allow air circulation and minimize humidity.
- Secure the shed: Consider installing locks, alarms, or other security measures to protect the contents of your shed. This will give you peace of mind, especially if you store valuable items or tools.
Organizing and cleaning your shed not only enhances its functionality but also prolongs its lifespan. By implementing an effective organizational system, regularly cleaning and maintaining the space, and addressing any potential issues promptly, you’ll create a well-organized and functional storage area that serves your needs for years to come.
Read more: How To Move A Tuff Shed
Conclusion
Moving a storage shed may initially seem like a daunting task, but with careful planning, the right tools, and organized execution, it can be a successful and rewarding endeavor. By following the steps outlined in this guide, you can ensure a smooth and efficient relocation of your shed to its new location.
Throughout the process, it’s important to assess the shed’s condition, gather the necessary tools and materials, and empty its contents. Take the time to carefully dismantle the shed, ensuring that each component is labeled and organized for easy reassembly. Properly prepare the new location, ensuring a level foundation and addressing any necessary permits or regulations.
When it comes time to move the shed, enlist the help of others, secure the shed properly, and use the appropriate equipment. Communicate effectively and prioritize safety at all times. Once the shed is in its new location, reassemble it meticulously, ensuring that all components are properly connected and aligned.
After the shed has been reassembled, focus on organizing and cleaning the space. Create functional zones, utilize vertical space, and label and inventory your belongings for easy access and maintenance. Implement a cleaning routine and regularly declutter to keep your shed organized and efficient.
By taking the time and effort to properly move, reassemble, and organize your storage shed, you’ll create a functional and well-maintained space that serves your needs and provides a secure home for your belongings. Enjoy the satisfaction of a successful shed relocation and the benefits of an organized and functional storage area for years to come.
Frequently Asked Questions about How To Move Storage Shed
Was this page helpful?
At Storables.com, we guarantee accurate and reliable information. Our content, validated by Expert Board Contributors, is crafted following stringent Editorial Policies. We're committed to providing you with well-researched, expert-backed insights for all your informational needs.


0 thoughts on “How To Move Storage Shed”