Home>Gardening & Outdoor>Outdoor Structures>How To Move A Tuff Shed
Outdoor Structures
How To Move A Tuff Shed
Modified: August 24, 2024
Learn the best way to move a Tuff Shed and ensure the safety of your outdoor structures. Get expert tips and guidance for relocating your shed efficiently.
(Many of the links in this article redirect to a specific reviewed product. Your purchase of these products through affiliate links helps to generate commission for Storables.com, at no extra cost. Learn more)
Introduction
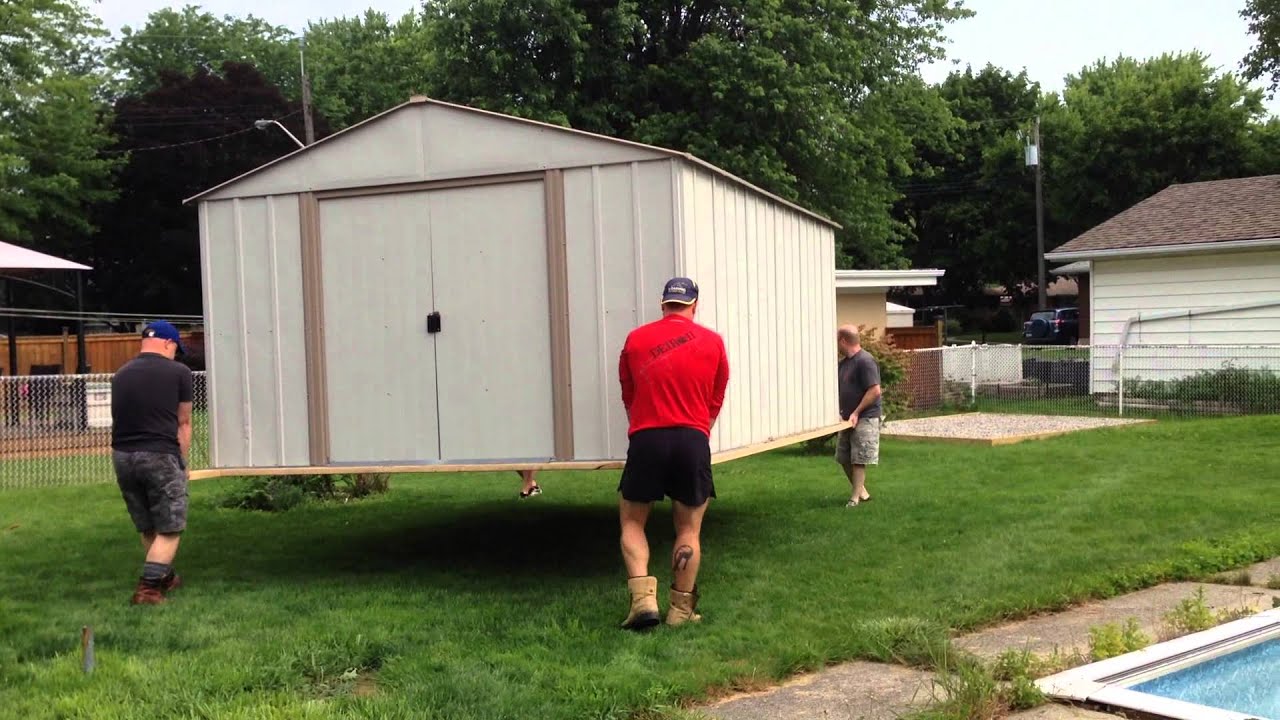
Moving a Tuff Shed can be a daunting task, but with the right knowledge and preparation, it can be a manageable project. Whether you're relocating to a new home or simply want to reposition your shed within your property, understanding the process of moving a Tuff Shed is essential. Tuff Sheds are renowned for their durability and sturdiness, making them a popular choice for homeowners seeking reliable outdoor storage solutions. In this guide, we'll explore the step-by-step process of moving a Tuff Shed, from assessing the shed and preparing for the move to disassembling, transporting, and reassembling it at the new location.
Moving a Tuff Shed requires careful planning and attention to detail to ensure that the structure remains intact and undamaged throughout the relocation process. By following the guidelines outlined in this article, you'll gain valuable insights into the necessary tools and equipment, as well as the disassembly and reassembly procedures. Additionally, we'll provide practical tips and techniques to streamline the moving process and minimize potential challenges.
Whether you're a seasoned DIY enthusiast or a homeowner embarking on your first shed relocation project, this comprehensive guide will equip you with the knowledge and confidence to tackle the task effectively. So, roll up your sleeves, gather your tools, and let's delve into the intricacies of moving a Tuff Shed with precision and ease.
Key Takeaways:
- Moving a Tuff Shed requires careful planning, the right tools, and a supportive team. Assess the shed, prepare the new site, and disassemble it methodically for a successful relocation.
- Transporting and reassembling a Tuff Shed demands attention to detail and adherence to manufacturer’s guidelines. Protect components during transit and follow the assembly manual for a seamless reconstruction.
Read more: How To Build A Tuff Shed
Assessing the Shed and Preparing for the Move
Before embarking on the task of moving your Tuff Shed, it’s crucial to assess the current condition of the shed and evaluate the terrain and logistics of the relocation. Start by conducting a thorough inspection of the shed to identify any existing damage, such as rotting wood, rusted hardware, or weakened structural components. Addressing these issues before the move will help prevent further damage and ensure the shed’s stability during transportation.
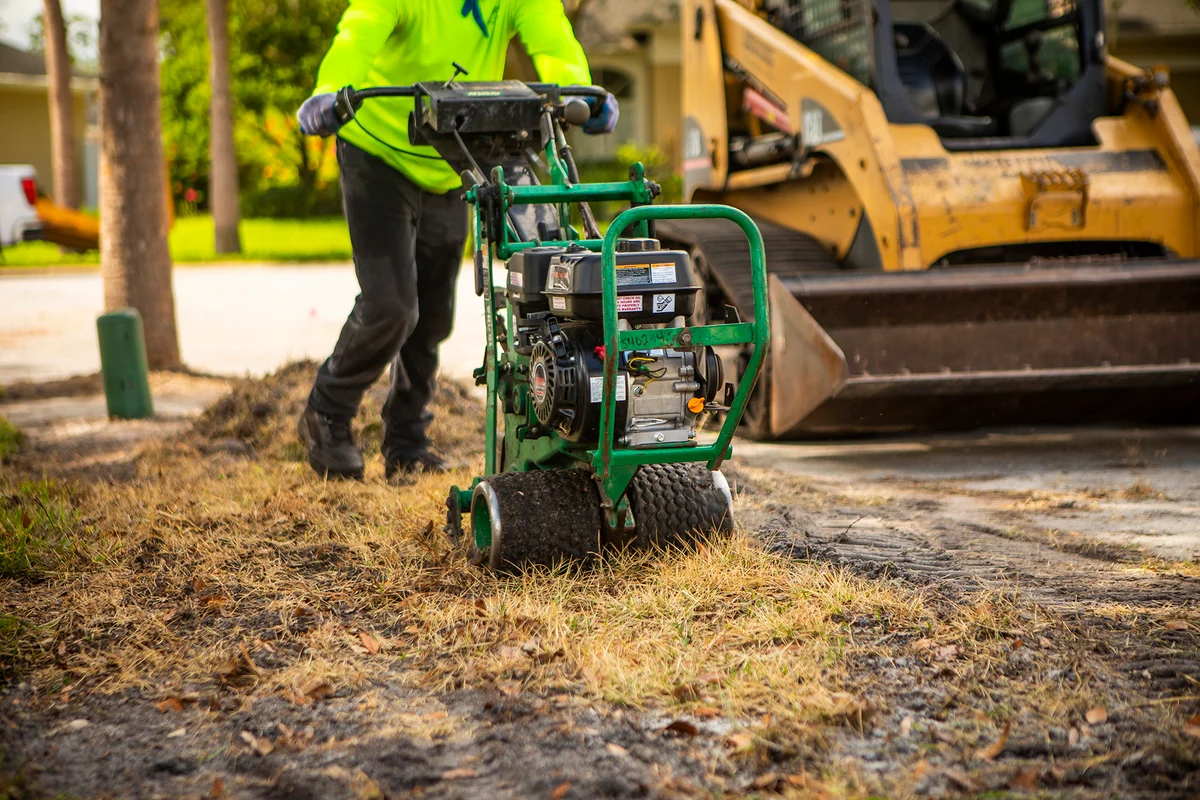
Next, consider the new location where the shed will be placed. Evaluate the terrain, ground stability, and accessibility to determine the best approach for relocating the shed. If the new site is on uneven ground, consider leveling the area beforehand to provide a stable foundation for the shed. Additionally, ensure that there is sufficient space to accommodate the shed and that any obstacles, such as tree branches or debris, are cleared to facilitate the move.
As part of the preparation process, it’s essential to secure any necessary permits or approvals required for relocating a structure on your property. Check with local authorities or homeowner’s associations to ensure compliance with regulations and obtain the necessary clearances before proceeding with the move.
Furthermore, take stock of the contents inside the shed and make arrangements to safely remove and store them during the relocation. Clearing out the shed’s interior will not only reduce the overall weight for transportation but also minimize the risk of damage to stored items during the move.
Finally, enlist the help of friends or family members to assist with the relocation. Moving a Tuff Shed is a labor-intensive task, and having a dedicated team to support the process will make the endeavor more manageable and safer for everyone involved.
By thoroughly assessing the shed’s condition, preparing the new site, obtaining necessary permits, clearing the shed’s interior, and assembling a reliable team, you’ll lay a solid foundation for a successful and well-executed shed relocation.
Gathering the Necessary Tools and Equipment
Equipping yourself with the appropriate tools and equipment is essential for a smooth and efficient Tuff Shed relocation. Before initiating the move, take inventory of the following items to ensure that you have everything required for the task:
Tools:
- Screwdrivers and Power Drill: These tools will be indispensable for removing screws, bolts, and fasteners during the disassembly process. Ensure that you have a variety of screwdriver types and drill bits to accommodate different fastener sizes.
- Adjustable Wrenches and Pliers: These tools will aid in loosening and tightening nuts, bolts, and other hardware components.
- Hammer and Rubber Mallet: Use a hammer to gently tap and dislodge stubborn components, while a rubber mallet can be employed to nudge parts into alignment during reassembly.
- Utility Knife: A sharp utility knife will facilitate the careful removal of sealants, adhesives, and caulking without causing damage to the shed's surfaces.
- Level and Measuring Tape: These tools are essential for ensuring that the shed is reassembled accurately and sits level on its new foundation.
Equipment:
- Heavy-Duty Gloves: Protect your hands with sturdy gloves to minimize the risk of cuts, splinters, or injuries while handling shed components.
- Lifting Straps and Dollies: These tools are invaluable for safely maneuvering heavy shed panels and components during the disassembly and reassembly phases.
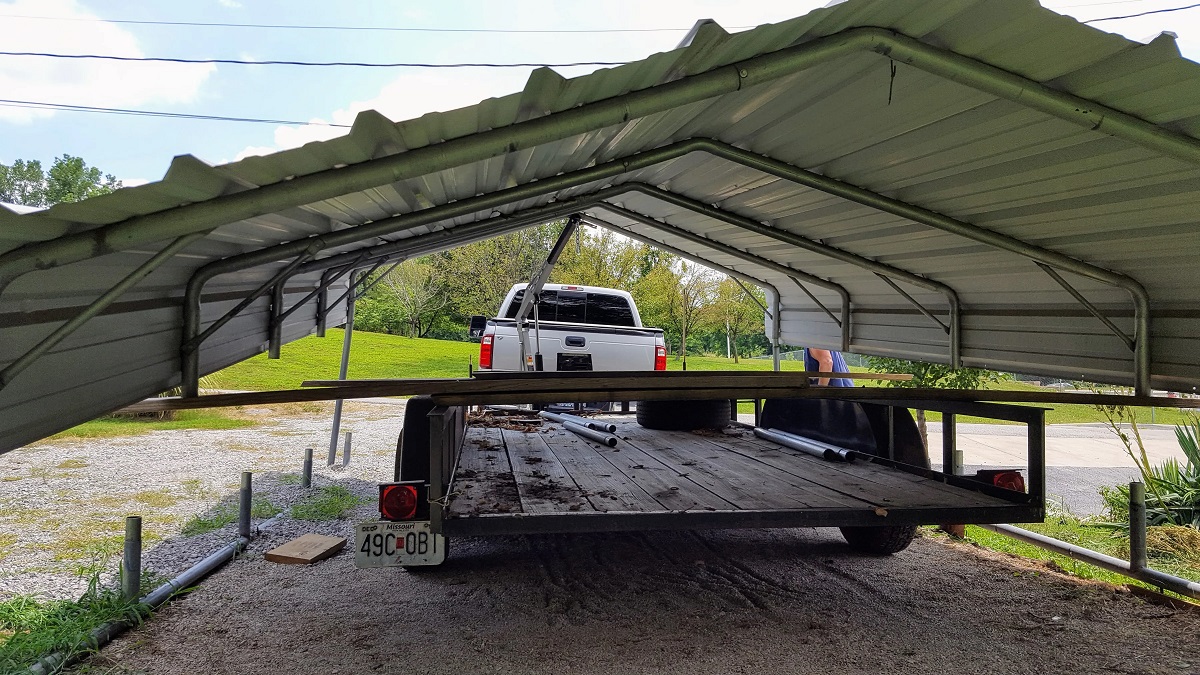
- Transportation: Depending on the shed's size, you may need a flatbed trailer, a pickup truck with a sturdy bed liner, or a professional moving company equipped to handle shed relocations.
- Protective Coverings: Use tarps or plastic sheeting to shield shed components from inclement weather during transportation.
As you gather these tools and equipment, ensure that they are in good working condition and readily accessible on the day of the move. Having the right tools at your disposal will streamline the relocation process and contribute to a successful and well-organized shed move.
Read more: How To Move Storage Shed
Disassembling the Shed
Disassembling a Tuff Shed requires a systematic approach to ensure that each component is carefully removed and properly labeled for reassembly. Follow these steps to effectively disassemble the shed:
Step 1: Clear the Interior
Begin by removing all items and contents from inside the shed. Clearing the interior will reduce the overall weight of the shed and minimize the risk of damage to stored items during the disassembly process. Store the items in a safe and secure location until the shed is reassembled.
Step 2: Remove Doors and Windows
Start by unscrewing and removing the doors and windows from their respective openings. Place the hardware and fasteners in labeled bags or containers to ensure that they are not misplaced during the move.
Step 3: Disassemble Roof Panels
If the shed has a sloped roof, carefully remove the roofing panels one by one, starting from the top. Use appropriate tools to unscrew any fasteners securing the panels to the shed structure. Label the panels to indicate their original positions for easy reassembly.
Read more: How To Move A Heavy Shed
Step 4: Dismantle Wall Panels
Next, disassemble the wall panels by unscrewing the fasteners and gently prying the panels away from the frame. Take care to avoid damaging the panels during removal and ensure that they are appropriately labeled for reinstallation.
Step 5: Label and Organize Components
As each component is removed, label it with a marker or adhesive tags to indicate its position and orientation. Organize the labeled components in a designated area to prevent confusion during the reassembly process.
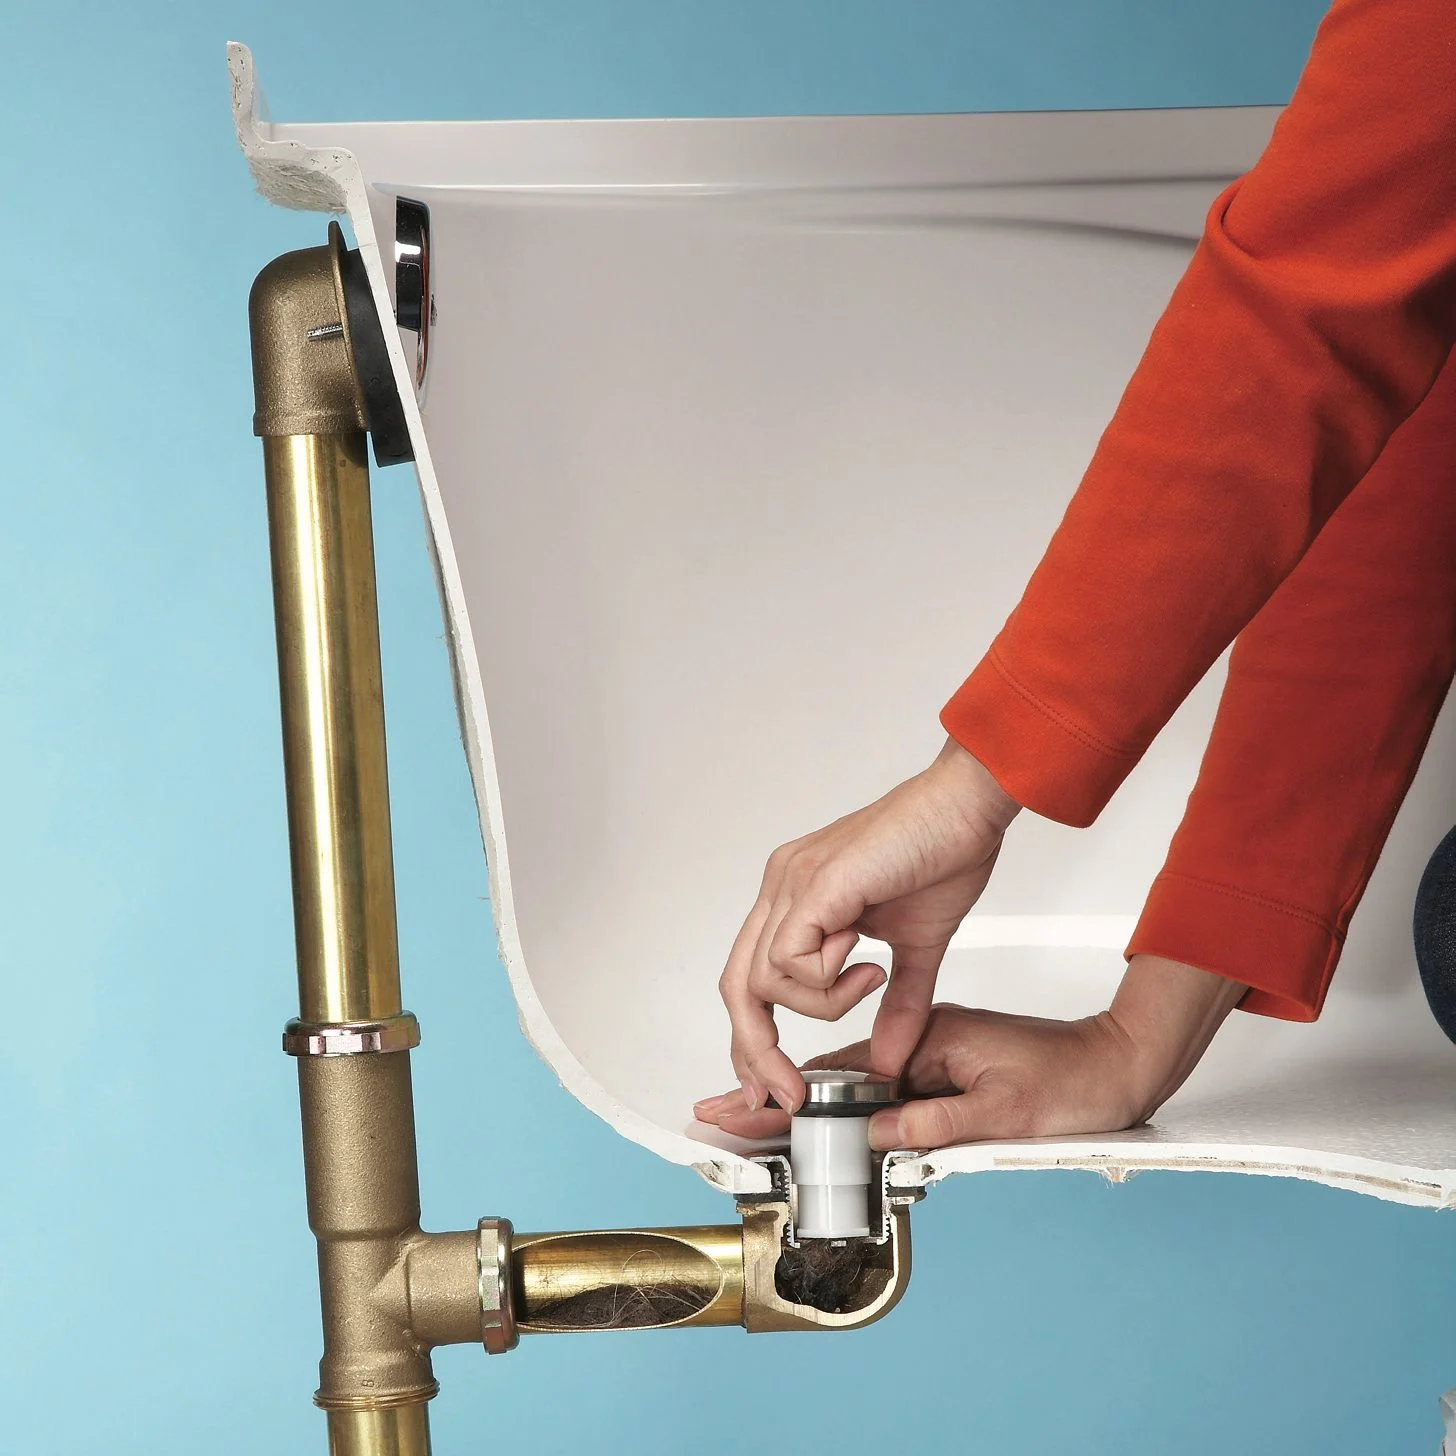
Step 6: Disconnect Electrical and Plumbing (if applicable)
If the shed is equipped with electrical wiring or plumbing fixtures, disconnect these components according to safety guidelines and local regulations. Cap off any exposed wires or pipes to prevent accidents or damage during transportation.
Step 7: Secure Loose Parts and Hardware
Collect all loose hardware, fasteners, and small components in labeled containers to ensure that they are not lost during transit. Keeping these items organized will expedite the reassembly process at the new location.
By methodically disassembling the shed and meticulously labeling and organizing its components, you’ll pave the way for a seamless and efficient reassembly process. With the shed disassembled and the components properly prepared, you’re ready to proceed with the relocation to the new site.
Read more: How To Move A Shed On A Trailer
Moving the Shed to the New Location
Transporting a disassembled Tuff Shed to its new location requires careful planning and attention to detail to ensure a safe and successful move. Follow these steps to facilitate the transportation of the shed components:
Step 1: Prepare the Transportation Vehicle
If you’re using a personal vehicle or trailer to transport the shed components, ensure that the vehicle is in good working condition and capable of safely accommodating the load. Secure any necessary permits or clearances for transporting oversized or heavy cargo, if applicable.
Step 2: Load Shed Components Safely
Utilize lifting straps, dollies, and assistance from others to carefully load the shed components onto the transportation vehicle. Take care to distribute the weight evenly and secure the components to prevent shifting or damage during transit.
Step 3: Protect Components from the Elements
Shield the shed components from inclement weather by covering them with tarps or plastic sheeting. Secure the coverings to prevent wind damage and protect the components from moisture during transportation.
Read more: How Can I Move A Shed
Step 4: Secure the Load for Transit
Use ratchet straps, bungee cords, or tie-downs to secure the shed components to the transportation vehicle. Double-check the security of the load to ensure that it is stable and immobilized for the duration of the journey.
Step 5: Transport the Components to the New Site
Exercise caution and drive carefully to the new location, taking into account the size and weight of the shed components. If using a professional moving company, ensure that they are experienced in handling shed relocations and follow industry best practices for transporting oversized items.
Step 6: Unload and Prepare for Reassembly
Upon arrival at the new site, carefully unload the shed components and organize them according to their labeled positions. Take stock of all components to ensure that nothing was lost or damaged during transit, and prepare the area for the reassembly process.
By adhering to these steps, you can ensure that the shed components are transported safely and arrive at the new location ready for reassembly. With the shed components successfully relocated, you’re now prepared to embark on the final phase of the process: reassembling the shed at its new home.
Reassembling the Shed
Reassembling a Tuff Shed at its new location demands precision, organization, and attention to detail to ensure that the structure is reconstructed correctly and securely. Follow these steps to effectively reassemble the shed:
Read more: How To Move A Large Shed Without Dismantling
Step 1: Prepare the Foundation
If the new site requires any foundation preparation, such as leveling the ground or installing a base, attend to these tasks before commencing the reassembly. A stable and level foundation is essential for ensuring the shed’s structural integrity.
Step 2: Consult the Assembly Manual
Refer to the shed’s assembly manual or instructions provided by the manufacturer to familiarize yourself with the reassembly process. Take note of any specific guidelines or recommendations for the reassembly sequence and techniques.
Step 3: Sort and Organize Components
Review the labeled components and organize them according to their positions in the shed’s structure. Group similar components together and ensure that all necessary hardware and fasteners are readily accessible for the reassembly process.
Step 4: Reattach Wall and Roof Panels
Begin by reattaching the wall panels to the shed’s frame, following the sequence and orientation indicated in the assembly manual. Use the appropriate tools to secure the panels and ensure that they are aligned and flush with the frame.
Read more: Who Can Move A Storage Shed Near Me
Step 5: Install Doors and Windows
Reinstall the doors and windows into their respective openings, ensuring that they are properly aligned and securely fastened. Test the operation of the doors and windows to verify that they function smoothly.
Step 6: Complete Roof Installation
If the shed has a sloped roof, carefully install the roofing panels according to the manufacturer’s instructions. Ensure that the panels are securely fastened and that any sealants or weatherproofing measures are applied as recommended.
Step 7: Finalize Electrical and Plumbing (if applicable)
If the shed is equipped with electrical or plumbing components, carefully reconnect and test these systems to ensure proper functionality and safety. Adhere to local building codes and regulations when reestablishing these connections.
Step 8: Inspect and Secure Components
Conduct a thorough inspection of the reassembled shed to verify that all components are properly installed and secured. Double-check the alignment, structural integrity, and weatherproofing measures to ensure that the shed is ready for use.
By following these steps and exercising care and precision during the reassembly process, you can successfully reconstruct your Tuff Shed at its new location, ready to serve its intended purpose for years to come.
Read more: How To Move A Wardrobe
Conclusion
Successfully moving a Tuff Shed to a new location involves a series of meticulous steps, from assessing the shed and preparing for the move to disassembling, transporting, and reassembling it with precision. By approaching the relocation process methodically and attentively, you can ensure that your Tuff Shed is relocated safely and efficiently, ready to serve its intended purpose in its new environment.
Throughout this guide, we’ve emphasized the importance of careful planning, organization, and adherence to manufacturer’s guidelines to facilitate a seamless shed relocation. By assessing the shed’s condition, securing necessary permits, and preparing the new site, you establish a solid foundation for a successful move. Gathering the essential tools and equipment, along with enlisting the support of a capable team, further enhances the relocation process.
Disassembling the shed with care and attention to detail, labeling components, and safeguarding hardware sets the stage for a smooth transition to the new location. Transporting the shed components safely, protecting them from the elements, and preparing for reassembly ensure that the shed arrives at its destination in optimal condition.
Reassembling the shed demands meticulous attention to the assembly manual, organized sorting of components, and precise installation to restore the shed to its original form. By following these steps, you can confidently reconstruct your Tuff Shed, ready to fulfill its storage or workspace function once again.
Ultimately, the successful relocation of a Tuff Shed is a testament to careful planning, systematic execution, and a deep understanding of the shed’s structure and assembly. With this guide as your companion, you’re equipped to navigate the shed relocation process with confidence and competence, ensuring that your Tuff Shed continues to serve as a reliable and enduring outdoor structure in its new location.
Just mastered relocating your Tuff Shed? Keep that momentum going and learn more about shifting any storage space efficiently with our next guide. Whether you're looking at small adjustments or big moves, knowing how to navigate these changes makes all the difference. Our detailed steps ensure your sheds get from point A to B without a hitch. Ready for more insightful tips? Dive into our next article and continue enhancing your moving skills.
Frequently Asked Questions about How To Move A Tuff Shed
Was this page helpful?
At Storables.com, we guarantee accurate and reliable information. Our content, validated by Expert Board Contributors, is crafted following stringent Editorial Policies. We're committed to providing you with well-researched, expert-backed insights for all your informational needs.


0 thoughts on “How To Move A Tuff Shed”