Home>Gardening & Outdoor>Outdoor Structures>How To Square A Shed
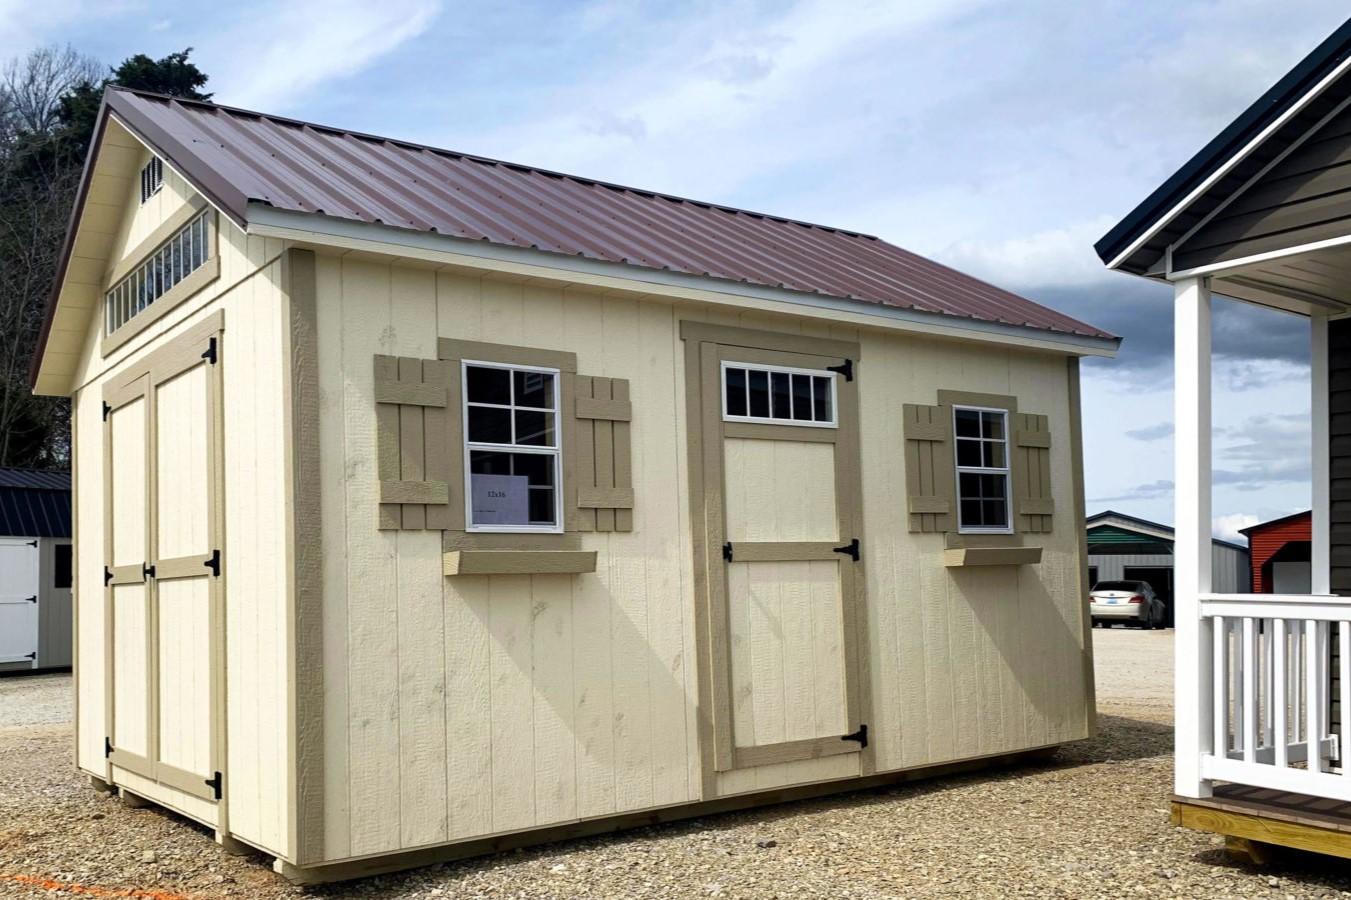

Outdoor Structures
How To Square A Shed
Modified: February 18, 2024
Learn how to square a shed and ensure stability for your outdoor structures with our step-by-step guide. Get expert tips and techniques for a sturdy and durable shed.
(Many of the links in this article redirect to a specific reviewed product. Your purchase of these products through affiliate links helps to generate commission for Storables.com, at no extra cost. Learn more)
Introduction
Welcome to the ultimate guide on how to square a shed! Building a shed can be an exciting and rewarding project, but it’s crucial to ensure that each step is executed with precision to guarantee a sturdy and visually appealing final product. One of the most critical aspects of shed construction is ensuring that the structure is perfectly square, as this directly impacts its stability and overall functionality.
In this comprehensive guide, we will walk you through the step-by-step process of squaring a shed, covering everything from preparing the site and building the foundation to assembling the shed frame, squaring the structure, and securing it in place. Whether you’re a seasoned DIY enthusiast or a novice builder, this article will equip you with the knowledge and confidence to tackle this essential task with ease.
So, grab your tools, put on your work gloves, and let’s dive into the world of shed construction as we explore the art of squaring a shed!
Key Takeaways:
- To square a shed, meticulously prepare the site, build a solid foundation, and assemble the frame with precision. Ensuring the shed is perfectly squared and securely anchored is crucial for a durable and visually appealing structure.
- Securing the shed with anchor bolts, metal straps, and hurricane ties is essential for stability and longevity. By investing in the resilience of the structure, you can enjoy peace of mind knowing your hard work will withstand the test of time and weather.
Read more: How Big Is A 120 Square Feet Shed
Step 1: Prepare the Site
Before embarking on the construction of your shed, it’s crucial to prepare the site meticulously. Start by selecting a level area that is free from any obstructions such as rocks, tree roots, or uneven terrain. Clear the site of any debris and vegetation, ensuring that the ground is firm and stable.
Next, mark the perimeter of the shed using stakes and string, clearly outlining the dimensions of the structure. This will serve as a visual guide to help you visualize the shed’s placement and ensure that it aligns with your initial plans.
If your shed will be situated on bare ground, consider laying down a layer of gravel or crushed stone to create a stable and well-drained foundation. This will help prevent moisture buildup and prolong the life of your shed by minimizing the risk of rot and decay.
Additionally, take into account the local building codes and regulations when preparing the site. Ensure that the location and dimensions of your shed comply with any applicable zoning laws and restrictions. This proactive approach will save you time and potential headaches down the line, ensuring that your shed construction proceeds smoothly and without any legal complications.
By meticulously preparing the site before commencing construction, you set the stage for a successful and structurally sound shed. With the groundwork laid and the site primed for construction, you’re ready to move on to the next crucial step: building the foundation.
Step 2: Build the Foundation
Building a solid foundation is paramount to the structural integrity and longevity of your shed. The foundation serves as the base upon which the entire structure rests, providing stability and protection against ground moisture. There are several options for shed foundations, including concrete slabs, gravel pads, and pressure-treated wood skids.
If you opt for a concrete slab foundation, start by excavating the site to the required depth, ensuring that the ground is level and compacted. Construct formwork to contain the concrete and pour the mixture evenly, using a screed to level the surface. Allow the concrete to cure thoroughly before proceeding with the construction of the shed.
Alternatively, a gravel pad offers a cost-effective and relatively simple foundation solution. After preparing the site, spread a layer of gravel evenly, ensuring that it is compacted and leveled. This provides a stable base for the shed while allowing for adequate drainage, preventing water from accumulating around the structure.
For a more traditional approach, consider using pressure-treated wood skids as the foundation for your shed. These beams are placed directly on the ground, providing a stable platform for the shed’s floor joists. Ensure that the skids are level and properly spaced to support the entire footprint of the shed.
Regardless of the foundation type you choose, it’s essential to prioritize durability and stability. A well-constructed foundation will not only support the weight of the shed but also protect it from moisture and shifting ground. By investing time and effort into building a robust foundation, you’re laying the groundwork for a structurally sound and long-lasting shed.
Step 3: Assemble the Shed Frame
With the site prepared and the foundation in place, it’s time to embark on assembling the frame of your shed. The frame serves as the skeleton of the structure, providing support for the walls, roof, and doors. Whether you’re working with a pre-fabricated shed kit or constructing the frame from scratch, meticulous attention to detail is essential at this stage.
If you’re building from a kit, carefully follow the manufacturer’s instructions, ensuring that each component is assembled according to the provided guidelines. Pay close attention to the orientation and alignment of the frame pieces, as any discrepancies at this stage can significantly impact the squareness of the shed.
For those constructing a custom shed frame, precise measurements and cutting accuracy are paramount. Use quality lumber and ensure that each piece is cut to the exact dimensions specified in your shed plans. Take the time to verify the squareness of the frame as you assemble it, making any necessary adjustments to maintain its integrity.
As the frame begins to take shape, it’s essential to secure the components firmly in place. Utilize galvanized screws or nails to join the frame members, ensuring that the connections are robust and stable. Additionally, consider reinforcing key joints with metal brackets or braces to enhance the overall strength of the frame.
Throughout the assembly process, periodically check the squareness of the frame using a carpenter’s square or a measuring tape. This simple yet crucial step will help identify any deviations from true squareness, allowing you to make timely adjustments and maintain the structural integrity of the shed.
By meticulously assembling the shed frame with precision and care, you’re laying the groundwork for a sturdy and well-constructed structure. With the frame in place, you’re ready to move on to the pivotal task of squaring the shed, ensuring that it stands plumb and true.
When squaring a shed, use the 3-4-5 method to ensure the corners are at right angles. Measure 3 feet along one side, 4 feet along the other, and the diagonal should measure 5 feet if the shed is square.
Step 4: Square the Shed
Ensuring that your shed is perfectly square is a critical step that directly impacts its structural stability and overall appearance. A square shed will not only stand securely on its foundation but also provide a visually appealing and professional finish. To achieve this, meticulous attention to detail and precision is essential.
Start by measuring the diagonals of the shed floor frame from corner to corner. The measurements should be equal if the frame is perfectly square. If the diagonals are unequal, adjust the frame until both measurements match, using gentle taps with a mallet or repositioning the frame as needed.
Once the floor frame is squared, continue to verify the squareness as you assemble the walls and roof trusses. Check the corners of the structure using a carpenter’s square, ensuring that they form right angles. Pay close attention to the alignment of the walls and the placement of the trusses, making any necessary adjustments to maintain squareness throughout the construction process.
When the walls and roof trusses are in place, take a final measurement of the diagonals to confirm that the shed remains square. Any minor discrepancies can be corrected by shifting or adjusting the components as needed, ensuring that the structure maintains its square shape from top to bottom.
Throughout the squaring process, it’s essential to maintain a keen eye for detail and a commitment to precision. Taking the time to ensure that each component of the shed is perfectly aligned and square will yield a structurally sound and visually pleasing result.
By meticulously squaring the shed at every stage of construction, you’re setting the stage for a professional-quality structure that stands the test of time. With the shed now squared and true, it’s time to focus on securing it in place, ensuring that it remains steadfast and resilient against the elements.
Read more: How Many Square Feet In A 10X16 Shed
Step 5: Secure the Shed
Once the shed is squared and all the components are in place, securing the structure is essential to ensure its stability and longevity. Properly anchoring the shed to the foundation will protect it from shifting or being displaced by external forces such as wind or seismic activity. Additionally, securing the shed will provide peace of mind, knowing that your hard work is safeguarded against the elements.
When it comes to securing the shed, there are several options to consider. One common method is to utilize anchor bolts or screws to fasten the bottom plates of the shed walls to the foundation. These fasteners should be driven through the bottom plates and into the foundation at regular intervals, ensuring a secure connection that prevents lateral movement.
For sheds with wooden skid foundations, consider using metal straps or brackets to anchor the shed to the skids. These components are affixed to the shed walls and secured to the skids, providing additional stability and preventing the structure from shifting or lifting during inclement weather.
Furthermore, if your shed features a roof, it’s crucial to secure the roof trusses or rafters to the walls using hurricane ties or similar hardware. These connectors provide essential reinforcement, preventing the roof from being lifted off the shed during high winds or storms, thereby safeguarding the entire structure.
Additionally, consider the placement of the shed in relation to potential wind patterns and exposure to the elements. Orienting the shed to minimize direct exposure to prevailing winds can reduce the structural strain and enhance its overall stability.
By taking the time to secure your shed effectively, you’re investing in the long-term resilience and durability of the structure. With the shed firmly anchored and safeguarded against external forces, you can enjoy peace of mind, knowing that your hard work will withstand the test of time and weather.
Conclusion
Congratulations on successfully navigating the essential steps to square and secure your shed! By meticulously preparing the site, building a solid foundation, assembling the frame with precision, and ensuring the shed is perfectly squared and securely anchored, you’ve laid the groundwork for a durable and visually appealing structure that will serve you well for years to come.
Throughout this journey, you’ve honed your skills as a builder, embracing the art of precision and attention to detail. From meticulously measuring and adjusting the shed frame to securing every component in place, you’ve demonstrated a commitment to craftsmanship that sets your project apart.
As you stand back and admire your completed shed, take pride in knowing that it stands as a testament to your dedication and skill. Whether you’re using the shed for storage, as a workshop, or as a cozy retreat, its squareness and stability will provide a reliable and inviting space for your needs.
Remember, the knowledge and expertise you’ve gained in squaring and securing a shed extend beyond this project. These skills will serve you well in future construction endeavors, empowering you to tackle new challenges with confidence and precision.
So, as you bask in the satisfaction of a job well done, take a moment to appreciate the resilience and strength of your squared and secured shed. Your commitment to excellence has yielded a structure that not only stands firm on the foundation but also stands as a testament to your skill and dedication.
With the shed now squared and secure, you’re ready to fill it with tools, equipment, or cherished possessions, knowing that they are housed within a structure built to last. Embrace the pride of a job well done and the anticipation of the memories and projects that await within your meticulously crafted and secured shed.
Frequently Asked Questions about How To Square A Shed
Was this page helpful?
At Storables.com, we guarantee accurate and reliable information. Our content, validated by Expert Board Contributors, is crafted following stringent Editorial Policies. We're committed to providing you with well-researched, expert-backed insights for all your informational needs.




0 thoughts on “How To Square A Shed”