Articles
How To Make A Quilt With Squares
Modified: November 2, 2024
Learn how to create beautiful quilts using square patterns with our informative articles. Get step-by-step instructions and expert tips to make your quilting journey a success.
(Many of the links in this article redirect to a specific reviewed product. Your purchase of these products through affiliate links helps to generate commission for Storables.com, at no extra cost. Learn more)
Introduction
Quilting is a beloved craft that has been passed down through generations. Creating a quilt with squares is a classic and versatile technique that allows you to showcase different fabrics and designs. Whether you’re a beginner or an experienced quilter, this step-by-step guide will help you create a beautiful and personalized quilt with squares.
The process of making a quilt with squares involves selecting fabrics, arranging the squares, sewing them together, adding batting and backing, quilting the layers together, and finishing the quilt. It may seem intimidating at first, but with practice and patience, you’ll be able to create stunning quilts that can be cherished for years to come.
In this article, we’ll walk you through each step of the process, providing useful tips and techniques along the way. So, gather your materials, unleash your creativity, and let’s get started on making a quilt with squares!
Key Takeaways:
- Quilting with squares is a timeless craft that allows you to express your creativity and create a personalized work of art. From choosing fabrics to sewing and quilting, each step contributes to a rewarding and fulfilling quilting journey.
- By embracing your creativity and following the step-by-step guide, you can confidently embark on your quilting journey. Whether you’re a beginner or an experienced quilter, the process of making a quilt with squares is a therapeutic and enjoyable experience that results in a beautiful and meaningful creation.
Step 1: Gather Materials
Before you begin your quilting journey, it’s important to gather all the necessary materials. Here’s a list of items you’ll need to make a quilt with squares:
- Fabric: Choose a variety of fabrics in different colors, patterns, and textures. You can opt for cotton, flannel, or even silk, depending on the desired outcome of your quilt.
- Rotary Cutter: This tool is essential for cutting accurate and precise fabric squares. Make sure you have a sharp blade for clean cuts.
- Self-Healing Cutting Mat: Invest in a good-quality cutting mat to protect your work surface and ensure smooth cutting.
- A quilter’s ruler: This ruler has measurement markings specifically designed for quilting. It will help you achieve precise and consistent square sizes.
- Thread: Choose a strong thread that matches or complements your fabric choices.
- Sewing Machine: While you can hand-sew your quilt, using a sewing machine will save you time and effort. Make sure your machine is in good working condition.
- Pins or Clips: These will be used to hold the fabric squares together before sewing.
- Batting: This is the soft and fluffy layer that provides warmth and insulation to your quilt.
- Backing Fabric: Choose a fabric for the back of your quilt that coordinates with the front or complements the overall theme.
- Quilting Safety Pins: These pins are used to secure the layers of the quilt before quilting.
- Iron and Ironing Board: Pressing your fabric before cutting and sewing is essential for achieving precise and professional-looking results.
Make sure you have all these materials on hand before you begin your quilting project. Having everything ready will make the process smoother, and you’ll be able to focus on the creative aspect of quilting.
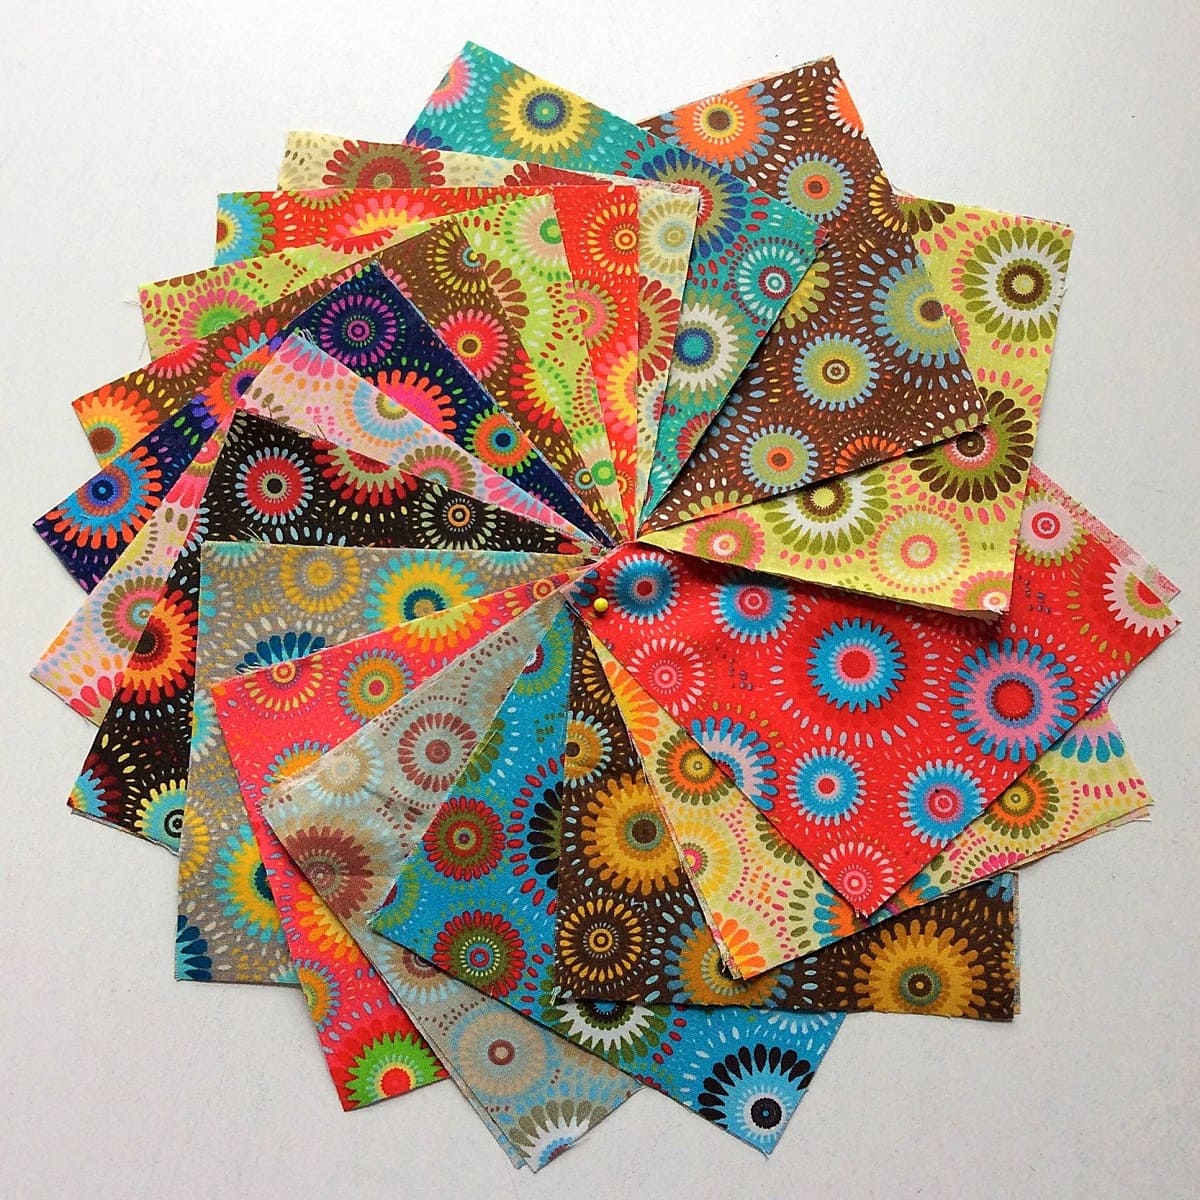
Step 2: Choose Fabric Squares
Choosing the fabric squares for your quilt is a fun and creative process. It allows you to play with colors, patterns, and textures to create a visually appealing design. Here are some tips to help you choose the perfect fabric squares:
- Color Scheme: Decide on a color scheme that complements your personal preferences and the overall theme of your quilt. You can choose a monochromatic scheme, complementary colors, or go for a more eclectic mix.
- Contrast: Consider the contrast between the fabric squares. You can mix light and dark fabrics, bold prints with subtle patterns, or even incorporate solids to create visual interest.
- Scale: Pay attention to the scale of the fabric prints. Mixing different scales can add depth and dimension to your quilt.
- Texture: Explore different fabric textures such as cotton, flannel, or silk to add tactile interest to your quilt.
- Theme or Design: If you have a specific theme or design in mind, select fabrics that align with it. For example, if you’re creating a baby quilt, choose fabrics with cute animal prints or nursery-themed patterns.
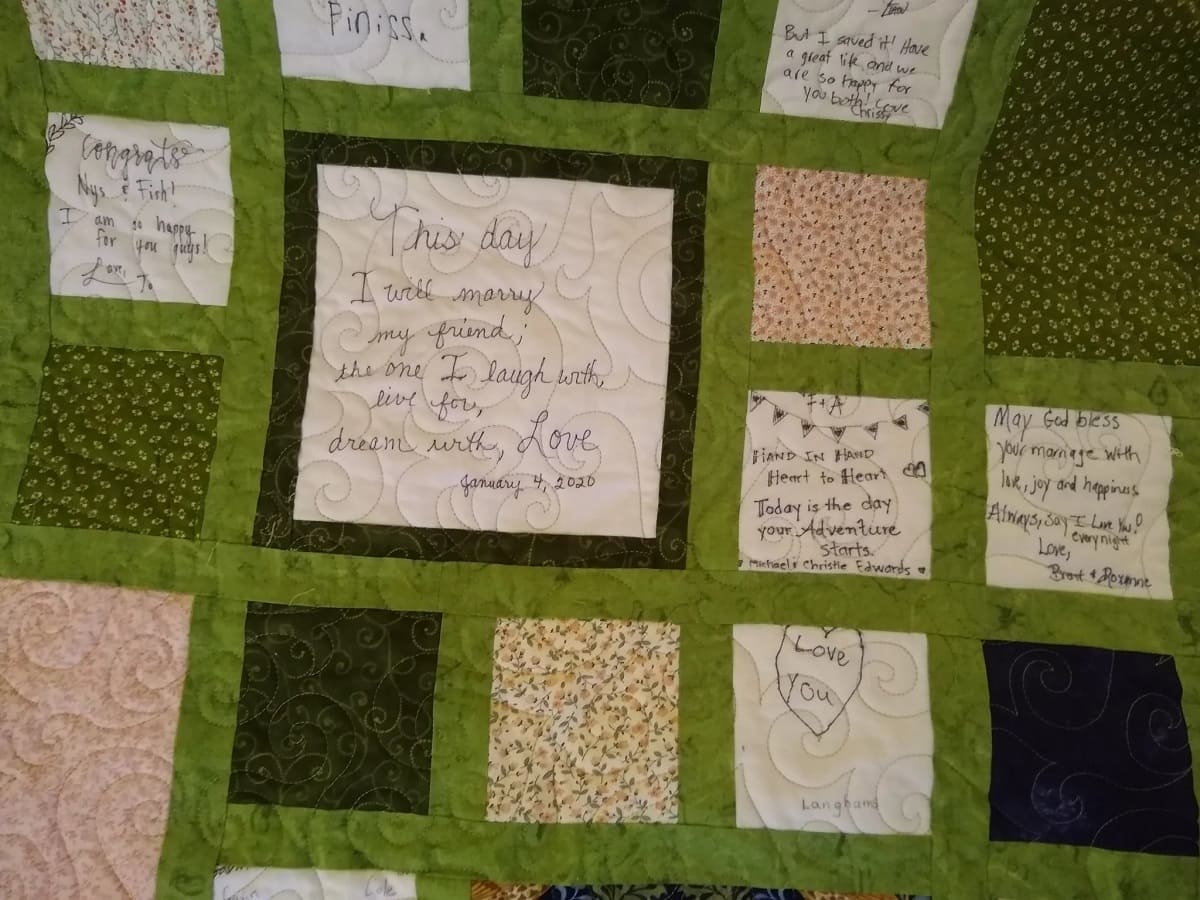
- Personalize: Consider incorporating fabrics with sentimental value, such as a favorite shirt or fabric scraps from special occasions.
When choosing fabric squares, it’s important to have a good mix of prints, colors, and textures to create an interesting and visually appealing quilt. Lay out the fabric squares together to get a sense of how they work together. Rearrange them until you’re satisfied with the overall composition.
Remember, this is your quilt, so let your creativity and personal style shine through in your fabric selections. Once you’ve chosen your fabric squares, you’re ready to move on to the next step of arranging them in a visually pleasing layout.
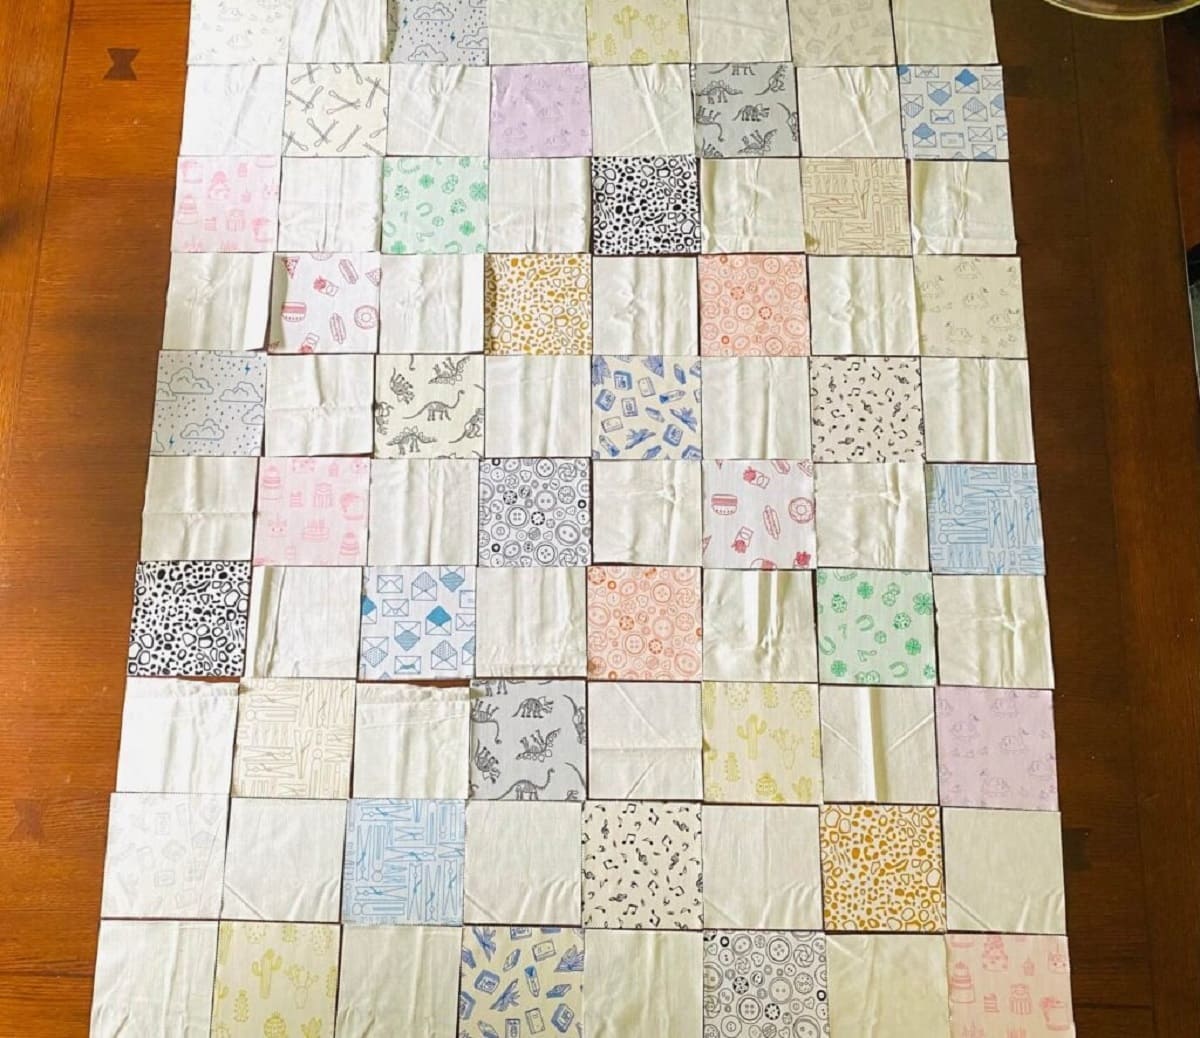
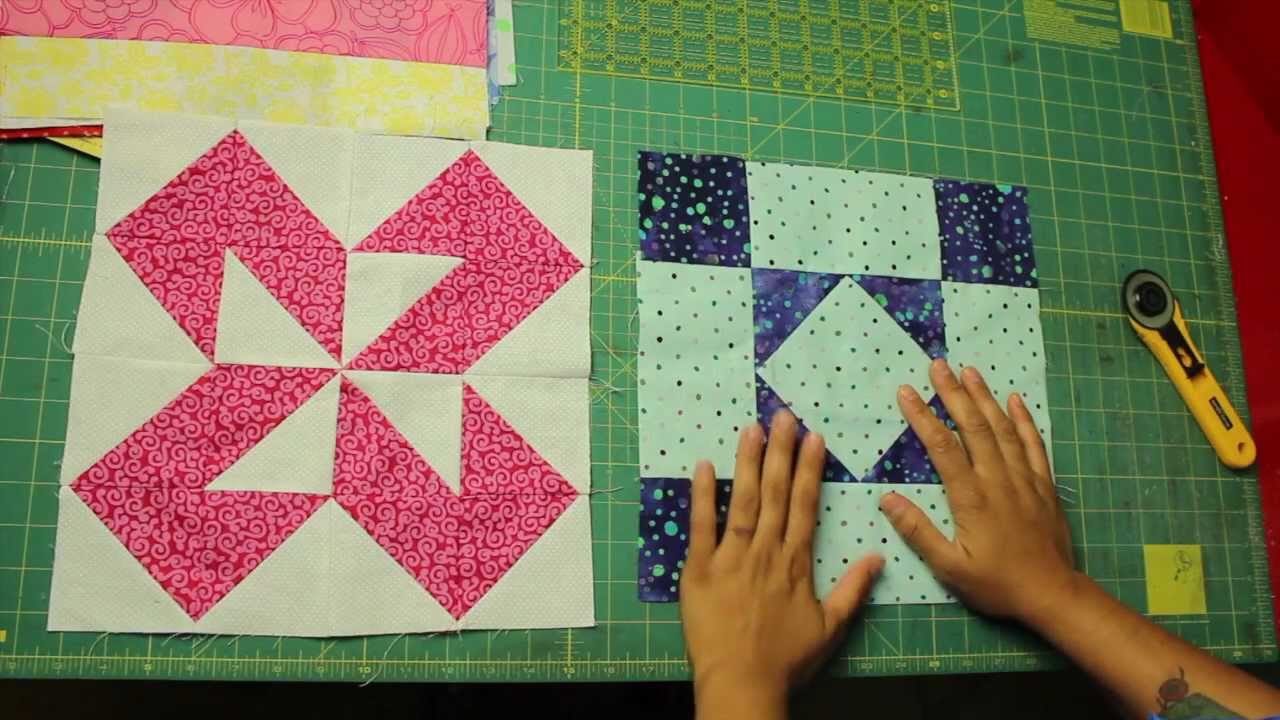
Step 3: Arrange the Squares
Now that you have your fabric squares selected, it’s time to arrange them in a visually pleasing layout for your quilt. The arrangement of the squares can make a big impact on the overall design and aesthetic of your finished quilt. Here are some tips to help you with the arrangement:
- Size and Shape: Consider the size and shape of your fabric squares. You can mix different sizes and shapes to create a dynamic and interesting layout.
- Random or Patterned: Decide if you want a random arrangement or a specific pattern. Random arrangements can create a playful and eclectic look, while patterns can provide a more cohesive and organized design.
- Color Placement: Experiment with different ways to place the colors in your fabric squares. You can create a gradient effect, alternate light and dark colors, or even create specific color patterns.
- Contrast: Pay attention to the contrast between the fabric squares. Mixing contrasting colors or patterns can create a bold and eye-catching design.
- Balance: Aim for a balanced arrangement by distributing colors, patterns, and textures evenly throughout the quilt.
- Take a Step Back: Once you’ve arranged the squares, take a step back and view the layout from a distance. This will help you see the overall design and make any necessary adjustments.
Don’t be afraid to experiment and play around with the arrangement until you’re happy with the result. Consider taking a photo or sketching the layout for future reference. Once you’re satisfied with the arrangement, you can move on to sewing the squares together in the next step.
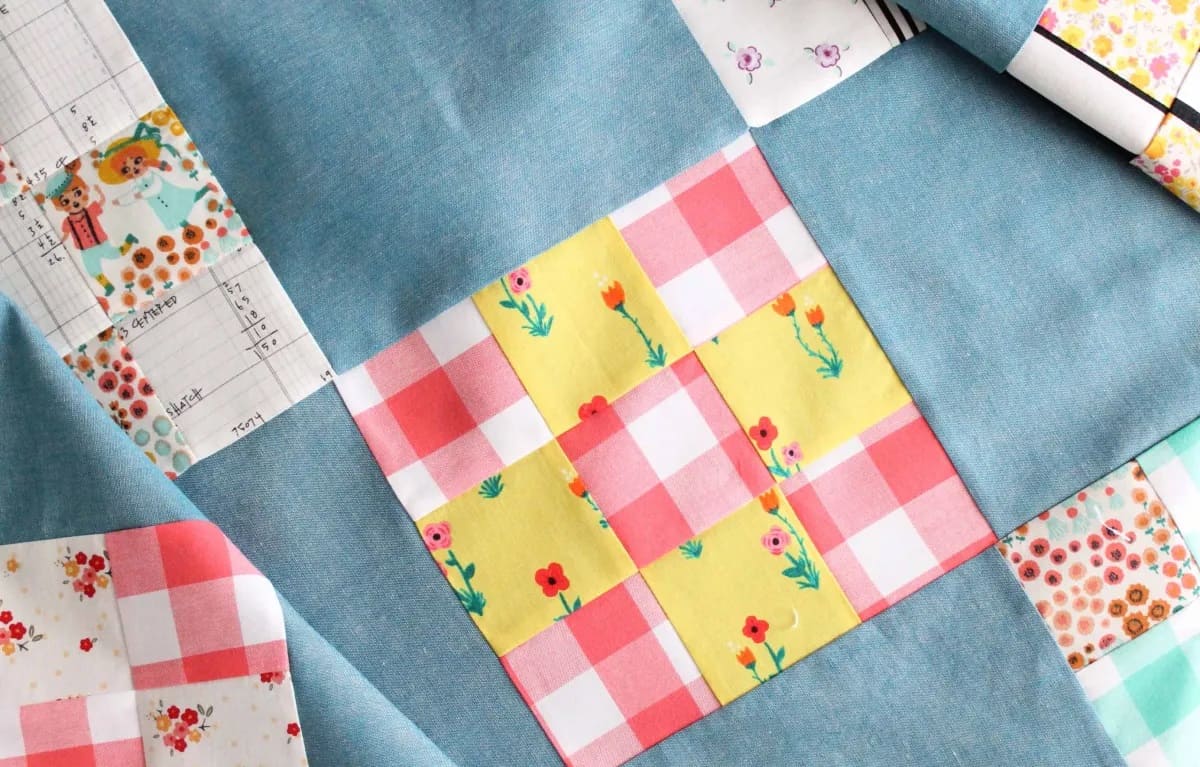
Step 4: Sew the Squares Together
Now that you have your fabric squares arranged in the desired layout, it’s time to sew them together. Sewing the squares together will transform them into a cohesive quilt top. Follow these steps to sew the squares together:
- Start with the first two squares in your layout. Place them right sides together, aligning the edges.
- Pin or clip the squares together along the edge to secure them in place.
- Using a sewing machine, stitch along the pinned edge with a ¼ -inch seam allowance. Backstitch at the beginning and end of the seam to secure it.
- Repeat the process with the next square, adding it to the previous sewn square. Continue sewing each square together until you have completed a row.
- Press the seams open or to one side, according to your preference. This will help reduce bulk and create a neater appearance.
- Repeat steps 1-5 to sew the remaining rows of squares together.
- Once all the rows are sewn, sew the rows together by aligning the seams and stitching them with a ¼-inch seam allowance. Press the seams open or to one side.
Take your time to sew each seam carefully, ensuring accurate stitching and maintaining the alignment of the squares. As you progress, periodically check the front and back of your quilt top to ensure everything is coming together smoothly.
After sewing all the squares together, press the entire quilt top to remove any wrinkles or creases. Now you’re ready to move on to the next step of adding batting and backing to your quilt.
When making a quilt with squares, be sure to accurately measure and cut your fabric to ensure all the squares are the same size. This will help create a more uniform and professional-looking finished quilt.
Read more: How Many 5 Inch Squares To Make A Quilt
Step 5: Add Batting and Backing
Adding batting and backing to your quilt will provide warmth, structure, and a finished look. Follow these steps to incorporate batting and backing into your quilt:
- Measure and cut the batting and backing fabric to the desired size, allowing for extra fabric around the edges.
- Lay your quilt top right side up on a flat surface.
- Place the batting on top of the quilt top, aligning the edges.
- Smooth out any wrinkles or folds in the batting, ensuring it is evenly spread across the quilt top.
- Place the backing fabric right side down on top of the batting and quilt top, aligning the edges.
- Pin or clip all three layers together, making sure they are secure and there are no tucks or puckers.
- Trim excess batting and backing, leaving a 1-2 inch border around the quilt top.
By sandwiching the quilt top between the batting and backing, you are creating three layers to be quilted together. This step is essential for achieving the desired thickness, warmth, and overall structure of your quilt.
Once the layers are pinned or clipped together and trimmed, you’re ready to move to the next step of quilting the layers together.
Step 6: Quilt the Layers Together
Quilting the layers together is the process of stitching through all three layers – the quilt top, batting, and backing – to secure them and create a decorative pattern. There are various methods and designs you can choose from to quilt your quilt. Here are a few options:
- Hand Quilting: This traditional method involves stitching the layers together by hand using a needle and thread. It requires patience and skill, but it allows for intricate designs and precise control.
- Machine Quilting: Using a sewing machine equipped with a quilting foot, you can stitch the layers together in various patterns and designs. Machine quilting is faster than hand quilting and offers a wide range of quilting options.
- Free-Motion Quilting: With free-motion quilting, you have the freedom to move the quilt in any direction under the needle of your sewing machine. This technique allows for creative and unique quilting designs.
- Straight Line Quilting: This method involves stitching straight lines across the quilt top, either horizontally, vertically, or diagonally. It creates a clean and modern look.
Choose the quilting method that suits your skill level and desired outcome. If you’re just starting out, straight line quilting or simple designs can be a good place to begin. Experiment with different techniques and patterns to add texture and visual interest to your quilt.
Once you have completed quilting the layers together, trim any excess threads and give your quilt a final press. This will ensure that the layers are securely quilted and that your quilt looks neat and professional.
Congratulations! You’re almost done. It’s time to move on to the final step of trimming and finishing your quilt.
Step 7: Trim and Finish the Quilt
The final step in making a quilt with squares is to trim and finish your quilt. Follow these steps to complete your quilt:
- Trim the Excess Fabric: Use a rotary cutter and ruler to trim the edges of your quilt, ensuring that all three layers are even and there are no jagged or uneven edges.
- Add Binding: Binding is the fabric strip that covers and secures the raw edges of your quilt. Cut fabric strips and sew them together to create a long strip. Attach the binding to the edge of your quilt, making sure to miter the corners for a neat finish.
- Hand or Machine Stitch the Binding: Fold the binding over to the back of the quilt and stitch it down. You can choose to hand stitch it using a blind or whip stitch for an invisible finish, or use your sewing machine to stitch it down for a faster finish.
- Add a Label (Optional): Consider adding a fabric label to the back of your quilt. This label can include your name, the date, and any other information you want to include to commemorate the making of the quilt.
Once you have completed these final steps, your quilt with squares is ready. Take a step back and admire your handiwork. The time, effort, and creativity you put into making this quilt have resulted in a beautiful, unique creation that can be treasured for years to come.
Remember, quilting is an art form, and each quilt tells a story. Embrace the imperfections and enjoy the process of creating something with your own hands. Whether you choose to gift your quilt, use it as a decoration, or snuggle up with it on a chilly night, your quilt with squares will be a special and meaningful piece that showcases your talent and creativity as a quilter.
Congratulations on completing your quilt with squares! Happy quilting!
Conclusion
Creating a quilt with squares is a rewarding and fulfilling experience that allows you to unleash your creativity, showcase your chosen fabrics, and produce a beautiful and functional work of art. By following the steps outlined in this guide, you can confidently embark on your quilting journey, whether you’re a beginner or an experienced quilter.
Throughout this article, we have discussed the importance of gathering the necessary materials, choosing fabric squares, arranging them in an appealing layout, sewing them together, adding batting and backing, quilting the layers, and finally, trimming and finishing your quilt. Each step contributes to the overall success and beauty of your project.
Quilting is not only a way to express your artistic vision, but it also offers a sense of accomplishment and relaxation. The process of selecting fabrics, arranging squares, and sewing them together can be a therapeutic and enjoyable experience, allowing you to escape the hustle and bustle of daily life.
Remember to embrace your creativity and let your personal style shine through in your fabric choices and quilt design. Whether you prefer traditional patterns, modern designs, or a mix of both, your quilt with squares will be a unique reflection of your individuality.
As you gain more experience and confidence in quilting, don’t hesitate to experiment with different techniques, patterns, and fabrics. Each quilt you create will be a stepping stone in your quilting journey, honing your skills and expanding your repertoire.
Now that you have completed this comprehensive guide, it’s time to gather your materials, choose your fabric squares, and start creating your own quilt with squares. Let your imagination soar, enjoy the process, and create a quilt that will bring joy and warmth to your life and the lives of those you share it with.
Quilting is an art form that goes beyond mere craftsmanship. It is a labor of love, a way to connect with tradition, and an opportunity to create something truly meaningful. So, don’t delay any further – grab your fabrics and sewing machine, and start quilting! Happy quilting!
Frequently Asked Questions about How To Make A Quilt With Squares
Was this page helpful?
At Storables.com, we guarantee accurate and reliable information. Our content, validated by Expert Board Contributors, is crafted following stringent Editorial Policies. We're committed to providing you with well-researched, expert-backed insights for all your informational needs.


0 thoughts on “How To Make A Quilt With Squares”