Home>Furniture>Living Room Furniture>How To Build A Square Coffee Table
Living Room Furniture
How To Build A Square Coffee Table
Modified: October 31, 2024
Learn how to build a stylish square coffee table for your living room. Discover step-by-step instructions and create beautiful living room furniture.
(Many of the links in this article redirect to a specific reviewed product. Your purchase of these products through affiliate links helps to generate commission for Storables.com, at no extra cost. Learn more)
Introduction
Welcome to the ultimate guide on how to build a square coffee table! Whether you’re a seasoned DIY enthusiast or a beginner looking to embark on your first furniture-building project, this article will provide you with the step-by-step instructions and tips you need to create a beautiful and functional coffee table for your living room.
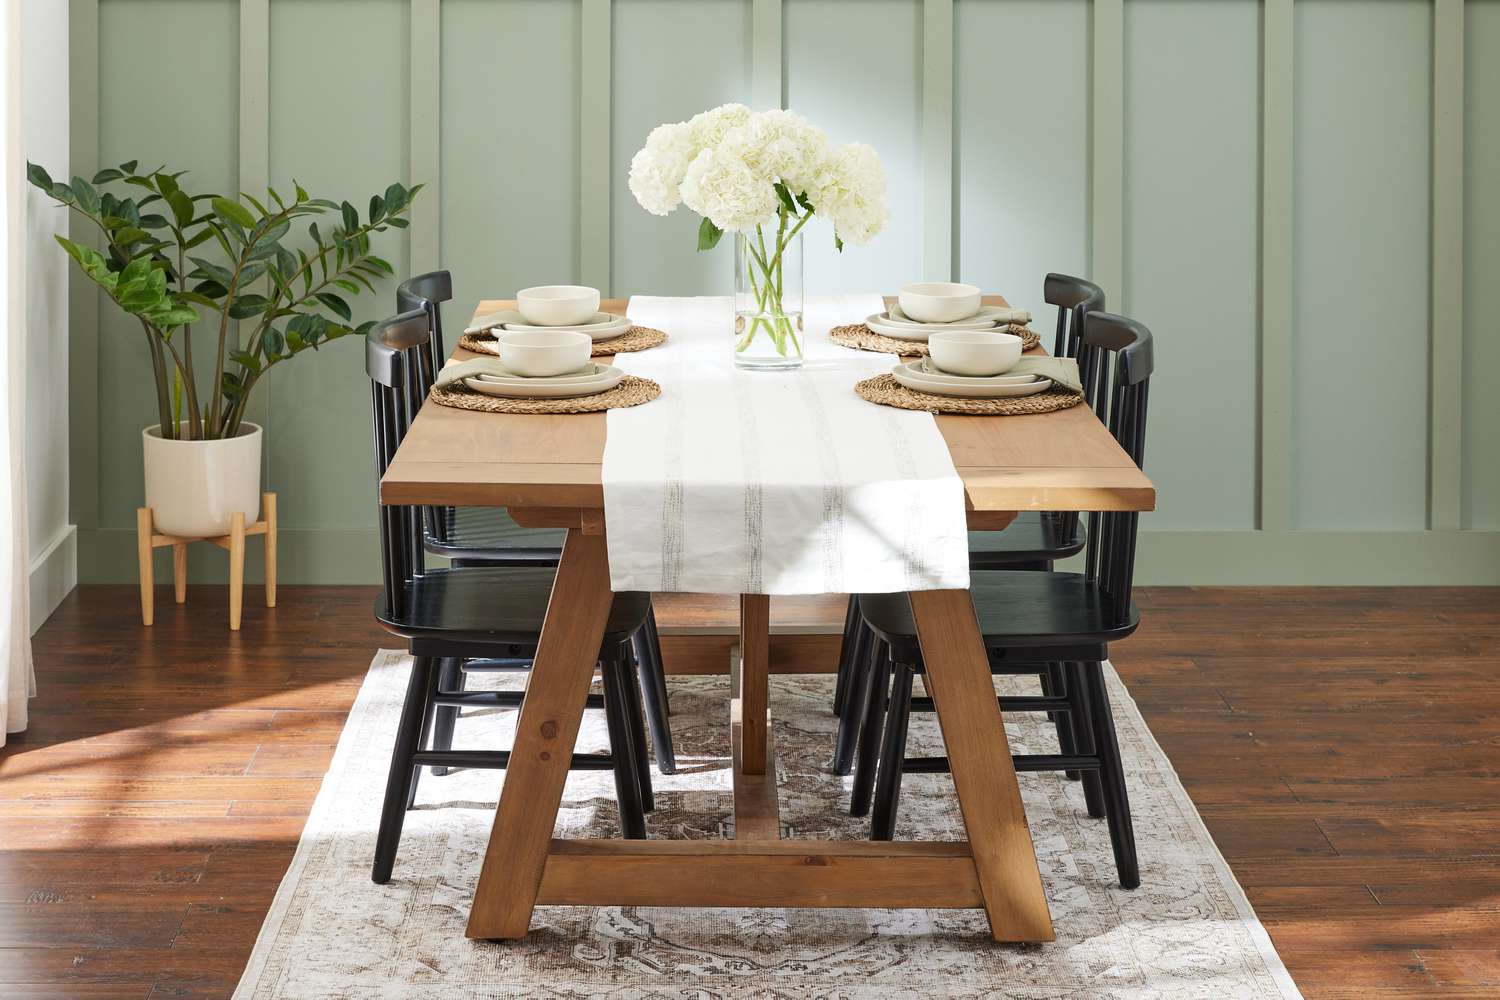
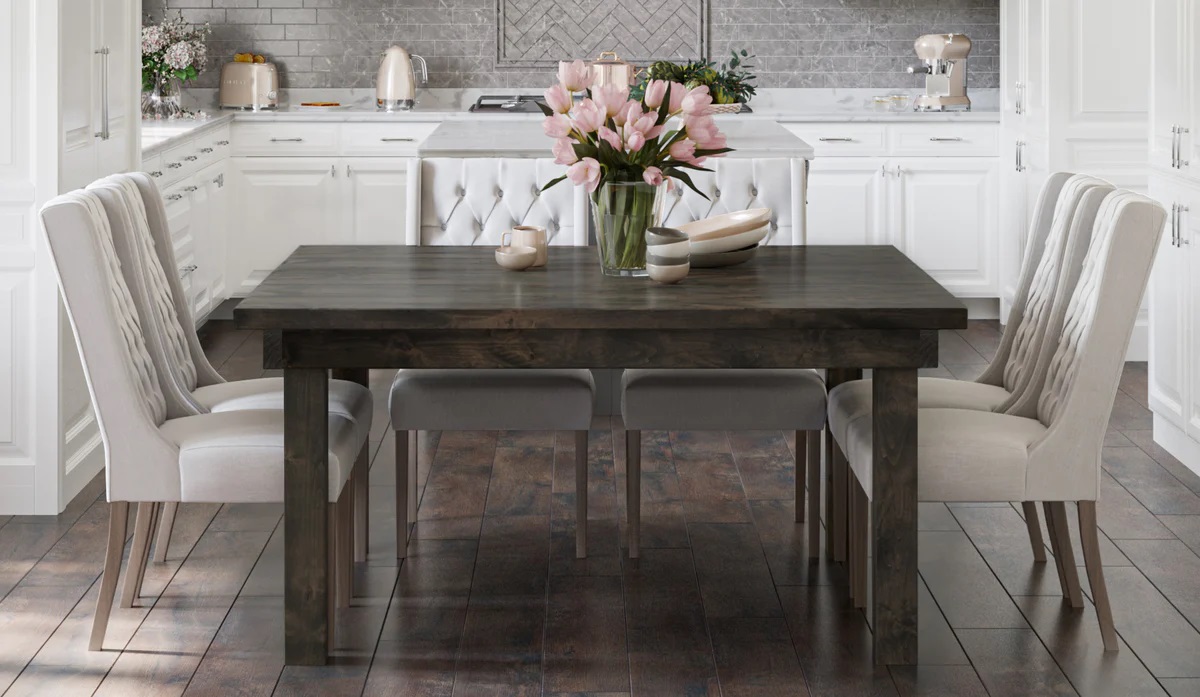
A coffee table is not only a practical piece of furniture but also a centerpiece that can enhance the overall aesthetics of your living space. By constructing your own coffee table, you have the freedom to customize it to perfectly suit your style and preferences. Plus, building your own furniture can be a fulfilling and rewarding experience that allows you to showcase your craftsmanship.
In this article, we will walk you through the entire process of building a square coffee table from scratch. We’ll cover everything from gathering the necessary materials to putting the finishing touches on your masterpiece. So, grab your tools and let’s get started!
Before diving into the construction process, it’s important to have a clear vision of the coffee table you want to create. Consider the size, style, and design elements that will complement your existing living room decor. Do you prefer a rustic farmhouse feel or a sleek modern look? Sketching out your desired coffee table design will help guide you throughout the building process.
Now that we’ve set the stage, let’s take a look at the materials you’ll need for this project.
Key Takeaways:
- Building your own square coffee table allows you to customize it to match your living room decor and showcases your woodworking skills, bringing a sense of pride and accomplishment.
- By following step-by-step instructions, you can learn woodworking skills like cutting wood, assembling a frame, and finishing, opening up possibilities for more DIY furniture projects.
Read more: How To Decorate A Square Coffee Table
Materials Needed
Before you begin building your square coffee table, make sure you have the following materials on hand:
- 4 pieces of 2×2 lumber (length will depend on the desired dimensions of your coffee table)
- 4 pieces of 1×6 lumber (length will depend on the desired dimensions of your coffee table)
- 1 piece of plywood (cut to the same dimensions as the tabletop)
- Wood screws
- Wood glue
- Sandpaper (various grits)
- Wood stain or paint (optional)
- Paintbrushes or foam brushes (if staining or painting)
- Wood saw
- Drill
- Measuring tape
- Pencil
- Safety goggles
- Gloves
These materials can easily be found at your local hardware store or home improvement center. Make sure to choose high-quality lumber that is straight and free of imperfections. Prep your workspace by clearing a flat and sturdy surface where you can comfortably work on your project.
Now that you have all the necessary materials, let’s move on to the first step: cutting the wood.
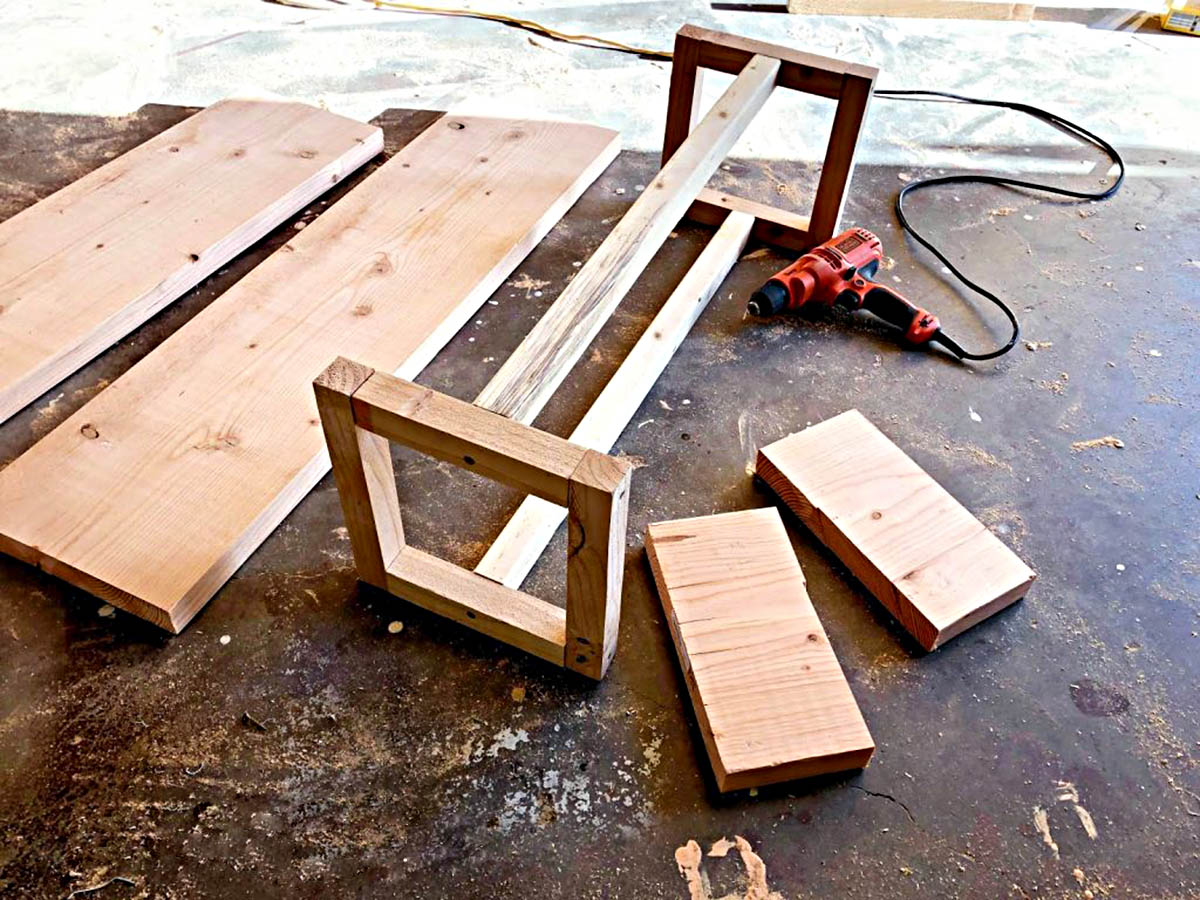
Step 1: Cutting the Wood
The first step in building your square coffee table is to cut the wood pieces to the desired dimensions. Use a wood saw to accurately measure and cut the following pieces:
- 4 pieces of 2×2 lumber: These will serve as the legs of the coffee table. Cut them to your desired height, keeping in mind the overall height of the table you want to achieve.
- 4 pieces of 1×6 lumber: These will be used to create the frame of the coffee table. Cut two pieces to the desired length for the sides of the frame and two pieces for the ends.
- 1 piece of plywood: This will be the tabletop. Cut it to the same dimensions as the frame.
Make sure to measure twice and cut once to ensure accuracy. It’s always a good idea to mark the measurements on the wood before cutting to avoid any mistakes.
Remember to wear safety goggles and gloves while cutting the wood to protect yourself from any potential injuries. Take your time with the cutting process, ensuring smooth and precise cuts for a professional-looking end result.
Once you have all the wood pieces cut, it’s time to move on to the next step: assembling the frame.
Step 2: Assembling the Frame
Now that you have all the wood pieces cut to the desired dimensions, it’s time to start assembling the frame of your square coffee table. Follow these steps:
- Begin by laying out the four pieces of 1×6 lumber on a flat surface, forming a rectangle. Make sure the corners are square and the edges align.
- Apply wood glue to the ends of each piece of lumber where they will be joined together.
- Secure the corners of the frame by drilling pilot holes and driving wood screws through the sides. This will provide extra stability and strength to the frame.
- Once the frame is securely assembled, place it on its side and position one of the 2×2 lumber pieces inside each corner of the frame. These will serve as the legs of the coffee table.
- Apply wood glue to the top of each leg and align them with the corners of the frame.
- Secure the legs to the frame by drilling pilot holes and driving wood screws through the sides of the frame and into the legs.
- Repeat this process for all four legs, ensuring they are evenly spaced and securely attached to the frame.
Once you have assembled the frame with the legs, remove any excess glue and let it dry for the recommended time specified by the wood glue manufacturer. This will ensure a strong and sturdy base for your coffee table.
With the frame now assembled, it’s time to move on to the next step: attaching the tabletop.
Step 3: Attaching the Tabletop
Now that the frame of your square coffee table is complete, it’s time to attach the tabletop. Follow these steps:
- Place the plywood tabletop on a flat surface, ensuring that it is centered over the frame.
- Using a pencil, mark the locations where you will attach the tabletop to the frame. Make sure to mark the spots where the plywood meets the 2×2 legs.
- Remove the tabletop and drill pilot holes at each marked spot.
- Apply wood glue to the top of the frame and align the tabletop back in place.
- Secure the tabletop to the frame by driving wood screws through the pilot holes and into the frame.
- Double-check that the tabletop is centered and securely attached to the frame.
Take your time during this step to ensure that the tabletop is properly aligned and securely fastened to the frame. This will provide stability and durability to your coffee table.
Once the tabletop is attached, proceed to the next step: sanding and finishing.
Read more: How To Style A Square Coffee Table
Step 4: Sanding and Finishing
Now that the structure of your square coffee table is complete, it’s time to sand and finish the wood to achieve a smooth and polished look. Follow these steps:
- Start by using a coarse-grit sandpaper (such as 80 or 100) to smooth out any rough edges, splinters, or imperfections on the tabletop, frame, and legs. Sand in the direction of the wood grain for best results.
- Switch to a finer-grit sandpaper (such as 180 or 220) to further smooth the surfaces of the wood. This will help create a more refined finish.
- After sanding, wipe down the entire coffee table with a clean, damp cloth to remove any dust or debris.
- If you prefer a natural look, you can apply a clear wood sealer or varnish to protect the wood and enhance its natural beauty. Follow the manufacturer’s instructions for application.
- Alternatively, if you want to add color to your coffee table, you can choose to stain or paint it. Use a brush or foam brush to apply your chosen stain or paint color evenly across the surfaces of the tabletop, frame, and legs. Allow each coat to dry completely before applying the next layer.
- Once the final coat of sealer, stain, or paint has dried, lightly sand the surfaces with a fine-grit sandpaper to create a smooth, satin finish.
Remember to work in a well-ventilated area and wear appropriate protective gear, such as a dust mask and gloves, while sanding and applying finishes. This will help ensure your safety and the quality of the final result.
With the sanding and finishing complete, let’s move on to the next step: adding the legs.
When building a square coffee table, make sure to measure and cut all the pieces accurately to ensure the table is square and level. Use a carpenter’s square to check for right angles during assembly.
Step 5: Adding Legs
Now that the main structure of your square coffee table is finished, it’s time to add the legs. Follow these steps:
- Turn the coffee table upside down so that the tabletop is resting on a protected surface.
- Measure the desired height for your table legs and mark it on each of the 2×2 lumber pieces.
- Carefully cut the legs to the specified height using a wood saw.
- Apply a small amount of wood glue to the top of each leg.
- Position the legs at the corners of the tabletop, ensuring they are flush with the edges.
- Secure each leg in place by driving wood screws through the tabletop and into the legs. Make sure to countersink the screws to create a clean and finished look.
- Repeat this process for all four legs, checking for proper alignment and stability.
By adding legs to your coffee table, you’ll elevate it to the desired height and create a more balanced and functional piece of furniture.
With the legs securely attached, you’re almost done! Let’s move on to the optional step of staining or painting your coffee table.
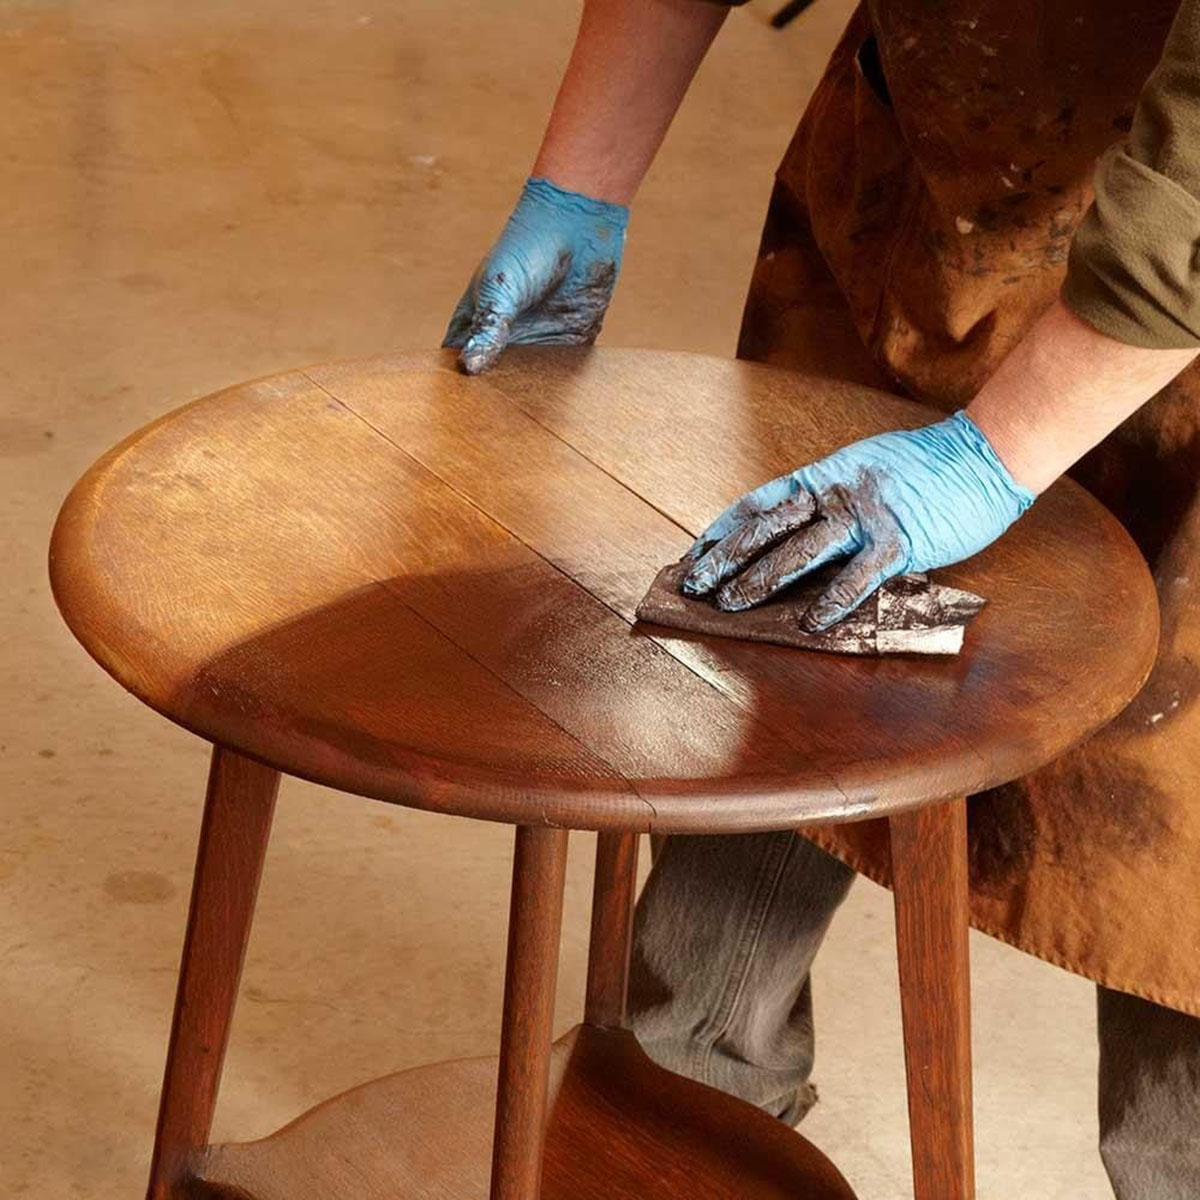
Step 6: Optional: Staining or Painting
At this point, your square coffee table is almost complete. Step six is optional but will add a personal touch to your creation. You can choose to stain or paint the wood to achieve the desired look. Here’s how:
Staining:
- If you have decided to stain your coffee table, start by selecting a wood stain color that complements your living room decor.
- Before applying the stain, make sure to thoroughly clean the surface of the coffee table with a damp cloth to remove any dust or debris.
- Using a brush or foam brush, apply the wood stain in even strokes following the direction of the wood grain.
- Allow the stain to penetrate the wood for the recommended time indicated by the manufacturer’s instructions.
- After the recommended time, wipe off any excess stain with a clean cloth, again following the direction of the wood grain.
- Let the coffee table dry completely before proceeding to the final step.
Read more: How To Build A Round Coffee Table
Painting:
- If you prefer a painted finish, choose a high-quality paint suitable for wood furniture. Consider the color scheme of your living room and select a paint color that complements it.
- Before painting, make sure the wood surface is clean and free from any dust or debris.
- Apply a coat of primer to ensure better adhesion and coverage of the paint.
- Once the primer is dry, apply the paint using a brush or foam brush. Start from one side and work your way across the entire surface, applying even coats of paint.
- Allow each coat to dry completely before applying additional coats if needed.
Remember to follow the manufacturer’s instructions for drying times and any additional steps required for the specific stain or paint product you are using.
After staining or painting the coffee table, step back and admire your creation. Allow it to dry thoroughly before placing it in your living room or using it as a functional piece of furniture.
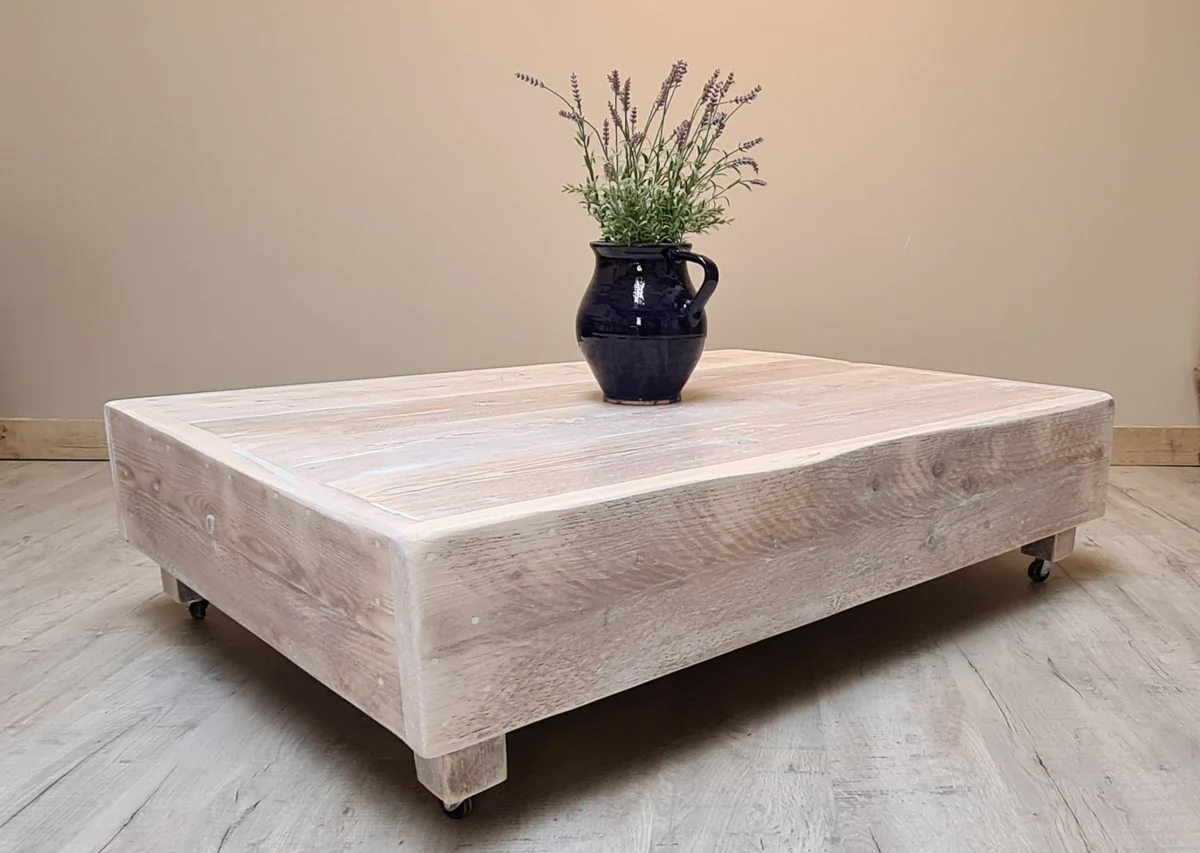
Congratulations! You have successfully built and customized your square coffee table. Now, it’s time to enjoy your new creation!
Remember to take proper care of your coffee table by cleaning it regularly and protecting it from excessive humidity or direct sunlight. With the right maintenance, your coffee table will continue to bring beauty and functionality to your living room for years to come.
If you found this guide helpful, consider trying your hand at more DIY furniture projects. The possibilities are endless when it comes to creating unique and personalized pieces for your home.
Conclusion
Congratulations on completing your journey to build a square coffee table! By following the steps outlined in this guide, you have created a beautiful and functional piece of furniture that will become a centerpiece in your living room. Your custom-built coffee table is a testament to your creativity and craftsmanship.
Throughout this process, you have learned how to cut wood, assemble a sturdy frame, attach a tabletop, sand and finish the wood, add legs, and even choose between staining or painting your coffee table. These skills can be applied to future DIY projects, allowing you to continue exploring your passion for woodworking and furniture making.
Remember, the key to a successful DIY project is attention to detail, patience, and a willingness to learn along the way. Building your own furniture not only offers a sense of pride and accomplishment but also gives you the opportunity to create pieces that perfectly match your style and preferences.
Now that your coffee table is complete, adorn it with your favorite books, a vase of fresh flowers, or personal mementos to truly make it your own. Enjoy the functional and aesthetic benefits your coffee table brings to your living space.
Thank you for embarking on this DIY adventure with us. We hope this guide has been helpful and inspiring. If you have any questions or would like to share your experience, feel free to reach out. Happy woodworking!
Frequently Asked Questions about How To Build A Square Coffee Table
Was this page helpful?
At Storables.com, we guarantee accurate and reliable information. Our content, validated by Expert Board Contributors, is crafted following stringent Editorial Policies. We're committed to providing you with well-researched, expert-backed insights for all your informational needs.

0 thoughts on “How To Build A Square Coffee Table”