Articles
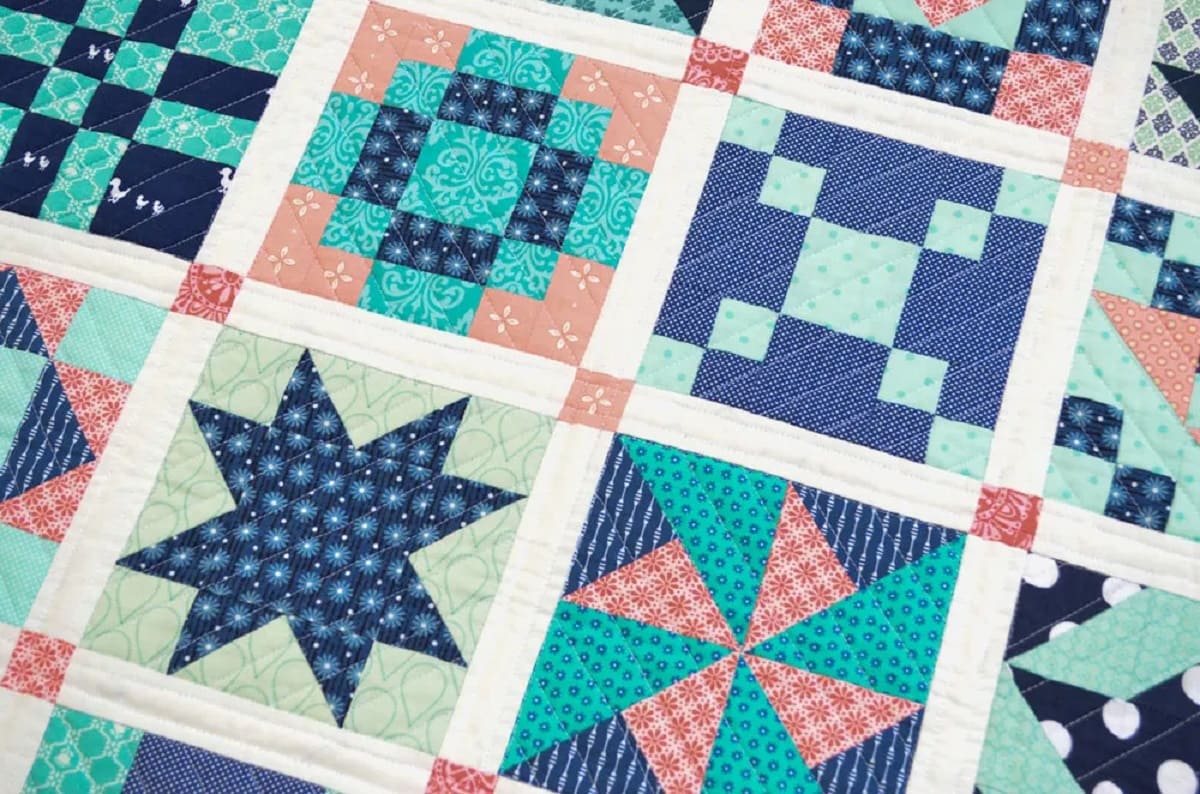
How To Cut Quilt Squares
Modified: August 22, 2024
Learn how to cut quilt squares with our informative articles. Find step-by-step instructions and valuable tips to create beautiful quilts.
(Many of the links in this article redirect to a specific reviewed product. Your purchase of these products through affiliate links helps to generate commission for Storables.com, at no extra cost. Learn more)
Introduction
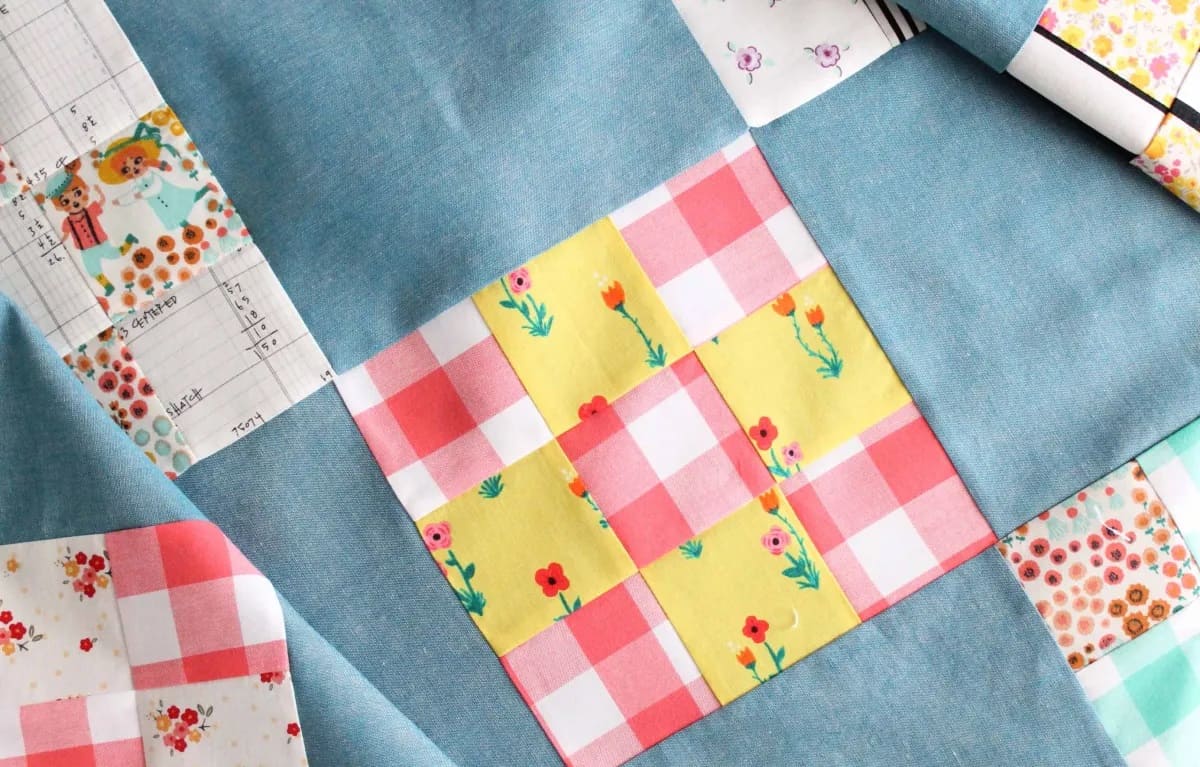
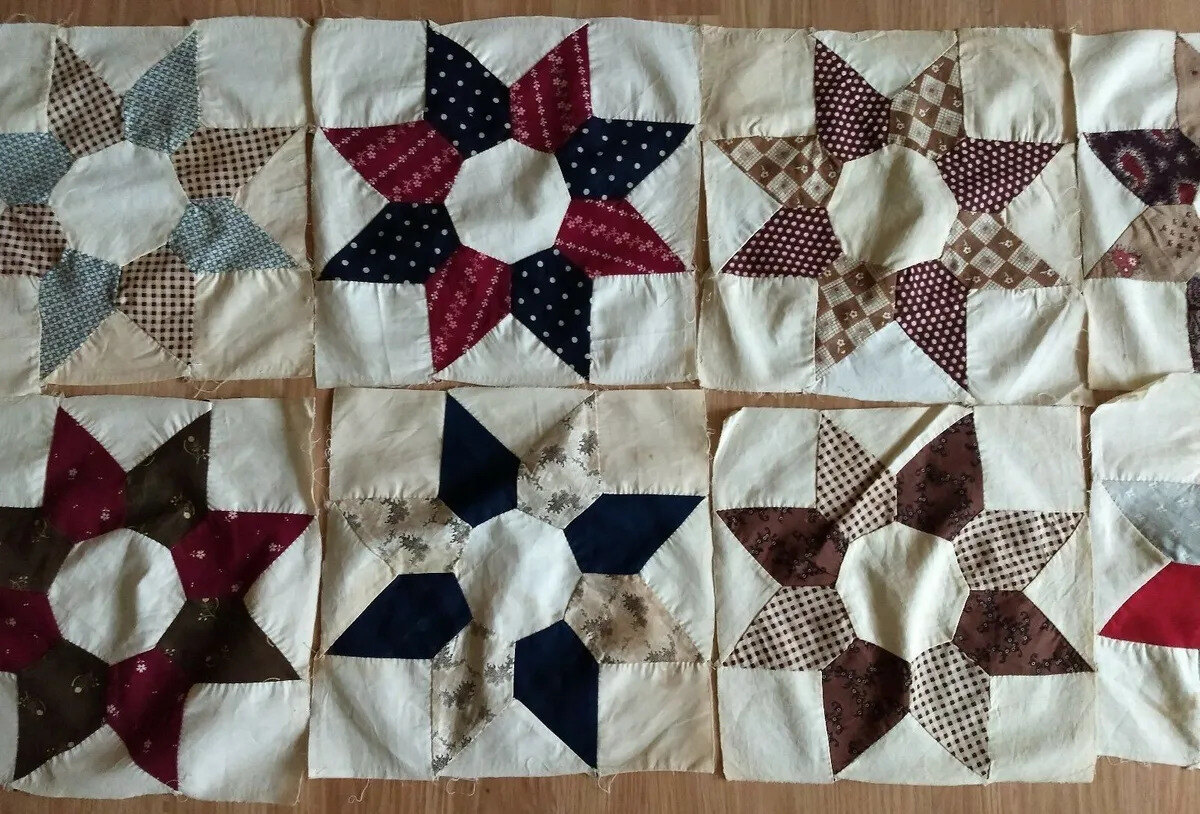
Quilting is a beloved craft that involves sewing together layers of fabric to create beautiful and functional pieces. One essential step in the quilting process is cutting quilt squares. Whether you are a beginner or an experienced quilter, knowing how to cut quilt squares accurately is crucial for achieving precise and visually appealing results.
In this article, we will walk you through the step-by-step process of cutting quilt squares. From gathering the necessary materials to storing and organizing your squares, we will provide you with all the information you need to embark on your quilting journey with confidence.
So, grab your fabric, dust off your cutting mat, and let’s dive into the world of cutting quilt squares!
Key Takeaways:
- Master the art of cutting quilt squares by gathering the right materials, preparing your fabric meticulously, and cutting with precision. Organize and store your squares for a seamless quilting journey!
- Achieve professional-looking quilt squares by measuring and marking with care, cutting accurately, and ironing for a polished finish. Store and organize your squares to keep them in pristine condition.
Read more: How To Make A Quilt With Squares
Step 1: Gathering Materials
Before you can start cutting quilt squares, it’s important to gather all the necessary materials. Here’s a list of what you’ll need:
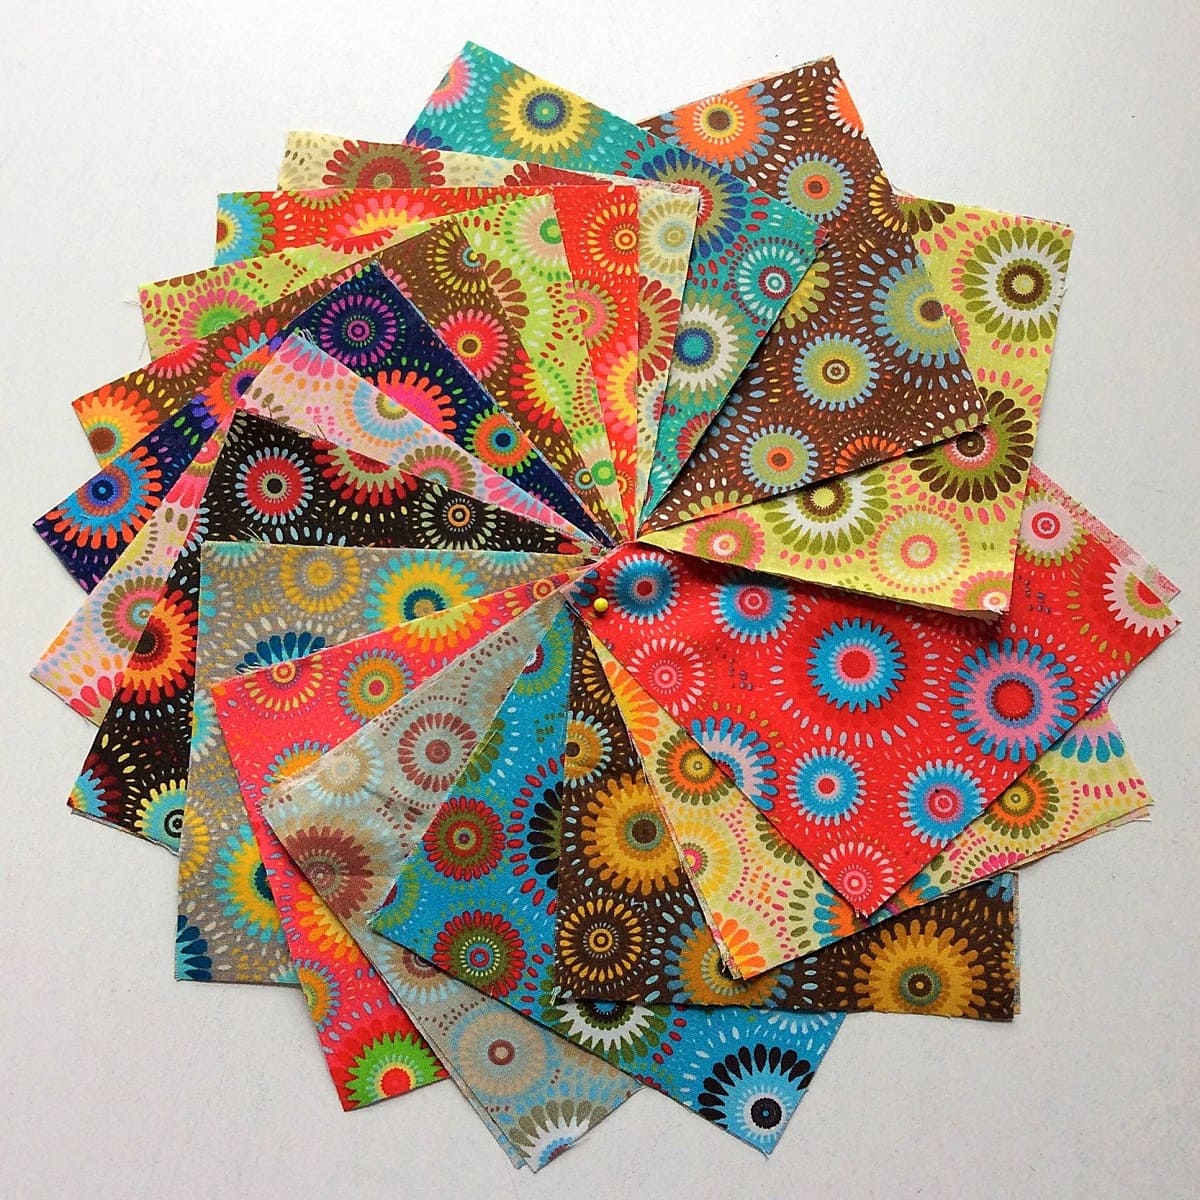
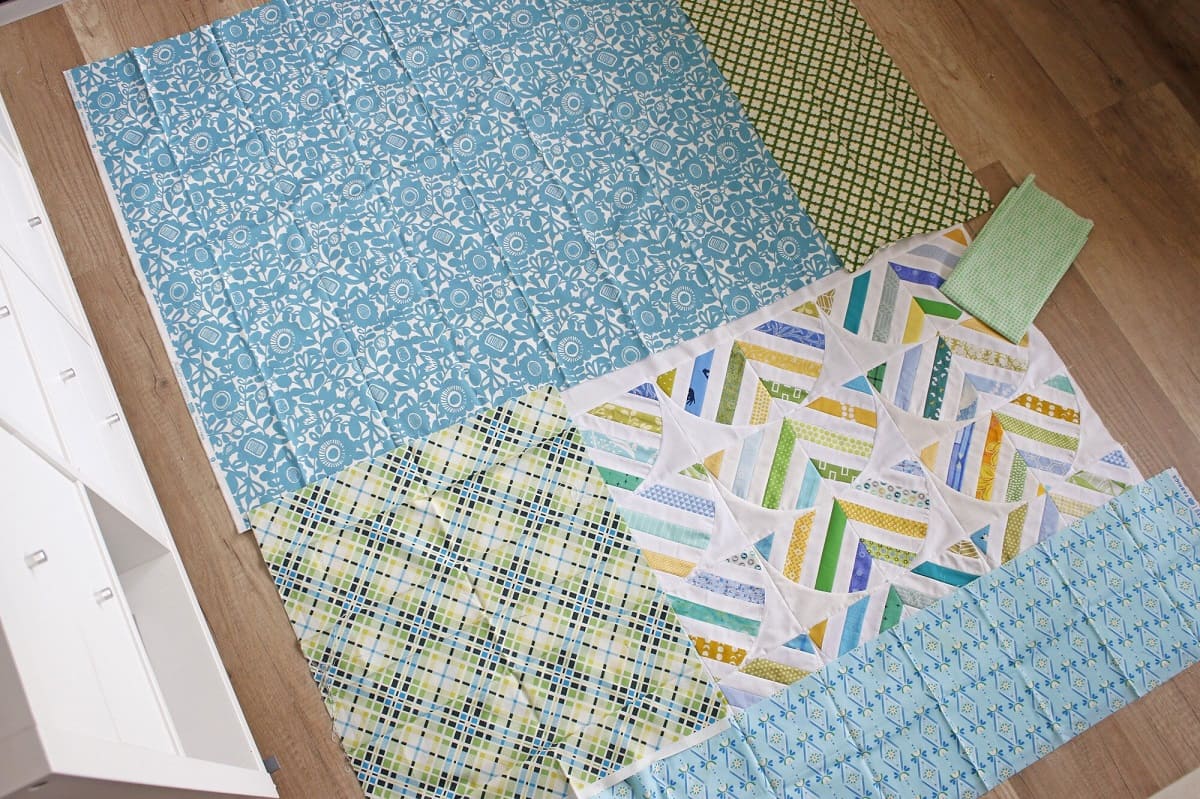
- Fabric: Choose the fabric that you want to use for your quilt squares. Ensure that it is clean, wrinkle-free, and of good quality.
- Cutting mat: A self-healing cutting mat is essential for protecting your work surface and providing a smooth and stable cutting surface.
- Rotary cutter: Invest in a high-quality rotary cutter with a sharp blade. This tool will make cutting your fabric much easier and more precise.
- Ruler: A clear acrylic ruler with measurements in inches or centimeters is indispensable for accurately measuring and cutting your fabric.
- Fabric scissors: While a rotary cutter is ideal for straight cuts, fabric scissors are handy for trimming excess fabric or cutting intricate shapes.
- Pins or clips: These will help secure your fabric layers together, ensuring they stay in place during the cutting process.
- Optional: If you’re planning to cut multiple squares of the same size, consider investing in a quilt square template or a die cutting machine for consistency.
Once you have gathered your materials, make sure you have a clean and well-lit workspace. Clear any clutter and ensure you have ample space to spread out your fabric.
With your materials in hand, you’re now ready to move on to the next step – preparing your fabric for cutting the quilt squares.
Step 2: Preparing Fabric
Preparing your fabric before cutting quilt squares is essential to ensure accurate and consistent results. Follow these steps to properly prepare your fabric:
- Pre-wash and press your fabric: It’s recommended to pre-wash your fabric to remove any excess dye or shrinkage. Follow the fabric’s care instructions for washing and drying. Once washed, iron the fabric to remove any wrinkles or creases. This will make it easier to work with and ensure more precise cuts.
- Square up the fabric edges: Lay your fabric on a flat surface and align the selvage edges. Smooth out any wrinkles and use your ruler to measure and mark a straight line perpendicular to the selvage. Cut along the marked line to create a square edge. This step is crucial for accurate cutting later on.
- Fold and align the fabric: Fold the fabric lengthwise, matching the selvage edges. Smooth out any wrinkles and align the folded edge. Ensure that the fabric is flat and even for accurate measurements.
- Press the folded fabric: Use a hot iron to press the folded fabric, creating a crisp fold. This will help keep the fabric layers together during the cutting process and ensure accurate measurements.
By properly preparing your fabric, you’ll have a solid foundation for cutting your quilt squares. Taking the time to wash, press, and align your fabric will result in more accurate cuts and a more professional-looking finished quilt.
Now that your fabric is prepped and ready, it’s time to move on to the next step – measuring and marking your quilt squares!
Step 3: Measuring and Marking
Measuring and marking your fabric accurately is essential for cutting consistent and precise quilt squares. Follow these steps to measure and mark your fabric:
- Decide on the square size: Determine the desired size of your quilt squares. Common sizes are 4-inch, 5-inch, or 6-inch squares, but you can choose any size that fits your quilting project.
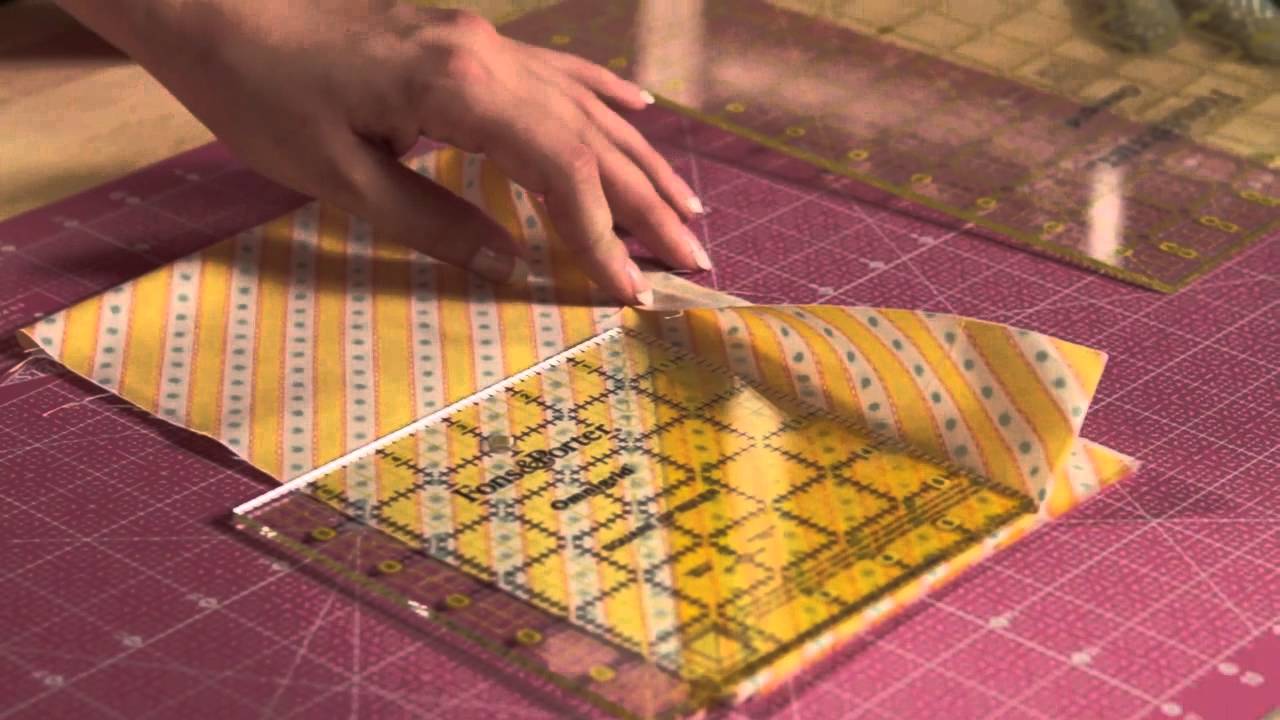
- Use your ruler: Place your ruler parallel to the folded edge of your fabric. Align the measurement guide along the ruler with the desired square size. Make sure the ruler is securely held in place.
- Mark the fabric: Using a fabric marker, pencil, or pins, mark the measurements along the ruler. Make light and small marks to avoid any visibility on the finished quilt.
- Continue marking: Slide the ruler along the folded edge of the fabric, aligning the next measurement mark with the previous mark you made. Repeat this process until you have marked the entire length of the fabric.
- Repeat for the other side: Once you have marked one side of the folded fabric, flip it over and repeat the process on the other side. This will ensure that you have marked both layers of fabric accurately.
Remember to measure and mark each quilt square individually, taking care to keep your measurements consistent throughout the fabric. Double-check your marks for accuracy before moving on to the next step.
By measuring and marking your fabric carefully, you’ll lay the groundwork for precise cutting and seamless piecing of your quilt squares. With the fabric marked, it’s time to move on to the exciting part – cutting the quilt squares!
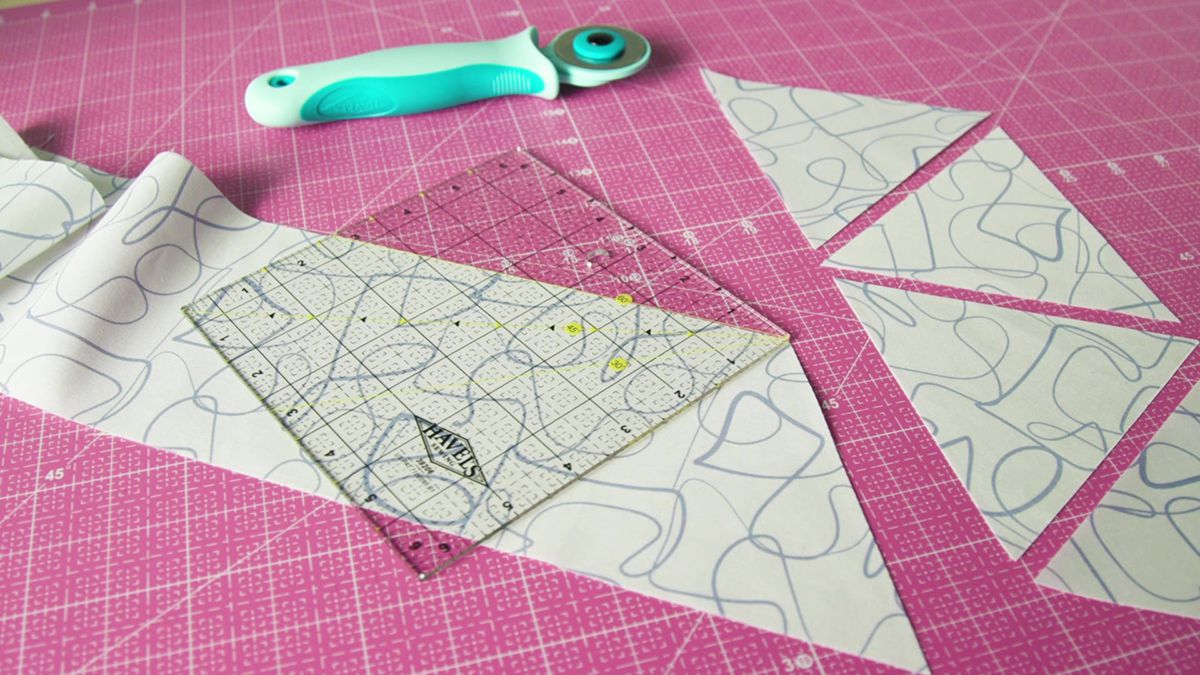
When cutting quilt squares, use a rotary cutter and acrylic ruler for precision. Measure and mark the fabric before cutting to ensure accuracy.
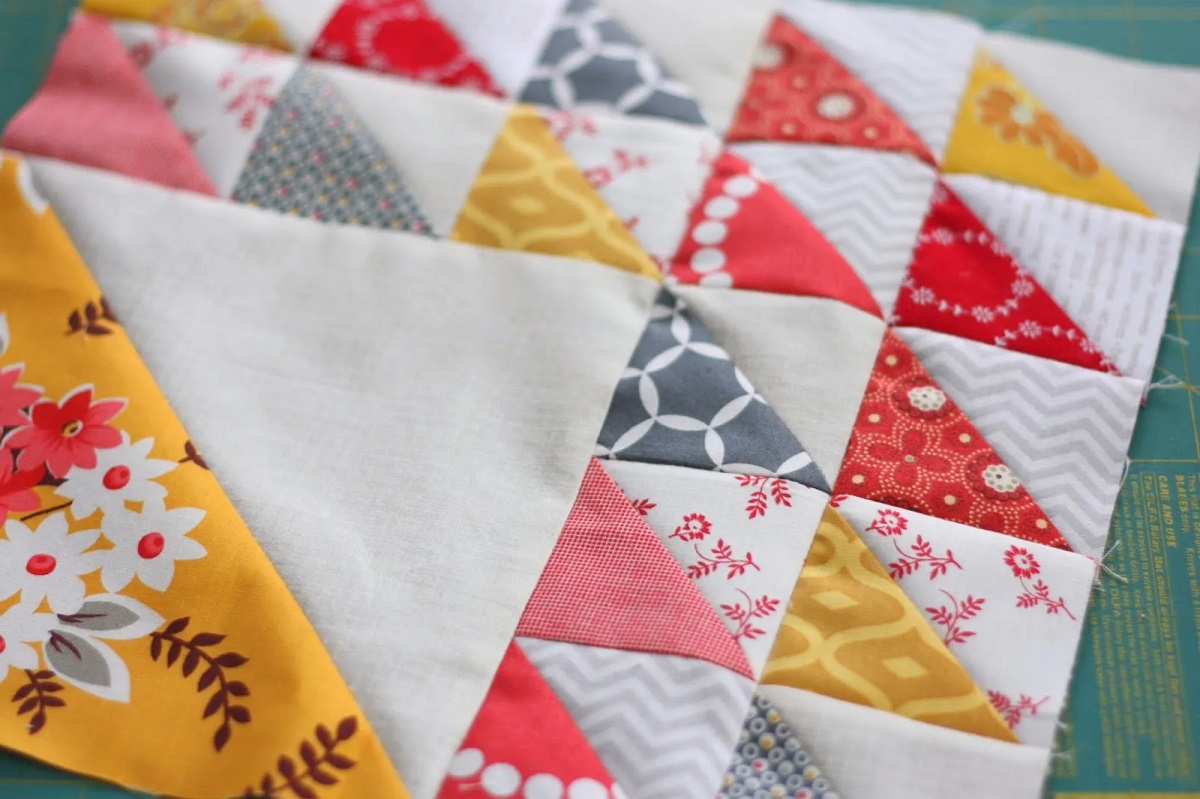
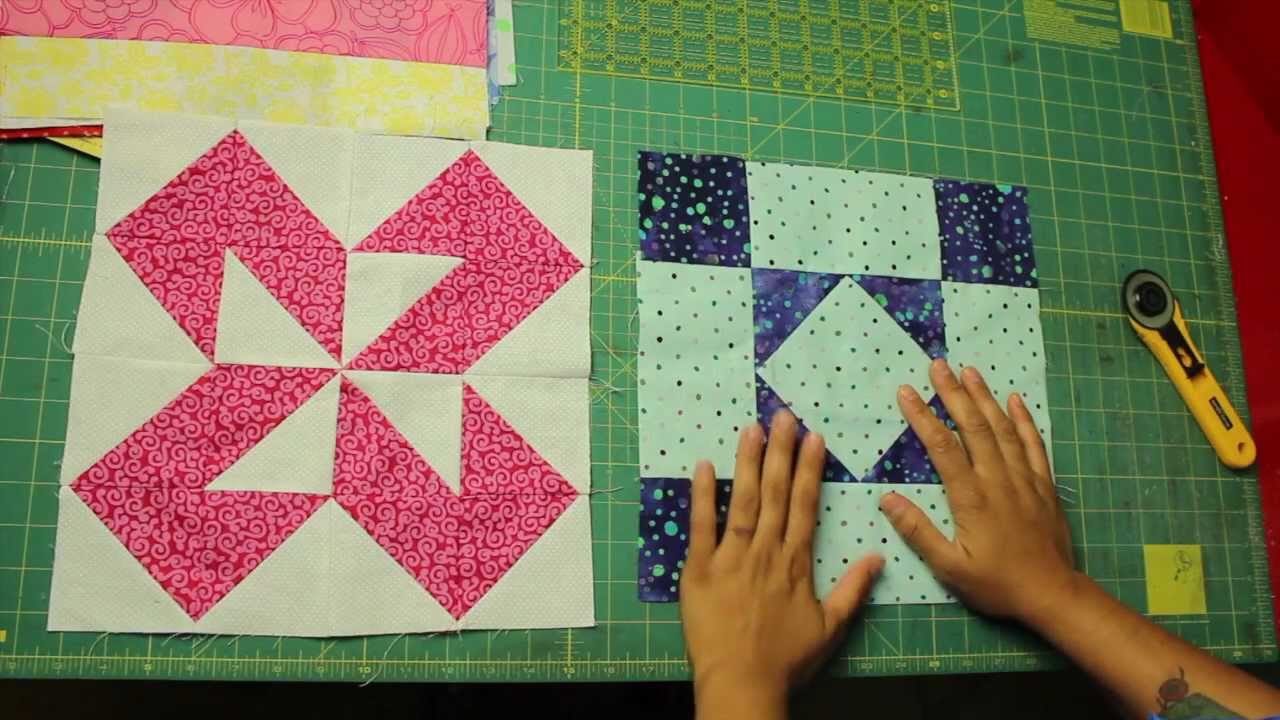
Step 4: Cutting Quilt Squares
Now that your fabric is measured and marked, it’s time to cut the quilt squares. Follow these steps to ensure clean and accurate cuts:
- Place the fabric on the cutting mat: Lay your fabric flat on the cutting mat, ensuring that it is aligned with the ruler lines on the mat for straight cuts.
- Secure the fabric: Use pins or clips to secure the fabric layers together, especially if you are cutting multiple layers at once. This will prevent shifting and maintain the accuracy of your cuts.
- Align the ruler: Position your ruler along one of the marked lines for the desired square size. Ensure that the ruler is straight and parallel to the fabric’s edges.
- Cut the fabric: With a steady hand, press down firmly on the ruler and use your rotary cutter to cut along the edge of the ruler. Apply even pressure as you glide the cutter along the fabric, ensuring a clean and straight cut.
- Continue cutting: Move along the marked lines, aligning the ruler and cutting each square until you have cut all the squares you need.
- Trim excess threads: After cutting each square, inspect it for any loose threads or uneven edges. Trim off any excess threads or irregularities to achieve tidy and professional-looking squares.
Take your time with each cut, being mindful of your fingers and the position of the ruler and rotary cutter. Double-check your measurements and ensure the accuracy of each cut before proceeding to the next square.
With your quilt squares now neatly cut, it’s time to move on to the next step – ironing the squares to prepare them for sewing!
Read more: How To Crochet A Quilt Square
Step 5: Ironing the Squares
Ironing your quilt squares is an important step in the quilting process. It helps to create crisp and flat squares, making it easier to sew and achieve precise results. Follow these steps to iron your quilt squares:
- Set up your ironing station: Ensure you have a clean and heat-resistant ironing board or pressing surface. Set your iron to the appropriate temperature for your fabric. Check the fabric care instructions or start with a low heat setting and gradually increase if needed.
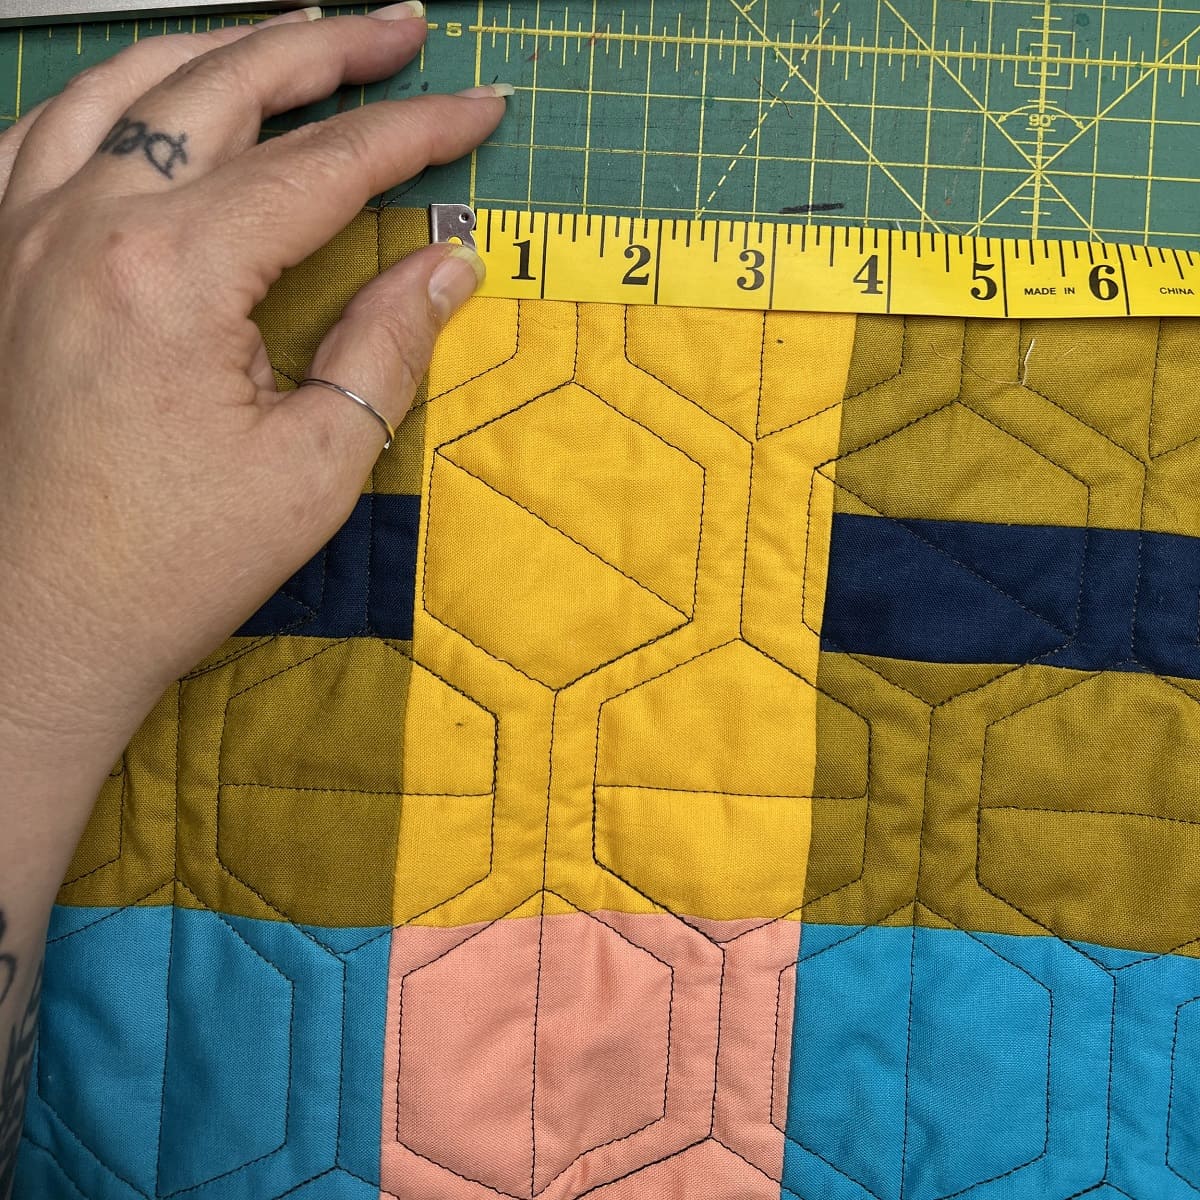
- Press each square: Lay a quilt square on the ironing board with the wrong side facing up. Gently press the iron onto the fabric, applying light pressure. Move the iron in a back-and-forth motion, smoothing out any wrinkles or creases. Be careful not to stretch or distort the fabric.
- Flip and repeat: Flip the square over to the right side and press again. This will help set the seams and give your squares a polished look.
- Repeat for all squares: Repeat the pressing process for each quilt square, taking care to iron both sides. Stack the squares neatly as you go to keep them organized.
By ironing your quilt squares, you will ensure that they are flat, wrinkle-free, and ready for the next step in your quilting project. Ironing also helps in aligning seams, making the assembling process easier and more precise.
Once you have finished ironing, it’s time to store and organize your quilt squares for the next stage of your quilting adventure!
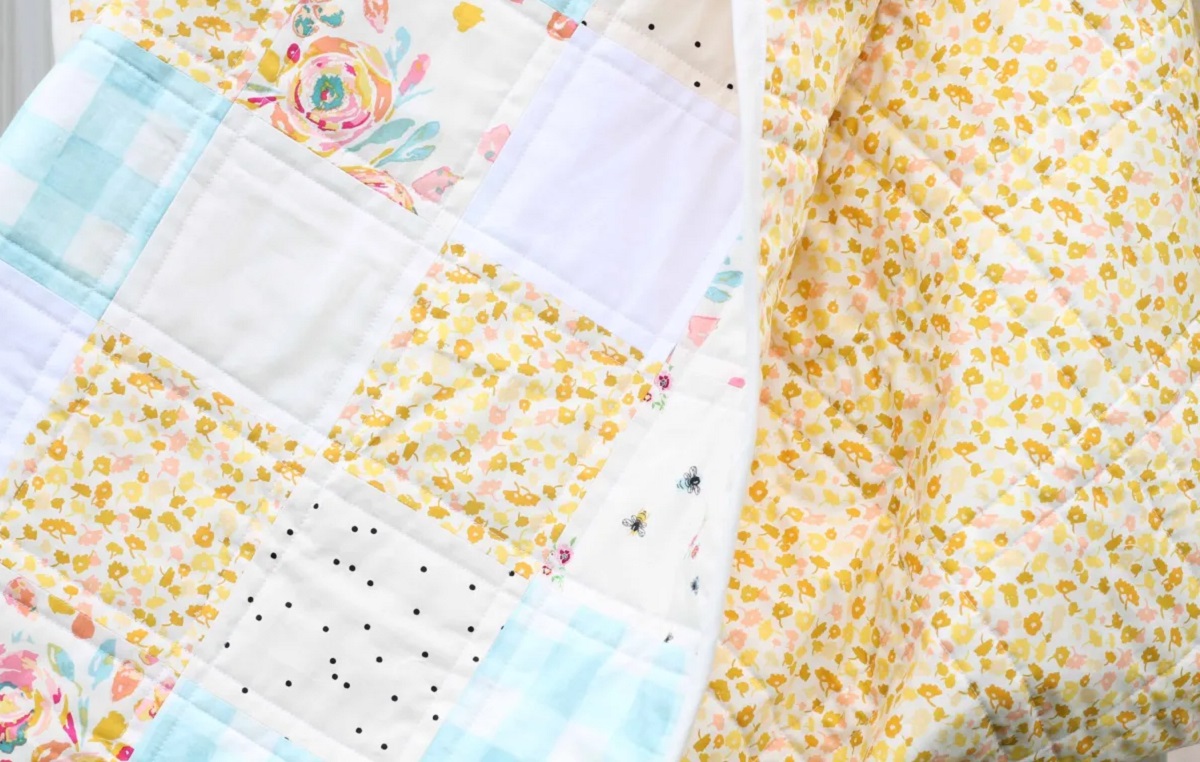
Step 6: Storing and Organizing
After cutting and ironing your quilt squares, it’s important to store and organize them properly to keep them in pristine condition and easily accessible for your quilting project. Follow these steps to store and organize your quilt squares:
- Choose a storage method: There are various options for storing quilt squares, depending on your preference and the size of your project. You can use plastic storage containers, resealable bags, or even fabric bins specifically designed for keeping quilt squares.
- Label your squares: To keep track of your quilt squares, consider labeling them with important information like the size, fabric type, and any other relevant details. This will help you easily identify and locate specific squares when needed.
- Organize by pattern or color: If your quilt project involves different patterns or colors, consider organizing your squares accordingly. Sorting them by pattern or color will make it easier to plan and arrange your quilt design.
- Store in a cool, dry place: It’s crucial to store your quilt squares in a cool and dry environment to prevent damage from moisture or humidity. Avoid storing them in direct sunlight or areas prone to temperature fluctuations.
- Protect from pests and dust: Place a sheet of acid-free tissue paper or fabric between each stack of quilt squares to protect them from dust and potential fabric transfers. Additionally, consider adding a sachet of lavender or cedar to ward off pests.
- Keep a record: To keep track of your progress and designs, consider maintaining a record of the quilt squares you have cut. This could be in the form of a notebook, digital spreadsheet, or even a visual layout of your quilt design.
By storing and organizing your quilt squares properly, you will save time and effort in finding the squares you need when it’s time to piece your quilt together. It will also help preserve the quality of your squares, ensuring they remain in excellent condition.
Congratulations! You have completed all the steps for cutting quilt squares and are now well-prepared to continue on your quilting journey. Enjoy the process of sewing your squares together and creating a beautiful and unique quilt!
Frequently Asked Questions about How To Cut Quilt Squares
Was this page helpful?
At Storables.com, we guarantee accurate and reliable information. Our content, validated by Expert Board Contributors, is crafted following stringent Editorial Policies. We're committed to providing you with well-researched, expert-backed insights for all your informational needs.

0 thoughts on “How To Cut Quilt Squares”