Home>Health & Lifestyle>Air Quality & Filtration>How To Install A Water Filtration System Under The Sink
Air Quality & Filtration
How To Install A Water Filtration System Under The Sink
Modified: August 20, 2024
Learn how to improve your air quality and filtration by installing a water filtration system under the sink. Follow our step-by-step guide for cleaner, healthier water.
(Many of the links in this article redirect to a specific reviewed product. Your purchase of these products through affiliate links helps to generate commission for Storables.com, at no extra cost. Learn more)
Introduction
Welcome to the comprehensive guide on how to install a water filtration system under the sink. Clean, healthy water is essential for our well-being, and installing a water filtration system in your home can significantly improve the quality of your drinking water. By installing a filtration system under the sink, you can enjoy the benefits of purified water without sacrificing counter space or aesthetics.
Whether you’re concerned about chlorine, sediment, or other contaminants in your water supply, a water filtration system can provide peace of mind and a convenient solution. This step-by-step guide will walk you through the process of installing a water filtration system under your sink, empowering you to take control of your water quality and ensure that your family has access to clean, great-tasting water.
Before we dive into the installation process, it’s essential to gather the necessary tools and materials to ensure a smooth and successful installation. Let’s get started!
Key Takeaways:
- Installing a water filtration system under the sink is a DIY project that can provide clean, great-tasting water for drinking and cooking. With the right tools and careful planning, you can create a reliable and convenient water purification system in your home.
- After installing the filtration system, testing and regular maintenance are essential to ensure clean, purified water for your family. Enjoy the peace of mind that comes with knowing your tap water is free from impurities and contaminants.
Tools and Materials
Before embarking on the installation process, it’s crucial to gather the essential tools and materials. Here’s what you’ll need:
Tools:
- Adjustable wrench
- Bucket
- Drill and bits
- Adjustable pliers
- Phillips and flathead screwdrivers
- Teflon tape
- Marker
- Towels
- Utility knife
Materials:
- Water filtration system kit (including filter, housing, and necessary fittings)
- Under-sink faucet
- Supply tubing
- Compression fittings
- Shutoff valve (if not already installed)
- Bucket or basin
Having these tools and materials at your disposal will streamline the installation process and ensure that you have everything you need to complete the project efficiently.
Step 1: Shut Off the Water Supply
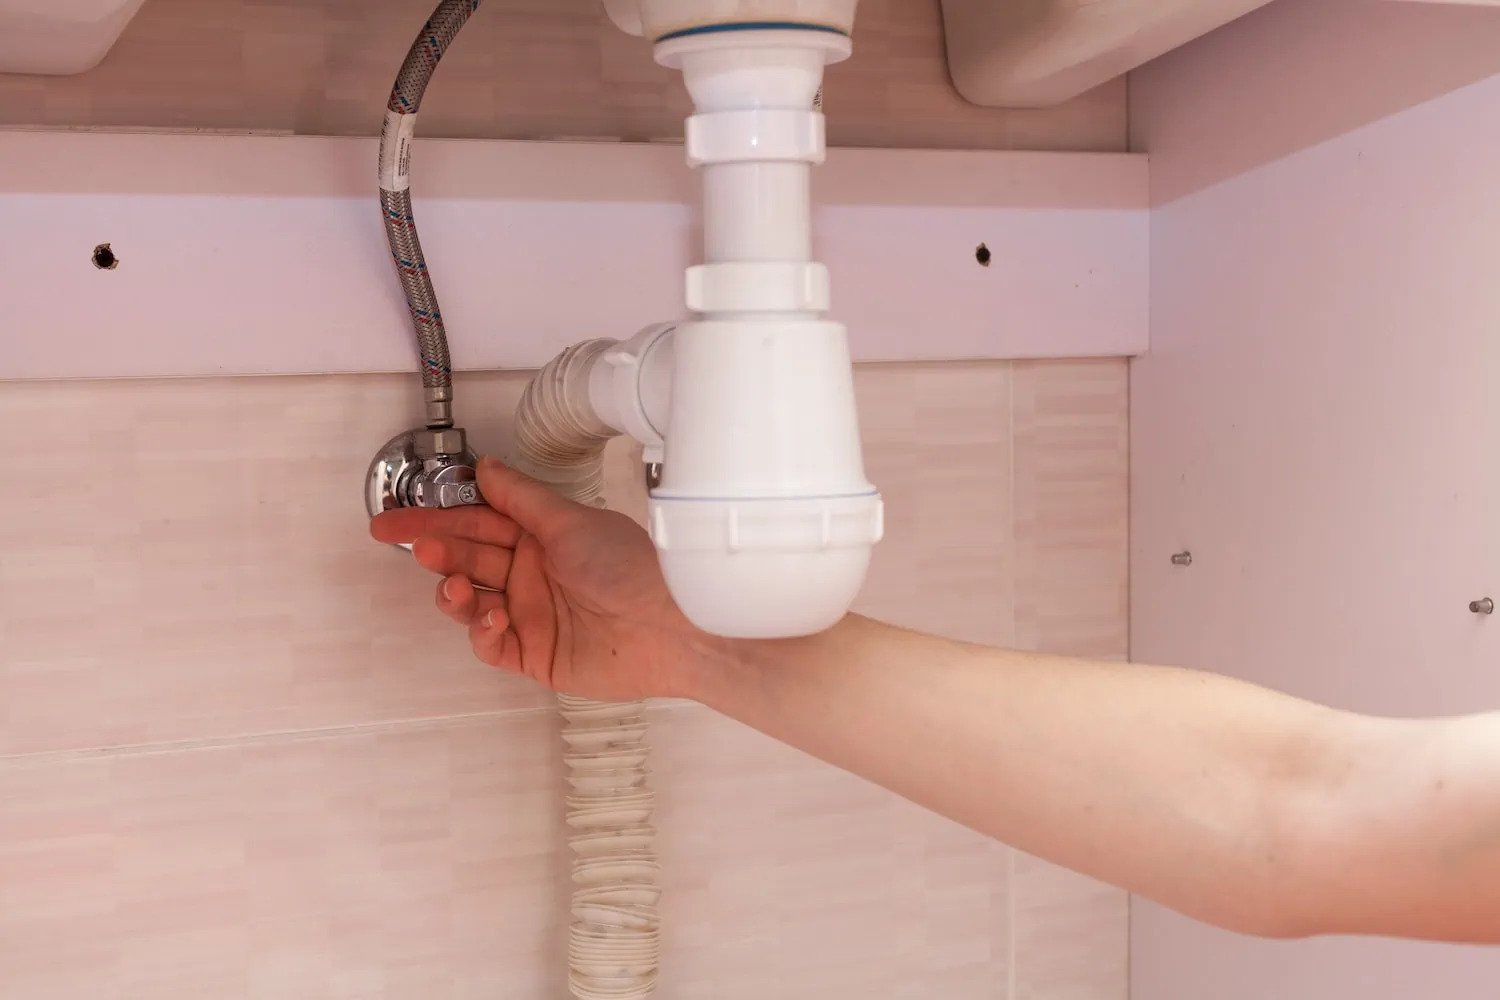
Before beginning the installation, it’s crucial to shut off the water supply to the sink to prevent any water leakage or potential accidents. Here’s how to do it:
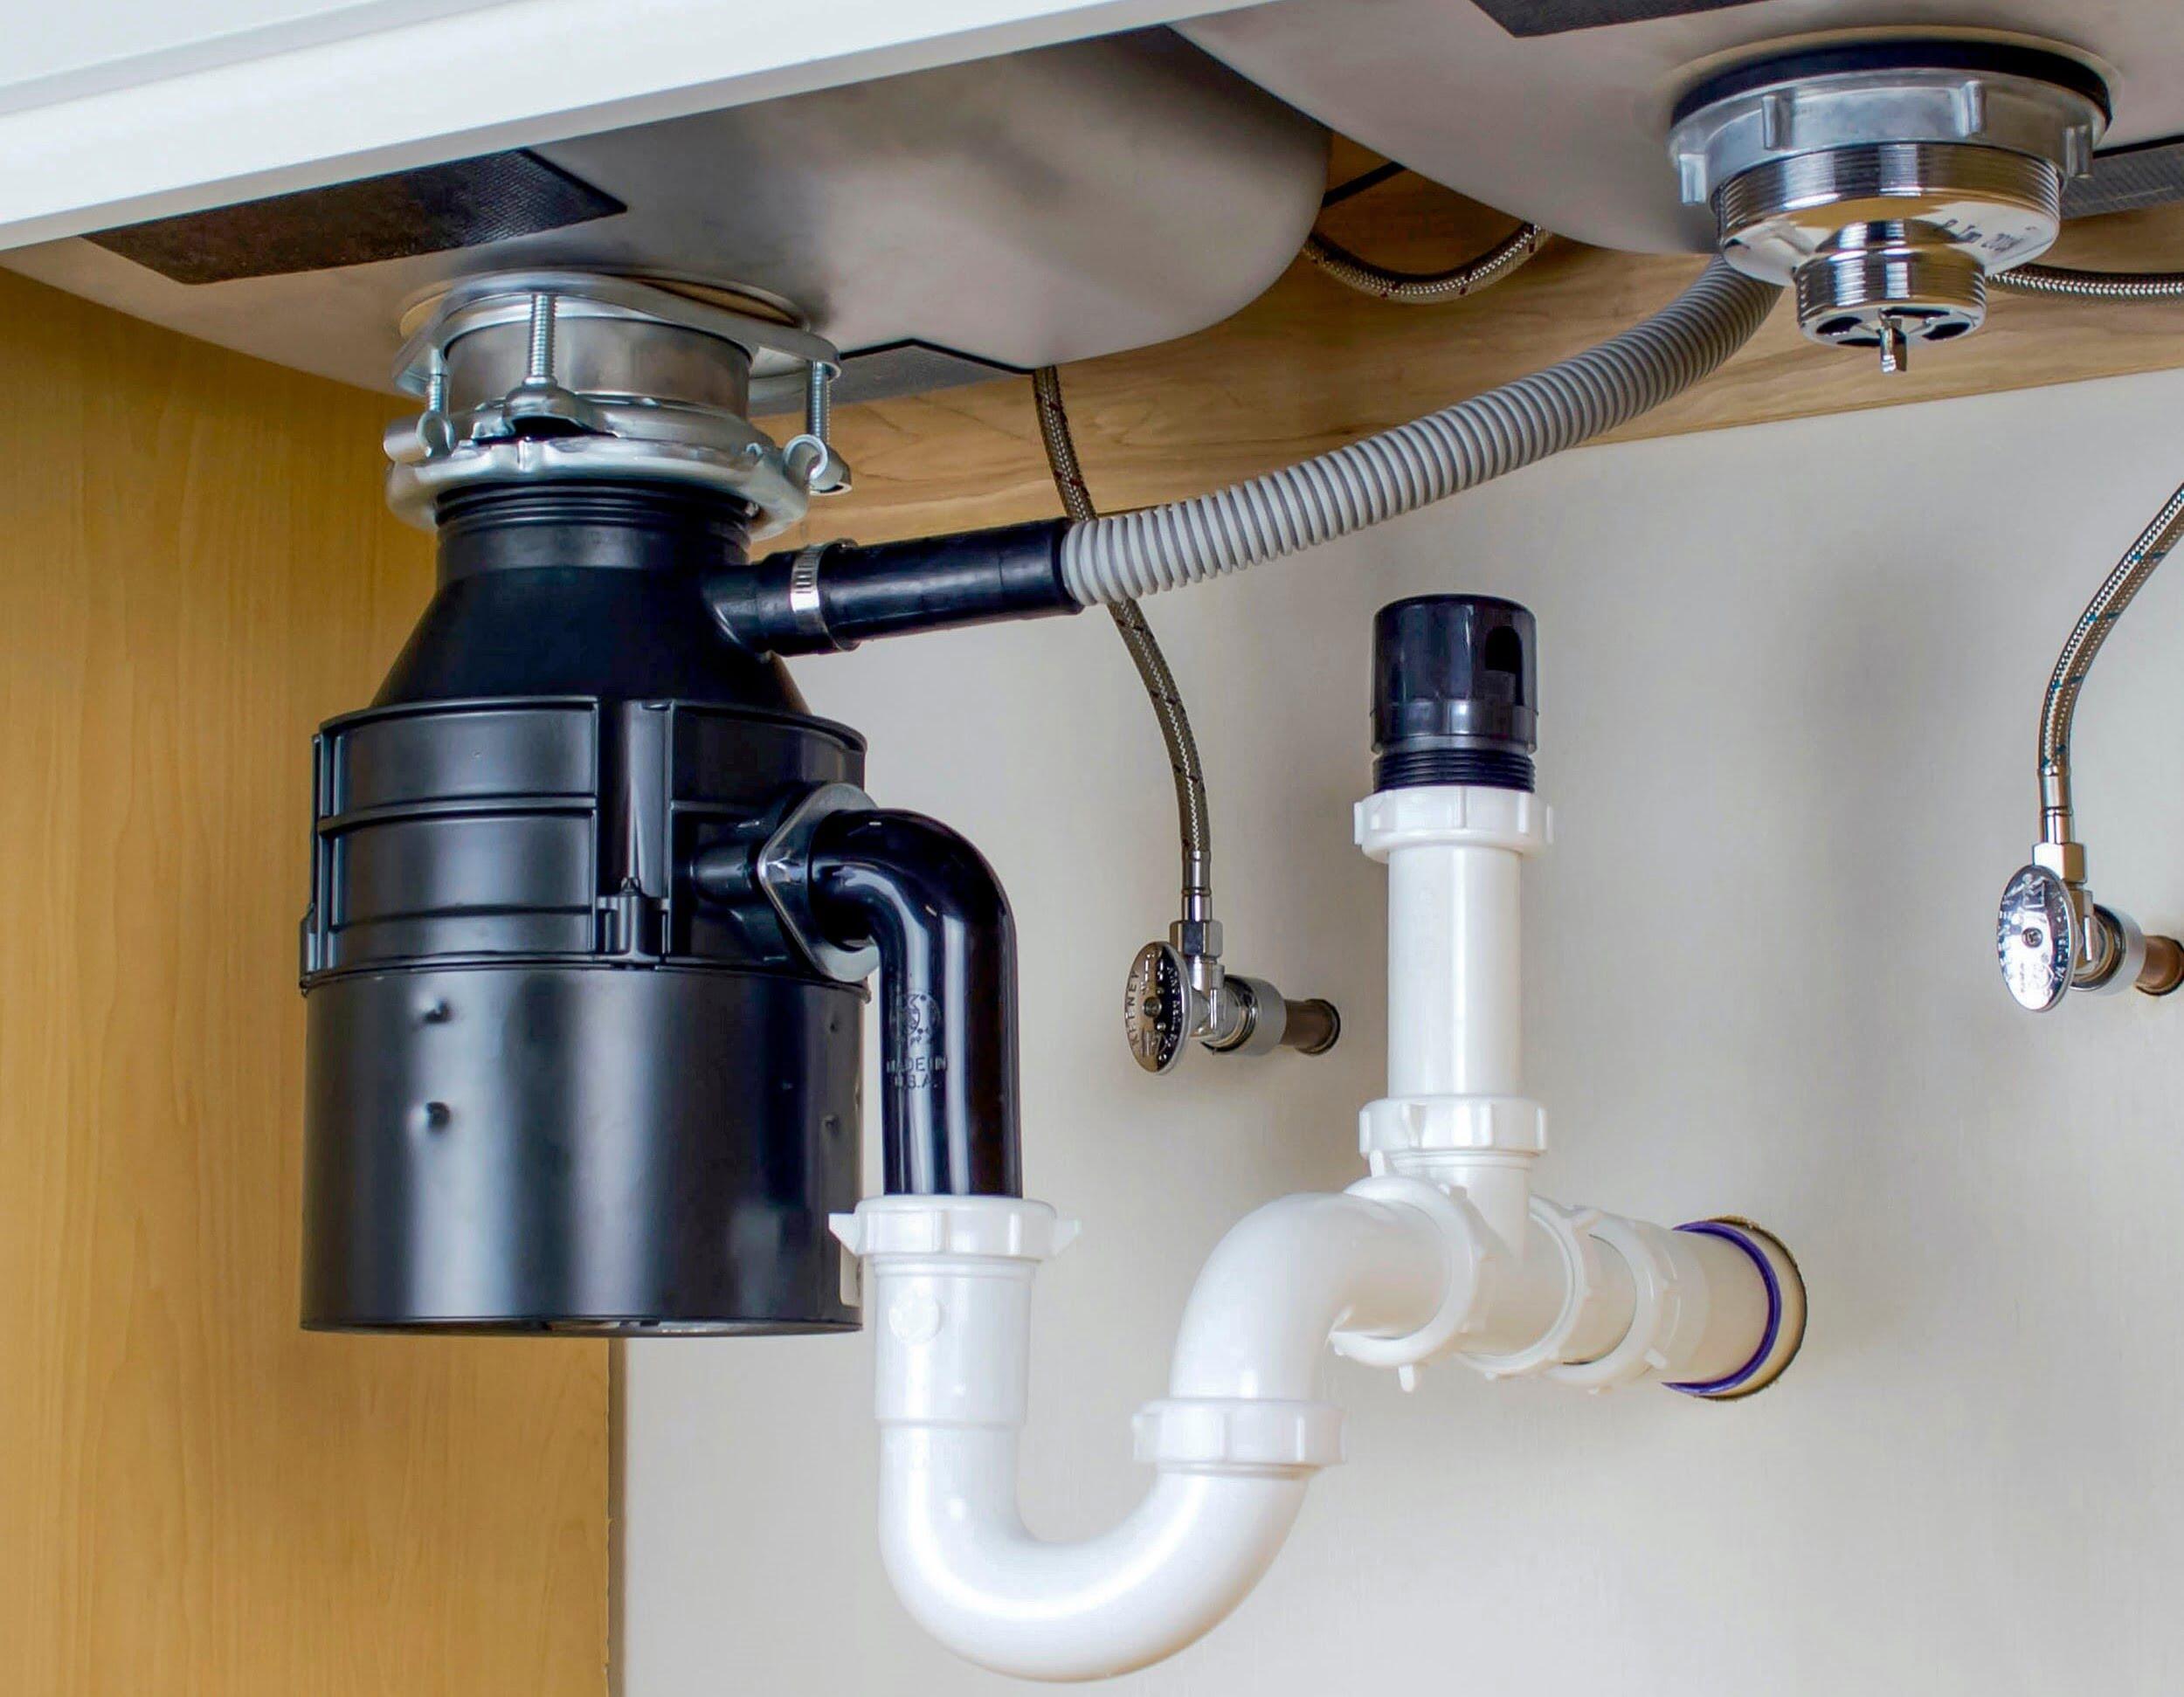
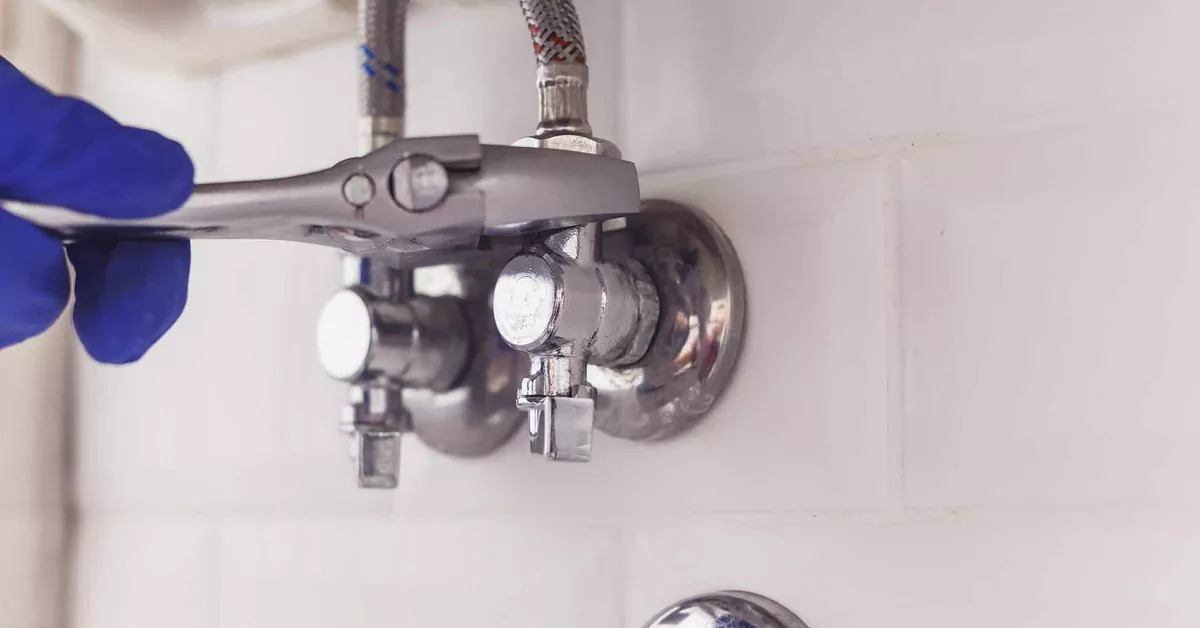
Locate the shutoff valve: Underneath the sink, there should be a shutoff valve connected to the water supply line. Turn off the valve by rotating it clockwise until it’s fully closed. If there isn’t a dedicated shutoff valve for the sink, you may need to shut off the main water supply to your home temporarily.
Release any remaining pressure: After shutting off the water supply, turn on the sink faucet to release any remaining water pressure in the lines. This will help minimize the amount of water that may spill when disconnecting the water lines.
Place a bucket or basin beneath the sink: To catch any residual water in the lines, position a bucket or basin underneath the sink before proceeding with the installation. This will help prevent water from spilling onto the floor and make cleanup easier.
By following these steps to shut off the water supply, you’ll create a safe and controlled environment for installing the water filtration system under the sink. With the water supply turned off, you can proceed with confidence to the next step in the installation process.
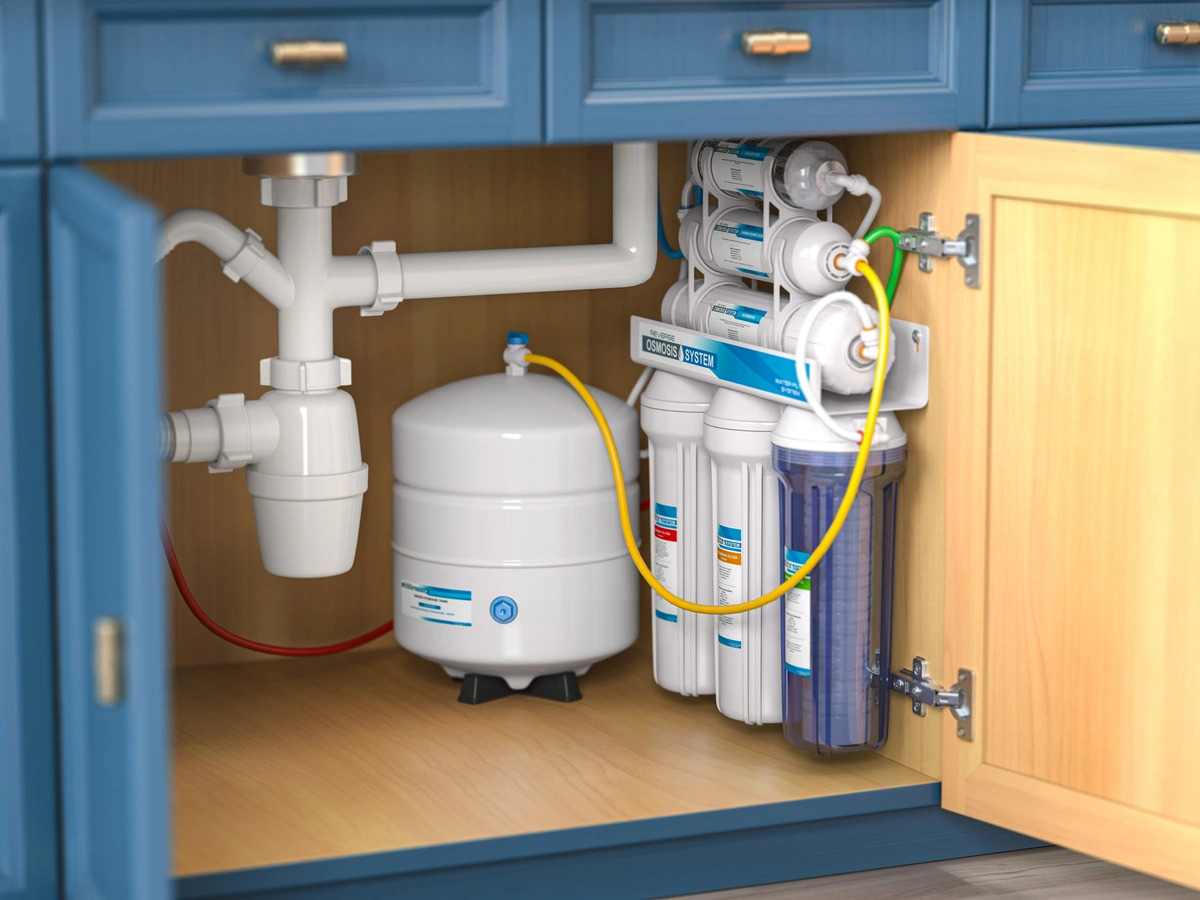
Step 2: Choose the Right Location
Choosing the optimal location for installing the water filtration system under the sink is essential for both functionality and aesthetics. Here’s how to determine the right placement:
Assess available space: Clear out the area under the sink and assess the available space for installing the filtration system. Ensure that there’s ample room for the filtration unit, filter, and associated components without obstructing other plumbing or storage space.
Locate a suitable mounting area: Identify a suitable spot for mounting the filtration unit and filter housing. Consider factors such as accessibility for future filter replacements and ease of connection to the water supply and faucet.
Ensure proper clearance: Check for any obstructions or obstacles that might interfere with the installation. Allow sufficient clearance around the filtration system for maintenance and filter replacement, and ensure that it won’t impede the function of other under-sink components.
Consider the water supply location: Position the filtration system close to the existing cold water supply line and the faucet to simplify the installation process and minimize the length of tubing needed.
By carefully selecting the right location for the water filtration system under the sink, you’ll lay the foundation for a successful and convenient installation. Taking the time to assess the available space and plan the placement will contribute to a streamlined and functional setup that meets your household’s water purification needs.
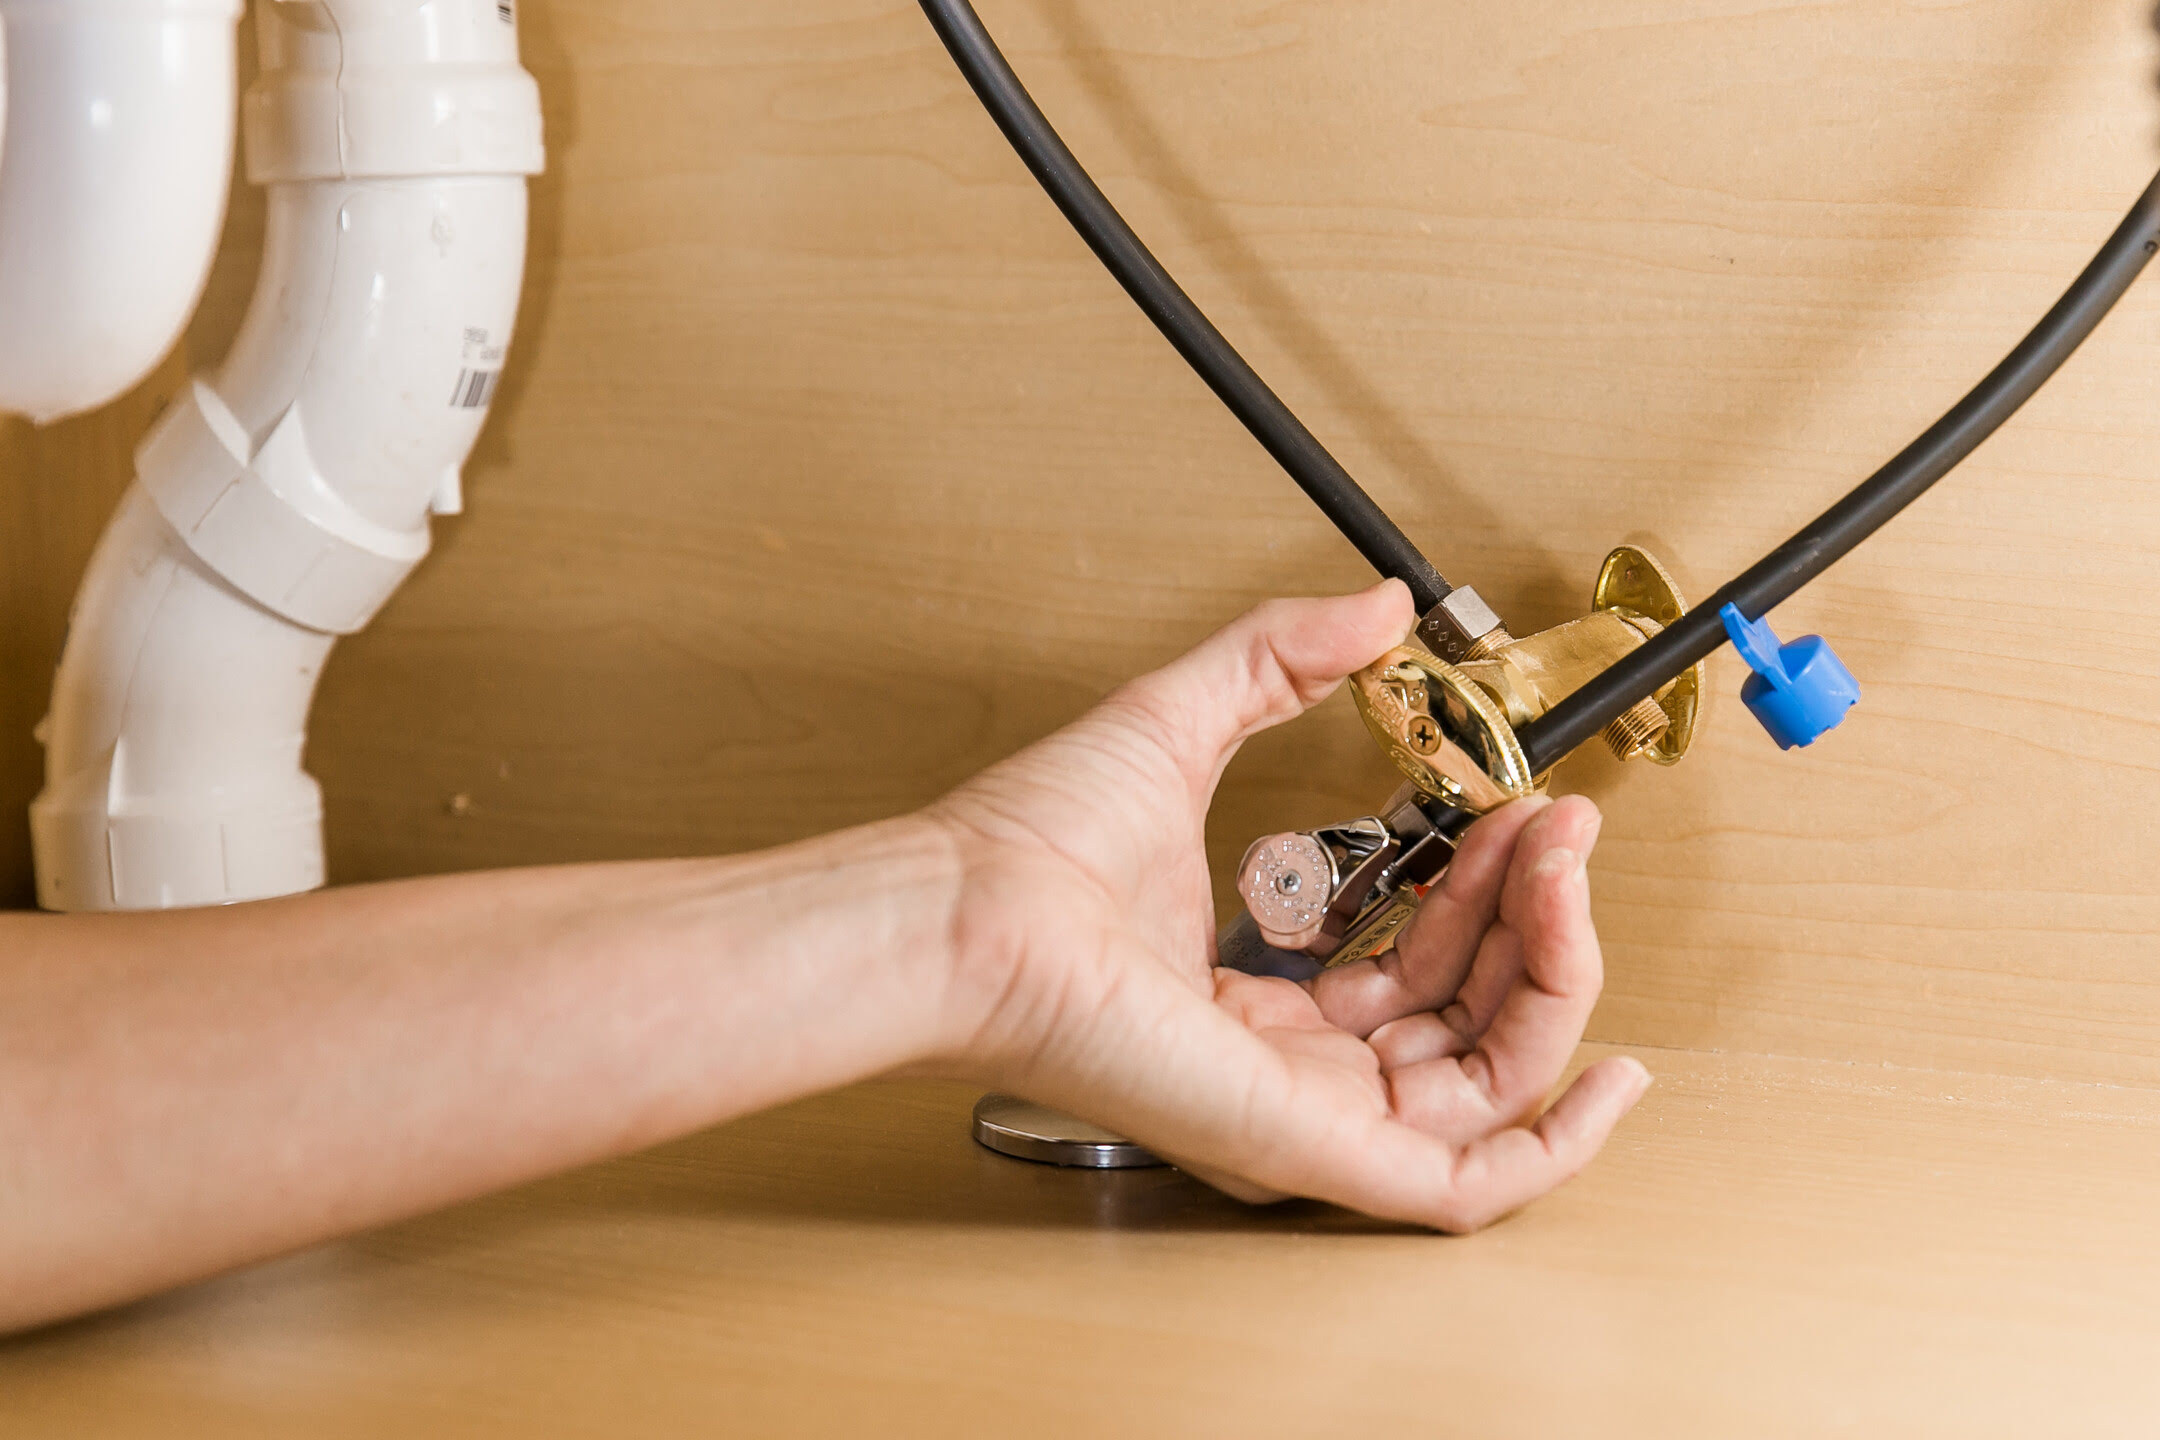
Step 3: Install the Faucet
Installing the dedicated faucet for your under-sink water filtration system is a crucial step in the installation process. Here’s how to install the faucet:
Choose a mounting location: Select a suitable location on the sink or countertop for the dedicated filtration faucet. Ensure that it’s conveniently located for easy access and complements the existing fixtures.
Mark the mounting hole: Using a marker, mark the center point for the faucet’s mounting hole. If necessary, refer to the manufacturer’s instructions for specific guidance on the faucet’s placement and installation.
Drill the mounting hole: Use a drill and an appropriate-sized bit to create the mounting hole for the faucet. Exercise caution and follow safety guidelines when drilling into the sink or countertop surface.
Secure the faucet in place: Insert the faucet into the mounting hole and secure it according to the manufacturer’s instructions. This may involve using a mounting nut or other provided hardware to fasten the faucet securely in position.
Connect the supply tubing: Once the faucet is installed, connect the supply tubing provided with the filtration system to the underside of the faucet. Follow the specific instructions for your filtration system to ensure a proper and secure connection.
By following these steps to install the dedicated faucet for your water filtration system, you’ll establish a dedicated point of access for purified water, ensuring convenient and reliable access to clean, great-tasting water for drinking and cooking.
When installing a water filtration system under the sink, make sure to shut off the water supply, carefully follow the manufacturer’s instructions, and regularly replace the filters for optimal performance.
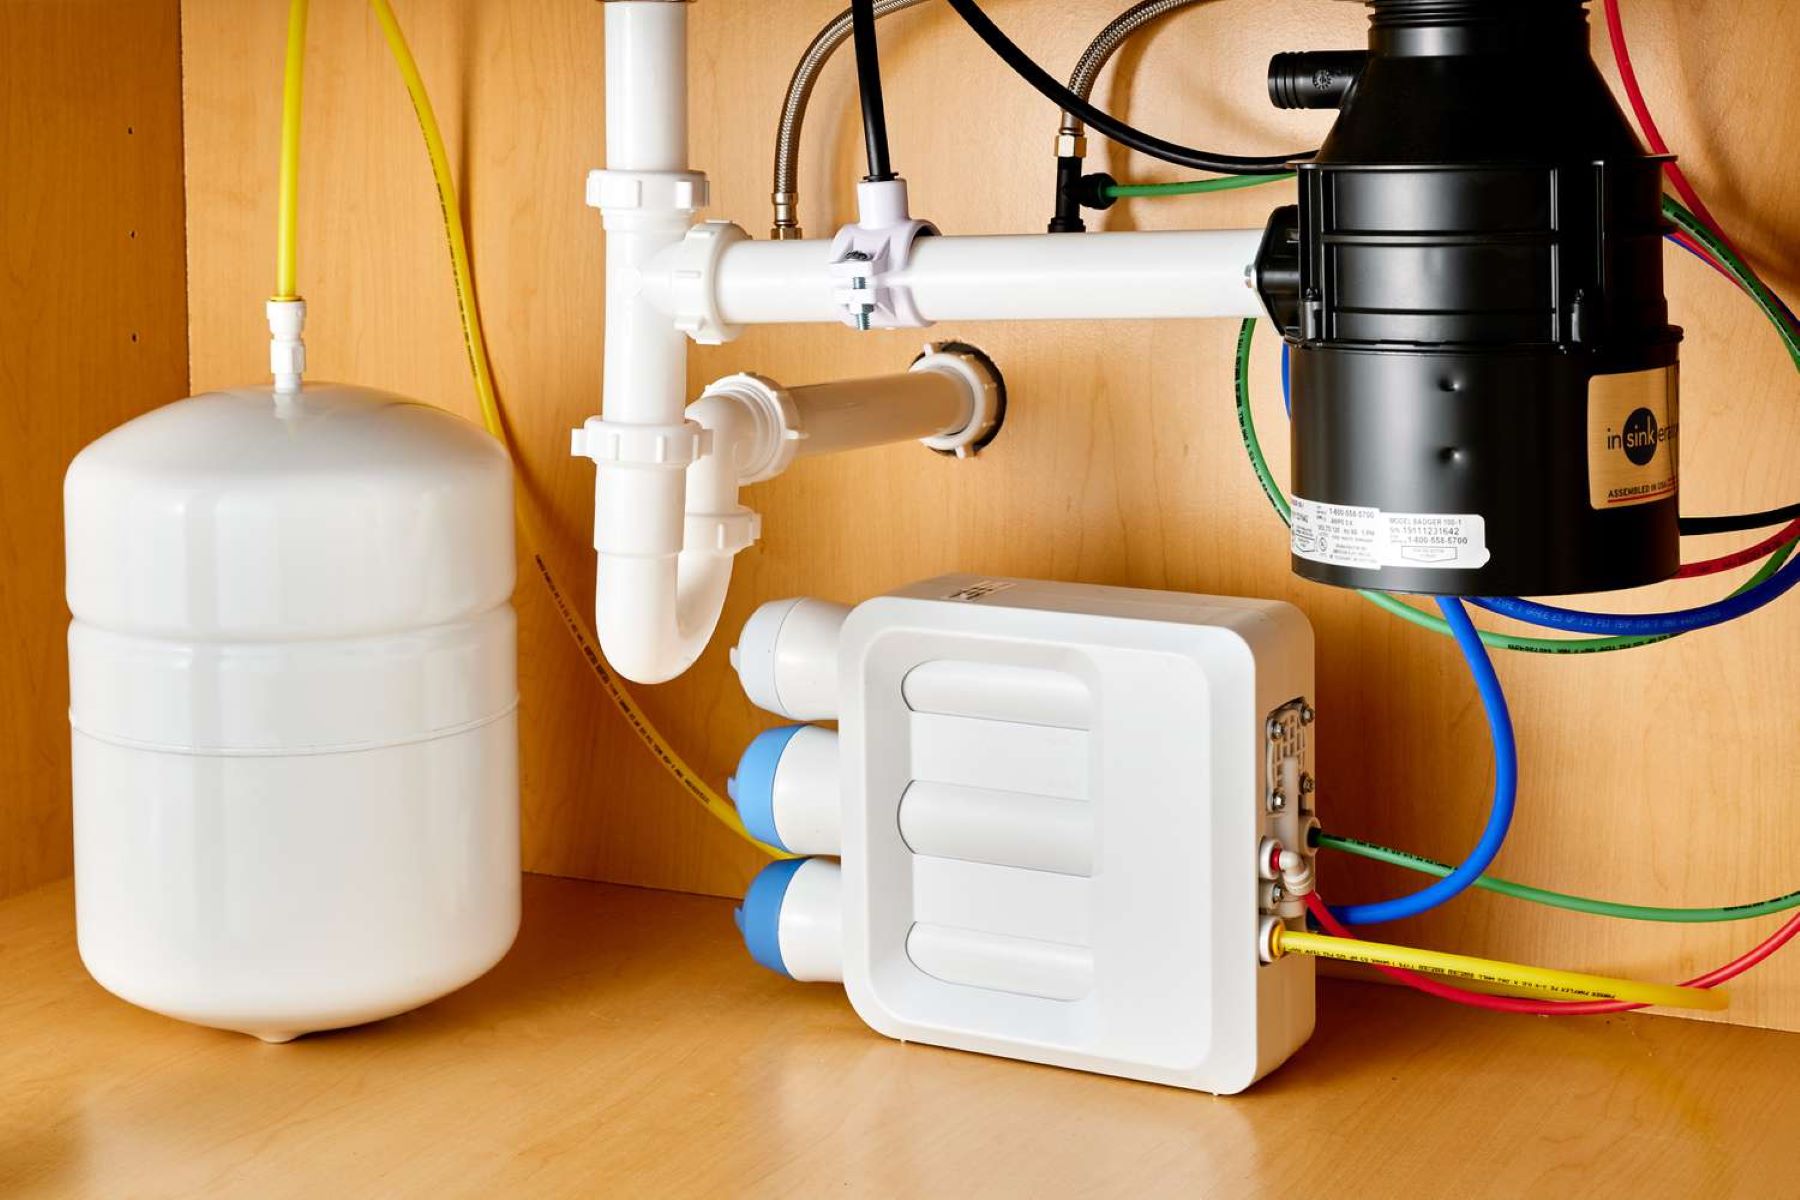
Step 4: Connect the Water Filtration System
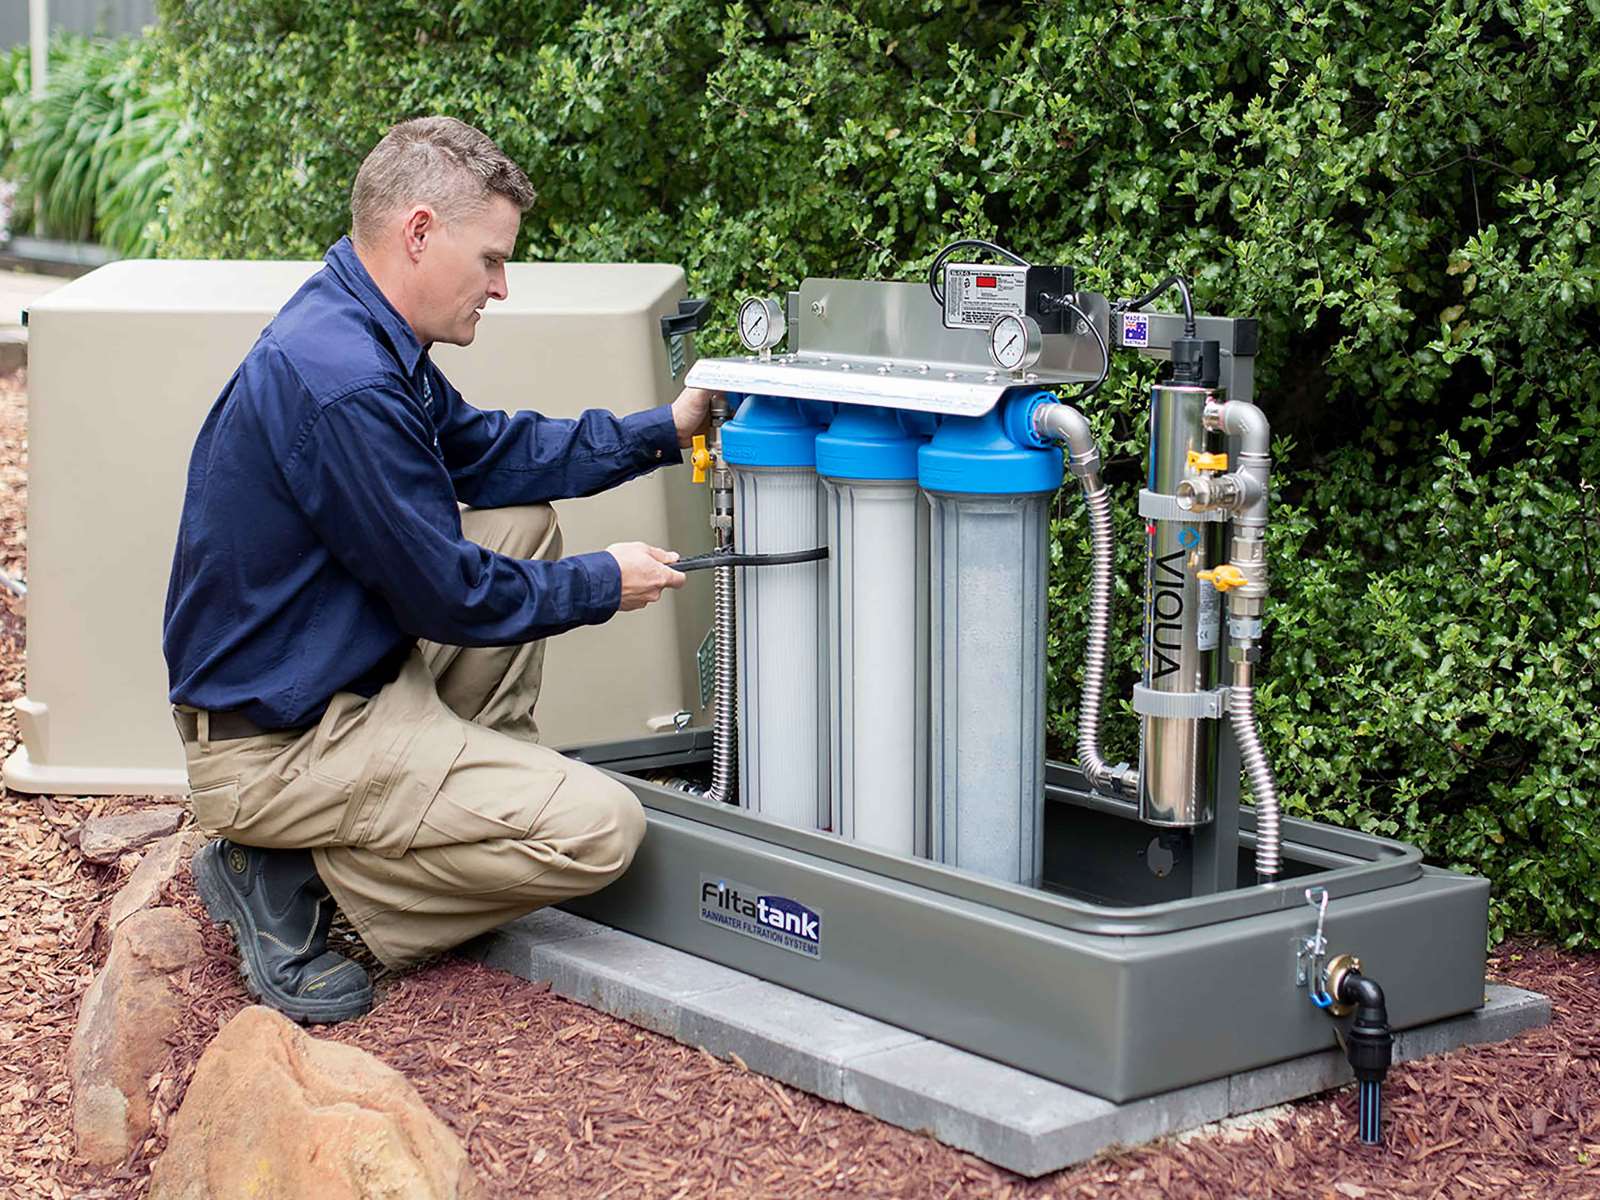
Connecting the water filtration system under the sink involves integrating the filtration unit, filter housing, and associated components into the existing plumbing. Here’s how to connect the water filtration system:
Mount the filtration unit: Securely mount the water filtration unit to the chosen location under the sink, ensuring that it is stable and accessible for future maintenance and filter replacements.
Install the filter housing: Attach the filter housing to the filtration unit, following the manufacturer’s instructions. Ensure that the housing is securely fastened and properly aligned for efficient water filtration.
Connect the supply tubing: Use the provided supply tubing to connect the water supply line to the inlet of the filtration unit. Secure the connections using compression fittings or other recommended methods to prevent leaks.
Connect the outlet tubing: Attach the outlet tubing from the filtration unit to the inlet of the dedicated faucet installed in the previous step. Ensure a secure and watertight connection to enable the flow of purified water to the faucet.
Check for leaks: Once all connections are in place, turn on the water supply and check for any leaks at the connections and fittings. Address any leaks immediately by tightening the connections or replacing faulty components.
By following these steps to connect the water filtration system under the sink, you’ll establish a reliable and efficient water purification system that delivers clean, great-tasting water for various household uses.
Step 5: Test the System
After completing the installation of the water filtration system under the sink, it’s essential to perform a thorough test to ensure proper functionality and water quality. Here’s how to test the system:
Flush the system: Before testing the water, flush the filtration system as recommended by the manufacturer. This process helps remove any air pockets and residual particles from the system, ensuring that the water is purified effectively.
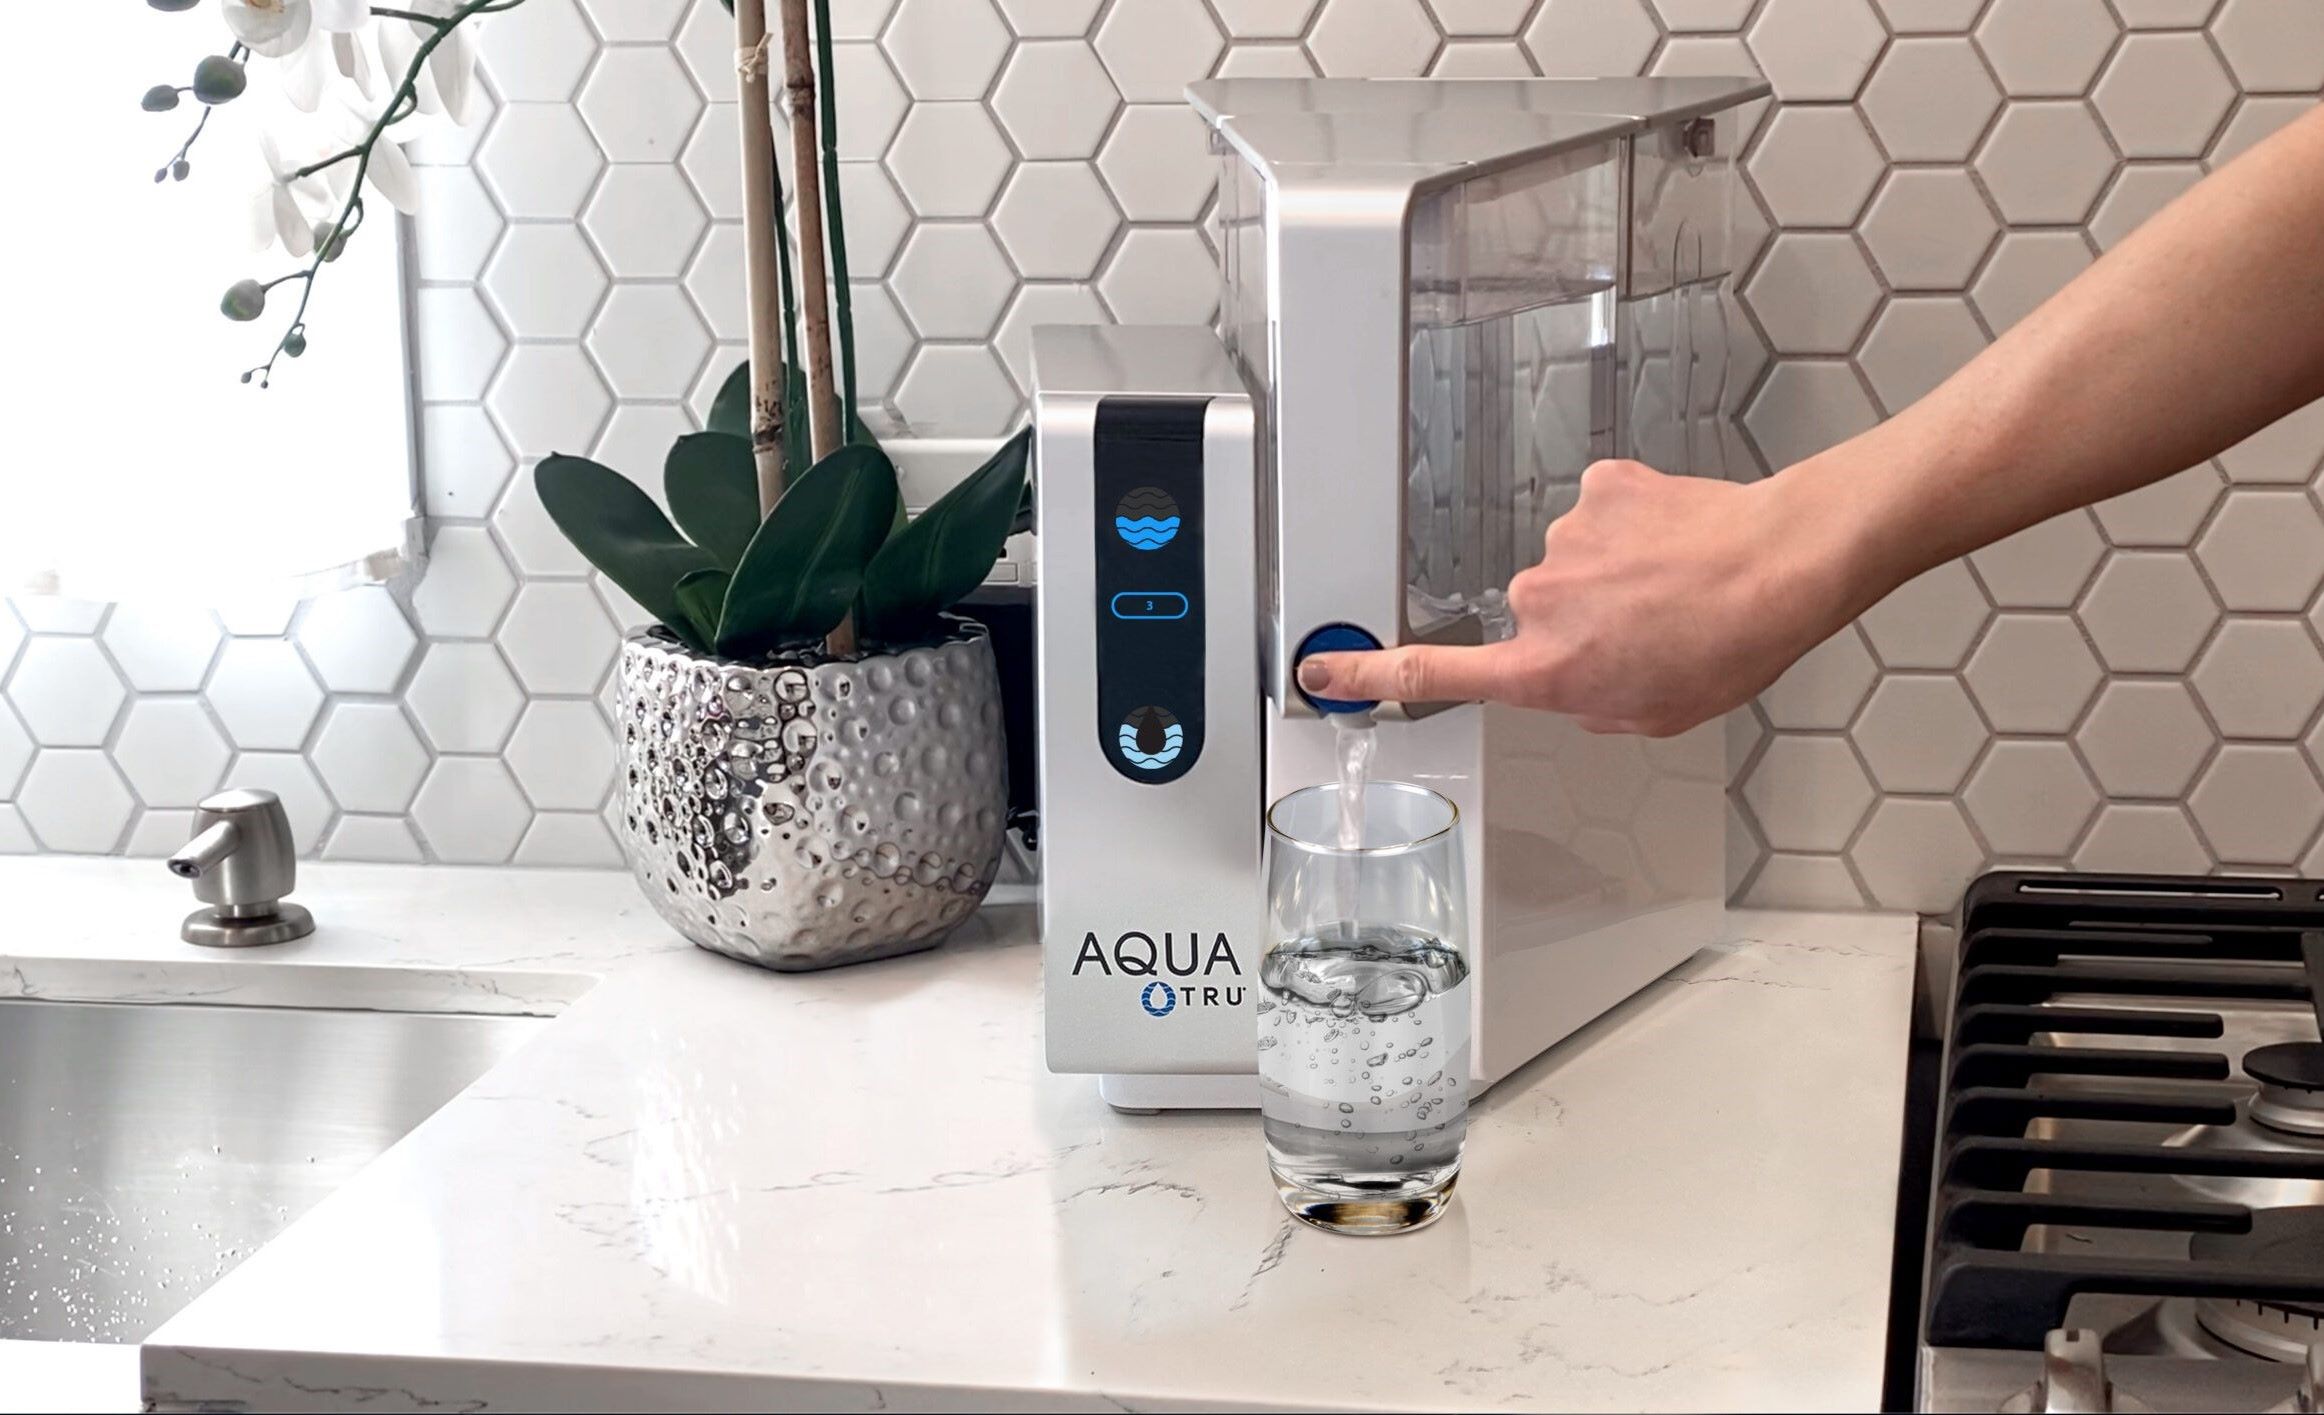
Run the faucet: Turn on the dedicated faucet connected to the filtration system and allow the water to run for several minutes. This helps clear the lines and ensures that the purified water is flowing consistently and free from any initial debris or carbon fines from the filter.
Taste and inspect the water: Fill a clean glass with water from the dedicated faucet and taste the purified water. Assess its clarity, odor, and overall taste to ensure that the filtration system is effectively removing impurities and providing clean, great-tasting water.
Check for leaks: While running the water, inspect all connections, fittings, and tubing for any signs of leakage. Address any leaks promptly to prevent water damage and maintain the integrity of the system.
Monitor water pressure: Pay attention to the water pressure at the dedicated faucet and ensure that it’s consistent and sufficient for your needs. Abnormal pressure fluctuations may indicate a need for adjustments or further inspection of the system.
By conducting a comprehensive test of the water filtration system, you can confirm its proper operation and the delivery of clean, purified water for your household’s drinking and cooking needs. Regularly testing the system and replacing filters as recommended by the manufacturer will help maintain optimal water quality over time.
Read more: Which Water Filtration System Is Best
Conclusion
Congratulations on successfully installing a water filtration system under your sink! By following the step-by-step guide outlined in this article, you’ve taken a proactive step towards ensuring access to clean, great-tasting water for you and your family. Installing a water filtration system under the sink offers numerous benefits, including improved water quality, convenience, and peace of mind.
With the right tools and materials, careful planning of the installation location, and attention to detail during the installation process, you’ve created a reliable and efficient water purification system in your home. The dedicated faucet provides convenient access to purified water for drinking, cooking, and other household needs, enhancing the overall quality of your tap water.
Regular maintenance and filter replacements, as recommended by the manufacturer, will help ensure that your water filtration system continues to operate effectively, providing clean and healthy water for years to come. Additionally, periodic testing of the system and monitoring for any signs of leaks or pressure issues will contribute to the long-term performance and reliability of the system.
By taking the initiative to install a water filtration system under your sink, you’ve made a positive investment in your family’s health and well-being. Enjoy the peace of mind that comes with knowing that your household has access to clean, purified water right from the tap, and savor the refreshing taste of water that’s free from impurities and contaminants.
Thank you for following this guide, and may your newly installed water filtration system bring you the benefits of clean, great-tasting water for years to come!
Frequently Asked Questions about How To Install A Water Filtration System Under The Sink
Was this page helpful?
At Storables.com, we guarantee accurate and reliable information. Our content, validated by Expert Board Contributors, is crafted following stringent Editorial Policies. We're committed to providing you with well-researched, expert-backed insights for all your informational needs.


0 thoughts on “How To Install A Water Filtration System Under The Sink”