Articles
How To Change Under Sink Water Filter
Modified: October 22, 2024
Looking for articles on how to change your under sink water filter? Find step-by-step guides and helpful tips to ensure clean, refreshing water for your home.
(Many of the links in this article redirect to a specific reviewed product. Your purchase of these products through affiliate links helps to generate commission for Storables.com, at no extra cost. Learn more)
Introduction
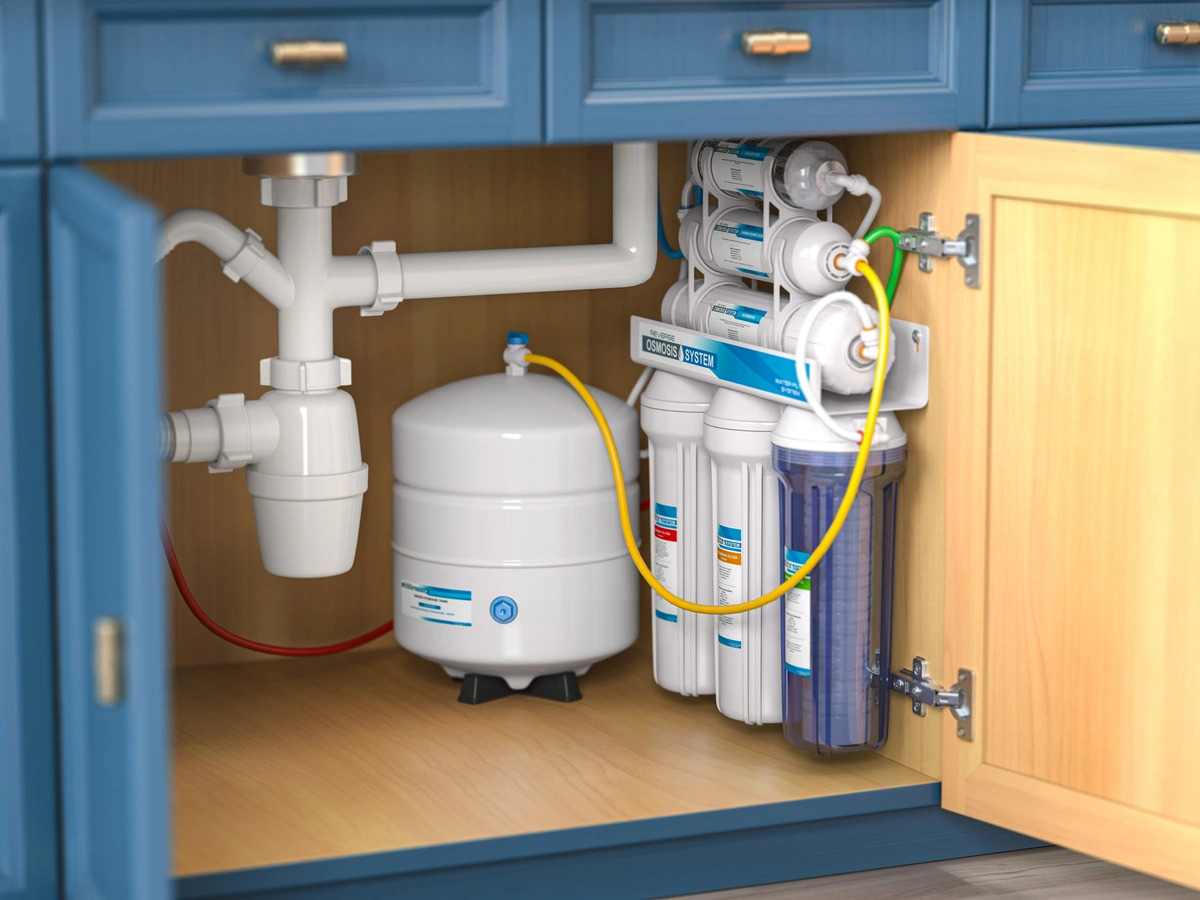
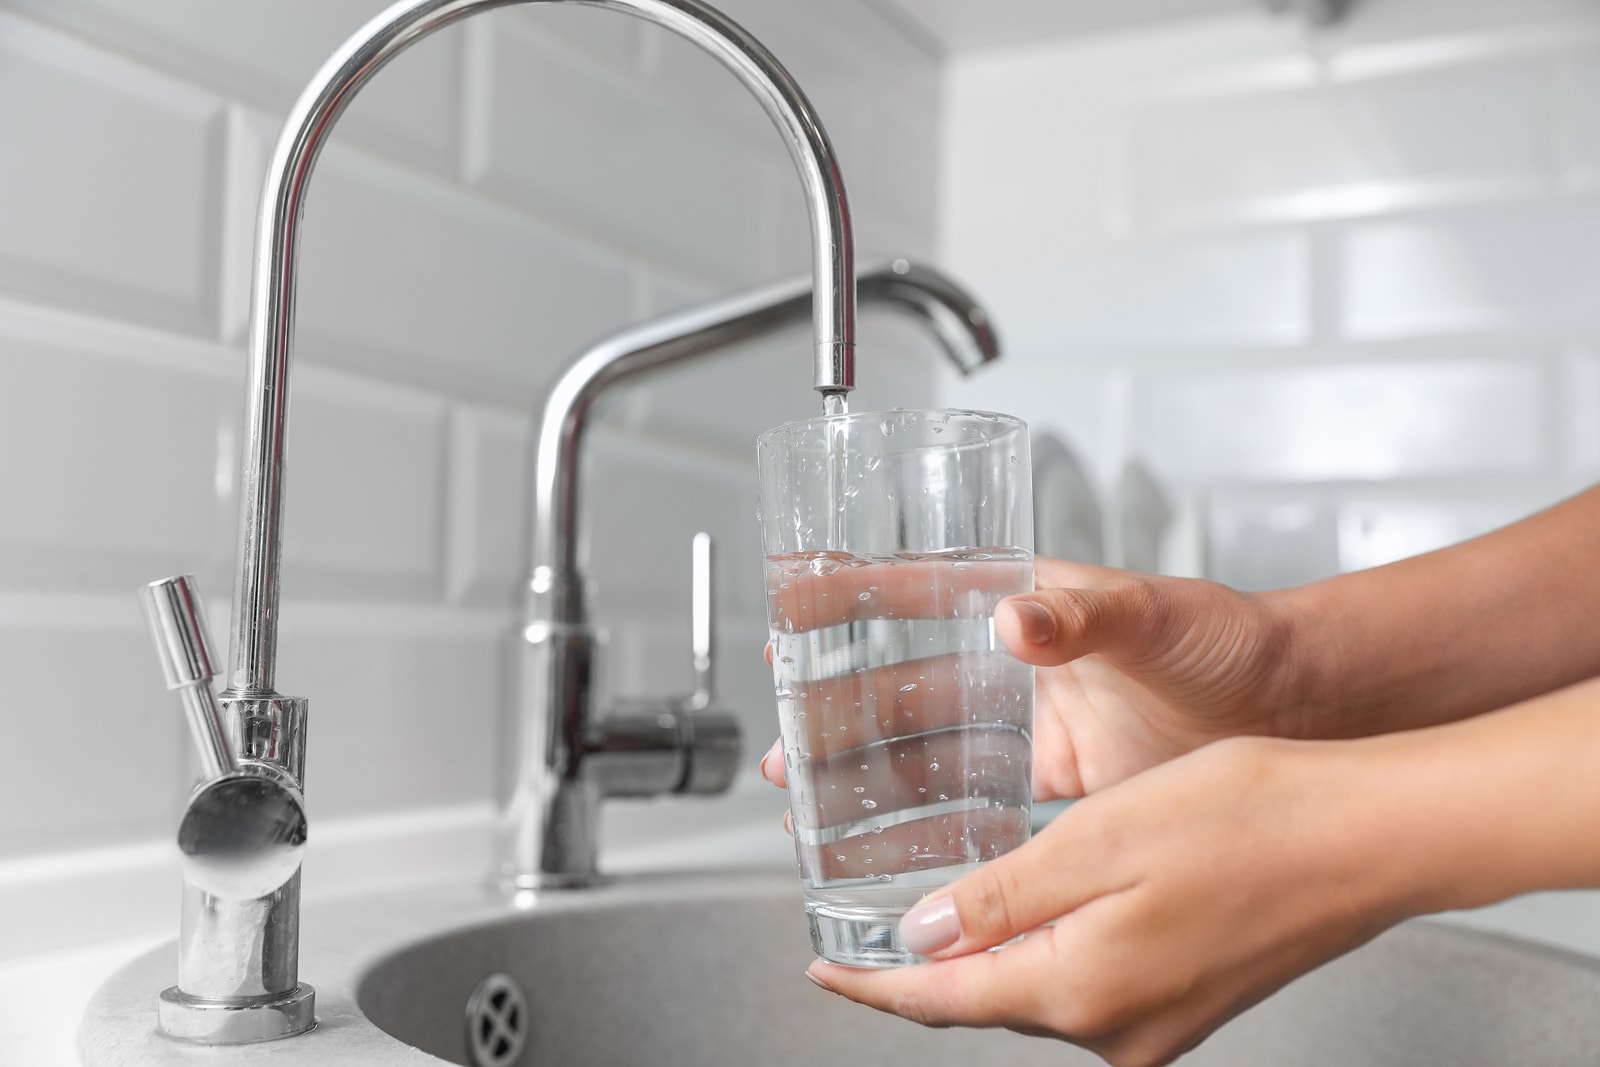
Having clean and filtered water is essential for maintaining a healthy lifestyle. Under sink water filters are a popular choice for homeowners who want to ensure that their drinking water is free from impurities and contaminants. If you’re looking to change your under sink water filter, you’ve come to the right place.
In this article, we will guide you through the step-by-step process of changing your under sink water filter. We will cover everything you need to know, from gathering the necessary tools and materials to the final installation and checking for leaks.
Before we begin, it’s important to note that the specific steps may vary depending on the brand and model of your under sink water filter. We recommend consulting the manufacturer’s instructions for your particular filter to ensure proper installation.
Now that we’re all on the same page, let’s dive into the process of changing your under sink water filter and enjoy clean, filtered water for years to come!
Key Takeaways:
- Ensure you have the necessary tools and materials, turn off the water supply, and carefully prepare and install the new filter to enjoy clean, filtered water with a hassle-free under sink water filter change.
- Thoroughly check for leaks after installation to prevent water damage and ensure the proper functioning of your under sink water filter. Enjoy the benefits of clean, fresh-tasting water for years to come with regular maintenance.
Read also: 10 Best Under Sink Water Filter for 2025
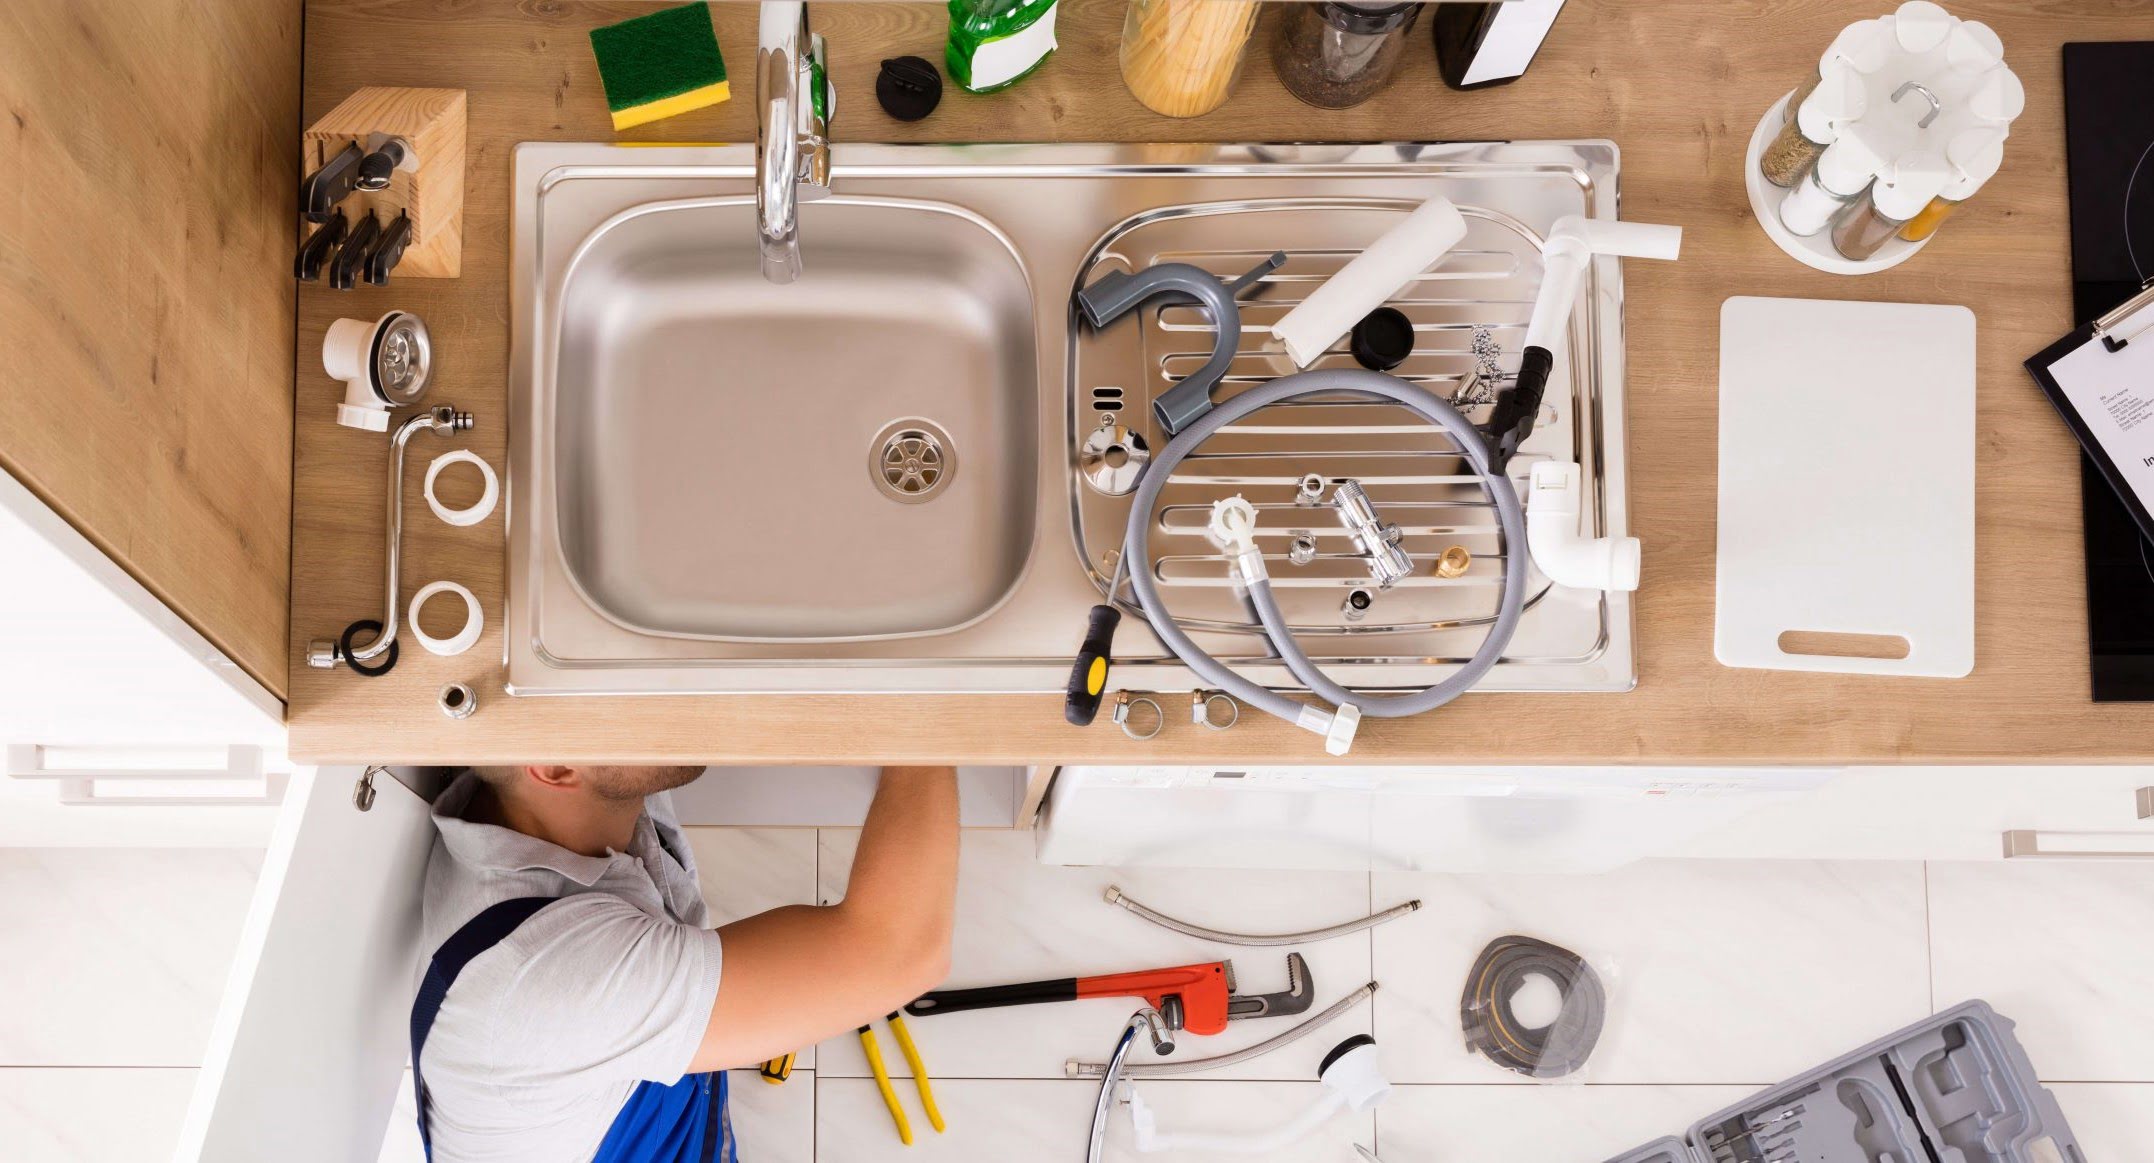
Necessary Tools and Materials
Before you start the process of changing your under sink water filter, make sure you have the following tools and materials on hand:
- Adjustable wrench
- Pliers
- Bucket or towel (to catch any water spills)
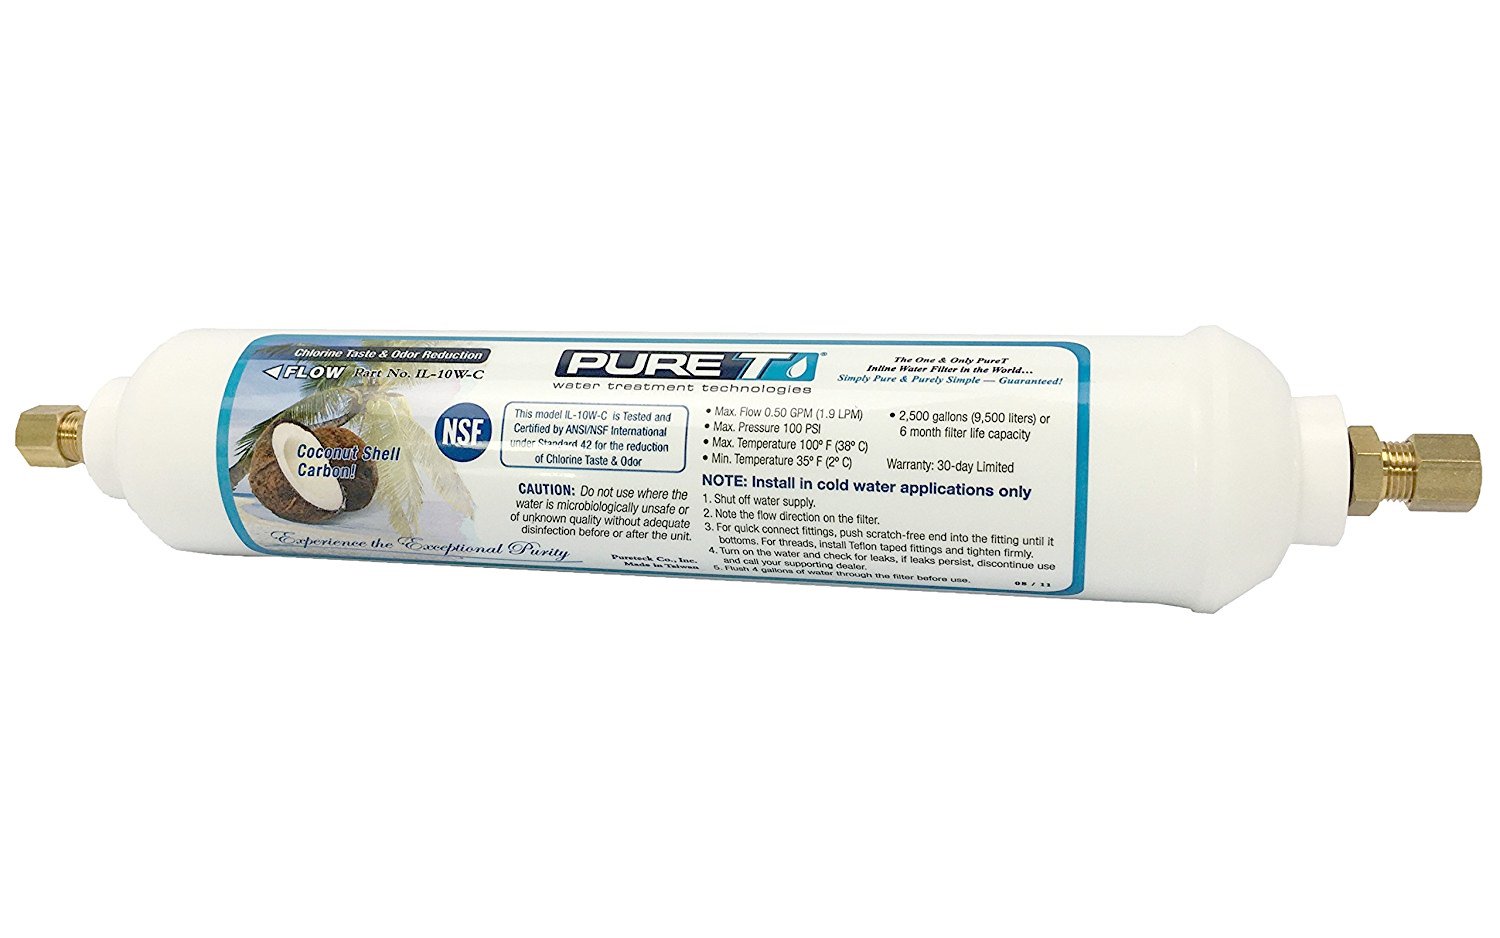
- New filter cartridge
- Filter housing O-rings (if necessary)
- Teflon tape
- Plastic tubing cutter (if needed)
- Gloves (optional, but recommended)
Having these tools and materials ready will save you time and ensure a smooth installation process. If your under sink water filter came with a user manual, be sure to refer to it for any additional tools or materials specific to your filter model.
It’s important to note that some filters may have different requirements, so always check the manufacturer’s instructions before starting the installation process.
Now that you’re well-equipped, let’s move on to the step-by-step guide on how to change your under sink water filter effectively and efficiently!
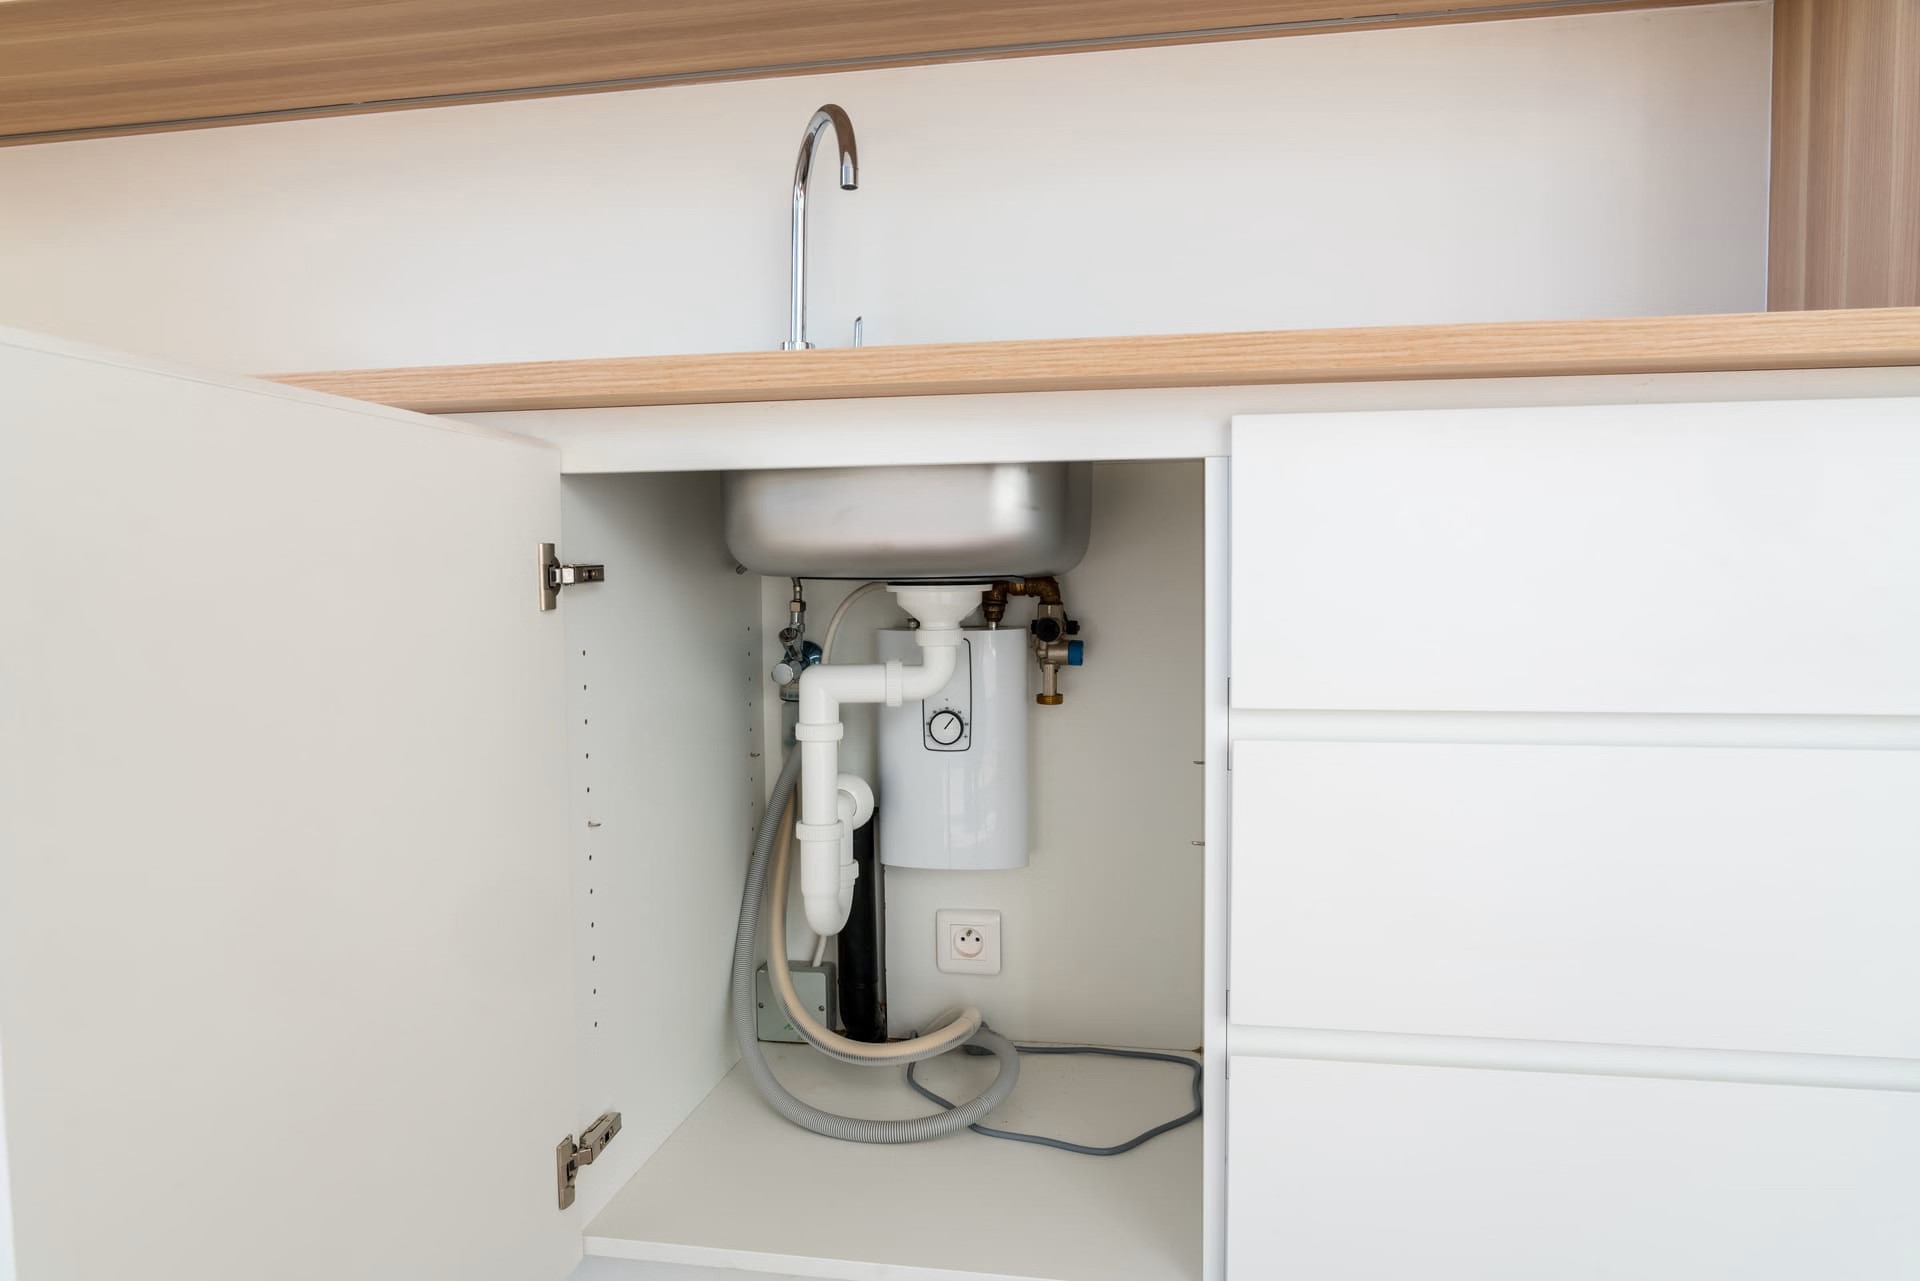
Step 1: Turn Off Water Supply
The first step in changing your under sink water filter is to turn off the water supply to your kitchen sink. This is crucial to prevent any water leakage or flooding during the installation process.
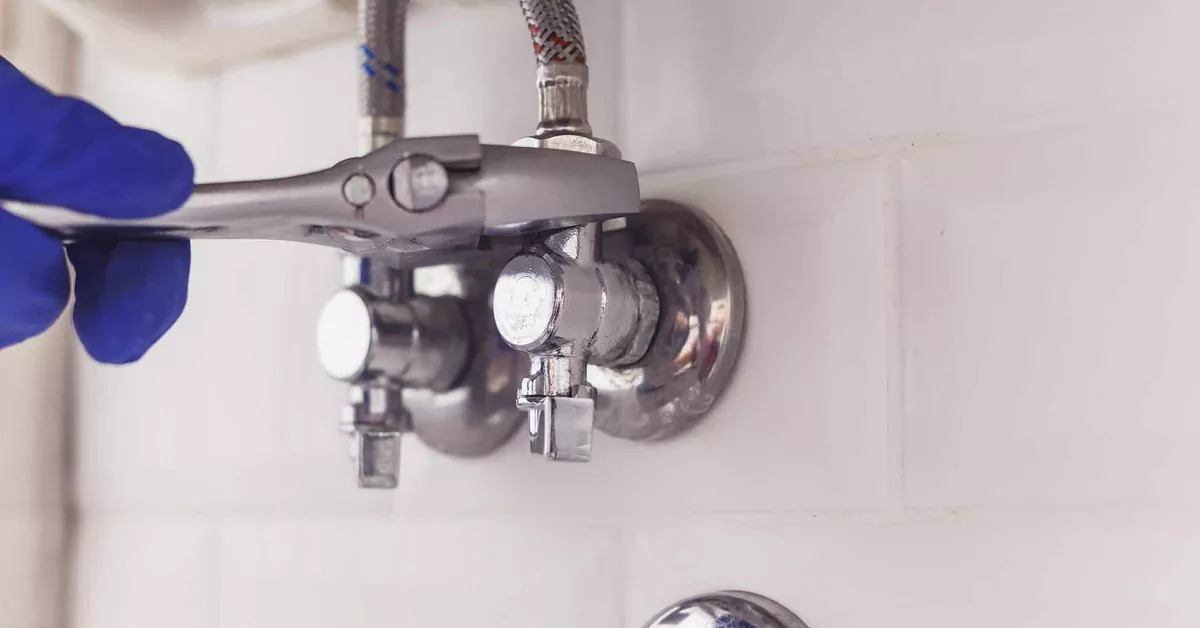
To turn off the water supply, locate the shut-off valve underneath your sink. In most cases, you’ll find a valve connected to the plumbing pipes leading to the sink. Turn the valve clockwise (to the right) to shut off the water flow.
Once the water supply is turned off, turn on the kitchen faucet to release any remaining water pressure in the system. This will help minimize any water spills when you disconnect the old filter.
It’s important to note that different under sink water filters may have their shut-off valves or unique instructions for turning off the water supply. Consult the user manual or manufacturer’s instructions for your specific filter to ensure you follow the correct steps.
Now that the water supply is turned off, you’re ready to move on to the next step, which is disconnecting the old filter.
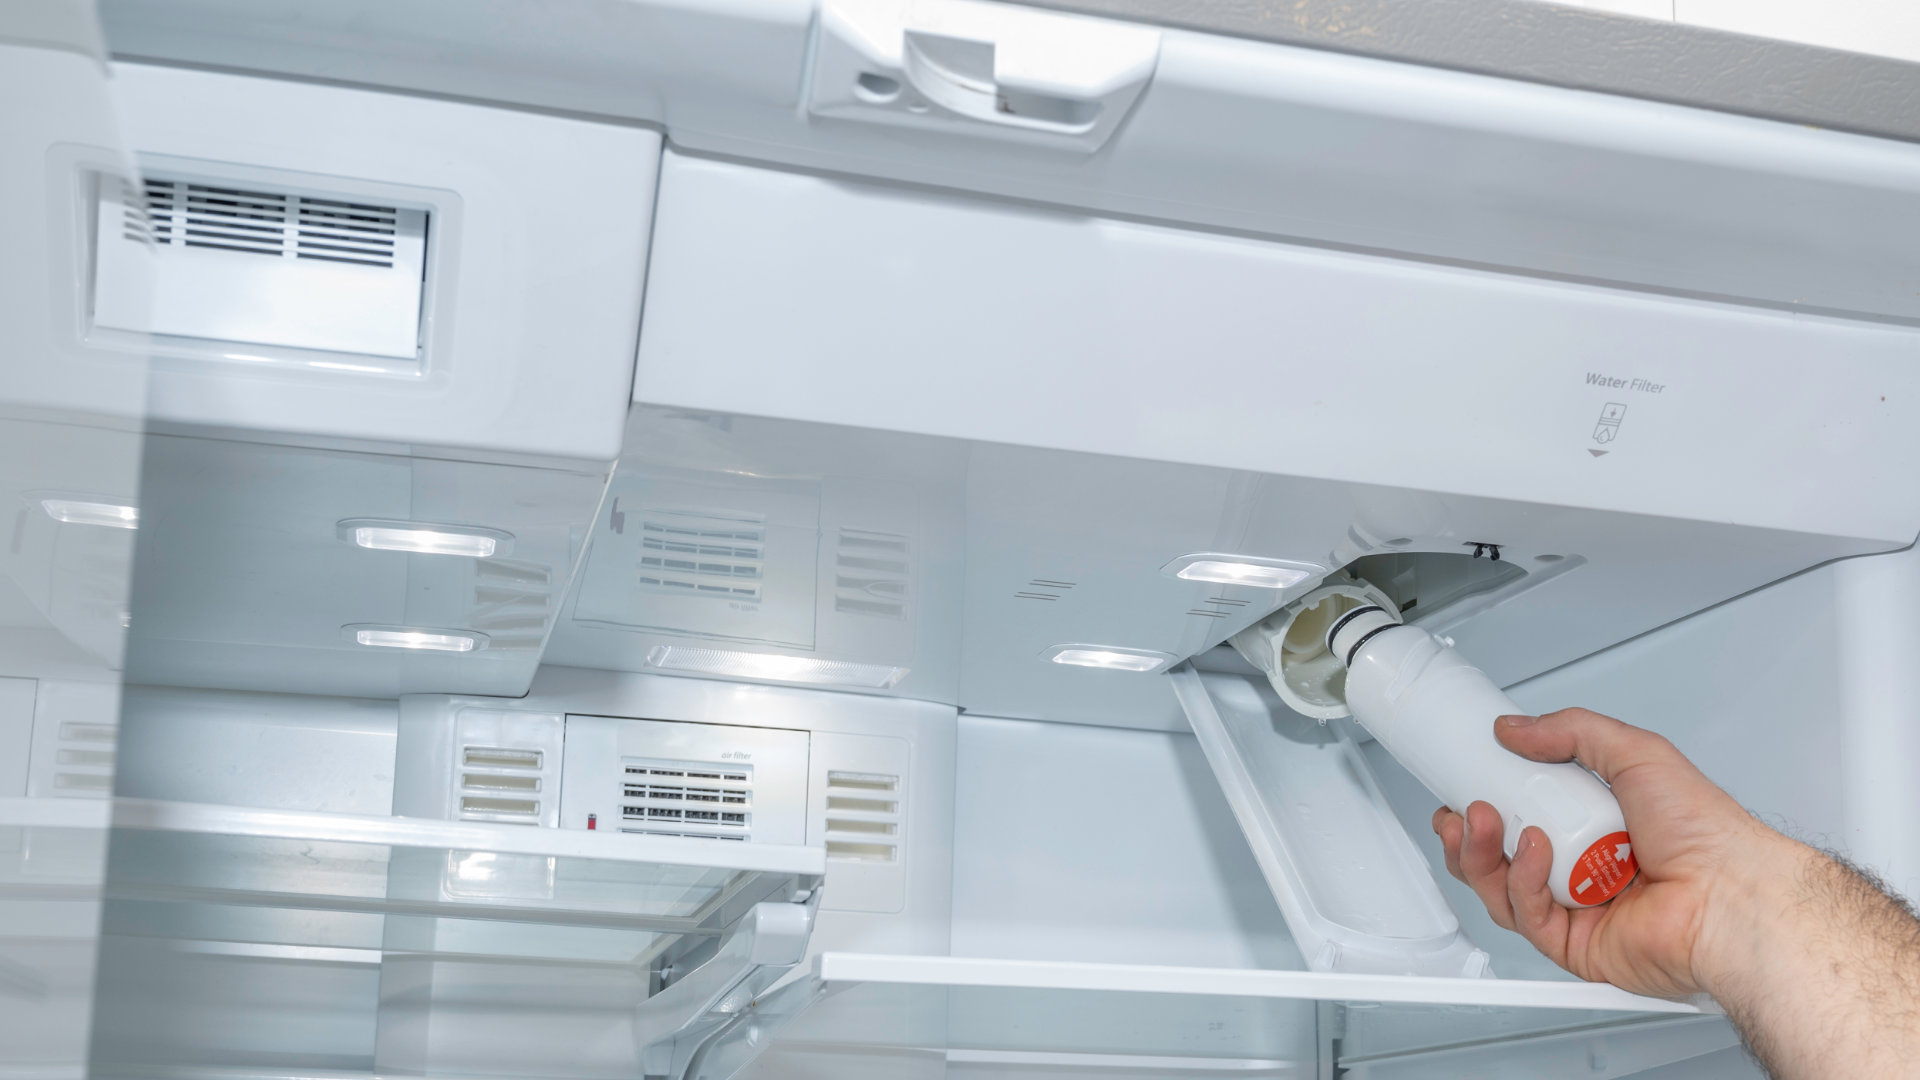
Step 2: Disconnect the Old Filter
Now that the water supply is turned off, it’s time to disconnect the old filter from your under sink system. Follow these steps to safely remove the old filter:
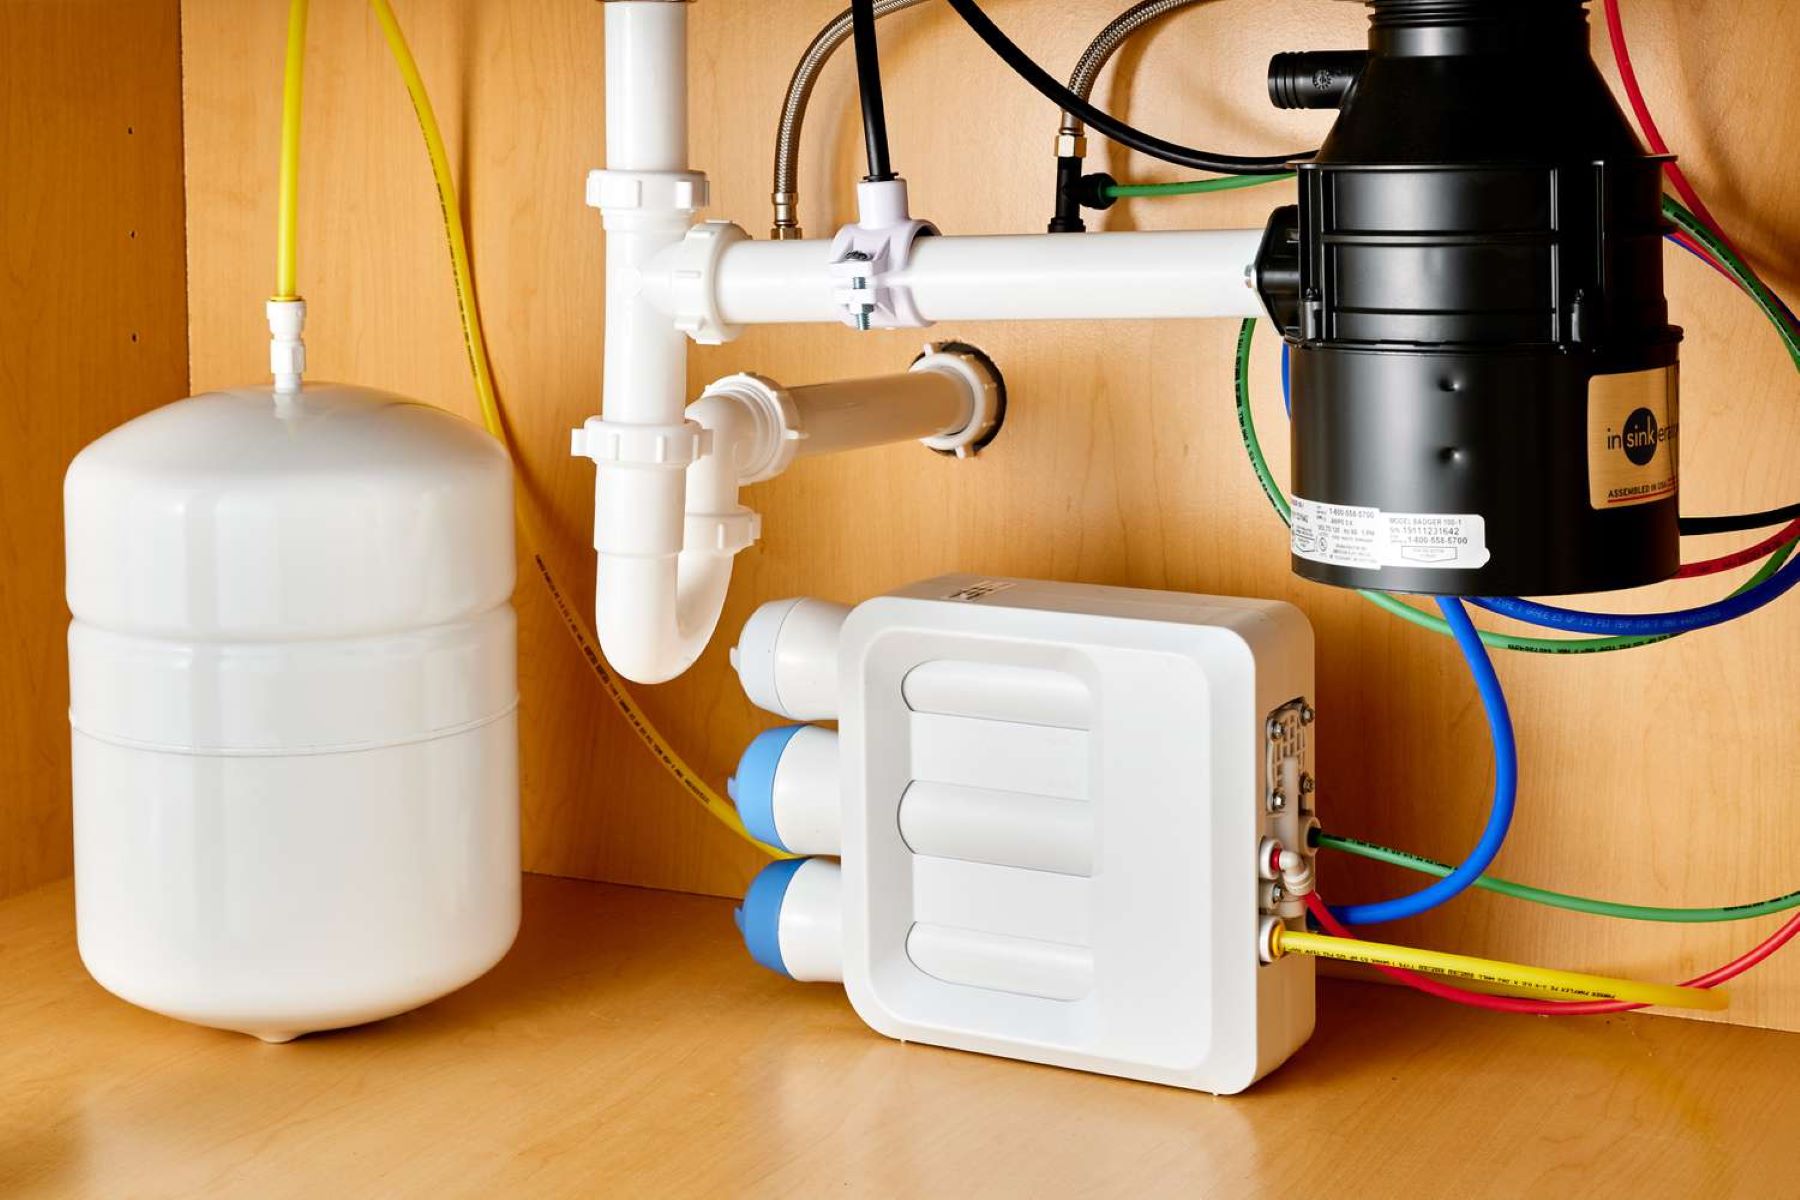
- Locate the filter housing: The filter housing is usually a cylindrical container that holds the filter cartridge. It is connected to the plumbing underneath the sink. Look for the filter housing and identify the inlet and outlet connections.
- Prepare a bucket or towel: Place a bucket or towel under the filter housing to catch any water that may spill during the disconnection process.
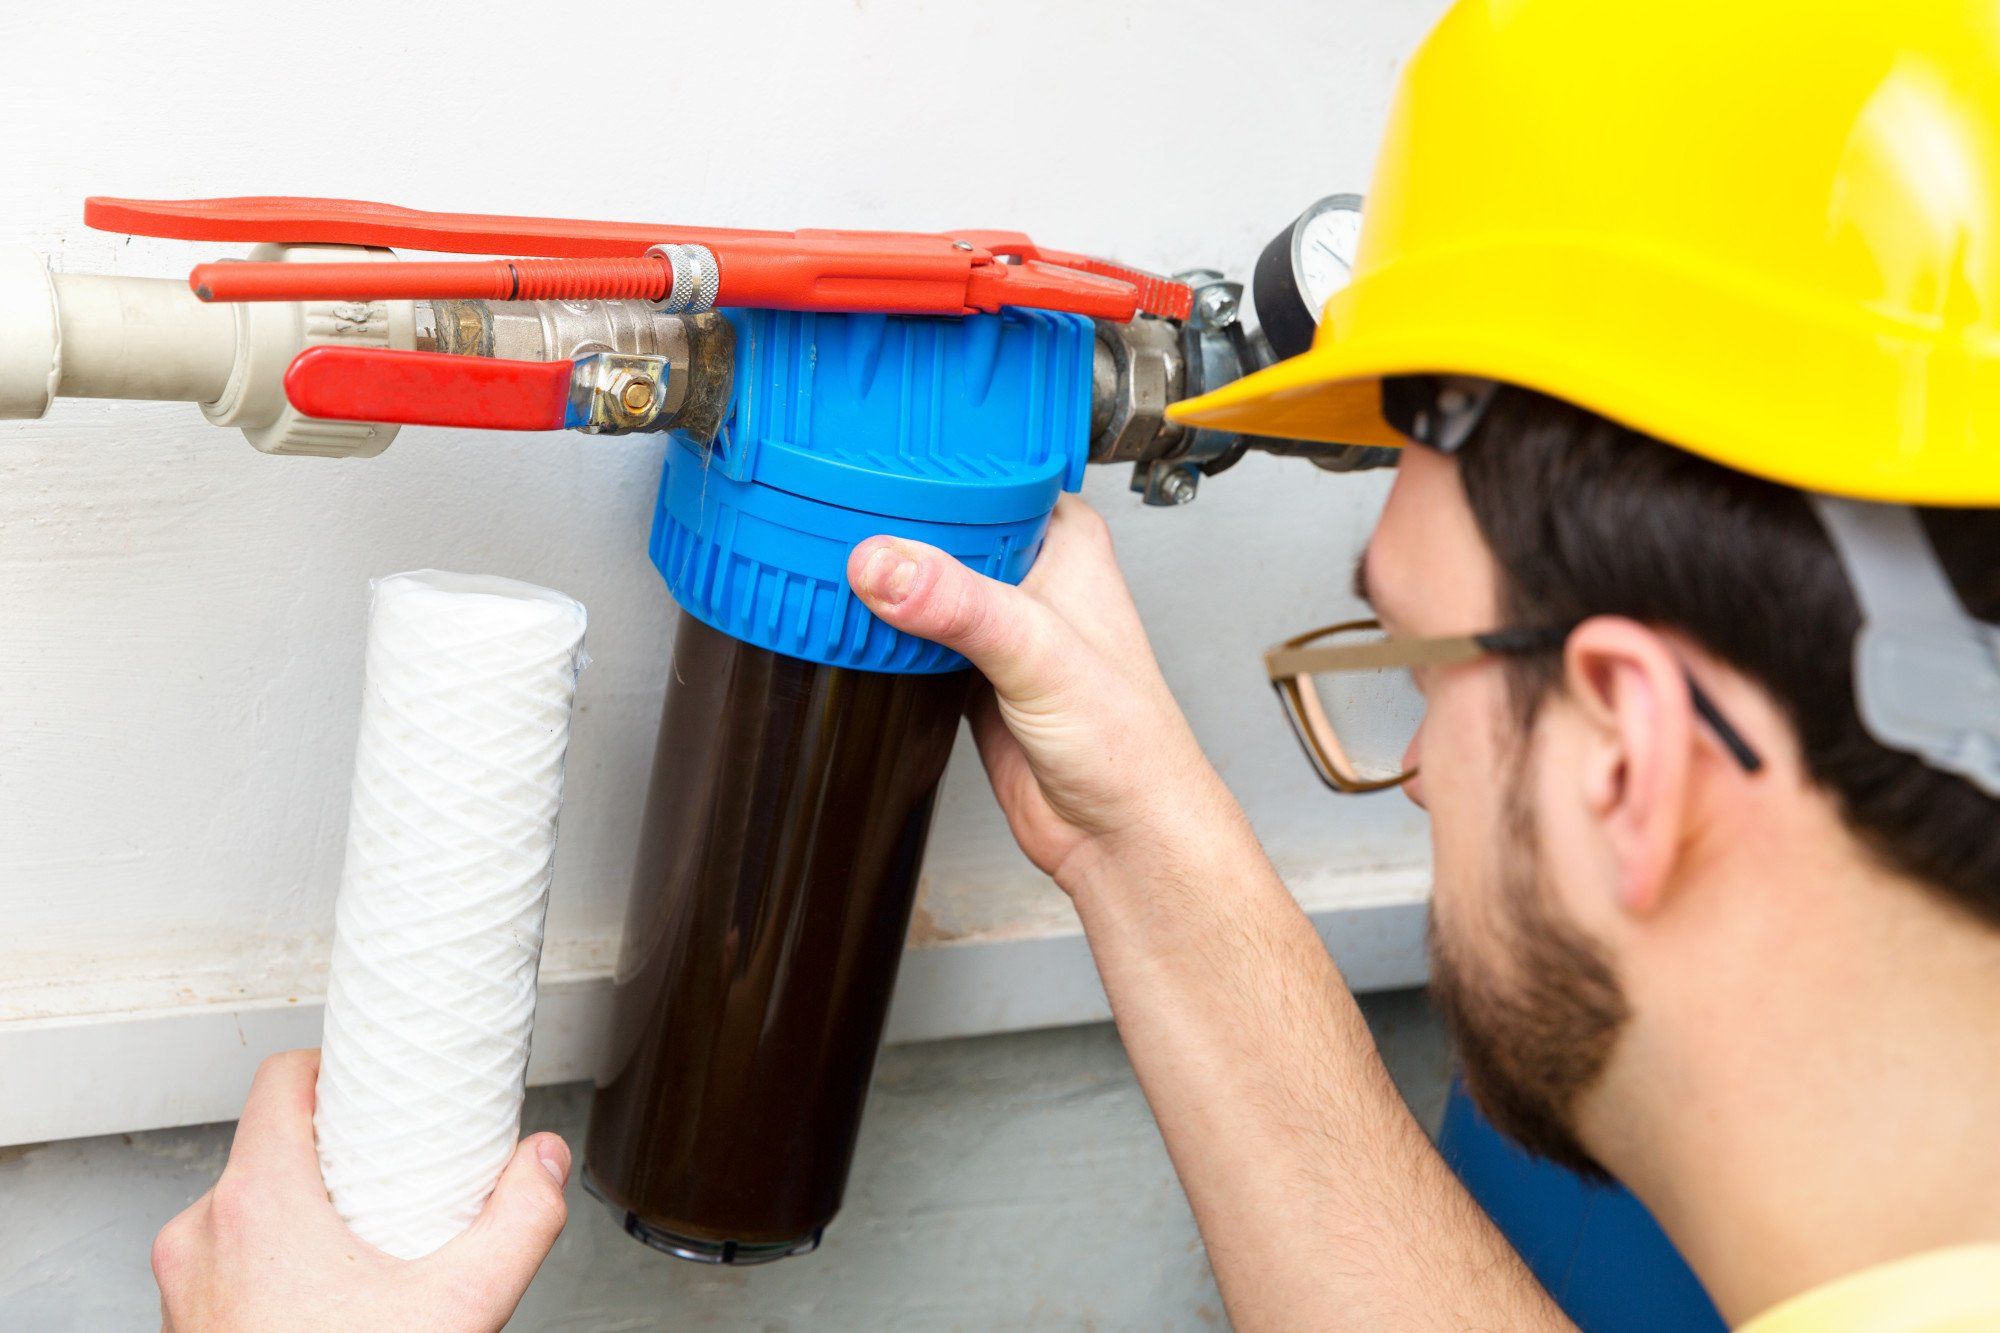
- Loosen the filter housing: Use an adjustable wrench or pliers to loosen the filter housing. Grip the housing firmly and rotate it counterclockwise (to the left) to unscrew it from the mounting bracket or manifold. Take your time not to damage any pipes or connections.
- Remove the filter cartridge: Once the housing is unscrewed, carefully remove the filter cartridge from the housing. Some filters may have a separate cartridge that needs to be unscrewed or pulled out. Dispose of the old filter cartridge properly.
Take note of the condition of the O-rings in the filter housing. If they are damaged or worn out, replace them with new O-rings before proceeding with the installation of the new filter cartridge.
With the old filter disconnected and removed, you’re now ready to move on to the next step, which is preparing the new filter for installation.
Step 3: Prepare the New Filter
With the old filter disconnected and removed, it’s time to prepare the new filter for installation. Follow these steps to ensure a smooth and successful installation:
- Read the manufacturer’s instructions: Before you begin preparing the new filter, carefully read the manufacturer’s instructions for your specific model. This will provide you with important information and any specific steps you need to follow.
- Inspect the new filter cartridge: Take a close look at the new filter cartridge to ensure there are no visible defects or damage. Check for any protective stickers or caps that need to be removed before installation.
- Check the O-rings: Just like when disconnecting the old filter, inspect the O-rings in the filter housing. If they are worn out or damaged, replace them with new ones to ensure a proper seal.
- Apply Teflon tape (if necessary): If your filter requires Teflon tape for the plumbing connections, carefully apply it to the threads of the inlet and outlet. This helps create a tight seal and prevent any leaks.
- Prepare any additional components: Some under sink filters may have additional components, such as a separate bracket or mounting system. Follow the manufacturer’s instructions to prepare and attach these components if needed.
By thoroughly preparing the new filter, you can ensure a successful installation and proper functioning of your under sink water filter. With the new filter ready, let’s move on to the next step, which is installing the new filter.
When changing an under sink water filter, be sure to turn off the water supply and release any built-up pressure by running the faucet. Follow the manufacturer’s instructions for proper installation and replacement.
Read more: How To Replace Water Valve Under Sink
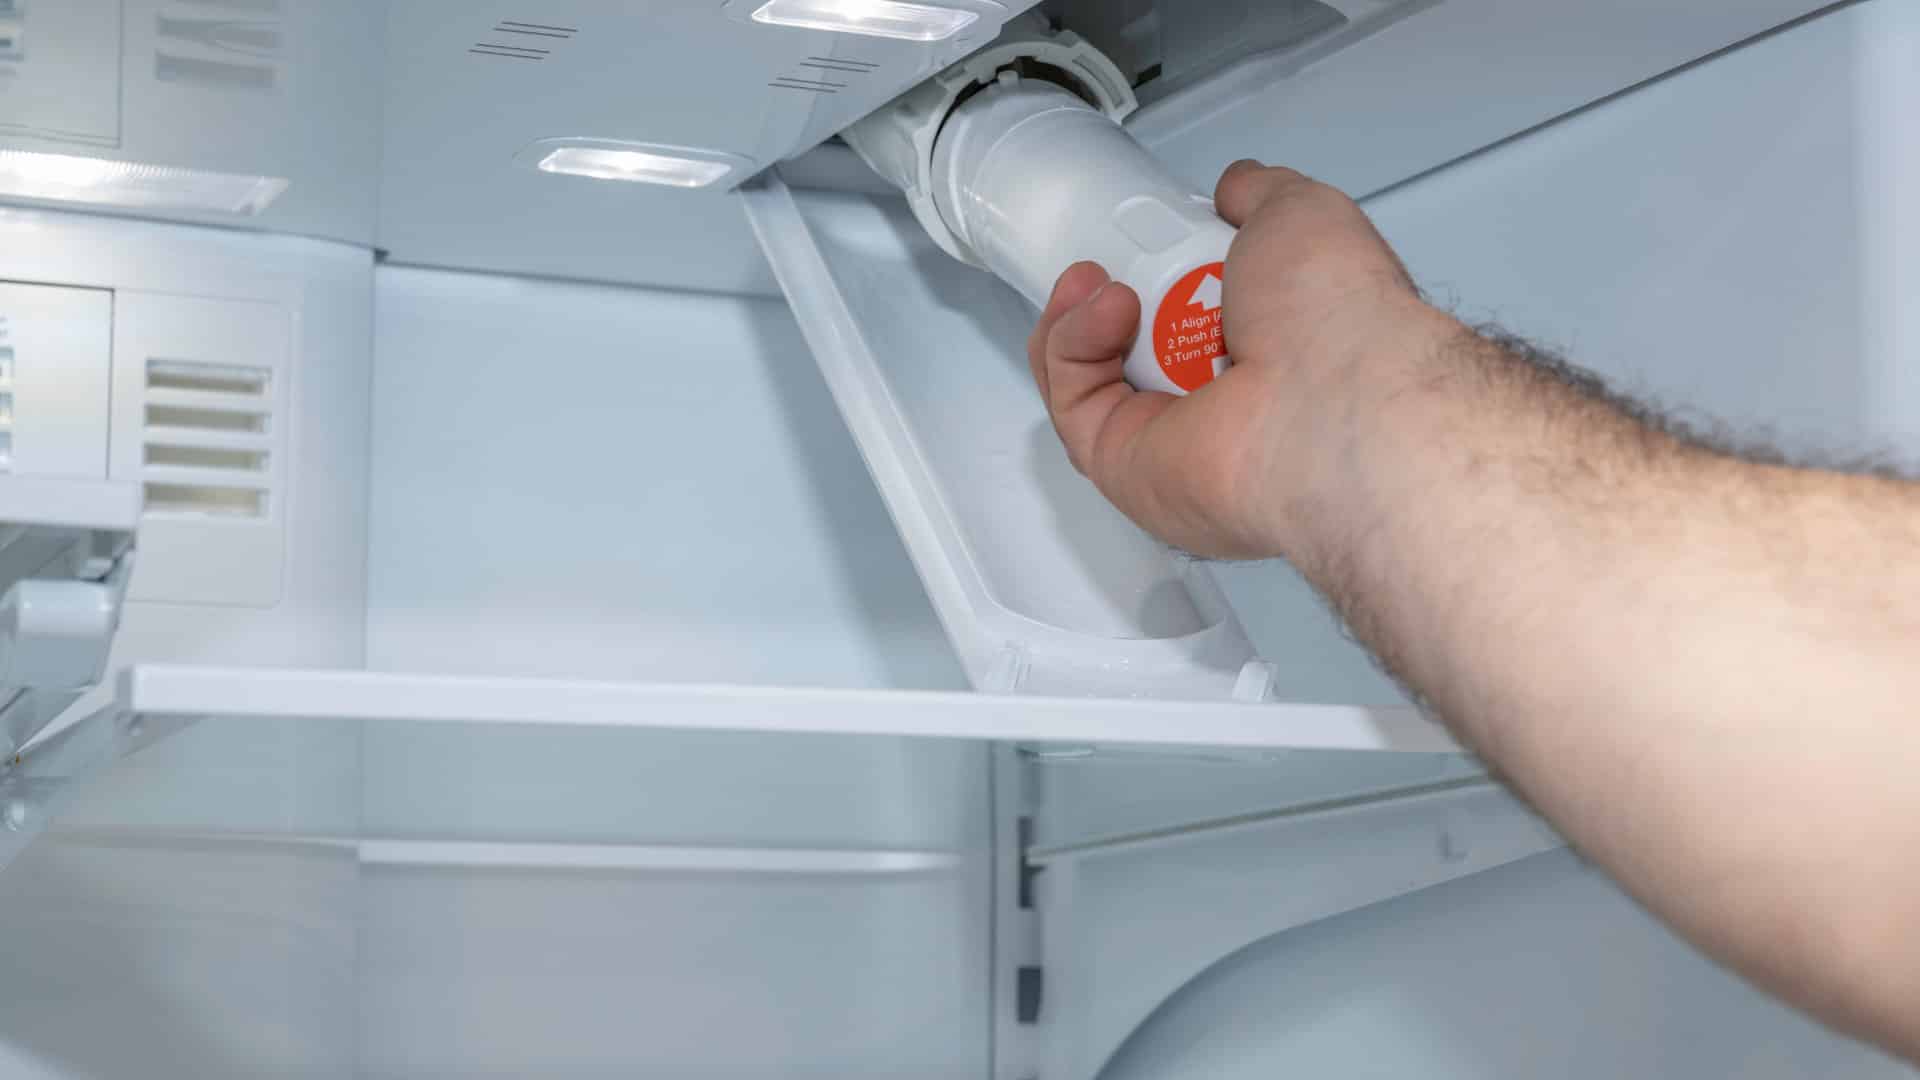
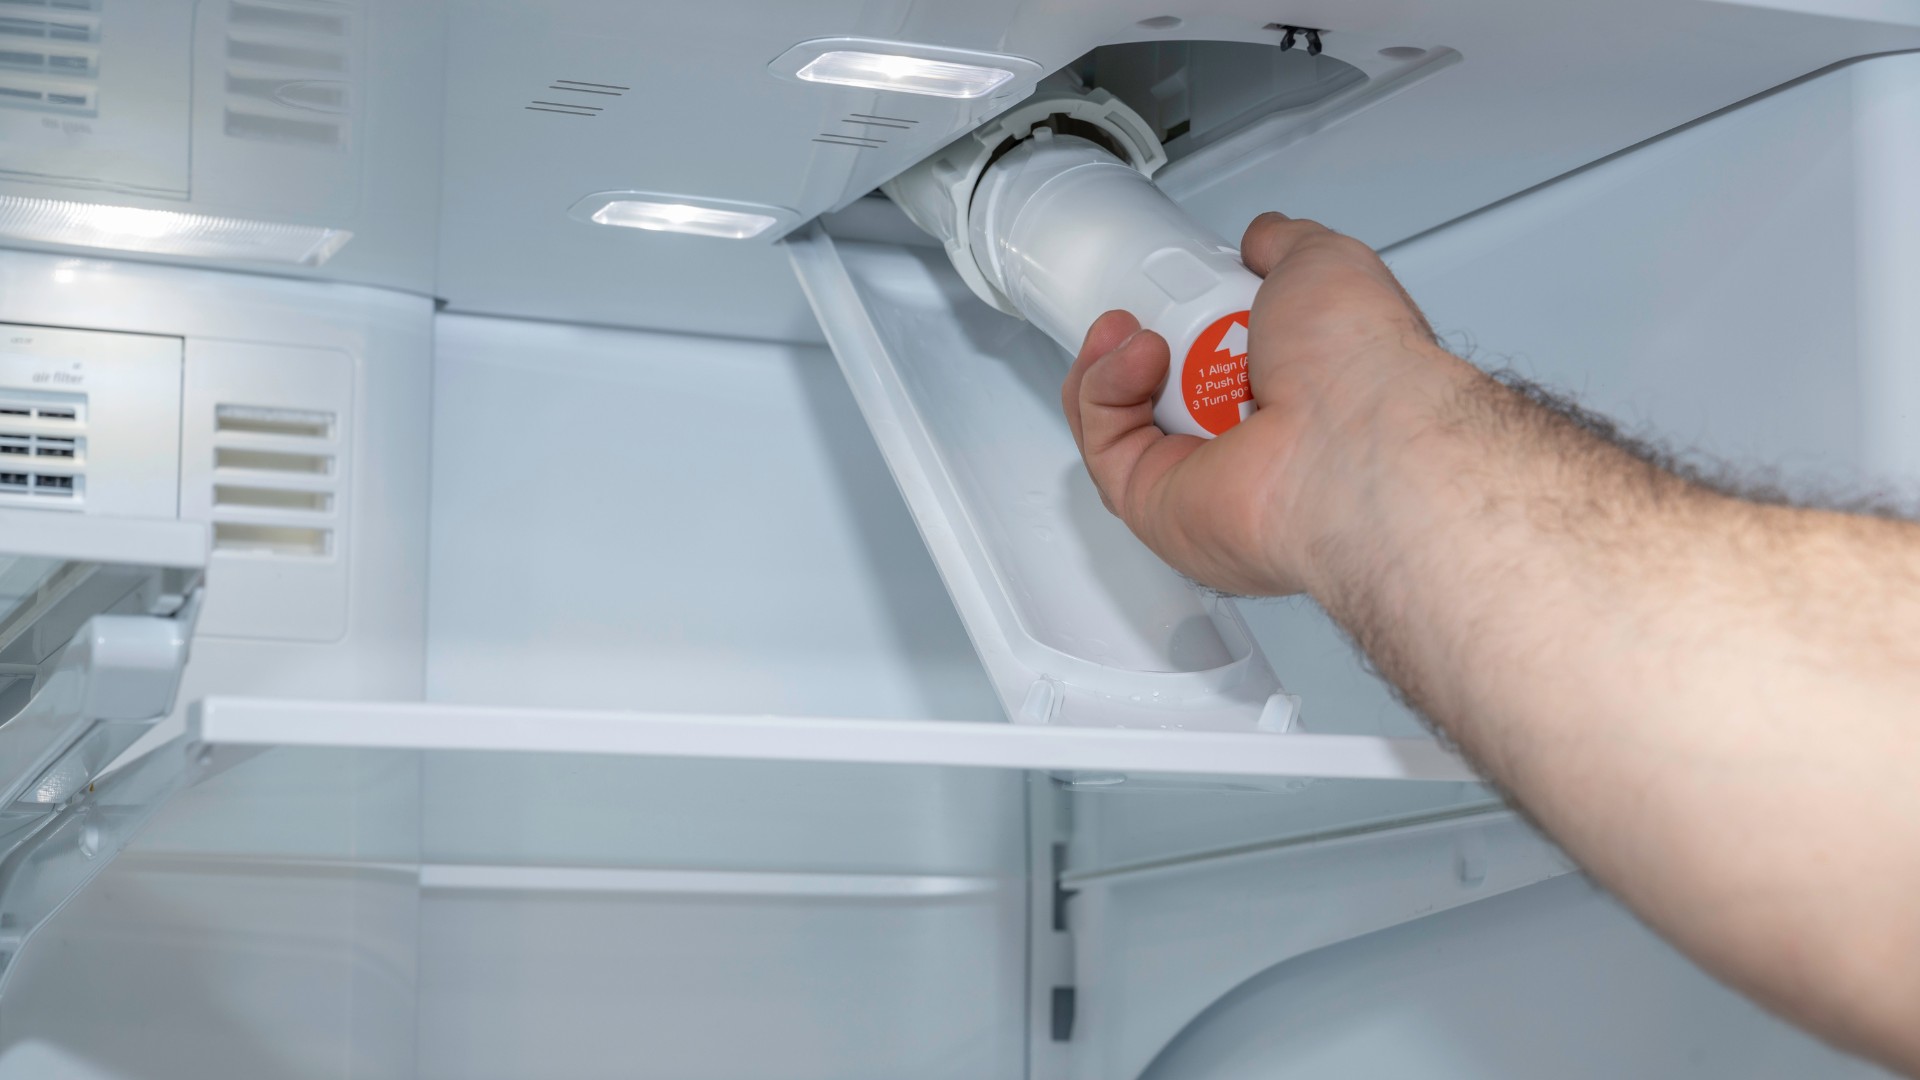
Step 4: Install the New Filter
Now that you’ve prepared the new filter, it’s time to install it in your under sink system. Follow these steps to properly install the new filter:
- Position the new filter cartridge: Insert the new filter cartridge into the filter housing, making sure it is properly aligned with the housing’s grooves or guides. Gently push the cartridge in until it is fully seated.
- Tighten the filter housing: Use your hands to tighten the filter housing onto the mounting bracket or manifold. Ensure that it is securely fastened, but be careful not to overtighten as it may cause damage or leaks.
- Connect the plumbing: Reattach the plumbing connections to the inlet and outlet ports of the filter housing. If necessary, use an adjustable wrench or pliers to tighten the connections, ensuring they are snug but not overly tight.
- Double-check the connections: Once everything is connected, give the plumbing connections a gentle tug to ensure they are secure. Make sure there are no visible leaks or gaps around the connections.
- Turn on the water supply: Slowly turn on the water supply by turning the shut-off valve counterclockwise (to the left). This will allow water to flow into the filter housing and prime the new filter cartridge.
It’s normal for the water to flow slowly at first as the air is purged from the system. Let the water run for a few minutes to flush out any air or debris from the new filter cartridge.
With the new filter successfully installed, it’s time to move on to the next step, which is reconnecting the water supply and ensuring there are no leaks.
Step 5: Reconnect the Water Supply
After successfully installing the new filter, it’s time to reconnect the water supply to your under sink system. Follow these steps to ensure a proper reconnection:
- Turn off the faucet: Before reconnecting the water supply, make sure the kitchen faucet is turned off to prevent any splashing or spraying.
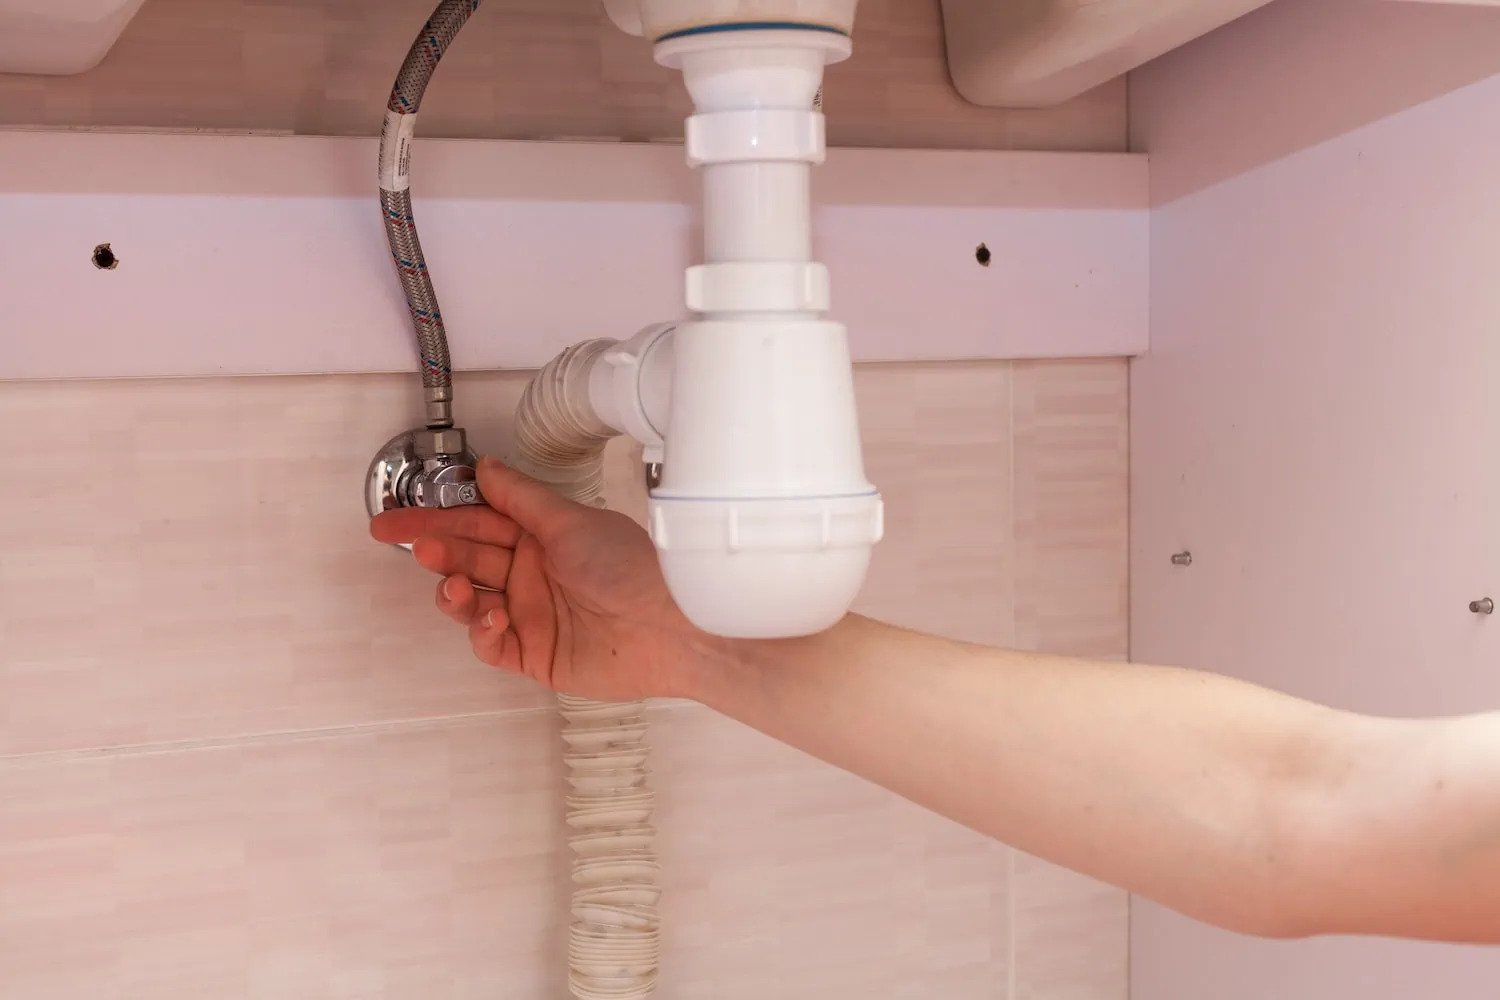
- Locate the shut-off valve: Locate the shut-off valve underneath your sink. It’s the same valve that you turned off in Step 1 to cut off the water supply.
- Turn on the shut-off valve: Using your hand or an adjustable wrench, turn the shut-off valve counterclockwise (to the left) to open it and allow the water to flow through the system.
- Check for leaks: As the water supply is reconnected, carefully inspect the filter housing and the plumbing connections for any signs of leaks. Look for dripping water, pooling water, or wet spots. If you notice any leaks, tighten the connections as needed or consult a professional plumber for assistance.
- Turn on the faucet: Once you’ve verified that there are no leaks, turn on the kitchen faucet to ensure a steady flow of water. Let the water run for a few minutes to flush out any air or residual particles from the system.
By carefully reconnecting the water supply and checking for leaks, you can ensure that your under sink water filter is properly functioning. With the water supply reestablished, you’re now ready for the final step: checking for leaks.
Step 6: Check for Leaks
Now that you’ve completed the installation and reconnected the water supply, it’s important to thoroughly check for any leaks to ensure the proper functioning of your under sink water filter. Follow these steps to check for leaks:
- Observe the filter housing: Carefully inspect the filter housing for any signs of leaks. Look for any water dripping from the housing or pooling around the connections. If you notice any leaks, take note of the source and proceed to the next step.
- Tighten the connections: If you observe any leaks, try tightening the affected connections. Use an adjustable wrench or pliers to gently tighten the connections, ensuring they are snug but not overly tight. Check again for any remaining leaks.
- Verify the O-rings: If the leaks persist, double-check the condition of the O-rings in the filter housing. Make sure they are properly seated and not damaged or misaligned. Replace any worn-out or damaged O-rings with new ones.
- Inspect the plumbing connections: In addition to the filter housing, carefully inspect all the plumbing connections for any signs of leaks. Check the connections at the inlet, outlet, and shut-off valve. If necessary, tighten any loose connections or consult a professional plumber for assistance.
- Run the water: Once you’ve addressed any potential leaks and tightened the connections, turn on the kitchen faucet and let the water run. Monitor the system for a few minutes, paying close attention to the filter housing and plumbing connections for any new leaks.
It’s important to be thorough in checking for leaks to prevent any water damage or disruptions in the functioning of your under sink water filter. If you continue to experience leaks or difficulties, it’s recommended to seek professional assistance or contact the manufacturer for further guidance.
Congratulations! By following these steps and ensuring there are no leaks, you have successfully changed your under sink water filter. Enjoy clean, filtered water for your everyday needs!
Conclusion
Changing your under sink water filter is a relatively straightforward process that can greatly improve the quality of your drinking water. By following the step-by-step guide outlined in this article, you can confidently replace your old filter and enjoy clean, filtered water in your home.
Remember to gather the necessary tools and materials before beginning the installation process. Take your time to turn off the water supply and disconnect the old filter properly. Prepare the new filter by inspecting it, checking the O-rings, and applying Teflon tape if necessary.
Once the new filter is ready, install it carefully, taking care to tighten the connections securely. Reconnect the water supply and check for any leaks by observing the filter housing, tightening connections if needed, and inspecting the plumbing connections.
Lastly, run the water and monitor the system for any leaks or abnormalities. By following these steps and ensuring a leak-free installation, you can enjoy the benefits of clean and filtered water for you and your family.
As always, it’s important to consult the manufacturer’s instructions and guidelines specific to your under sink water filter model. If you encounter any difficulties or persisting leaks, don’t hesitate to seek professional assistance or contact the manufacturer for further support.
With proper maintenance and regular filter replacement, your under sink water filter will continue to provide you with clean and fresh-tasting water for years to come. Cheers to your commitment to health and wellness!
Frequently Asked Questions about How To Change Under Sink Water Filter
Was this page helpful?
At Storables.com, we guarantee accurate and reliable information. Our content, validated by Expert Board Contributors, is crafted following stringent Editorial Policies. We're committed to providing you with well-researched, expert-backed insights for all your informational needs.
0 thoughts on “How To Change Under Sink Water Filter”