Articles
How To Install An Air Gap Under The Sink
Modified: September 2, 2024
Learn how to install an air gap under your sink with our informative articles. Find step-by-step guides and helpful tips to ensure a proper installation.
(Many of the links in this article redirect to a specific reviewed product. Your purchase of these products through affiliate links helps to generate commission for Storables.com, at no extra cost. Learn more)
Introduction
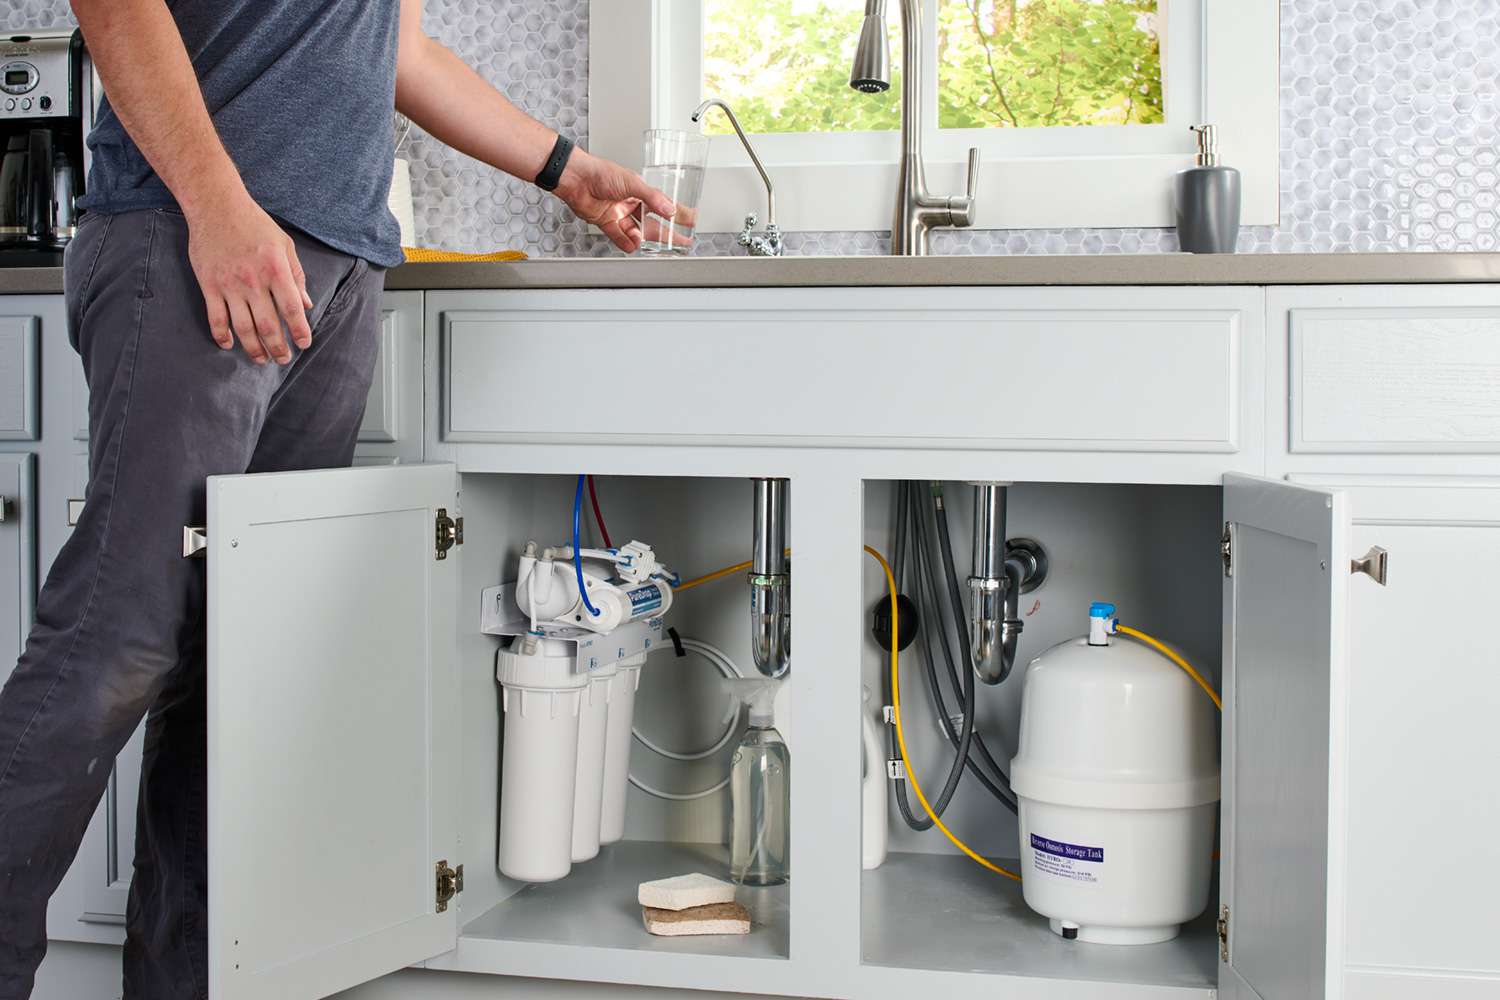
When it comes to plumbing, there are certain precautions that need to be taken to ensure the safety and functionality of your home. One such precaution is installing an air gap under the sink. An air gap is a device that prevents contaminated water from flowing back into the clean water supply. It provides an extra layer of protection against pollutants and is especially crucial in kitchens where dishwashers are present.
In this article, we will guide you through the process of installing an air gap under the sink. This step-by-step guide will help you understand the tools and materials needed, the procedure to follow, and the importance of this safety measure.
By the end of this article, you will have the knowledge and confidence to install an air gap under your sink, safeguarding your clean water supply and ensuring the health and well-being of your household.
Key Takeaways:
- Safeguard your home’s water supply by installing an air gap under the sink. Follow the step-by-step guide to ensure a successful installation and protect your plumbing system from contamination and leaks.
- Prioritize the safety and integrity of your household by taking the necessary precautions when installing an air gap. Turn off the water supply, reconnect plumbing carefully, and test for leaks to maintain a healthy living environment.
Read more: How To Install Air Gap For Dishwasher
Step 1: Gather Your Tools and Materials
Before you begin the installation process, it’s essential to gather all the necessary tools and materials. This will help ensure a smooth and efficient installation. Here’s a list of what you’ll need:
- Adjustable wrench
- Plumber’s tape
- Bucket or towel
- Drill
- Hole saw bit
- Hammer
- Screwdriver
- Plumbing adhesive or silicone caulk
- Air gap device
- Plumbing fittings and connectors
Make sure to gather all these tools and materials before you start the installation. Having everything on hand will save you time and prevent any interruptions during the process.
Once you have gathered all the necessary tools and materials, you are ready to proceed to the next step.
Step 2: Turn Off the Water Supply
Before you begin any plumbing installation or repair, it is crucial to turn off the water supply to avoid any accidents or water damage. Here’s how you can turn off the water supply:
- Locate the main water shut-off valve: The shut-off valve is typically located near the water meter or where the main water line enters your home. It is often found in the basement, crawl space, or utility room.
- Turn off the water supply: Rotate the valve clockwise until it is fully closed. This will stop the flow of water throughout your home.
- Release any remaining water pressure: Open a faucet in a lower level of your home, such as a basement sink, to drain any remaining water in the pipes.
Turning off the water supply is a crucial step to ensure your safety and prevent any unwanted water flow while working on your sink’s plumbing. Once you have successfully shut off the water supply, you can proceed to the next step with confidence.
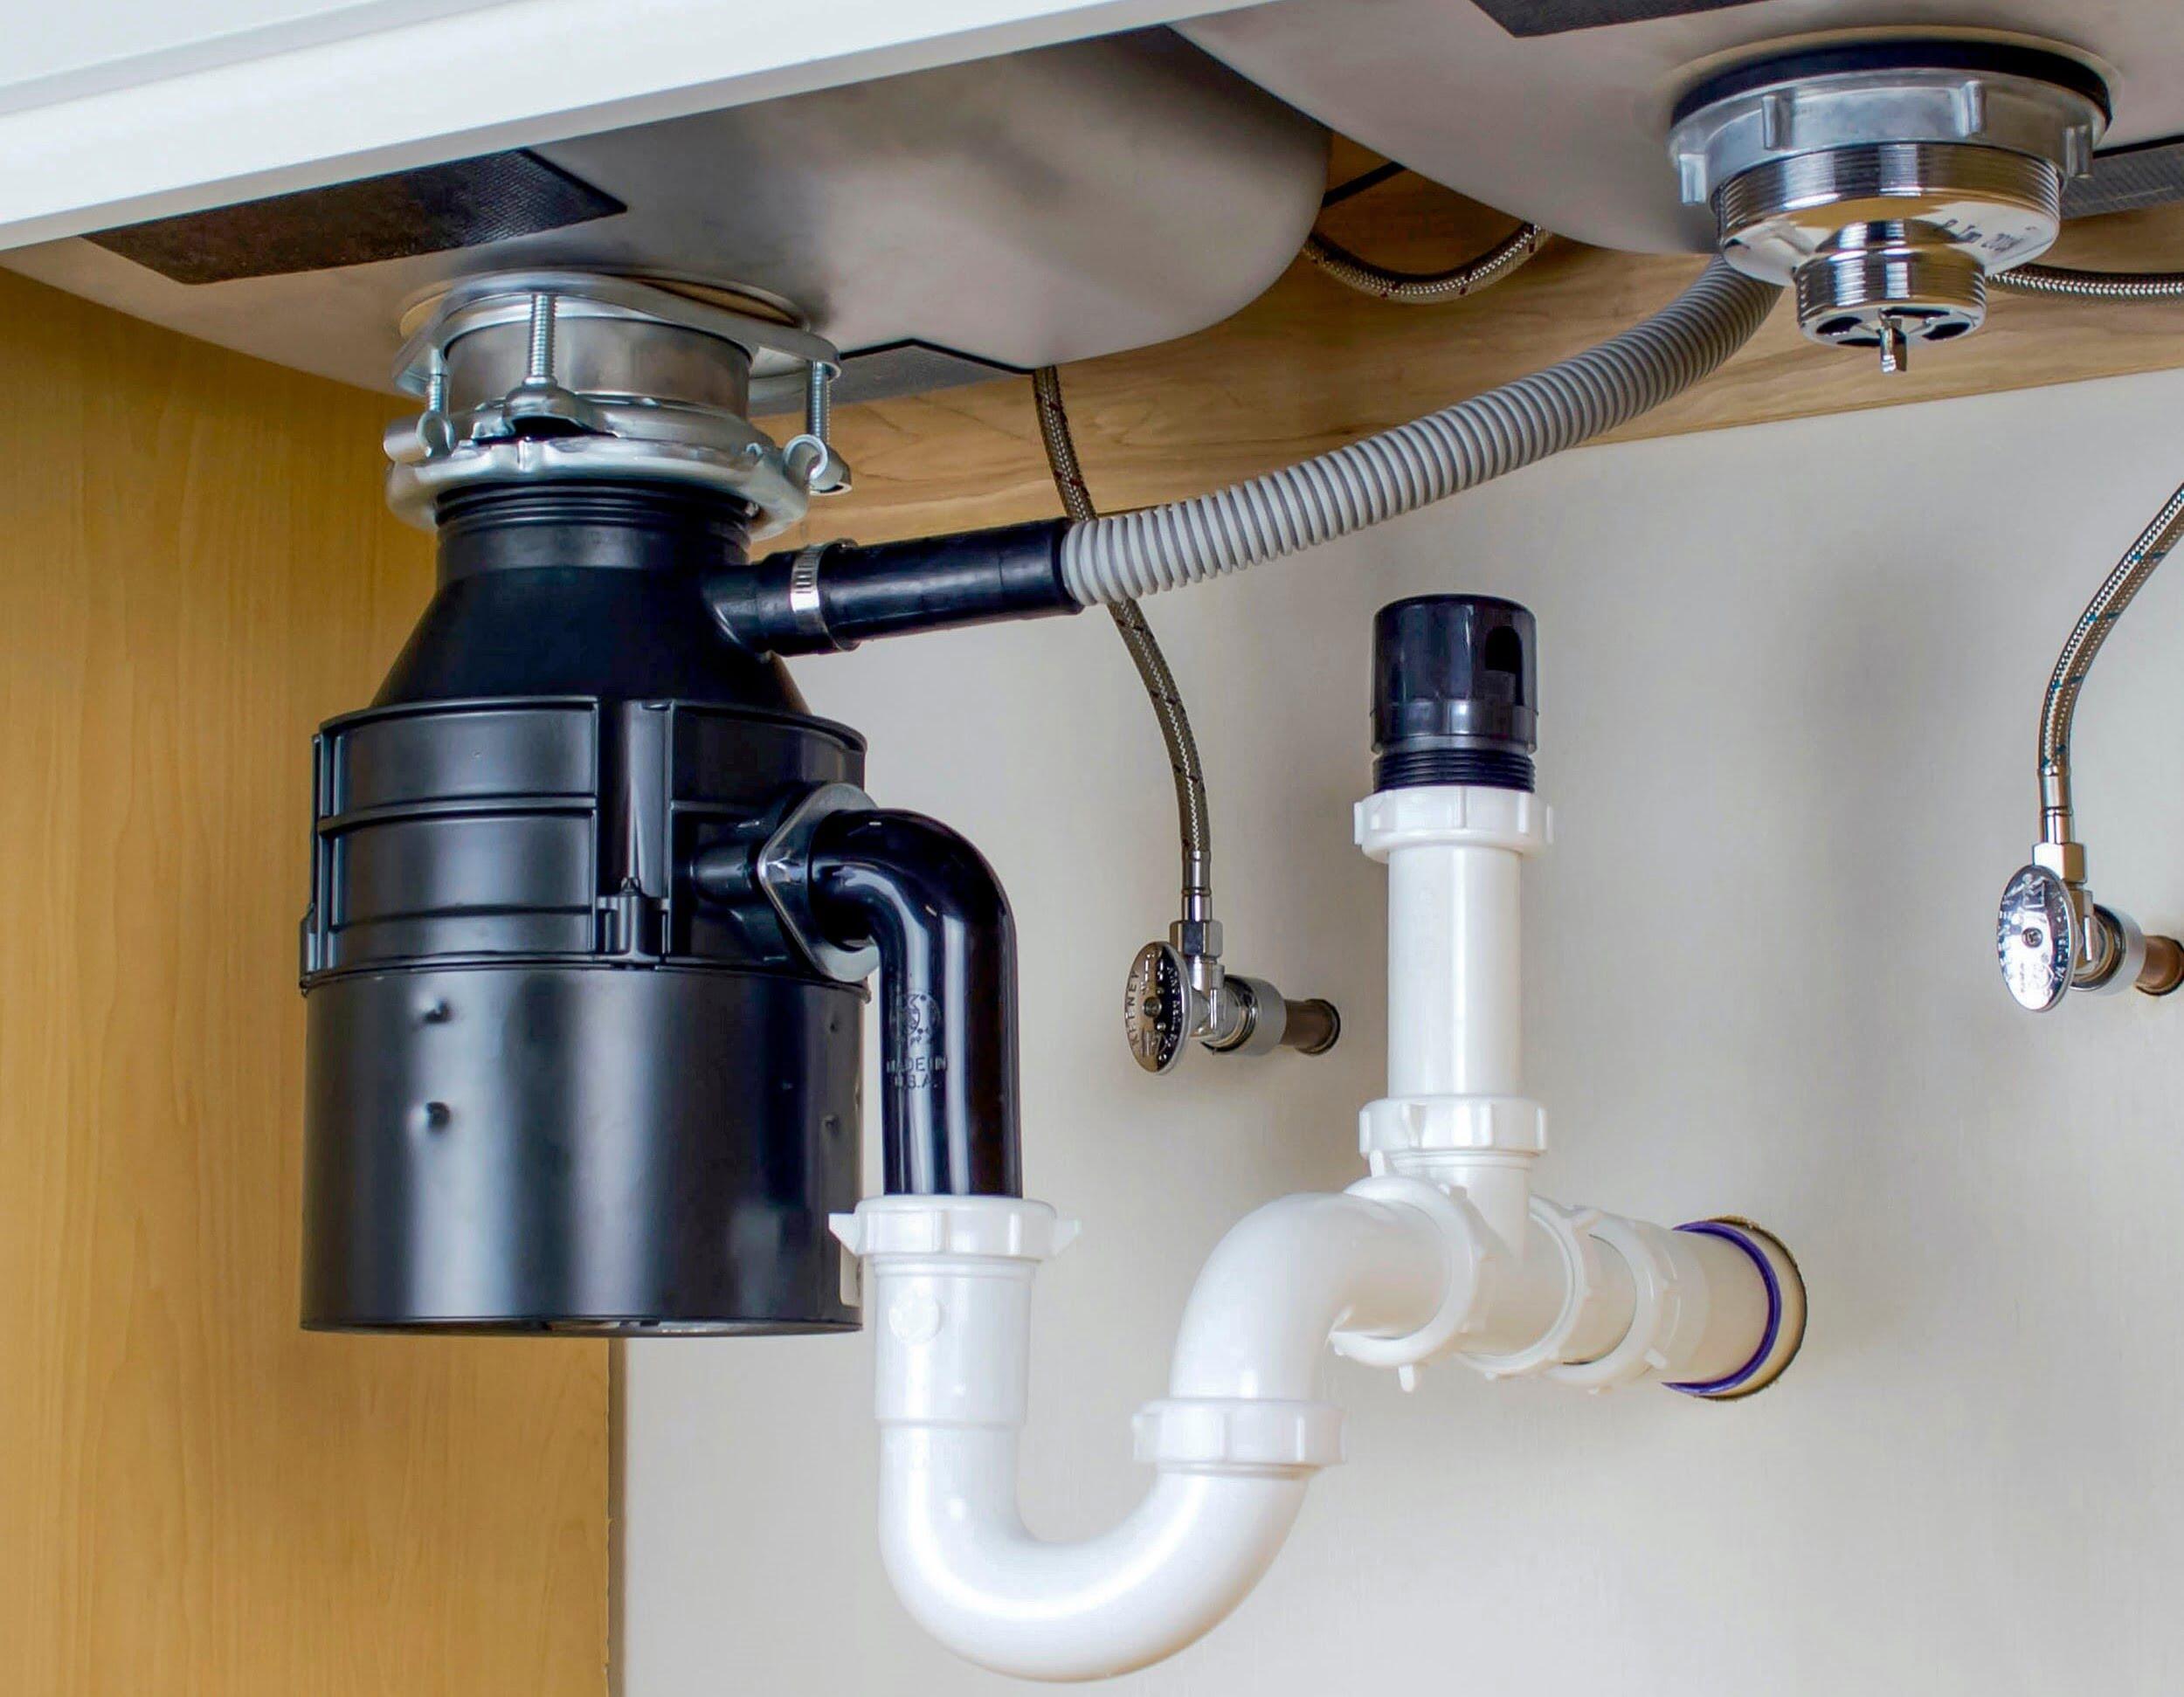
Step 3: Disconnect the Existing Plumbing
Before installing the air gap, you need to disconnect the existing plumbing under the sink. Follow these steps to disconnect the plumbing:
- Place a bucket or towel under the sink: This will catch any water or debris that may spill during the disconnection process.
- Use an adjustable wrench to loosen the nuts: Locate the nuts that connect the drain pipes to the sink and the trap assembly. Use an adjustable wrench to loosen these nuts in a counterclockwise direction. You may need to hold the pipe still with another wrench while turning the nut.
- Remove the drain pipes and trap assembly: Once the nuts are loose, carefully remove the drain pipes and trap assembly from the sink. Be cautious while doing this to avoid any spills or leaks.
Remember to take note of how the pipes were connected so that you can reassemble them correctly after installing the air gap. It’s also a good idea to clean the drain pipes and trap assembly by removing any debris or buildup.
By properly disconnecting the existing plumbing, you are preparing the area for the installation of the air gap. This step is crucial for a successful and leak-free installation process.
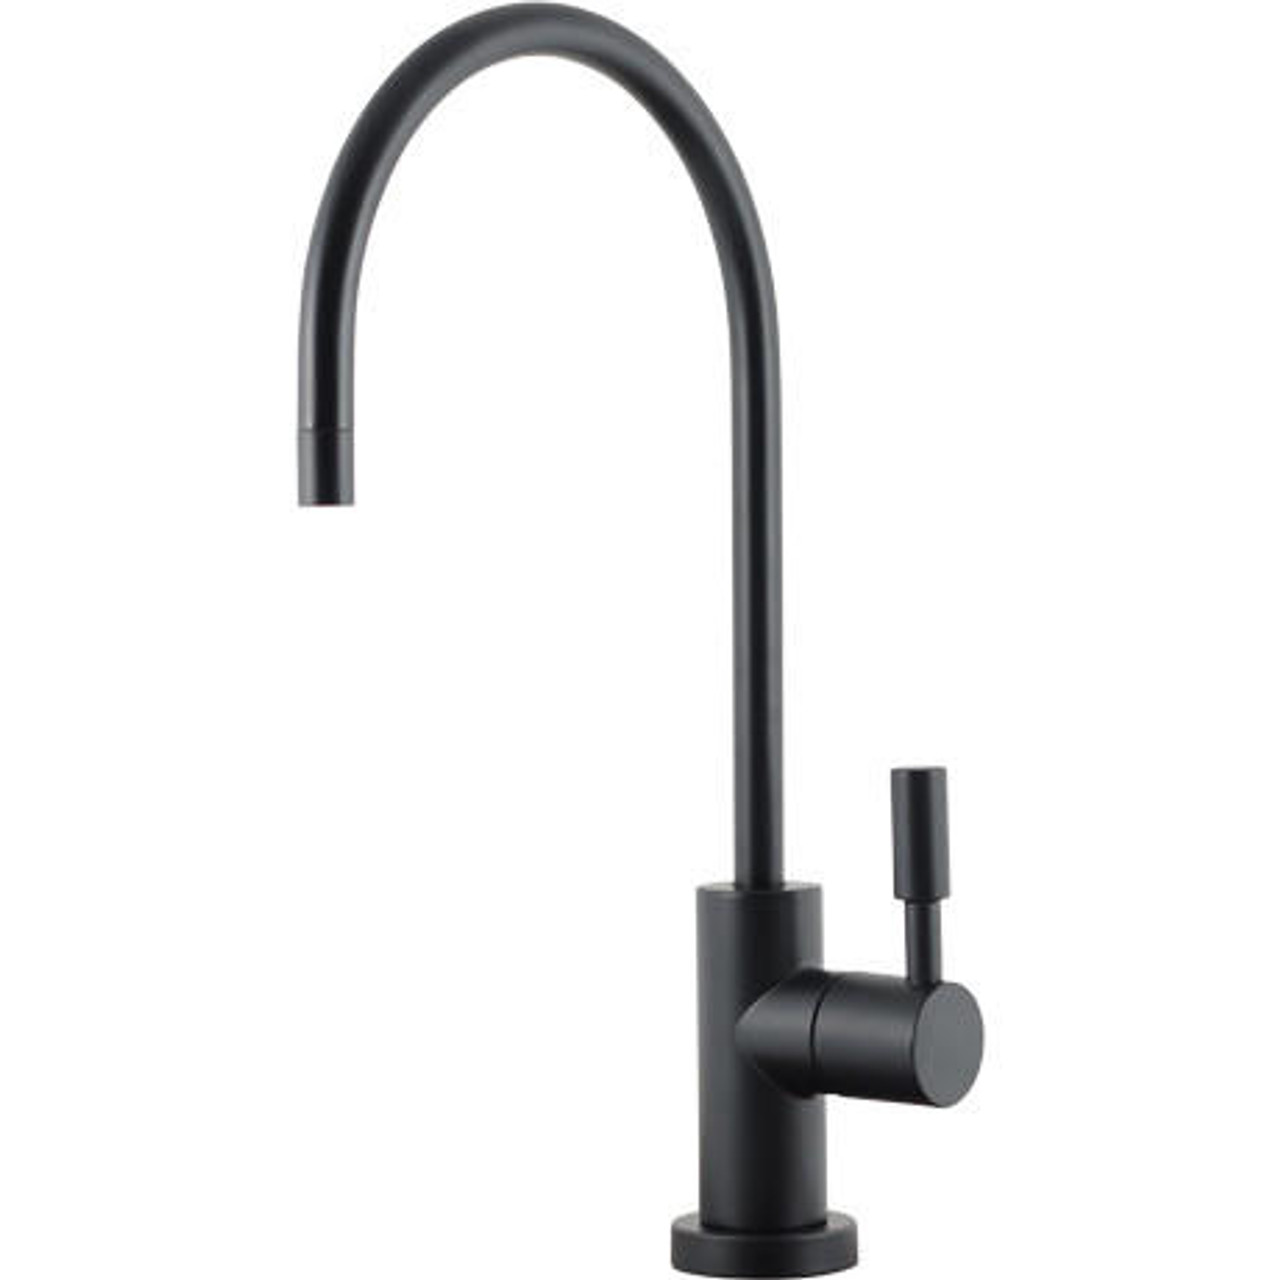
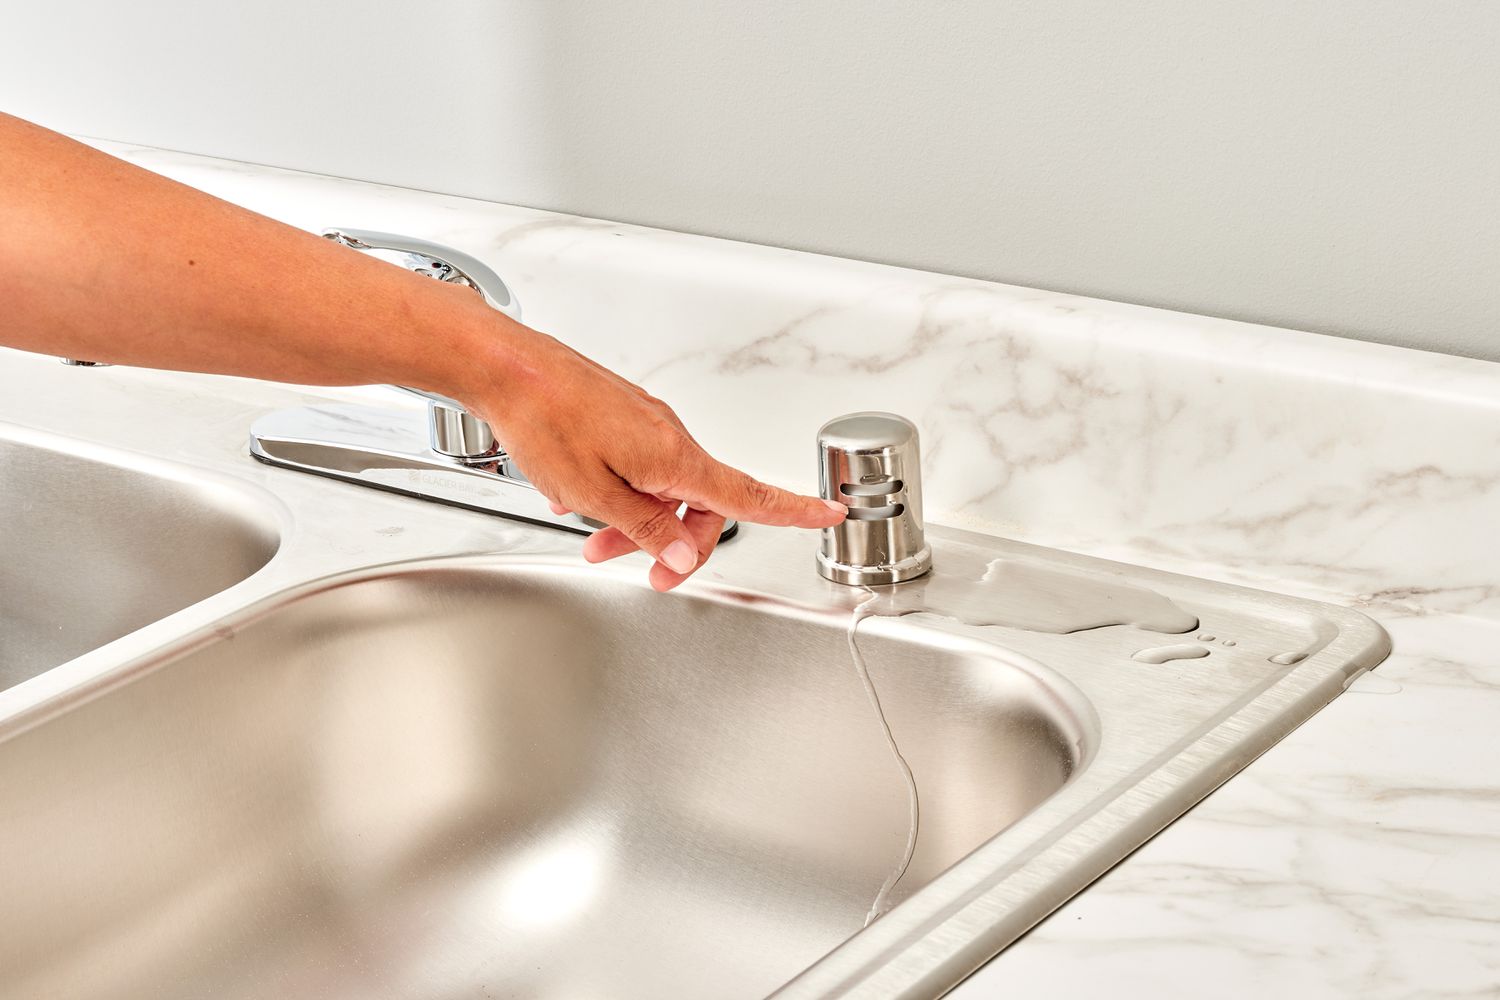
Step 4: Install the Air Gap Device
Now that you have disconnected the existing plumbing, it’s time to install the air gap device. The air gap device is a small, cylindrical device that will be installed on the countertop or sink deck. Follow these steps to install the air gap:
- Choose a suitable location: Select a location near the sink where you can easily access the air gap. It is commonly installed in a hole on the sink deck or the countertop.
- Mark the position: Use a pencil or a marker to mark the position of the air gap on the countertop or sink deck. Ensure that the area is clear of any obstructions.
- Drill a hole: Use a drill with a hole saw bit that matches the size of the air gap device. Carefully drill a hole at the marked position. Be sure to follow the manufacturer’s instructions for drilling the hole.
- Insert the air gap device: Insert the air gap device into the hole you’ve drilled. It should fit snugly in place.
- Secure the air gap device: Underneath the sink, secure the air gap device using the appropriate plumbing fittings and connectors. Follow the manufacturer’s instructions for proper installation.
Make sure the air gap device is securely installed and properly aligned with the hole. This will ensure its functionality and prevent any leaks. Once the air gap device is installed, you can proceed to the next step of connecting the drain hoses.
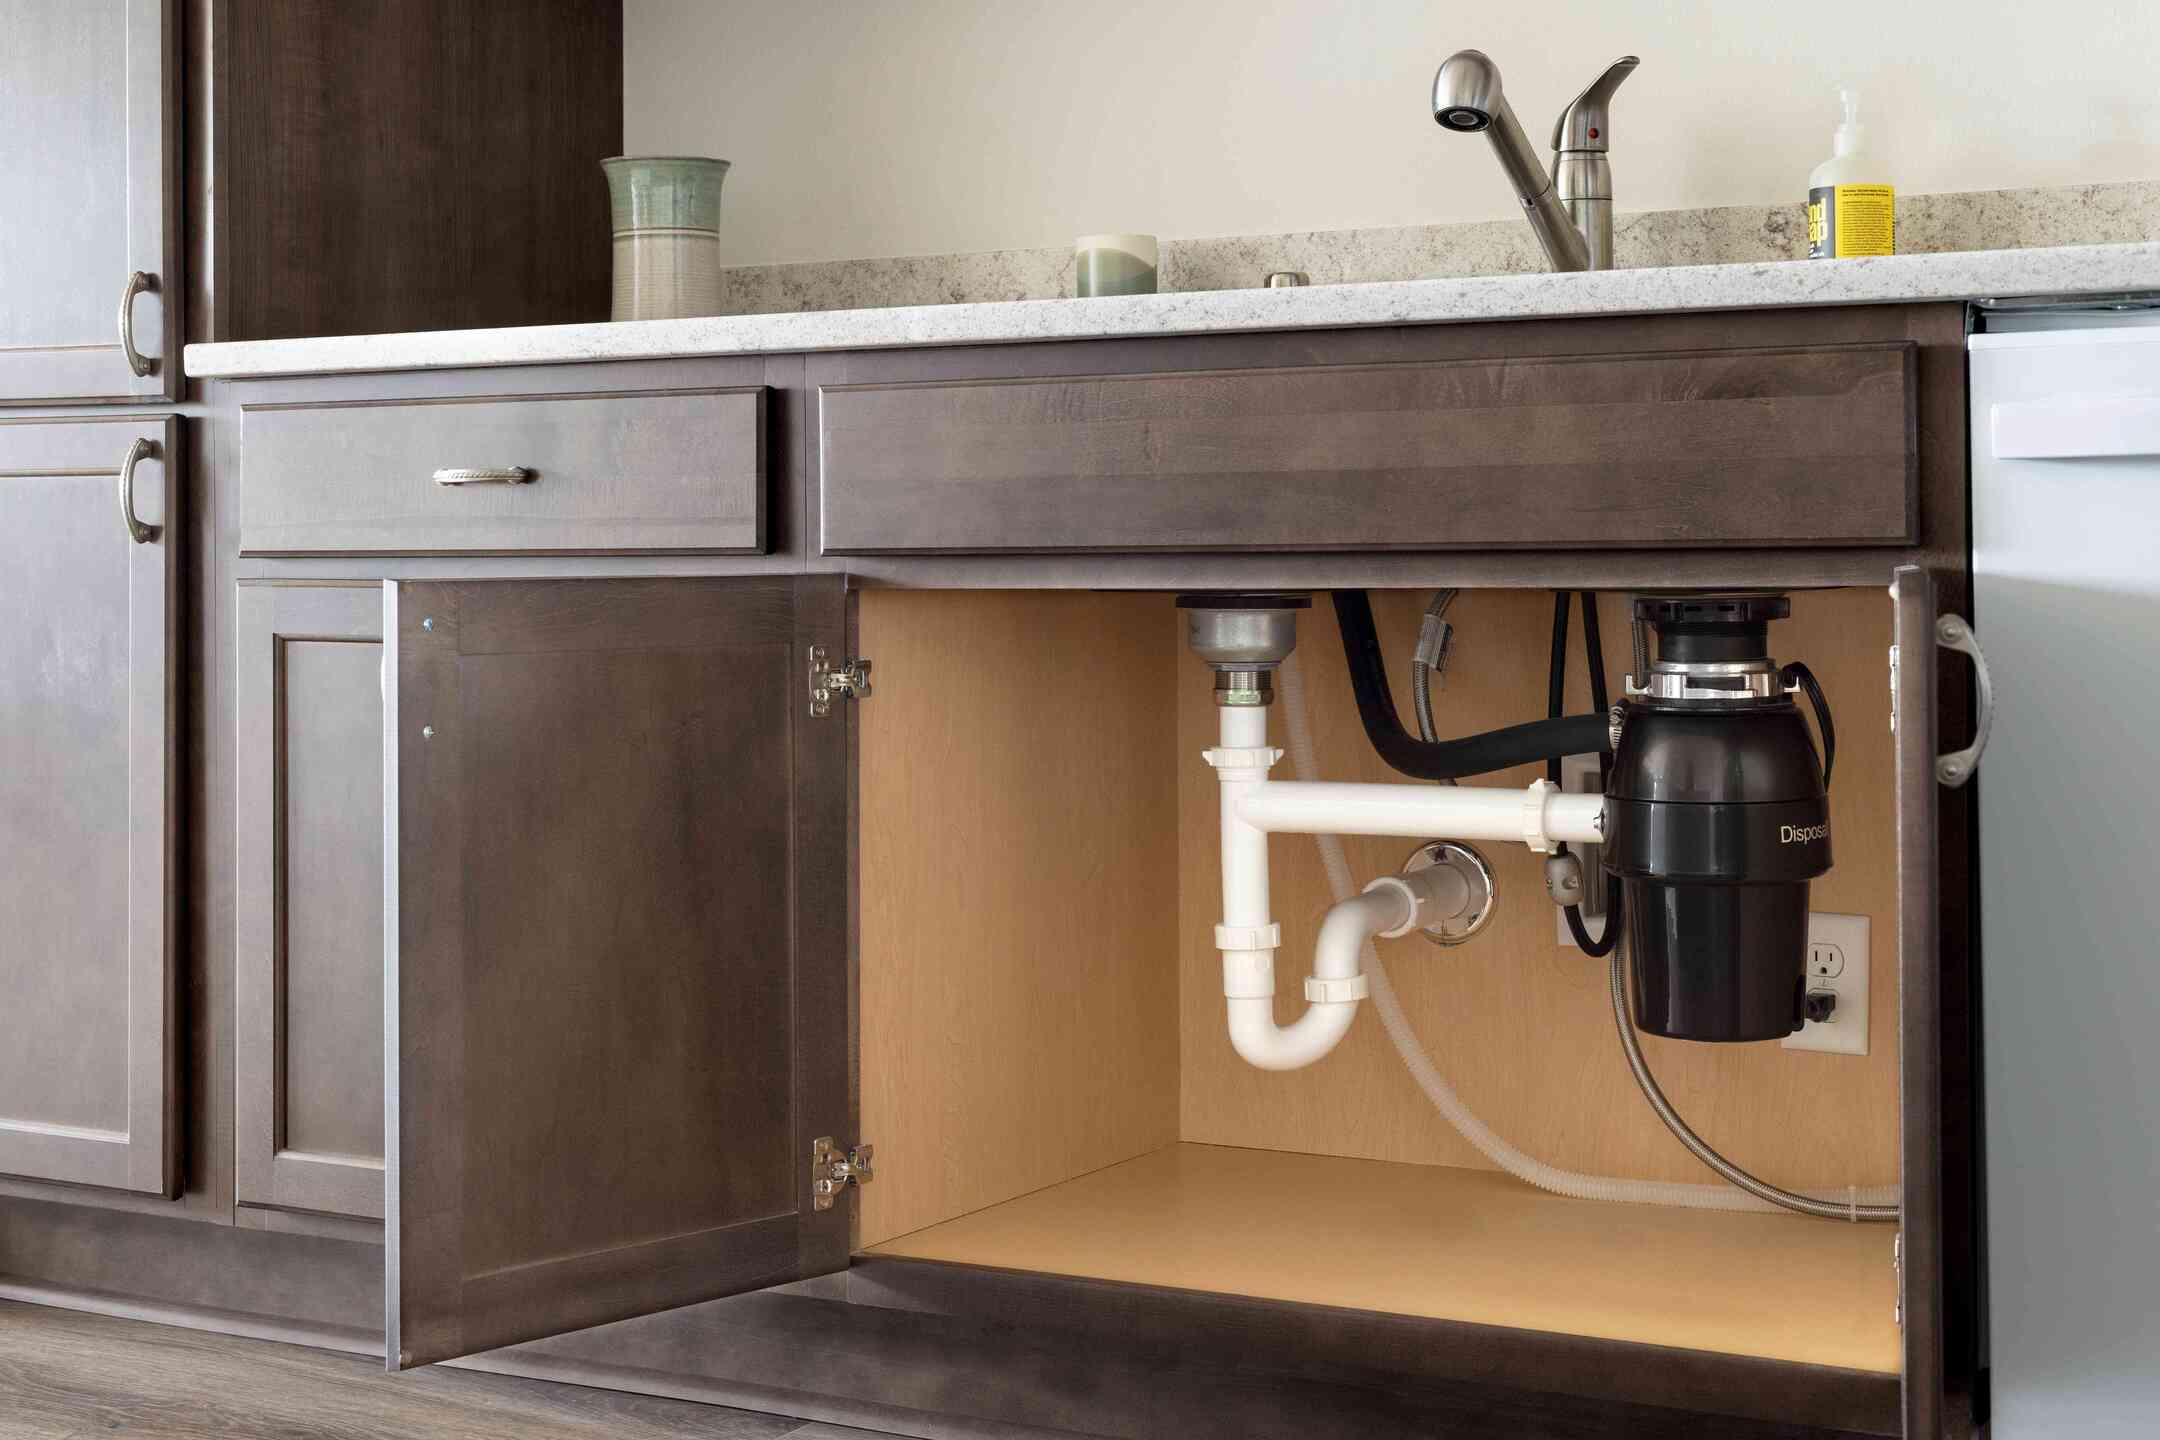
When installing an air gap under the sink, make sure to connect the dishwasher drain hose to the inlet port of the air gap. This will prevent backflow and ensure proper drainage.
Read more: How To Fill Gaps Under Fence
Step 5: Connect the Drain Hoses
With the air gap device installed, the next step is to connect the drain hoses. The drain hoses are responsible for carrying the wastewater from the sink and the dishwasher to the plumbing system. Follow these steps to connect the drain hoses:
- Connect the dishwasher drain hose: Locate the dishwasher drain hose, which is usually connected to the dishwasher’s drain outlet. Attach one end of the drain hose to the air gap device’s dishwasher inlet. Secure it in place using a hose clamp.
- Connect the sink drain hose: Take the other end of the dishwasher drain hose and connect it to the sink drain pipe. Secure it in place using a hose clamp.
- Attach the air gap drain hose: Connect one end of the air gap drain hose to the air gap device’s drain outlet. Secure it in place using a hose clamp.
- Direct the air gap drain hose: Position the other end of the air gap drain hose towards the drainpipe or garbage disposal. Ensure that it is securely connected.
It is important to ensure that all connections are tight and properly secured. This will prevent any leaks and ensure the efficient flow of wastewater. Take your time to check and adjust the position of the drain hoses if needed.
Once you have successfully connected the drain hoses, you’re ready to move on to the next step and reassemble the plumbing.
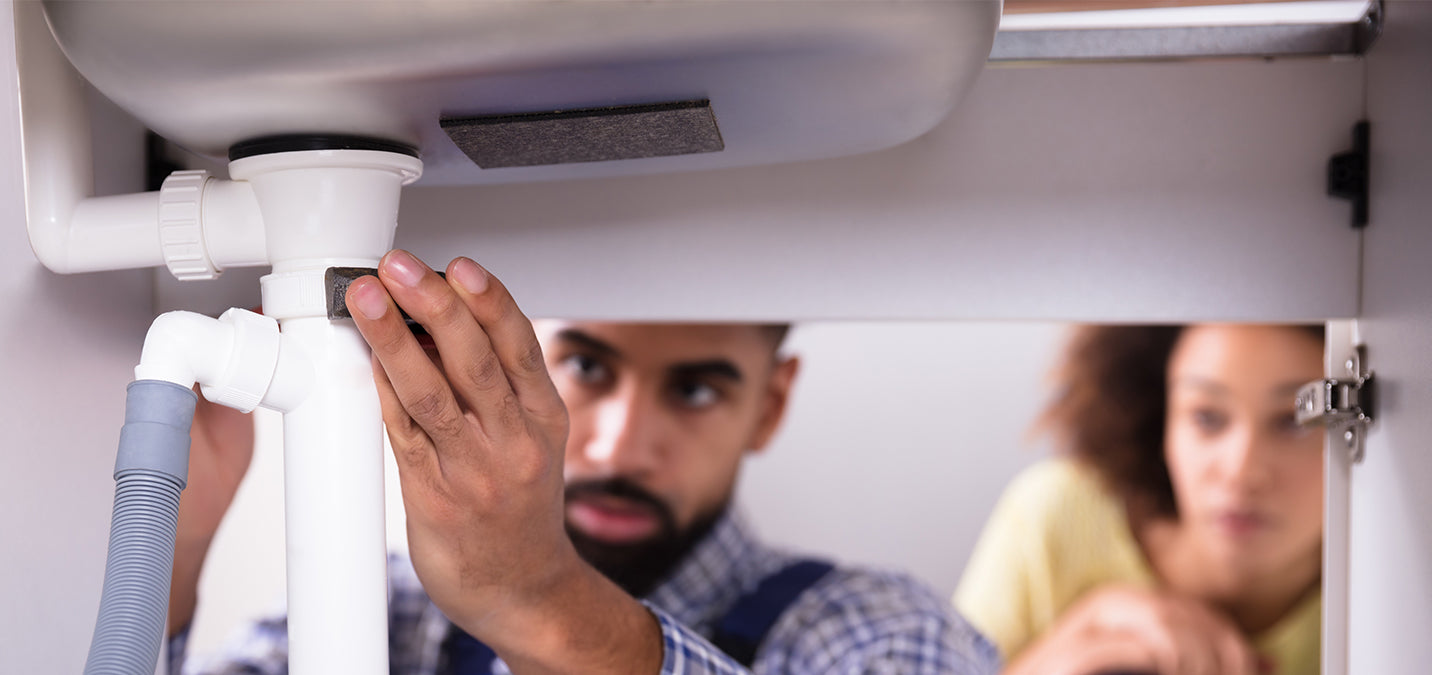
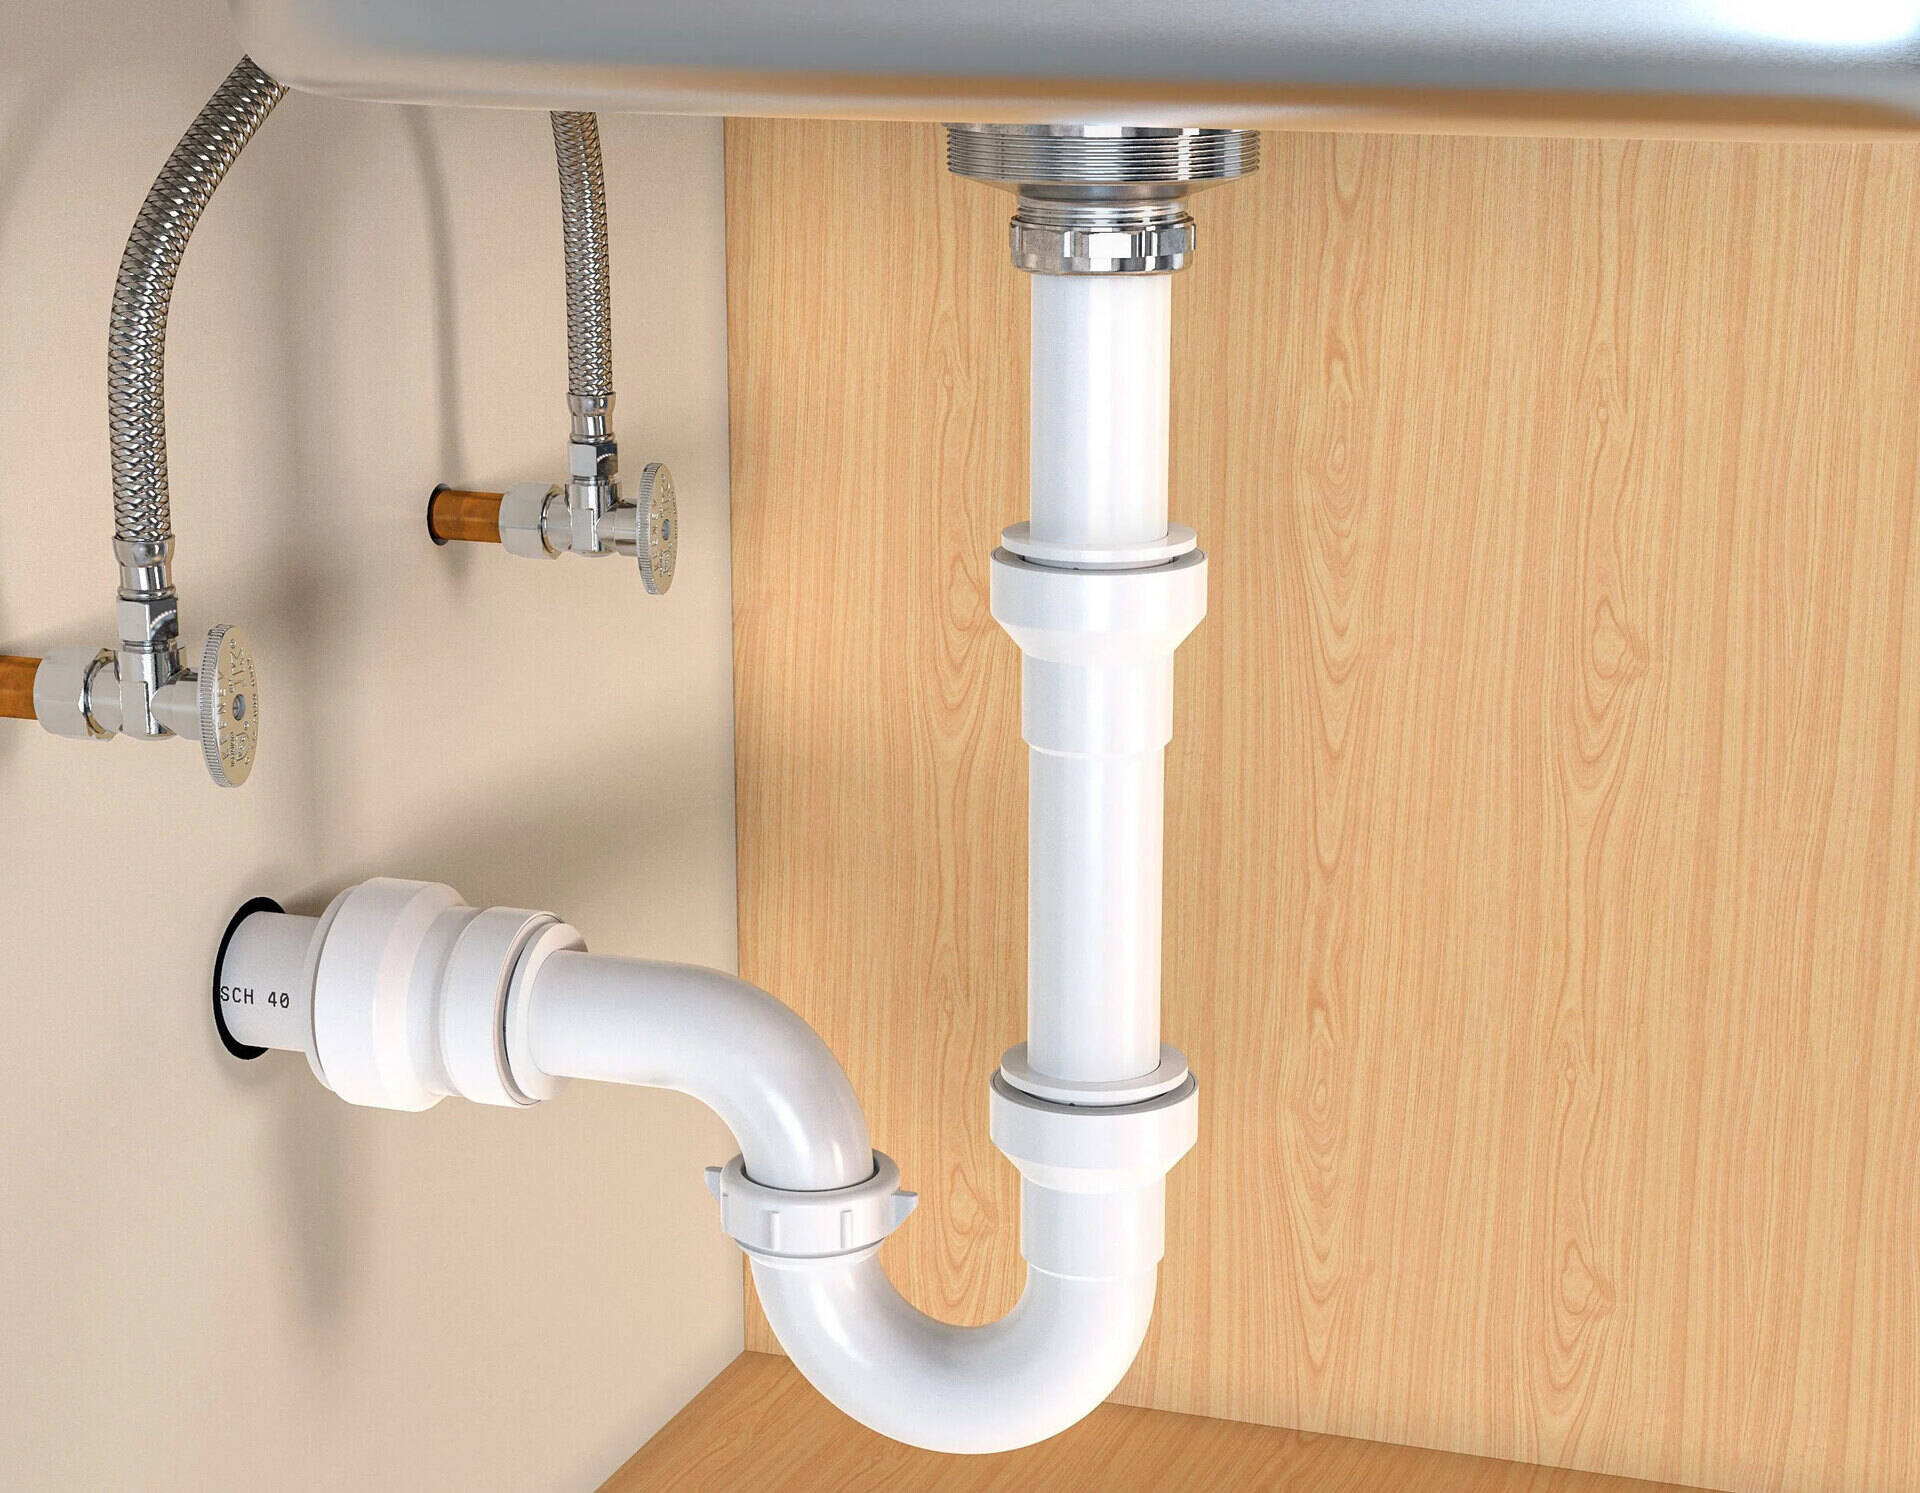
Step 6: Reconnect the Plumbing
After connecting the drain hoses, it’s time to reassemble the plumbing under the sink. Follow these steps to properly reconnect the plumbing:
- Reconnect the trap assembly: Take the trap assembly that you had removed earlier and reconnect it to the sink drain. Ensure that the trap assembly is properly aligned and securely connected. Use the adjustable wrench to tighten the nuts.
- Connect the drain pipes: Reconnect the drain pipes that were disconnected earlier. Align the pipes properly and secure them in place using the adjustable wrench to tighten the nuts.
- Check for leaks: Once everything is reconnected, it’s important to carefully check for any leaks. Run water into the sink and observe all the connections and joints. If you notice any leaks, tighten the connections further or use plumber’s tape to create a watertight seal.
Make sure that all connections are tight and properly secured to prevent any leaks. It is also a good idea to wipe away any excess water or debris from the area to keep it clean and dry.
With the plumbing reconnected, you are one step closer to completing the installation of the air gap device. The final steps involve turning on the water supply and testing for any leaks.
Step 7: Turn On the Water Supply
Now that you have finished reconnecting the plumbing, it’s time to turn on the water supply and ensure that everything is functioning correctly. Follow these steps to turn on the water supply:
- Locate the main water shut-off valve: This is the same valve that you turned off in Step 2. It is typically located near the water meter or where the main water line enters your home.
- Open the shut-off valve: Rotate the valve counterclockwise to open it gradually. This will allow water to flow back into the plumbing system.
Once you have opened the shut-off valve, water will start flowing through the pipes. Take a few moments to ensure that there are no visible leaks or drips from the connections you reassembled in Step 6. Observe the area under the sink and the air gap device for any signs of leakage.
If you notice any leaks, immediately turn off the water supply and tighten the connections further or replace any faulty components. It’s important to address leaks promptly to prevent any damage to your home or plumbing system.
With the water supply turned on and no leaks detected, you can move on to the final step of testing for leaks.
Step 8: Test for Leaks
After turning on the water supply, it’s crucial to test the system for any potential leaks. Follow these steps to test for leaks and ensure the proper functioning of the air gap installation:
- Inspect all connections and joints: Carefully examine all the connections, including the air gap device, drain hoses, and reconnected plumbing under the sink. Look for any signs of water leakage, such as dripping or pooling.
- Run water through the sink and dishwasher: Turn on the faucet and let the water flow into the sink. Pay close attention to the drain hoses and connections as the water drains. Additionally, start the dishwasher and monitor the water flow and drainage from the air gap device.
- Check for any signs of moisture or leaks: Look for any water leakage or moisture buildup around the air gap device, drain hoses, or plumbing connections. Make sure to inspect both the top and bottom of the sink cabinet to catch any potential leaks.
If you notice any leaks during the testing process, it’s essential to address them immediately. Turn off the water supply, tighten any loose connections, and replace any faulty components as needed. After making the necessary repairs, retest the system for leaks.
Remember, it’s crucial to test for leaks thoroughly as even a minor leak can lead to further damage if left unaddressed. By ensuring a leak-free installation, you can have peace of mind knowing that your air gap device is functioning effectively and protecting your clean water supply.
Conclusion
Installing an air gap under the sink is an important step in maintaining the safety and integrity of your plumbing system. It provides an additional layer of protection against contaminated water flowing back into your clean water supply, especially in kitchens with dishwashers.
In this article, we have provided a comprehensive guide to help you install an air gap under your sink. We covered the step-by-step process, from gathering the necessary tools and materials to testing for leaks. By following these steps, you can ensure a successful installation and the efficient functioning of your air gap device.
Remember to turn off the water supply before beginning the installation process and to reconnect the plumbing carefully once the air gap is in place. Take the time to check for leaks at each connection point and address them promptly to avoid any water damage or contamination issues.
Installing an air gap under the sink is a relatively simple task that can have a significant impact on the safety and quality of your water supply. By taking the necessary precautions and following the proper installation process, you can enjoy peace of mind knowing that your plumbing system is protected.
If you encounter any difficulties or are unsure about any step, it’s always recommended to consult a professional plumber for assistance. They have the expertise and experience to ensure a successful installation and can address any specific challenges you may face.
By installing an air gap under your sink, you are taking an important step towards safeguarding your home and ensuring the well-being of your household. So, go ahead and embark on this essential plumbing task to protect your clean water supply and maintain a healthy living environment.
Frequently Asked Questions about How To Install An Air Gap Under The Sink
Was this page helpful?
At Storables.com, we guarantee accurate and reliable information. Our content, validated by Expert Board Contributors, is crafted following stringent Editorial Policies. We're committed to providing you with well-researched, expert-backed insights for all your informational needs.


0 thoughts on “How To Install An Air Gap Under The Sink”