Articles
How To Replace Water Valve Under Sink
Modified: October 19, 2024
Learn how to replace a water valve under your sink with step-by-step articles. Take control of your plumbing with our informative guides and tutorials.
(Many of the links in this article redirect to a specific reviewed product. Your purchase of these products through affiliate links helps to generate commission for Storables.com, at no extra cost. Learn more)
Introduction
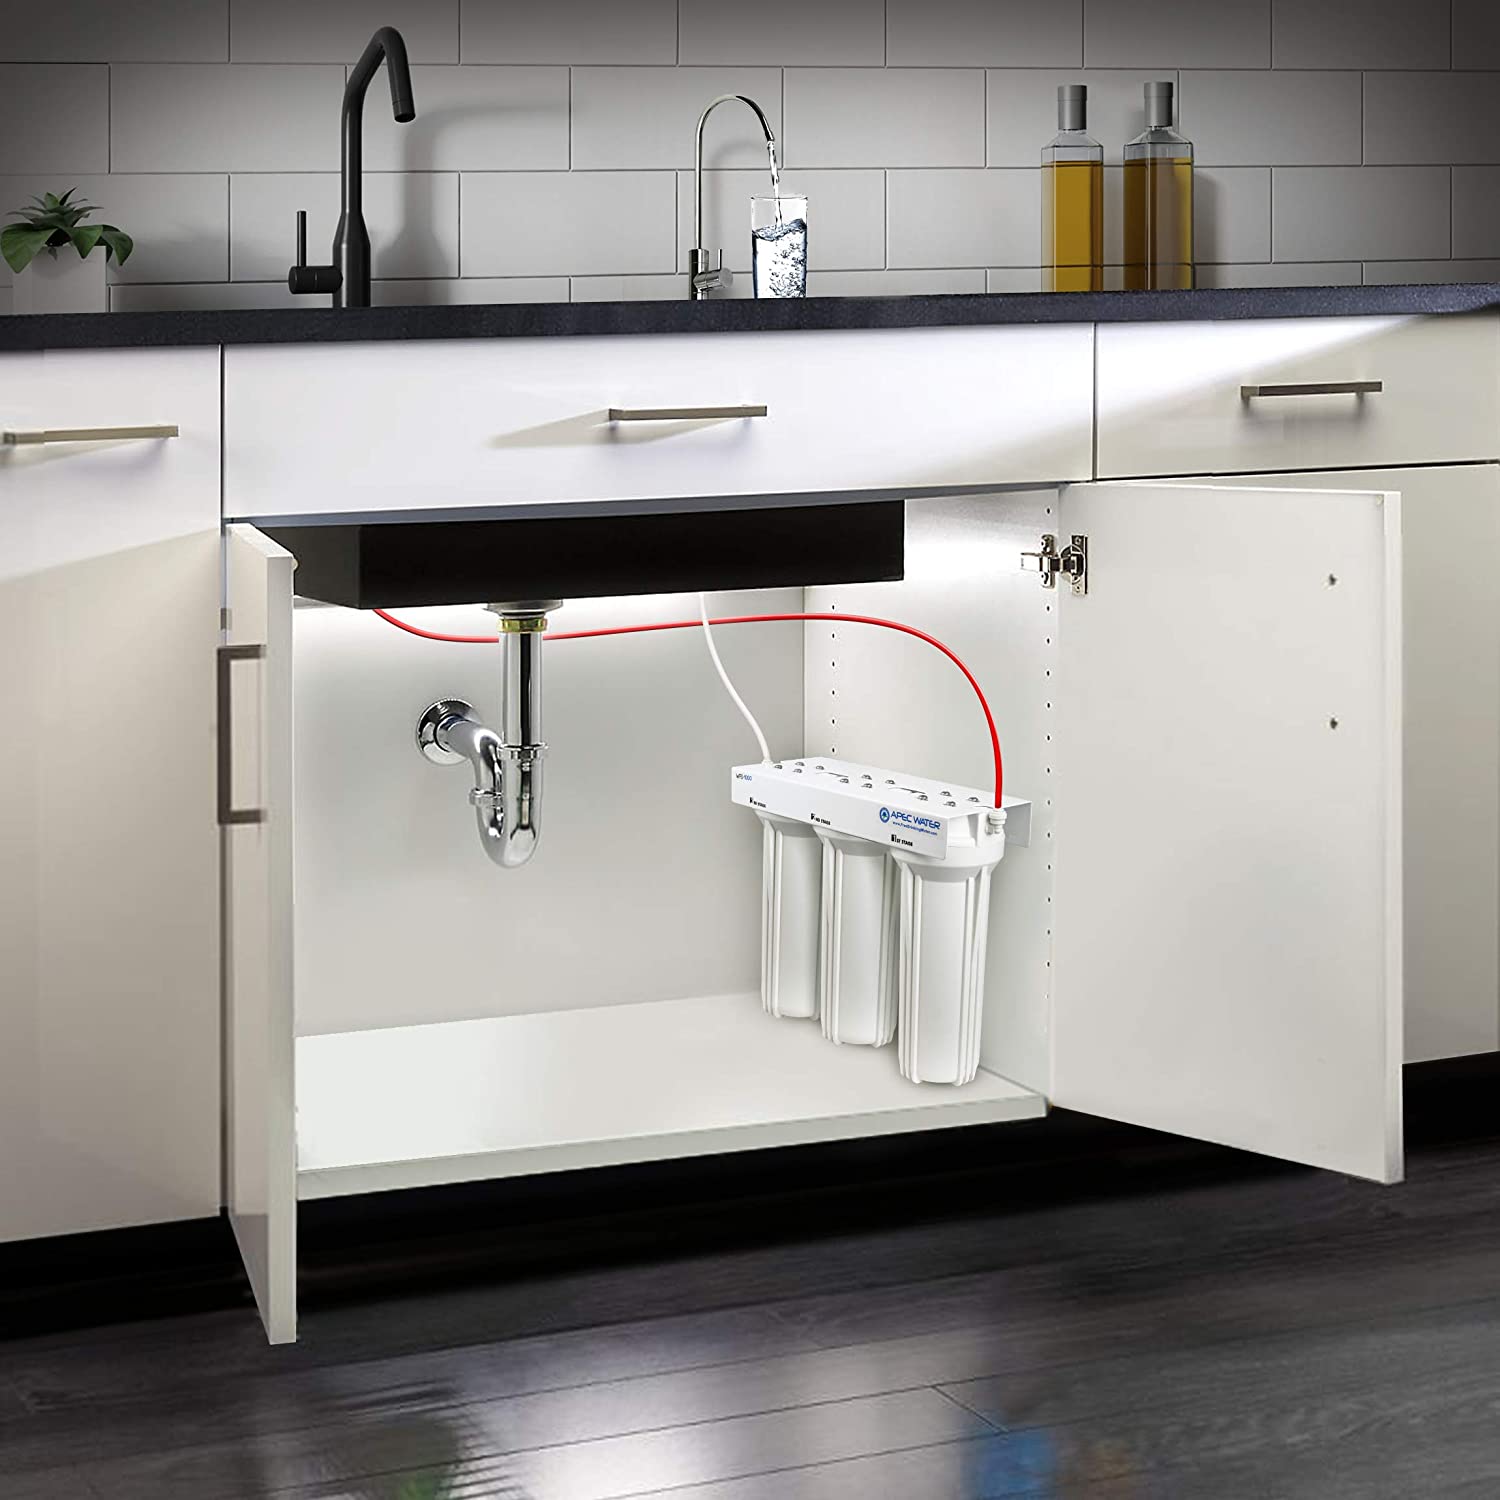
Welcome to our comprehensive guide on how to replace a water valve under the sink. Whether you’ve noticed a leak or your old valve is malfunctioning, replacing it can help ensure the proper functioning and safety of your plumbing system. In this article, we will walk you through each step of the process, providing detailed instructions and tips to make the task easier and more efficient.
Before we dive into the steps, it’s important to note that working with plumbing systems requires some basic knowledge and precautions. If you’re not comfortable with DIY projects or don’t have experience working with plumbing fixtures, it’s always a good idea to consult a professional plumber to avoid any potential issues or damage.
With that said, if you’re ready to roll up your sleeves and tackle this project yourself, let’s get started by gathering the necessary tools and materials.
Key Takeaways:
- Replacing a water valve under the sink requires gathering essential tools, shutting off the water supply, disconnecting and removing the old valve, installing the new valve, and testing for leaks to ensure a successful and efficient process.
- Thorough preparation, careful attention to detail, and testing for leaks are crucial for a successful water valve replacement. Prioritizing safety and seeking professional help when needed can ensure a well-functioning plumbing system.
Read more: How To Fix Stuck Water Valve Under Sink
Step 1: Gather the necessary tools and materials
Before you begin replacing the water valve under your sink, it’s important to gather all the tools and materials you’ll need for the job. Having everything prepared beforehand will save you time and frustration and ensure a smoother process. Here’s a list of essential tools and materials:
- Adjustable wrench or pliers: These will be used to remove and tighten nuts and fittings.
- Pipe cutter or hacksaw: If the water supply line needs to be trimmed or replaced, a pipe cutter or hacksaw will come in handy.
- Teflon tape: This is used to create a watertight seal on threaded connections.
- New water valve: Make sure to purchase a replacement valve that is compatible with your plumbing system and the type of water supply lines you have.
- Bucket or towel: To catch any water that may leak during the process.
- Flashlight: This will help you see clearly under the sink, especially if the lighting is poor.
- Rags or paper towels: These will be used to clean up any spills or excess water.
- Plumber’s tape: This can be used to secure any loose or leaking connections.
Once you have gathered all the necessary tools and materials, you are ready to move on to the next step: shutting off the water supply.
Step 2: Shut off the water supply
Before you can begin working on replacing the water valve under your sink, it’s important to shut off the water supply to prevent any leaks or accidental water damage. Follow these steps to safely turn off the water supply:
- Locate the main water shut-off valve: The shut-off valve is typically found near the water meter or where the main water line enters your home. It may be inside a utility room, basement, or on an exterior wall.
- Turn off the main water supply: Use a wrench or pliers to turn the shut-off valve clockwise (to the right) until it is fully closed. This will stop the flow of water to your entire home.
Once the main water supply is shut off, you can proceed with confidence knowing that water won’t be flowing through the pipes while you work on replacing the water valve.
However, if you’re unable to locate the main shut-off valve or if it’s not functioning properly, you may need to shut off the water supply to the specific area or fixture you’re working on. This can usually be done by turning off the individual shut-off valves located on the water supply lines leading to the sink.
If you’re unsure which valve to turn off or if you’re experiencing any difficulties, it’s best to contact a professional plumber for assistance.
With the water supply shut off, you can now move on to the next step: disconnecting the water supply lines.
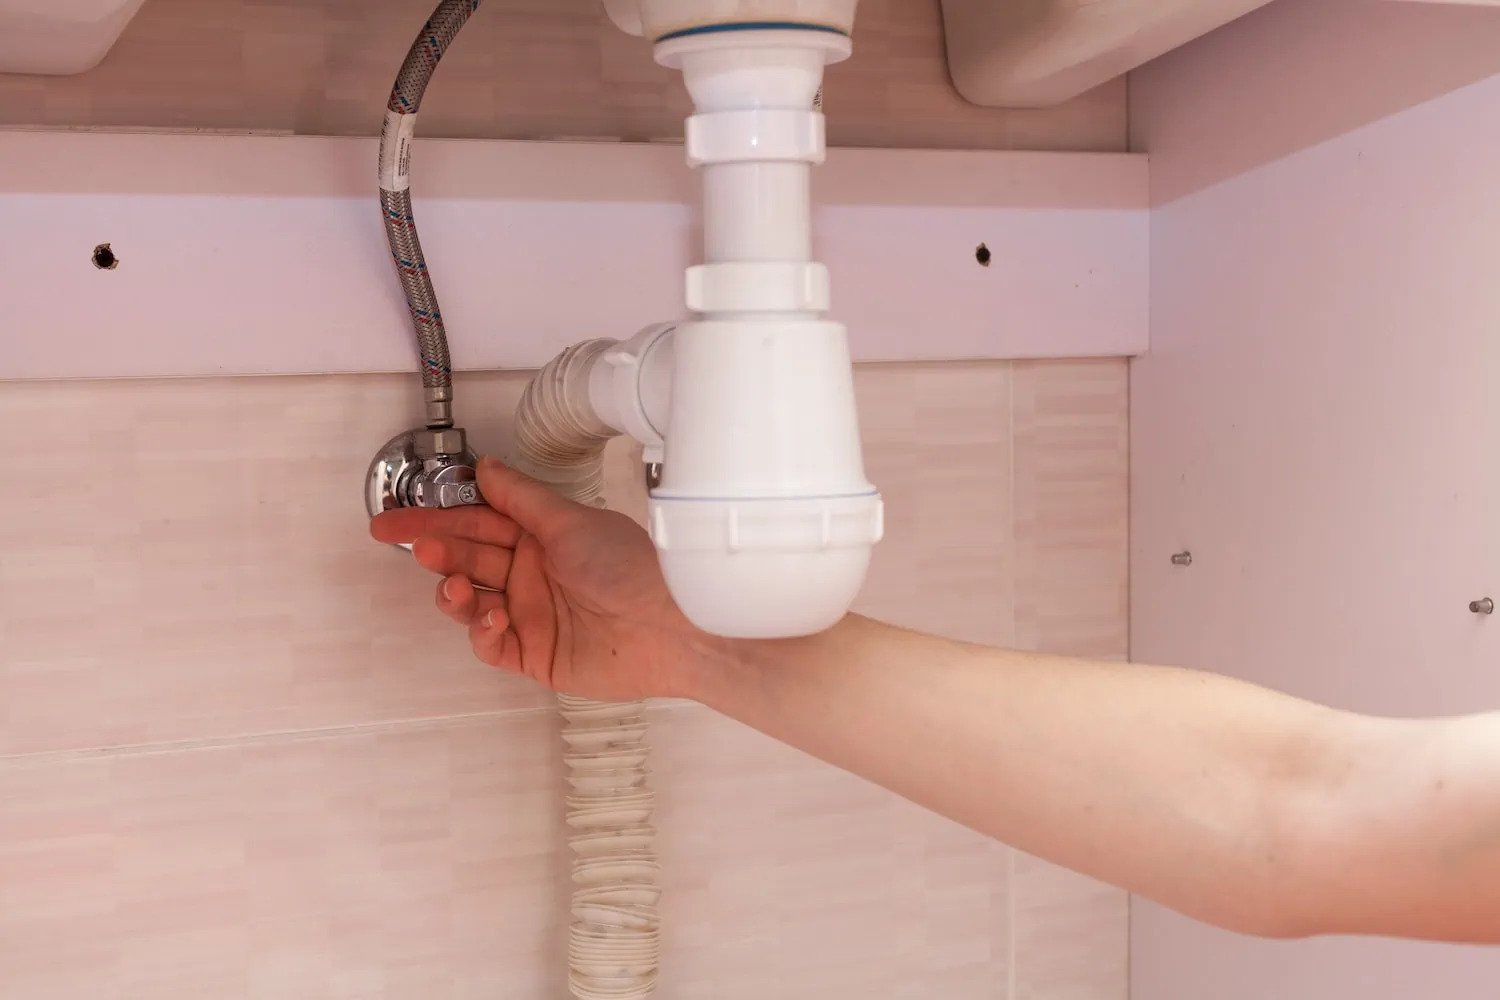
Step 3: Disconnect the water supply lines
With the water supply shut off, it’s time to disconnect the water supply lines from the old water valve. Follow these steps to safely disconnect the lines:
- Place a bucket or towel under the sink: This will catch any residual water that may spill during the disconnection process.
- Inspect the water supply lines: Take a moment to examine the connections between the water supply lines and the water valve. Depending on the type of connection, you may find compression fittings, screw-on fittings, or push-to-connect fittings.
- Disconnect compression fittings: If you have compression fittings, use an adjustable wrench or pliers to loosen and remove the compression nut from the valve. Be careful not to damage the fitting or the pipe.
- Disconnect screw-on fittings: For screw-on fittings, use an adjustable wrench or pliers to loosen and unscrew the nut that connects the supply line to the valve. Again, take care not to damage the fittings or the pipe.
- Disconnect push-to-connect fittings: If you have push-to-connect fittings, simply hold down the release collar on the valve while pulling the supply line away.
- Repeat for each supply line: If there are multiple supply lines connected to the valve, repeat the disconnection process for each line until they are all disconnected.
Once all the water supply lines are disconnected, you can move on to the next step: removing the old water valve.
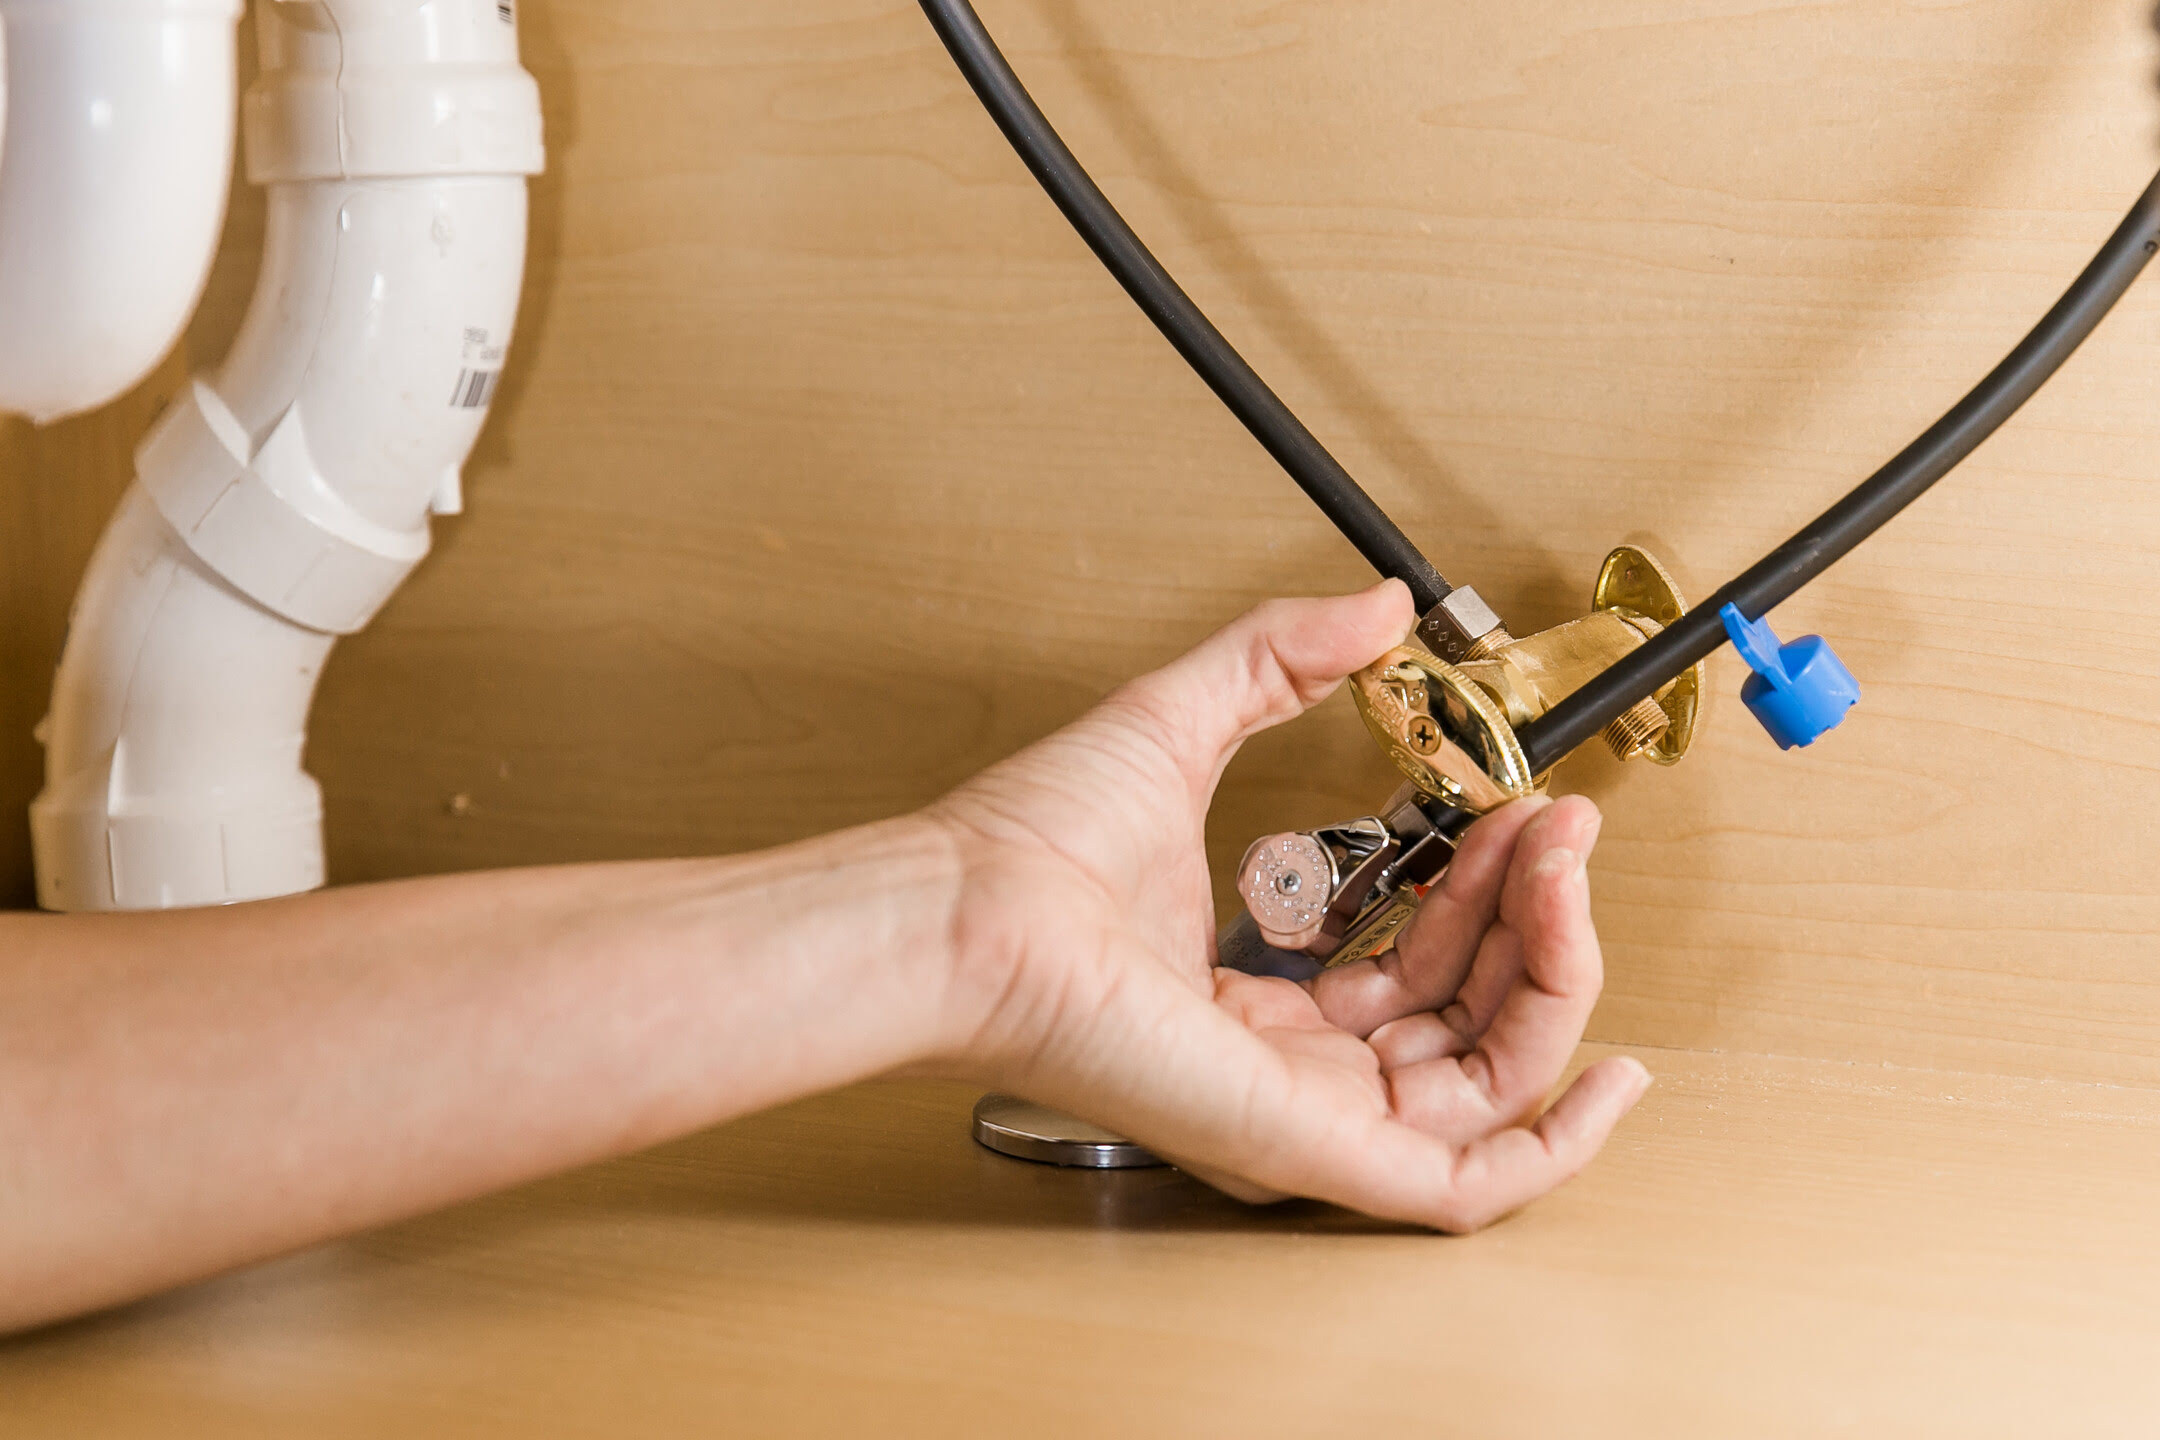
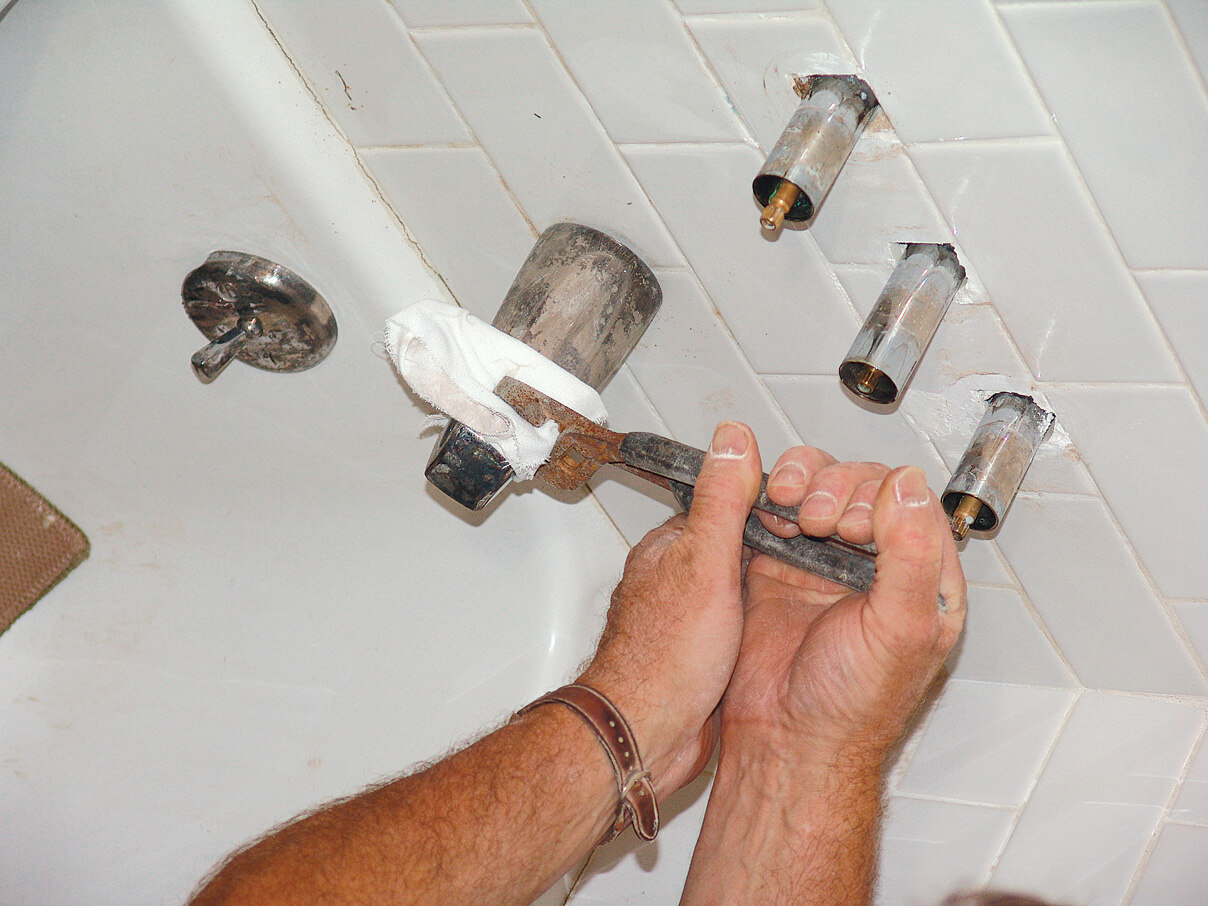
Step 4: Remove the old water valve
Now that the water supply lines are disconnected, it’s time to remove the old water valve. Follow these steps to safely remove the valve:
- Inspect the valve and fittings: Take a moment to inspect the old water valve and fittings. Look for any signs of damage or corrosion that may have contributed to its malfunction.
- Loosen and remove the fasteners: Depending on the type of valve, you may find screws, nuts, or bolts holding it in place. Use the appropriate tool, such as a screwdriver or wrench, to loosen and remove these fasteners.
- Remove the old valve: Once the fasteners are removed, you can gently pull the old valve away from the pipes. Be mindful of any remaining water or debris that may spill out.
- Inspect the pipe ends: After removing the old valve, inspect the pipe ends for any signs of damage or build-up. Clean them if necessary, using a rag or brush.
With the old water valve successfully removed, you can now proceed to the next step: installing the new water valve.
Note: If you encounter any complications during the removal process or if the valve seems stubbornly attached, it’s best to seek the assistance of a professional plumber to avoid causing further damage.
When replacing a water valve under the sink, make sure to turn off the main water supply before starting the process to avoid any leaks or water damage.
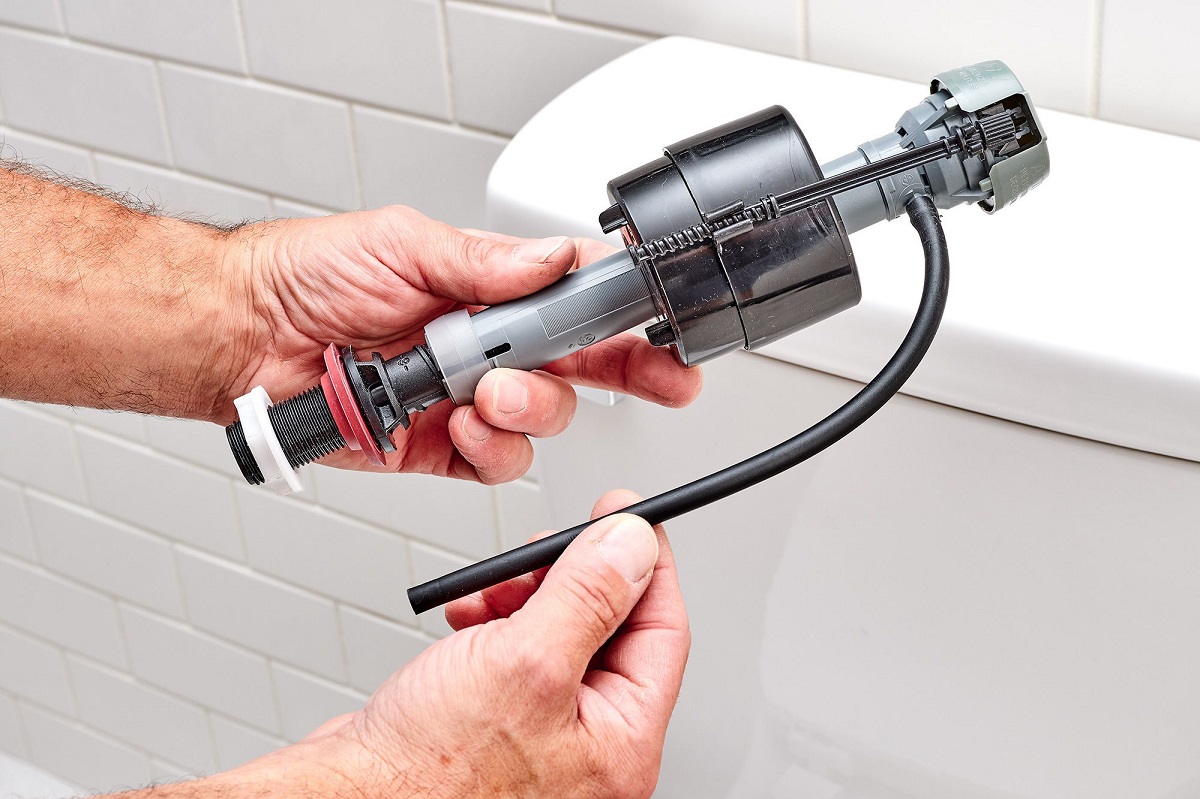
Step 5: Install the new water valve
Now that the old water valve has been removed, it’s time to install the new valve. Follow these steps to successfully install the new water valve:
- Prepare the new valve: Before installing the new valve, make sure it is clean and free from any debris. If necessary, apply plumber’s tape to the threaded connections to ensure a tight seal.
- Align the valve with the pipe ends: Position the new valve over the pipe ends, ensuring that it aligns properly. Take note of any markings or indications on the valve that indicate the correct orientation.
- Fasten the valve in place: Using the appropriate fastening mechanism, such as screws, nuts, or bolts, secure the new valve to the pipes. Make sure it is firmly attached, but be careful not to overtighten, as this can damage the fittings or threads.
- Connect the water supply lines: Depending on the type of connections, reattach the water supply lines to the new valve. Follow the reverse process of disconnection, ensuring a secure and watertight connection.
It’s important to note that different valves may have different installation instructions. Be sure to refer to the manufacturer’s guidelines and any specific instructions provided with the new valve.
With the new water valve properly installed, it’s time to move on to the next step: reconnecting the water supply lines.
If you’re unsure about any aspect of the installation process or if you encounter any difficulties, it’s always a good idea to consult a professional plumber to ensure the job is done correctly.
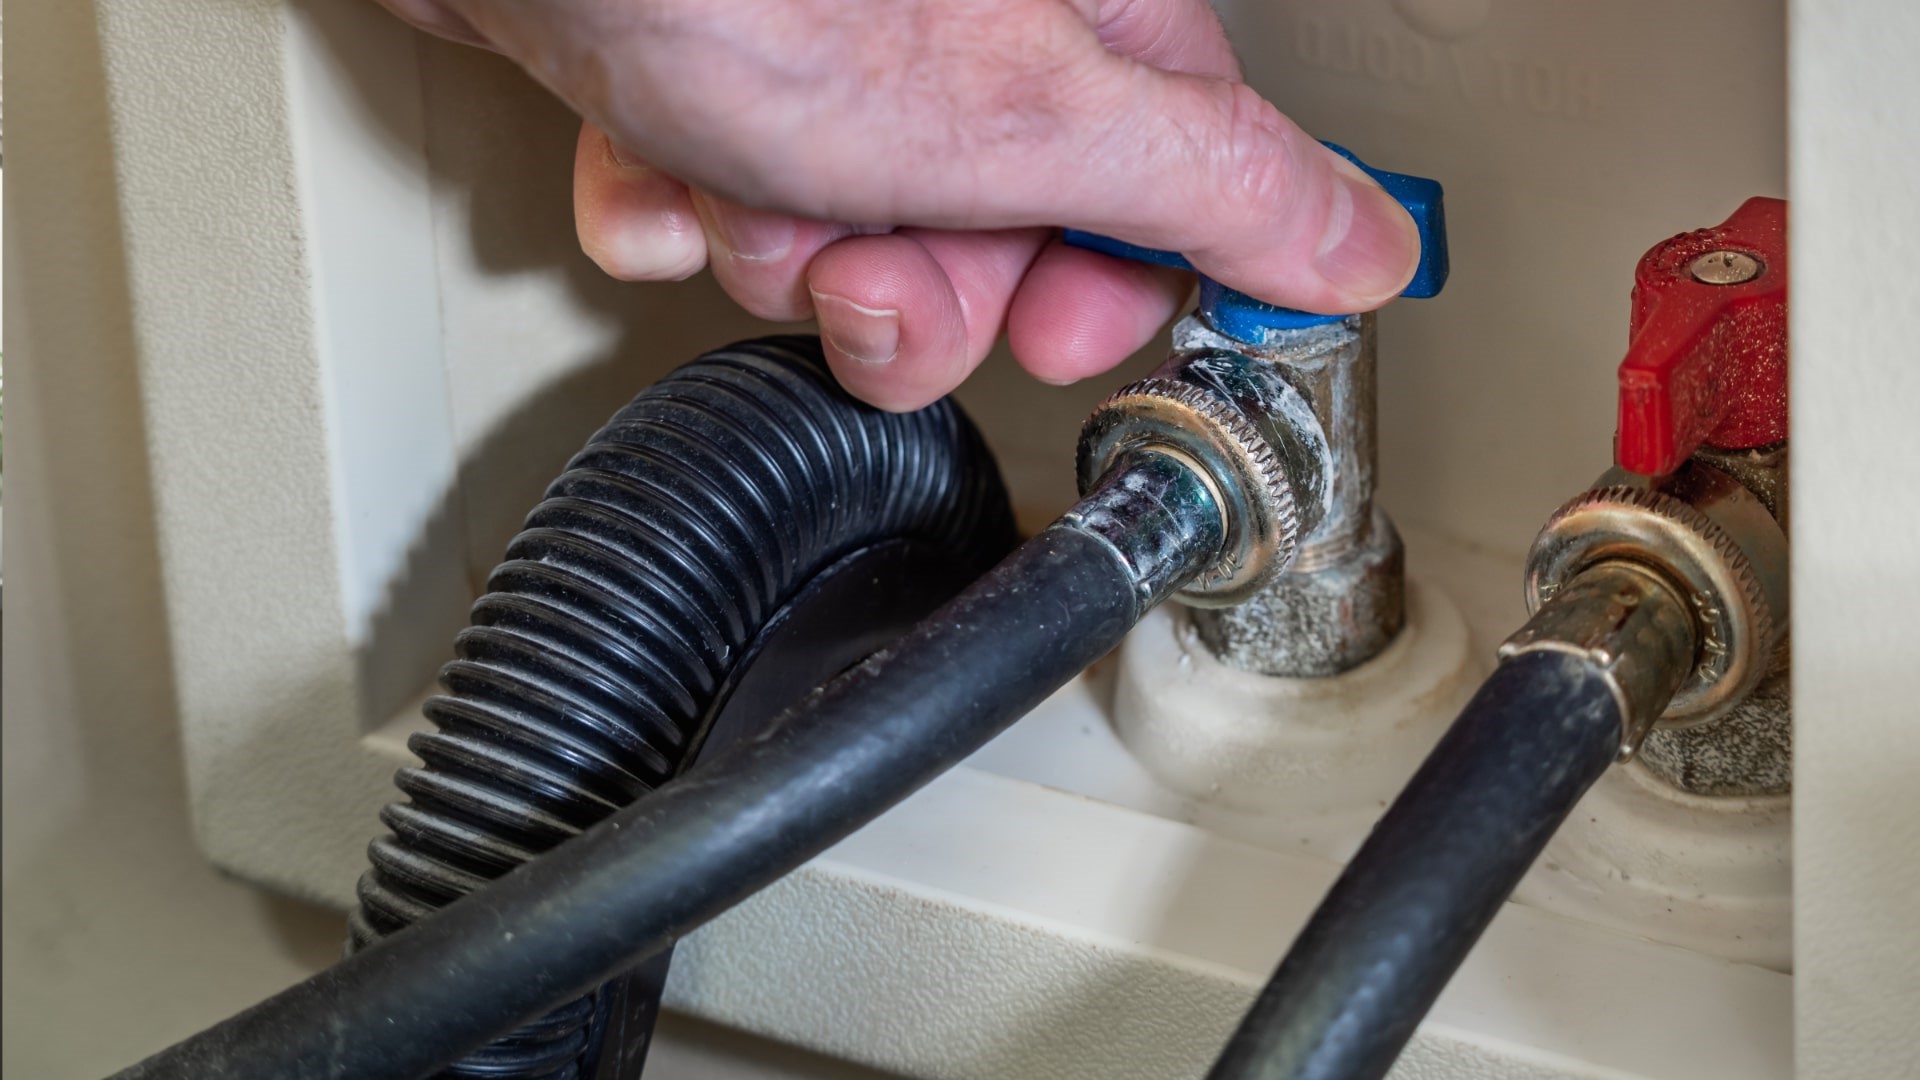
Step 6: Reconnect the water supply lines
With the new water valve securely installed, it’s time to reconnect the water supply lines. Follow these steps to successfully reconnect the lines:
- Ensure the valve is in the closed position: Before reconnecting the water supply lines, make sure the new valve is in the closed position to prevent any water from flowing during the connection process.
- Inspect the supply lines: Take a moment to inspect the water supply lines for any signs of damage or wear. If necessary, replace any damaged or deteriorated lines before proceeding.
- Connect the supply lines to the valve: Depending on the type of fittings, connect the supply lines to the new valve. Use the appropriate technique for the specific type of connection. Ensure a secure and watertight fit.
- Tighten the fittings: Using an adjustable wrench or pliers, tighten the fittings on the supply lines. Be careful not to overtighten, as this can cause damage or leaks.
It’s crucial to ensure that all connections are secure and watertight to avoid any potential leaks. Take your time to double-check each connection and make any necessary adjustments.
With the water supply lines successfully reconnected, you’re ready to move on to the next step: turning on the water supply.
Keep in mind that it’s always a good idea to test for leaks before fully completing the installation process.
Step 7: Turn on the water supply
Now that the water supply lines are reconnected, it’s time to turn on the water supply and ensure everything is functioning properly. Follow these steps to safely turn on the water supply:
- Double-check the connections: Before turning on the water supply, take a moment to inspect all the connections for any signs of leaks or loose fittings. Tighten any loose connections if necessary.
- Open the shut-off valve: Locate the main water shut-off valve or the individual shut-off valve for the area you are working on. Turn the valve counterclockwise (to the left) to open it and allow water to flow through the pipes.
- Check for leaks: As the water supply is turned on, inspect all the connections, the new water valve, and the supply lines for any signs of leaks. Look for drips, puddles, or any wet spots. If you notice any leaks, immediately shut off the water supply and address the issue before proceeding.
It’s important to take your time during this step to ensure that there are no leaks. Even a small drip can lead to significant water damage if left unattended.
If you don’t notice any leaks after turning on the water supply, you can proceed to the final step: testing for leaks.
However, if you do encounter any leaks, it’s crucial to identify and resolve them before proceeding further. It may be necessary to tighten connections, replace faulty fittings, or seek the assistance of a professional plumber.
Step 8: Test for leaks
After turning on the water supply, it’s important to thoroughly test for any leaks to ensure the successful installation of the new water valve. Follow these steps to effectively test for leaks:
- Inspect all connections: Take a careful look at all the connections you made during the installation process. This includes the fittings on the water valve, as well as the connections between the supply lines and the valve. Look for any signs of moisture or drips.
- Check the supply lines: Examine the entire length of the supply lines for any signs of leaks. Run your fingers along the lines, feeling for any wet spots or dampness.
- Observe for several minutes: Keep a close eye on all the connections and supply lines for at least five minutes. This will allow any potential leaks to become visible. Look for any changes in the water flow, dripping, or pooling of water.
- Use a dry paper towel or cloth: Gently wipe all the connections and supply lines with a dry paper towel or cloth. This will help detect even the slightest amount of moisture that may not be easily visible.
If you notice any leaks during the testing process, it’s important to take immediate action to address them. Here are a few troubleshooting steps you can take:
- Tighten loose fittings: If you identify any loose fittings or connections, use an adjustable wrench or pliers to tighten them. Be careful not to over-tighten, as this can cause damage.
- Reapply plumber’s tape: If there are minor leaks at threaded connections, remove the fittings, clean the threads, and apply a fresh layer of plumber’s tape before reassembling.
- Replace faulty fittings or supply lines: If a connection is consistently leaking or if there is visible damage, it may be necessary to replace the fitting or the supply line altogether.
- Consult a professional plumber: If you’re unable to successfully resolve the leaks or if you’re unsure about any aspect of the installation, it’s always best to consult a professional plumber to ensure the job is done correctly and to avoid any further damage or complications.
By thoroughly testing for leaks and taking the necessary steps to address them, you can ensure the proper functioning of your new water valve and prevent any potential water damage.
Once you have completed the testing process and confirmed that there are no leaks, congratulations! You have successfully replaced the water valve under your sink!
Read more: How To Replace Gas Valve On Water Heater
Conclusion
Replacing a water valve under the sink may seem like a daunting task, but with the right knowledge and tools, it can be done successfully. By following the step-by-step instructions outlined in this guide, you can confidently replace a faulty or leaky water valve and restore the proper functioning of your plumbing system.
Throughout the process, it’s crucial to prioritize safety and take the necessary precautions. If you feel unsure or uncomfortable with any step, don’t hesitate to seek the assistance of a professional plumber to ensure the job is done correctly and to avoid any potential damage.
Remember, preparation is key. Take the time to gather all the necessary tools and materials before starting, and double-check your work at each stage to ensure tight and secure connections. Test for leaks thoroughly and address any issues promptly to prevent water damage and wasted resources.
Replacing a water valve under the sink is a great DIY project that can save you time and money. It’s a valuable skill to have, as it allows you to take control of your plumbing system and address any issues that may arise.
We hope this comprehensive guide has provided you with the knowledge and confidence to successfully replace a water valve under your sink. By following the steps outlined in this article, you can tackle this task with ease and enjoy a well-functioning plumbing system for years to come.
Frequently Asked Questions about How To Replace Water Valve Under Sink
Was this page helpful?
At Storables.com, we guarantee accurate and reliable information. Our content, validated by Expert Board Contributors, is crafted following stringent Editorial Policies. We're committed to providing you with well-researched, expert-backed insights for all your informational needs.

0 thoughts on “How To Replace Water Valve Under Sink”