Articles
How To Fix Stuck Water Valve Under Sink
Modified: August 17, 2024
Discover effective articles about fixing stuck water valves under your sink and learn how to solve this common plumbing issue quickly and easily.
(Many of the links in this article redirect to a specific reviewed product. Your purchase of these products through affiliate links helps to generate commission for Storables.com, at no extra cost. Learn more)
Introduction
Dealing with a stuck water valve under your sink can be a frustrating experience. Whether it’s a shut-off valve that won’t budge or a valve that is leaking, a malfunctioning water valve can disrupt your daily routine and potentially lead to costly water damage. However, with the right tools and a little know-how, you can easily fix a stuck water valve under your sink and restore the functionality of your plumbing system.
In this article, we will guide you through the step-by-step process of fixing a stuck water valve under your sink. From gathering the necessary tools to properly cleaning and lubricating the valve, we will cover all the essential steps to help you get the job done effectively and efficiently.
Before we dive into the specifics, it’s important to note that the procedures outlined in this article are general guidelines. The complexity of the repair may vary depending on the type of valve and the level of damage. If you are unsure or uncomfortable with performing the repairs yourself, it’s always recommended to consult a professional plumber to ensure the job is done correctly.
Now, let’s get started by gathering the necessary tools for the repair.
Key Takeaways:
- Don’t let a stuck water valve under your sink disrupt your routine. With the right tools and know-how, you can easily fix the issue and restore your plumbing system’s functionality.
- Regular maintenance and proactive measures can help prevent future issues with your water valves. Stay proactive to ensure the longevity of your plumbing system.
Read more: How To Replace Water Valve Under Sink
Step 1: Gather the necessary tools
Before you begin working on the stuck water valve under your sink, it’s important to gather all the necessary tools to ensure a smooth and efficient repair process. Here are the tools you’ll need:
- Adjustable wrench
- Pipe wrench (optional, depending on the type of valve)
- Penetrating oil
- Rag or towel
- Bucket or container to catch any water
- Vinegar (optional)
The adjustable wrench is a versatile tool that will come in handy for loosening and tightening various components. Make sure you have the correct size of wrench that fits the valve you are working on. If you are dealing with a particularly stubborn valve, you may also need a pipe wrench for added leverage.
The penetrating oil is a crucial component in loosening up a stuck valve. It helps to break down rust and corrosion, making it easier to turn the valve and free it from its stuck position. Choose a high-quality penetrating oil that is specifically designed for this purpose.
A rag or towel will be useful for wiping away any excess oil and keeping your work area clean. The bucket or container will come in handy to catch any water that may spill out when you start working on the valve.
Additionally, vinegar can be used as a natural cleaning agent to remove any build-up or mineral deposits on the valve. This step is optional but can be beneficial if your valve is showing signs of corrosion or blockage.
With these tools in hand, you are now ready to move on to the next step: shutting off the water supply.
Step 2: Shut off the water supply
Before you can safely work on the stuck water valve under your sink, it’s crucial to shut off the water supply to prevent any potential leaks or water damage. Here’s how to do it:
- Locate the main water shut-off valve: Depending on your plumbing system, the main shut-off valve could be located near your water meter, in the basement, or outside the house. If you’re unsure where it is, consult your home’s plumbing diagram or contact a professional plumber for assistance.
- Close the main shut-off valve: Use a wrench or your hand to turn the valve clockwise (to the right) until it is fully closed. This will cut off the water supply to your entire house.
- Test the water supply: Turn on a faucet in your house to check if the water flow has stopped completely. If water continues to flow, double-check that the main shut-off valve is fully closed. If the problem persists, consult a professional plumber.
It’s important to shut off the main water supply valve and not just the individual valve under the sink to ensure that no water is flowing during the repair process. This will minimize any potential flooding or damage that could occur if the valve is accidentally opened while you’re working on it.
Once the water supply is shut off and you’ve confirmed that there is no water flow, you can proceed to the next step: removing any items obstructing access to the stuck valve.
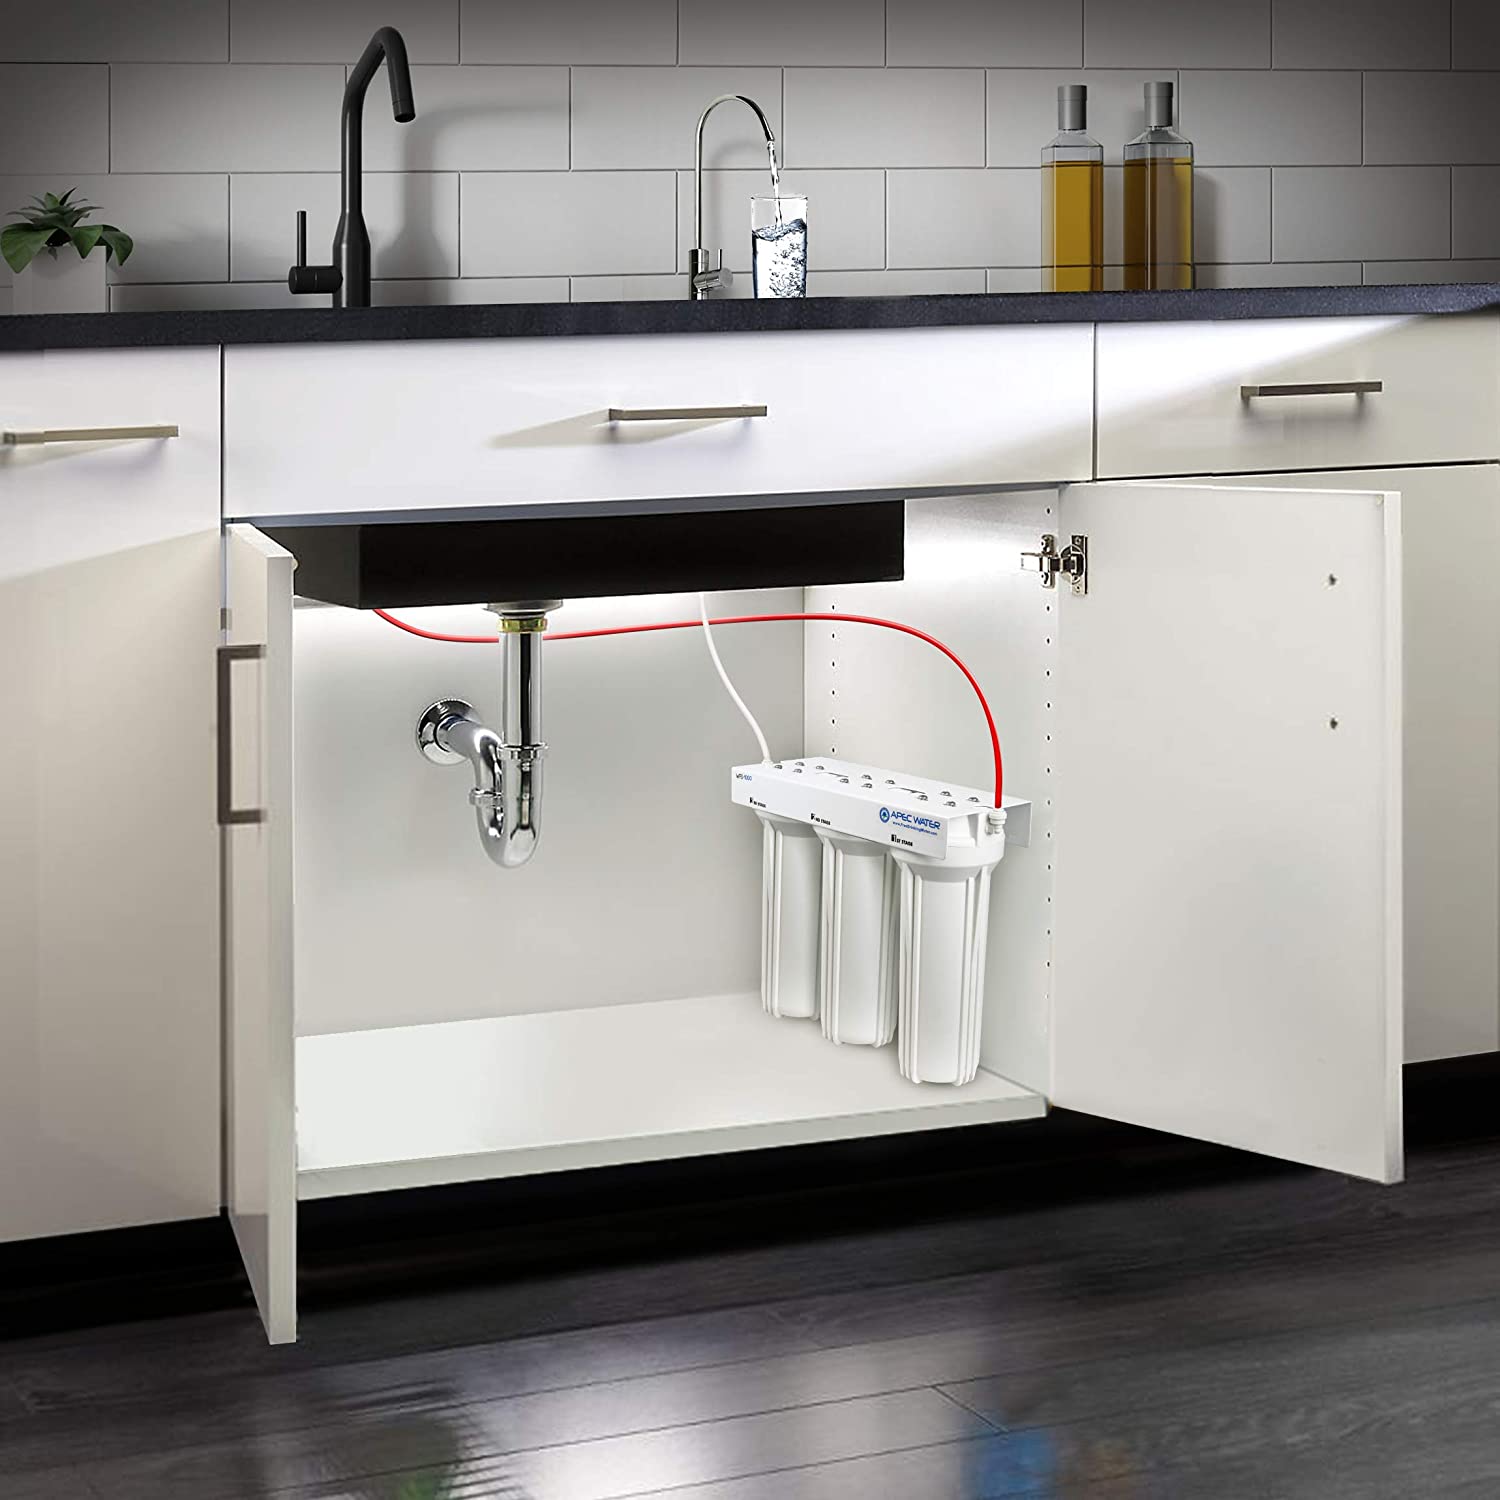
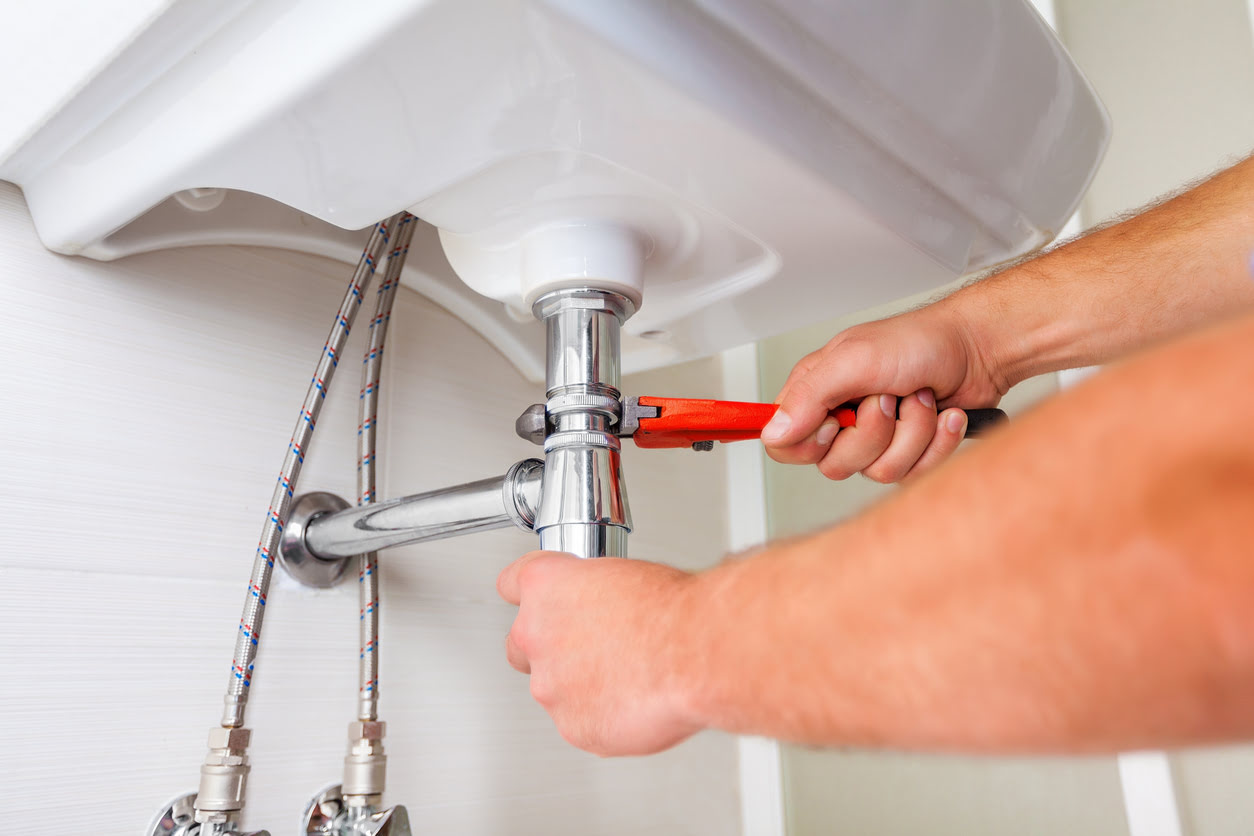
Step 3: Remove items obstructing access
With the water supply shut off, it’s time to clear the area around the stuck water valve under your sink. This step involves removing any items that may be obstructing access to the valve. Follow these steps:
- Clear out the cabinet: If your valve is located inside a cabinet, remove any items stored there to create space for you to work comfortably. This includes cleaning supplies, pots, pans, or any other objects that may get in the way.
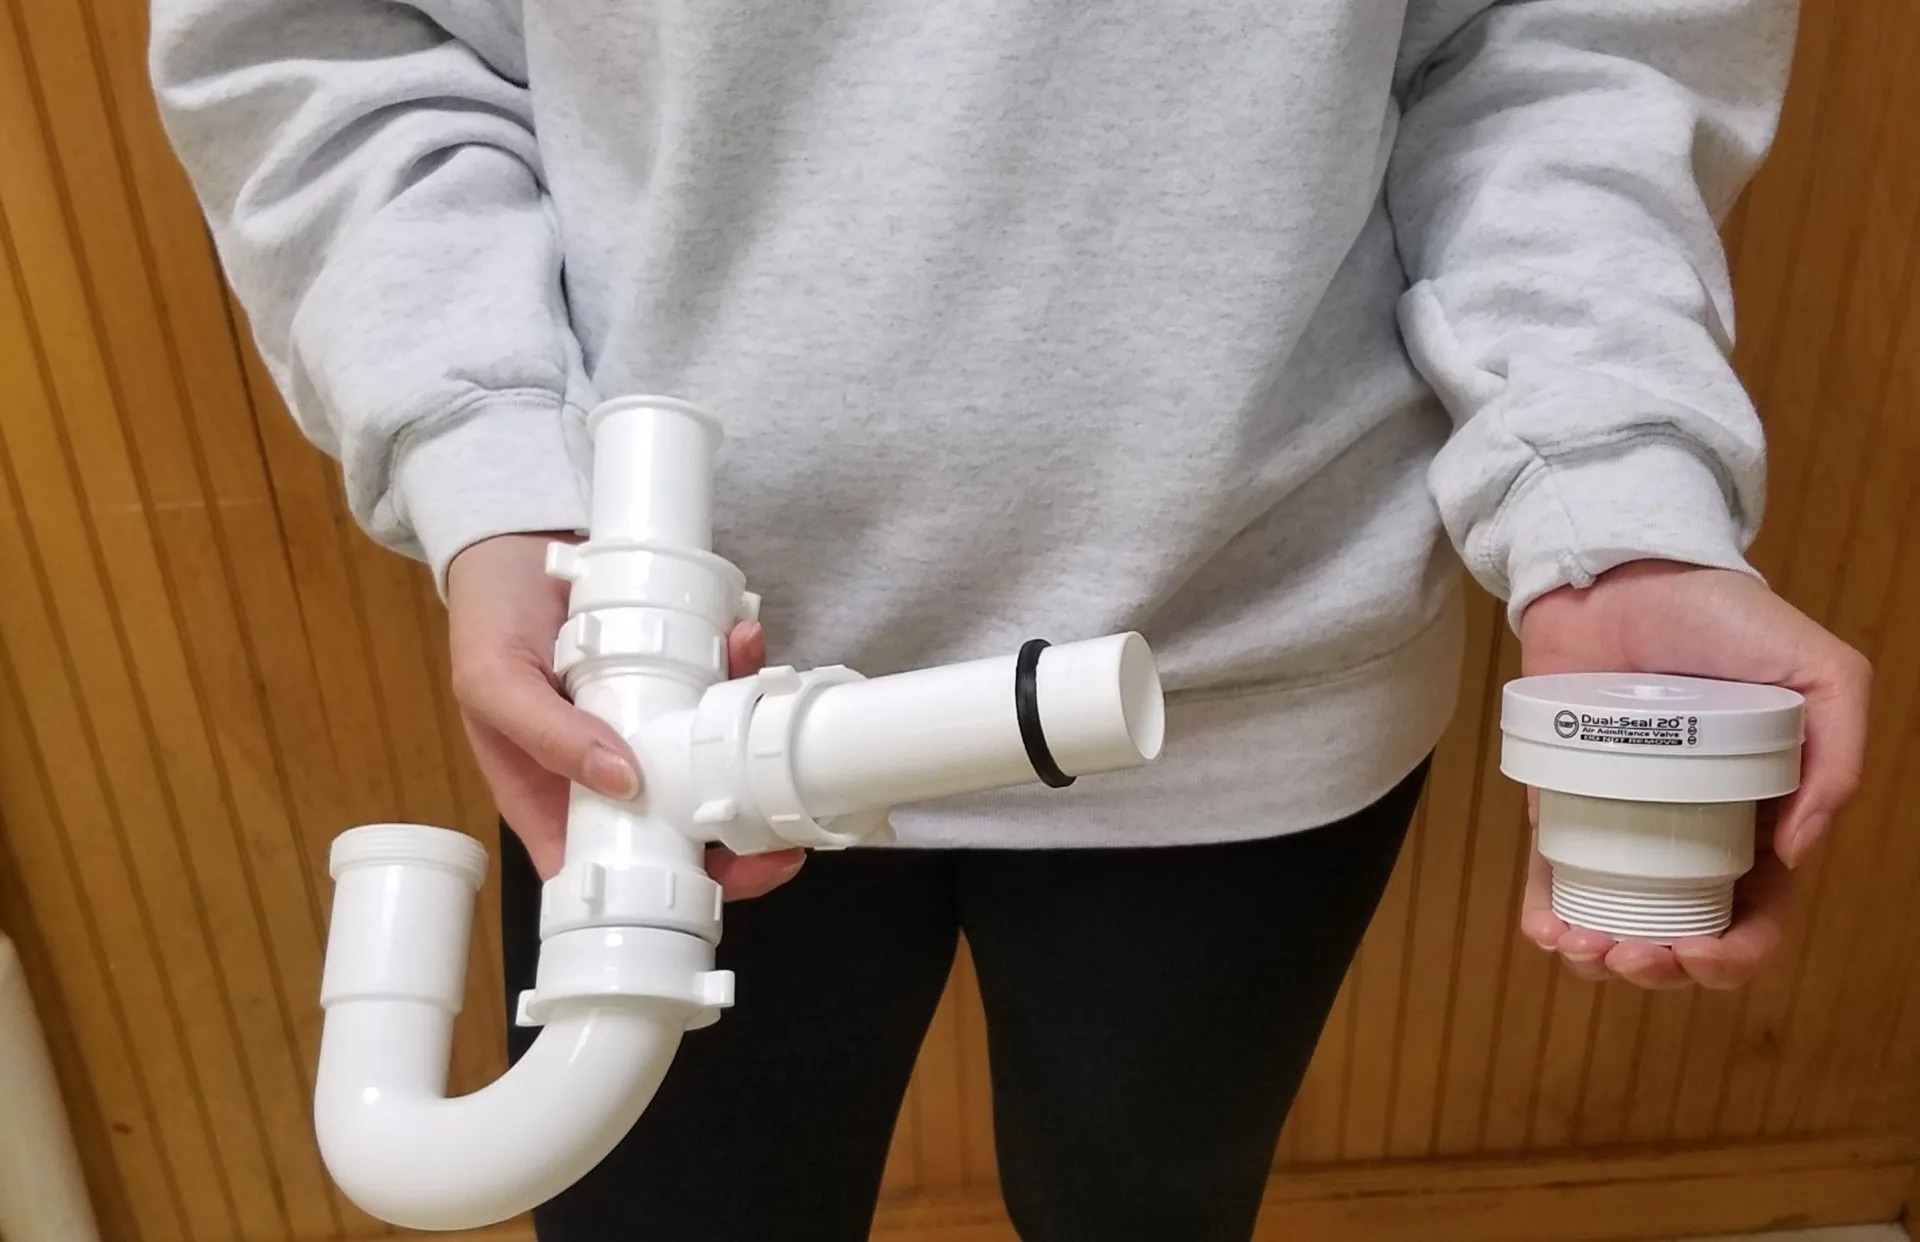
- Remove the sink trap (if necessary): In some cases, the sink trap may obstruct direct access to the valve. If this is the case, place a bucket or container underneath the sink to catch any water or debris and loosen the slip nuts on the trap using an adjustable wrench. Carefully remove the trap and set it aside.
- Clear any other obstructions: Check for any other components or pipes that may obstruct your access to the valve, such as garbage disposals or pipes connected to the sink. If necessary, disconnect and move these items aside, taking care not to damage any plumbing connections.
By removing any items that hinder access to the stuck valve, you’ll have a clear workspace to work efficiently. This step also helps prevent any accidental damage to surrounding components while you’re trying to repair the valve.
With the area cleared, you’re now ready to move on to the next step: applying penetrating oil to the valve to loosen it up.
Step 4: Apply penetrating oil to the valve
Now that you have cleared the area around the stuck water valve, it’s time to apply penetrating oil to help loosen it up. Follow these steps to apply the oil effectively:
- Inspect the valve: Take a close look at the valve to identify any signs of rust, corrosion, or debris. This will help you determine the severity of the issue and the amount of penetrating oil needed.
- Apply penetrating oil: Using a nozzle or a small brush, apply a liberal amount of penetrating oil to the valve. Make sure to coat the entire valve, focusing on the areas that appear rusty or corroded. Allow the oil to penetrate the valve for the recommended amount of time, as specified on the product label. This will give the oil sufficient time to break down any rust or corrosion, making it easier to loosen the valve.
- Repeat the process: If the valve is particularly stubborn, you may need to repeat this step multiple times, allowing the oil to soak for a longer period each time. Patience is key, as the penetrating oil needs time to work its magic and loosen the stuck valve.
Penetrating oil is specifically designed to break down rust and corrosion, making it easier to turn and loosen stuck components. By applying the oil to the valve, you’re helping to lubricate and loosen any buildup that may be causing your valve to stick.
After giving the penetrating oil enough time to work, you’re now ready to move on to the next step: using a wrench to loosen the valve.
Use a pair of pliers to gently turn the valve clockwise and counterclockwise to loosen it. If that doesn’t work, try applying some lubricant to the valve to help free it up. If all else fails, consider calling a professional plumber for assistance.
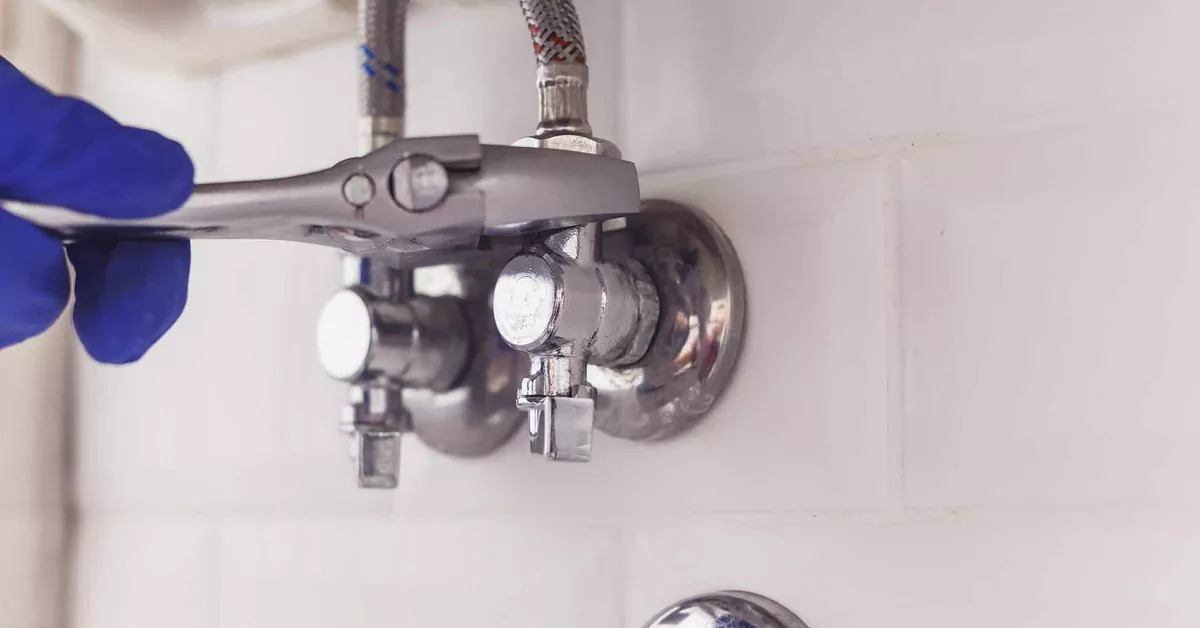
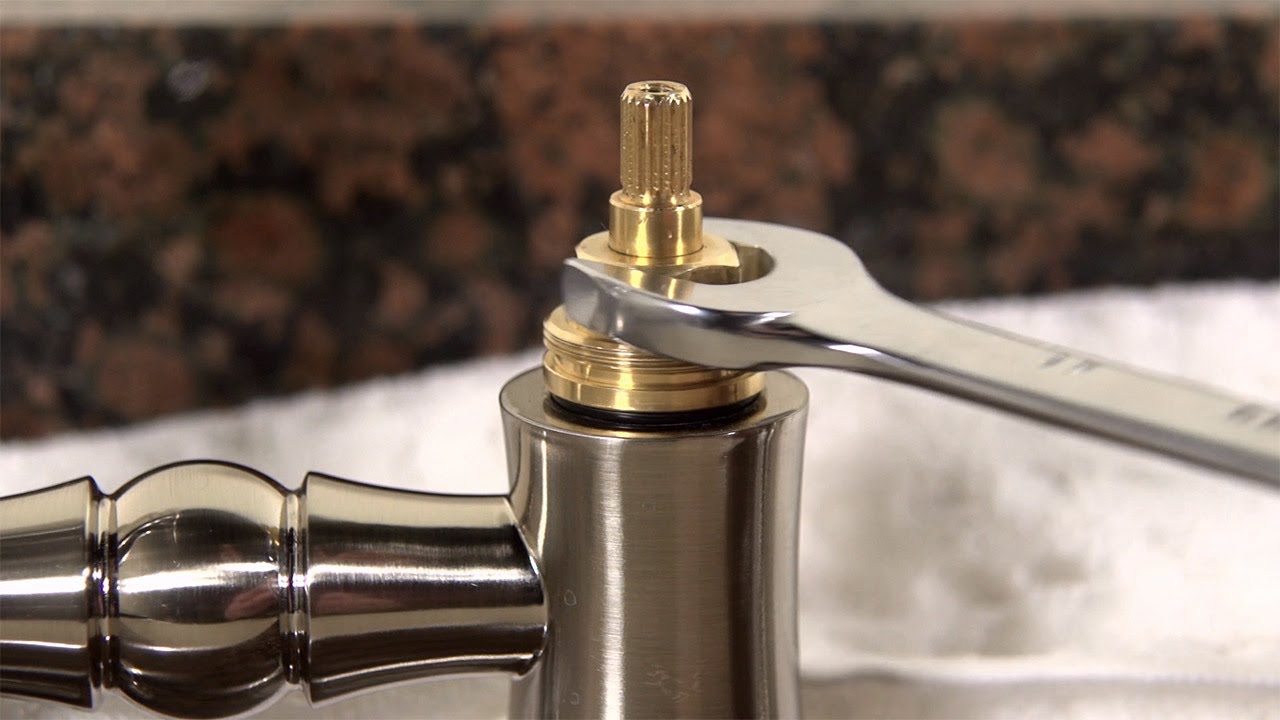
Step 5: Use a wrench to loosen the valve
With the penetrating oil applied to the stuck valve, it’s time to use a wrench to carefully loosen it. Follow these steps to effectively loosen the valve:
- Choose the right wrench: Depending on the type of valve you’re working with, you may need either an adjustable wrench or a pipe wrench. Ensure that the size of the wrench matches the valve’s fitting to avoid damaging the valve.
- Position the wrench: Carefully position the wrench around the valve, ensuring a firm grip on the valve’s body. If necessary, use a cloth or rag to provide additional grip and prevent any damage to the valve’s surface.
- Turn the wrench: Slowly and steadily turn the wrench counterclockwise (to the left) to apply gentle pressure and attempt to loosen the valve. Be cautious not to exert excessive force that could cause the valve or the plumbing connections to break.
- Apply additional oil if needed: If the valve proves to be resistant to turning, apply more penetrating oil and allow it to penetrate for a few more minutes. This will help further loosen any remaining rust or debris.
- Try a different technique: If the valve still doesn’t budge, you can try an alternative technique such as tapping the valve gently with a hammer or using heat from a hairdryer to expand and loosen it. However, exercise caution and seek professional assistance if needed.
It’s important to be patient and gentle when using a wrench to loosen the stuck valve. Applying too much force can potentially damage the valve or the surrounding plumbing connections, leading to more extensive repairs.
Once you’ve successfully loosened the valve, you can proceed to the next step: cleaning and lubricating the valve for optimal performance.
Step 6: Clean and lubricate the valve
Now that you’ve loosened the stuck water valve, it’s important to clean and lubricate it to ensure smooth operation and prevent future sticking. Here’s how to clean and lubricate the valve:
- Inspect the valve: Take a close look at the valve to check for any remaining rust, debris, or mineral deposits. Use a cloth or brush to gently remove any buildup, ensuring that the valve is clean and free from obstruction.
- Consider using vinegar: If the valve has stubborn mineral deposits or corrosion, you can soak it in vinegar for a few hours. Fill a bowl or container with vinegar and submerge the valve, allowing the vinegar to dissolve the deposits. After soaking, rinse the valve with water and dry it thoroughly before continuing.
- Apply lubricant: Once the valve is clean and dry, apply a light coat of plumbing grease or silicone lubricant to the valve’s moving parts. This lubrication will help reduce friction and ensure smooth operation.
- Operate the valve: Turn the valve back and forth a few times to distribute the lubricant evenly and ensure that it moves freely. This will also help to flush out any remaining debris or excess lubricant.
Cleaning and lubricating the valve is essential for its proper functioning and longevity. By removing any buildup and applying lubricant, you’re reducing the chances of the valve sticking again in the future.
Once you’ve cleaned and lubricated the valve, you’re almost done. Keep reading to learn how to reassemble and test the valve in the next step.
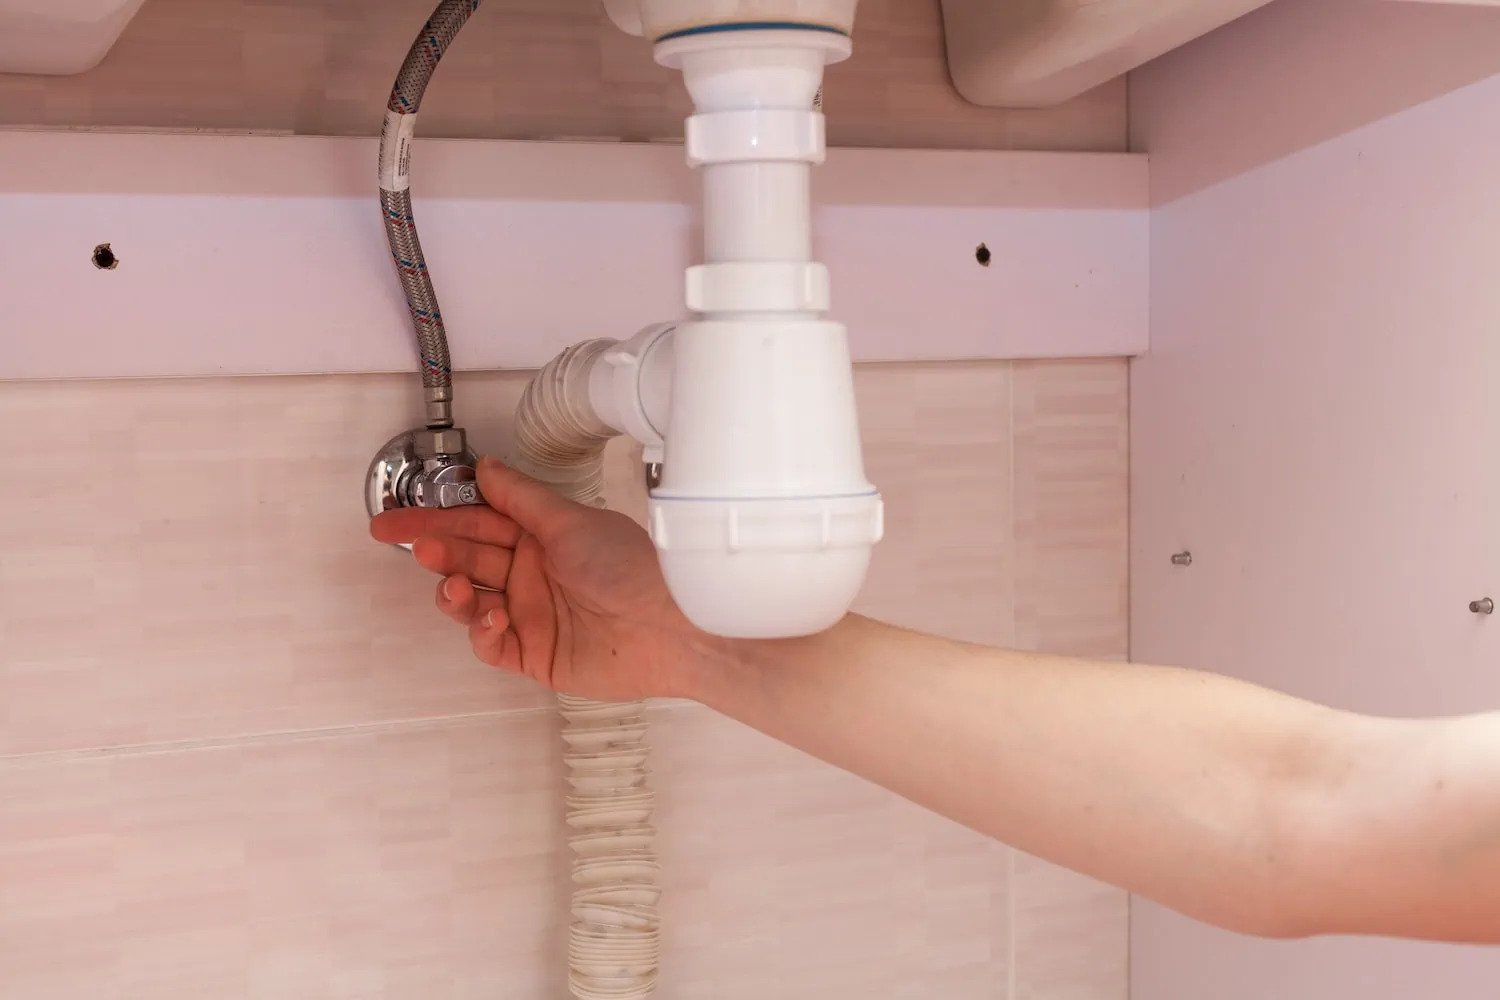
Step 7: Reassemble and test the valve
After cleaning and lubricating the stuck water valve, it’s time to reassemble it and perform a test to ensure it’s functioning properly. Follow these steps to reassemble and test the valve:
- Reattach any removed components: If you had to remove any components such as the sink trap or other obstructions, now is the time to reattach them. Use the appropriate wrench to tighten the connections and ensure they are secure but not overly tightened.
- Turn the water supply back on: With everything reassembled, it’s time to turn the water supply back on. Locate the main shut-off valve and slowly turn it counterclockwise (to the left) to reopen the water supply. Monitor the valve you’ve just fixed for any signs of leaks or drips.
- Check for leaks and proper functionality: Once the water supply is restored, check the valve for any signs of leaks. Inspect the valve and the surrounding area while running water through the sink. Look for any water seepage or drips that may indicate a faulty connection or a still-stuck valve.
- Ensure smooth operation: Turn the valve on and off multiple times to ensure smooth operation. It should turn easily without sticking or exerting excessive force. If the valve still feels stiff or does not operate smoothly, you may need to repeat the lubrication process or seek further assistance from a professional plumber.
By carefully reassembling the components and conducting a thorough test, you can ensure that the stuck water valve is working properly and has been successfully repaired. It’s important to address any issues or leaks promptly to avoid further damage or water wastage.
Congratulations! You’ve successfully fixed the stuck water valve under your sink. Remember to periodically check the valve for any signs of sticking or leaks and perform necessary maintenance to keep your plumbing system in optimal condition.
If you encounter any difficulties or are uncertain about the repair process, don’t hesitate to seek help from a professional plumber.
Continue to stay proactive with your plumbing maintenance to prevent future issues and keep your water valves in good working order.
Conclusion
Dealing with a stuck water valve under your sink can be a frustrating experience, but with the right tools and knowledge, you can easily fix the problem and restore the functionality of your plumbing system. By following the step-by-step process outlined in this article, you can successfully tackle a stuck water valve and avoid costly water damage.
Starting with gathering the necessary tools, shutting off the water supply, and removing any obstructions, you set the foundation for a successful repair. Applying penetrating oil and using a wrench to loosen the valve are crucial steps in freeing a stuck valve, while cleaning and lubricating the valve help to ensure smooth operation and prevent future sticking.
By reassembling the components and conducting a thorough test, you can ensure that the valve is functioning properly and has been successfully repaired. Checking for leaks and ensuring smooth operation are essential before considering the repair complete.
Remember, if you’re unsure or uncomfortable with performing the repairs yourself, it’s always recommended to consult a professional plumber who can assist you in resolving the issue safely and effectively.
Regular maintenance and proactive measures, such as periodically checking the valves and addressing any issues promptly, can help keep your plumbing system in optimal condition. By staying proactive, you can prevent future problems and ensure the longevity of your water valves.
Don’t let a stuck water valve dampen your spirits. Armed with the right tools and know-how, you’re now equipped to fix a stuck water valve under your sink and take control of your plumbing system.
Now that you've tackled fixing a stuck water valve, why not broaden your DIY skills with our comprehensive guide on home maintenance? Whether you're a novice or seasoned fixer-upper, mastering the basics of home repair will give you the confidence to take on any challenge. And if you're fascinated by how appliances work, don't miss our review of the latest W10408179 Whirlpool refrigerator water valves, poised to make a splash in 2024. Both articles are packed with insights and tips that ensure your home and appliances stay in tip-top shape.
Frequently Asked Questions about How To Fix Stuck Water Valve Under Sink
Was this page helpful?
At Storables.com, we guarantee accurate and reliable information. Our content, validated by Expert Board Contributors, is crafted following stringent Editorial Policies. We're committed to providing you with well-researched, expert-backed insights for all your informational needs.

0 thoughts on “How To Fix Stuck Water Valve Under Sink”