Home>Home Appliances>Bathroom Appliances>How To Change The Brush On An Electric Toothbrush
Bathroom Appliances
How To Change The Brush On An Electric Toothbrush
Modified: August 16, 2024
Learn how to easily change the brush head on your electric toothbrush for better oral hygiene. Find step-by-step instructions and tips for maintaining bathroom appliances.
(Many of the links in this article redirect to a specific reviewed product. Your purchase of these products through affiliate links helps to generate commission for Storables.com, at no extra cost. Learn more)
Introduction
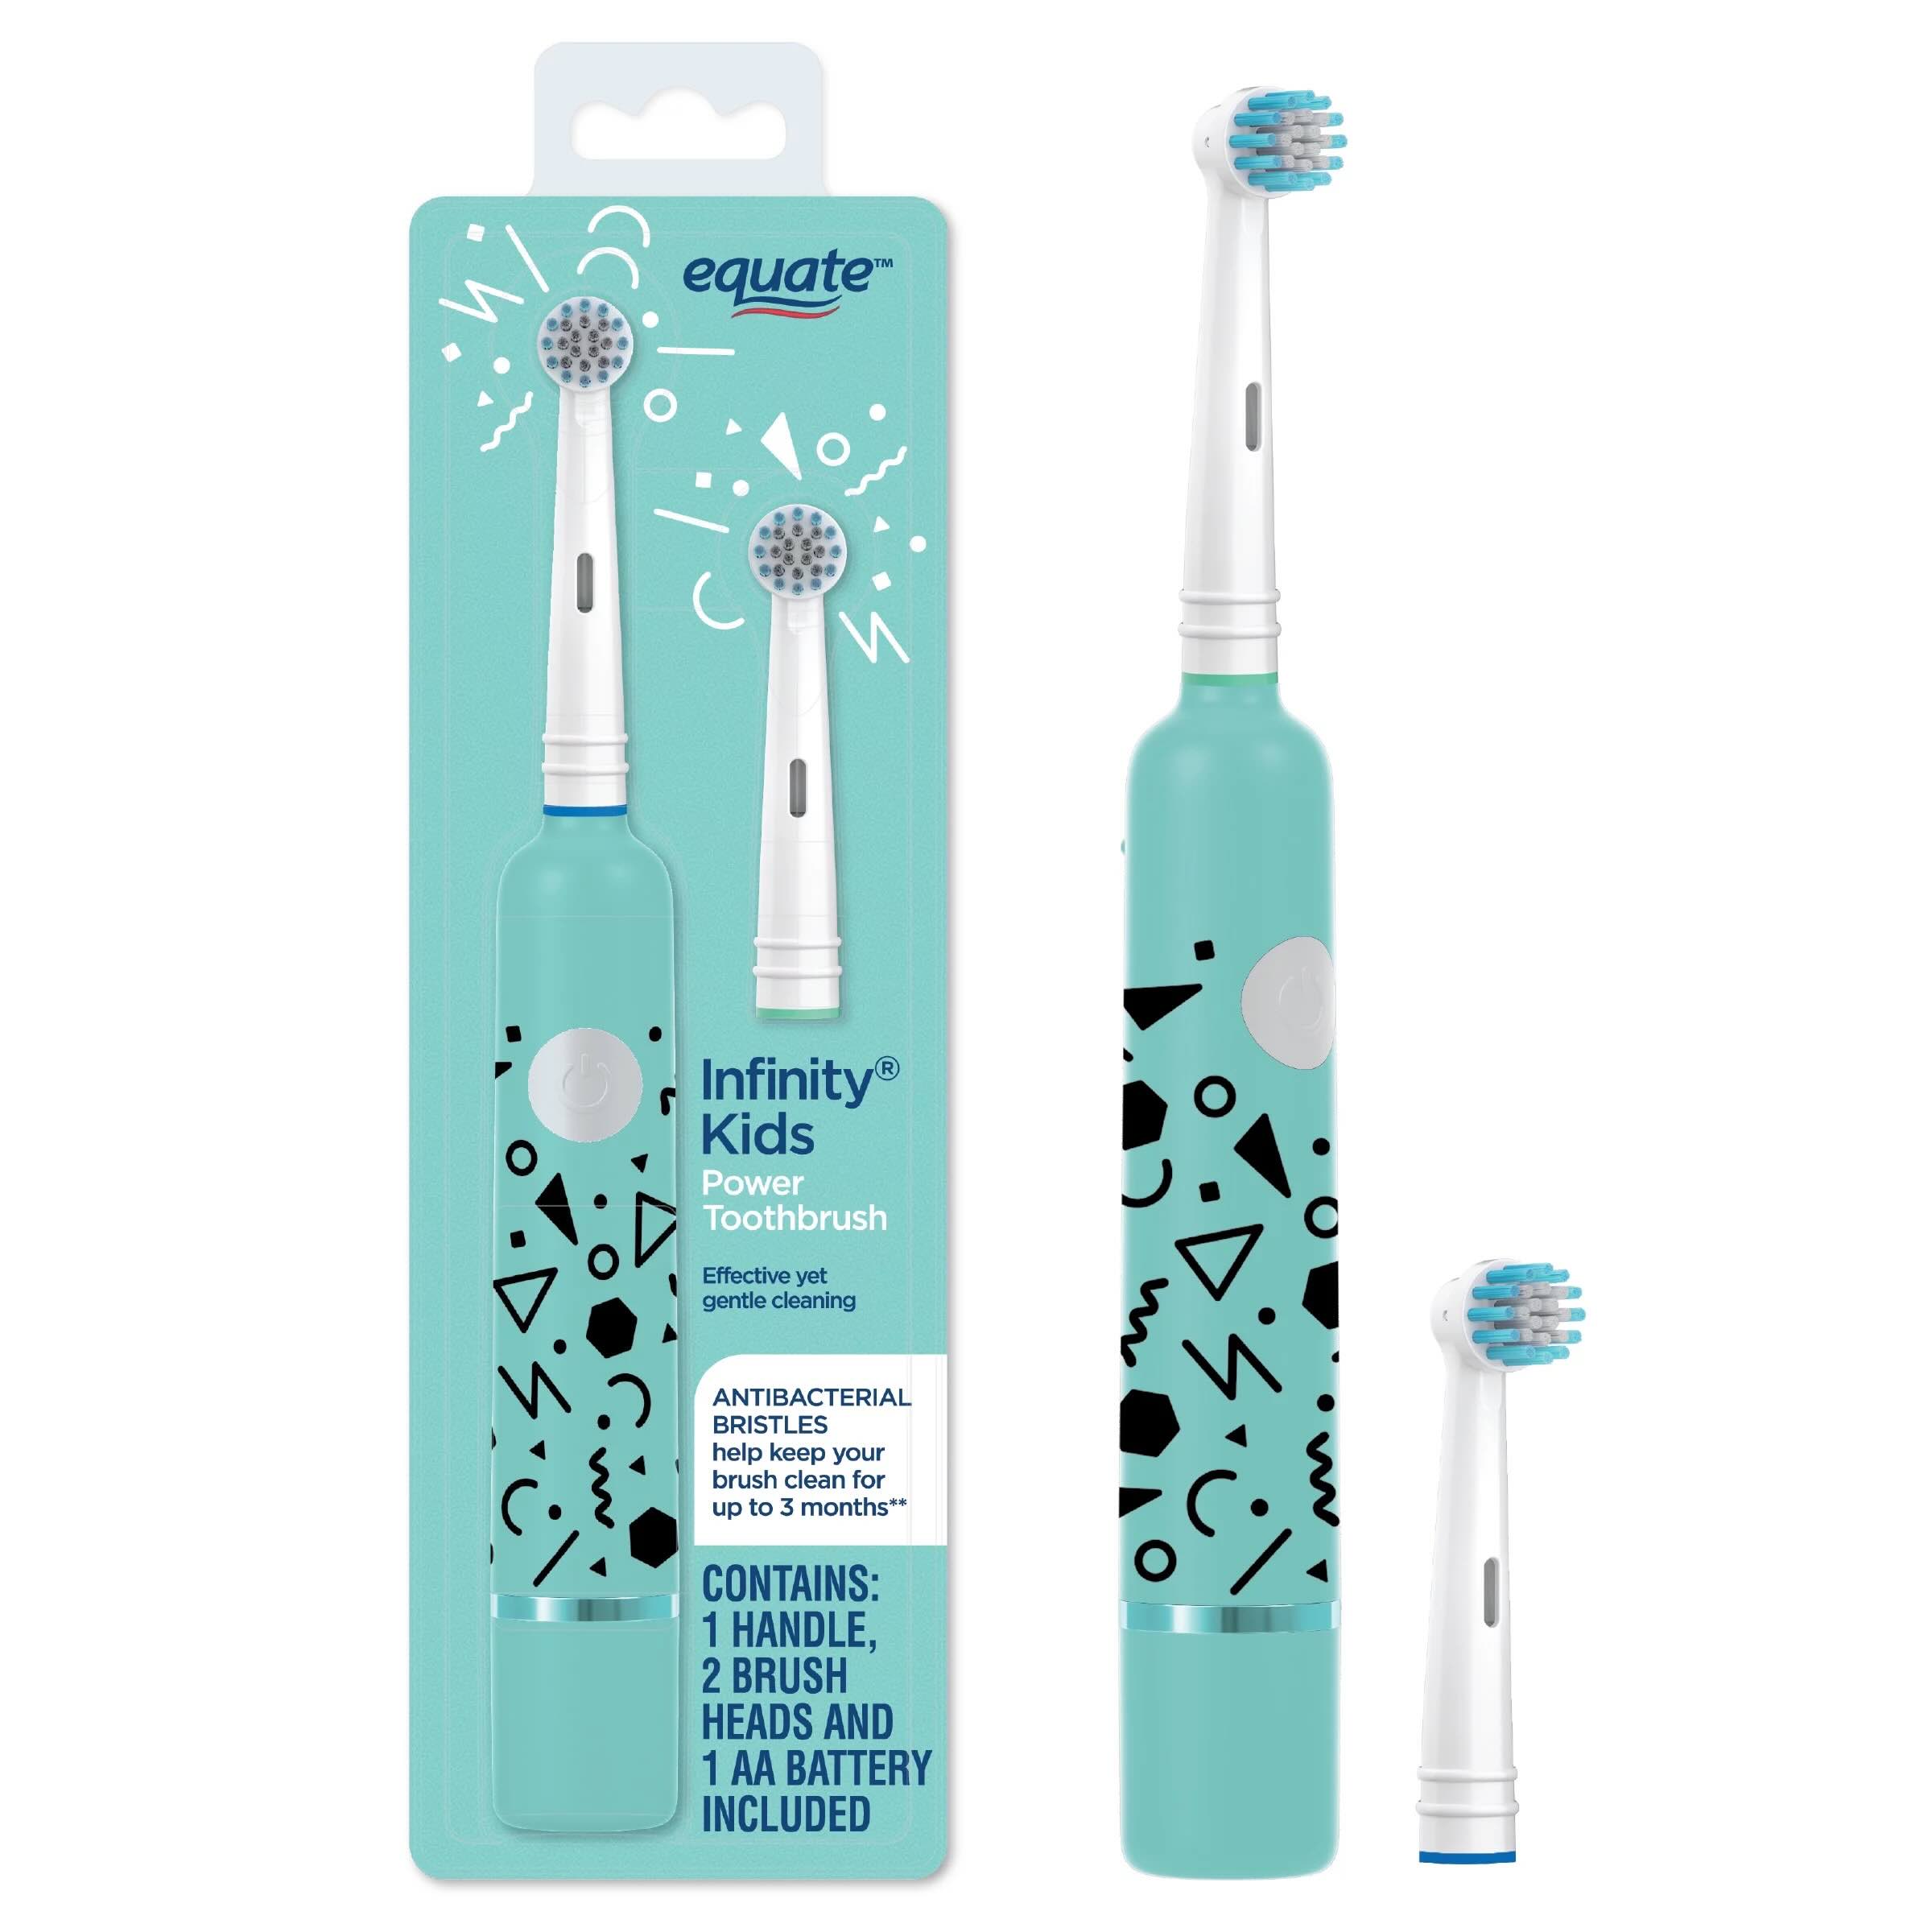
Welcome to the world of electric toothbrushes! These modern marvels of dental hygiene offer a convenient and effective way to keep your pearly whites sparkling. One of the key maintenance tasks for electric toothbrushes is changing the brush head. This is a simple process that can help ensure your toothbrush continues to provide optimal cleaning power.
In this guide, we’ll walk you through the step-by-step process of changing the brush on your electric toothbrush. Whether you’re a seasoned electric toothbrush user or new to the game, you’ll find that replacing the brush head is a quick and straightforward task. By following these simple instructions, you can maintain the hygiene and functionality of your electric toothbrush with ease.
So, grab your electric toothbrush and let’s get started!
Key Takeaways:
- Keep your electric toothbrush clean and effective by replacing the brush head regularly. It’s a simple task that ensures your toothbrush continues to provide optimal cleaning power and promotes overall oral health.
- Before changing the brush head, gather the necessary tools and follow the step-by-step process to ensure a smooth transition. By maintaining a clean and functional brush head, you can keep your smile bright and healthy.
Step 1: Gather Necessary Tools
Before you begin the process of changing the brush head on your electric toothbrush, it’s important to gather the necessary tools. Having everything you need at hand will make the task more efficient and ensure a smooth transition to the new brush head.
Here’s what you’ll need:
- A new brush head specifically designed for your electric toothbrush model. It’s essential to use a compatible brush head to maintain the effectiveness of your toothbrush.
- A clean, dry towel to provide a clean surface for working and to wipe any excess water from the toothbrush.
- If your electric toothbrush has a removable cap or cover, you may need to have it on hand to access the brush head.
By having these tools ready, you’ll be well-prepared to proceed with the brush head replacement process smoothly and efficiently. Now that you’ve gathered your tools, let’s move on to the next step!
Step 2: Remove the Old Brush Head
Now that you have your tools assembled, it’s time to remove the old brush head from your electric toothbrush. Follow these simple steps to complete this part of the process:
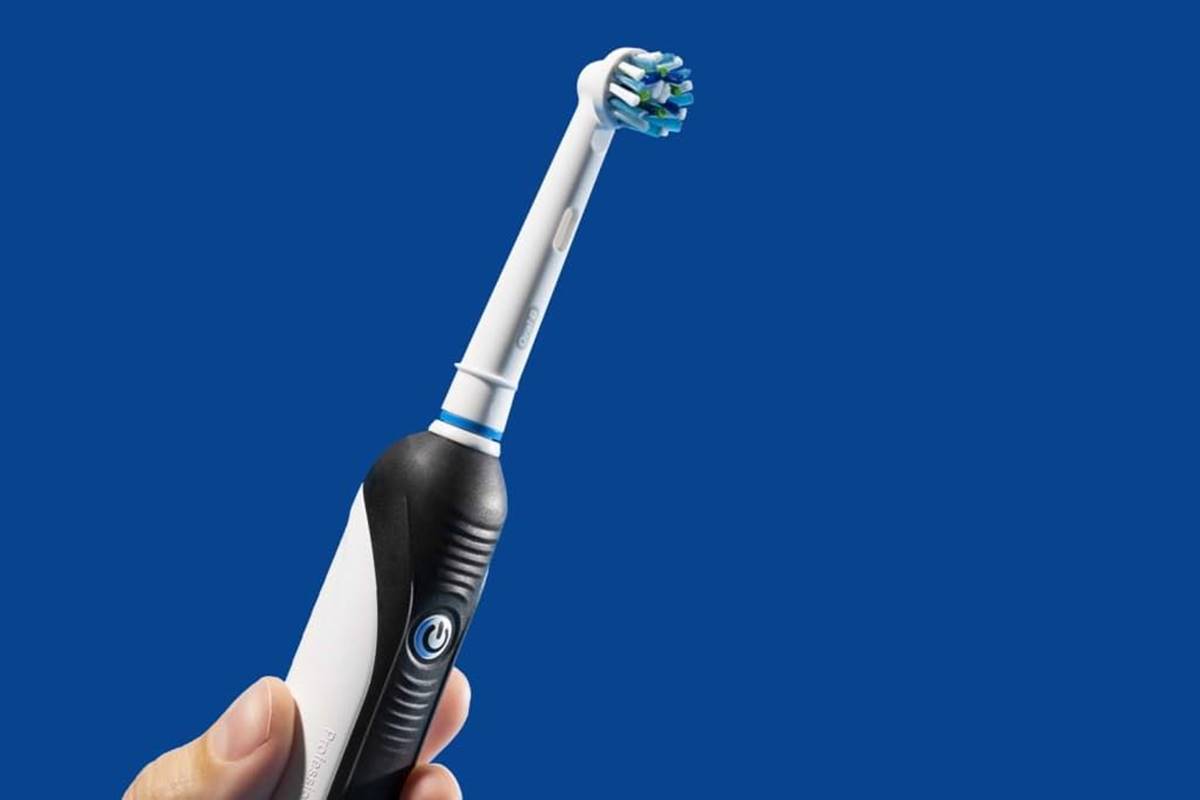
- Hold the handle of the electric toothbrush firmly, ensuring you have a good grip to prevent accidental dropping or damage.
- If your toothbrush has a removable cap or cover over the brush head, carefully remove it to access the brush head.
- Depending on the model of your electric toothbrush, you may need to twist the brush head counterclockwise or press a release button to detach it from the handle. Refer to the manufacturer’s instructions for specific guidance on removing the brush head.
- Once the brush head is released, gently pull it away from the handle to remove it completely. Be mindful of any small parts or components that may come loose during this process, and keep them in a safe place.
- Inspect the area where the brush head was attached for any debris or buildup. Use a clean, dry towel to wipe the connection point and ensure it is free of any residue.
With the old brush head successfully removed, you’re one step closer to refreshing your electric toothbrush with a new brush head. Properly disposing of the old brush head and preparing the toothbrush for the next stage of the process sets the stage for a seamless transition to the new brush head.
Now that the old brush head is out of the way, let’s move on to the next step!
Step 3: Clean the Toothbrush
With the old brush head removed, it’s the perfect time to give your electric toothbrush a little TLC. Cleaning the toothbrush ensures that it’s free from any lingering debris and ready to receive its new brush head. Follow these simple steps to clean your electric toothbrush:
- Inspect the handle and the area where the brush head attaches for any buildup of toothpaste, water, or other residues. Use a clean, damp cloth to wipe away any grime or residue, ensuring that the connection point is clean and dry.
- For electric toothbrushes with removable caps or covers, wipe the interior and exterior of the cap to remove any accumulated residue or moisture.
- Check the handle and grip area for any moisture or residue. Wipe the handle with a clean, dry towel to ensure it’s free from any excess water or toothpaste.
- Inspect the power button and any control features on the handle to ensure they are clean and free from any obstructions. Use a gentle touch to clean around these areas, taking care not to damage any electronic components.
By taking a few moments to clean your electric toothbrush, you’re not only maintaining its appearance but also ensuring that it remains hygienic and ready for use. A clean toothbrush handle provides a fresh canvas for attaching the new brush head, setting the stage for continued oral care excellence.
Now that your electric toothbrush is sparkling clean, it’s time to move on to the next step!
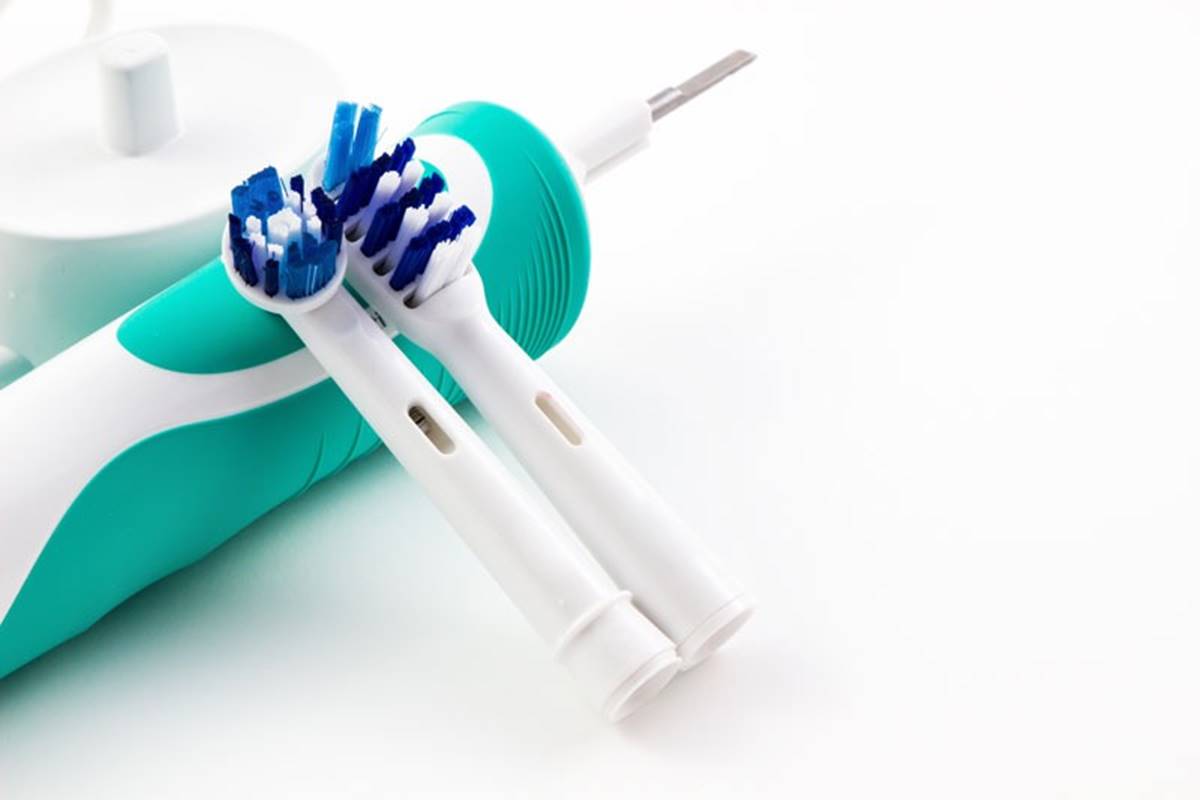
To change the brush on an electric toothbrush, simply grip the old brush head and pull it straight off. Then, align the new brush head with the metal shaft and push it on until it clicks into place.
Step 4: Attach the New Brush Head
Now that your electric toothbrush is clean and refreshed, it’s time to attach the new brush head. This step is crucial for maintaining the effectiveness of your toothbrush and ensuring optimal oral hygiene. Follow these simple instructions to securely attach the new brush head to your electric toothbrush:
- Take the new brush head designed for your specific electric toothbrush model and ensure it is clean and free from any packaging debris.
- Align the new brush head with the connection point on the handle of your electric toothbrush. Depending on the model, you may need to twist the brush head clockwise or press it firmly into place until you hear or feel a click, indicating that it is securely attached.
- Once the new brush head is in position, gently tug on it to ensure that it is firmly attached to the handle. A secure connection is essential for the proper functioning of the electric toothbrush during use.
- If your electric toothbrush features a removable cap or cover, replace it over the new brush head to provide protection and keep the brush head clean between uses.
By carefully attaching the new brush head, you’re ensuring that your electric toothbrush is ready to deliver the superior cleaning performance you expect. With the new brush head securely in place, your toothbrush is poised to continue its essential role in your daily oral care routine.
Now that the new brush head is attached, it’s time to move on to the final step!
Step 5: Test the Electric Toothbrush
With the new brush head securely attached, it’s important to test your electric toothbrush to ensure that everything is in perfect working order. This final step provides the opportunity to confirm that the brush head replacement has been successful and that your toothbrush is ready to provide exceptional cleaning performance. Follow these simple guidelines to test your electric toothbrush:
- Ensure that the electric toothbrush is fully charged or has fresh batteries, depending on the model. A fully powered toothbrush will deliver optimal performance during the testing process.
- Turn on the electric toothbrush and observe the movement and sound of the brush head. It should operate smoothly and produce the familiar vibration or rotation characteristic of your specific toothbrush model.
- Place the brush head against your hand or forearm to feel the motion and ensure that the bristles are moving as expected. This tactile confirmation provides reassurance that the brush head is functioning correctly.
- If your electric toothbrush features multiple cleaning modes, cycle through the settings to confirm that all modes are operational and that you can easily switch between them.
By testing your electric toothbrush, you can be confident that the brush head replacement has been successful and that your toothbrush is ready for use. This step allows you to verify that the new brush head is securely attached and that the toothbrush functions as intended, providing peace of mind and ensuring continued oral health benefits.
Now that you’ve tested your electric toothbrush, you’ve completed the brush head replacement process successfully. Congratulations on maintaining your electric toothbrush and ensuring its ongoing effectiveness!
Conclusion
Congratulations on successfully changing the brush head on your electric toothbrush! By following the step-by-step process outlined in this guide, you’ve taken an important step in maintaining the hygiene and functionality of your toothbrush. With the new brush head in place, your electric toothbrush is ready to continue its essential role in your daily oral care routine.
Regularly replacing the brush head on your electric toothbrush is a simple yet impactful way to ensure that it continues to provide optimal cleaning power. By maintaining a clean and functional brush head, you can effectively remove plaque, prevent cavities, and promote overall oral health.
Remember to periodically check the condition of your brush head and replace it as recommended by the manufacturer or your dental professional. This proactive approach to brush head maintenance will help you maximize the benefits of your electric toothbrush and keep your smile bright and healthy.
Thank you for taking the time to learn about the process of changing the brush head on your electric toothbrush. We hope this guide has empowered you to confidently maintain and care for your electric toothbrush, ensuring that it continues to be a valuable asset in your oral hygiene routine.
Happy brushing!
Frequently Asked Questions about How To Change The Brush On An Electric Toothbrush
Was this page helpful?
At Storables.com, we guarantee accurate and reliable information. Our content, validated by Expert Board Contributors, is crafted following stringent Editorial Policies. We're committed to providing you with well-researched, expert-backed insights for all your informational needs.


0 thoughts on “How To Change The Brush On An Electric Toothbrush”