Home>Furniture & Design>Bathroom Accessories>How To Change Gleem Toothbrush Head
Bathroom Accessories
How To Change Gleem Toothbrush Head
Modified: April 22, 2024
Learn how to easily change the head of your Gleem toothbrush and keep your bathroom accessories in top condition. Follow our step-by-step guide today!
(Many of the links in this article redirect to a specific reviewed product. Your purchase of these products through affiliate links helps to generate commission for Storables.com, at no extra cost. Learn more)
Introduction
Changing the toothbrush head of your Gleem electric toothbrush is a simple yet essential task to ensure optimal oral hygiene. Over time, the bristles of the toothbrush head wear down, diminishing their effectiveness in removing plaque and maintaining gum health. By replacing the toothbrush head regularly, typically every three months, you can ensure that your Gleem toothbrush continues to provide efficient and thorough cleaning for your teeth and gums.
In this comprehensive guide, we will walk you through the step-by-step process of changing the toothbrush head on your Gleem electric toothbrush. Whether you are a first-time user or simply need a refresher on this maintenance task, this guide will equip you with the knowledge and confidence to perform the replacement seamlessly.
By following these instructions, you can maintain the effectiveness of your Gleem toothbrush, promoting better oral health and a brighter smile. Let's dive into the process and ensure that your Gleem toothbrush continues to deliver exceptional cleaning performance.
Key Takeaways:
- Regularly changing your Gleem toothbrush head, every three months, ensures optimal oral hygiene and efficient plaque removal, promoting a healthier and brighter smile.
- By following the step-by-step guide, you can seamlessly replace the toothbrush head, maintain hygiene, and ensure the effectiveness of your Gleem electric toothbrush for long-term oral health.
Step 1: Gather Necessary Tools
Before embarking on the process of changing the toothbrush head of your Gleem electric toothbrush, it's essential to gather the necessary tools. Having the right tools at hand will streamline the replacement process and ensure a smooth transition to the new toothbrush head. Here's what you'll need:
-
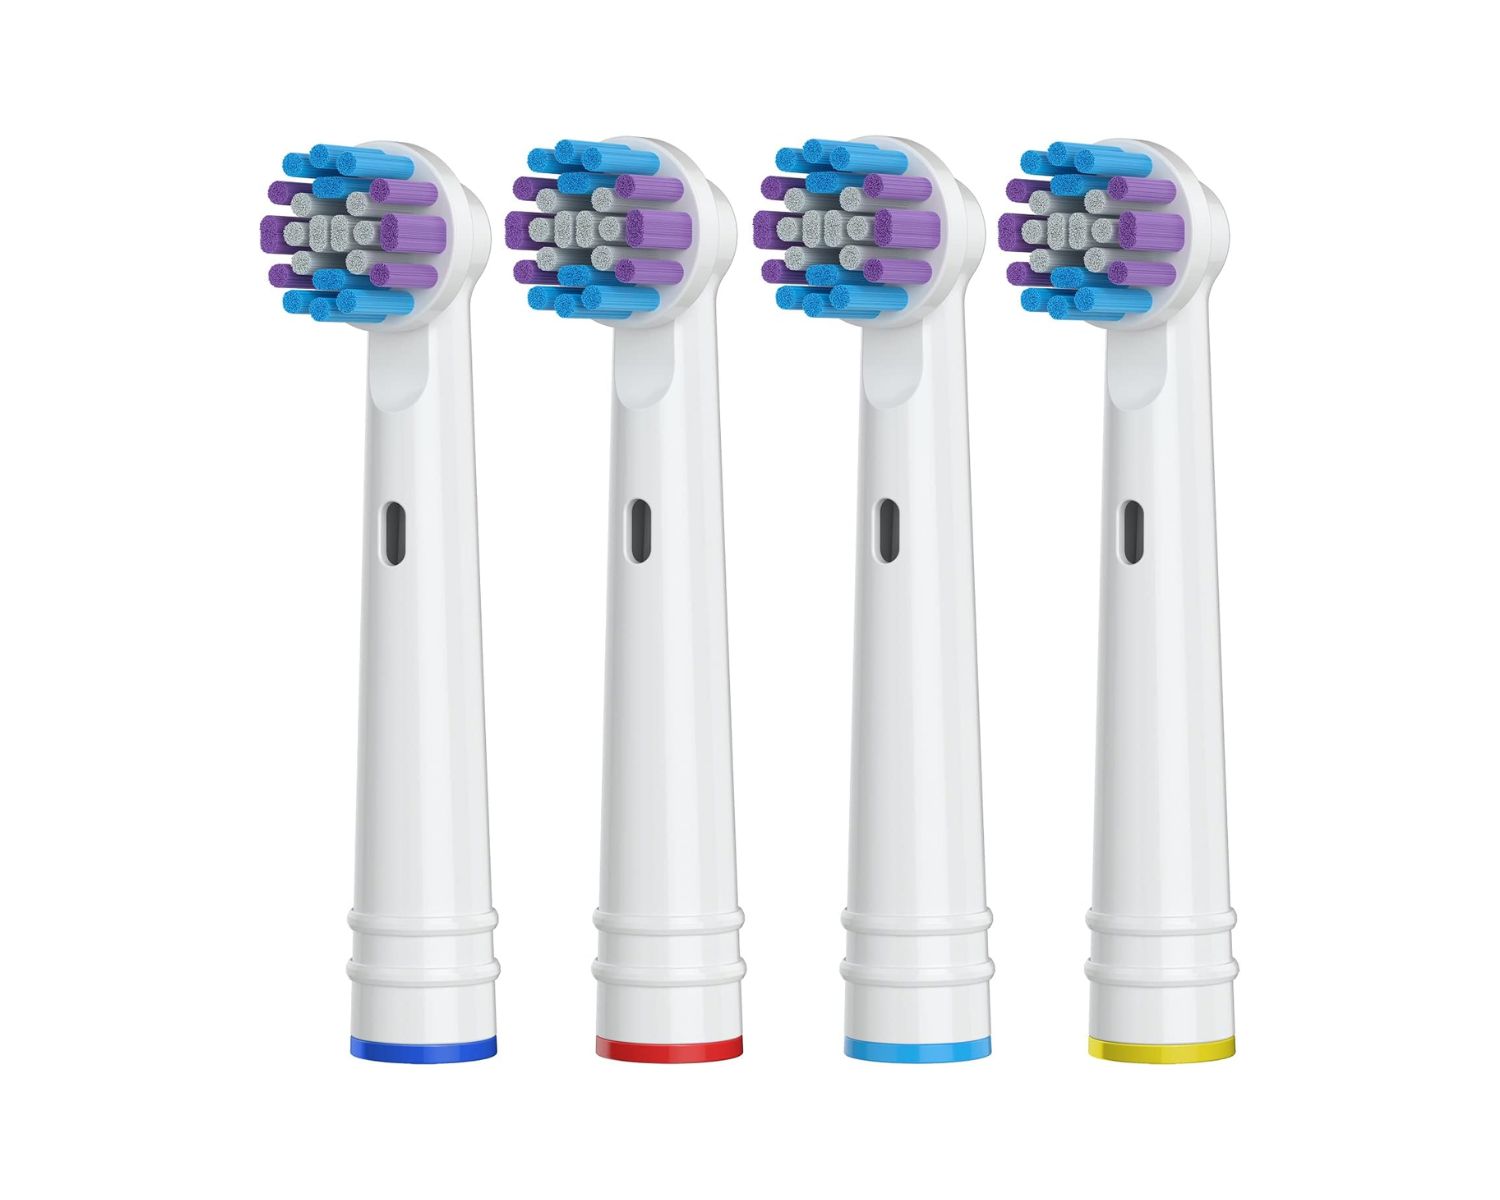
New Toothbrush Head: Ensure that you have a compatible replacement toothbrush head specifically designed for your Gleem electric toothbrush model. Gleem offers a range of toothbrush heads tailored to different oral care needs, such as sensitive gums or whitening, so select the one that best suits your preferences.
-
Clean Cloth or Tissue: Having a clean cloth or tissue on hand will allow you to wipe any residual toothpaste or moisture from the toothbrush handle, ensuring a clean surface for attaching the new toothbrush head.
-
Optional: Latex Gloves: While not essential, wearing latex gloves can provide added hygiene during the replacement process, especially if you prefer to avoid direct contact with the toothbrush head and handle.
By gathering these essential tools, you'll be fully prepared to proceed with the subsequent steps of removing the old toothbrush head, cleaning the toothbrush handle, and attaching the new toothbrush head. With these tools at your disposal, you'll be well-equipped to maintain the optimal performance of your Gleem electric toothbrush and promote excellent oral hygiene.
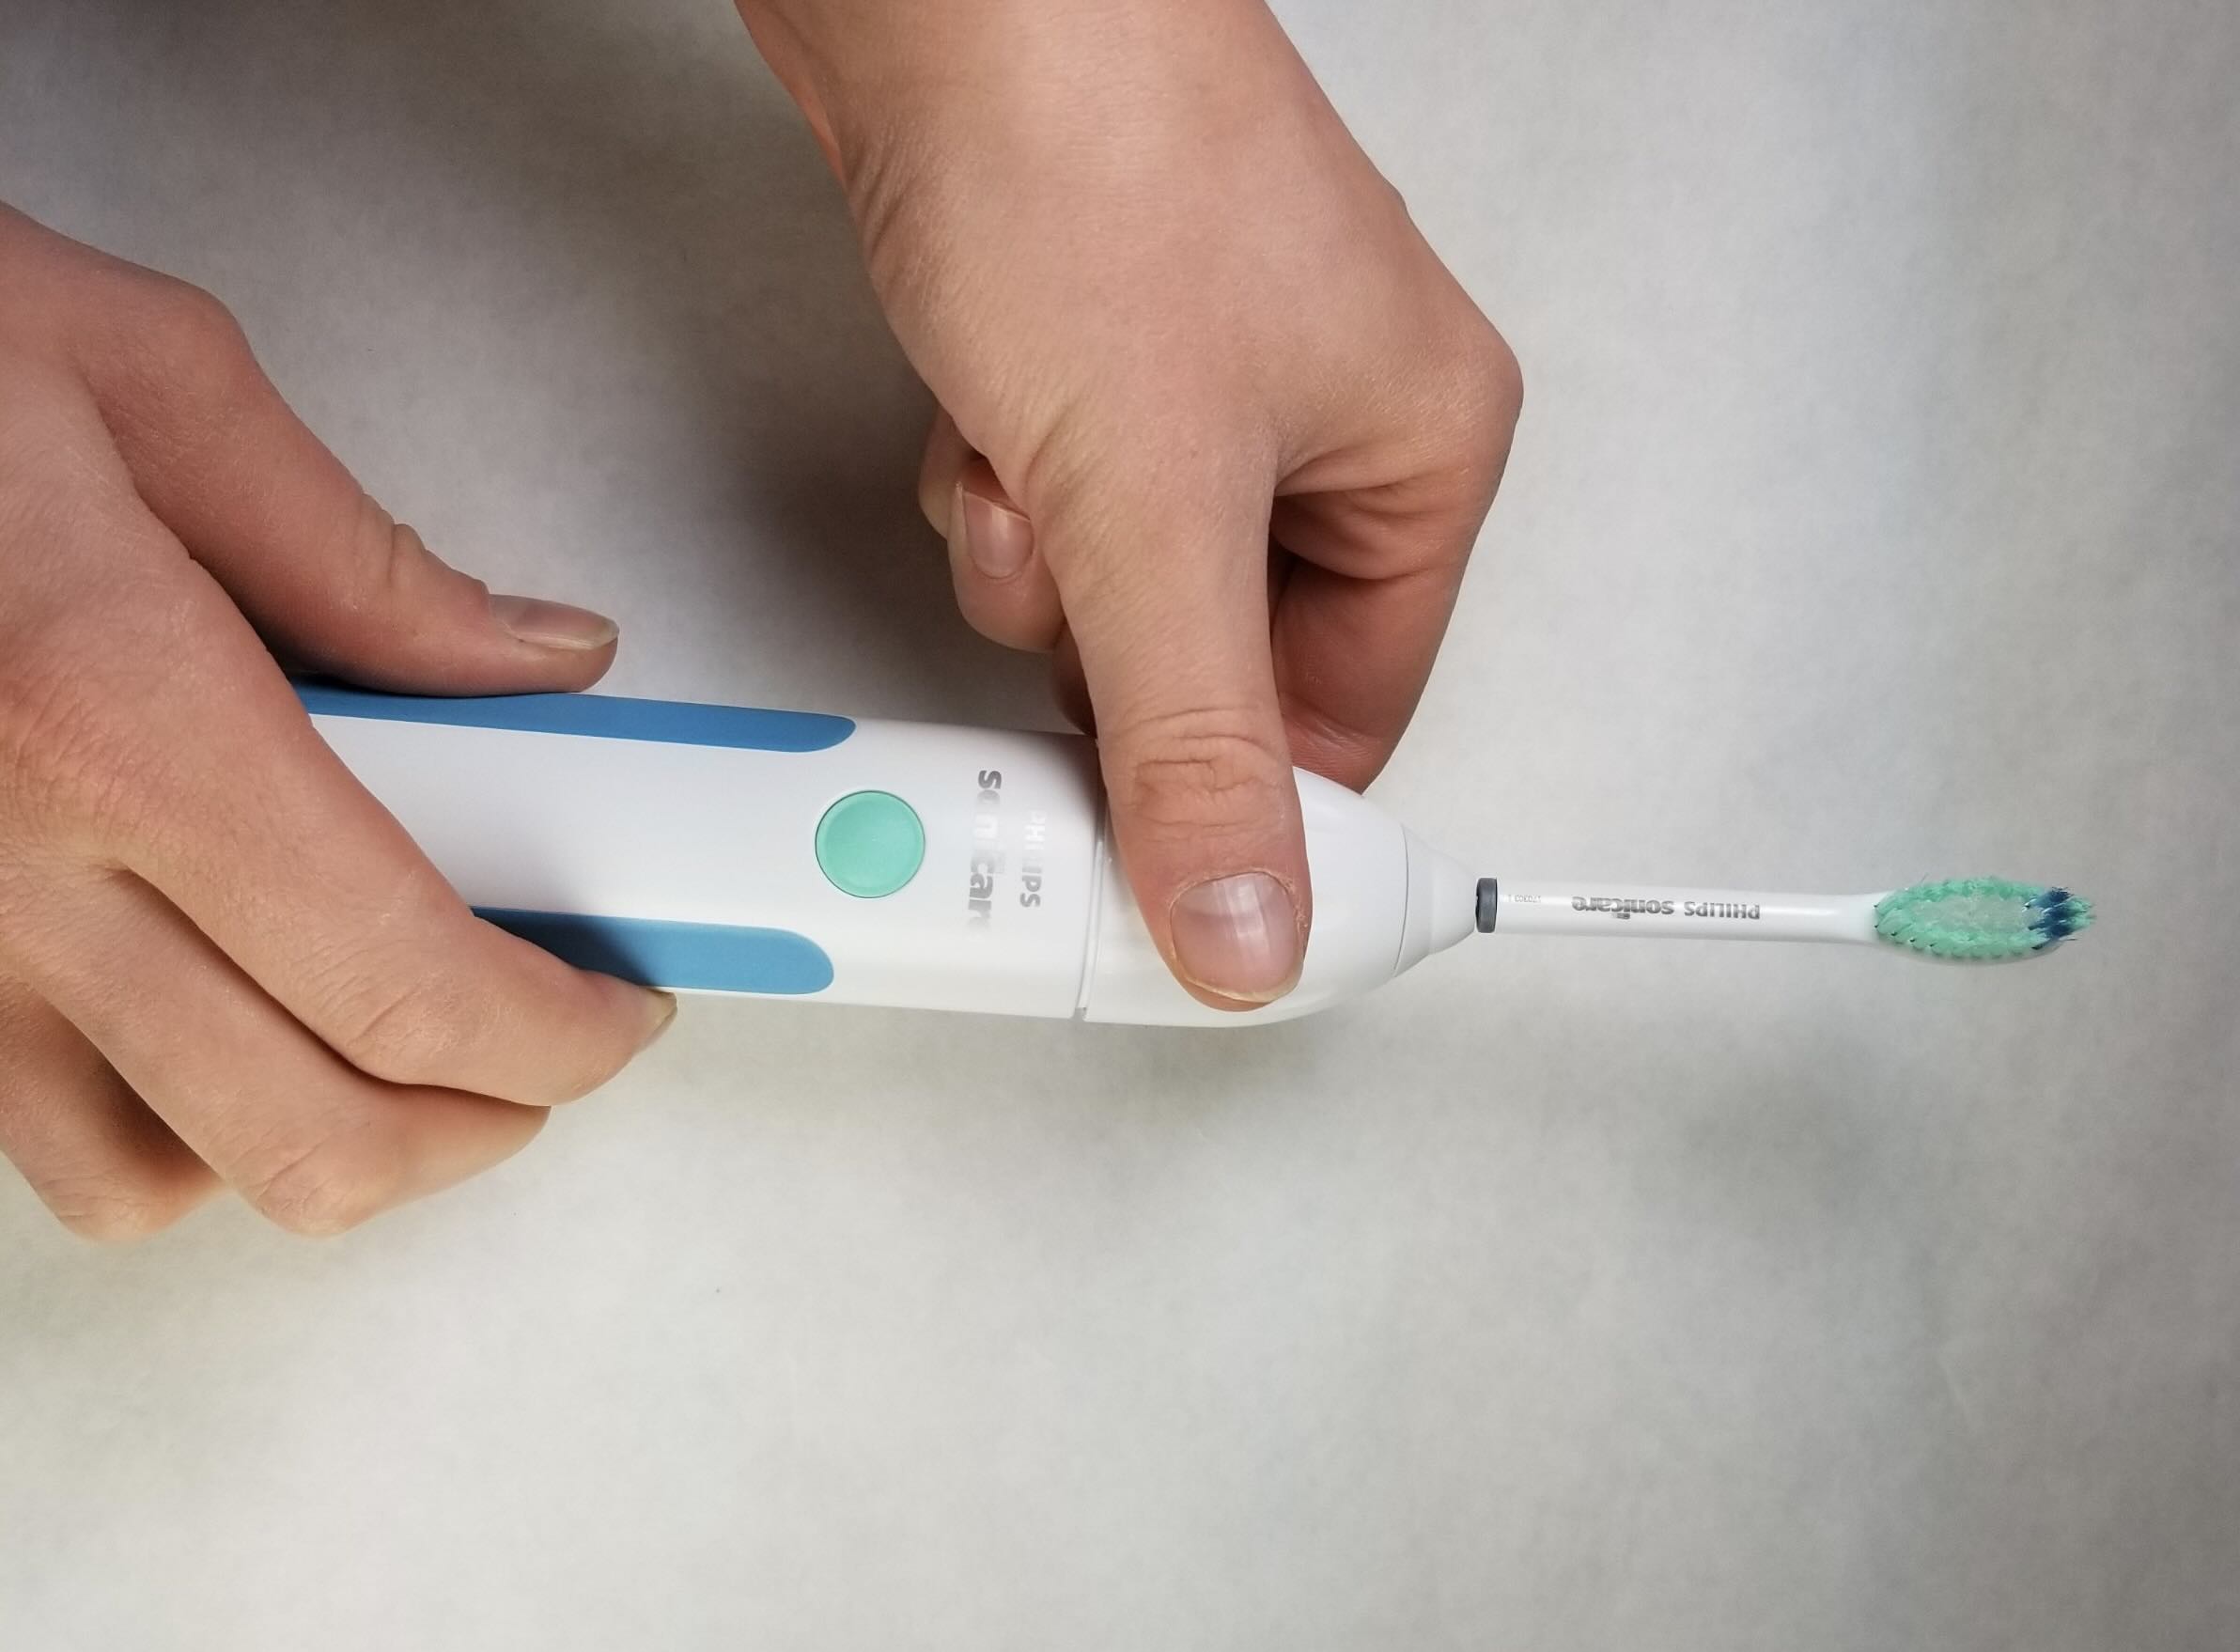
Step 2: Remove Old Toothbrush Head
Removing the old toothbrush head from your Gleem electric toothbrush is a straightforward process that sets the stage for attaching a fresh, effective replacement. Follow these simple steps to seamlessly remove the old toothbrush head:
-
Grip the Toothbrush Head: Firmly grasp the old toothbrush head between your thumb and forefinger. Ensure a secure hold to prevent any accidental slippage during the removal process.
-
Twist and Pull: With a gentle yet firm grip, twist the old toothbrush head counterclockwise. This twisting motion will gradually loosen the head from the handle. Continue twisting until the old toothbrush head is completely detached from the handle.
-
Dispose of the Old Head: Once the old toothbrush head is removed, promptly dispose of it in a designated waste bin. Properly discarding the old head ensures a clean and hygienic environment for the subsequent attachment of the new toothbrush head.
-
Inspect the Handle: After removing the old toothbrush head, take a moment to inspect the toothbrush handle. Ensure that there are no residual toothpaste or debris around the attachment area. If needed, use a clean cloth or tissue to wipe the handle, preparing it for the next step of attaching the new toothbrush head.
By following these steps, you can effortlessly remove the old toothbrush head from your Gleem electric toothbrush, paving the way for the next phase of the replacement process. With the old head successfully removed, you are now ready to proceed to the subsequent step of cleaning the toothbrush handle in preparation for attaching the new toothbrush head.
Step 3: Clean Toothbrush Handle
After successfully removing the old toothbrush head, it's crucial to ensure that the toothbrush handle is clean and free from any residual debris or moisture before attaching the new toothbrush head. This step is essential to maintain optimal hygiene and to provide a clean surface for the attachment of the fresh toothbrush head. Follow these detailed steps to effectively clean the toothbrush handle:
-
Inspect the Handle: Begin by closely examining the attachment area and the entire handle of the Gleem electric toothbrush. Look for any remnants of toothpaste, water, or other debris that may have accumulated during regular use. It's important to ensure that the handle is dry and free from any foreign substances to facilitate a secure and hygienic attachment of the new toothbrush head.
-
Use a Clean Cloth or Tissue: Take a clean, dry cloth or tissue and gently wipe the entire handle of the toothbrush. Pay close attention to the attachment area, ensuring that it is thoroughly cleaned and free from any residue. By wiping the handle, you remove any lingering moisture or particles, preparing the surface for the seamless attachment of the new toothbrush head.
-
Inspect for Residue: After wiping the handle, inspect the attachment area once again to verify that it is completely clean and free from any residue. This meticulous inspection ensures that the new toothbrush head will be affixed to a pristine surface, promoting optimal functionality and hygiene.
-
Optional: Disinfecting the Handle: For an added layer of cleanliness, consider using a mild disinfectant specifically formulated for oral care products. Apply a small amount of the disinfectant to a clean cloth and gently wipe the handle, focusing on the attachment area. This optional step can provide an extra level of assurance regarding the hygiene of your Gleem electric toothbrush.
By meticulously cleaning the toothbrush handle, you create an ideal environment for attaching the new toothbrush head, ensuring that it adheres securely and functions effectively. This attention to detail promotes not only the longevity of your Gleem electric toothbrush but also contributes to maintaining excellent oral hygiene. With the handle now clean and prepared, you are ready to proceed to the next step of attaching the new toothbrush head, as outlined in the following section.
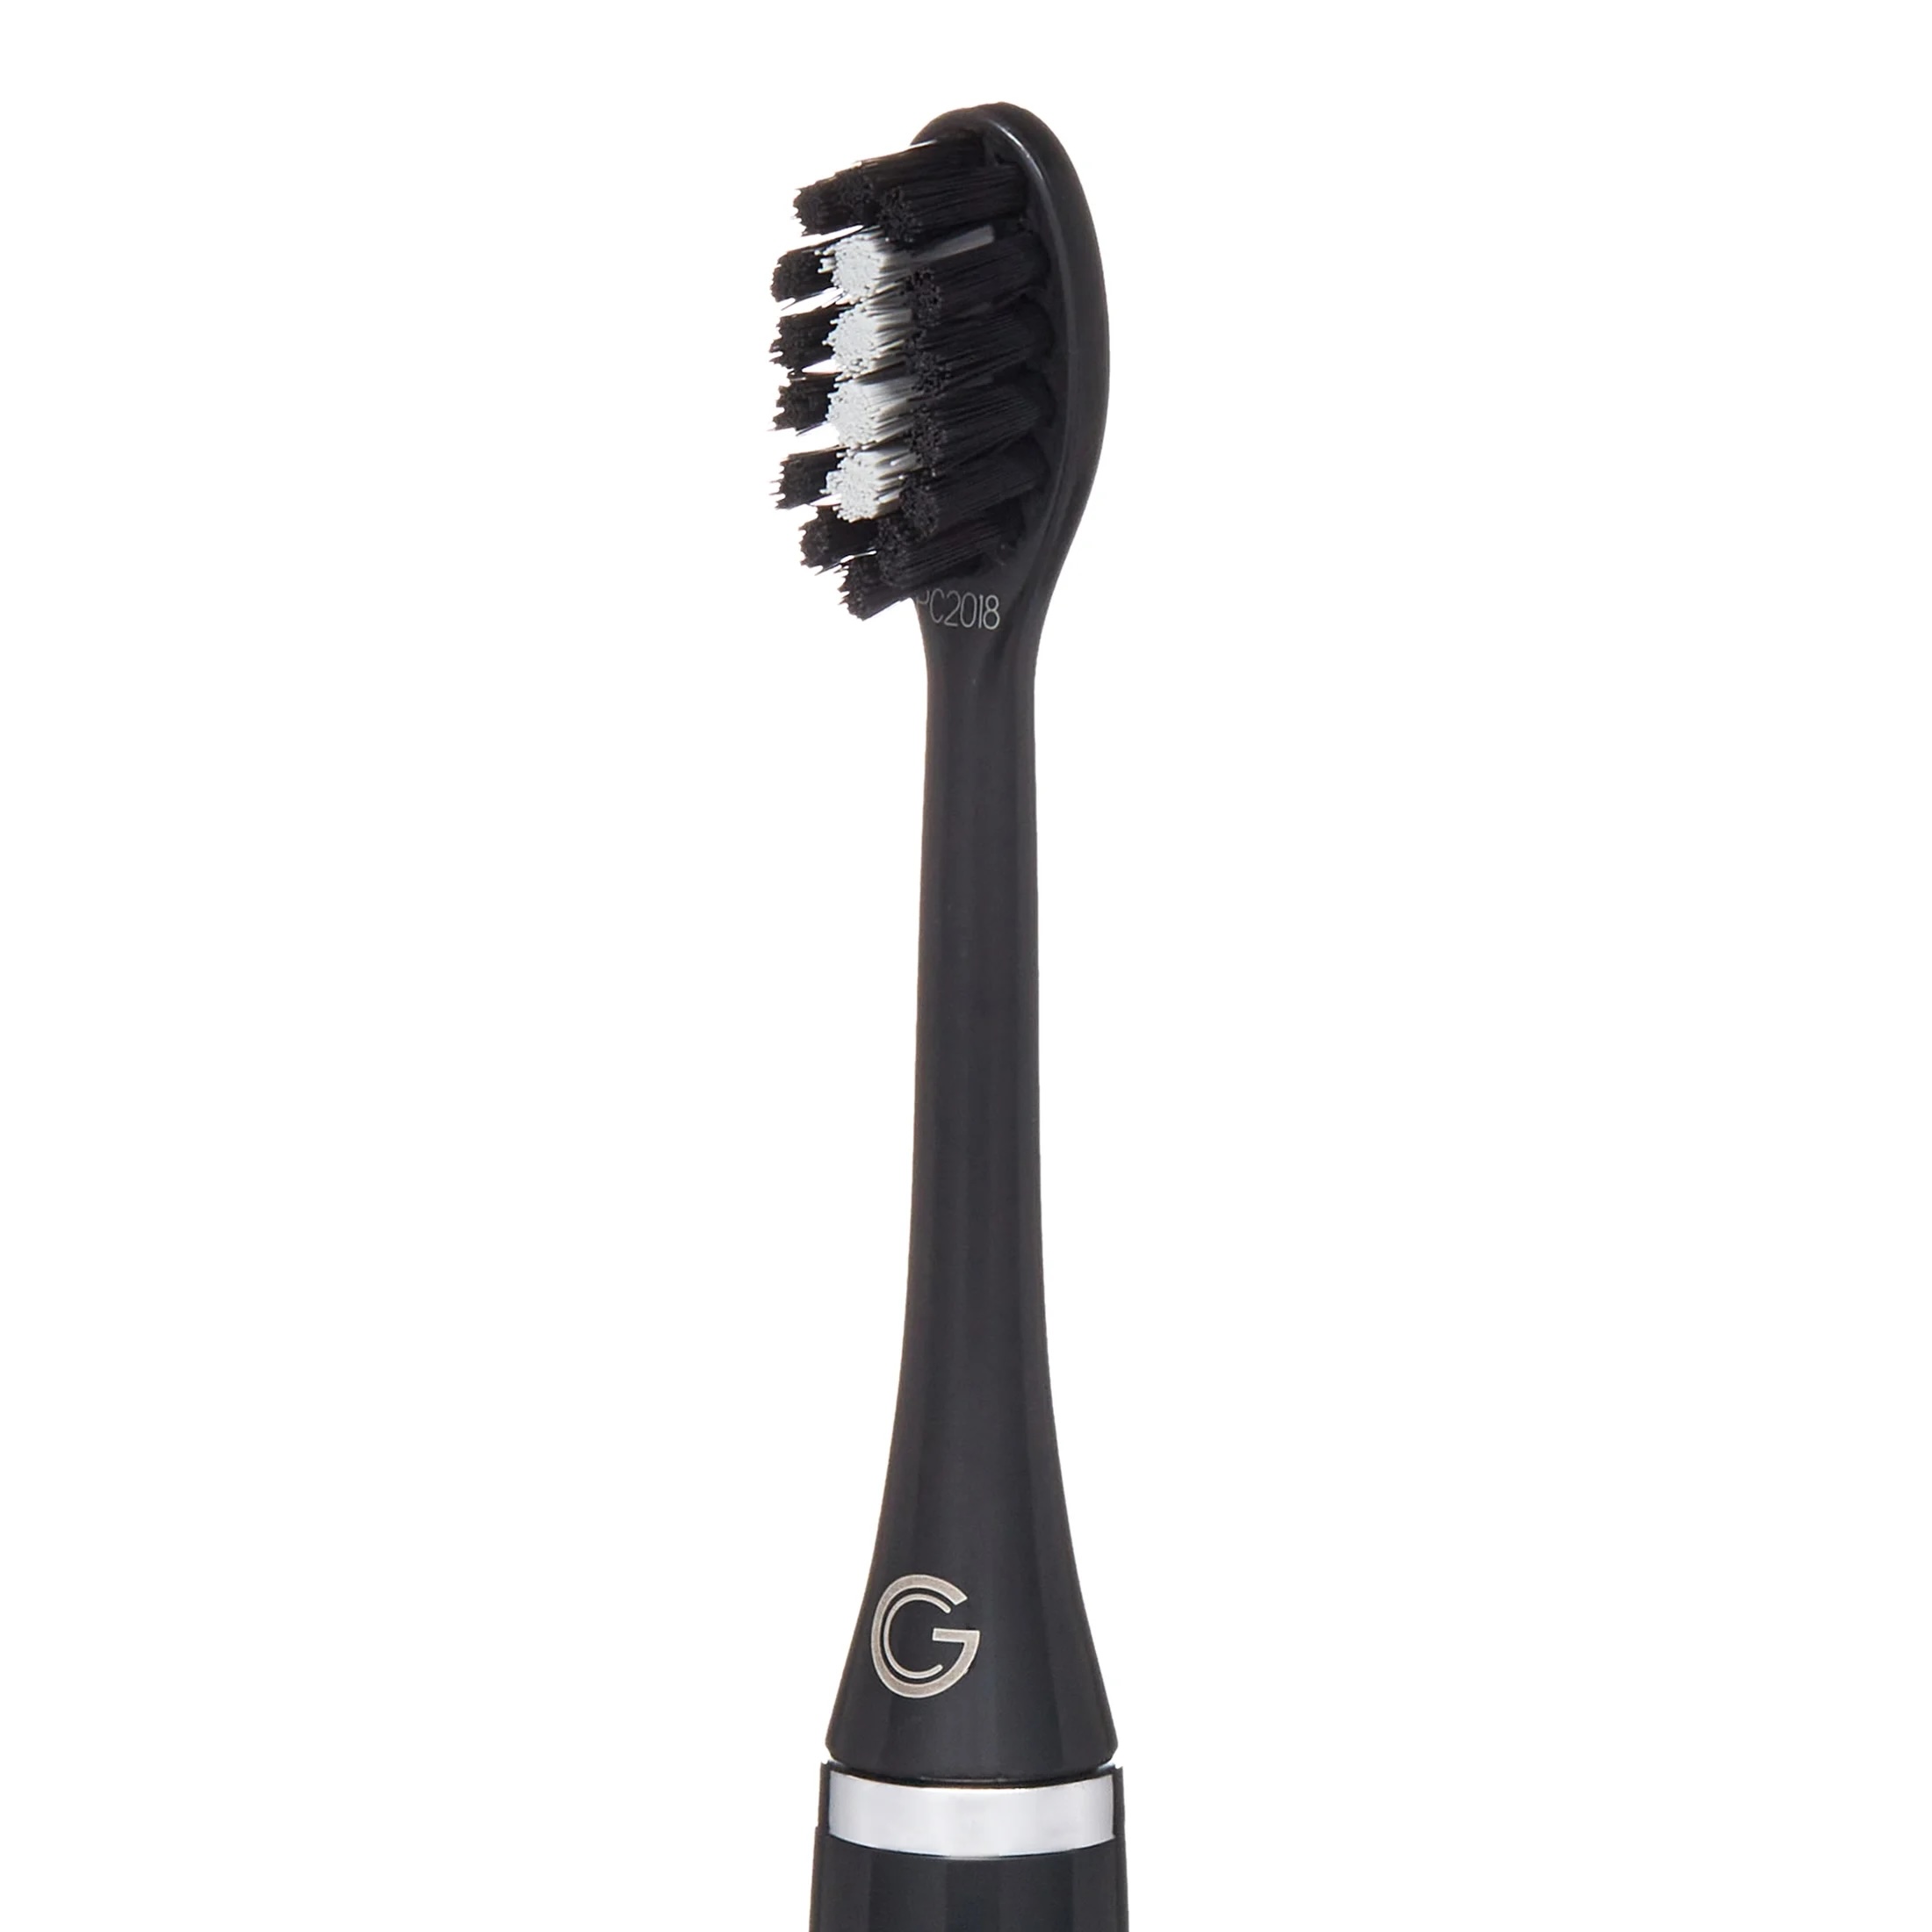
To change the Gleem toothbrush head, simply hold the handle and twist the head counterclockwise to remove it. Then, align the new head and twist it clockwise to secure it in place.
Step 4: Attach New Toothbrush Head
With the toothbrush handle meticulously cleaned and prepared, it's time to proceed with attaching the new toothbrush head to your Gleem electric toothbrush. This pivotal step ensures that the replacement head is securely affixed, ready to deliver optimal cleaning performance for your oral care routine. Follow these detailed instructions to seamlessly attach the new toothbrush head:
-
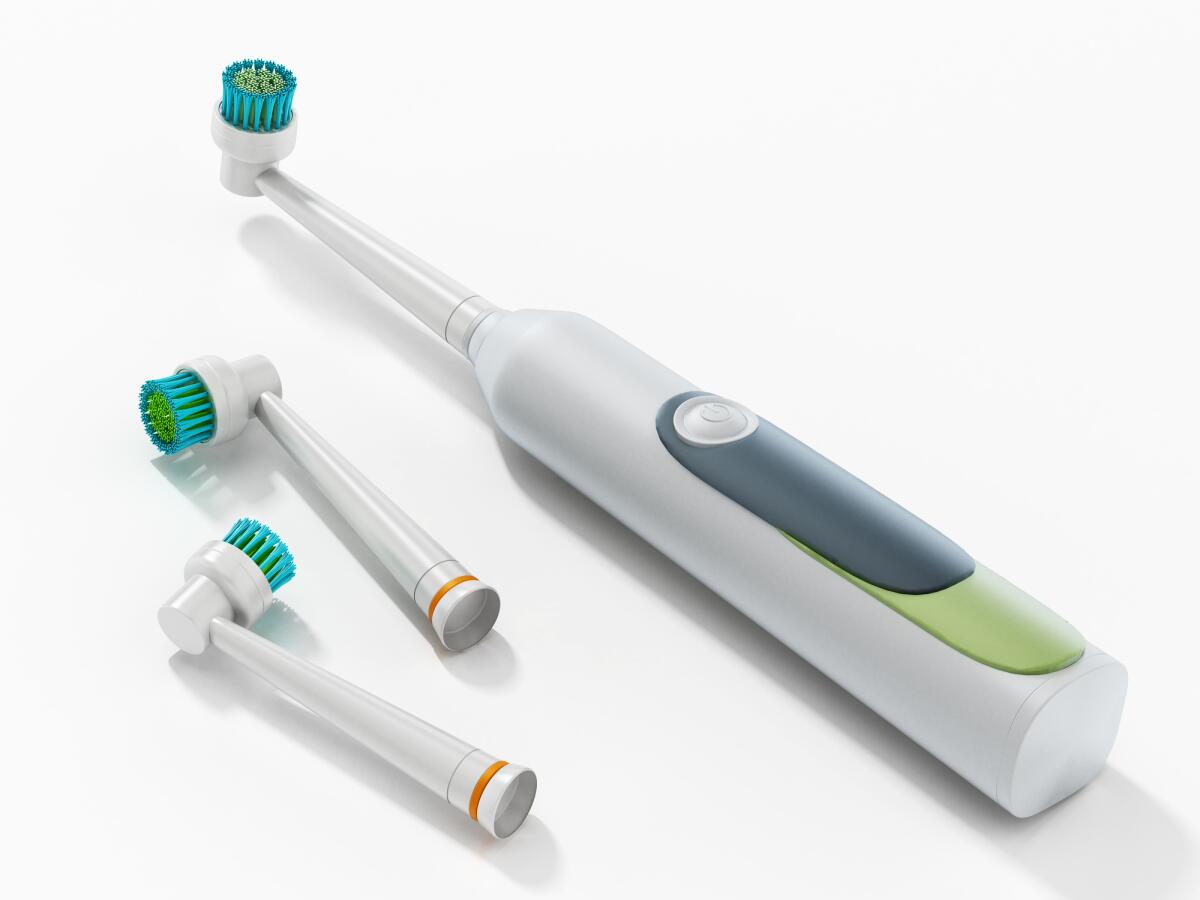
Select the New Toothbrush Head: Begin by selecting the new toothbrush head that is compatible with your Gleem electric toothbrush model. Ensure that the head is designed to address your specific oral care needs, whether it's for sensitive gums, whitening, or other preferences. By choosing the right toothbrush head, you can tailor your brushing experience to align with your individual requirements.
-
Align and Insert the Head: Hold the new toothbrush head and align it with the attachment area on the toothbrush handle. The head is designed to fit snugly onto the handle, aligning with the attachment mechanism. Once aligned, gently press the head onto the handle, ensuring that it is inserted securely and correctly positioned.
-
Twist to Lock: With the new toothbrush head properly inserted, initiate a twisting motion in a clockwise direction. This twisting action engages the attachment mechanism, securing the head onto the handle. Continue twisting until you feel a definitive lock, indicating that the new toothbrush head is firmly attached and ready for use.
-
Test the Attachment: After securing the new toothbrush head, perform a gentle tug to ensure that it is firmly affixed to the handle. The head should remain securely in place, demonstrating a successful attachment. By testing the attachment, you can verify that the head is ready for use and will remain in position during your brushing routine.
By following these steps, you can effectively attach the new toothbrush head to your Gleem electric toothbrush, ensuring a seamless transition to a fresh, high-performance head. With the new head securely in place, your Gleem toothbrush is poised to continue delivering exceptional cleaning results, promoting optimal oral health and hygiene.
Now that the new toothbrush head is successfully attached, you are ready to proceed to the final step of testing the functionality of the replacement head, as detailed in the subsequent section.
Read more: How To Change Toothbrush Head
Step 5: Test New Toothbrush Head
After successfully attaching the new toothbrush head to your Gleem electric toothbrush, it's essential to conduct a brief yet crucial test to ensure that the replacement head is fully functional and securely affixed. This testing phase provides reassurance that the new head is ready to deliver optimal cleaning performance, promoting effective plaque removal and overall oral hygiene. Follow these detailed steps to conduct a thorough test of the new toothbrush head:
-
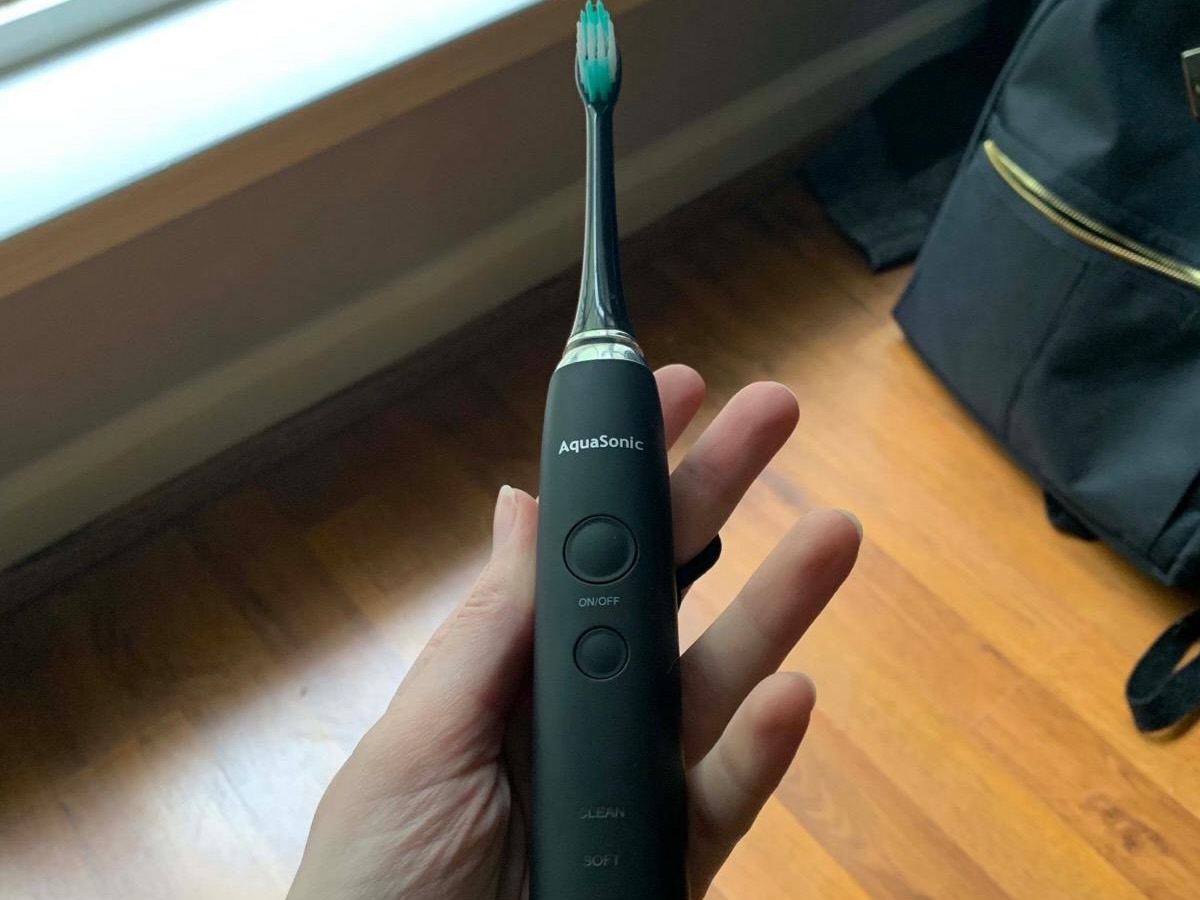
Power On the Toothbrush: Begin by powering on your Gleem electric toothbrush to initiate the testing process. Depending on your model, simply press the power button to activate the toothbrush. The gentle hum of the motor indicates that the toothbrush is operational and ready for testing.
-
Observe the Movement: As the toothbrush activates, carefully observe the movement of the new toothbrush head. The bristles should oscillate or rotate smoothly, indicating that the head is securely attached and functioning as intended. Any irregular movements or unusual sounds may indicate a potential issue with the attachment or the head itself.
-
Check for Stability: While the toothbrush is in operation, gently maneuver the head to ensure that it remains stable and firmly attached to the handle. A securely attached head will exhibit minimal movement or wobbling during operation, demonstrating a successful attachment process.
-
Assess Brushing Performance: To further test the new toothbrush head, perform a brief brushing motion against your hand or another surface. Observe the bristles as they make contact, ensuring that they maintain their shape and effectively mimic the brushing action. This assessment provides insight into the functionality of the new head and its ability to deliver thorough cleaning performance.
-
Verify Battery Performance: In addition to testing the new toothbrush head, take a moment to verify the battery performance of your Gleem electric toothbrush. A fully charged battery ensures consistent and reliable operation, contributing to the overall effectiveness of the toothbrush.
By conducting these comprehensive tests, you can confirm that the new toothbrush head is fully operational, securely attached, and capable of delivering exceptional cleaning performance. This thorough evaluation ensures that your Gleem electric toothbrush continues to uphold its reputation for providing efficient plaque removal and promoting optimal oral health.
With the successful completion of the testing phase, you can confidently incorporate the new toothbrush head into your daily oral care routine, knowing that it has been rigorously assessed and deemed ready for use. By maintaining this proactive approach to testing and maintenance, you can maximize the longevity and effectiveness of your Gleem electric toothbrush, contributing to a healthier and brighter smile.
Conclusion
In conclusion, the process of changing the toothbrush head on your Gleem electric toothbrush is a fundamental aspect of maintaining optimal oral hygiene and ensuring the continued effectiveness of your oral care routine. By following the step-by-step guide outlined in this comprehensive article, you have gained valuable insights into seamlessly replacing the toothbrush head, promoting a healthier and brighter smile.
The meticulous approach to this maintenance task, from gathering the necessary tools to conducting thorough testing, underscores the commitment to maintaining the functionality and hygiene of your Gleem electric toothbrush. By adhering to the recommended timeline for replacing the toothbrush head, typically every three months, you can ensure that your oral care routine remains consistently effective in removing plaque and promoting gum health.
Furthermore, the attention to detail in cleaning the toothbrush handle and securely attaching the new toothbrush head underscores the dedication to maintaining a hygienic and efficient brushing experience. The selection of a compatible replacement head tailored to your specific oral care needs further enhances the customization and effectiveness of your oral care routine.
By conducting a comprehensive test of the new toothbrush head, you have verified its functionality and stability, ensuring that it is ready to deliver optimal cleaning performance. This proactive approach to testing reaffirms the commitment to upholding the high standards of your oral care routine and maximizing the longevity of your Gleem electric toothbrush.
As you incorporate the new toothbrush head into your daily oral care routine, you can do so with confidence, knowing that it has been meticulously assessed and deemed ready for use. This proactive maintenance approach contributes to the overall effectiveness of your Gleem electric toothbrush, promoting excellent oral health and hygiene.
In essence, the process of changing the toothbrush head on your Gleem electric toothbrush is not only a maintenance task but a proactive step towards ensuring that your oral care routine continues to deliver exceptional results. By embracing this comprehensive guide and integrating the recommended practices into your oral care regimen, you are poised to maintain a healthy, radiant smile and uphold the effectiveness of your Gleem electric toothbrush for the long term.
Frequently Asked Questions about How To Change Gleem Toothbrush Head
Was this page helpful?
At Storables.com, we guarantee accurate and reliable information. Our content, validated by Expert Board Contributors, is crafted following stringent Editorial Policies. We're committed to providing you with well-researched, expert-backed insights for all your informational needs.


0 thoughts on “How To Change Gleem Toothbrush Head”