Home>Furniture & Design>Bathroom Accessories>How To Change The Battery In A Quip Toothbrush
Bathroom Accessories
How To Change The Battery In A Quip Toothbrush
Modified: March 2, 2024
Learn how to easily change the battery in your Quip toothbrush with our step-by-step guide. Keep your bathroom accessories in top condition.
(Many of the links in this article redirect to a specific reviewed product. Your purchase of these products through affiliate links helps to generate commission for Storables.com, at no extra cost. Learn more)
Introduction
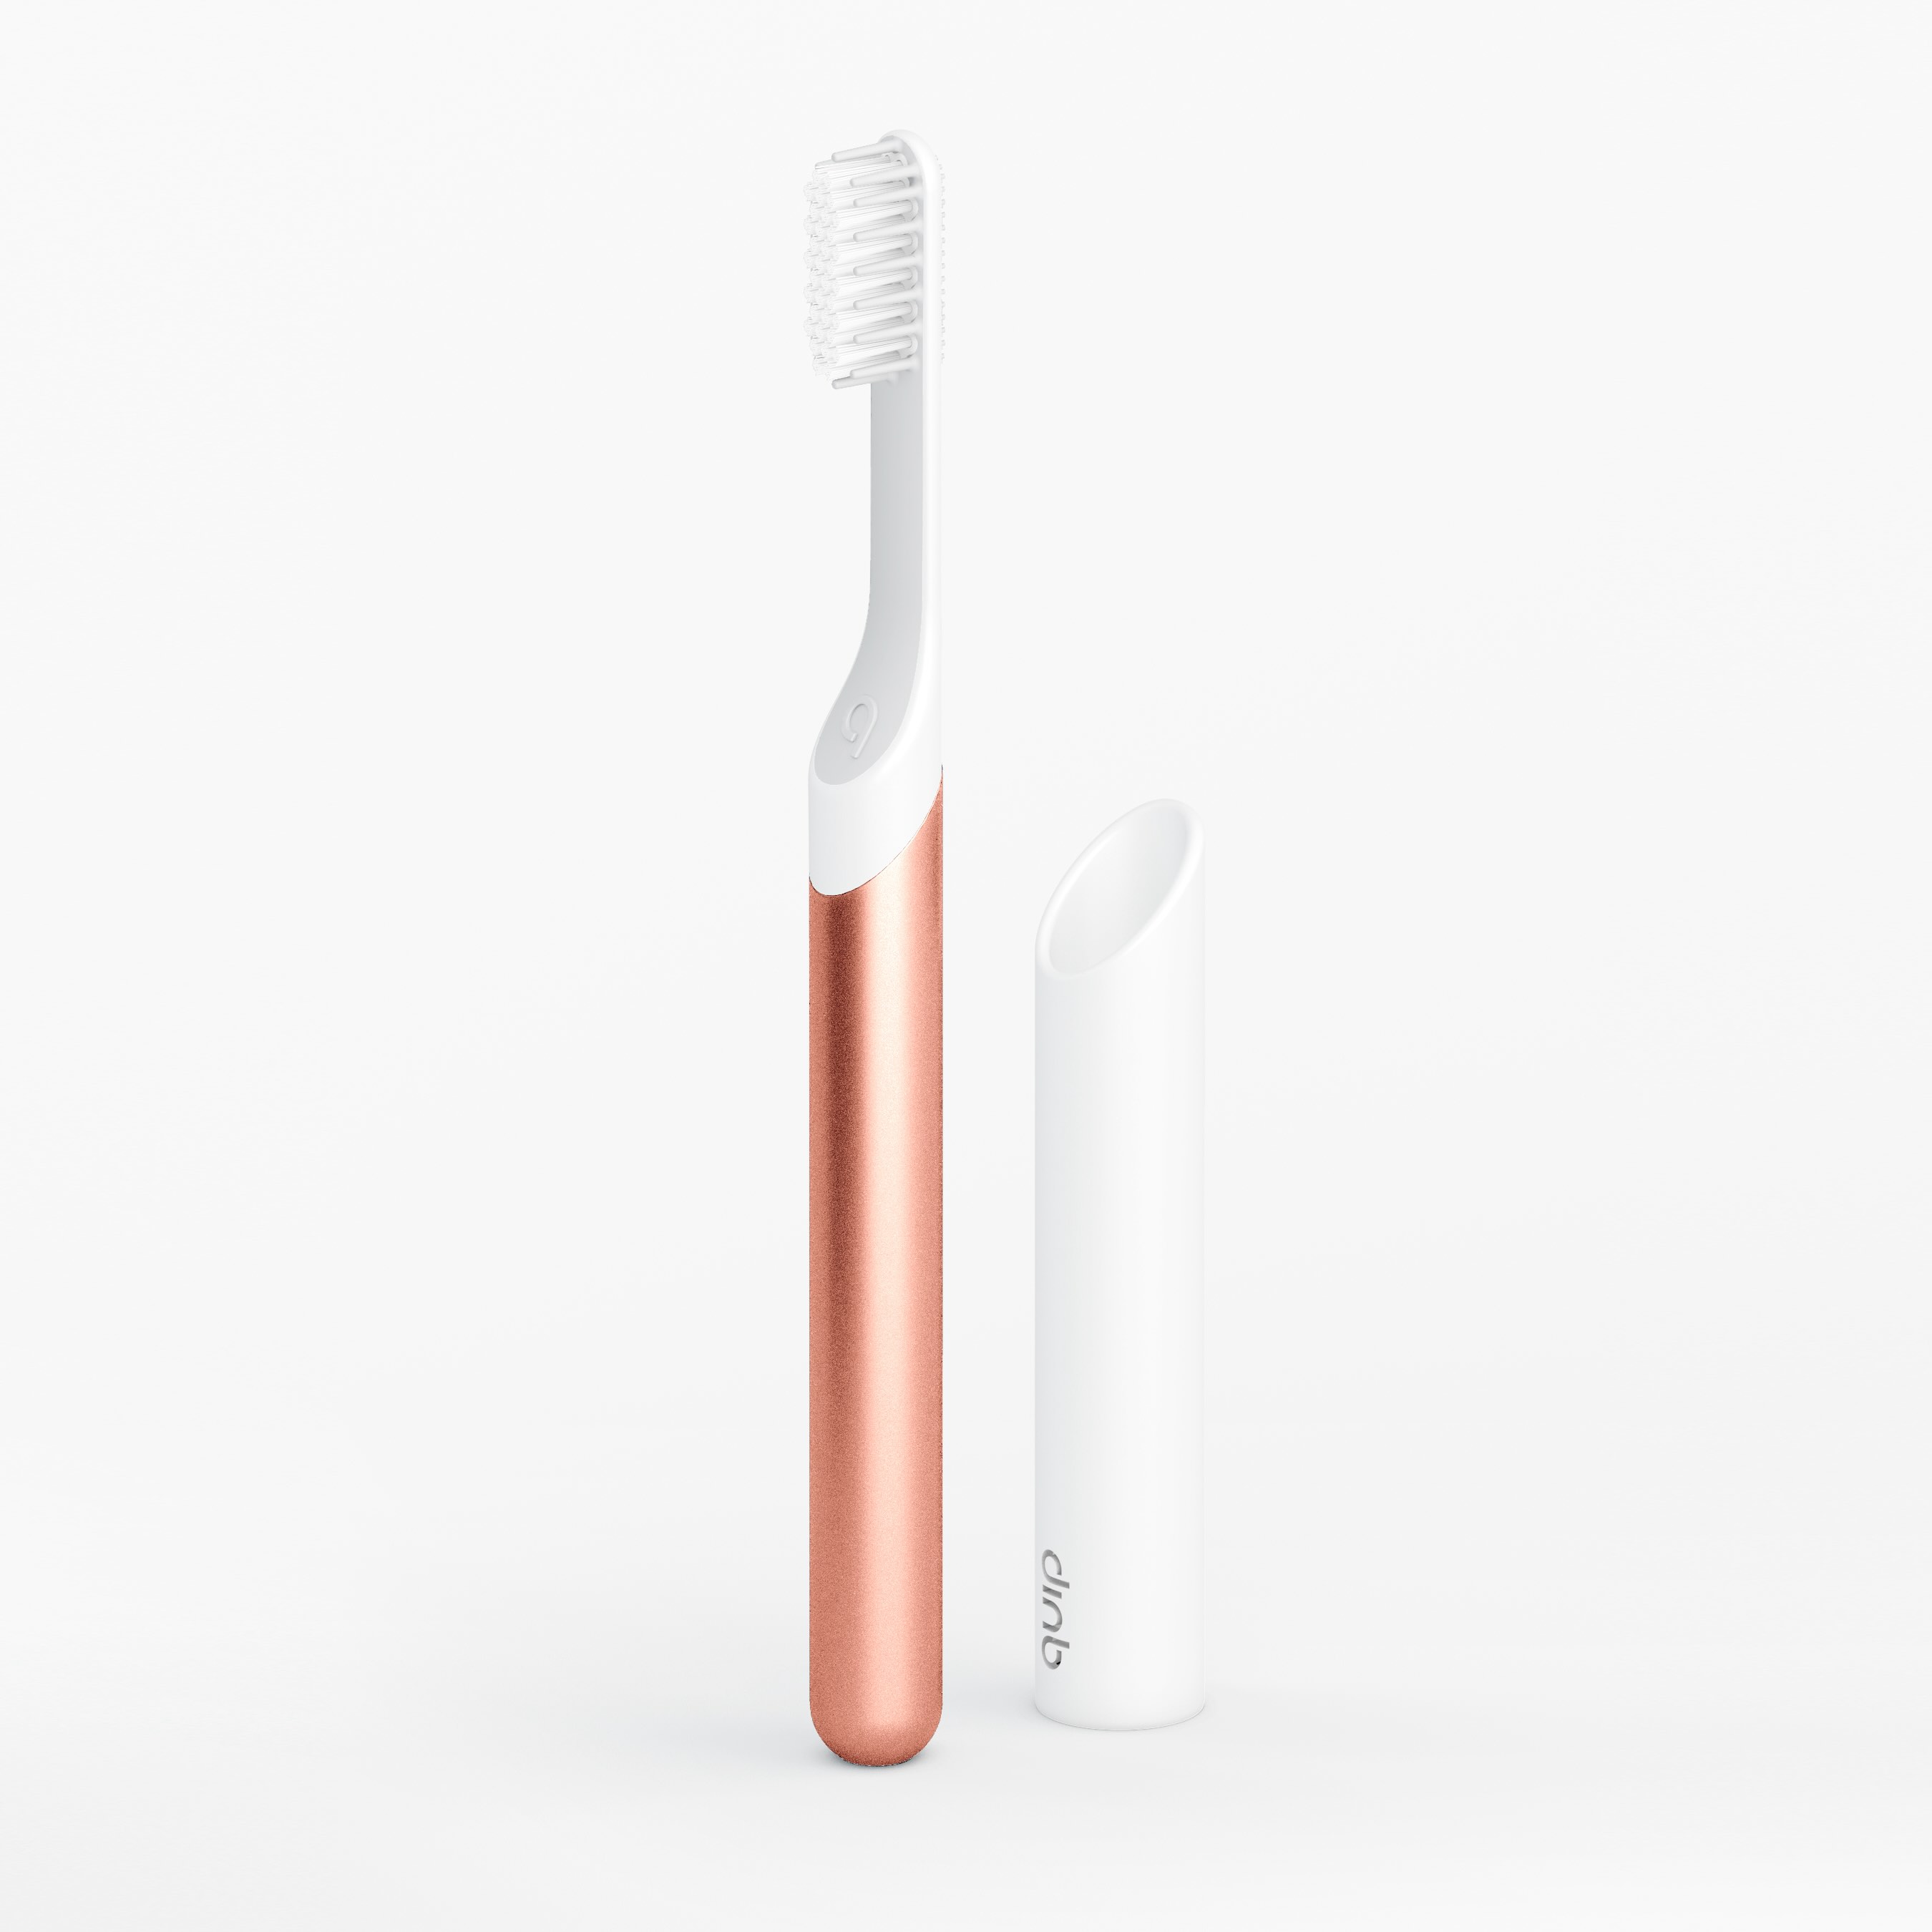
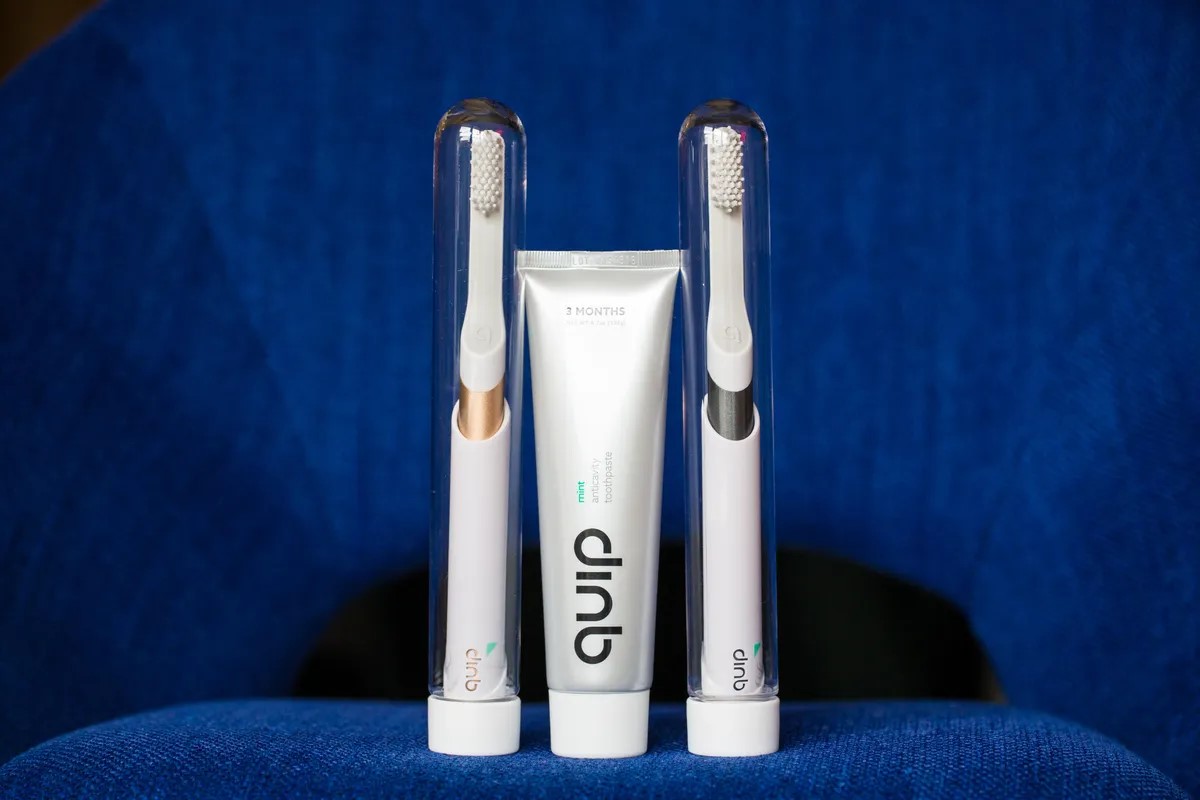
Changing the battery in a Quip toothbrush is a simple and cost-effective way to extend the life of this innovative oral care device. Quip toothbrushes are designed to provide a seamless brushing experience, and with regular battery replacements, you can ensure that your toothbrush continues to deliver optimal performance. Whether you're a seasoned Quip user or a newcomer to this sleek and efficient toothbrush, learning how to change the battery will empower you to maintain your oral hygiene routine without interruption.
In this comprehensive guide, we will walk you through the step-by-step process of replacing the battery in your Quip toothbrush. By following these instructions, you can avoid the inconvenience of a suddenly non-functional toothbrush and keep your oral care regimen on track. With just a few simple tools and a clear understanding of the process, you'll be able to tackle this maintenance task with confidence.
So, if you've noticed a decline in your Quip toothbrush's power or if it has stopped working altogether, don't worry. With the right guidance, you can easily replace the battery and have your Quip toothbrush up and running in no time. Let's dive into the steps required to change the battery and ensure that your Quip toothbrush continues to be a reliable companion in your daily oral care routine.
Key Takeaways:
- Changing the battery in your Quip toothbrush is easy and saves you from the hassle of a non-functional toothbrush. With just a few tools, you can keep your toothbrush working smoothly and maintain your oral hygiene routine.
- By learning how to change the battery in your Quip toothbrush, you become empowered to take care of your oral care devices and ensure they remain reliable and effective in supporting your dental hygiene efforts.
Step 1: Gather the necessary tools
Before embarking on the process of changing the battery in your Quip toothbrush, it's essential to gather the necessary tools to ensure a smooth and efficient experience. Here's what you'll need:
1. Replacement Battery
The first and most crucial item you'll need is a replacement battery that is compatible with your Quip toothbrush model. Quip toothbrushes typically use AAA batteries, so be sure to have a new AAA battery on hand. It's important to choose a high-quality battery from a reputable brand to ensure optimal performance and longevity for your toothbrush.
2. Small Screwdriver
To access the battery compartment in your Quip toothbrush, you'll need a small screwdriver, preferably a Phillips or flathead screwdriver, depending on the type of screws used in your specific Quip model. The screwdriver will allow you to safely remove the screws securing the toothbrush's casing, providing access to the battery compartment.
3. Clean Cloth
Having a clean cloth or tissue on hand is useful for wiping down the toothbrush and ensuring that any accumulated debris or moisture is gently removed from the exterior of the device. This step is particularly important before and after the battery replacement process to maintain the cleanliness of your Quip toothbrush.
Read more: How To Open A Quip Toothbrush
4. Work Surface
Prepare a clean and stable work surface where you can comfortably lay out the toothbrush and its components. This will provide a suitable area for disassembling the toothbrush, organizing the screws, and safely handling the battery replacement without the risk of losing small parts.
By gathering these essential tools and preparing your work area, you'll be well-equipped to proceed with confidence to the next steps of replacing the battery in your Quip toothbrush. With these tools at your disposal, you're ready to embark on the journey of maintaining your Quip toothbrush and ensuring its continued functionality in your daily oral care routine.
Step 2: Remove the old battery
Now that you have gathered the necessary tools, it's time to delve into the process of removing the old battery from your Quip toothbrush. This step is essential to pave the way for inserting the new battery and revitalizing your toothbrush's functionality. Follow these detailed instructions to seamlessly remove the old battery:
-
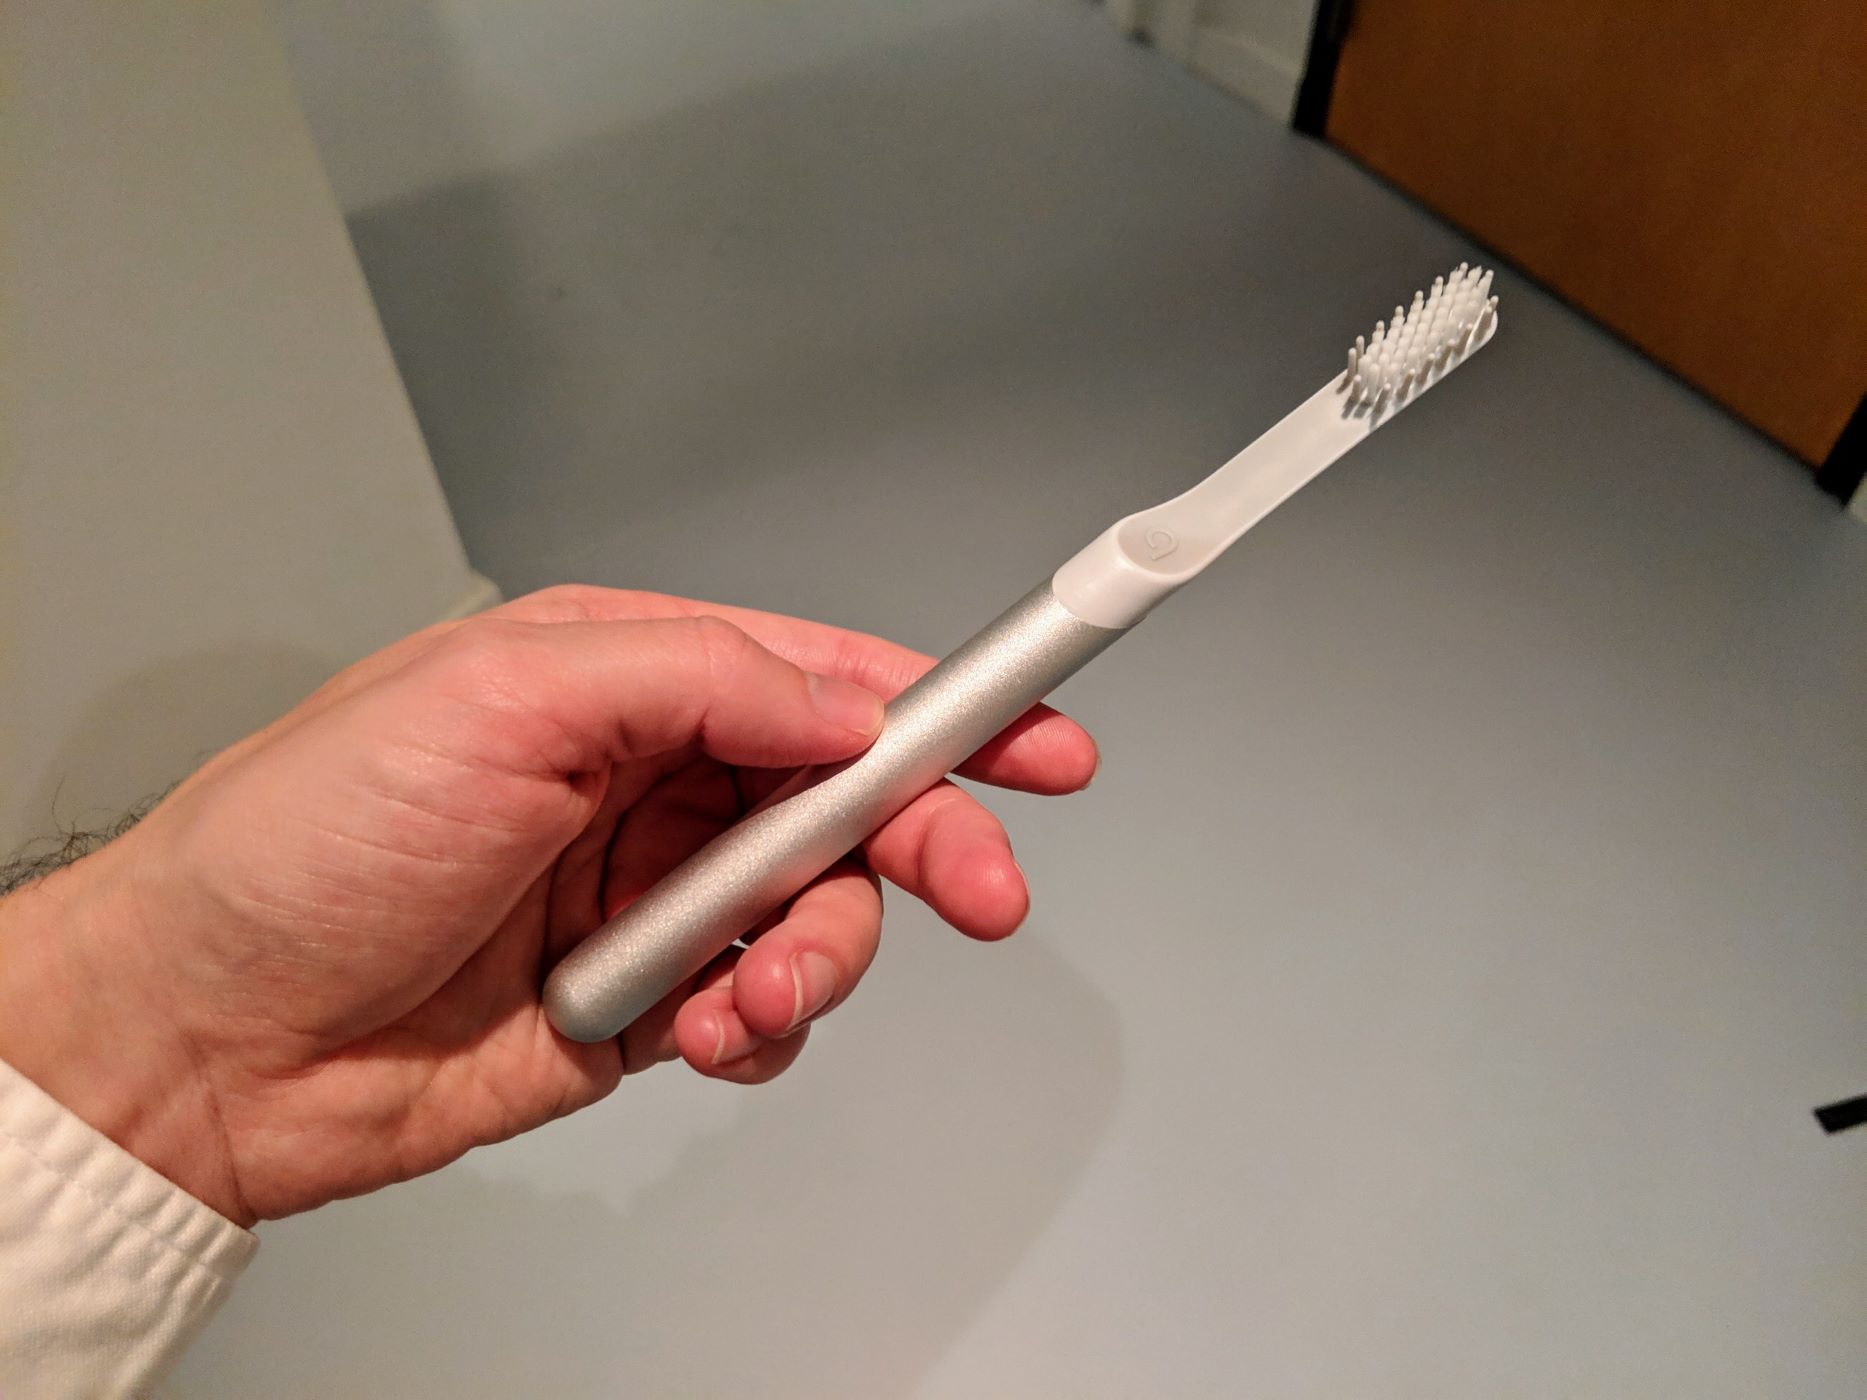
Prepare the Toothbrush: Before proceeding, ensure that your Quip toothbrush is powered off. If it's currently in use, turn it off to prevent any mishaps during the battery removal process. Additionally, if your toothbrush has a detachable brush head, it's advisable to remove it at this stage to provide easier access to the battery compartment.
-
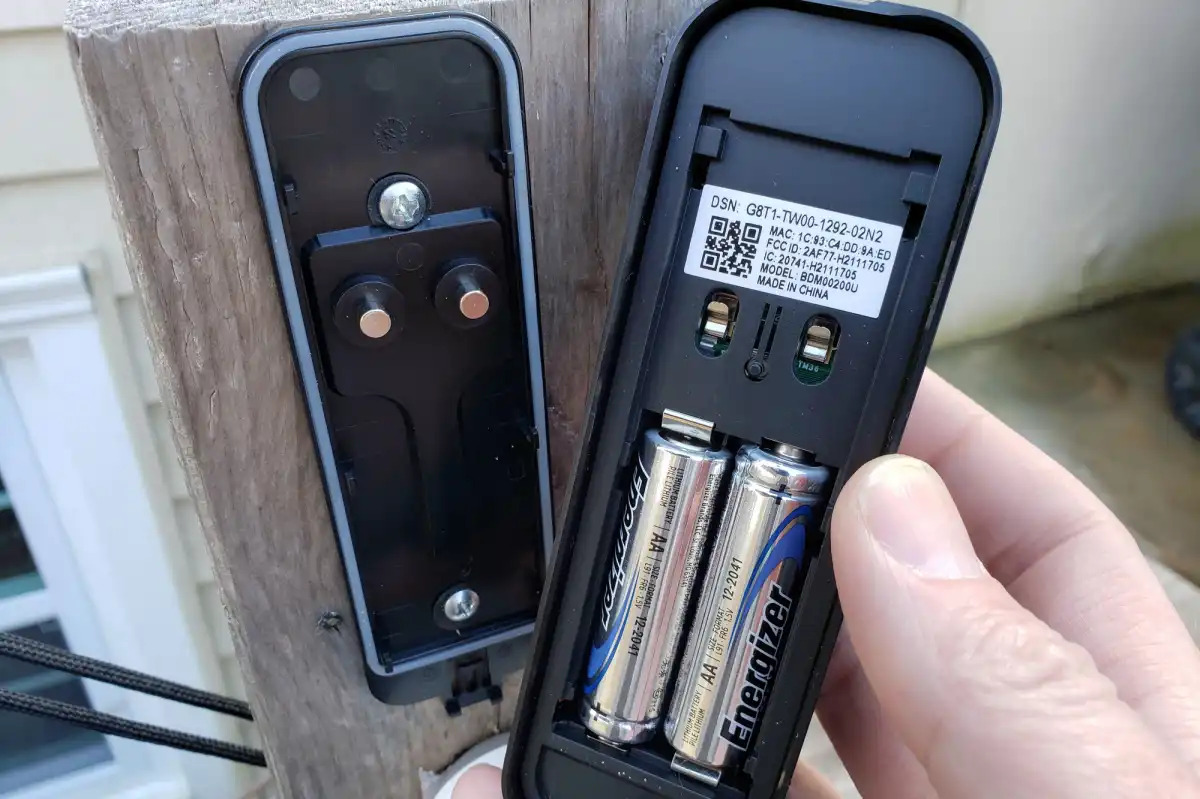
Identify the Battery Compartment: Examine your Quip toothbrush to locate the battery compartment. In most Quip models, the battery compartment is situated at the bottom of the toothbrush handle. It is typically secured by a small screw or a removable panel, depending on the specific design of your Quip toothbrush.
-
Unscrew or Open the Compartment: If your Quip toothbrush features a screw-secured battery compartment, use the appropriate small screwdriver to carefully loosen and remove the screw. Keep the screw in a secure place to prevent misplacement. In the case of a removable panel, gently pry it open using a tool or your fingers, taking care not to damage the toothbrush's casing.
-
Remove the Old Battery: Once the battery compartment is accessible, carefully remove the old battery from its housing. Depending on the design of your Quip toothbrush, the battery may be held in place by a small clip or connector. Use gentle and precise movements to detach the old battery, ensuring that you do not damage the surrounding components or wiring.
-
Dispose of the Old Battery Responsibly: After removing the old battery, it's important to dispose of it in an environmentally responsible manner. Many communities offer battery recycling programs, and it's advisable to take advantage of these initiatives to ensure that the old battery is properly recycled or disposed of in accordance with local regulations.
By following these steps, you can successfully remove the old battery from your Quip toothbrush, setting the stage for the next phase of inserting the new battery. With the old battery safely removed, you're now ready to proceed to the subsequent step of this battery replacement process.
Step 3: Insert the new battery
With the old battery successfully removed from your Quip toothbrush, the next crucial step is to insert the new battery, revitalizing the power source of your oral care companion. Follow these detailed instructions to seamlessly insert the new battery and restore functionality to your Quip toothbrush:
-
Select the Replacement Battery: Before proceeding, ensure that you have the new AAA battery readily available. It's essential to choose a high-quality battery from a reputable brand to ensure optimal performance and longevity for your toothbrush. Carefully inspect the new battery to confirm that it is free from any defects or damage.
-
Prepare the Battery Compartment: Take a moment to inspect the battery compartment in your Quip toothbrush. Ensure that it is clean and free from any debris or residue that could affect the performance of the new battery. Use a clean cloth or tissue to gently wipe the interior of the compartment, removing any accumulated dust or particles.
-
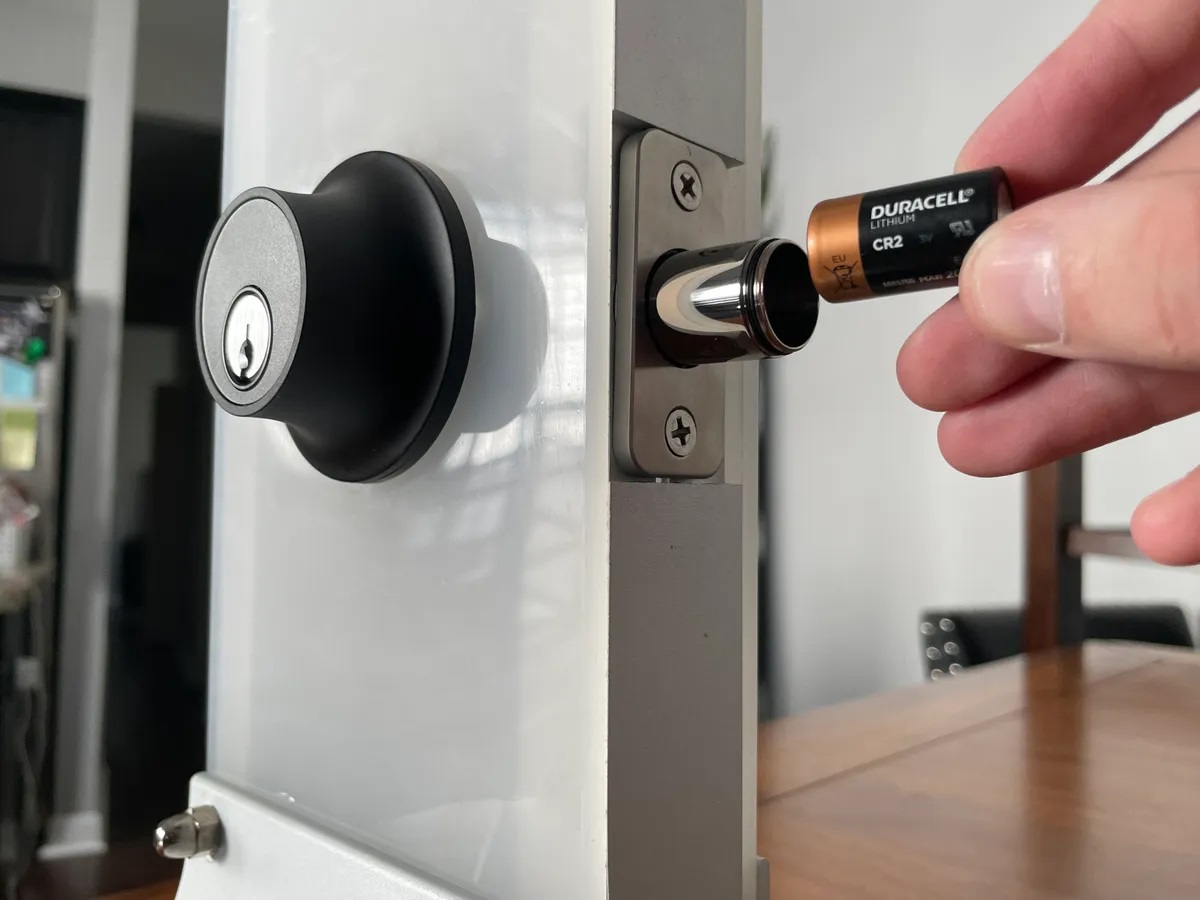
Insert the New Battery: With the battery compartment prepared, carefully insert the new AAA battery into its designated slot. Pay close attention to the correct orientation of the battery, aligning the positive (+) and negative (-) terminals according to the markings within the compartment. Ensure that the battery fits securely and snugly into place, maintaining proper contact for efficient power transfer.
-
Secure the Compartment: If your Quip toothbrush features a screw-secured battery compartment, use the small screwdriver to reinsert and tighten the screw, securing the compartment. Take care not to overtighten the screw, as this could potentially damage the casing. In the case of a removable panel, gently position it back into place, ensuring a secure and flush fit.
-
Test the Toothbrush: Once the new battery is securely in place, it's time to test the functionality of your Quip toothbrush. Turn on the toothbrush and observe its operation to confirm that the new battery is providing the necessary power. If the toothbrush powers on and operates as expected, you have successfully inserted the new battery.
By following these detailed steps, you can confidently insert the new battery into your Quip toothbrush, ensuring that it is equipped with a reliable power source to support your oral care routine. With the new battery seamlessly integrated, your Quip toothbrush is ready to resume its role as a dependable companion in maintaining your dental hygiene.
Step 4: Reassemble the toothbrush
After successfully inserting the new battery into your Quip toothbrush, the final step involves reassembling the toothbrush to restore its complete functionality. Follow these detailed instructions to seamlessly reassemble your Quip toothbrush:
-
Reattach the Brush Head (if applicable): If you removed the brush head earlier to access the battery compartment, carefully reattach it to the top of the toothbrush handle. Align the brush head with the designated connection point and firmly press it into place until you hear or feel a secure click. This ensures that the brush head is properly affixed and ready for use.
-
Secure the Casing: If you had to remove the casing or panel to access the battery compartment, it's time to secure it back onto the toothbrush handle. Position the casing or panel over the internal components, ensuring that it aligns correctly with the toothbrush body. If screws were used to secure the casing, use the small screwdriver to reinsert and tighten them, ensuring a snug fit without over-tightening.
-
Inspect for Proper Alignment: Once the casing or panel is secured, take a moment to inspect the toothbrush to ensure that all components are properly aligned and fitted together. Check for any gaps or misalignments that may indicate incomplete reassembly. A thorough inspection ensures that the toothbrush is structurally sound and ready for use.
-
Clean the Exterior: With the toothbrush fully reassembled, use a clean cloth or tissue to gently wipe down the exterior of the device. This step helps to remove any fingerprints, smudges, or residual marks that may have accumulated during the reassembly process, restoring the toothbrush to its pristine appearance.
-
Test the Toothbrush: Before concluding the reassembly process, perform a final test of the toothbrush to ensure that all components are functioning correctly. Turn on the toothbrush and observe its operation, paying attention to the sound and vibration to confirm that it is functioning as expected. If the toothbrush operates smoothly, you have successfully reassembled it.
By following these detailed steps, you can confidently reassemble your Quip toothbrush, ensuring that it is fully restored to its original state of functionality. With the reassembly process completed, your Quip toothbrush is now ready to resume its role as an essential tool in your daily oral care routine.
To change the battery in a Quip toothbrush, simply twist the bottom of the toothbrush handle to open it, remove the old battery, and replace it with a new AAA battery. Close the handle by twisting it back on.
Read more: How To Charge A Quip Toothbrush
Conclusion
Congratulations! By following the step-by-step guide outlined in this article, you have successfully learned how to change the battery in your Quip toothbrush. This essential maintenance task empowers you to extend the lifespan of your Quip toothbrush, ensuring that it continues to deliver optimal performance in your daily oral care routine.
By gathering the necessary tools, removing the old battery, inserting the new battery, and reassembling the toothbrush, you have taken proactive steps to maintain the functionality of your Quip toothbrush. This hands-on approach not only saves you the inconvenience of a suddenly non-functional toothbrush but also contributes to the efficient use of resources by extending the lifespan of your oral care device.
As you reflect on the process you've completed, it's important to recognize the value of regular maintenance in preserving the performance and longevity of your Quip toothbrush. By incorporating battery replacement into your oral care maintenance routine, you demonstrate a proactive approach to ensuring that your toothbrush remains a reliable companion in maintaining your dental hygiene.
Furthermore, the knowledge and skills you've gained in changing the battery of your Quip toothbrush empower you to take charge of the maintenance and care of your oral care devices. This sense of empowerment extends beyond the specific task at hand, fostering a deeper understanding of the inner workings of your toothbrush and instilling confidence in your ability to address maintenance needs as they arise.
As you continue to enjoy the benefits of your revitalized Quip toothbrush, remember that regular maintenance, including battery replacement, is a key aspect of preserving its functionality. By staying proactive and attentive to the needs of your oral care devices, you contribute to a seamless and effective oral care routine that supports your overall dental health.
With your Quip toothbrush now equipped with a new battery and restored functionality, you can confidently continue your oral care regimen, knowing that you've taken proactive steps to maintain the performance and longevity of this innovative oral care device. Your commitment to maintaining your Quip toothbrush ensures that it remains a reliable and effective tool in supporting your dental hygiene efforts.
In conclusion, the process of changing the battery in your Quip toothbrush not only revitalizes the device but also empowers you to take an active role in the maintenance of your oral care tools. By embracing this proactive approach, you contribute to the longevity and reliability of your Quip toothbrush, ensuring that it continues to be a valuable asset in your daily oral care routine.
Frequently Asked Questions about How To Change The Battery In A Quip Toothbrush
Was this page helpful?
At Storables.com, we guarantee accurate and reliable information. Our content, validated by Expert Board Contributors, is crafted following stringent Editorial Policies. We're committed to providing you with well-researched, expert-backed insights for all your informational needs.


0 thoughts on “How To Change The Battery In A Quip Toothbrush”