Home>Furniture & Design>Bathroom Accessories>How To Change The Battery On A Gleem Toothbrush
Bathroom Accessories
How To Change The Battery On A Gleem Toothbrush
Modified: March 2, 2024
Learn how to easily change the battery on your Gleem toothbrush with our step-by-step guide. Keep your bathroom accessories in top condition.
(Many of the links in this article redirect to a specific reviewed product. Your purchase of these products through affiliate links helps to generate commission for Storables.com, at no extra cost. Learn more)
Introduction
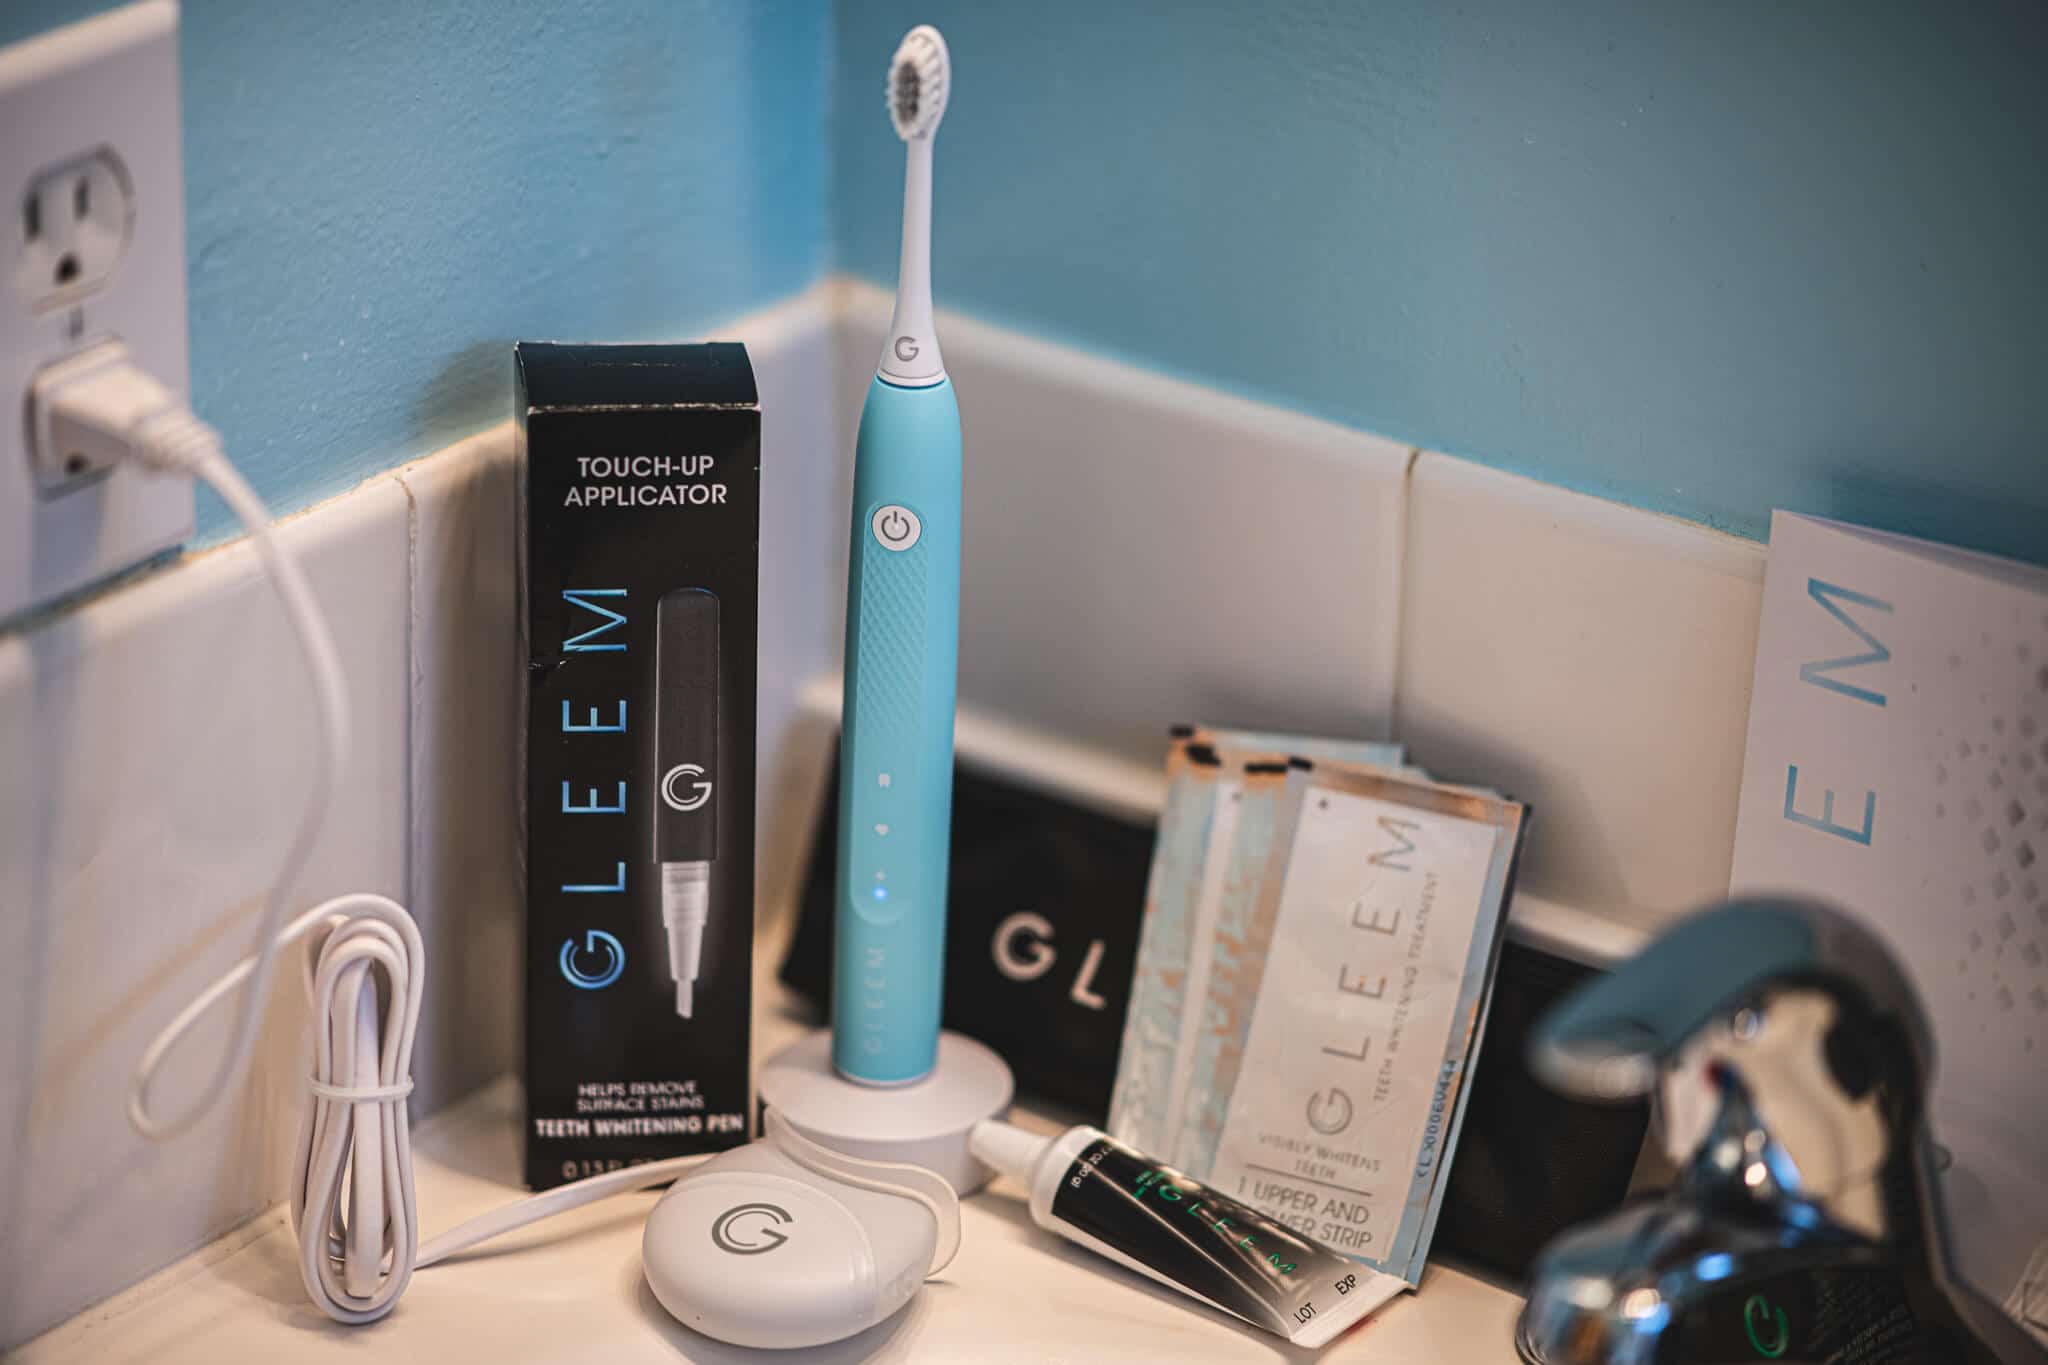
Changing the battery on a Gleem toothbrush is a simple and cost-effective way to extend the lifespan of your favorite oral care companion. Whether you're a seasoned DIY enthusiast or a newcomer to the world of home maintenance, this guide will walk you through the process with clear, step-by-step instructions. By following these easy steps, you can ensure that your Gleem toothbrush continues to provide efficient and reliable performance, saving you the hassle and expense of purchasing a new one.
With just a few basic tools and a little bit of time, you can breathe new life into your Gleem toothbrush and keep it operating at its best. This guide will cover everything you need to know, from gathering the necessary tools to testing the toothbrush after the battery replacement. So, let's roll up our sleeves and get ready to give your Gleem toothbrush the power it needs to keep your smile bright and healthy.
Key Takeaways:
- Revive your Gleem toothbrush by replacing the battery with simple tools and steps. Ensure proper disposal of the old battery and thorough testing of the new one for continued oral care excellence.
- Replacing the battery on your Gleem toothbrush is a cost-effective DIY task that extends its lifespan. Gather tools, handle the old battery carefully, and test the new one for a bright, healthy smile.
Step 1: Gather the necessary tools
Before embarking on the battery replacement process for your Gleem toothbrush, it's essential to gather the necessary tools to ensure a smooth and efficient procedure. Here's a list of items you'll need to have on hand:
-
Replacement Battery: The first and most crucial item you'll need is the replacement battery for your Gleem toothbrush. Ensure that you have the correct type and size of battery recommended for your specific model. Most Gleem toothbrushes typically use AAA or AA batteries, but it's always best to consult the user manual or manufacturer's guidelines to confirm the exact battery specifications.
-
Small Screwdriver Set: A small screwdriver set with Phillips and flathead screwdriver heads will be indispensable for accessing and removing the battery compartment of your toothbrush. The size of the screwdrivers should match the screws on the toothbrush to prevent damage during the removal process.
-
Clean Cloth or Tissue: Having a clean cloth or tissue on hand will help you wipe down the toothbrush and keep the work area tidy during the battery replacement. This will prevent any dust or debris from entering the toothbrush internals and ensure a hygienic process.
-
Work Surface: Choose a well-lit and spacious work surface to perform the battery replacement. A flat and stable area, such as a table or countertop, will provide the necessary space to lay out the toothbrush and tools while allowing for easy maneuvering.
-
Optional: Latex Gloves: While not essential, wearing latex gloves can help protect your hands from any dirt or residue that may be present on the toothbrush during the battery replacement process. This is particularly useful if the toothbrush has been in use for an extended period.
By ensuring that you have all the necessary tools and materials at your disposal, you can proceed with confidence and efficiency when replacing the battery in your Gleem toothbrush. With these items in hand, you're ready to move on to the next step and begin the process of rejuvenating your toothbrush with a new, reliable power source.
Step 2: Remove the old battery
Removing the old battery from your Gleem toothbrush is a crucial step in the battery replacement process. Before starting, ensure that the toothbrush is powered off and disconnected from any charging sources to prevent any electrical mishaps. Here's a detailed guide on how to safely remove the old battery:
-
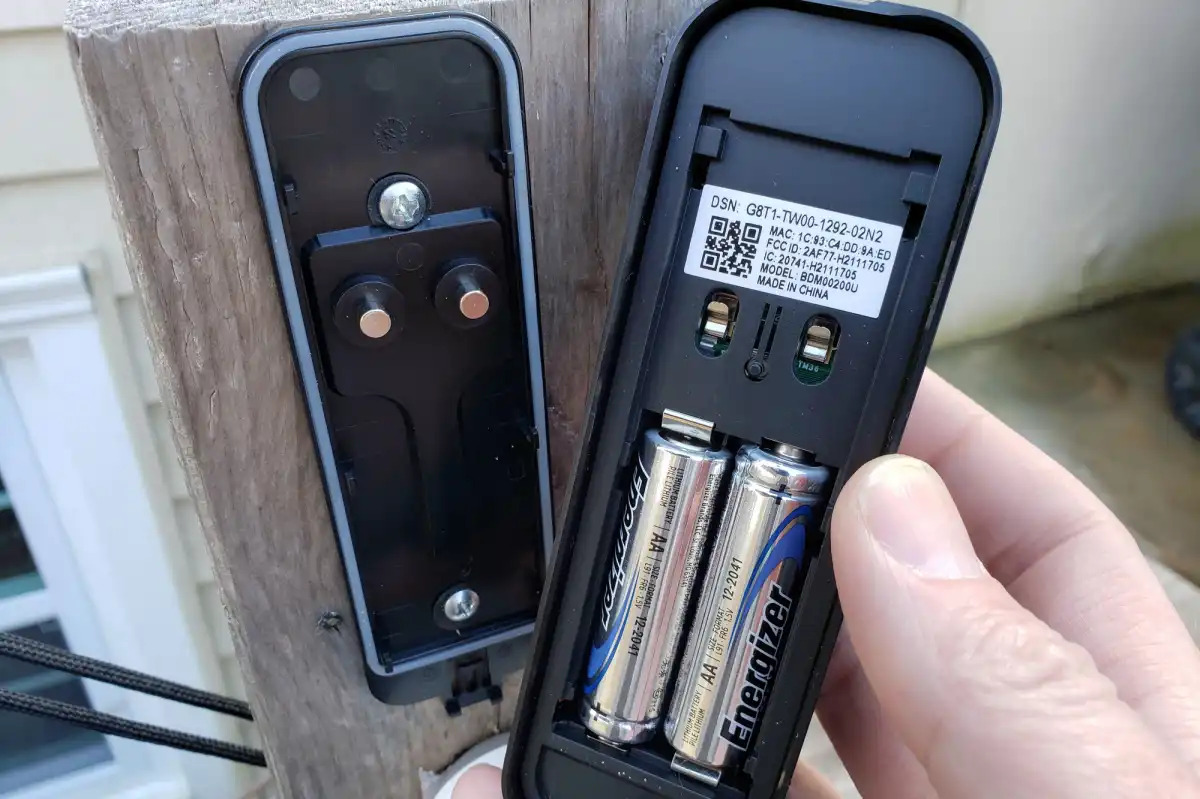
Access the Battery Compartment: Depending on the model of your Gleem toothbrush, the battery compartment may be located at the bottom or the back of the handle. Use the appropriate screwdriver from your set to carefully remove the screws securing the battery compartment cover. Place the screws in a safe location to prevent misplacement.
-
Handle the Battery Carefully: Once the battery compartment cover is removed, you'll have clear access to the old battery. Carefully remove the old battery from its housing, taking note of its orientation and position. If the battery is secured in place with a clip or connector, gently detach it to release the old battery.
-
Dispose of the Old Battery Responsibly: Properly dispose of the old battery in accordance with local regulations and guidelines for battery recycling. Many communities have designated drop-off locations for used batteries, ensuring they are recycled in an environmentally friendly manner. Avoid disposing of batteries in regular household waste to minimize environmental impact.
-
Inspect the Battery Compartment: With the old battery removed, take a moment to inspect the battery compartment for any signs of corrosion or debris. If you notice any buildup or residue, use a clean cloth or tissue to gently wipe the compartment and ensure it is free from any contaminants. This step is essential for maintaining the proper function of the new battery.
By following these steps, you can safely and effectively remove the old battery from your Gleem toothbrush, setting the stage for the next phase of the battery replacement process. With the old battery out of the way, you're now ready to proceed to the exciting step of inserting the new battery and revitalizing your Gleem toothbrush for continued oral care excellence.
Step 3: Insert the new battery
With the old battery successfully removed from your Gleem toothbrush, it's time to usher in a fresh source of power by inserting the new battery. This pivotal step will breathe new life into your toothbrush, ensuring it continues to deliver optimal performance in maintaining your oral hygiene. Follow these detailed instructions to seamlessly insert the new battery and rejuvenate your Gleem toothbrush:
-
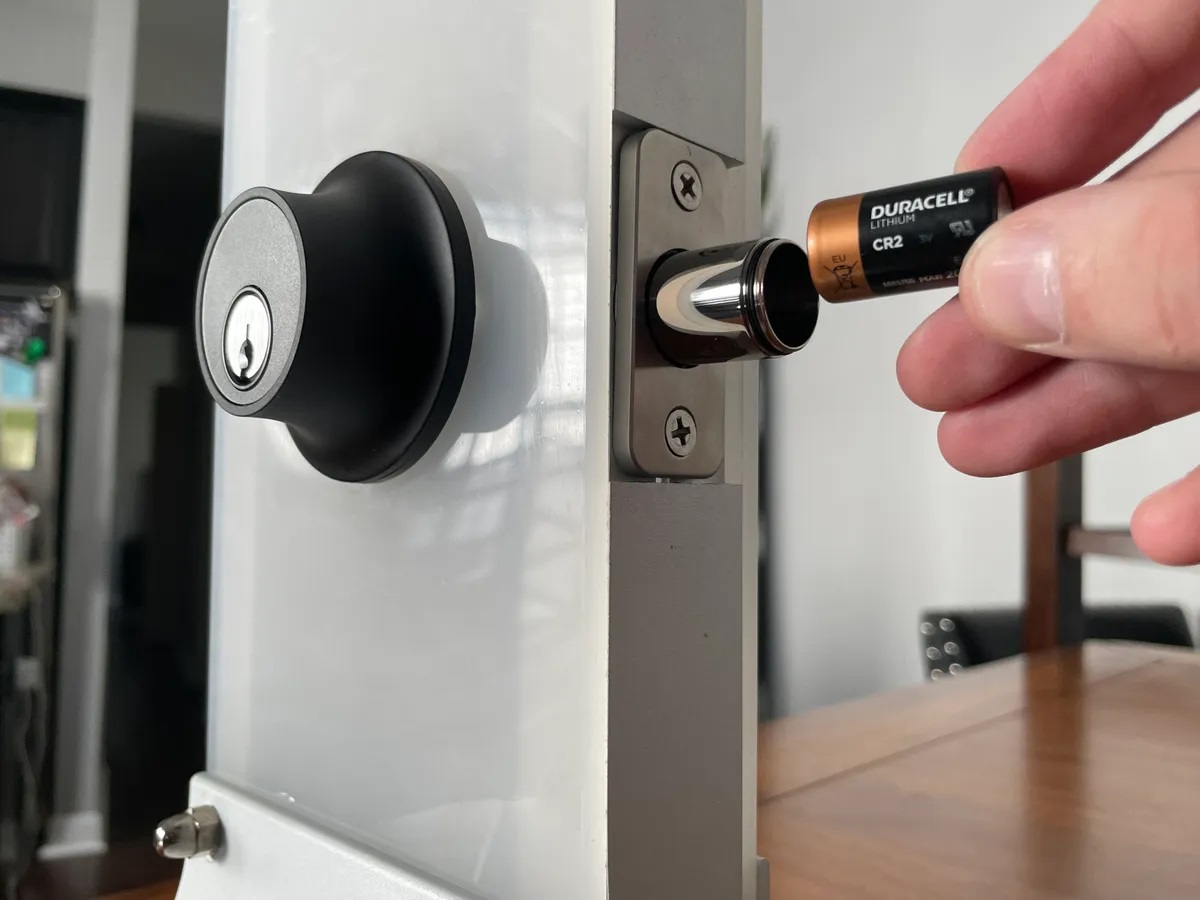
Select the Correct Replacement Battery: Before proceeding, ensure that you have the correct replacement battery for your Gleem toothbrush. Refer to the user manual or manufacturer's guidelines to confirm the specific type and size of battery required. It's essential to match the new battery precisely to the old one to guarantee compatibility and proper functioning.
-
Position the New Battery: Carefully position the new battery in the designated compartment, aligning it according to the polarity markings within the battery housing. Most batteries feature polarity indicators, such as plus (+) and minus (-) symbols, to guide correct placement. Ensure that the new battery sits securely in place and aligns with the connector or contacts within the compartment.
-
Secure the Battery Compartment Cover: Once the new battery is in position, carefully replace the battery compartment cover and use the appropriate screwdriver to reattach the screws. Ensure that the cover is snugly secured to prevent any movement or dislodging of the new battery. Tighten the screws firmly but avoid over-tightening to prevent damage to the toothbrush housing.
-
Test the Battery Connection: Before proceeding to reassemble the toothbrush, perform a quick test to ensure that the new battery is properly connected and functional. Turn on the toothbrush and check for any signs of power, such as the activation of the brush head or indicator lights. If the toothbrush powers on successfully, it indicates that the new battery has been inserted correctly.
By following these steps, you can seamlessly insert the new battery into your Gleem toothbrush, setting the stage for continued reliable performance and effective oral care. With the new battery in place, your toothbrush is poised to deliver the power and efficiency needed to maintain your bright and healthy smile.
When changing the battery on a Gleem toothbrush, make sure to use the correct type of battery as specified in the user manual. Open the battery compartment, remove the old battery, and insert the new one, making sure to match the positive and negative ends correctly. Close the compartment securely before using the toothbrush again.
Step 4: Test the toothbrush
After successfully inserting the new battery into your Gleem toothbrush, it's crucial to perform a comprehensive test to ensure that the toothbrush is functioning optimally. This step serves as a vital quality check, allowing you to confirm that the new battery is powering the toothbrush effectively and that all components are operating as intended. By conducting a thorough test, you can verify the successful completion of the battery replacement process and guarantee that your Gleem toothbrush is ready to continue its essential role in maintaining your oral hygiene.
To test the toothbrush, follow these detailed steps:
-
Power On the Toothbrush: Press the power button or switch on your Gleem toothbrush to initiate the testing phase. Observe the brush head and any indicator lights to confirm that the toothbrush is receiving power from the new battery. A responsive activation of the brush head or the illumination of indicator lights indicates that the new battery is successfully powering the toothbrush.
-
Check for Proper Functionality: While the toothbrush is powered on, assess its functionality by observing the movement and vibration of the brush head. Ensure that the brush head operates smoothly and consistently, delivering the familiar brushing action that effectively cleans your teeth and gums. Additionally, if your toothbrush features multiple brushing modes or intensity settings, test each mode to verify that the toothbrush functions as expected.
-
Assess Battery Performance: During the testing phase, pay attention to the overall performance of the toothbrush in relation to the new battery. Note the strength and duration of the brushing action, ensuring that the battery sustains the toothbrush's power output throughout the testing period. A well-functioning battery will support consistent and reliable performance, allowing you to maintain your oral care routine without interruptions.
-
Verify Charging Capability (If Applicable): If your Gleem toothbrush is rechargeable, connect it to the charging base or power source to confirm that the new battery can be charged effectively. Observe any charging indicators or signals to ensure that the toothbrush can recharge and maintain its battery capacity for future use. This step is essential for ensuring the long-term usability of your toothbrush.
By meticulously testing the toothbrush after the battery replacement, you can gain confidence in the successful installation of the new battery and the continued functionality of your Gleem toothbrush. This thorough evaluation allows you to address any potential issues promptly and enjoy the assurance of a reliable and rejuvenated oral care companion.
Step 5: Reassemble the toothbrush
With the successful testing of the new battery and the confirmation of your Gleem toothbrush's optimal functionality, the final step in the battery replacement process involves reassembling the toothbrush. This crucial phase ensures that all components are securely restored, allowing your toothbrush to resume its essential role in maintaining your oral hygiene routine. Follow these detailed instructions to seamlessly reassemble your Gleem toothbrush and prepare it for continued use:
-
Align the Components: Begin by aligning the brush head and handle of the toothbrush, ensuring that they fit together seamlessly. If your toothbrush features detachable components for thorough cleaning, ensure that they are securely reattached to form a cohesive unit. Proper alignment is essential for the effective operation of the toothbrush during daily use.
-
Secure the Brush Head: If the brush head is detachable, firmly secure it onto the handle, ensuring a snug fit to prevent any movement during brushing. Follow the manufacturer's guidelines for attaching the brush head to guarantee a secure and stable connection. This step is crucial for maintaining the integrity of the toothbrush during use.
-
Reattach the Battery Compartment Cover: Carefully position the battery compartment cover over the newly inserted battery, aligning it with the corresponding grooves or slots on the toothbrush handle. Gently press the cover into place, ensuring that it sits flush with the handle. Use the appropriate screwdriver to reinsert and tighten the screws, securing the battery compartment cover in position.
-
Inspect the Reassembled Toothbrush: Once the toothbrush components are reassembled, take a moment to inspect the entire toothbrush for any signs of misalignment or loose parts. Ensure that all components are securely fastened and that the toothbrush maintains its structural integrity. This visual inspection provides assurance that the toothbrush is ready for regular use.
-
Power On the Toothbrush: After reassembling the toothbrush, power it on to confirm that all components function harmoniously. Verify that the brush head operates smoothly and that the toothbrush responds promptly to the power button or switch. This final test ensures that the reassembled toothbrush is fully operational and ready for use.
By meticulously reassembling your Gleem toothbrush, you can conclude the battery replacement process with confidence, knowing that your toothbrush is restored to its optimal state. With the new battery in place and the toothbrush reassembled, you can continue to rely on your Gleem toothbrush for efficient and effective oral care, ensuring a bright and healthy smile for the days to come.
Conclusion
In conclusion, the process of changing the battery on a Gleem toothbrush is a straightforward and rewarding endeavor that empowers you to extend the lifespan of your trusted oral care companion. By following the step-by-step instructions outlined in this guide, you can seamlessly replace the battery in your Gleem toothbrush, ensuring that it continues to deliver reliable performance and support your daily oral hygiene routine.
The journey begins with gathering the necessary tools, including the replacement battery, a small screwdriver set, a clean cloth or tissue, and a suitable work surface. With these items at hand, you are well-equipped to embark on the battery replacement process with confidence and efficiency.
Next, the meticulous removal of the old battery sets the stage for the introduction of a fresh power source. Carefully handling the old battery and responsibly disposing of it in accordance with environmental guidelines ensures a seamless transition to the insertion of the new battery. The precise positioning and secure fastening of the new battery are essential for guaranteeing its effective function within the toothbrush.
Thorough testing of the toothbrush after the battery replacement provides the assurance of optimal functionality, allowing you to verify the successful installation of the new battery and address any potential issues promptly. This comprehensive evaluation ensures that your Gleem toothbrush is ready to continue its essential role in maintaining your oral hygiene routine.
Finally, the meticulous reassembly of the toothbrush marks the culmination of the battery replacement process, ensuring that all components are securely restored and ready for regular use. By aligning the brush head, reattaching the battery compartment cover, and conducting a final power-on test, you can conclude the process with the confidence of a rejuvenated oral care companion.
In essence, the process of changing the battery on a Gleem toothbrush not only revitalizes the functionality of your toothbrush but also represents a sustainable and cost-effective approach to maintaining your oral care essentials. By embracing the DIY spirit and following the guidance provided in this comprehensive guide, you can continue to rely on your Gleem toothbrush for efficient and effective oral care, ensuring a bright and healthy smile for the days to come.
Frequently Asked Questions about How To Change The Battery On A Gleem Toothbrush
Was this page helpful?
At Storables.com, we guarantee accurate and reliable information. Our content, validated by Expert Board Contributors, is crafted following stringent Editorial Policies. We're committed to providing you with well-researched, expert-backed insights for all your informational needs.


0 thoughts on “How To Change The Battery On A Gleem Toothbrush”