Home>Furniture & Design>Bathroom Accessories>How To Clean My Toothbrush
Bathroom Accessories
How To Clean My Toothbrush
Modified: March 20, 2024
Learn how to properly clean and maintain your bathroom accessories, including your toothbrush, for better hygiene and health. Discover effective tips and techniques.
(Many of the links in this article redirect to a specific reviewed product. Your purchase of these products through affiliate links helps to generate commission for Storables.com, at no extra cost. Learn more)
Introduction
Maintaining good oral hygiene is essential for overall health, and one often overlooked aspect of this is ensuring that your toothbrush is clean. A clean toothbrush helps to prevent the spread of bacteria and germs, ultimately contributing to better oral health. While it's common knowledge that brushing your teeth is crucial, it's equally important to clean your toothbrush regularly to ensure its effectiveness and to prevent the buildup of harmful bacteria.
In this comprehensive guide, we will explore various methods for effectively cleaning your toothbrush. From simple rinsing techniques to more advanced methods such as using antibacterial mouthwash and UV toothbrush sanitizers, we will cover everything you need to know to keep your toothbrush clean and your oral hygiene in top shape.
By following the steps outlined in this guide, you can ensure that your toothbrush remains free from harmful bacteria and germs, ultimately contributing to better oral health and overall well-being. Let's dive into the details of each method and discover the best ways to keep your toothbrush clean and your smile bright.
Key Takeaways:
- Keep your toothbrush clean by rinsing it with warm water after each use and allowing it to air dry. This simple practice helps prevent the buildup of harmful bacteria and extends the lifespan of your toothbrush.
- Regularly replace your toothbrush every 3 to 4 months to ensure it remains effective at removing plaque and debris. This helps maintain optimal oral hygiene and minimizes the accumulation of bacteria and germs.
Read more: How To Clean A Toothbrush Holder
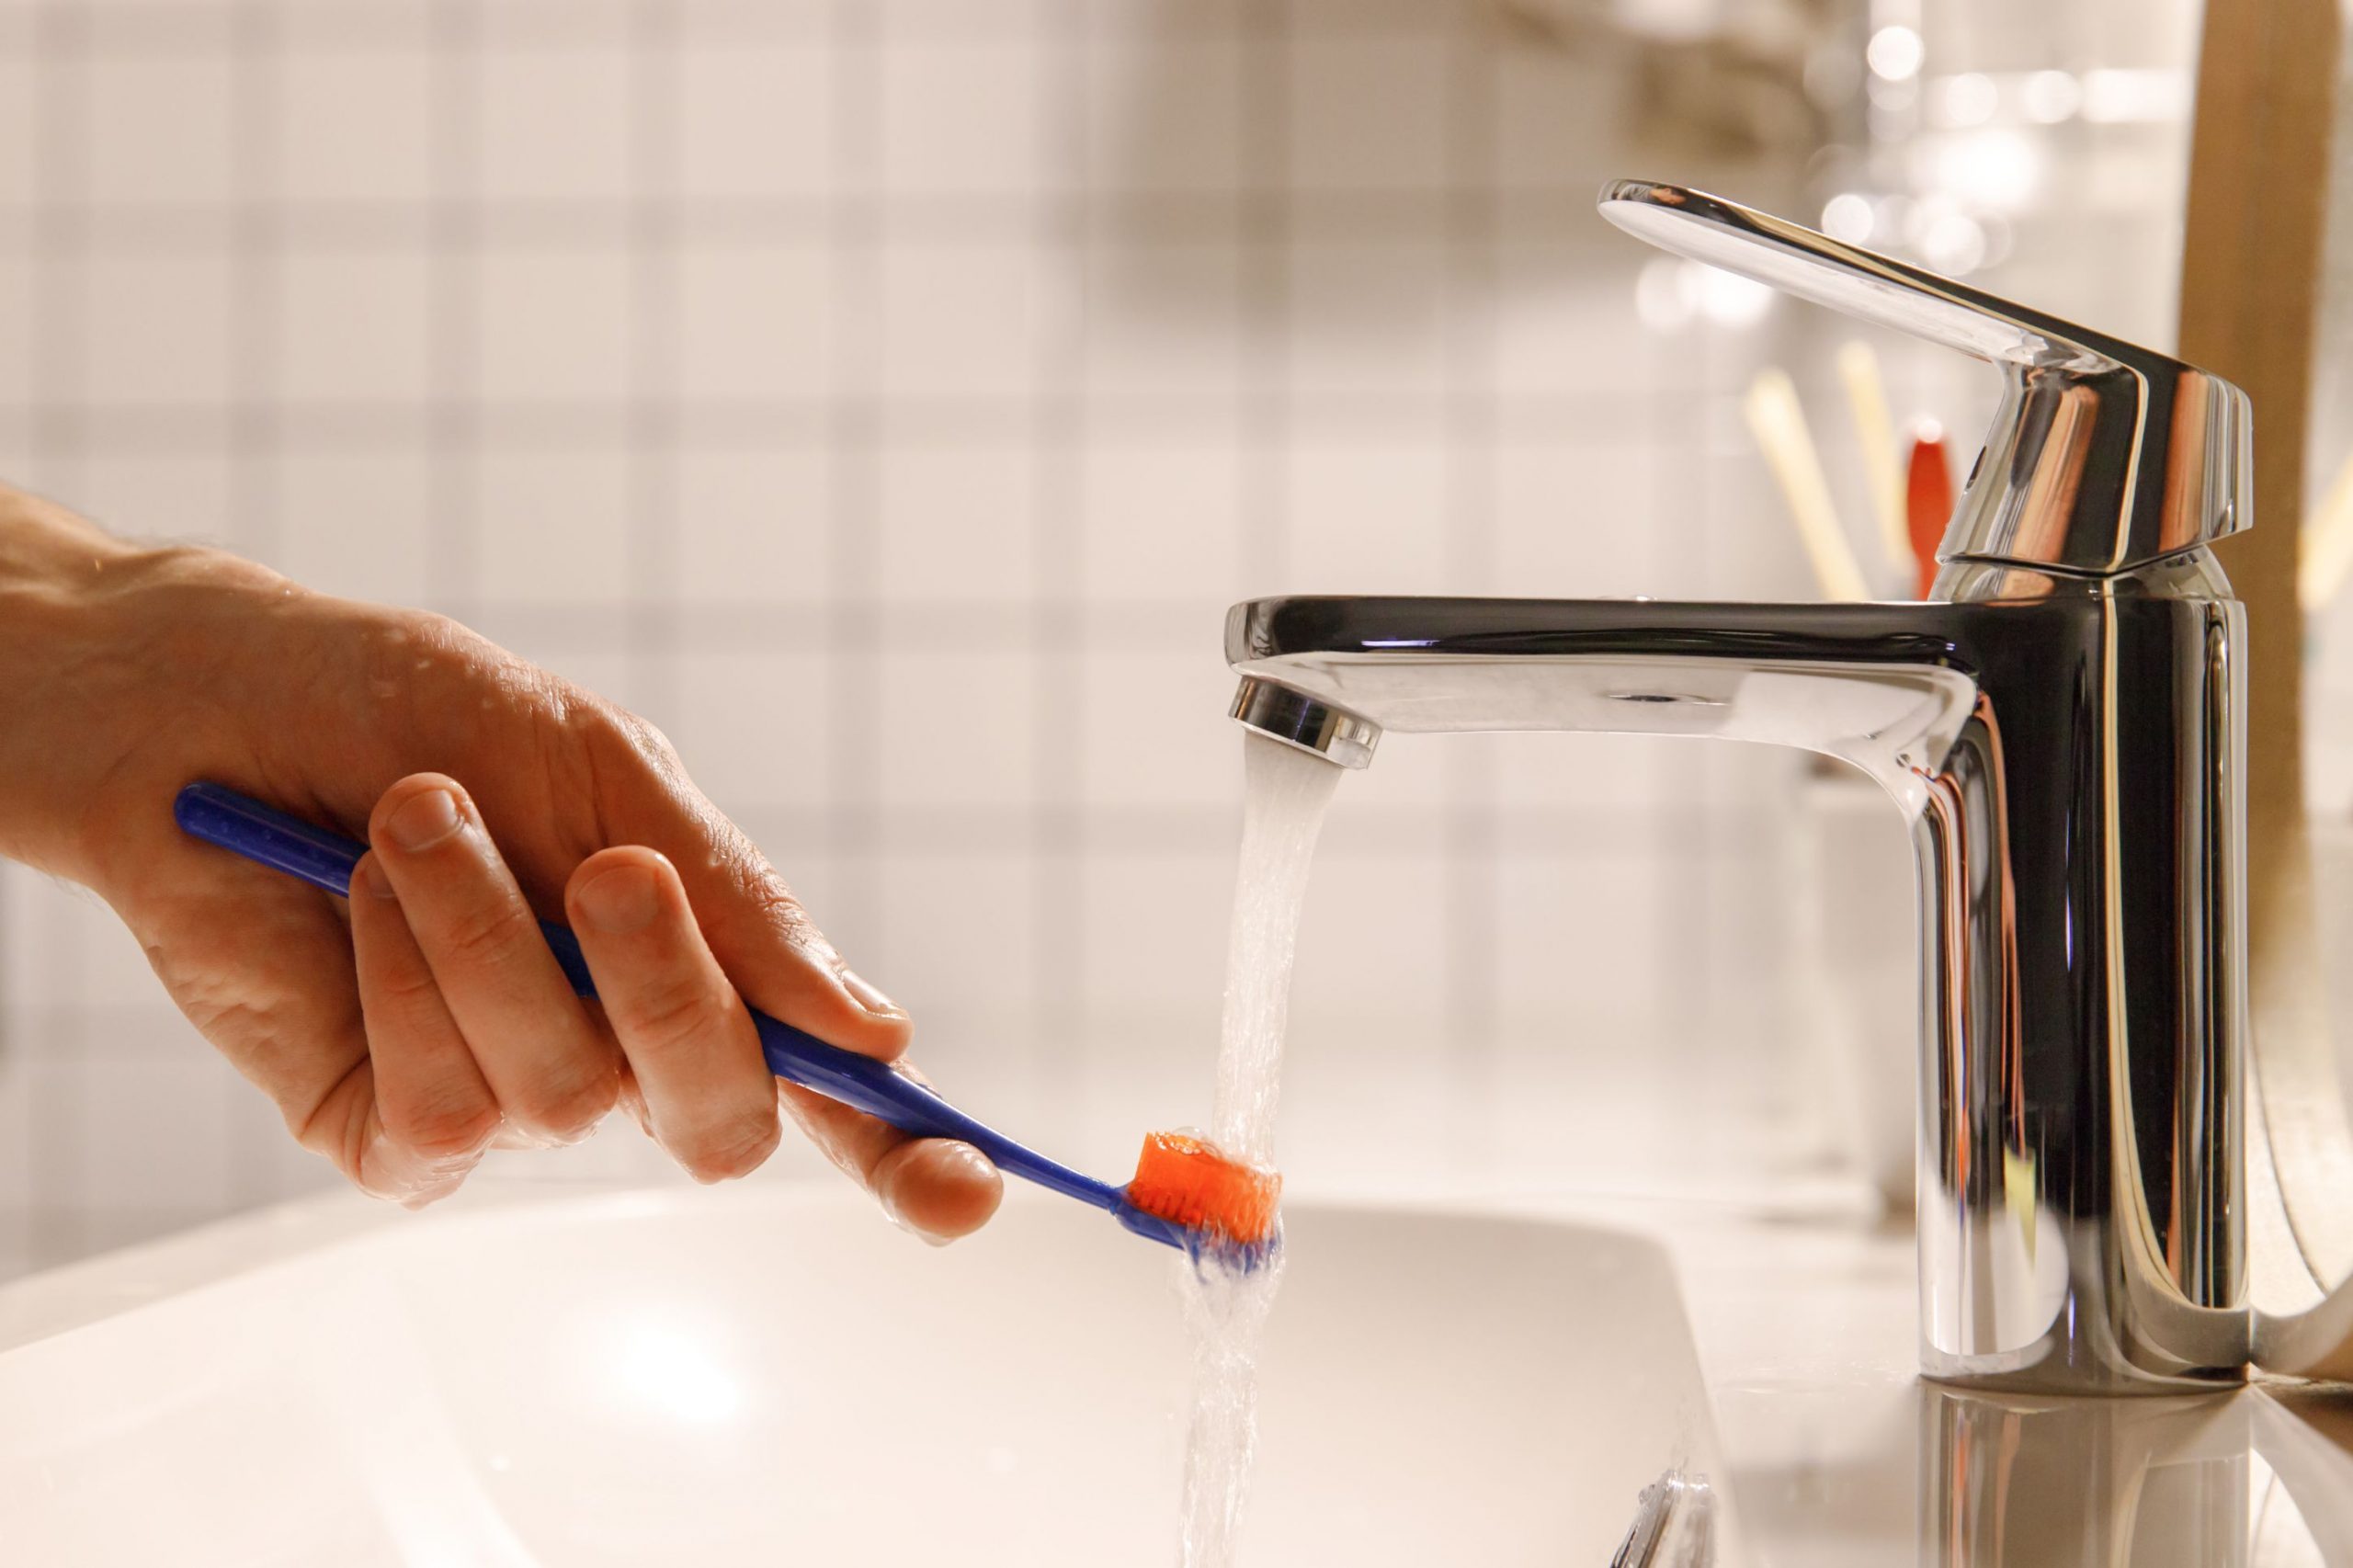
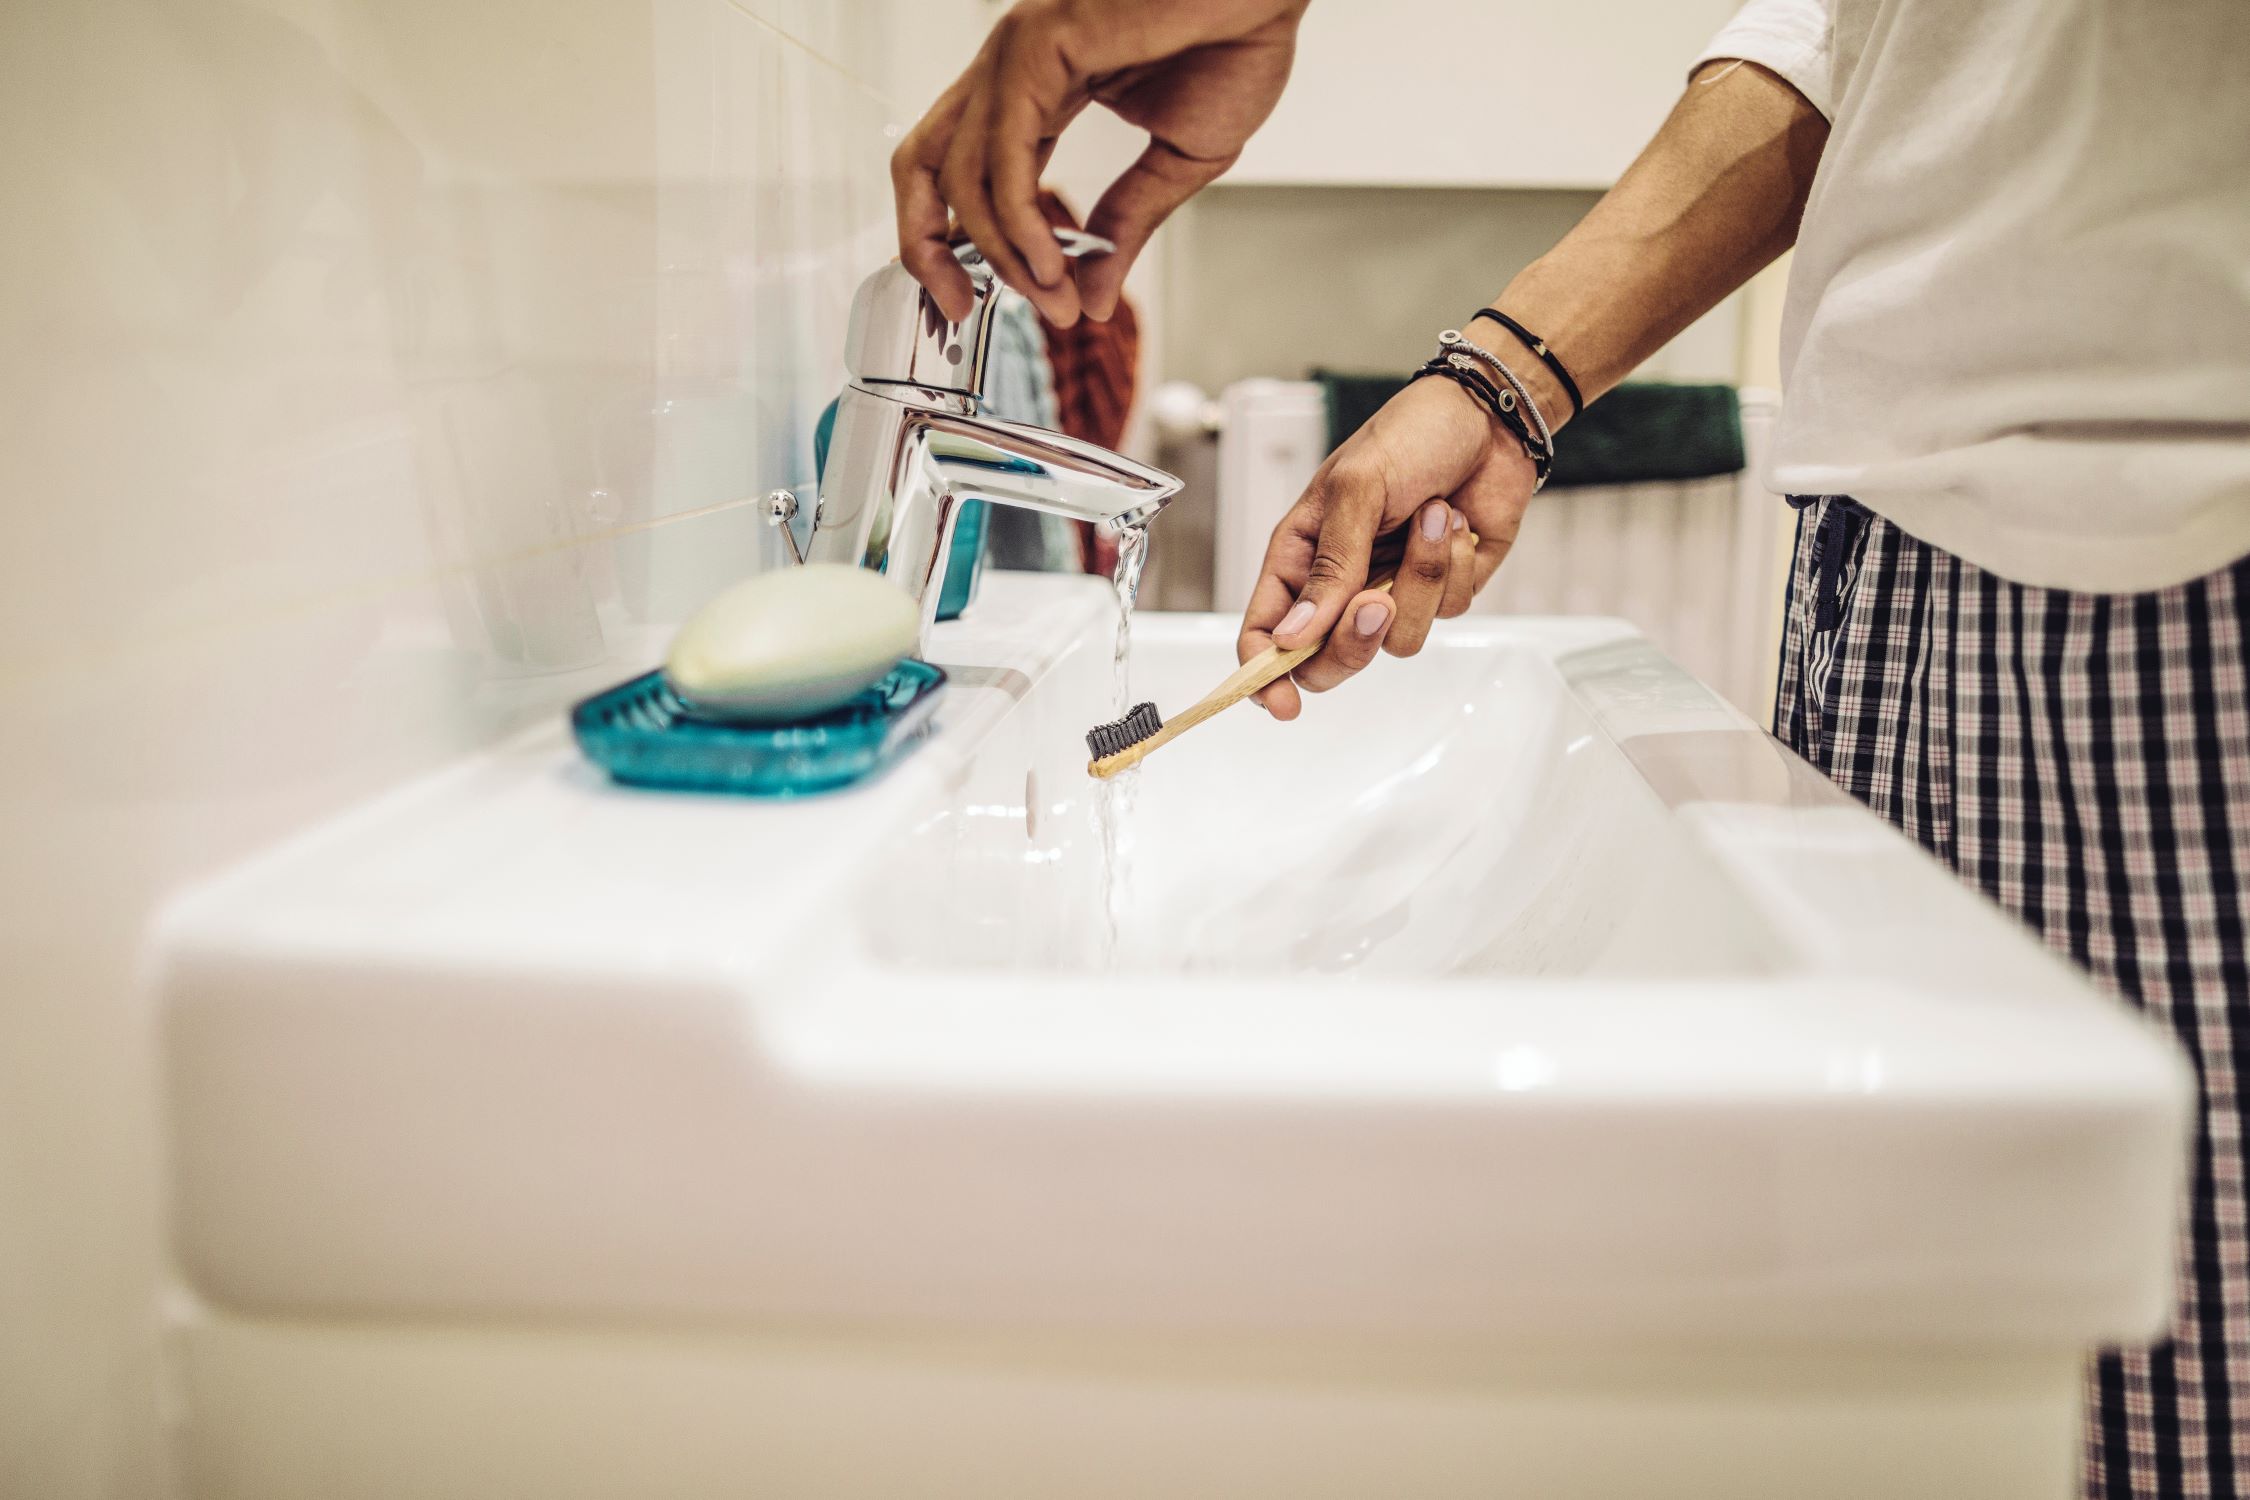
Step 1: Rinse the toothbrush
Rinsing your toothbrush after each use is a simple yet effective way to remove lingering toothpaste, food particles, and saliva. This basic practice helps to prevent the buildup of bacteria and germs on the bristles, ensuring that your toothbrush remains clean and hygienic for the next use.
To properly rinse your toothbrush, hold it under running water for at least 15-20 seconds, making sure to thoroughly wash away any remaining toothpaste and debris. Gently rub the bristles with your fingers to dislodge any trapped particles, and ensure that water reaches all parts of the brush, including the handle and the base of the bristles.
It's important to use warm water for rinsing, as the heat can help to further eliminate bacteria and germs. Additionally, warm water can help to soften any remaining toothpaste or debris, making it easier to remove during the rinsing process.
After rinsing, shake off any excess water and allow the toothbrush to air dry in an upright position. By allowing the bristles to air dry, you can further prevent the growth of bacteria, as moisture promotes the proliferation of germs. It's advisable to store the toothbrush in an open-air environment, away from other toothbrushes, to facilitate proper drying and minimize the risk of cross-contamination.
By incorporating this simple yet crucial step into your oral hygiene routine, you can effectively remove debris and bacteria from your toothbrush, ensuring that it remains clean and ready for use. This practice not only contributes to better oral health but also extends the lifespan of your toothbrush, allowing you to maintain a hygienic and effective oral care regimen.
Step 2: Soak the toothbrush in antibacterial mouthwash
Soaking your toothbrush in antibacterial mouthwash is a proactive and effective method for eliminating germs and bacteria that may have accumulated on the bristles. Antibacterial mouthwash contains active ingredients designed to target and destroy harmful microorganisms, making it an ideal solution for sanitizing your toothbrush.
To begin, select a container that is large enough to fully submerge the head of the toothbrush. Pour a sufficient amount of antibacterial mouthwash into the container, ensuring that the entire head of the toothbrush is completely immersed in the liquid. It's important to use a mouthwash specifically labeled as "antibacterial" to ensure maximum effectiveness in killing germs.
Allow the toothbrush to soak in the antibacterial mouthwash for at least 15-20 minutes. During this time, the active ingredients in the mouthwash work to penetrate the bristles and eliminate any lingering bacteria or germs. This soaking process serves as a thorough and convenient method for disinfecting your toothbrush, providing an additional layer of protection for your oral hygiene routine.
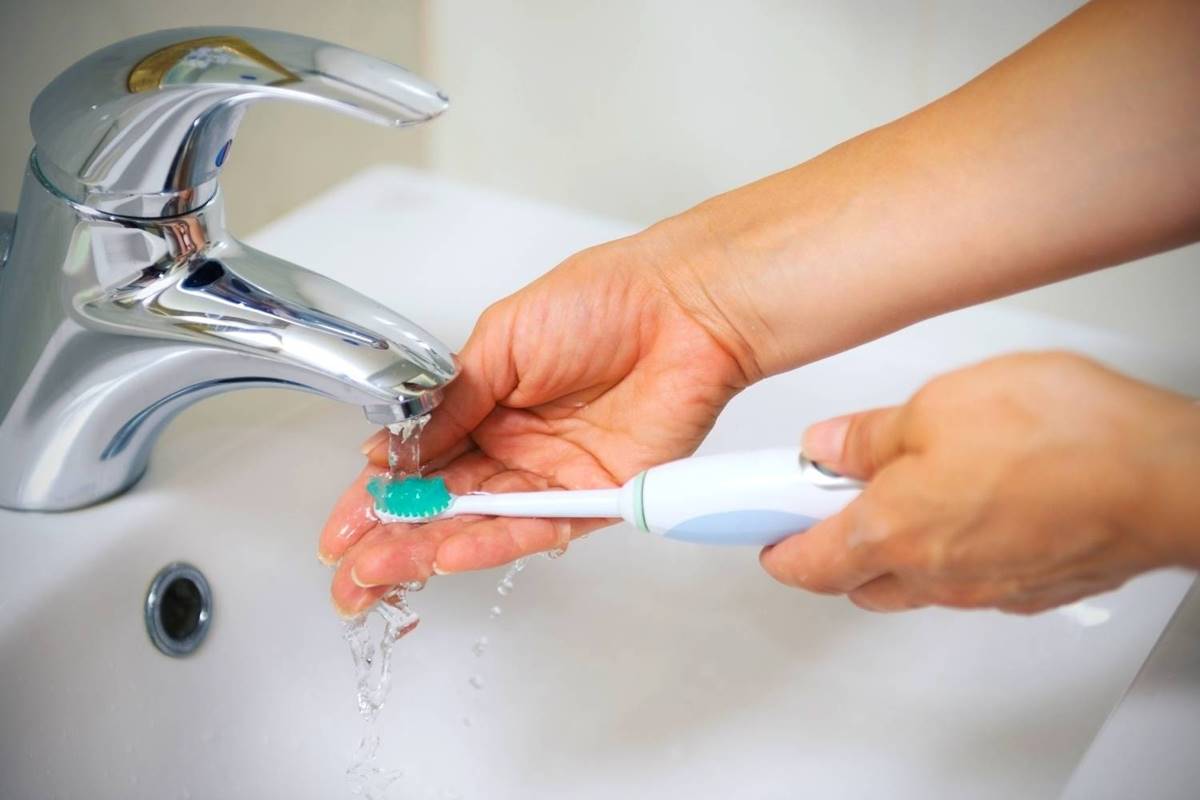
After the designated soaking period, remove the toothbrush from the mouthwash and thoroughly rinse it under running water. This step is crucial to ensure that any residual mouthwash is completely removed from the bristles and handle. Once rinsed, shake off any excess water and allow the toothbrush to air dry in an upright position.
By incorporating the practice of soaking your toothbrush in antibacterial mouthwash into your regular oral hygiene routine, you can effectively eliminate harmful bacteria and germs, ultimately contributing to better oral health. This method provides an added layer of protection against the proliferation of microorganisms on your toothbrush, ensuring that it remains clean and hygienic for future use.
It's important to note that while soaking your toothbrush in antibacterial mouthwash is an effective cleaning method, it should be used in conjunction with regular rinsing and air drying to maintain optimal oral hygiene. By combining these practices, you can ensure that your toothbrush remains free from harmful bacteria and germs, promoting a healthy and effective oral care regimen.
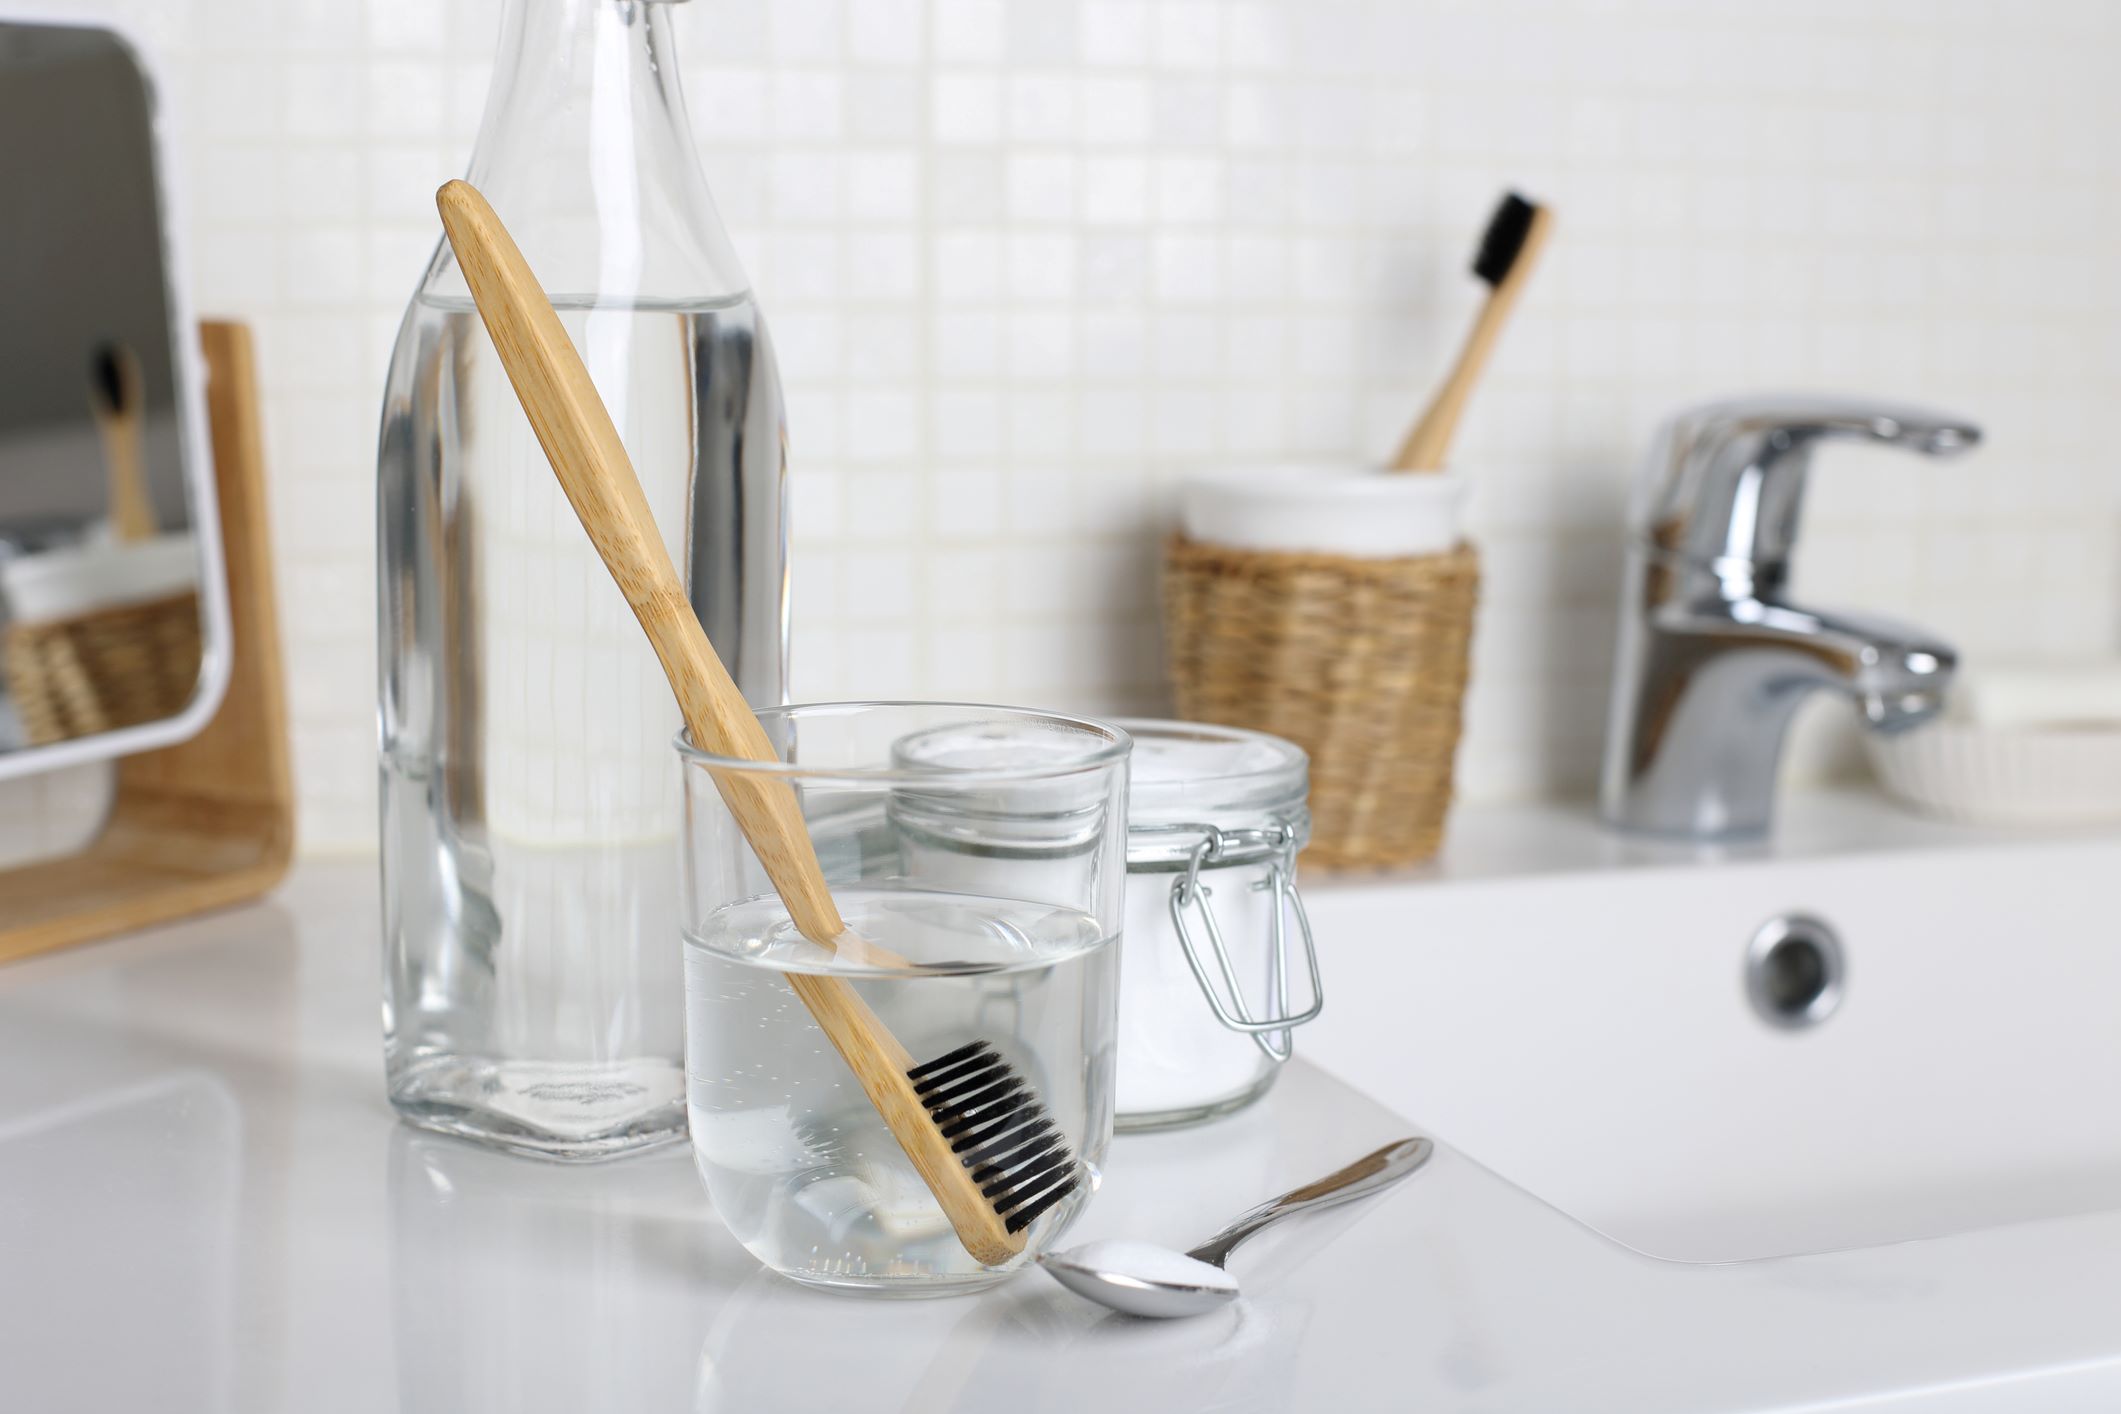
Step 3: Use hydrogen peroxide
Using hydrogen peroxide to clean your toothbrush is an effective method for eliminating bacteria and germs that may accumulate on the bristles over time. Hydrogen peroxide, a mild antiseptic and disinfectant, is widely recognized for its ability to kill bacteria and viruses, making it a valuable solution for maintaining the cleanliness of your toothbrush.
To begin, pour a small amount of hydrogen peroxide into a clean cup or container, ensuring that there is enough liquid to fully submerge the head of the toothbrush. It's important to use a concentration of 3% hydrogen peroxide, which is commonly available at most drugstores and pharmacies. This concentration is effective in disinfecting the toothbrush without causing any damage to the bristles or handle.
Carefully place the toothbrush head into the hydrogen peroxide, ensuring that the bristles are completely immersed in the liquid. Allow the toothbrush to soak in the hydrogen peroxide for approximately 3-5 minutes, allowing the antiseptic properties of the solution to penetrate the bristles and eliminate any lingering bacteria or germs.
After the designated soaking period, remove the toothbrush from the hydrogen peroxide and thoroughly rinse it under running water. It's essential to ensure that all traces of the hydrogen peroxide are completely washed away from the bristles and handle. Once rinsed, gently shake off any excess water and allow the toothbrush to air dry in an upright position.
Hydrogen peroxide serves as an effective and affordable method for disinfecting your toothbrush, providing an additional layer of protection against harmful bacteria and germs. By incorporating this practice into your regular oral hygiene routine, you can ensure that your toothbrush remains clean and hygienic for future use, ultimately contributing to better oral health.
It's important to note that while hydrogen peroxide is a valuable cleaning agent for your toothbrush, it should be used in conjunction with regular rinsing and air drying to maintain optimal oral hygiene. By combining these practices, you can effectively eliminate harmful bacteria and germs, promoting a healthy and effective oral care regimen.
Rinse your toothbrush thoroughly after each use and let it air dry. Soak it in antibacterial mouthwash or hydrogen peroxide once a week to kill germs.
Step 4: Boil the toothbrush
Boiling the toothbrush is a simple yet highly effective method for sterilizing and disinfecting the bristles, handle, and head of the toothbrush. This process helps to eliminate a wide range of bacteria, germs, and other microorganisms that may have accumulated on the toothbrush, ensuring that it remains clean and hygienic for future use.
To begin, fill a clean pot with enough water to fully submerge the toothbrush. Place the pot on the stove and bring the water to a rolling boil. Once the water reaches a vigorous boil, carefully place the toothbrush into the pot, ensuring that the entire head and bristles are fully immersed in the boiling water.
Allow the toothbrush to boil in the water for approximately 3-5 minutes, ensuring that the heat effectively sterilizes the bristles and handle. The boiling water serves as a powerful disinfectant, capable of destroying a wide range of bacteria and germs that may be present on the toothbrush.
After the designated boiling period, use a pair of tongs to carefully remove the toothbrush from the pot, taking care to avoid any splashing or burns from the hot water. Once removed, place the toothbrush on a clean towel or paper towel to air dry. It's important to allow the toothbrush to dry completely before its next use, as moisture can promote the growth of bacteria and germs.
Boiling the toothbrush provides a thorough and effective method for sterilizing and disinfecting the entire toothbrush, ensuring that it remains free from harmful microorganisms. This practice is particularly beneficial for individuals who may have been ill or have compromised immune systems, as it helps to minimize the risk of reinfection or the spread of germs.
It's important to note that while boiling the toothbrush is an effective cleaning method, it should be used in conjunction with regular rinsing and air drying to maintain optimal oral hygiene. By combining these practices, you can ensure that your toothbrush remains free from harmful bacteria and germs, promoting a healthy and effective oral care regimen.
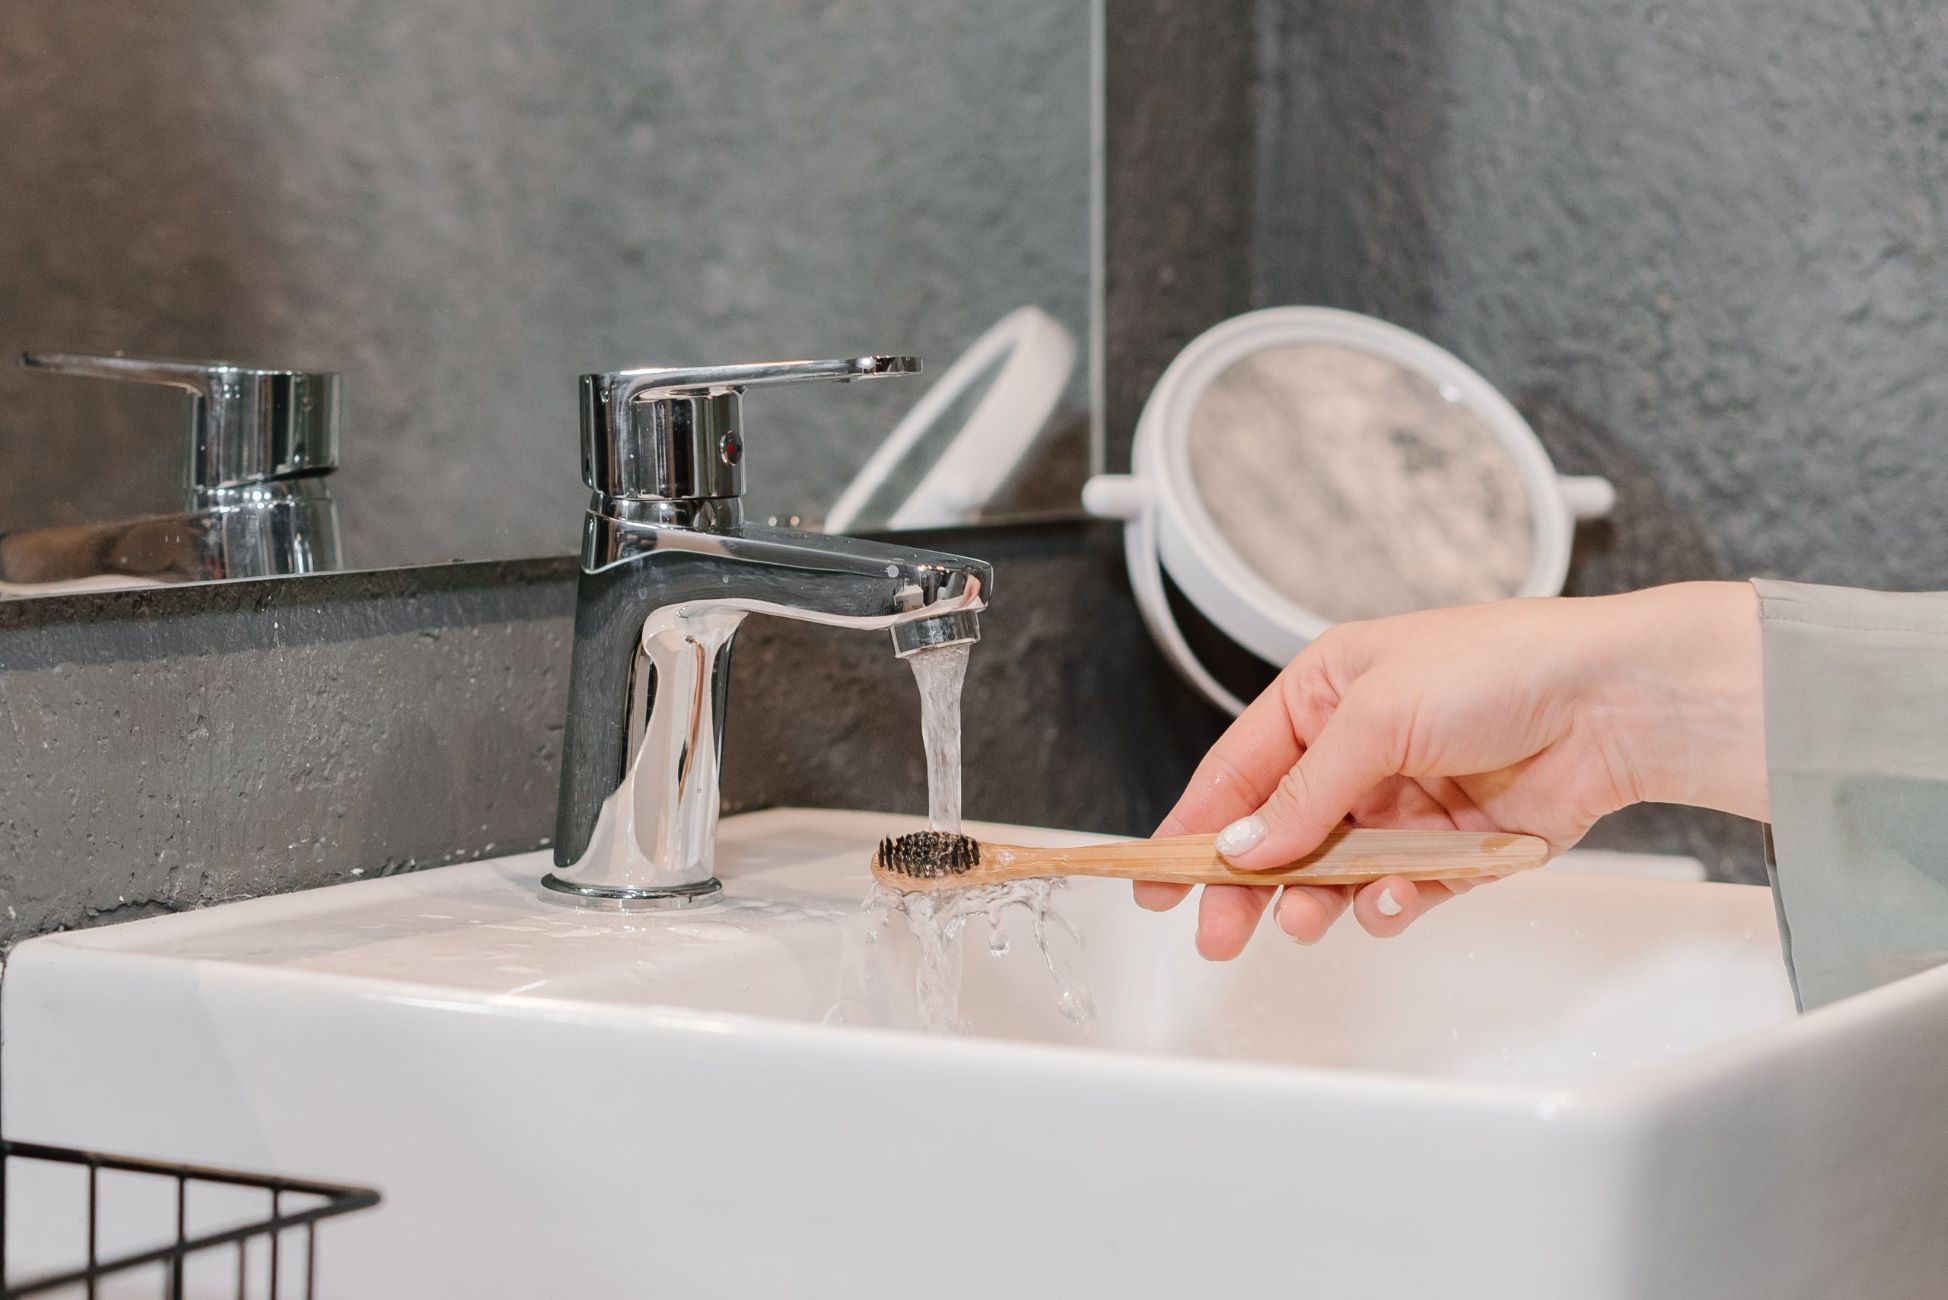
Read more: How To Clean A Bamboo Toothbrush
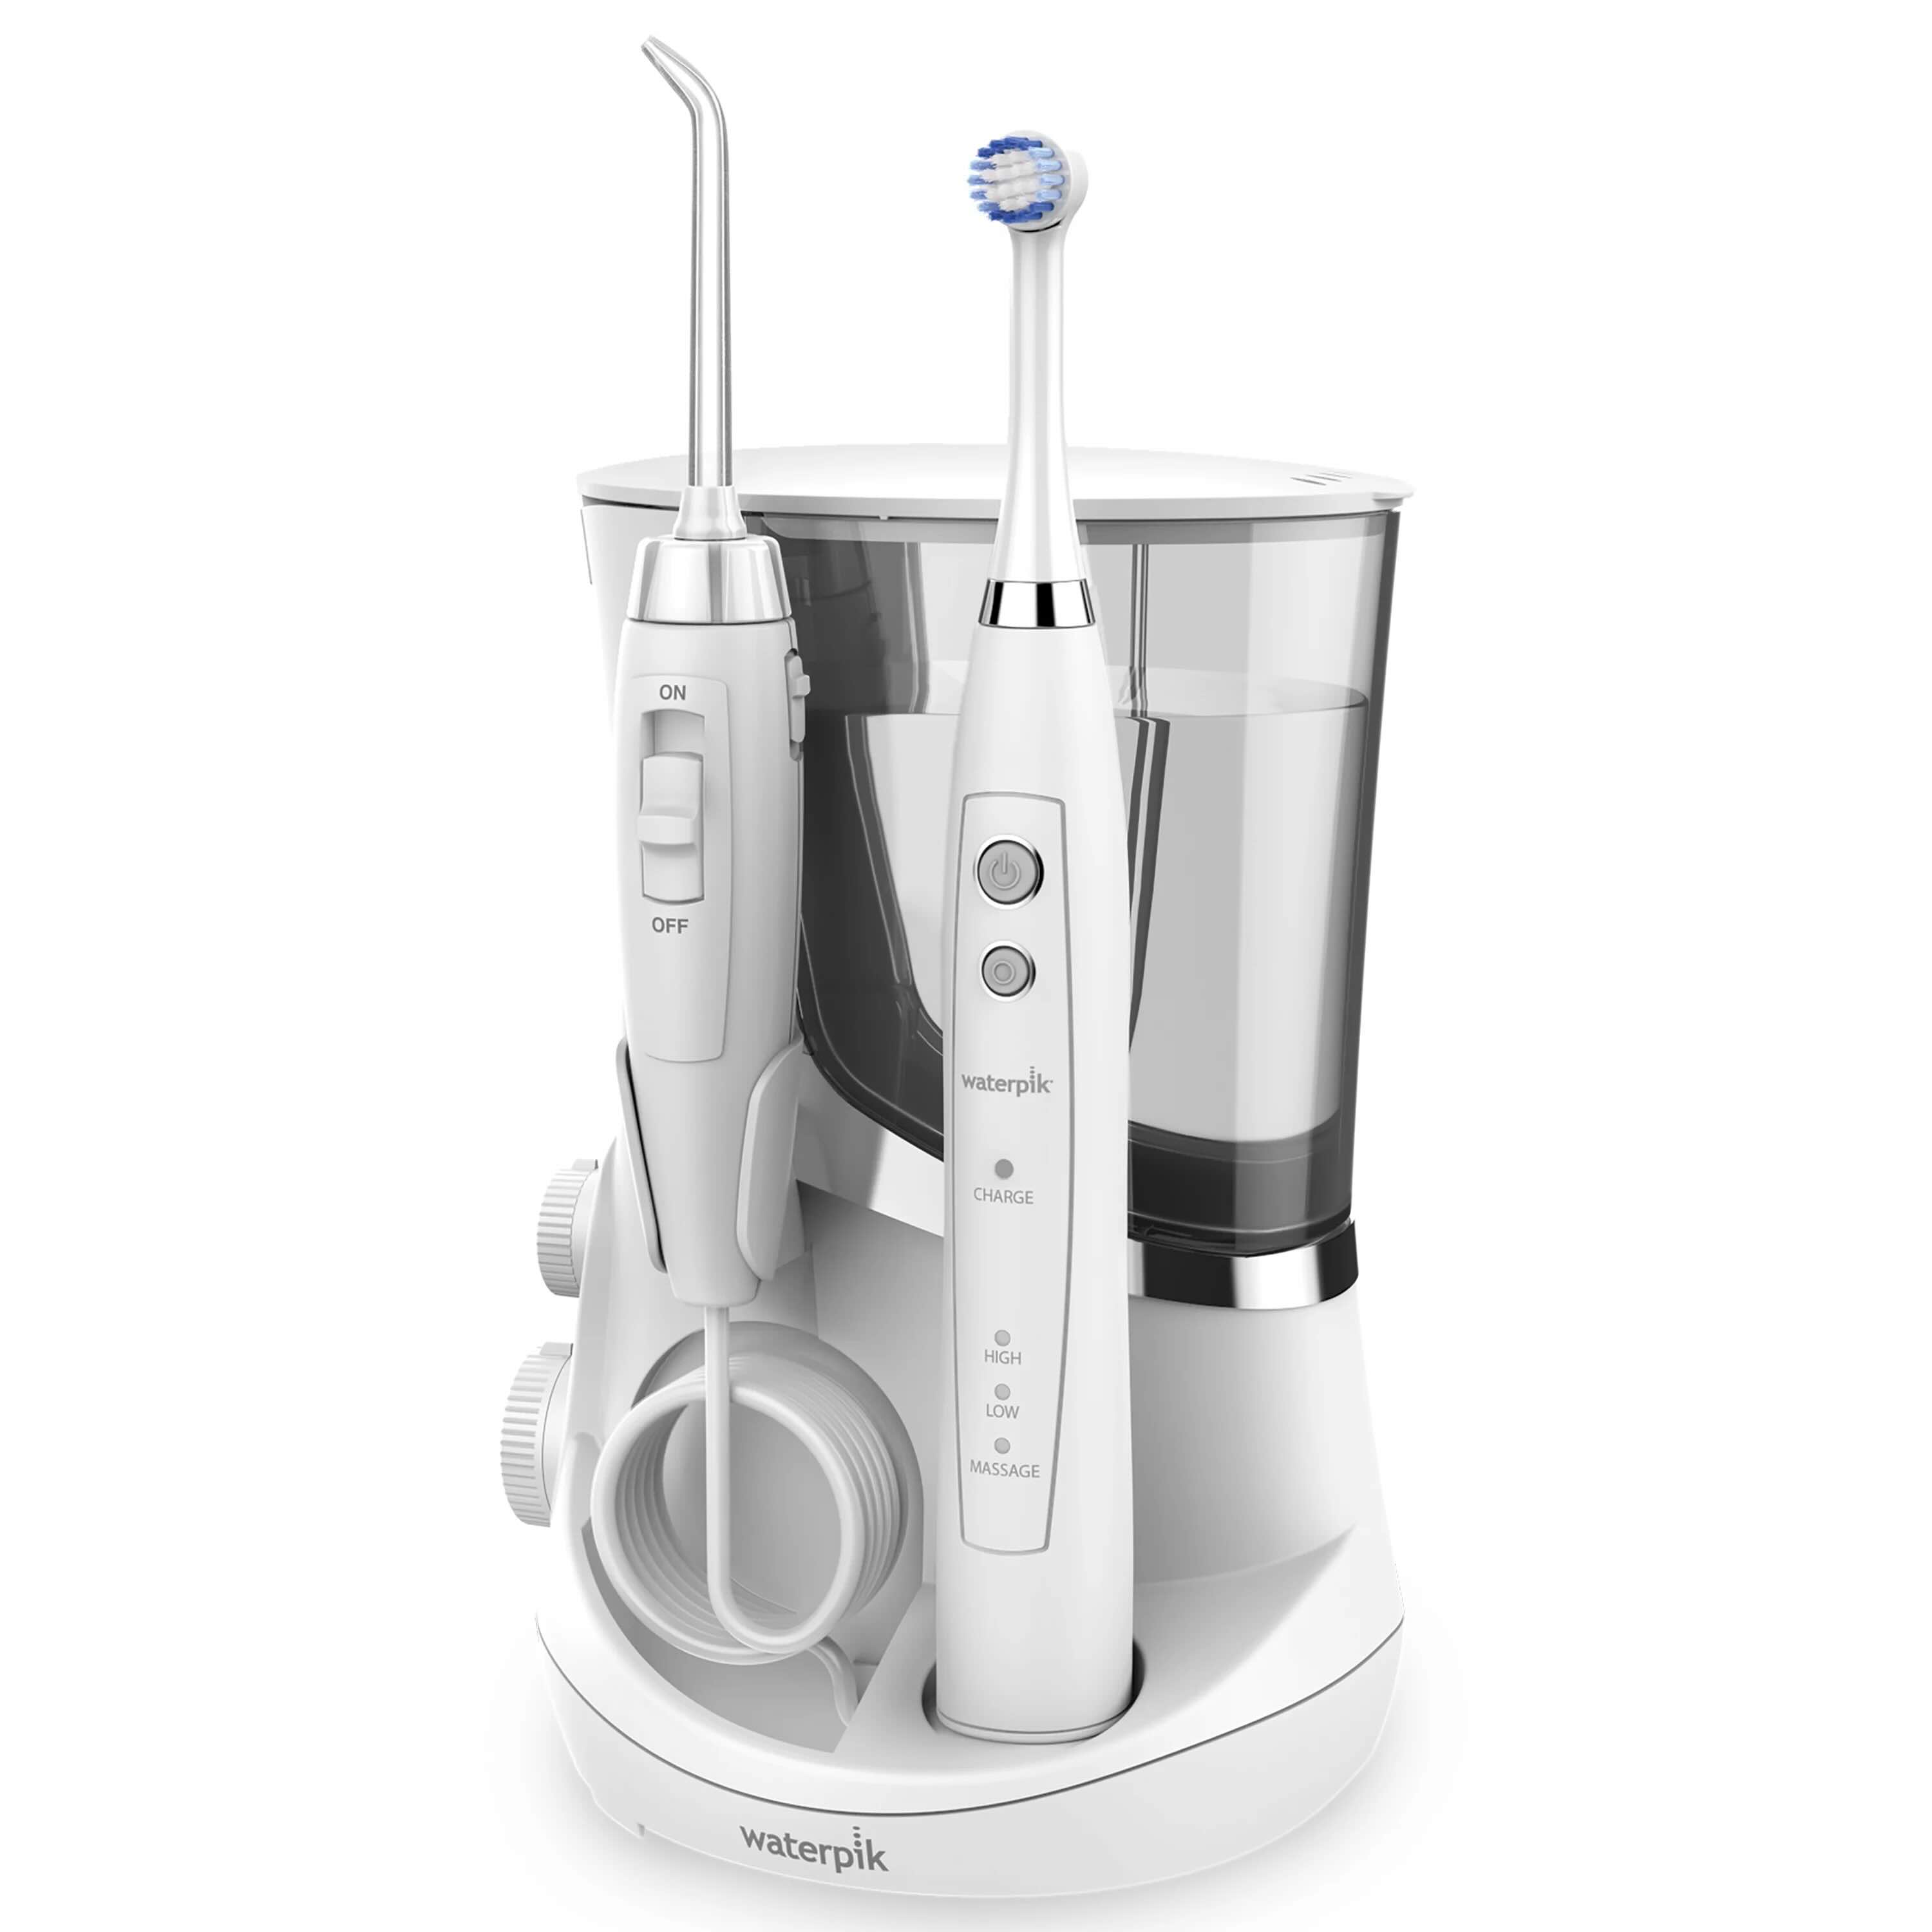
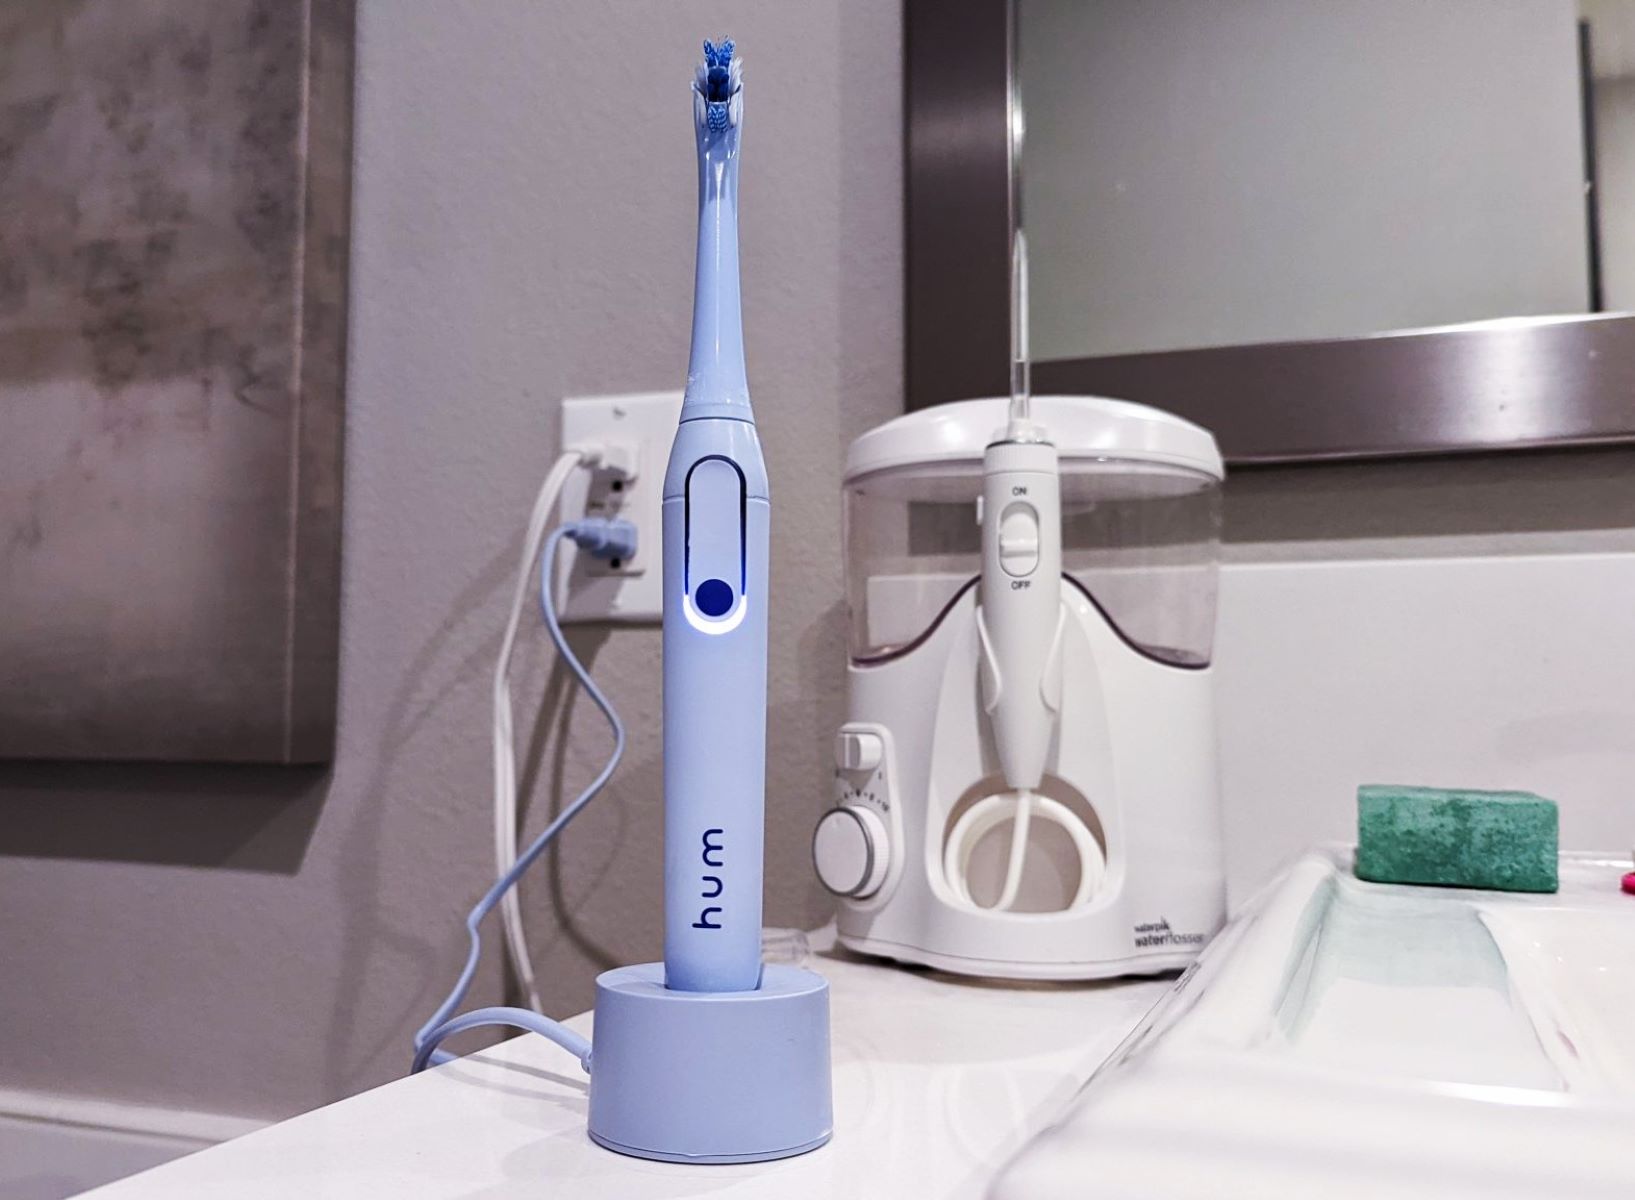
Step 5: Use a UV toothbrush sanitizer
Utilizing a UV toothbrush sanitizer is a cutting-edge and highly effective method for eliminating germs and bacteria from your toothbrush. UV sanitizers are designed to harness the power of ultraviolet light to destroy harmful microorganisms, providing a convenient and efficient solution for maintaining the cleanliness of your toothbrush.
To begin, invest in a quality UV toothbrush sanitizer, which is readily available at most pharmacies, online retailers, and specialty stores. These sanitizers are specifically engineered to emit UV-C light, a type of ultraviolet light that is capable of penetrating the cells of bacteria and viruses, effectively destroying their DNA and rendering them harmless.
Once you have a UV toothbrush sanitizer, simply place your toothbrush inside the designated compartment or slot, ensuring that the bristles are fully exposed to the UV light. Activate the sanitizer according to the manufacturer's instructions, allowing the UV-C light to work its magic and eliminate any lingering germs and bacteria on your toothbrush.
Most UV toothbrush sanitizers operate on a timed cycle, typically ranging from 5-10 minutes, during which the UV-C light thoroughly disinfects the toothbrush. This automated process provides a hassle-free and hands-free solution for sanitizing your toothbrush, making it an ideal choice for individuals seeking a convenient and high-tech cleaning method.
After the sanitization cycle is complete, remove your toothbrush from the UV sanitizer and ensure that it is thoroughly dry before its next use. The UV-C light effectively eliminates harmful microorganisms, providing an additional layer of protection for your oral hygiene routine.
Using a UV toothbrush sanitizer is a proactive and advanced approach to maintaining the cleanliness of your toothbrush, ensuring that it remains free from harmful bacteria and germs. This method is particularly beneficial for individuals with compromised immune systems or those seeking a high level of hygiene in their oral care regimen.
It's important to note that while a UV toothbrush sanitizer is an effective cleaning method, it should be used in conjunction with regular rinsing and air drying to maintain optimal oral hygiene. By combining these practices, you can ensure that your toothbrush remains free from harmful bacteria and germs, promoting a healthy and effective oral care regimen.
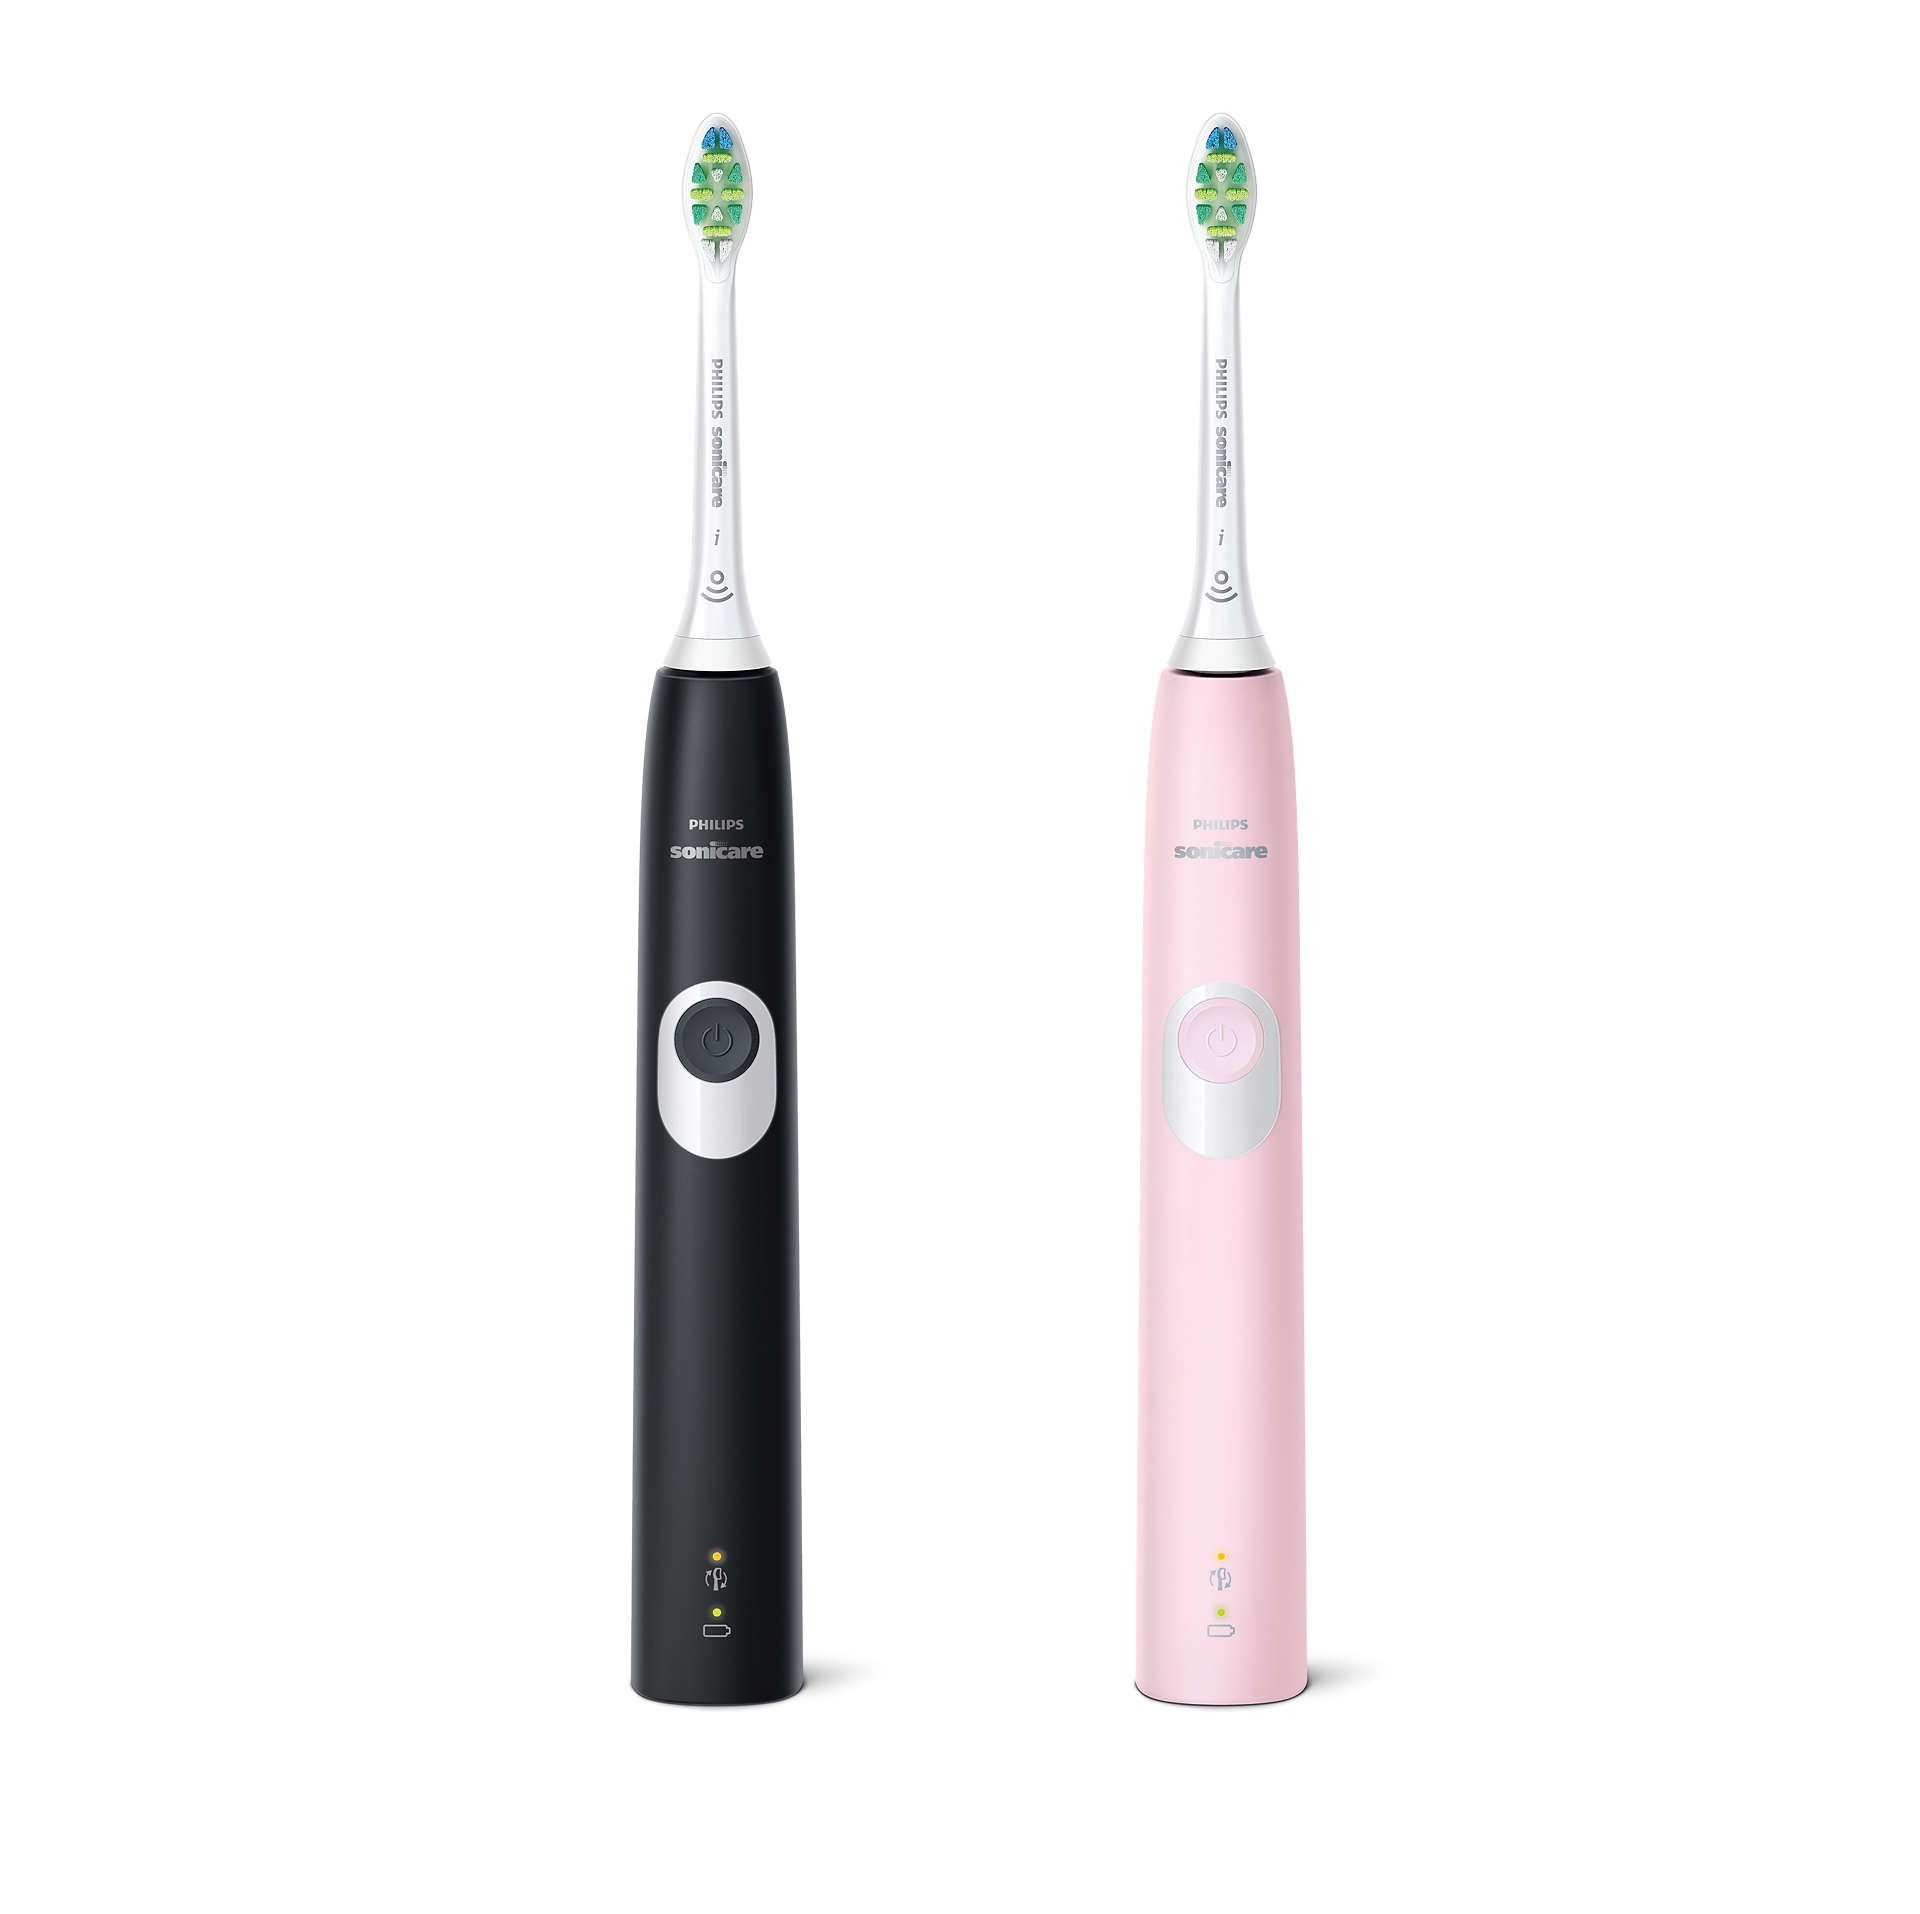
Step 6: Replace the toothbrush regularly
Regularly replacing your toothbrush is a fundamental aspect of maintaining optimal oral hygiene and ensuring the effectiveness of your oral care routine. Over time, the bristles of a toothbrush can become worn, frayed, and less effective at removing plaque and debris from the teeth and gums. Additionally, the accumulation of bacteria and germs on the bristles can compromise the overall cleanliness of the toothbrush, potentially leading to oral health concerns. Therefore, it is essential to establish a routine for replacing your toothbrush to uphold the highest standards of oral hygiene.
Dentists and oral health professionals recommend replacing your toothbrush approximately every 3 to 4 months, or sooner if the bristles show signs of wear. This timeframe ensures that the bristles remain effective at removing plaque and debris, contributing to thorough and efficient oral care. Additionally, replacing your toothbrush at regular intervals helps to minimize the accumulation of bacteria and germs, promoting a hygienic oral care regimen.
In addition to the standard replacement schedule, there are certain circumstances that warrant an immediate replacement of your toothbrush. If you have been sick, particularly with an infectious illness such as a cold, flu, or oral infection, it is crucial to replace your toothbrush once you have recovered. This precautionary measure helps to prevent the reintroduction of harmful bacteria and germs into your mouth, reducing the risk of reinfection and promoting overall wellness.
Furthermore, individuals with compromised immune systems or underlying health conditions should be particularly vigilant about replacing their toothbrushes regularly. By adhering to a consistent schedule for replacing your toothbrush, you can ensure that your oral care tools remain clean, effective, and conducive to maintaining optimal oral health.
When selecting a new toothbrush, opt for a soft-bristled brush with a comfortable grip and a head size that allows for easy access to all areas of the mouth. Additionally, consider investing in a quality toothbrush that is designed to effectively remove plaque and debris while promoting gentle and thorough cleaning.
By prioritizing the regular replacement of your toothbrush, you can uphold the highest standards of oral hygiene, minimize the accumulation of bacteria and germs, and ensure the ongoing effectiveness of your oral care routine. This simple yet crucial practice contributes to better oral health and overall well-being, empowering you to maintain a clean, hygienic, and confident smile.
Conclusion
Maintaining a clean toothbrush is an essential component of a comprehensive oral hygiene routine. By implementing the various cleaning methods outlined in this guide, individuals can effectively eliminate harmful bacteria and germs, ultimately contributing to better oral health and overall well-being.
From the simple yet crucial practice of rinsing the toothbrush after each use to the advanced technology of UV toothbrush sanitizers, there are numerous approaches to ensuring that your toothbrush remains clean and hygienic. Each method offers its unique benefits, providing individuals with a range of options to suit their preferences and lifestyle.
Regularly replacing the toothbrush is a fundamental aspect of maintaining optimal oral hygiene. By adhering to a consistent schedule for replacing the toothbrush, individuals can ensure that their oral care tools remain clean, effective, and conducive to maintaining optimal oral health.
It's important to note that while each cleaning method offers its unique advantages, they are most effective when used in conjunction with regular rinsing and air drying. By combining these practices, individuals can ensure that their toothbrush remains free from harmful bacteria and germs, promoting a healthy and effective oral care regimen.
In conclusion, a clean toothbrush is not only essential for maintaining oral health but also contributes to overall wellness. By incorporating the practices outlined in this guide into your daily oral hygiene routine, you can ensure that your toothbrush remains a reliable tool for promoting a clean, hygienic, and confident smile.
Frequently Asked Questions about How To Clean My Toothbrush
Was this page helpful?
At Storables.com, we guarantee accurate and reliable information. Our content, validated by Expert Board Contributors, is crafted following stringent Editorial Policies. We're committed to providing you with well-researched, expert-backed insights for all your informational needs.


0 thoughts on “How To Clean My Toothbrush”