Home>Home Appliances>Bathroom Appliances>How To Clean Dyson Filter Hair Dryer
Bathroom Appliances
How To Clean Dyson Filter Hair Dryer
Modified: August 24, 2024
Learn how to effectively clean your Dyson hair dryer filter to maintain its performance. Find expert tips and tricks for bathroom appliance maintenance.
(Many of the links in this article redirect to a specific reviewed product. Your purchase of these products through affiliate links helps to generate commission for Storables.com, at no extra cost. Learn more)
Introduction
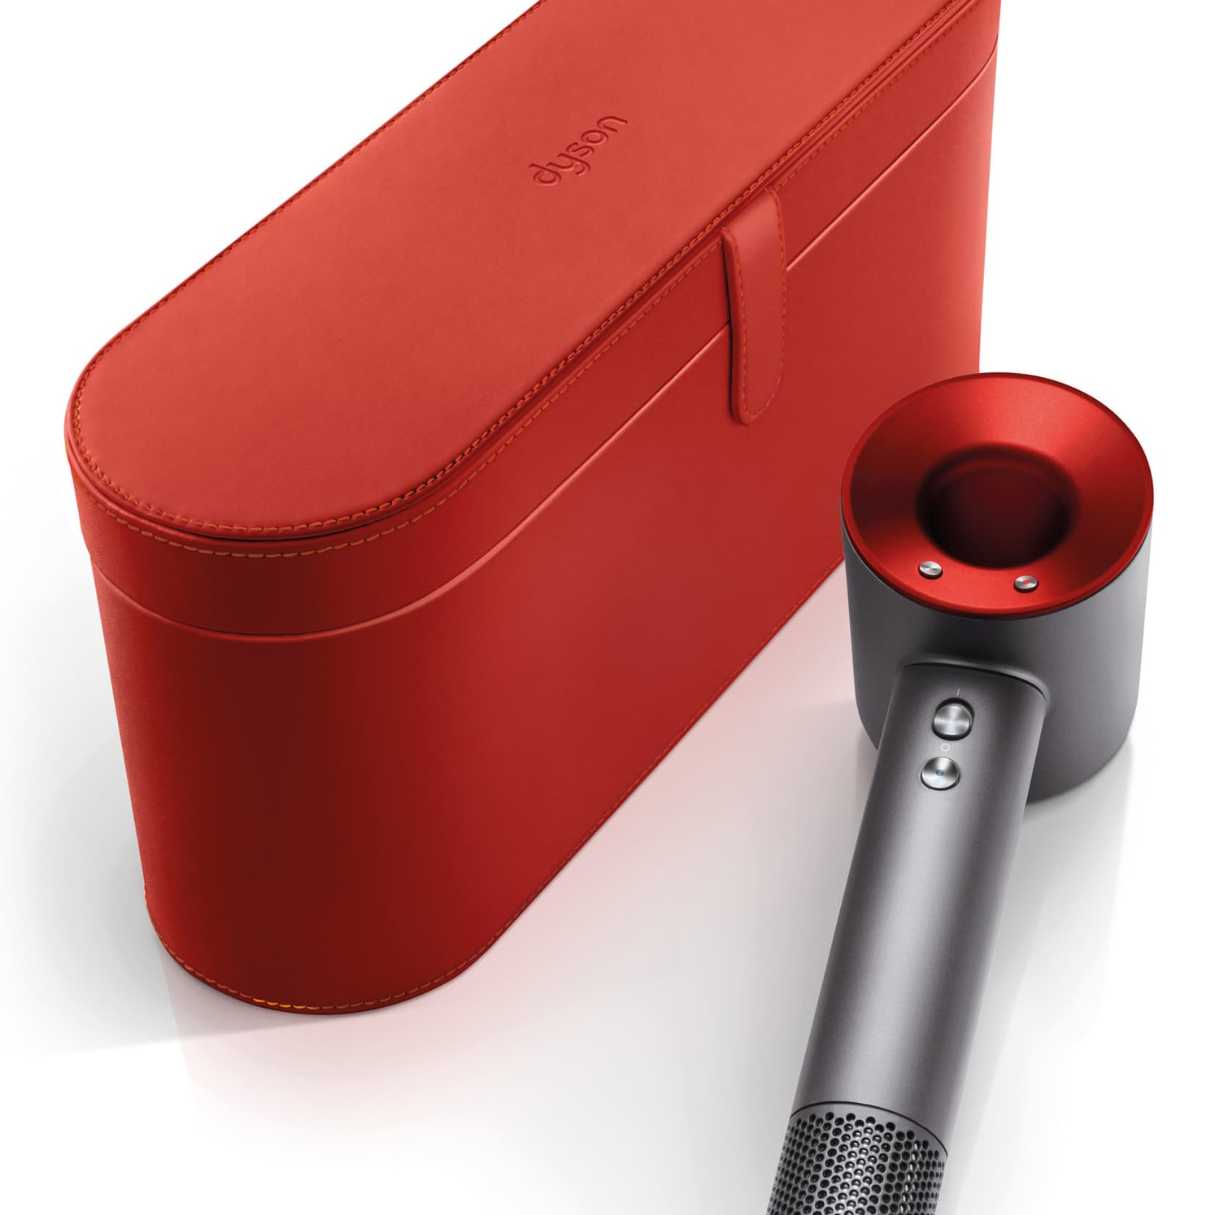
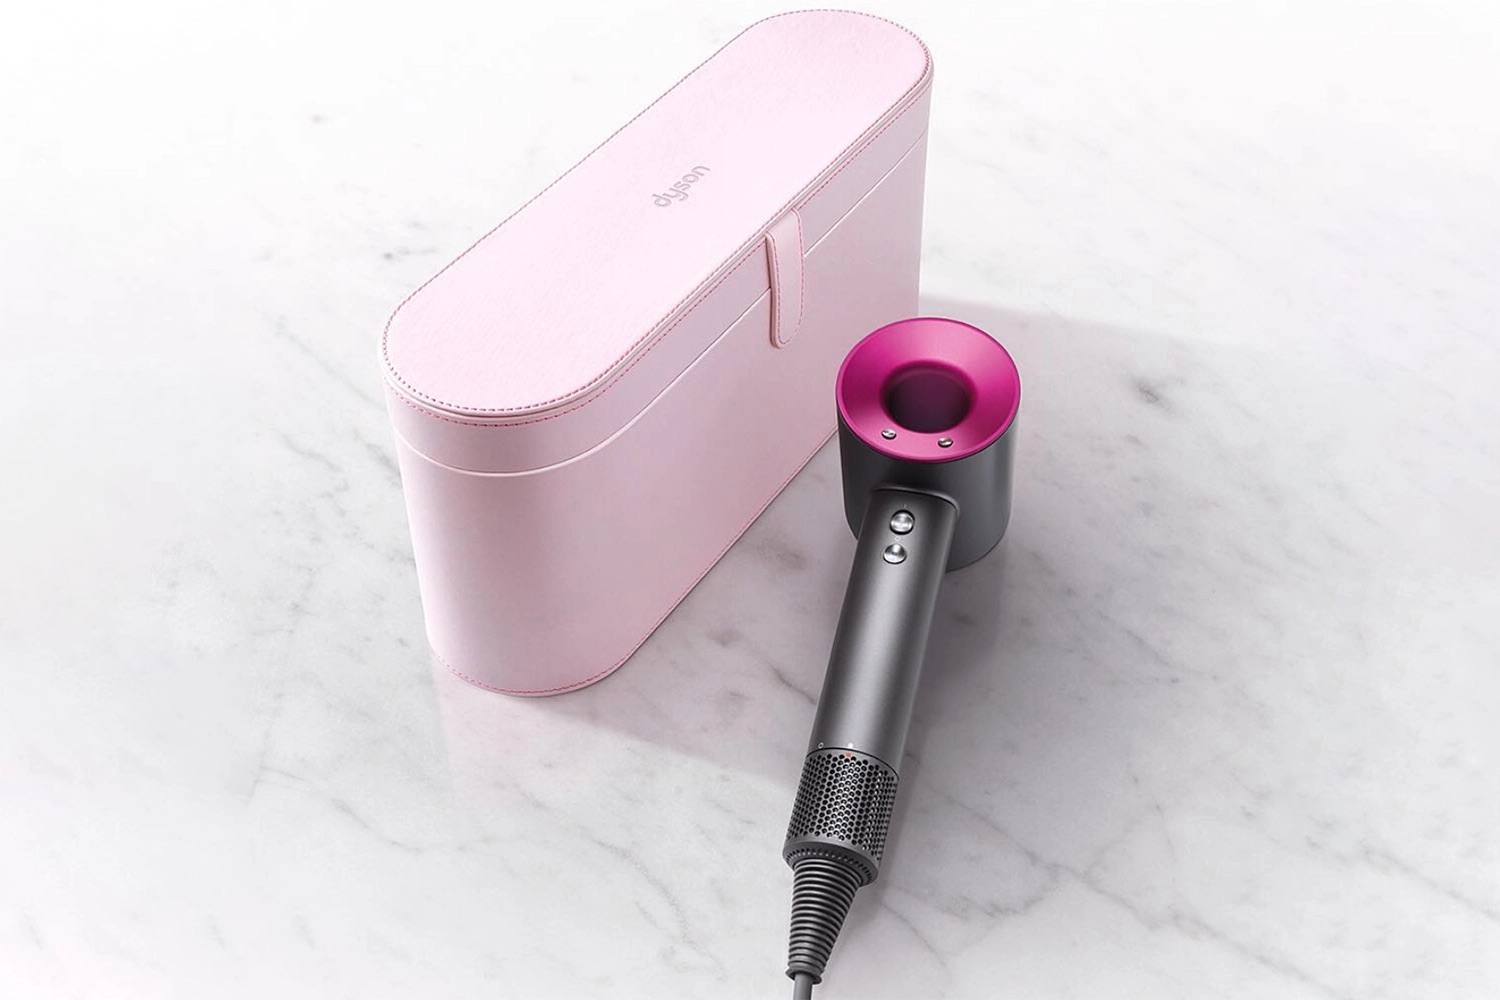
Welcome to the world of Dyson hair care, where innovation meets elegance. The Dyson Supersonic™ hair dryer is a marvel of engineering, designed to revolutionize your hair styling experience. One of the key components that contribute to its exceptional performance is the filter. The filter in the Dyson hair dryer plays a crucial role in maintaining the device's efficiency and prolonging its lifespan. Regularly cleaning the filter is essential to ensure that the hair dryer continues to deliver optimal results.
In this comprehensive guide, we will delve into the process of cleaning the Dyson filter in your hair dryer. By following these simple steps, you can effectively maintain the performance and longevity of your Dyson Supersonic™ hair dryer. Whether you are a seasoned Dyson enthusiast or a newcomer to the world of premium hair care technology, this guide will equip you with the knowledge and confidence to keep your hair dryer in pristine condition.
So, let's embark on this journey to discover the intricacies of cleaning the Dyson filter, ensuring that your hair dryer remains a reliable and indispensable tool in your daily routine. Let's dive in and unveil the secrets to preserving the pristine condition of your Dyson hair dryer!
Key Takeaways:
- Keep your Dyson hair dryer performing at its best by regularly cleaning the filter. It’s easy and essential for maintaining optimal airflow and prolonging the dryer’s lifespan.
- Safely disassemble, clean, and reassemble your Dyson hair dryer to ensure exceptional performance and reliability. Regular maintenance preserves its functionality and elevates your styling experience.
Read more: How To Clean Revlon Hair Dryer Filter
Understanding the Dyson Filter Hair Dryer
Before we delve into the cleaning process, it’s essential to understand the significance of the filter in the Dyson hair dryer. The filter is a vital component that prevents dust, debris, and hair from entering the internal mechanism of the hair dryer. By trapping these particles, the filter ensures that the airflow remains unobstructed, allowing the hair dryer to function at its optimal capacity.
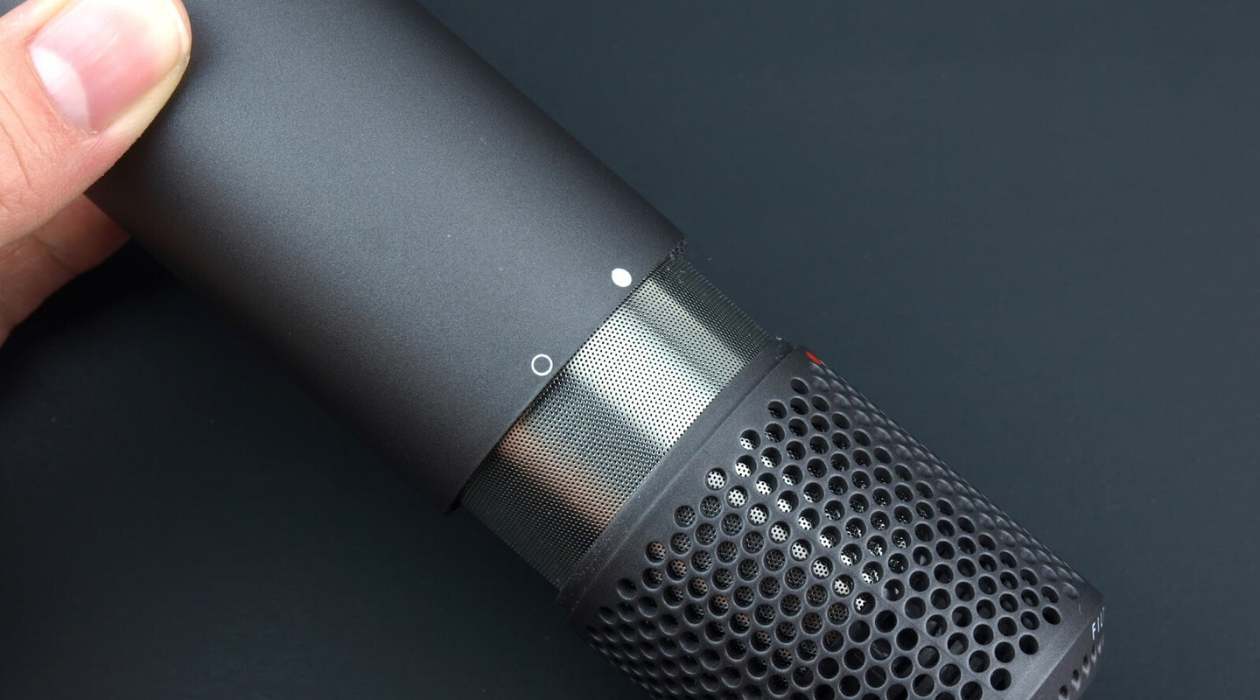
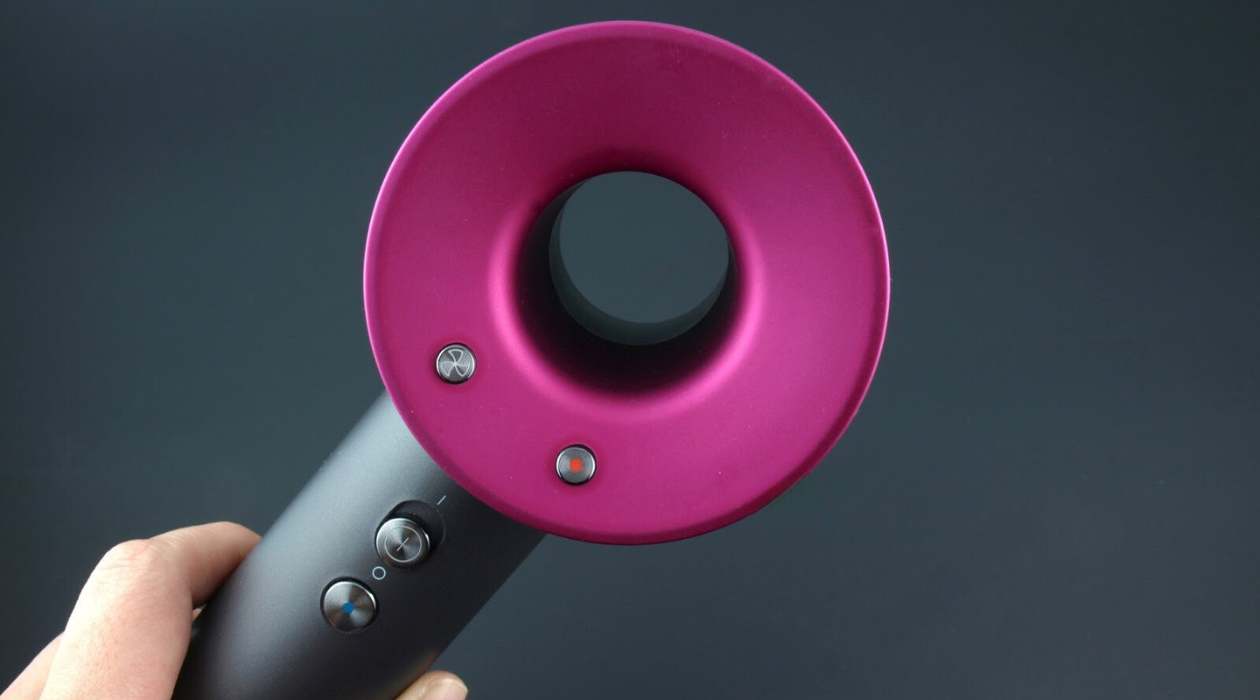
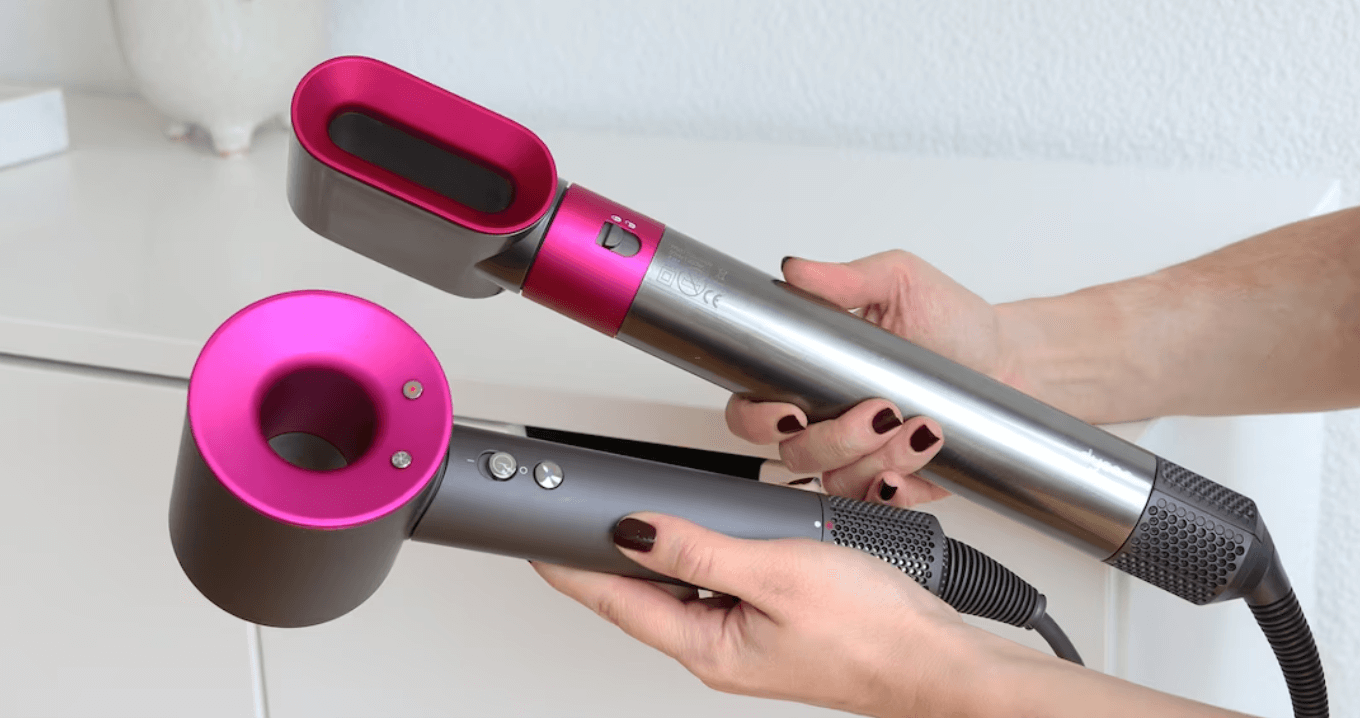
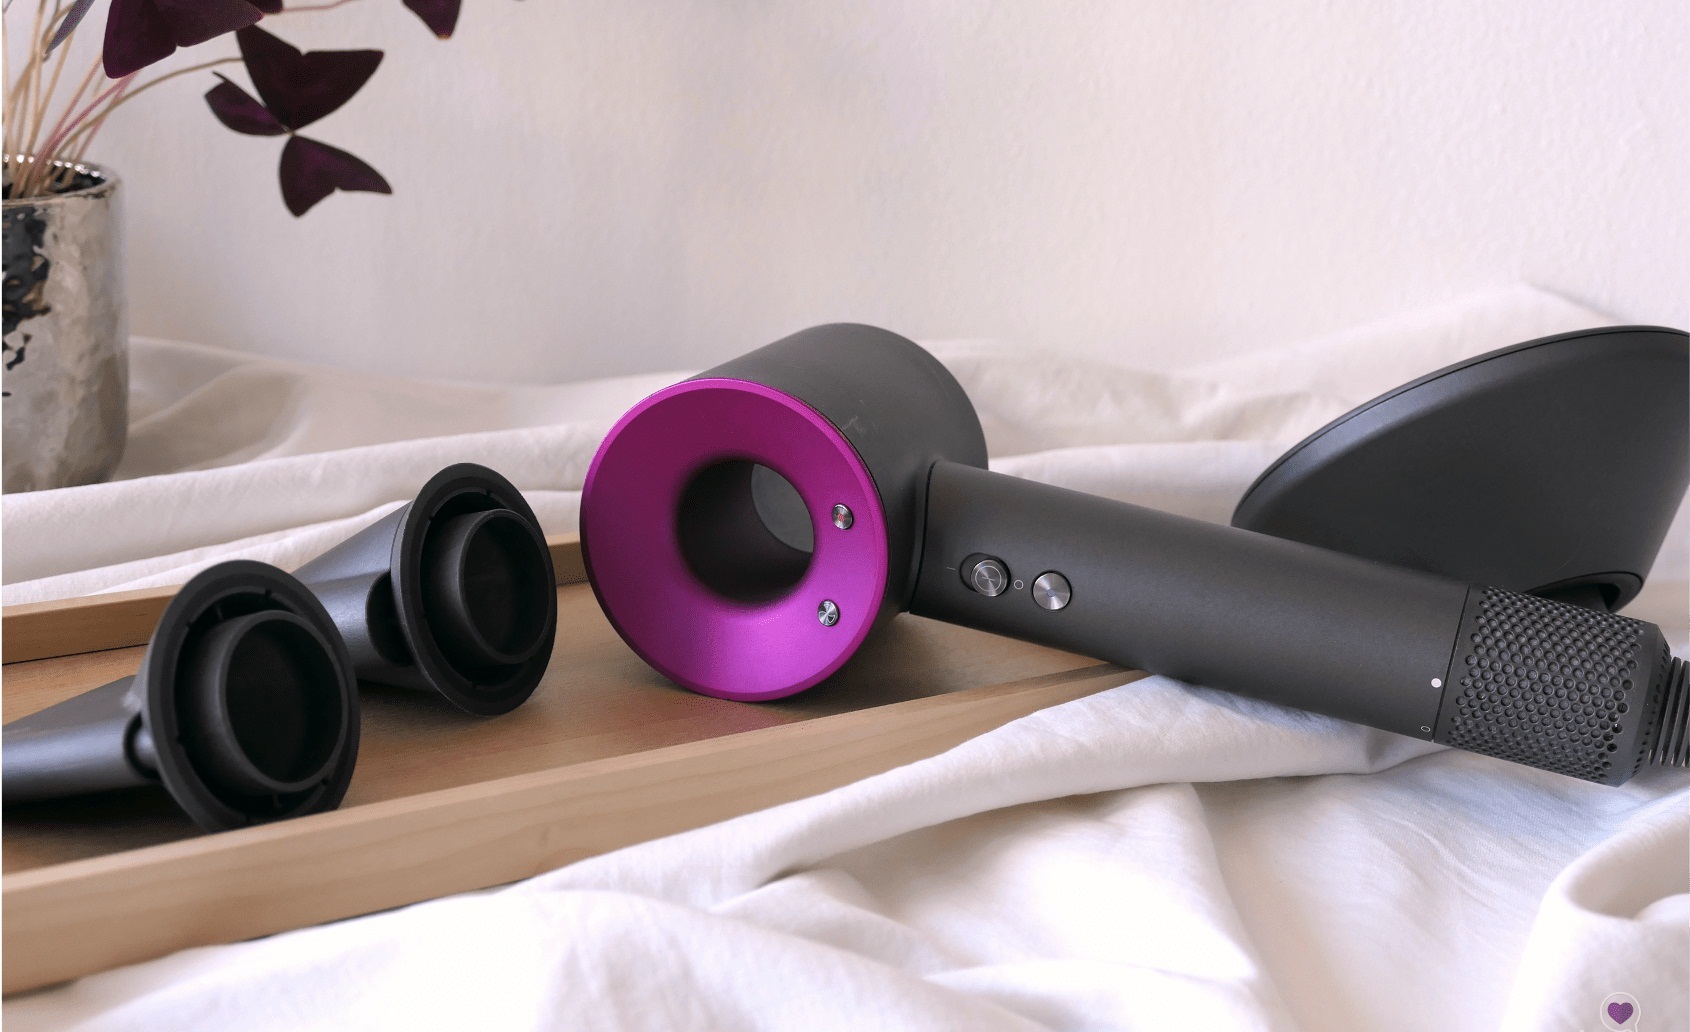
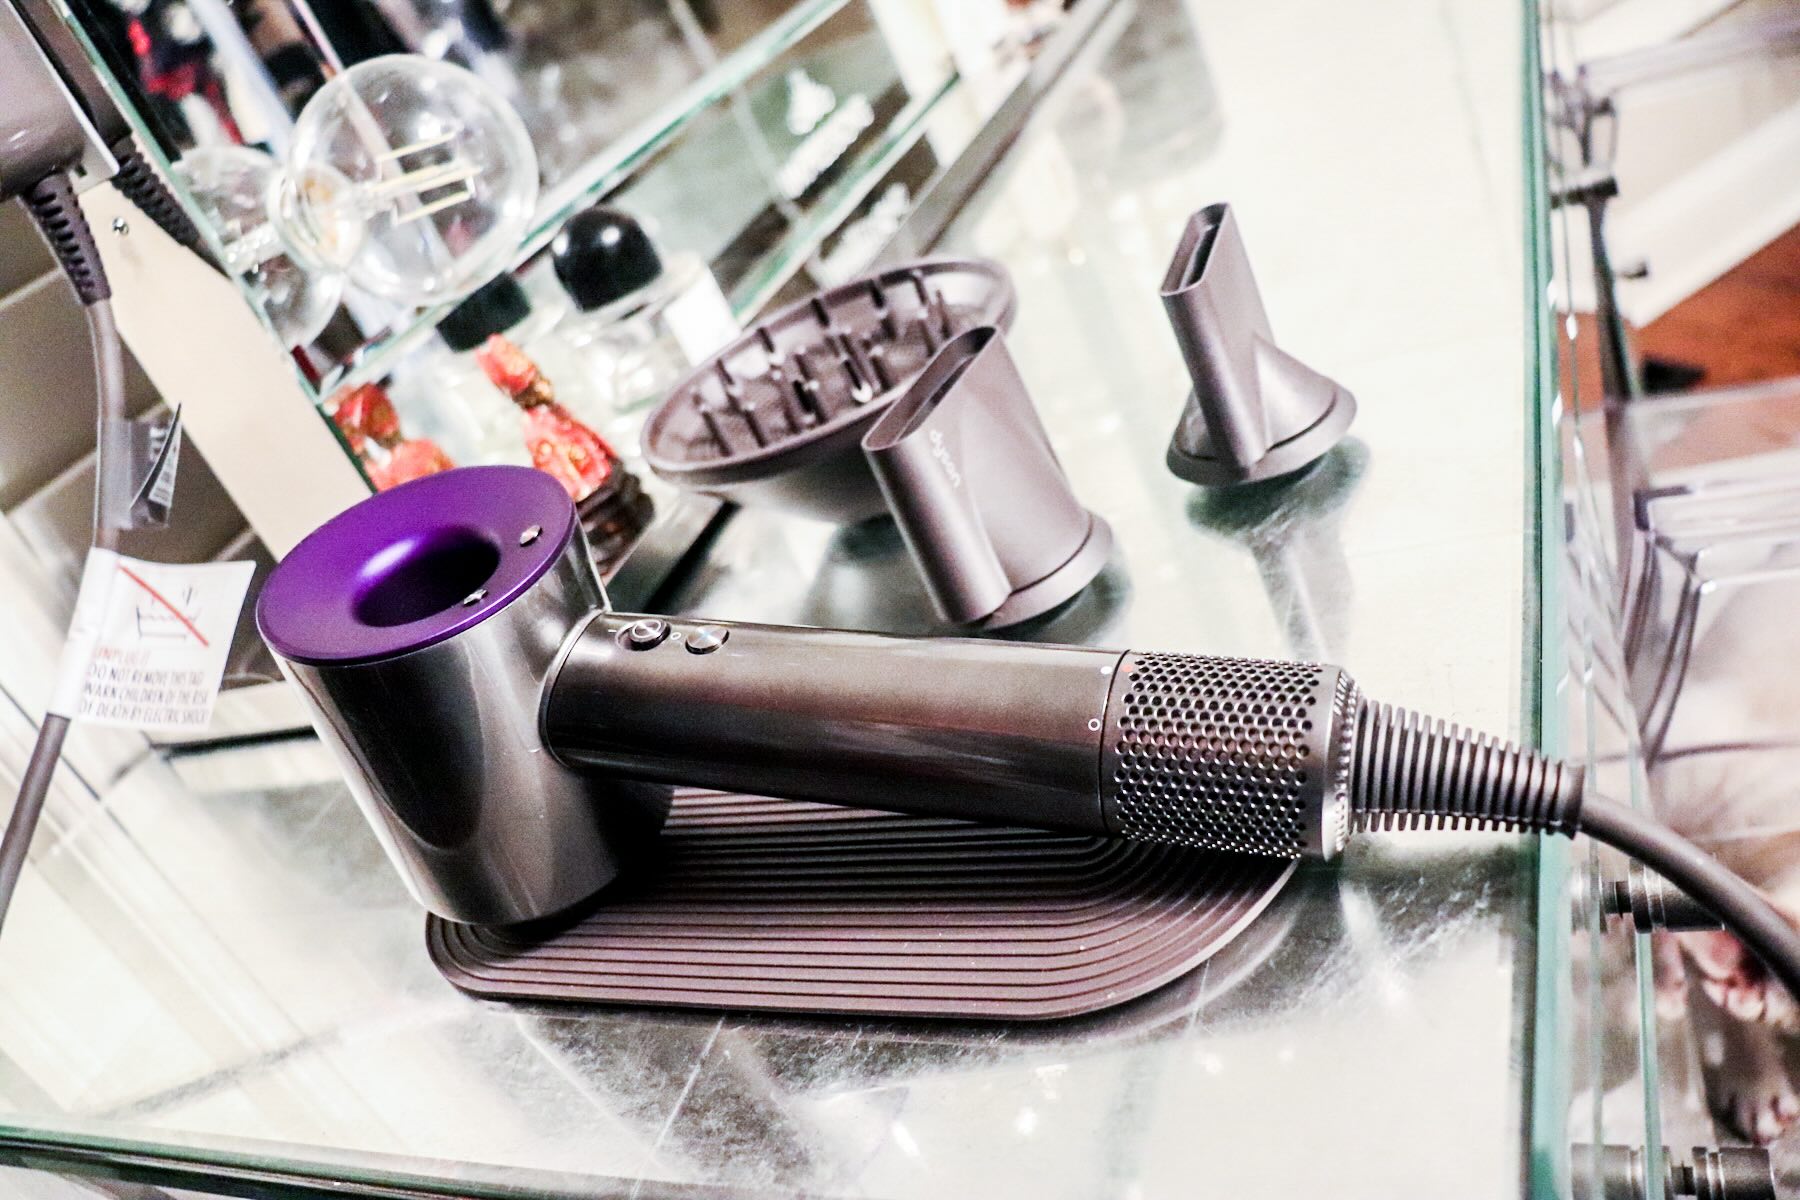
The Dyson Supersonic™ hair dryer is equipped with a removable filter located at the base of the handle. This filter is designed to be easily accessible, enabling users to perform regular maintenance without hassle. Over time, the filter accumulates dust, lint, and hair, which can impede the airflow and diminish the hair dryer’s performance. By cleaning the filter at regular intervals, you can uphold the efficiency and longevity of your Dyson hair dryer.
Furthermore, understanding the anatomy of the Dyson hair dryer and the role of its filter fosters a deeper appreciation for the meticulous engineering that defines Dyson products. The seamless integration of advanced technology and user-friendly design sets the Dyson Supersonic™ hair dryer apart as a pinnacle of innovation in the realm of hair care appliances.
As we proceed to the cleaning process, keep in mind that maintaining the cleanliness of the filter is fundamental to preserving the functionality and durability of your Dyson hair dryer. Now that we’ve gained insight into the importance of the filter, let’s embark on the step-by-step journey of cleaning the Dyson filter to ensure that your hair dryer continues to exceed expectations in performance and reliability.
Step 1: Disassembling the Hair Dryer
Before we begin the cleaning process, it’s crucial to ensure the hair dryer is safely disassembled to access the filter. Here’s a simple and safe method to disassemble the Dyson Supersonic™ hair dryer:
- Unplug the Hair Dryer: Always start by unplugging the hair dryer from the power source to eliminate any risk of electrical hazards.
- Cooling Period: Allow the hair dryer to cool down if it has been in use recently. This precaution prevents accidental burns during the disassembly process.
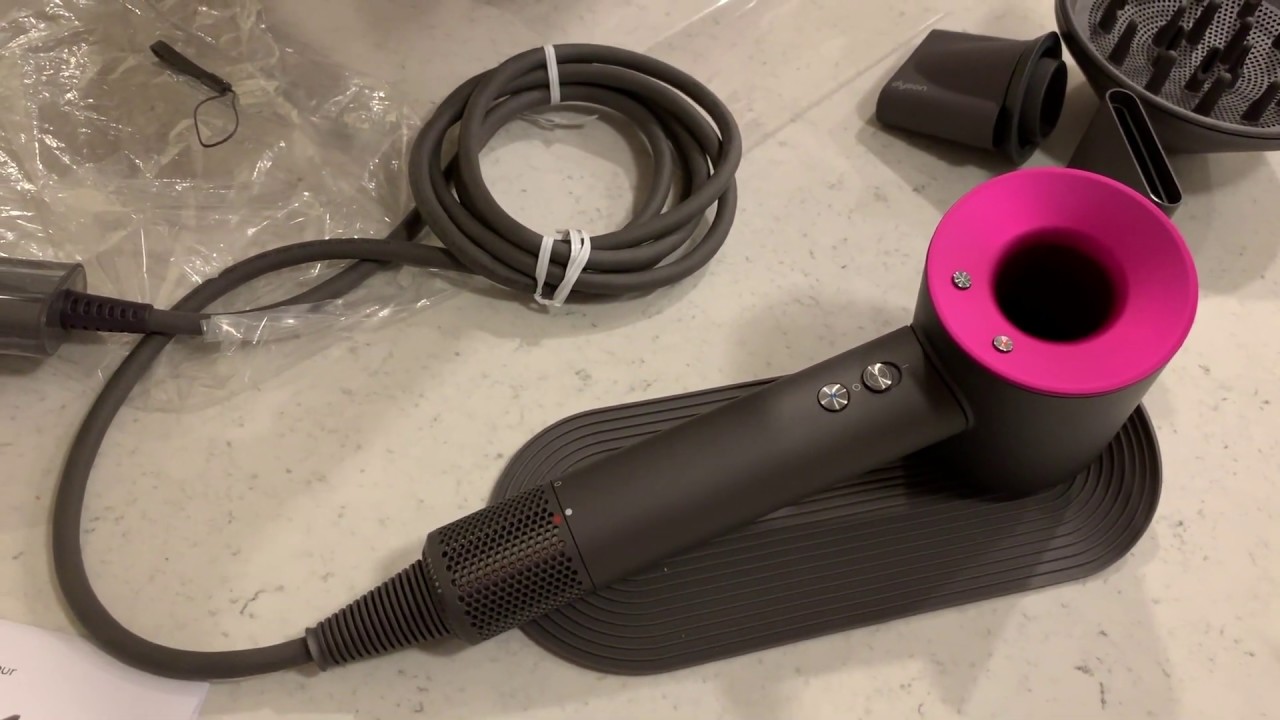
- Remove Attachments: If any styling attachments, such as the diffuser or concentrator, are attached to the hair dryer, carefully detach them and set them aside in a safe location.
- Handle with Care: Hold the hair dryer securely, ensuring a firm grip, and position it on a stable surface to prevent any accidental slips or falls during disassembly.
- Identify the Filter: Locate the filter at the base of the handle. The filter is designed to be easily accessible for maintenance purposes.
By following these simple steps to disassemble the hair dryer, you can ensure a safe and efficient process for accessing the filter. With the hair dryer safely disassembled, we can proceed to the next step of removing the filter in preparation for thorough cleaning. Remember, safety is paramount throughout this process, so exercise caution and attentiveness as you disassemble your Dyson Supersonic™ hair dryer.
Step 2: Removing the Filter
Now that the hair dryer is safely disassembled, the next step is to remove the filter from the Dyson Supersonic™ hair dryer. Follow these simple instructions to effectively remove the filter:
- Identify the Filter Housing: Locate the filter housing at the base of the handle. The filter housing is designed to securely hold the filter in place.
- Unlock the Filter Housing: Depending on the specific model of the Dyson hair dryer, there may be a locking mechanism or release button that secures the filter housing. Follow the manufacturer’s instructions to unlock the housing and prepare it for filter removal.
- Gently Extract the Filter: With the housing unlocked, carefully extract the filter from its compartment. Exercise caution to avoid damaging the filter or the surrounding components.
- Inspect the Filter: Take a moment to inspect the filter for any visible buildup of dust, lint, or debris. This visual assessment will provide insight into the level of cleaning required to restore the filter to its optimal condition.
By following these steps, you can safely and effectively remove the filter from your Dyson hair dryer, setting the stage for the crucial cleaning process. With the filter in hand, we can proceed to the next step of thoroughly cleaning and rejuvenating this essential component of the Dyson Supersonic™ hair dryer. Remember to handle the filter with care to prevent any damage during the removal process.
To clean a Dyson hair dryer filter, remove the filter and use a soft brush to gently remove any hair and debris. You can also use a can of compressed air to blow out any remaining particles. Make sure the filter is completely dry before reattaching it to the hair dryer.
Step 3: Cleaning the Filter
Now that the filter has been removed from the Dyson Supersonic™ hair dryer, it’s time to embark on the essential process of cleaning the filter. Follow these comprehensive steps to ensure that the filter is thoroughly cleansed and restored to its optimal condition:
- Initial Dust Removal: Begin by gently tapping the filter to dislodge any loose dust or debris. This preliminary step helps to eliminate surface-level buildup before proceeding to more thorough cleaning methods.
- Rinse with Water: Holding the filter under running water, rinse it to remove stubborn particles and residue. Use a gentle stream of water to avoid damaging the filter’s delicate structure.
- Mild Soap Application: Apply a small amount of mild, liquid soap to the filter. Gently massage the soap into the filter, targeting areas with visible residue or discoloration. This step aids in dislodging and dissolving stubborn buildup.
- Thorough Rinse: Rinse the filter under running water once again to remove the soap and dislodged debris. Ensure that all traces of soap and residue are effectively washed away, leaving the filter clean and refreshed.
- Pat Dry with a Cloth: Using a soft, clean cloth, carefully pat the filter dry to remove excess water. Avoid rubbing the filter vigorously, as this can damage its delicate structure.
- Air Drying: Allow the filter to air dry completely before reassembling it into the hair dryer. Ensure that the filter is devoid of any moisture before proceeding to the reassembly phase.
By meticulously following these steps, you can effectively cleanse the filter of your Dyson hair dryer, ensuring that it operates at peak performance while maintaining optimal hygiene standards. With the filter now rejuvenated, we can proceed to the final step of reassembling the Dyson Supersonic™ hair dryer, ready to deliver exceptional results once again.
Read more: How To Clean Filter On Shark Hair Dryer
Step 4: Reassembling the Hair Dryer
With the filter thoroughly cleaned and rejuvenated, it’s time to reassemble the Dyson Supersonic™ hair dryer to restore it to its full functionality. Follow these simple steps to safely and effectively reassemble the hair dryer:
- Ensure Complete Drying: Before reassembly, confirm that the filter is completely dry. Any residual moisture can impact the performance of the hair dryer and potentially lead to malfunctions.
- Position the Filter: Carefully place the clean and dry filter back into the filter housing at the base of the handle. Ensure that it is securely positioned and aligned according to the manufacturer’s specifications.
- Lock the Filter Housing: If the filter housing features a locking mechanism, securely lock it in place to prevent the filter from dislodging during operation. Follow the manufacturer’s instructions to ensure a proper fit.
- Reattach Styling Attachments: If you had removed any styling attachments during the disassembly process, now is the time to reattach them to the hair dryer. Ensure that they are securely connected for safe and effective operation.
- Plug in the Hair Dryer: Once the hair dryer is fully reassembled, plug it back into the power source. With the filter cleaned and reinstalled, the Dyson Supersonic™ hair dryer is ready to deliver exceptional performance once again.
By carefully following these reassembly steps, you can ensure that the Dyson hair dryer is restored to its optimal condition, ready to provide reliable and efficient hair care solutions. With the filter cleaned and securely reassembled, your Dyson Supersonic™ hair dryer is poised to exceed expectations in both performance and longevity, enriching your hair care routine with its exceptional capabilities.
Conclusion
Congratulations on successfully navigating the process of cleaning the Dyson filter in your Supersonic™ hair dryer. By following the steps outlined in this guide, you have not only preserved the efficiency and longevity of your hair dryer but also gained valuable insights into the meticulous engineering and user-friendly design that define Dyson products.
Regular maintenance, including the cleaning of the filter, is essential to ensure that your Dyson Supersonic™ hair dryer continues to deliver exceptional results, elevating your hair care experience to new heights. The seamless disassembly, thorough cleaning, and meticulous reassembly have equipped you with the knowledge and confidence to keep your hair dryer in pristine condition, ready to meet your styling needs with unrivaled performance.
As you embark on your hair care journey with the Dyson Supersonic™ hair dryer, remember that the dedication to maintenance and care is a testament to your commitment to quality and excellence. By incorporating these practices into your hair care routine, you are not only preserving the functionality of your hair dryer but also ensuring that it remains a reliable and indispensable tool in your daily regimen.
With the filter now cleansed and the hair dryer reassembled, you can revel in the exceptional results and unparalleled convenience that the Dyson Supersonic™ hair dryer offers. Embrace the confidence that comes with a meticulously maintained hair care appliance, and enjoy the transformative power of Dyson technology in your daily styling endeavors.
Thank you for embarking on this journey to uncover the intricacies of maintaining your Dyson hair dryer. May your hair care experiences continue to be enriched by the innovative solutions and uncompromising quality that Dyson brings to the realm of beauty and technology.
Frequently Asked Questions about How To Clean Dyson Filter Hair Dryer
Was this page helpful?
At Storables.com, we guarantee accurate and reliable information. Our content, validated by Expert Board Contributors, is crafted following stringent Editorial Policies. We're committed to providing you with well-researched, expert-backed insights for all your informational needs.

0 thoughts on “How To Clean Dyson Filter Hair Dryer”