Home>Furniture>Bedroom Furniture>How To Clean Mattress After Bed Wetting
Bedroom Furniture
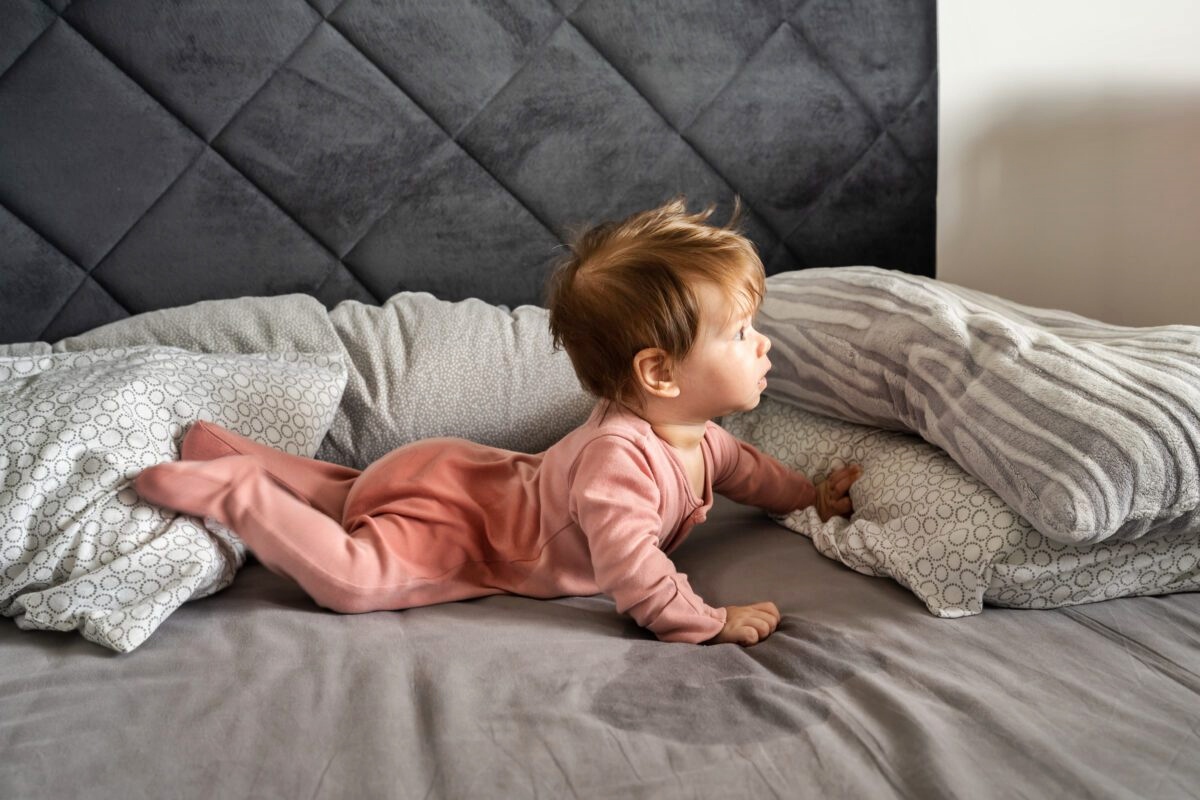
How To Clean Mattress After Bed Wetting
Modified: September 1, 2024
Learn how to effectively clean your mattress after a bed-wetting accident. Preserve the quality of your bedroom furniture and maintain a fresh and hygienic sleeping environment.
(Many of the links in this article redirect to a specific reviewed product. Your purchase of these products through affiliate links helps to generate commission for Storables.com, at no extra cost. Learn more)
Introduction
When it comes to maintaining a clean and fresh bedroom, one of the most important factors to consider is the cleanliness of your mattress. While accidents happen, such as bedwetting incidents, it’s essential to know how to properly clean your mattress to remove stains and odors. In this guide, we will walk you through the step-by-step process of cleaning a mattress after bedwetting, ensuring that you can restore your mattress to its former pristine condition.
Bedwetting is a common issue that can affect individuals of all ages, from young children to adults. While it may be embarrassing or frustrating to deal with, it’s important to approach the cleanup process with patience and the right techniques. By following these steps, you can effectively remove stains, eliminate odors, and maintain a hygienic sleeping environment.
Before you begin, it’s essential to gather the necessary supplies to ensure a thorough mattress cleaning. You will need:
- Warm water
- Mild liquid dish soap
- Vinegar or hydrogen peroxide
- A clean cloth or sponge
- A spray bottle
- Baking soda
- A vacuum cleaner with upholstery attachment
Once you have these supplies ready, let’s dive into the step-by-step process of cleaning your mattress after bedwetting.
Key Takeaways:
- Keep your mattress clean and fresh by promptly addressing bedwetting incidents. Follow the step-by-step guide to effectively remove stains, eliminate odors, and protect your mattress for a hygienic sleeping environment.
- Utilize baking soda for natural odor removal and consider using a waterproof mattress cover for added protection. Regular maintenance and care will ensure a clean and comfortable sleep environment for years to come.
Read more: How To Clean A Wet Bed
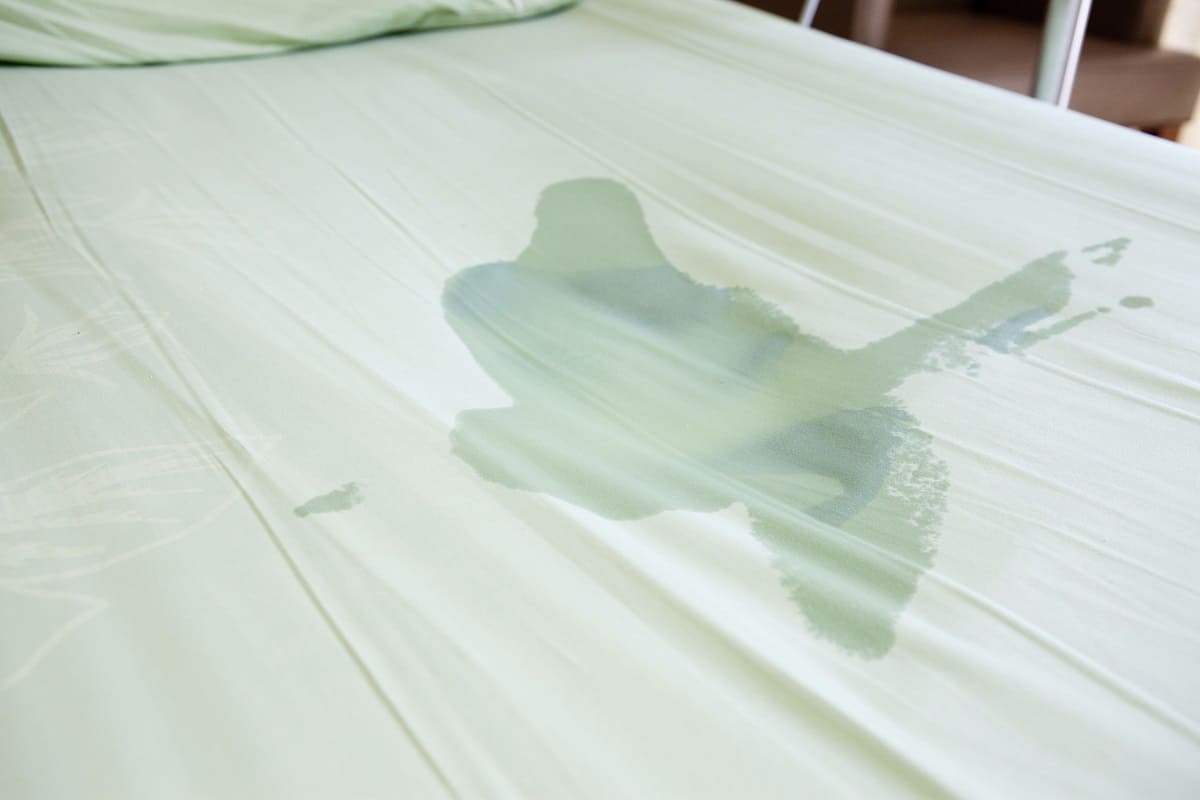
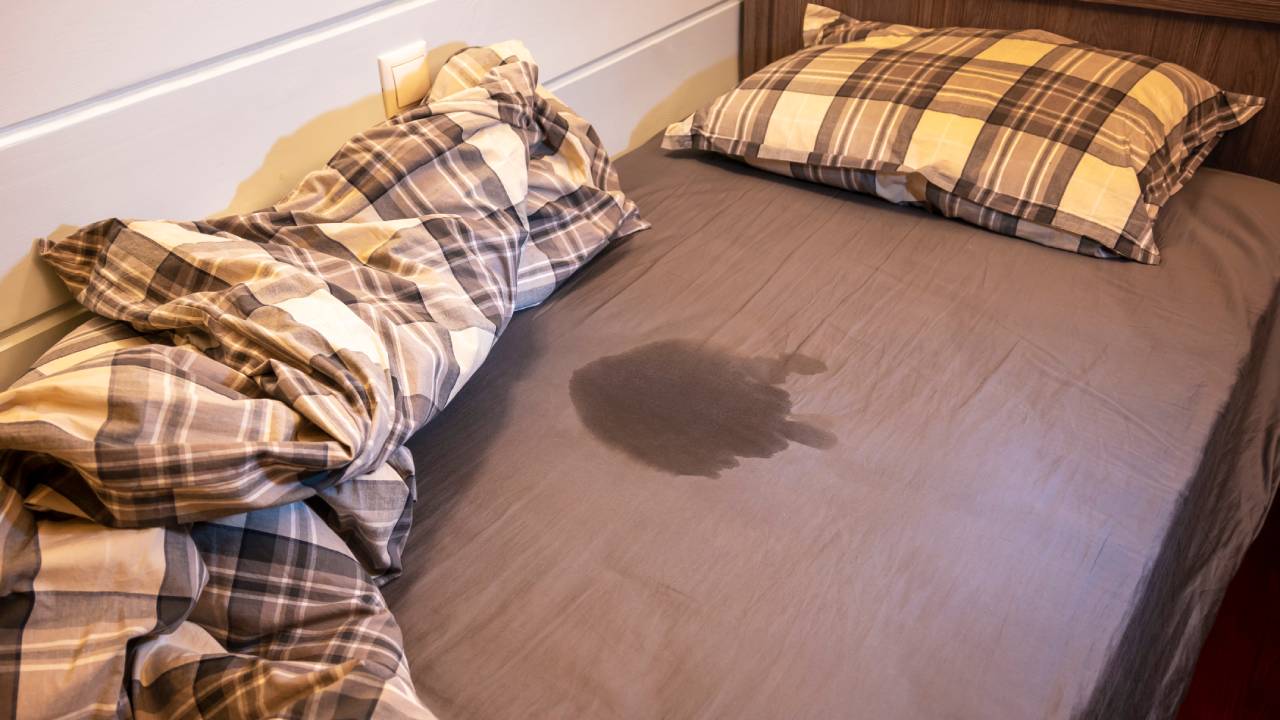
Step 1: Remove Soiled Bedding
The first step in cleaning a mattress after bedwetting is to remove any soiled bedding. It is important to act quickly to prevent the stain from spreading and to minimize any potential damage to the mattress.
Start by carefully removing any wet sheets, blankets, or mattress protectors. Be cautious not to drip or smear any moisture onto unaffected areas of the mattress. If there is excessive liquid, use towels or paper towels to blot and absorb as much as possible.
Once the bedding is removed, place it in a plastic bag for proper laundering. Wash the bedding according to the manufacturer’s instructions, using hot water and a stain removal product if necessary.
Please note: If the mattress protector has protected the mattress from direct contact with the urine, you may only need to clean the surface of the mattress. However, if the urine has seeped through the protector, you will need to clean the entire mattress.
Now that the soiled bedding is taken care of, it’s time to move on to the next step in the cleaning process.
Step 2: Blot Excess Moisture
After removing the soiled bedding, the next step in cleaning a mattress after bedwetting is to blot excess moisture from the mattress. This is an important step to prevent the stain from setting and to speed up the drying process.
To begin, take a clean cloth or paper towels and gently blot the wet areas of the mattress. Avoid rubbing or scrubbing as this can push the moisture further into the mattress fibers. Instead, apply gentle pressure to absorb as much liquid as possible.
If there is a significant amount of liquid, you may need to use multiple towels or switch to fresh ones as they become saturated. Continue blotting until there is minimal moisture left on the mattress surface.
It’s crucial to act quickly and thoroughly during this step, as leaving excess moisture on the mattress can lead to mold or mildew growth. Additionally, removing as much moisture as possible will make the cleaning process more effective and efficient.
Once you have successfully blotted away the excess moisture, it’s time to move on to the next step: applying a cleaning solution to tackle the stain.
Step 3: Apply Cleaning Solution
Now that you have blotted away the excess moisture, it’s time to apply a cleaning solution to tackle the bedwetting stain on your mattress. This step will help break down the stain and eliminate any lingering odors.
You have a few options for cleaning solutions that are effective in removing urine stains. One option is to create a mixture of mild liquid dish soap and warm water. Combine a few drops of the dish soap with water in a spray bottle and shake it gently to create a soapy solution.
Alternatively, you can use vinegar or hydrogen peroxide as a cleaning agent. Both have natural cleaning properties and can help break down stains and eliminate odors. If using vinegar, dilute it with water in a 1:1 ratio. For hydrogen peroxide, use it directly from the bottle.
Once you have your chosen cleaning solution ready, lightly spray it onto the stained areas of the mattress. Be careful not to oversaturate the mattress, as excessive moisture can lead to further damage. Allow the cleaning solution to sit on the stain for a few minutes to penetrate and break down the urine.
After the cleaning solution has had time to work its magic, it’s time to move on to the next step: gently scrubbing the stain.
Step 4: Gently Scrub the Stain
After allowing the cleaning solution to sit on the bedwetting stain for a few minutes, it’s time to gently scrub the stain to further break it down and remove it from the mattress.
Start by taking a clean cloth or sponge and dampen it with water. You can also use a soft-bristle brush or an old toothbrush if the stain is stubborn or deeply set into the mattress fibers.
Using gentle circular motions, begin scrubbing the stained areas of the mattress. Be careful not to apply too much pressure, as vigorous scrubbing can damage the mattress fabric. Instead, focus on gently working the cleaning solution into the stain, loosening it and lifting it from the mattress surface.
If you’re using a brush or toothbrush, be gentle and make sure to avoid scrubbing in a way that could cause the stain to spread to unaffected areas. Take your time and continue scrubbing until you see the stain starting to fade or disappear.
Once you have finished scrubbing the stain, it’s time to move on to the next step: rinsing the mattress with water.
Read more: How To Clean A Mattress After Covid
Step 5: Rinse with Water
After gently scrubbing the bedwetting stain, it’s time to rinse the mattress with water to remove any remaining cleaning solution and residue. Rinsing will help ensure that no soapy residue is left behind, which can attract dirt and cause discoloration over time.
Start by dampening a clean cloth or sponge with water. You can also use a spray bottle filled with clean water for this step.
Gently dab or spray water onto the areas where you applied the cleaning solution. Be careful not to oversaturate the mattress. The goal is to rinse the area, not to make it excessively wet.
Once you have applied water, use a clean cloth or sponge to blot the wet areas and absorb the moisture. Continue blotting until no more soapy residue is visible.
If you are using a spray bottle, you can lightly mist the mattress with water and then use a cloth to pat it dry.
It’s important to ensure that the mattress is thoroughly rinsed and free from any cleaning solution before moving on to the next step.
After rinsing the mattress, it’s time to focus on drying it effectively. This is crucial to prevent mold or mildew growth and to restore the mattress to its original condition. Let’s move on to the next step: drying the mattress.
To clean a mattress after bed wetting, start by blotting the area with a dry towel to absorb as much liquid as possible. Then, mix a solution of equal parts water and white vinegar, and spray it onto the stained area. Blot again with a clean towel, and sprinkle baking soda over the spot. Let it sit for a few hours before vacuuming it up. This should help to remove the odor and stain.
Step 6: Dry the Mattress
Properly drying the mattress after cleaning is an essential step to prevent the growth of mold and mildew. It’s important to ensure that the mattress is thoroughly dry before placing any bedding or covers back on it.
Here are a few methods you can use to effectively dry your mattress:
- Open windows in the room to promote air circulation. This can help speed up the drying process.
- Use fans or a dehumidifier to help remove excess moisture from the air.
- If possible, move the mattress to a well-ventilated area to facilitate drying. Avoid placing it directly under sunlight, as intense heat can damage the mattress materials.
- Consider using absorbent materials like towels or paper towels to further blot and absorb the moisture from the mattress surface.
Allow the mattress to dry thoroughly before moving on to the next step. This may take several hours or even a day, depending on the level of moisture and the drying conditions.
It’s essential to ensure that the mattress is completely dry to avoid any potential health hazards and to maintain its longevity.
Once the mattress is dry, it’s time to address any lingering odors caused by the bedwetting incident. Let’s move on to the next step: using baking soda for odor removal.
Step 7: Use Baking Soda for Odor Removal
Even after cleaning and drying the mattress, there may still be lingering odors from the bedwetting incident. Luckily, baking soda is a highly effective and natural odor neutralizer that can help eliminate unwanted smells.
To use baking soda for odor removal, follow these steps:
- Ensure that the mattress is completely dry before applying baking soda.
- Sprinkle a generous amount of baking soda over the entire surface of the mattress, focusing on the areas that were affected by the bedwetting stain.
- Use a clean cloth or your hands to gently rub the baking soda into the mattress fabric. This will help the baking soda penetrate and absorb any remaining odors.
- Leave the baking soda on the mattress for a minimum of 1 hour, but preferably overnight. This will give the baking soda sufficient time to neutralize the odors.
- Vacuum the mattress thoroughly to remove the baking soda. Use the upholstery attachment of your vacuum cleaner and make sure to cover the entire surface of the mattress.
When using baking soda for odor removal, it’s important to note that it may leave a white residue on the mattress. However, this can be easily removed by vacuuming or wiping the mattress with a clean, damp cloth.
Baking soda is safe to use on most types of mattresses and is an effective way to tackle odors without using harsh chemicals.
Once you have removed the baking soda residue, it’s time to move on to the next step: vacuuming the mattress.
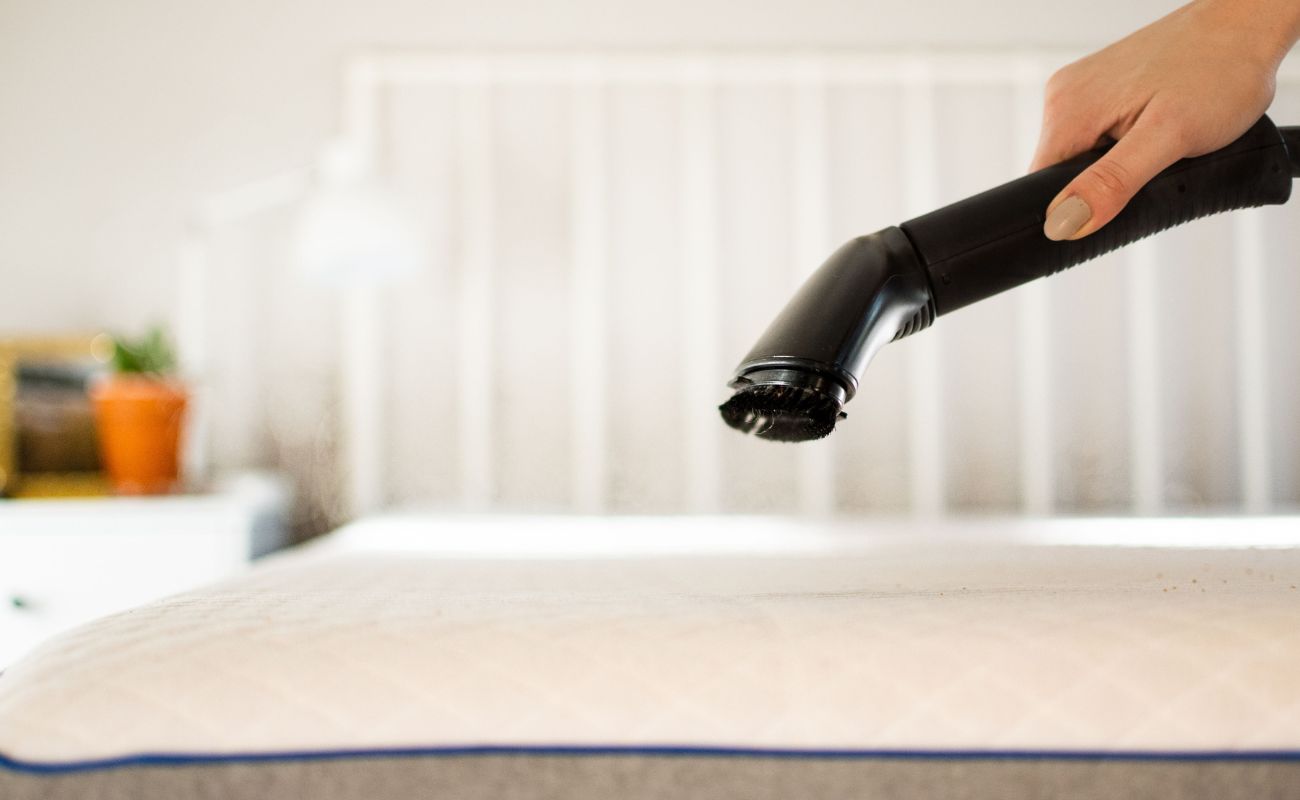
Step 8: Vacuum the Mattress
Vacuuming the mattress is an important step in the cleaning process, as it helps remove any remaining particles, dust, or allergens that may have accumulated during the cleaning and drying process.
To effectively vacuum your mattress, follow these steps:
- Attach the upholstery attachment to your vacuum cleaner.
- Start at one end of the mattress and slowly move the vacuum across the entire surface, applying gentle pressure to ensure thorough cleaning.
- Pay special attention to the seams, edges, and crevices of the mattress where dirt and debris may collect.
- Repeat the process on both sides of the mattress to ensure a comprehensive cleaning.
Vacuuming not only helps remove dirt and debris but also fluffs up the mattress fibers, restoring its plushness and comfort.
Once you have finished vacuuming, take a moment to inspect the mattress for any remaining stains or odors. If needed, you can repeat the previous steps to further address any lingering issues.
Now that your mattress is clean, fresh, and free from any remnants of the bedwetting incident, it’s time to move on to the final step: replacing the bedding and protecting the mattress with a mattress cover.
Read more: How To Clean A Mattress After Pinworms
Step 9: Replace Bedding and Protect with a Mattress Cover
Now that your mattress is clean, it’s essential to replace the bedding and take steps to protect it from future accidents or spills. This final step will help maintain the cleanliness and longevity of your mattress.
Here’s what you should do:
- Start by fitting clean and dry sheets, blankets, and pillowcases onto your mattress. Make sure they are properly fitted and secure.
- Consider using a waterproof or water-resistant mattress cover to provide an extra layer of protection. This will help guard against future incidents and keep your mattress fresh and hygienic.
- Ensure that the mattress cover fits snugly and securely on the mattress, without any wrinkles or loose areas. This will help prevent liquids from seeping through and reaching the mattress.
- Regularly wash and maintain the mattress cover according to the manufacturer’s instructions to keep it clean and effective.
By replacing the bedding and using a mattress cover, you not only protect your mattress but also create a barrier against stains, allergens, and dust mites. This proactive step will help extend the life of your mattress and provide you with a cleaner and more comfortable sleeping environment.
With these steps completed, you have successfully cleaned your mattress after a bedwetting incident. Remember to address any accidents promptly to prevent stains and odors from setting in.
By following these guidelines and maintaining regular mattress cleaning and maintenance routines, you can enjoy a fresh, hygienic, and comfortable sleeping experience for years to come.
Here’s to a clean and cozy bed!
Conclusion
Cleaning a mattress after bedwetting is a necessary task to maintain a clean and hygienic sleeping environment. By following the step-by-step process outlined in this guide, you can effectively remove stains, eliminate odors, and protect your mattress from future accidents.
From removing soiled bedding to blotting excess moisture, applying a cleaning solution, gently scrubbing the stain, and rinsing with water, each step is crucial in achieving a thorough cleaning. Drying the mattress properly and using baking soda for odor removal further enhances the cleanliness and freshness of your mattress.
By vacuuming the mattress and replacing the bedding, you not only remove any remaining particles but also create a protective barrier for your mattress. Utilizing a mattress cover adds an extra layer of defense against accidents and spills, prolonging the lifespan of your mattress and ensuring its pristine condition.
Remember, accidents happen, but with the right knowledge and methods, you can restore your mattress to its former glory. Regular maintenance and care will help you enjoy a clean and comfortable sleep environment for years to come.
So, take the time to give your mattress the attention it deserves. By following these steps, you can say goodbye to stains and odors, and hello to a clean and rejuvenated mattress.
Here’s to many nights of peaceful and clean slumber!
Frequently Asked Questions about How To Clean Mattress After Bed Wetting
Was this page helpful?
At Storables.com, we guarantee accurate and reliable information. Our content, validated by Expert Board Contributors, is crafted following stringent Editorial Policies. We're committed to providing you with well-researched, expert-backed insights for all your informational needs.