Home>Home Appliances>Bathroom Appliances>How To Fix An Electric Toothbrush
Bathroom Appliances
How To Fix An Electric Toothbrush
Published: December 23, 2023
Learn how to troubleshoot and repair your electric toothbrush with our comprehensive guide. Keep your bathroom appliances in top condition with our expert tips.
(Many of the links in this article redirect to a specific reviewed product. Your purchase of these products through affiliate links helps to generate commission for Storables.com, at no extra cost. Learn more)
Introduction
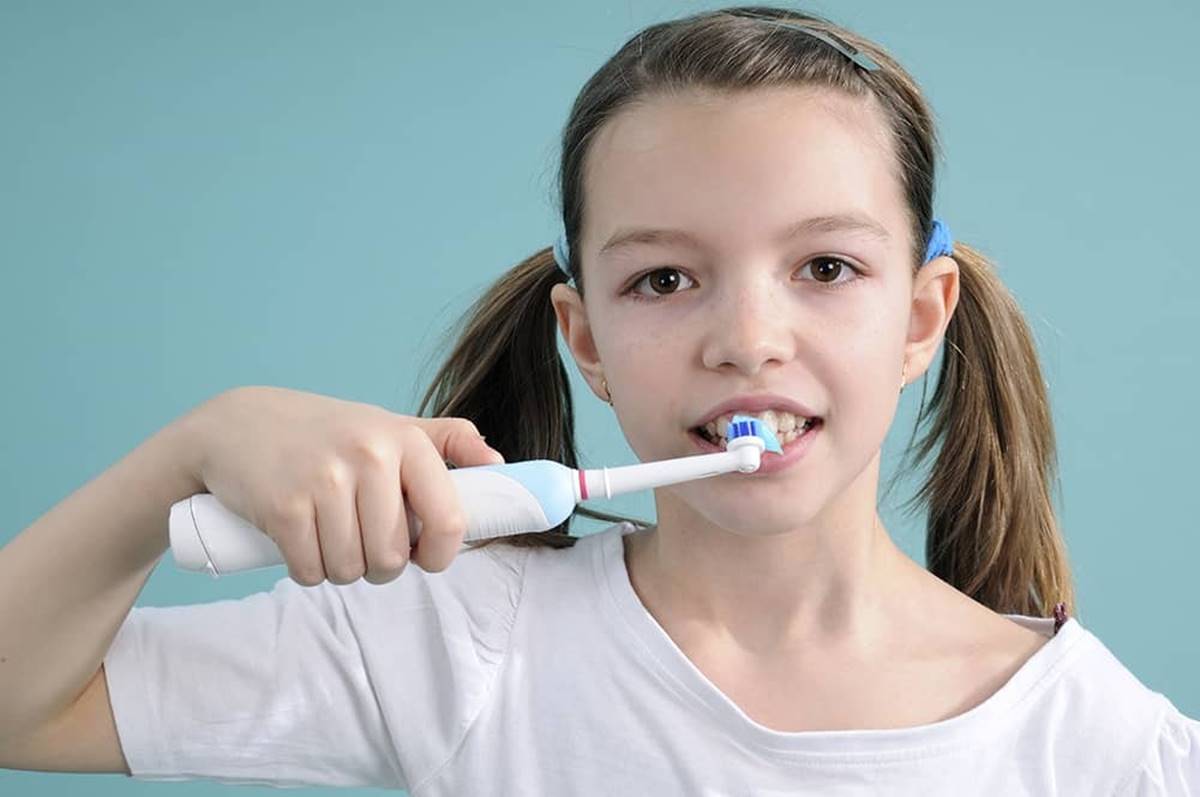
Electric toothbrushes have become a staple in modern oral hygiene, offering convenience and efficiency in maintaining dental health. However, like any electronic device, they may encounter issues over time. Whether it's a malfunctioning motor or a dead battery, knowing how to troubleshoot and fix these problems can save you the cost of purchasing a new toothbrush.
In this guide, we will walk you through the steps to fix an electric toothbrush, empowering you to tackle common issues with confidence. By following these simple instructions, you can potentially extend the lifespan of your electric toothbrush and continue to enjoy the benefits of superior dental care.
Let's dive into the process of diagnosing and resolving issues with your electric toothbrush, ensuring that it remains a reliable tool in your daily dental routine.
Key Takeaways:
- Don’t toss your electric toothbrush! With the right tools and know-how, you can troubleshoot and fix common issues, saving money and reducing waste.
- Take pride in maintaining your electric toothbrush. By following simple steps to disassemble, inspect, clean, and test, you can extend its lifespan and keep your smile sparkling.
Read more: How To Recycle An Electric Toothbrush
Tools and Materials Needed
Before embarking on the journey of fixing your electric toothbrush, it’s essential to gather the necessary tools and materials. Here’s what you’ll need:
- Small screwdriver set: To disassemble the toothbrush and access its internal components, a set of small screwdrivers with various head types is indispensable.
- Clean cloth or paper towels: These will be used to wipe and clean the disassembled components.
- Mild detergent or soap: A gentle cleaning solution is essential for removing any buildup or residue from the toothbrush components.
- Soft-bristled brush: This will aid in cleaning hard-to-reach areas and removing debris from the toothbrush.
- Replacement parts (if necessary): Depending on the issue identified, you may need to acquire specific replacement parts such as a new motor or battery.
- Optional: Multimeter – If you need to troubleshoot electrical issues, a multimeter can be helpful in testing the continuity and voltage of electrical components.
By ensuring you have these tools and materials at your disposal, you’ll be well-prepared to delve into the inner workings of your electric toothbrush and address any issues that may arise.
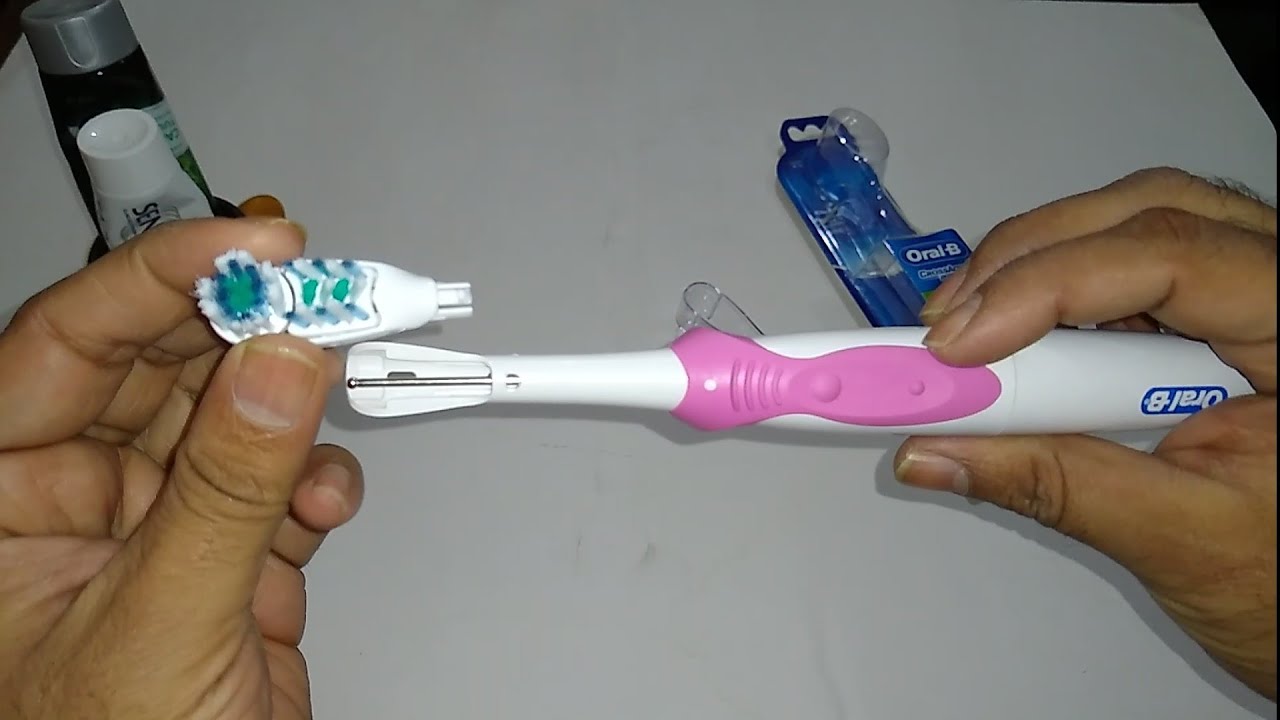
Step 1: Disassemble the Toothbrush
Before attempting to fix your electric toothbrush, it’s crucial to disassemble it carefully to gain access to its internal components. Here’s a step-by-step guide to disassembling the toothbrush:
- Prepare a clean workspace: Find a well-lit and spacious area to work in, ensuring that you have enough room to lay out the disassembled parts without misplacing anything.
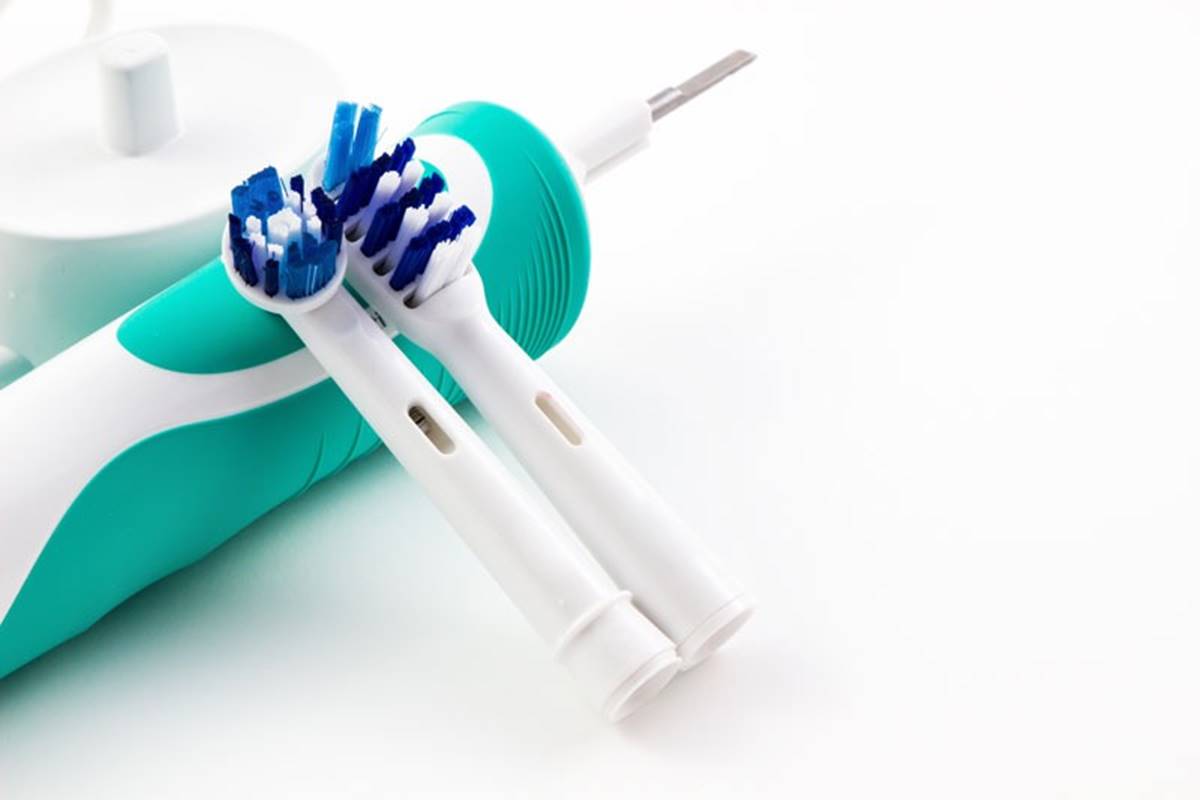
- Remove the brush head: Most electric toothbrushes have a detachable brush head. Gently pull or twist the brush head to separate it from the main body of the toothbrush.
- Identify the screws: Examine the body of the toothbrush to locate any screws or fasteners holding it together. These are typically found under removable caps or at the base of the toothbrush.
- Use the appropriate screwdriver: Select the correct screwdriver from your set that fits the screws on the toothbrush. Carefully unscrew and keep the fasteners in a safe place to prevent loss.
- Separate the components: Once the screws are removed, gently separate the main body of the toothbrush from its internal components. Take note of the arrangement of parts to aid in reassembly.
By following these steps, you can safely disassemble your electric toothbrush and prepare for the next stages of troubleshooting and repair. Remember to handle the components with care to avoid damage during the disassembly process.
Step 2: Inspect the Components
After disassembling your electric toothbrush, the next crucial step is to thoroughly inspect its internal components for any signs of damage, wear, or malfunction. Here’s a detailed guide on how to inspect the components:
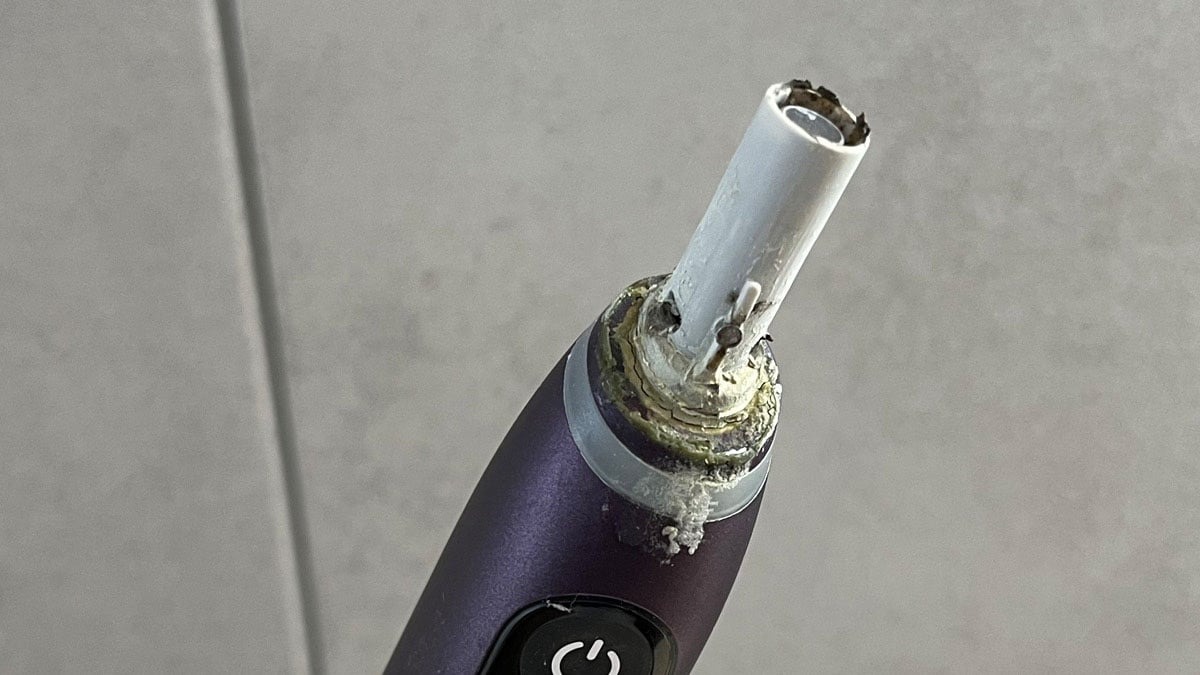
- Examine the motor: The motor is a vital part of the electric toothbrush. Check for any visible damage, corrosion, or irregularities in its appearance. If the motor emits a burning smell or shows signs of overheating, it may need to be replaced.
- Assess the battery: If your electric toothbrush is powered by a rechargeable battery, inspect its condition. Look for bulges, leaks, or other abnormalities that could indicate a faulty or deteriorating battery. If the battery appears damaged, it may require replacement.
- Inspect the wiring and connections: Carefully examine the wiring and connections within the toothbrush for any fraying, loose connections, or signs of electrical damage. Faulty wiring can lead to power issues and should be addressed promptly.
- Check the circuit board: If your electric toothbrush incorporates a circuit board, inspect it for any visible damage, such as burnt components or solder joints. Issues with the circuit board can cause various operational problems.
- Examine other components: Take a close look at any additional components, such as switches, buttons, or internal mechanisms, to identify any issues that may affect the toothbrush’s functionality.
Thoroughly examining these components will provide valuable insights into the potential causes of your electric toothbrush’s malfunction. Identifying any damaged or faulty parts is a crucial step in the repair process, guiding you toward the appropriate solutions to restore your toothbrush’s performance.
To fix an electric toothbrush, try replacing the batteries or recharging the battery if it’s rechargeable. If that doesn’t work, check for any debris or blockages in the brush head or handle. If all else fails, contact the manufacturer for further assistance.
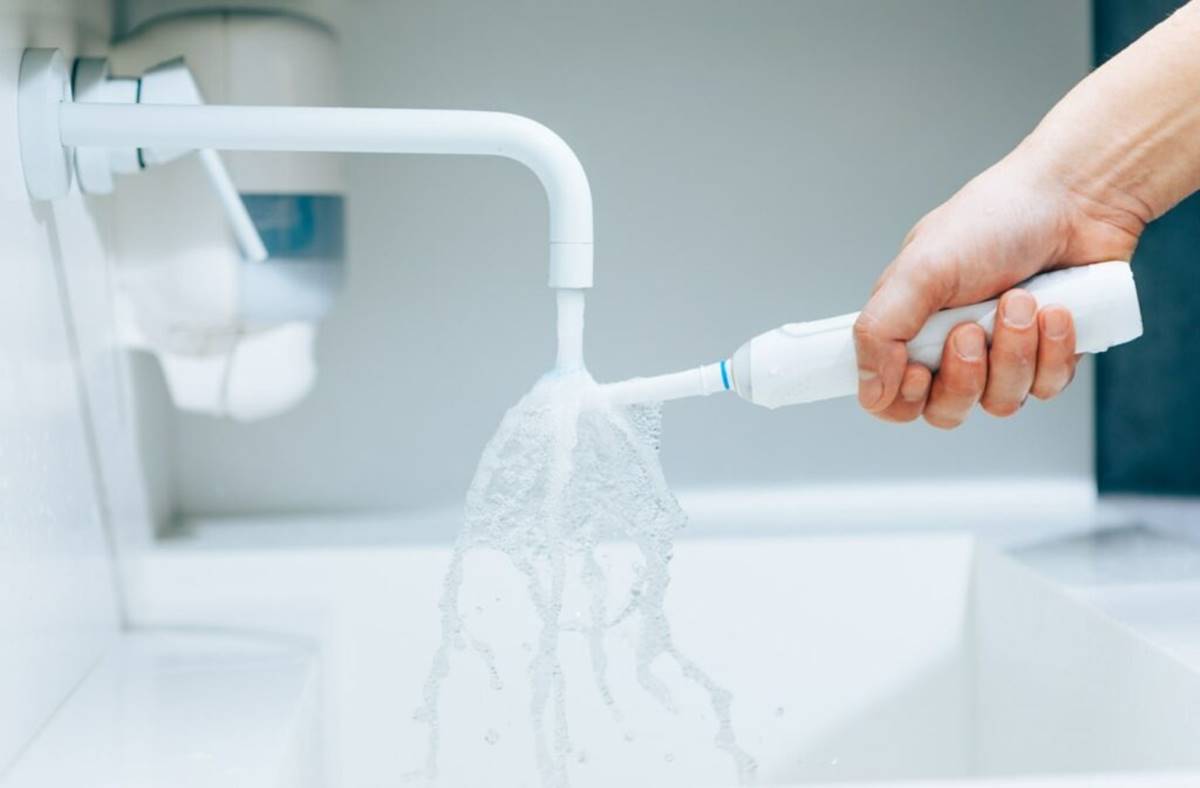
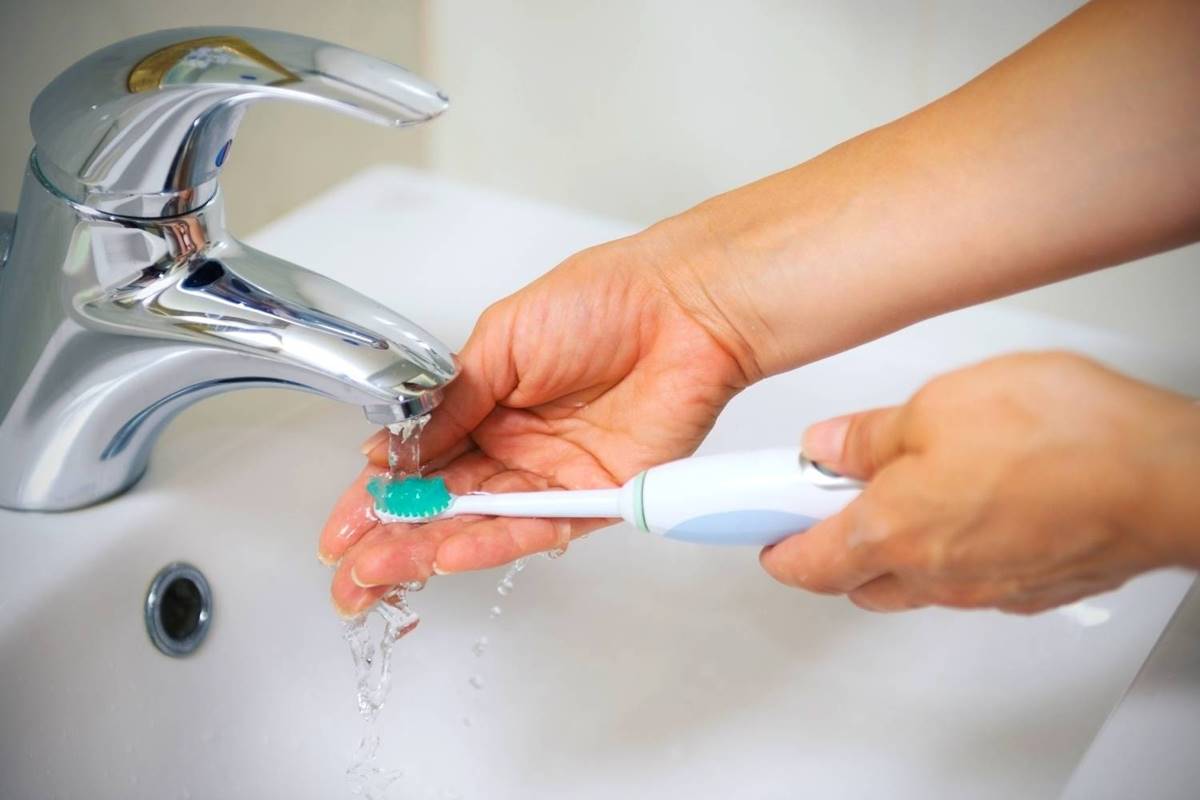
Step 3: Clean the Components
Once you have inspected the internal components of your electric toothbrush, the next essential step is to clean each part thoroughly. Cleaning the components can help remove debris, buildup, and grime that may be contributing to the toothbrush’s malfunction. Here’s a comprehensive guide to cleaning the components:
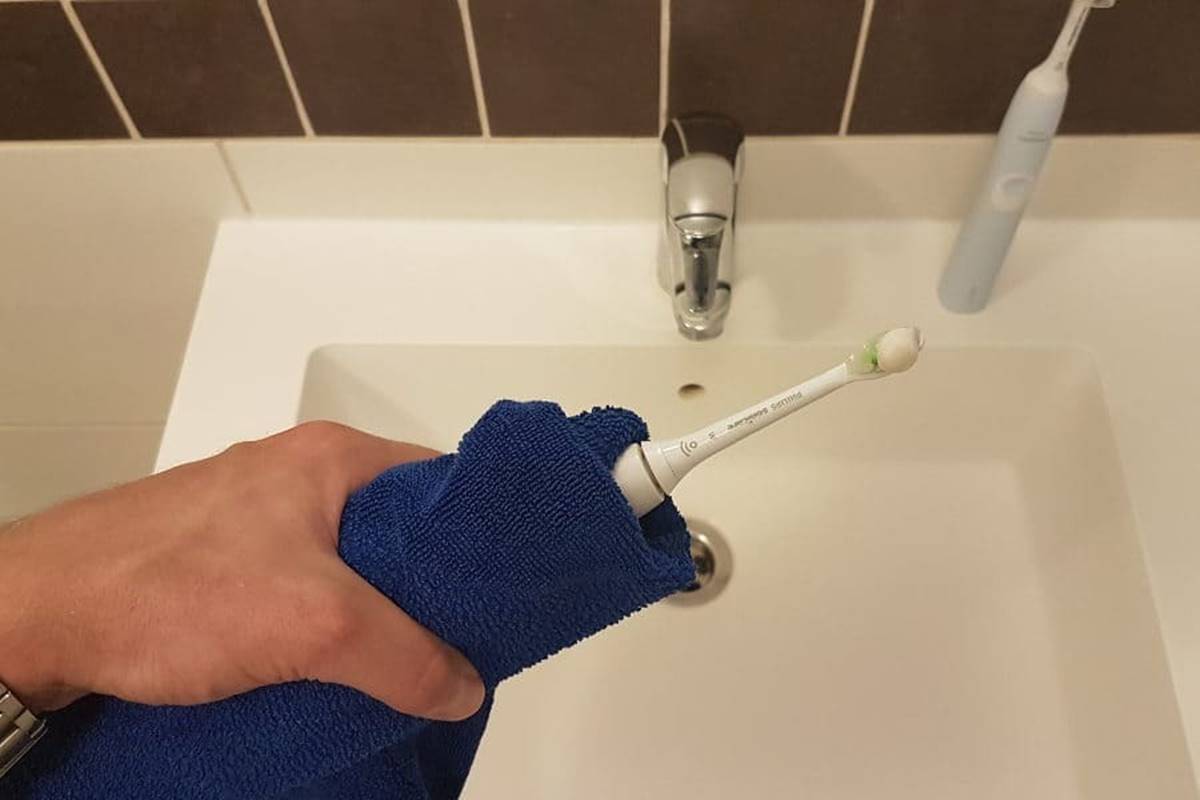
- Use a mild detergent solution: Prepare a gentle cleaning solution by mixing mild detergent or soap with water. Dampen a clean cloth or paper towel with the solution.
- Clean the brush head: If the brush head is removable, soak it in the cleaning solution and gently scrub it to remove any residual toothpaste, plaque, or other buildup. Rinse the brush head thoroughly and allow it to air dry.
- Clean the main body and internal components: Wipe the main body of the toothbrush and its internal components with the dampened cloth or paper towel. Pay special attention to areas around the motor, battery compartment, and wiring to ensure thorough cleaning.
- Use a soft-bristled brush for intricate areas: For hard-to-reach areas and intricate components, use a soft-bristled brush to dislodge any stubborn debris or residue. Be gentle to avoid damaging delicate parts.
- Allow the components to dry completely: After cleaning, allow all components to air dry completely before reassembling the toothbrush. Ensuring that the components are dry will prevent moisture-related issues during reassembly and operation.
By cleaning the components of your electric toothbrush, you can eliminate potential sources of malfunction and maintain optimal hygiene within the device. This step sets the stage for successful reassembly and testing of the toothbrush to gauge its restored functionality.
Read more: How To Charge An Electric Toothbrush
Step 4: Reassemble the Toothbrush
With the internal components of your electric toothbrush inspected and cleaned, it’s time to carefully reassemble the device. Proper reassembly is crucial to ensure that the toothbrush functions correctly and safely. Follow these steps to reassemble the toothbrush:
- Refer to your disassembly notes: If you took notes or photos during the disassembly process, use them as a reference to guide you in reassembling the components in the correct order and orientation.
- Position the internal components: Place the cleaned and inspected internal components back into the main body of the toothbrush, ensuring that they fit securely and align properly with their respective housing.
- Secure the screws or fasteners: Using the appropriate screwdriver, reattach the screws or fasteners to secure the main body and internal components together. Tighten the screws carefully to avoid overtightening or damaging the threads.
- Reattach the brush head: If the brush head is detachable, reattach it to the main body of the toothbrush, ensuring a secure fit. Follow the manufacturer’s guidelines for attaching the brush head if specific instructions are provided.
- Double-check the assembly: Before proceeding, double-check the reassembled toothbrush to ensure that all components are in place, securely fastened, and properly aligned.
By following these steps, you can successfully reassemble your electric toothbrush, setting the stage for the final crucial step in the repair process: testing the toothbrush to assess its functionality and performance.
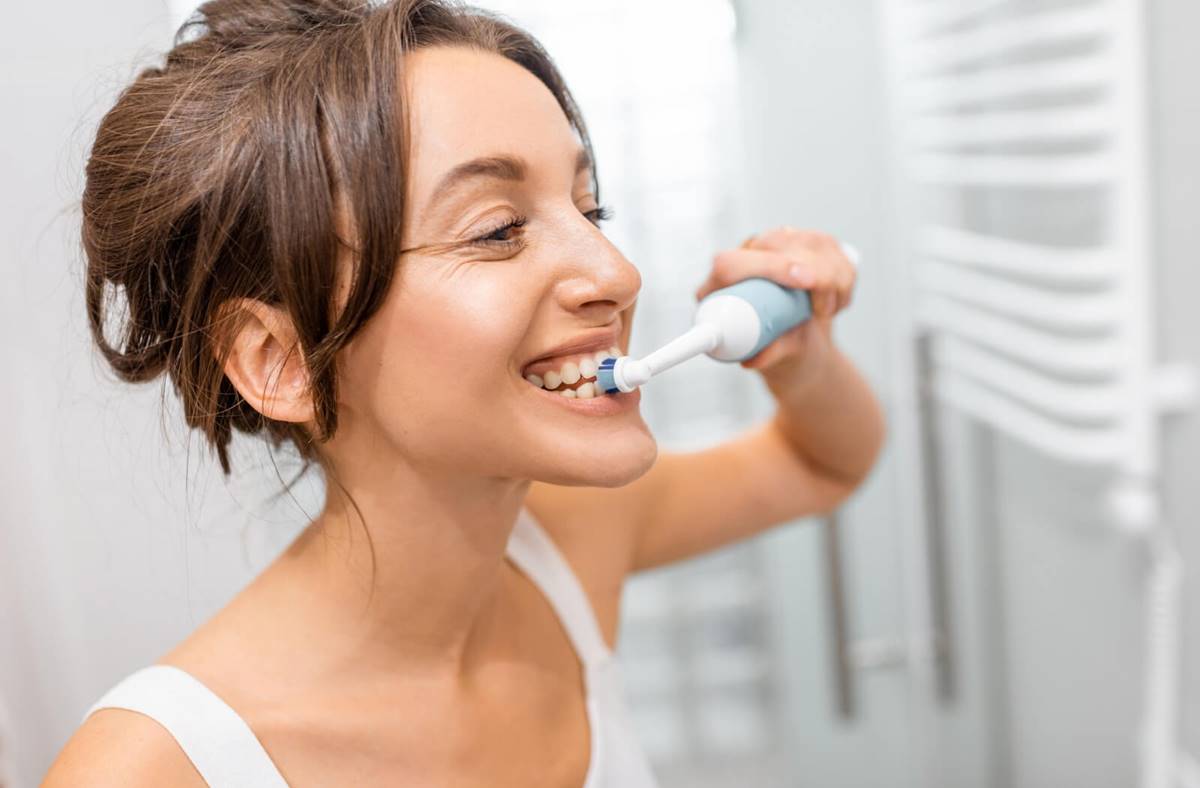
Step 5: Test the Toothbrush
After reassembling your electric toothbrush, the final and pivotal step in the repair process is to test the device to ensure that it functions as intended. Testing the toothbrush allows you to verify that the issues you addressed during the repair have been resolved. Here’s a comprehensive guide to testing your electric toothbrush:
- Charge the toothbrush: If your electric toothbrush is rechargeable, ensure that it is fully charged before testing. Follow the manufacturer’s recommended charging guidelines to achieve an optimal charge level.
- Power on the toothbrush: Turn on the electric toothbrush and observe its operation. Listen for any unusual sounds, such as grinding or rattling, which may indicate lingering issues.
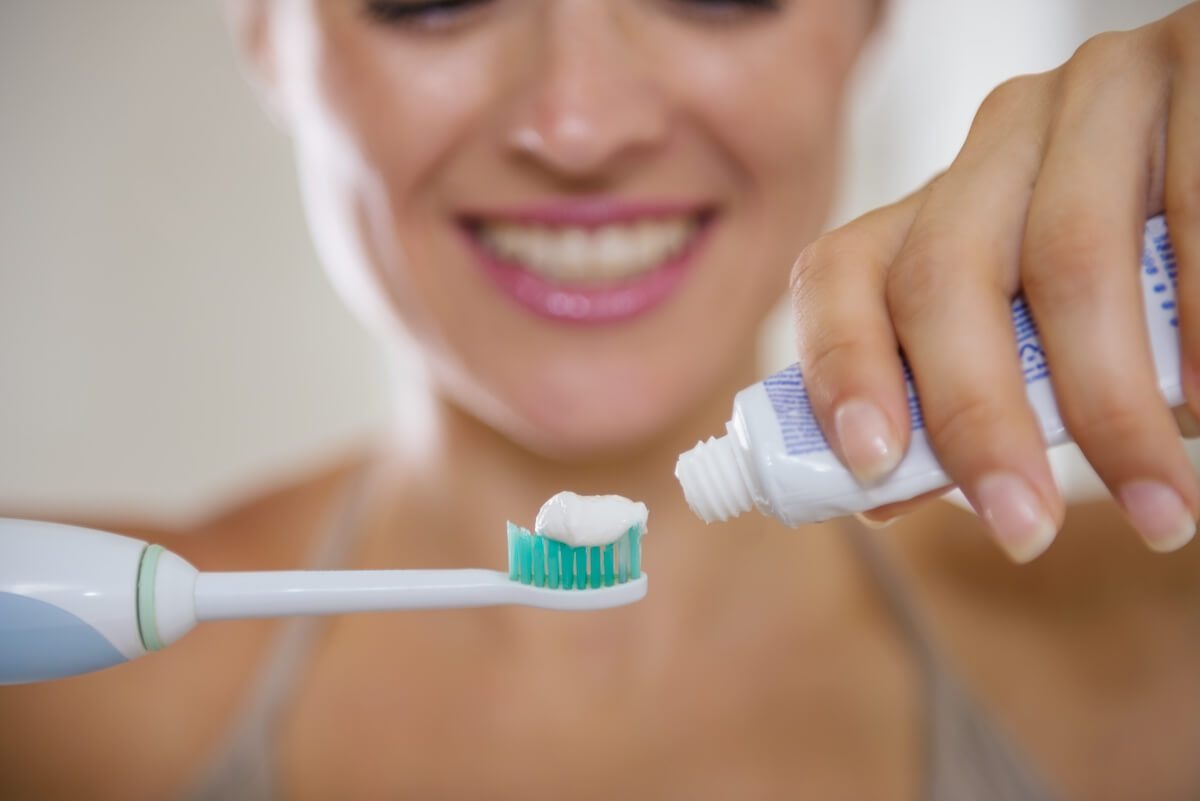
- Test the brushing action: Place a small amount of toothpaste on the brush head and activate the toothbrush. Observe the brushing action to ensure that the motor operates smoothly and that the brush head moves as expected.
- Check the power and settings: If your toothbrush offers multiple power modes or settings, test each one to verify that the device functions across its full range of capabilities.
- Assess battery performance: If your toothbrush has a rechargeable battery, monitor its performance during use to ensure that it holds a charge and operates for the expected duration.
- Observe for overheating: During testing, pay attention to the temperature of the toothbrush. If it becomes excessively hot during use, it may indicate lingering issues with the motor or internal components.
By thoroughly testing your electric toothbrush, you can confidently assess the success of the repair process and identify any remaining issues that may require further attention. Once the toothbrush has passed the testing phase, you can resume using it as part of your daily oral hygiene routine, knowing that it has been restored to optimal functionality.
Conclusion
Repairing an electric toothbrush can be a rewarding endeavor, allowing you to extend the lifespan of a valuable oral care device and save on the cost of replacement. By following the step-by-step process outlined in this guide, you have gained the knowledge and confidence to diagnose, troubleshoot, and repair common issues that may arise with your electric toothbrush.
From disassembling the toothbrush to inspecting and cleaning its internal components, each step plays a crucial role in restoring the functionality and performance of the device. Through careful reassembly and thorough testing, you have taken proactive measures to address any underlying issues and ensure that your electric toothbrush operates as intended.
Remember that safety is paramount throughout the repair process. Always disconnect the toothbrush from power sources and handle its components with care to prevent injury or damage. If at any point you encounter complex or unfamiliar issues during the repair, seeking professional assistance from a qualified technician is advisable.
By honing your skills in repairing electric toothbrushes, you have embraced a sustainable approach to maintaining your dental care tools, contributing to a more eco-friendly and cost-effective oral hygiene routine. With the knowledge gained from this guide, you are well-equipped to tackle future challenges and keep your electric toothbrush in optimal working condition for years to come.
Embrace the satisfaction of breathing new life into your electric toothbrush through your dedication to understanding and addressing its maintenance and repair needs. With your newfound expertise, you can confidently navigate the world of electric toothbrush care, empowering yourself to overcome potential issues and preserve the functionality of this essential dental tool.
Frequently Asked Questions about How To Fix An Electric Toothbrush
Was this page helpful?
At Storables.com, we guarantee accurate and reliable information. Our content, validated by Expert Board Contributors, is crafted following stringent Editorial Policies. We're committed to providing you with well-researched, expert-backed insights for all your informational needs.

0 thoughts on “How To Fix An Electric Toothbrush”