Home>Home Appliances>Bathroom Appliances>How To Charge An Electric Toothbrush
Bathroom Appliances
How To Charge An Electric Toothbrush
Modified: January 9, 2024
Learn the best way to charge your electric toothbrush for long-lasting use. Find out the top tips for maintaining your bathroom appliances.
(Many of the links in this article redirect to a specific reviewed product. Your purchase of these products through affiliate links helps to generate commission for Storables.com, at no extra cost. Learn more)
Introduction
So, you've made the switch to an electric toothbrush, and you're loving the clean, fresh feeling it provides. But now, you're faced with a common dilemma: your electric toothbrush needs a recharge. Don't worry; I'm here to guide you through the simple and hassle-free process of charging your electric toothbrush.
Charging an electric toothbrush is a straightforward task, but it's essential to do it correctly to ensure that your toothbrush remains in optimal condition for effective oral care. In this comprehensive guide, I'll walk you through the step-by-step process of charging your electric toothbrush, covering everything from gathering the necessary supplies to safely disconnecting the charger once the toothbrush is fully charged.
By following these simple instructions, you'll be able to keep your electric toothbrush powered up and ready to provide you with that refreshing clean feeling every time you use it. Let's dive into the details and get your electric toothbrush charging process underway!
Key Takeaways:
- Keep your electric toothbrush charged by gathering supplies, locating the charging port, connecting the charger, allowing it to charge, and safely disconnecting it to maintain its effectiveness and longevity.
- Following simple steps like aligning the charger, observing the charging indicator, and avoiding overcharging will ensure your electric toothbrush remains ready for use, providing a refreshing clean feeling every time.
Read more: How To Charge A Colgate Electric Toothbrush
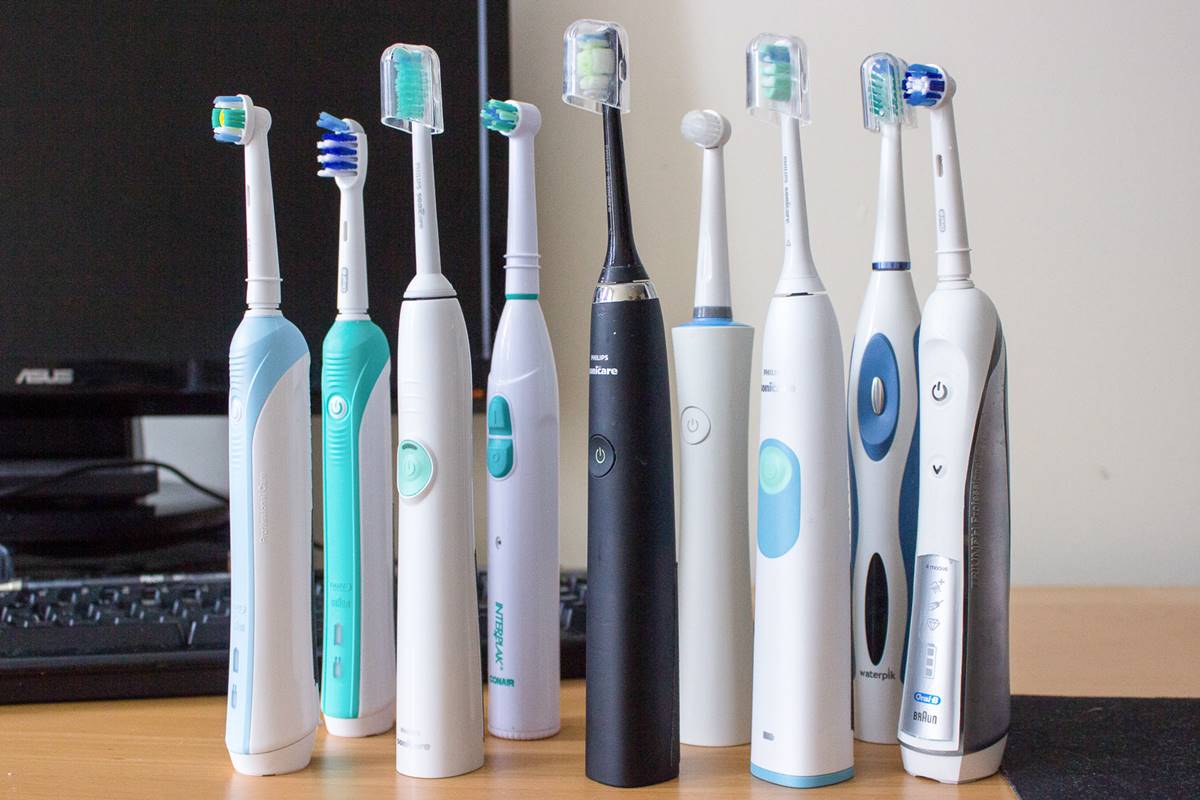
Step 1: Gather the Necessary Supplies
Before you begin the charging process, it’s essential to gather the supplies you’ll need. Here’s what you’ll typically require:
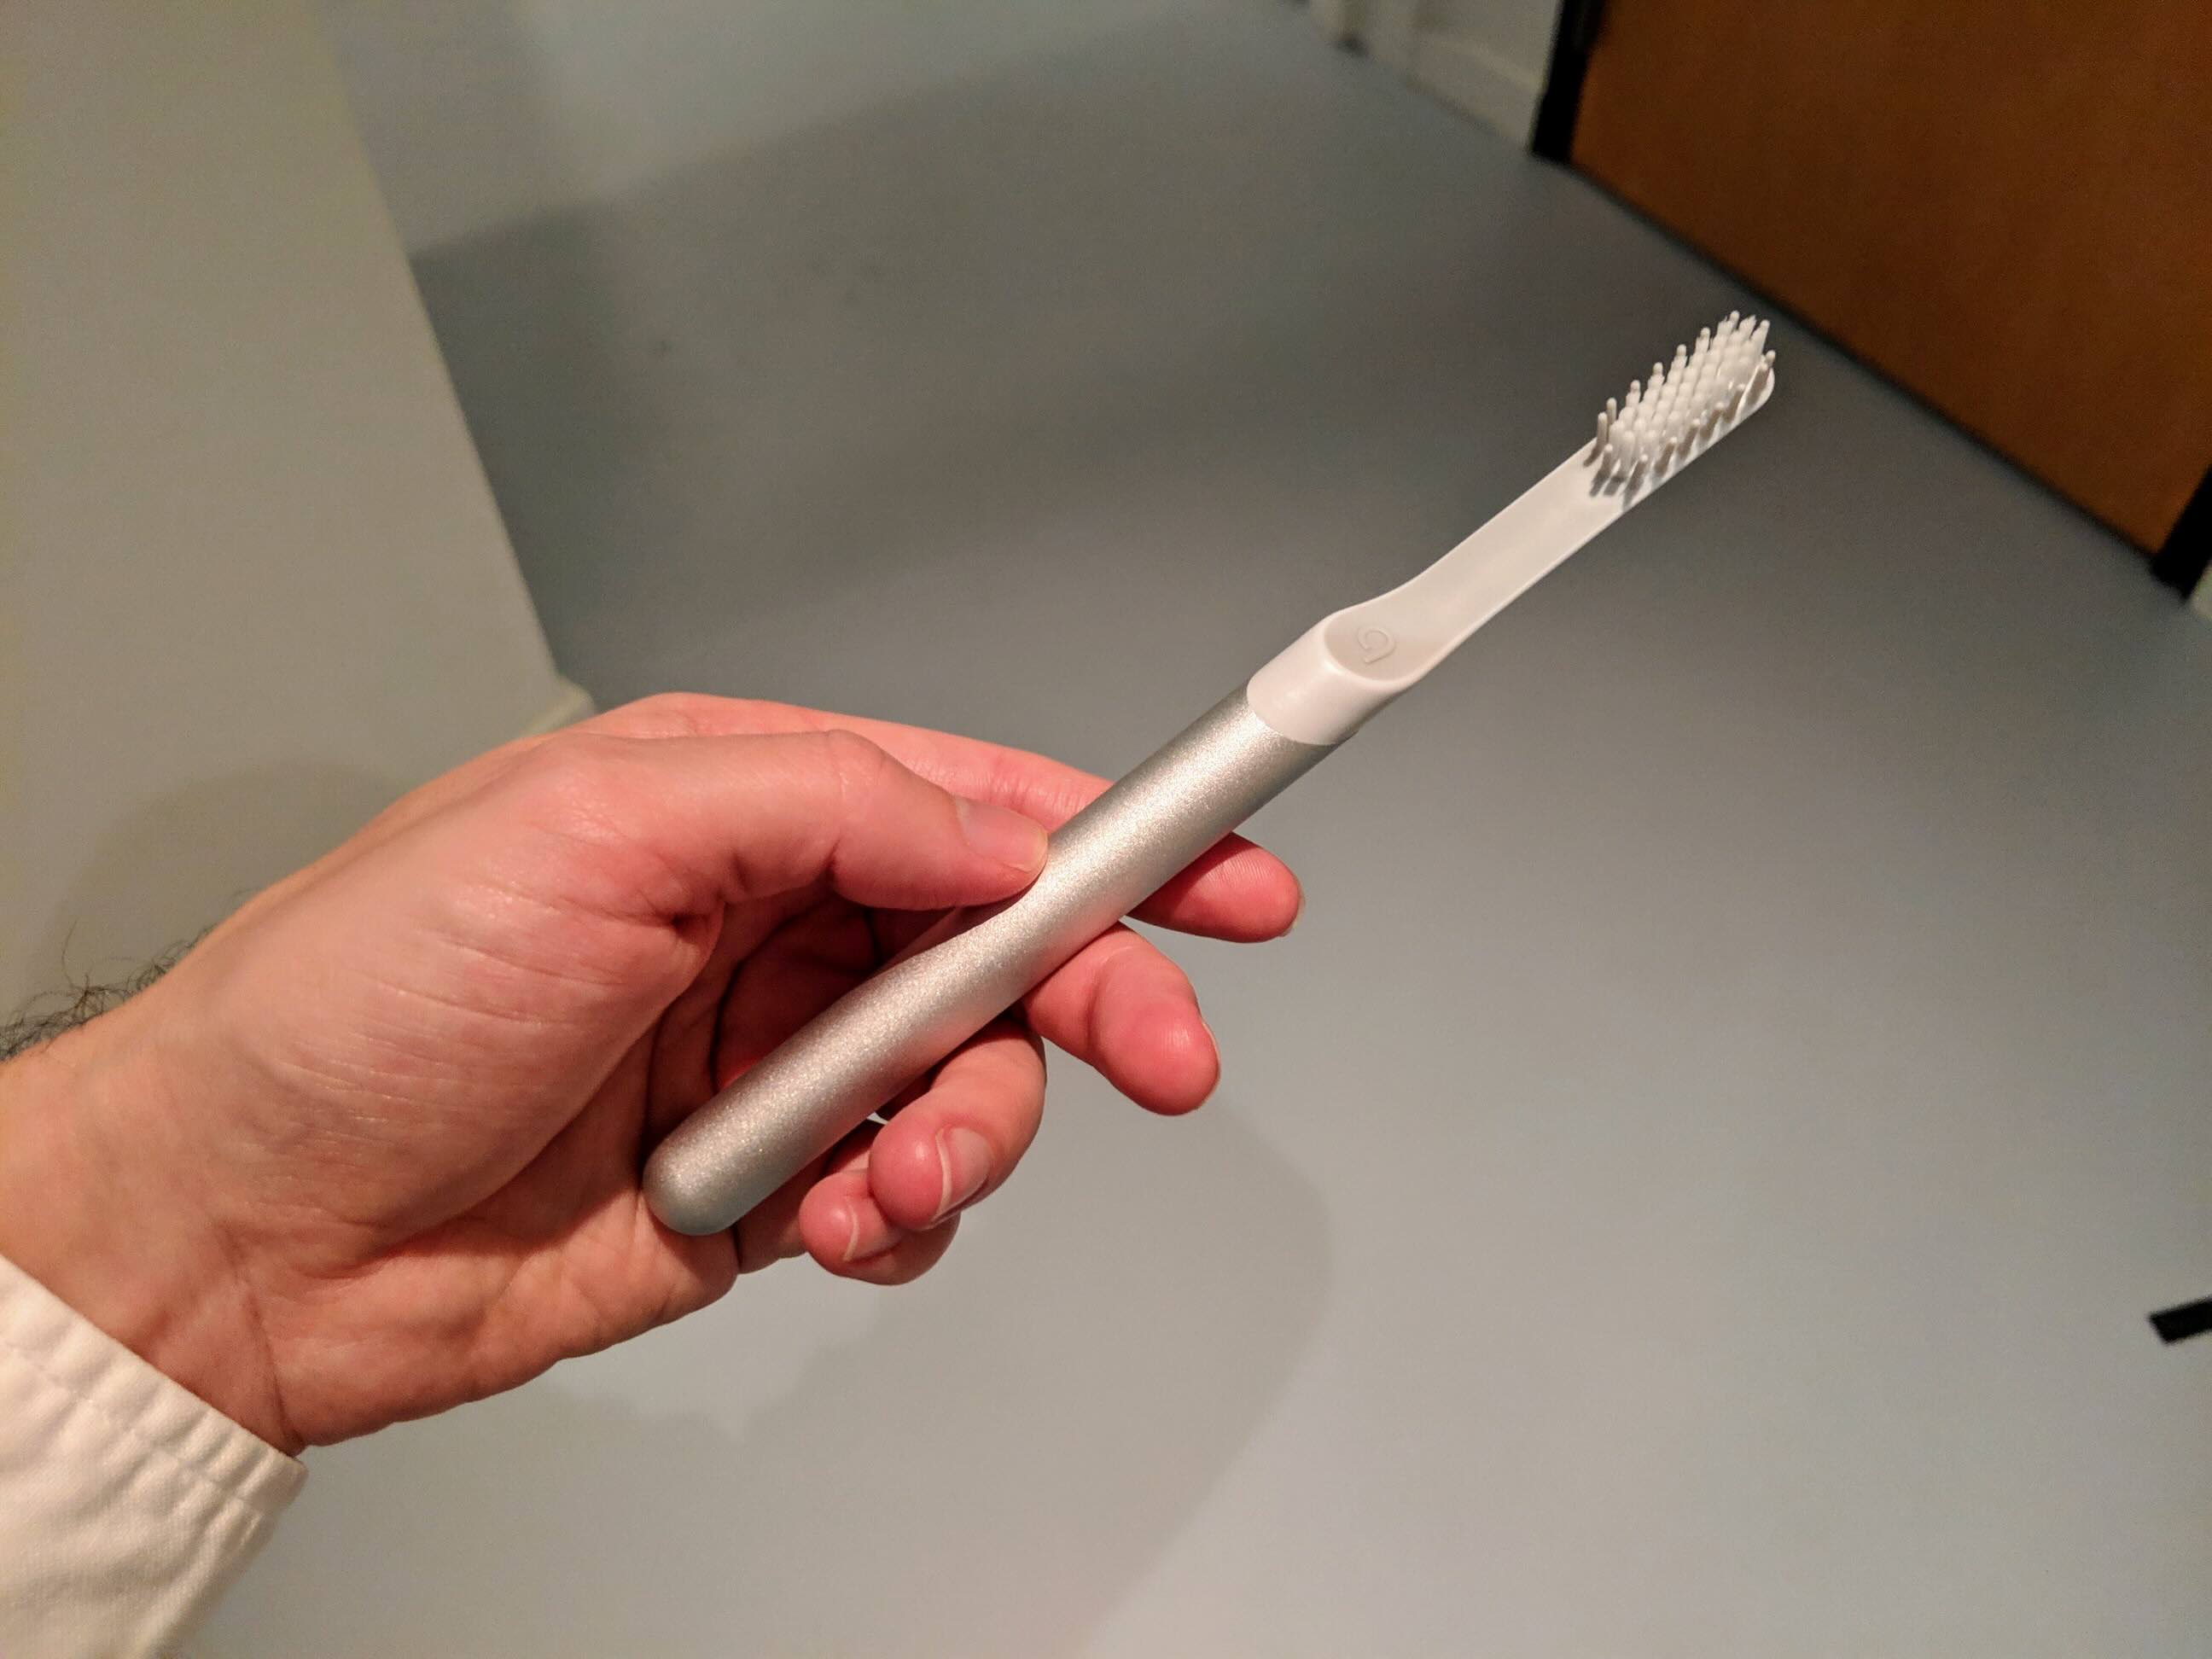
- An electric toothbrush: Ensure that your electric toothbrush is ready for charging. If it’s currently in use, turn it off before proceeding.
- Charger: Locate the specific charger designed for your electric toothbrush model. This may be a charging base, a USB cable, or a plug-in adapter, depending on the type of electric toothbrush you have.
- Power source: Identify a suitable power source near the area where you typically store or use your electric toothbrush. This could be a power outlet in your bathroom or another convenient location.
Once you have these supplies on hand, you’re ready to move on to the next step of the charging process. Having everything prepared beforehand will streamline the process and ensure a smooth charging experience for your electric toothbrush.
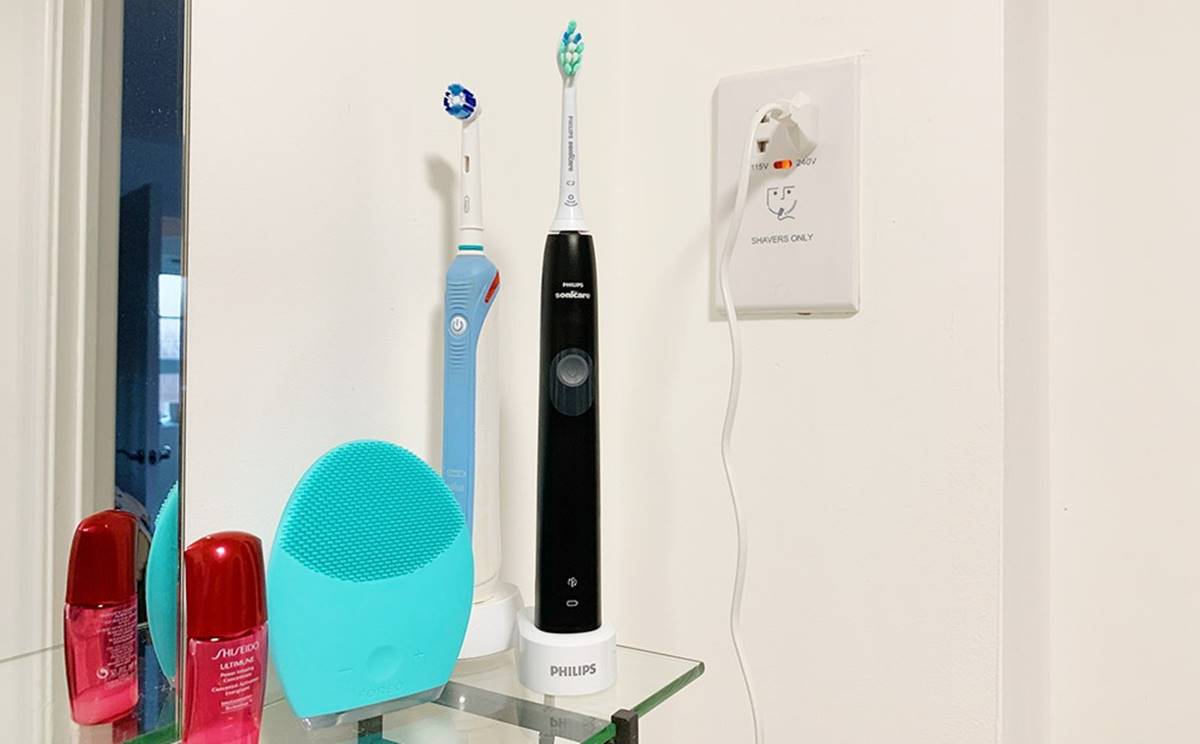
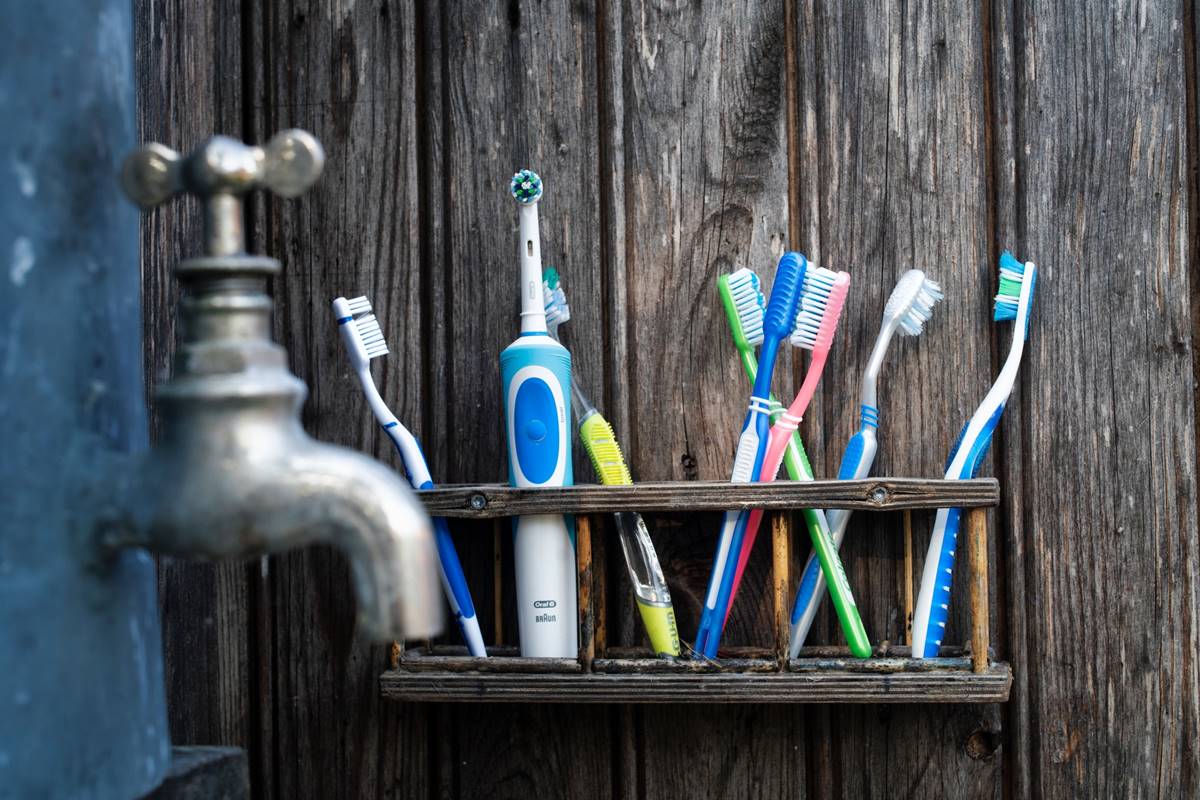
Step 2: Locate the Charging Port
Now that you have gathered the necessary supplies, the next step is to locate the charging port on your electric toothbrush. The charging port is where you will connect the charger to replenish the toothbrush’s battery. The location of the charging port may vary depending on the model and design of your electric toothbrush.
Here are some common types of charging ports and where you might find them:
- Bottom of the handle: Many electric toothbrushes have the charging port located at the bottom of the handle. It is often concealed by a protective cover to shield it from water and debris. To access the charging port, you may need to remove the cover by gently pulling it off or twisting it, depending on the design.
- Base of the charging stand: If your electric toothbrush comes with a charging stand or base, the charging port is typically located on the base. The toothbrush is placed on the stand, aligning the charging port on the handle with the corresponding connector on the stand.
- Side of the handle: In some models, the charging port may be situated on the side of the handle. This design allows for easy access to the port without having to place the toothbrush on a charging stand.
Once you have located the charging port, take a moment to familiarize yourself with its position and any protective features it may have. This will ensure that you can easily access the port when connecting the charger, making the charging process more convenient and efficient.
With the charging port identified, you’re ready to proceed to the next step and connect the charger to begin charging your electric toothbrush.
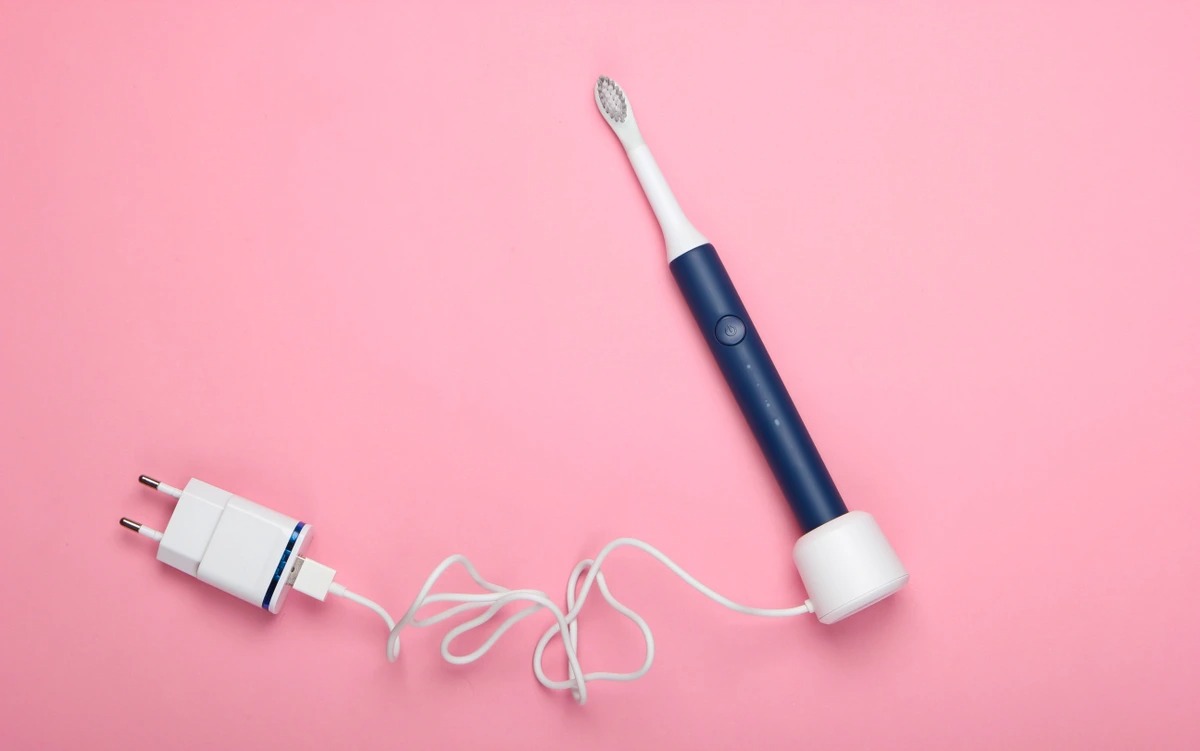
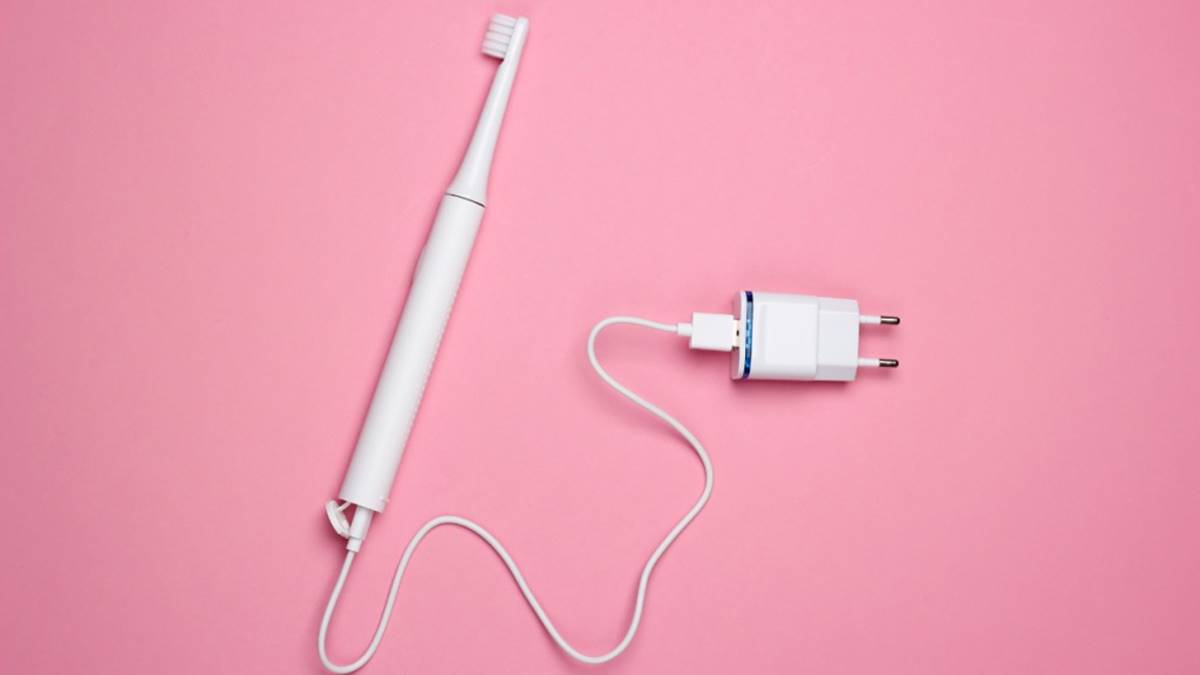
Step 3: Connect the Charger
With the charging port located, it’s time to connect the charger to your electric toothbrush. Follow these simple steps to ensure a secure and effective connection:
- Prepare the charger: If your electric toothbrush uses a charging base or stand, ensure that the base is plugged into a power source. If it’s a USB charger, have the USB end ready to connect to a power adapter or a USB port on a computer or other device.
- Align the charger: Position the electric toothbrush so that the charging port on the handle aligns with the connector on the charger. Take care to align them correctly to avoid any potential damage to the charging port or connector.
- Make the connection: Gently insert the charging connector into the charging port on the electric toothbrush. Ensure that the connection is secure but avoid using excessive force, as this could cause damage to the port or connector.
- Verify the connection: Once the charger is connected, verify that the charging indicator on the toothbrush or charging base illuminates to indicate that the connection is successful. This indicator may be a light or a specific display on the toothbrush handle or charging base.
It’s important to follow these steps carefully to ensure that the charger is connected properly and that the charging process can commence without any issues. By taking these precautions, you can safeguard the integrity of the charging port and prevent potential damage to your electric toothbrush.
With the charger securely connected, your electric toothbrush is now ready to begin recharging. In the next step, we’ll cover the process of allowing the toothbrush to charge effectively.
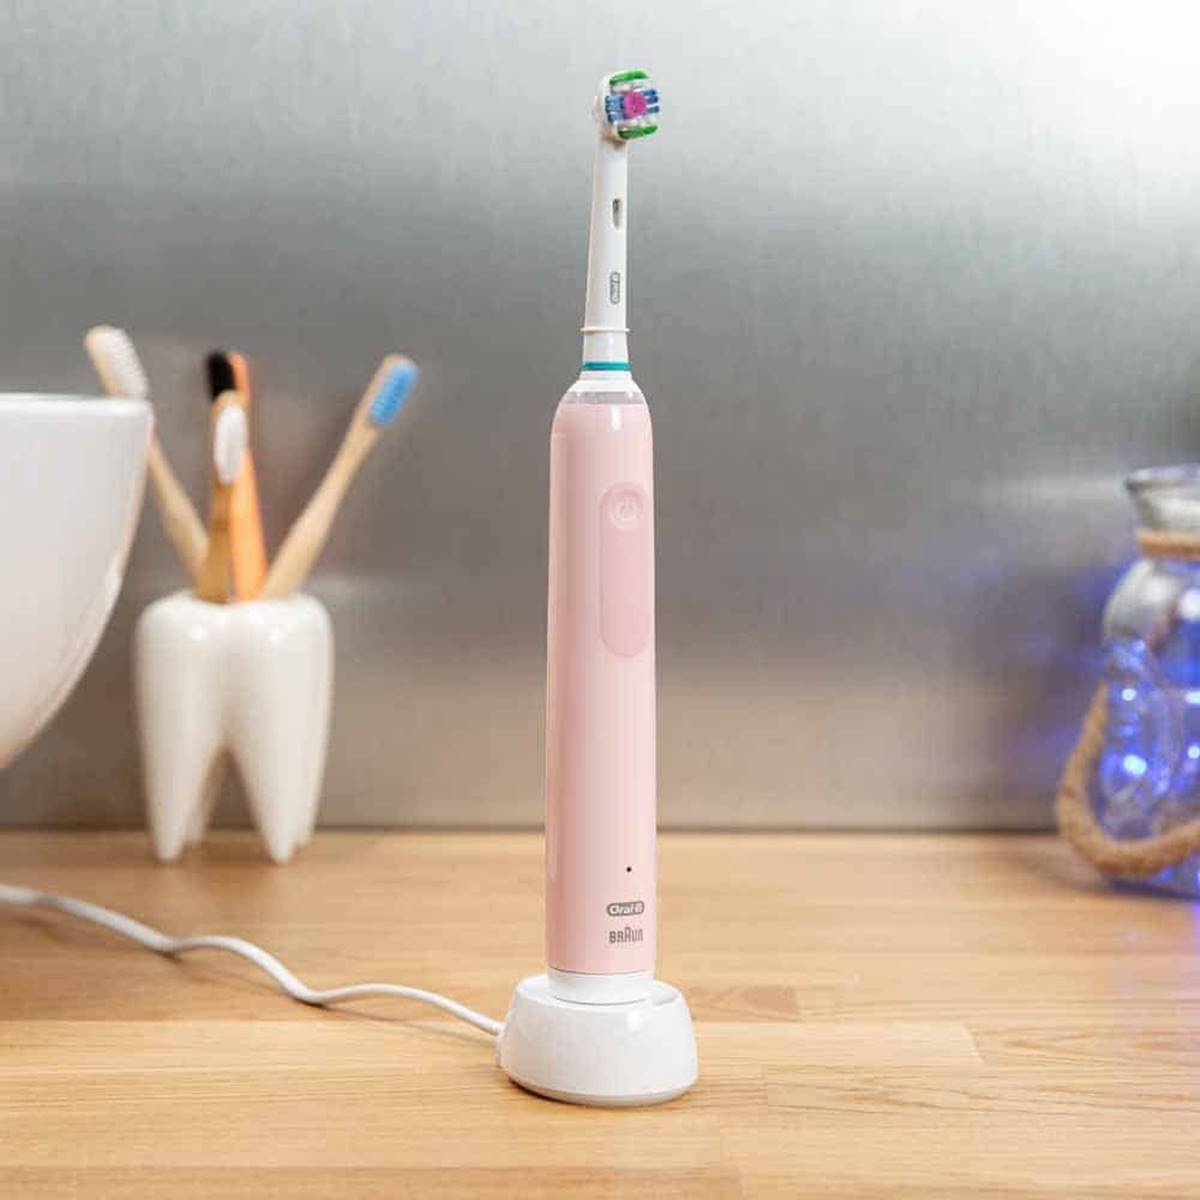
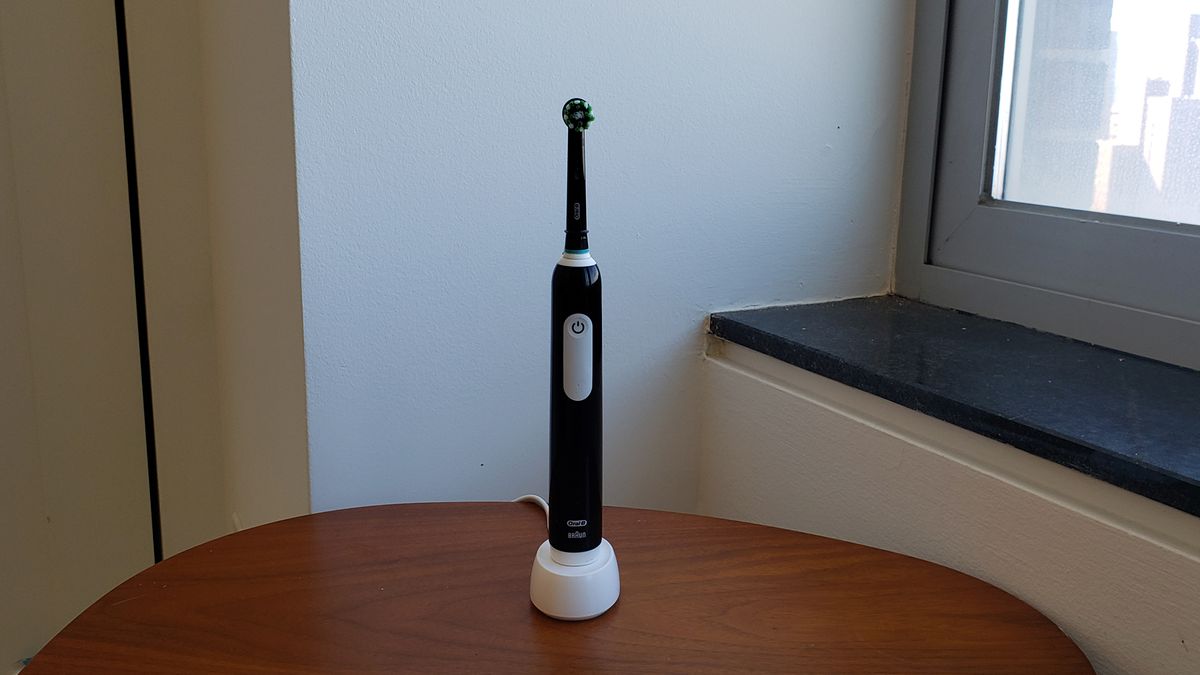
To charge an electric toothbrush, simply place it on the charging base and plug the base into an electrical outlet. Make sure to let it charge fully before using it for the best results.
Step 4: Allow the Toothbrush to Charge
Now that the charger is securely connected to your electric toothbrush, it’s time to allow the toothbrush to charge. Follow these guidelines to ensure that the charging process is effective and that your electric toothbrush’s battery is replenished efficiently:
- Ensure a stable power supply: Confirm that the power source providing electricity to the charger is stable and reliable. Avoid using power sources that are prone to fluctuations or interruptions, as this can impact the charging process.
- Observe the charging indicator: Most electric toothbrushes are equipped with a charging indicator that provides visual feedback on the charging status. This indicator may illuminate, flash, or display specific patterns to convey information about the charging process. Refer to the user manual for your electric toothbrush to understand the meaning of the charging indicator’s various signals.
- Allow sufficient charging time: It’s essential to allow your electric toothbrush to charge for the recommended duration specified by the manufacturer. This duration may vary depending on the model and battery capacity. Typically, a full charge may take several hours, so it’s advisable to leave the toothbrush undisturbed during this time to ensure optimal charging.
- Avoid overcharging: Once the toothbrush has reached a full charge, disconnect the charger to prevent overcharging. Overcharging can potentially impact the battery’s longevity and performance, so it’s important to remove the charger once the charging process is complete.
By following these guidelines, you can ensure that your electric toothbrush receives the necessary charge to power it for your oral care routine. Monitoring the charging process and adhering to the recommended practices will help maintain the optimal performance of your electric toothbrush’s battery.
Once the toothbrush has completed the charging process, it’s essential to disconnect the charger properly to conclude the charging procedure. We’ll cover this final step in the next section.
Step 5: Disconnect the Charger
As your electric toothbrush completes the charging process, it’s crucial to disconnect the charger properly to ensure the safety and longevity of the device. Follow these steps to safely disconnect the charger from your electric toothbrush:
- Check the charging status: Before disconnecting the charger, verify that the charging indicator on the toothbrush or charging base indicates a full charge. This visual confirmation ensures that the toothbrush’s battery has reached its optimal charge level.
- Turn off the power source: If your electric toothbrush is connected to a charging base or stand that is plugged into a power outlet, switch off the power source to the charger before disconnecting the toothbrush. This precaution prevents any potential electrical hazards during the disconnection process.
- Disconnect the charger: Gently remove the charging connector from the charging port on the electric toothbrush. Handle the disconnection carefully to avoid exerting excessive force, which could damage the port or connector.
- Store the charger: After disconnecting the charger, store it in a safe and convenient location for future use. If it’s a corded charger, ensure that the cord is neatly coiled and kept away from potential hazards to maintain its integrity.
By following these steps, you can safely and effectively disconnect the charger from your electric toothbrush, concluding the charging process without compromising the device’s functionality or safety.
Now that you’ve successfully charged your electric toothbrush, it’s ready to provide you with the refreshing clean feeling you’ve come to expect. By incorporating these simple charging practices into your oral care routine, you can ensure that your electric toothbrush remains powered up and ready for use whenever you need it.
With the charging process complete and the charger safely disconnected, your electric toothbrush is primed and ready to deliver a thorough and effective clean for your teeth and gums. Keep these charging guidelines in mind to maintain the performance and longevity of your electric toothbrush, ensuring that it continues to be a valuable tool in your oral care regimen.
Conclusion
Congratulations! You’ve successfully navigated the process of charging your electric toothbrush, ensuring that it remains powered up and ready to provide you with a refreshing clean every time you use it. By following the simple and practical steps outlined in this guide, you’ve taken proactive measures to maintain the optimal performance and longevity of your electric toothbrush.
Charging an electric toothbrush is a straightforward task, but it’s essential to approach it with care and attention to detail. From gathering the necessary supplies to safely disconnecting the charger, each step plays a crucial role in ensuring that your electric toothbrush remains in peak condition for your oral care needs.
As you continue to incorporate your electric toothbrush into your daily oral care routine, remember to adhere to the manufacturer’s recommendations regarding charging practices and battery maintenance. By doing so, you can maximize the effectiveness and lifespan of your electric toothbrush, allowing it to continue delivering the superior clean that you’ve come to expect.
With these charging guidelines in your arsenal, you can confidently keep your electric toothbrush charged and ready for action, ensuring that your oral care regimen remains efficient and effective. Embrace the convenience and performance of your electric toothbrush, knowing that you’re equipped with the knowledge to keep it powered up and functioning at its best.
Thank you for joining me on this journey through the process of charging an electric toothbrush. By following these steps and best practices, you’ve empowered yourself to maintain the vitality and functionality of your electric toothbrush, enhancing your overall oral hygiene experience. Here’s to a bright and healthy smile, powered by your charged-up electric toothbrush!
Frequently Asked Questions about How To Charge An Electric Toothbrush
Was this page helpful?
At Storables.com, we guarantee accurate and reliable information. Our content, validated by Expert Board Contributors, is crafted following stringent Editorial Policies. We're committed to providing you with well-researched, expert-backed insights for all your informational needs.


0 thoughts on “How To Charge An Electric Toothbrush”