Home>Home Appliances>Cleaning Appliances>How To Mop Unsealed Wood Floors
Cleaning Appliances
How To Mop Unsealed Wood Floors
Modified: November 1, 2024
Learn the best techniques for cleaning unsealed wood floors with our comprehensive guide. Discover the right cleaning appliances and methods to keep your floors looking their best.
(Many of the links in this article redirect to a specific reviewed product. Your purchase of these products through affiliate links helps to generate commission for Storables.com, at no extra cost. Learn more)
Introduction
Maintaining the natural beauty of unsealed wood floors requires a delicate balance of cleaning and preservation. Unlike sealed wood floors, unsealed wood is more susceptible to moisture and stains, making it essential to adopt a gentle and mindful approach to cleaning. In this comprehensive guide, we will explore the best practices for effectively mopping unsealed wood floors, ensuring their longevity and timeless appeal.
Unsealed wood floors, often cherished for their rustic charm and organic allure, necessitate specialized care to prevent damage and maintain their luster. By understanding the unique characteristics of unsealed wood and employing the appropriate cleaning techniques, you can safeguard these floors while enhancing their inherent elegance.
Join us as we delve into the art of cleaning unsealed wood floors, from gathering the necessary materials to executing the mopping process with finesse. Whether you're a seasoned homeowner seeking to revitalize your living space or a novice embarking on the journey of wood floor maintenance, this guide will equip you with the knowledge and confidence to preserve the natural splendor of your unsealed wood floors.
Key Takeaways:
- Preserve unsealed wood floors by gentle mopping with pH-neutral cleaner and proper drying to maintain their timeless allure and natural beauty.
- Regular maintenance, gentle cleaning, and proactive care ensure unsealed wood floors remain a captivating centerpiece of your living space for years to come.
Read more: What To Mop Wood Floors With
Materials Needed
Before embarking on the task of mopping unsealed wood floors, it is crucial to assemble the appropriate materials to ensure a thorough yet gentle cleaning process. Here’s a list of essential items you’ll need:
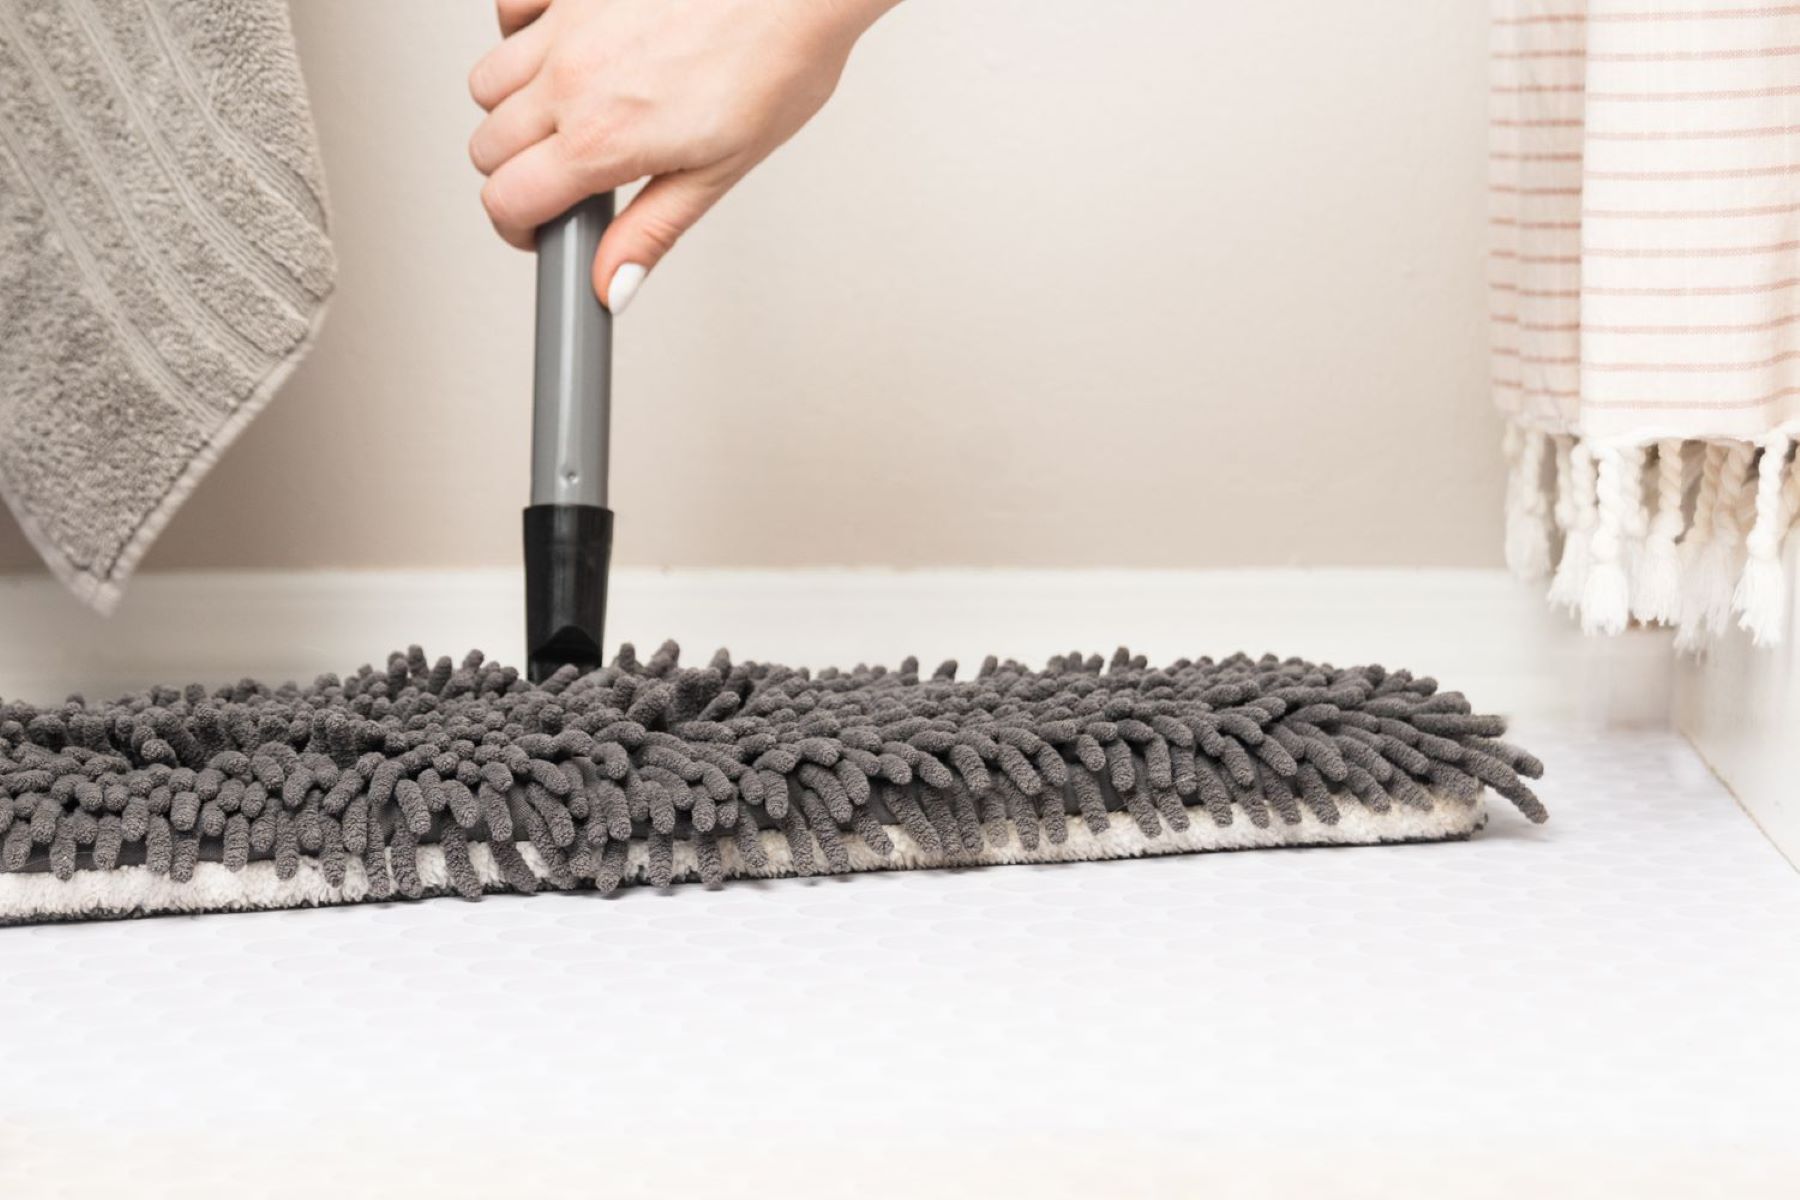
- Broom: A soft-bristled broom or microfiber dust mop is ideal for removing loose debris and dust without causing scratches on the wood surface.
- Vacuum Cleaner: Opt for a vacuum with a soft brush attachment to effectively eliminate fine particles from the wood floors.
- Mild Wood Floor Cleaner: Choose a pH-neutral, non-abrasive wood floor cleaning solution specifically formulated for unsealed wood surfaces. Avoid harsh chemicals that can compromise the wood’s natural integrity.
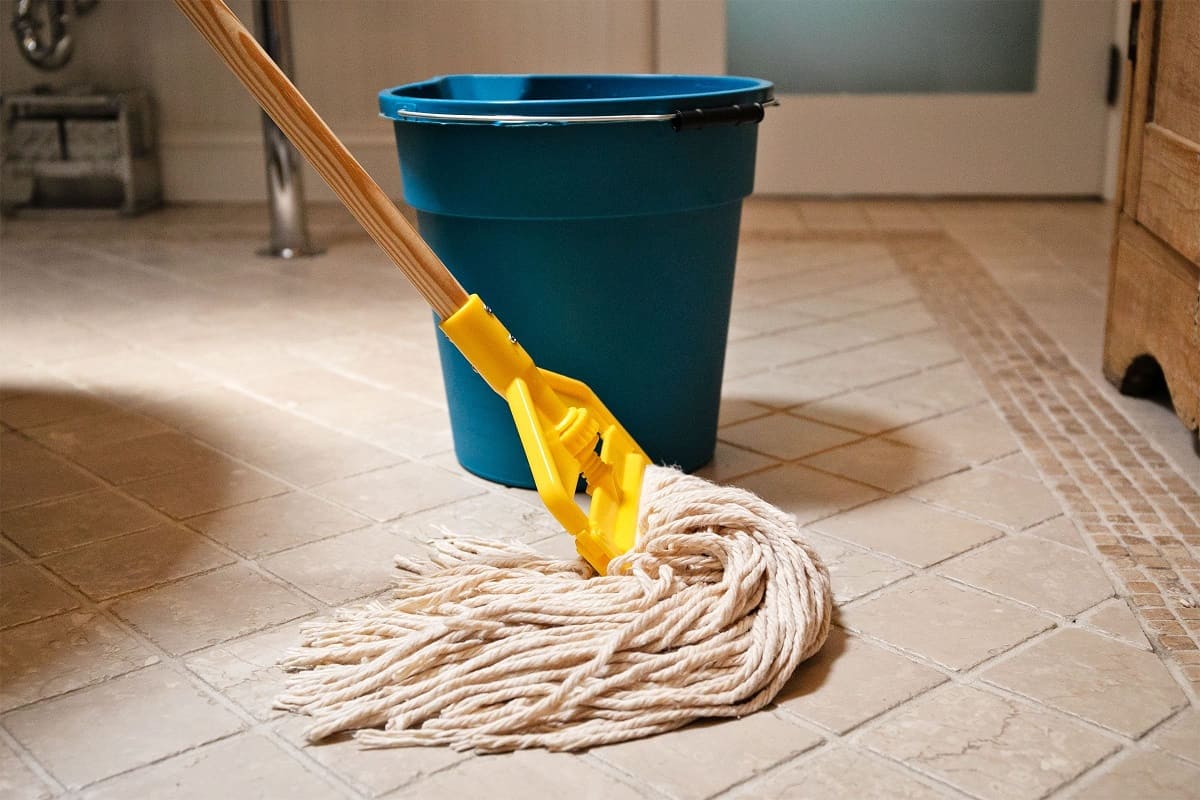
- Bucket: Select a clean bucket for diluting the cleaning solution and water for mopping.
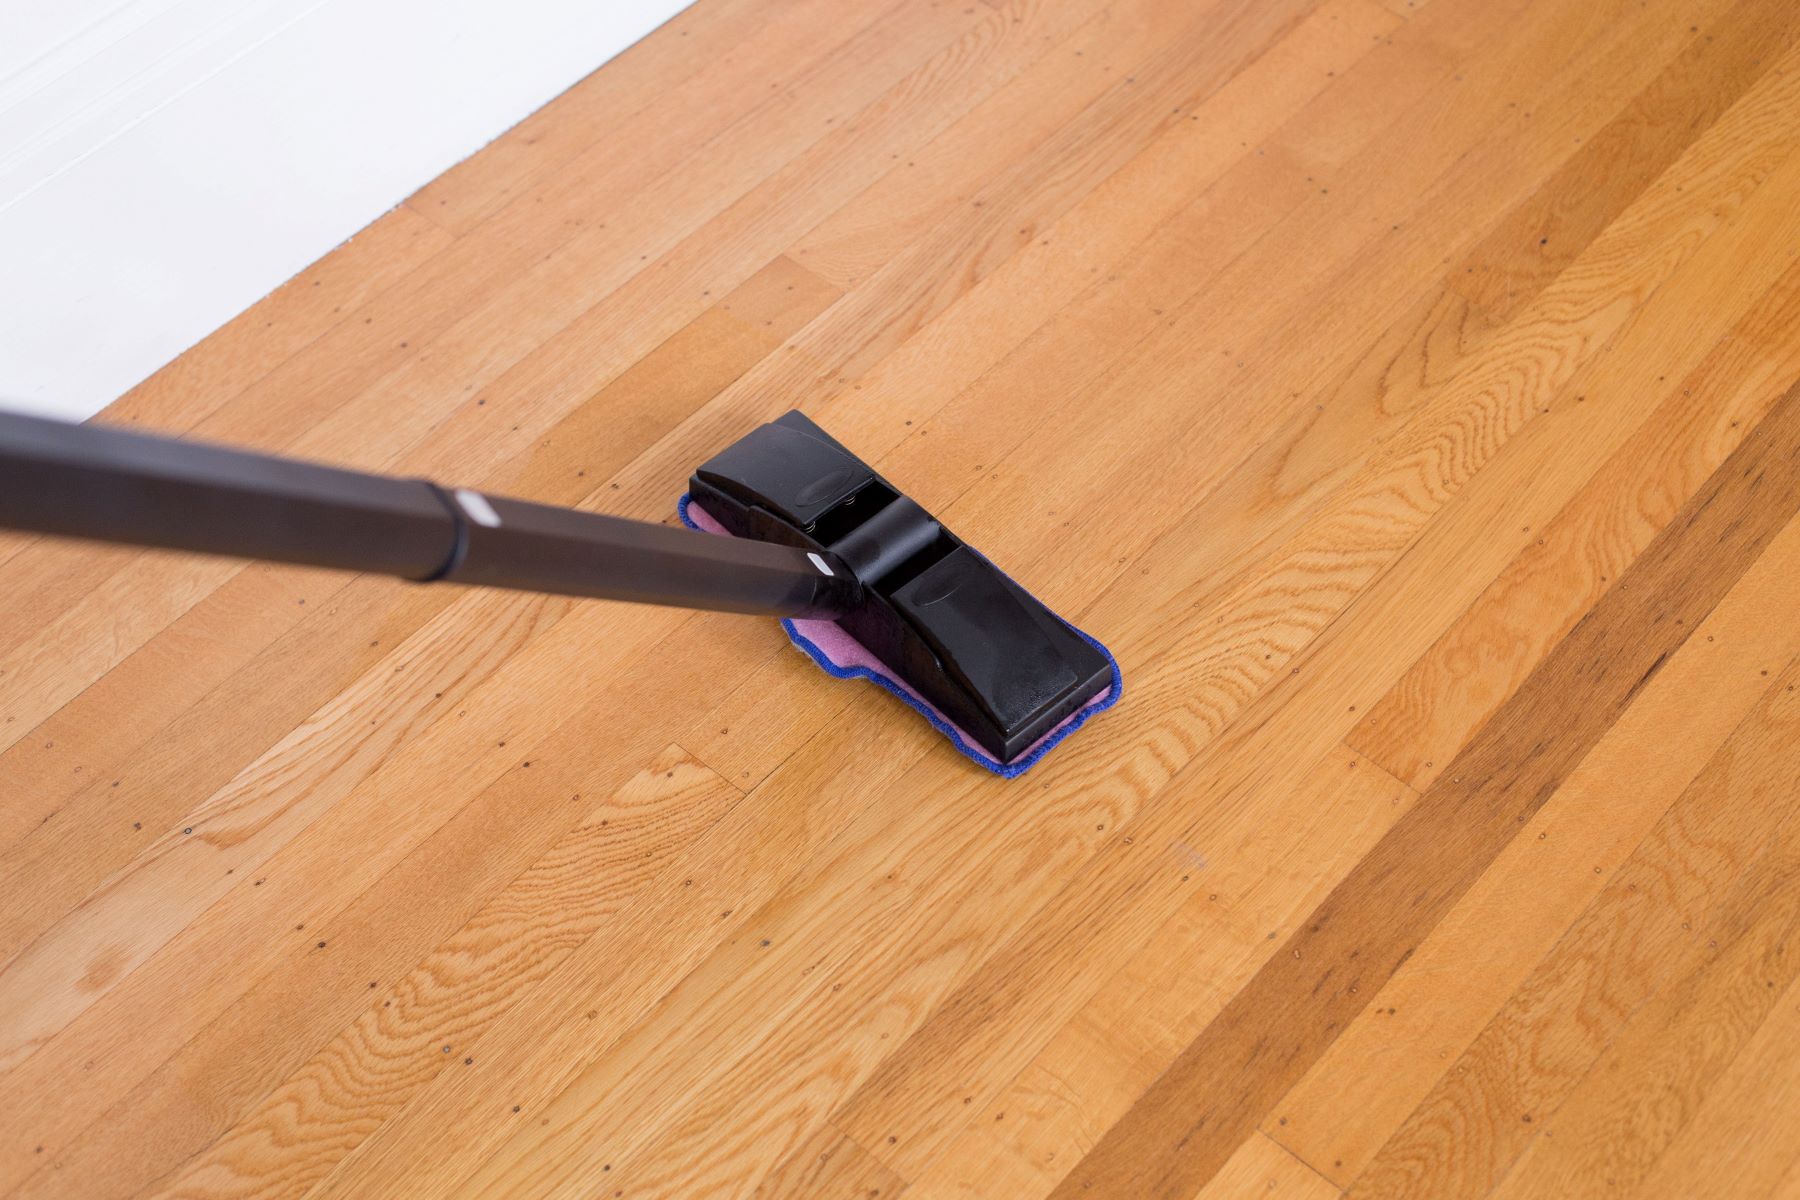
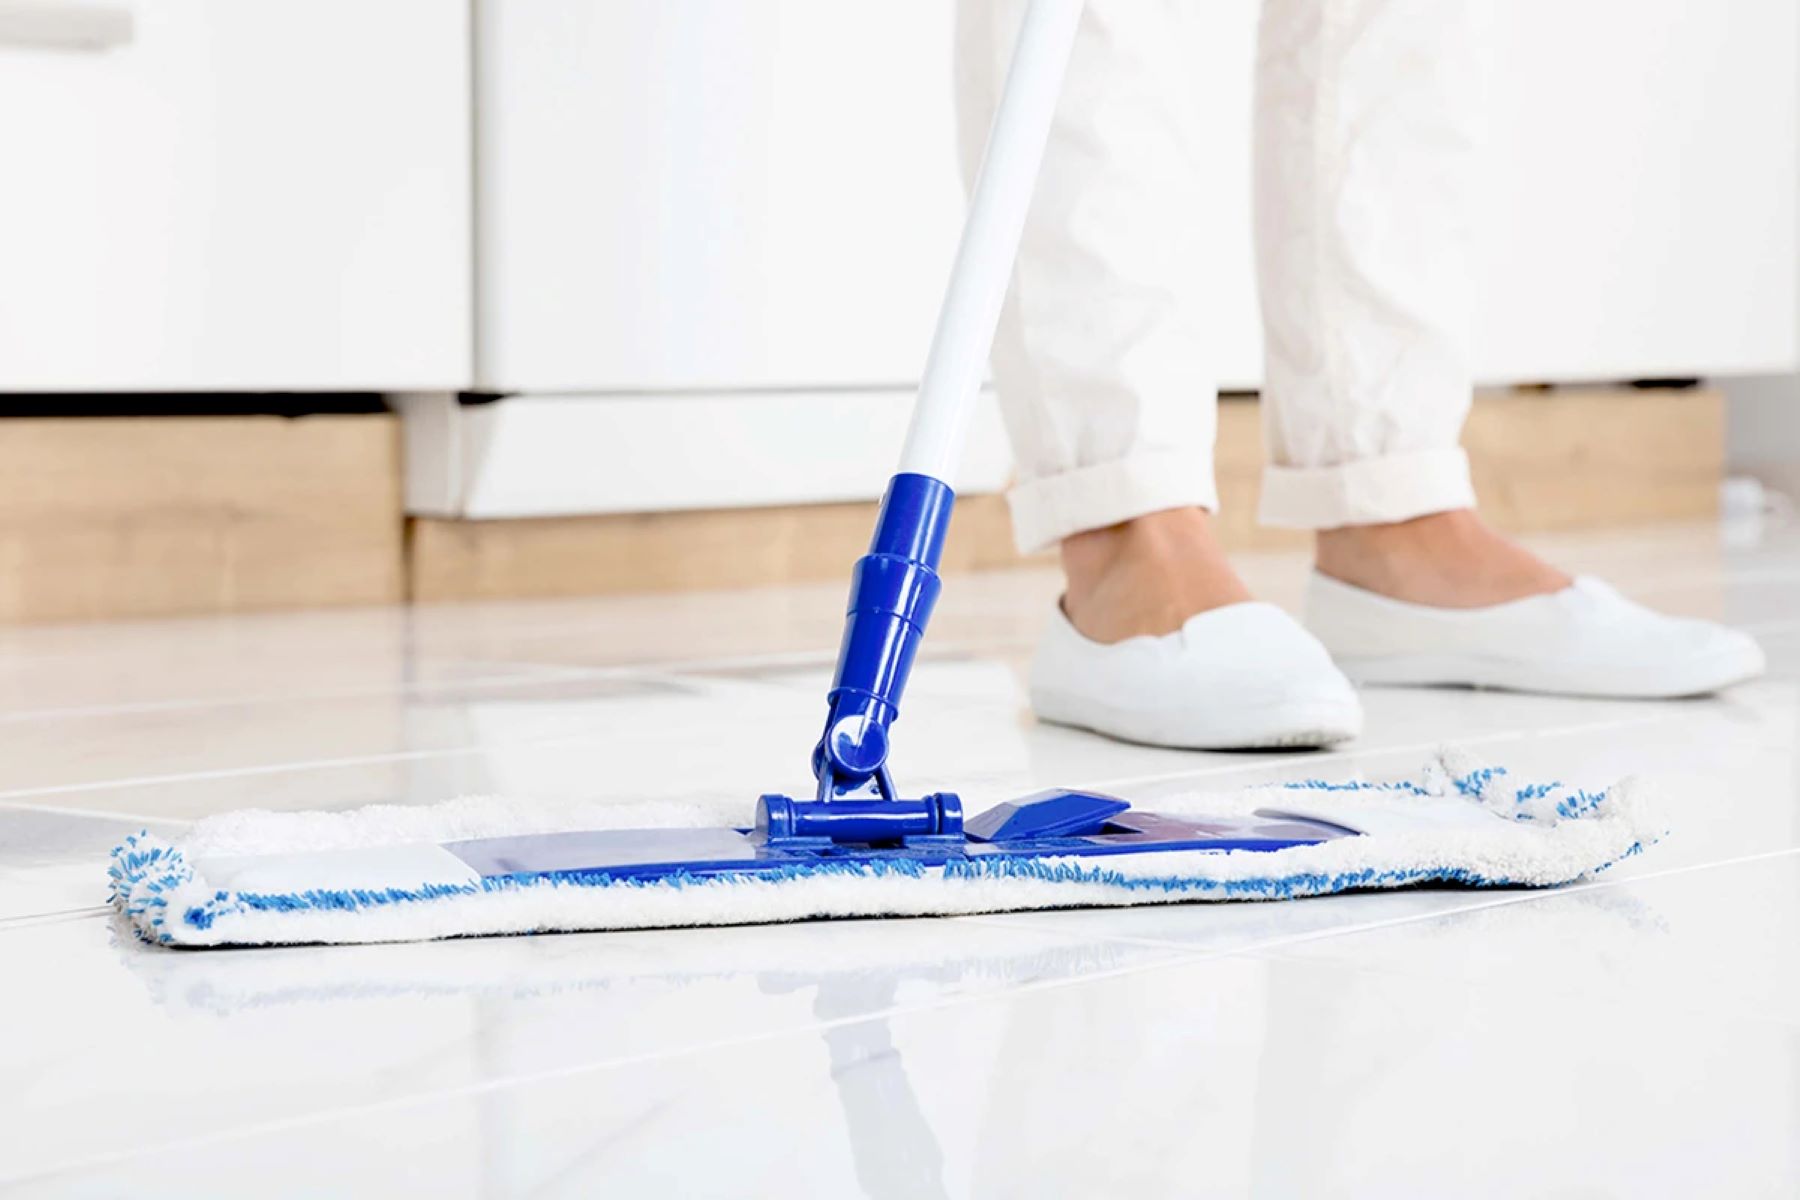
- Microfiber Mop: Utilize a microfiber mop with a gentle, non-abrasive surface to prevent scratching and streaking while effectively cleaning the wood floors.
- Clean, Soft Cloths: Keep several soft, lint-free cloths on hand for spot cleaning and drying the wood floors after mopping.
- Protective Gloves: To shield your hands from any cleaning solution, consider wearing protective gloves during the mopping process.
- Protective Pads or Furniture Sliders: If you need to move furniture to access the entire floor area, protective pads or furniture sliders can prevent scratches and scuffs on the wood surface.
By ensuring that you have these materials readily available, you can proceed with confidence, knowing that you have everything necessary to effectively and safely clean your unsealed wood floors.
Preparing the Area
Before commencing the mopping process, it’s essential to prepare the area surrounding the unsealed wood floors to facilitate a seamless and efficient cleaning experience. Preparing the area not only ensures thorough cleaning but also minimizes the risk of potential damage to the wood surfaces. Here are the key steps to prepare the space for mopping:
- Clear the Floor: Remove any obstacles, such as furniture, rugs, or decorative items, from the wood floor area. This step not only allows for unrestricted access but also prevents potential tripping hazards during the cleaning process.
- Dust and Vacuum: Thoroughly dust the entire wood floor using a soft-bristled broom or a microfiber dust mop to eliminate loose debris and dust. Follow up with a gentle vacuuming using a vacuum cleaner equipped with a soft brush attachment to remove finer particles and ensure a clean starting surface.
- Protective Pads: If there are furniture pieces or heavy items that cannot be moved, place protective pads or furniture sliders beneath their legs to prevent scratches or indentations on the wood floors.
- Ventilation: Ensure adequate ventilation in the cleaning area by opening windows or using fans to promote air circulation. Proper ventilation helps expedite the drying process after mopping and minimizes the accumulation of moisture on the wood surface.
By diligently preparing the area before mopping, you set the stage for a successful cleaning endeavor while safeguarding the integrity of your unsealed wood floors. These proactive measures create a conducive environment for effective cleaning and contribute to the preservation of the wood’s natural beauty.
Choosing the Right Cleaning Solution
When it comes to cleaning unsealed wood floors, selecting the appropriate cleaning solution is paramount to preserving the wood’s natural beauty and integrity. The ideal cleaning solution should effectively remove dirt and grime while being gentle enough to prevent damage to the wood surface. Here are essential considerations to guide you in choosing the right cleaning solution for mopping unsealed wood floors:
- pH-Neutral Formulation: Opt for a pH-neutral wood floor cleaner specifically designed for unsealed wood surfaces. A pH-neutral solution effectively cleans the floors without compromising the wood’s natural pH balance, safeguarding its integrity.
- Non-Abrasive Composition: Ensure that the cleaning solution is non-abrasive to prevent scratching or dulling of the wood surface. Harsh chemicals and abrasive cleaners can compromise the wood’s finish and lead to long-term damage.
- Natural Ingredients: Look for cleaning solutions that feature natural ingredients, such as plant-based or biodegradable components. These formulations are gentle on the wood while minimizing the impact on the environment.
- Manufacturer’s Recommendations: Refer to the flooring manufacturer’s guidelines or recommendations for approved cleaning products. Adhering to the manufacturer’s suggestions ensures that the cleaning solution is compatible with the specific type of unsealed wood floor in your home.
- Spot Testing: Prior to full-scale mopping, conduct a spot test of the cleaning solution in an inconspicuous area to assess its compatibility with the wood surface. This precautionary step helps identify any adverse reactions before applying the solution to the entire floor.
By conscientiously evaluating these factors and selecting a cleaning solution that aligns with these criteria, you can confidently proceed with mopping your unsealed wood floors, knowing that you are employing a solution that effectively cleans while preserving the wood’s natural allure.
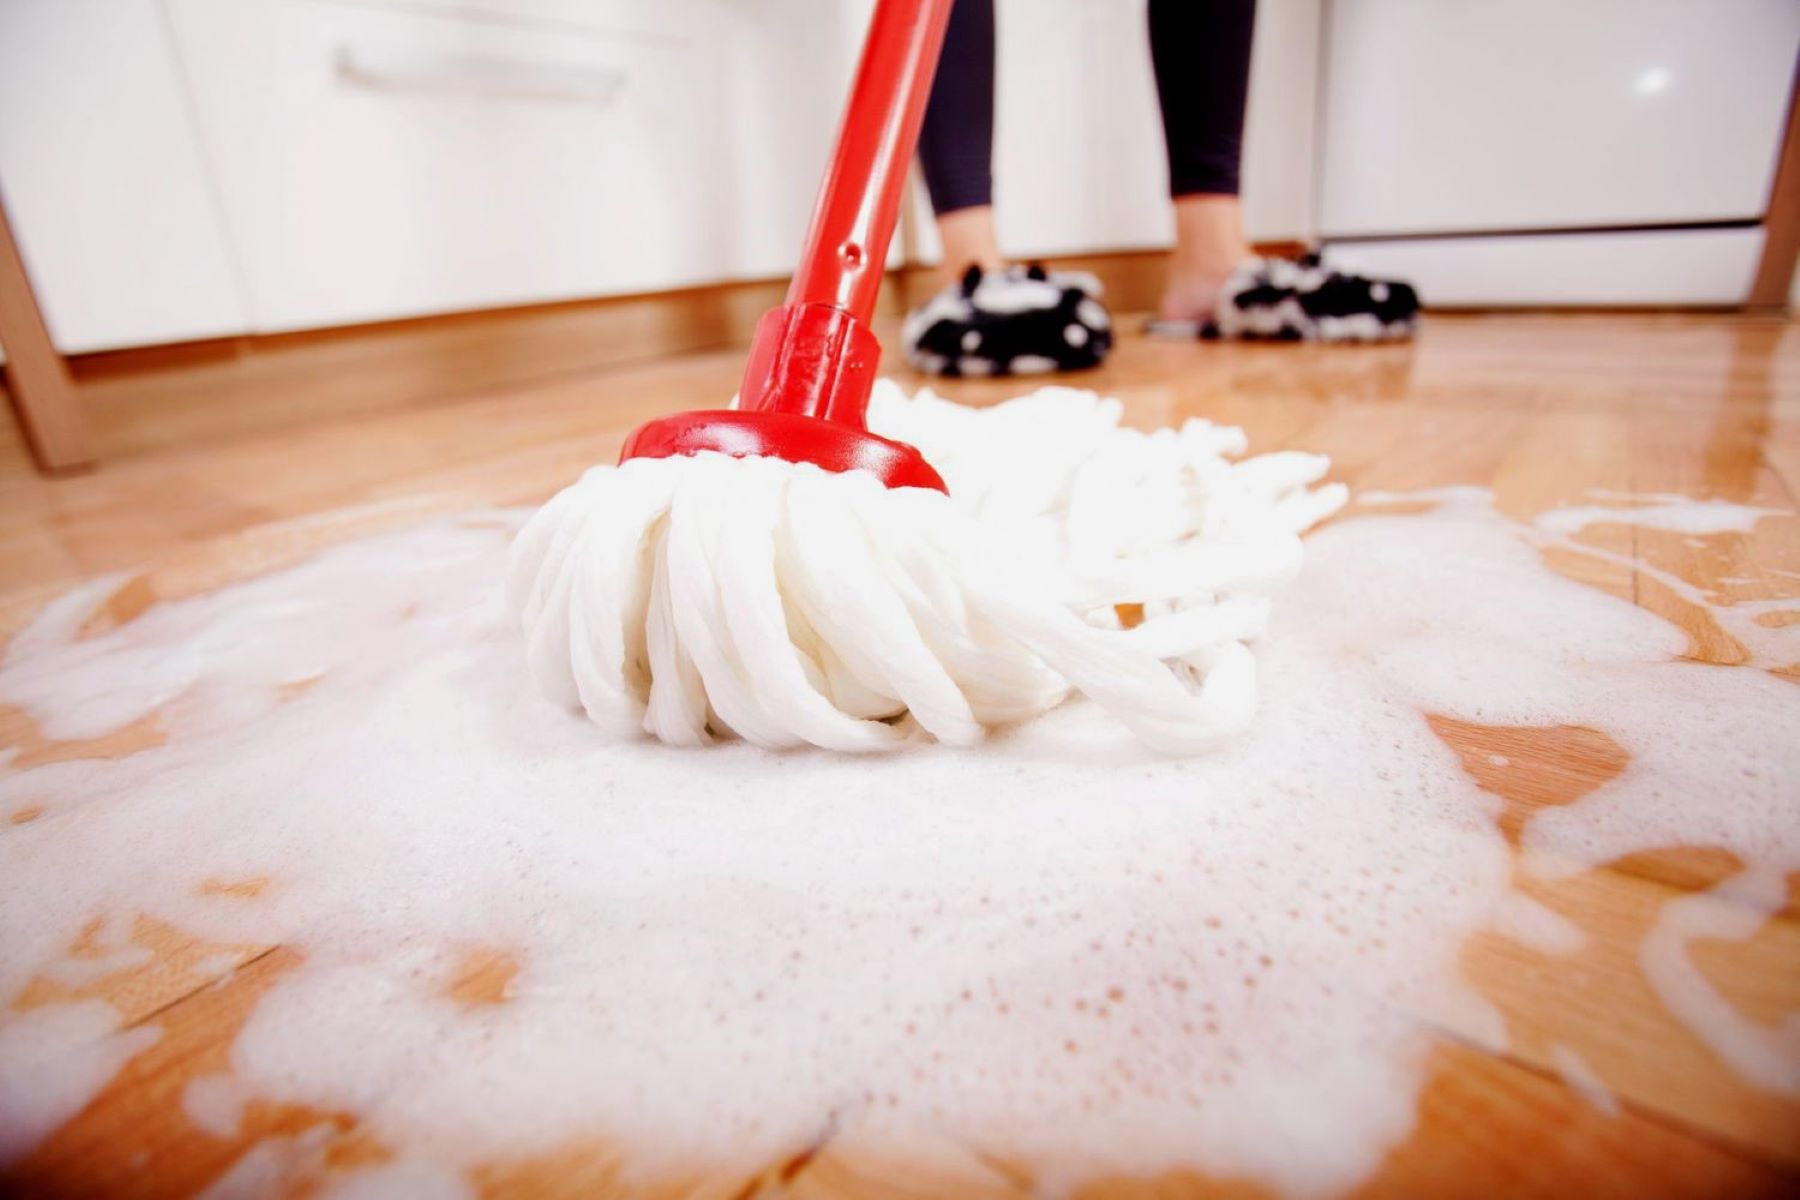
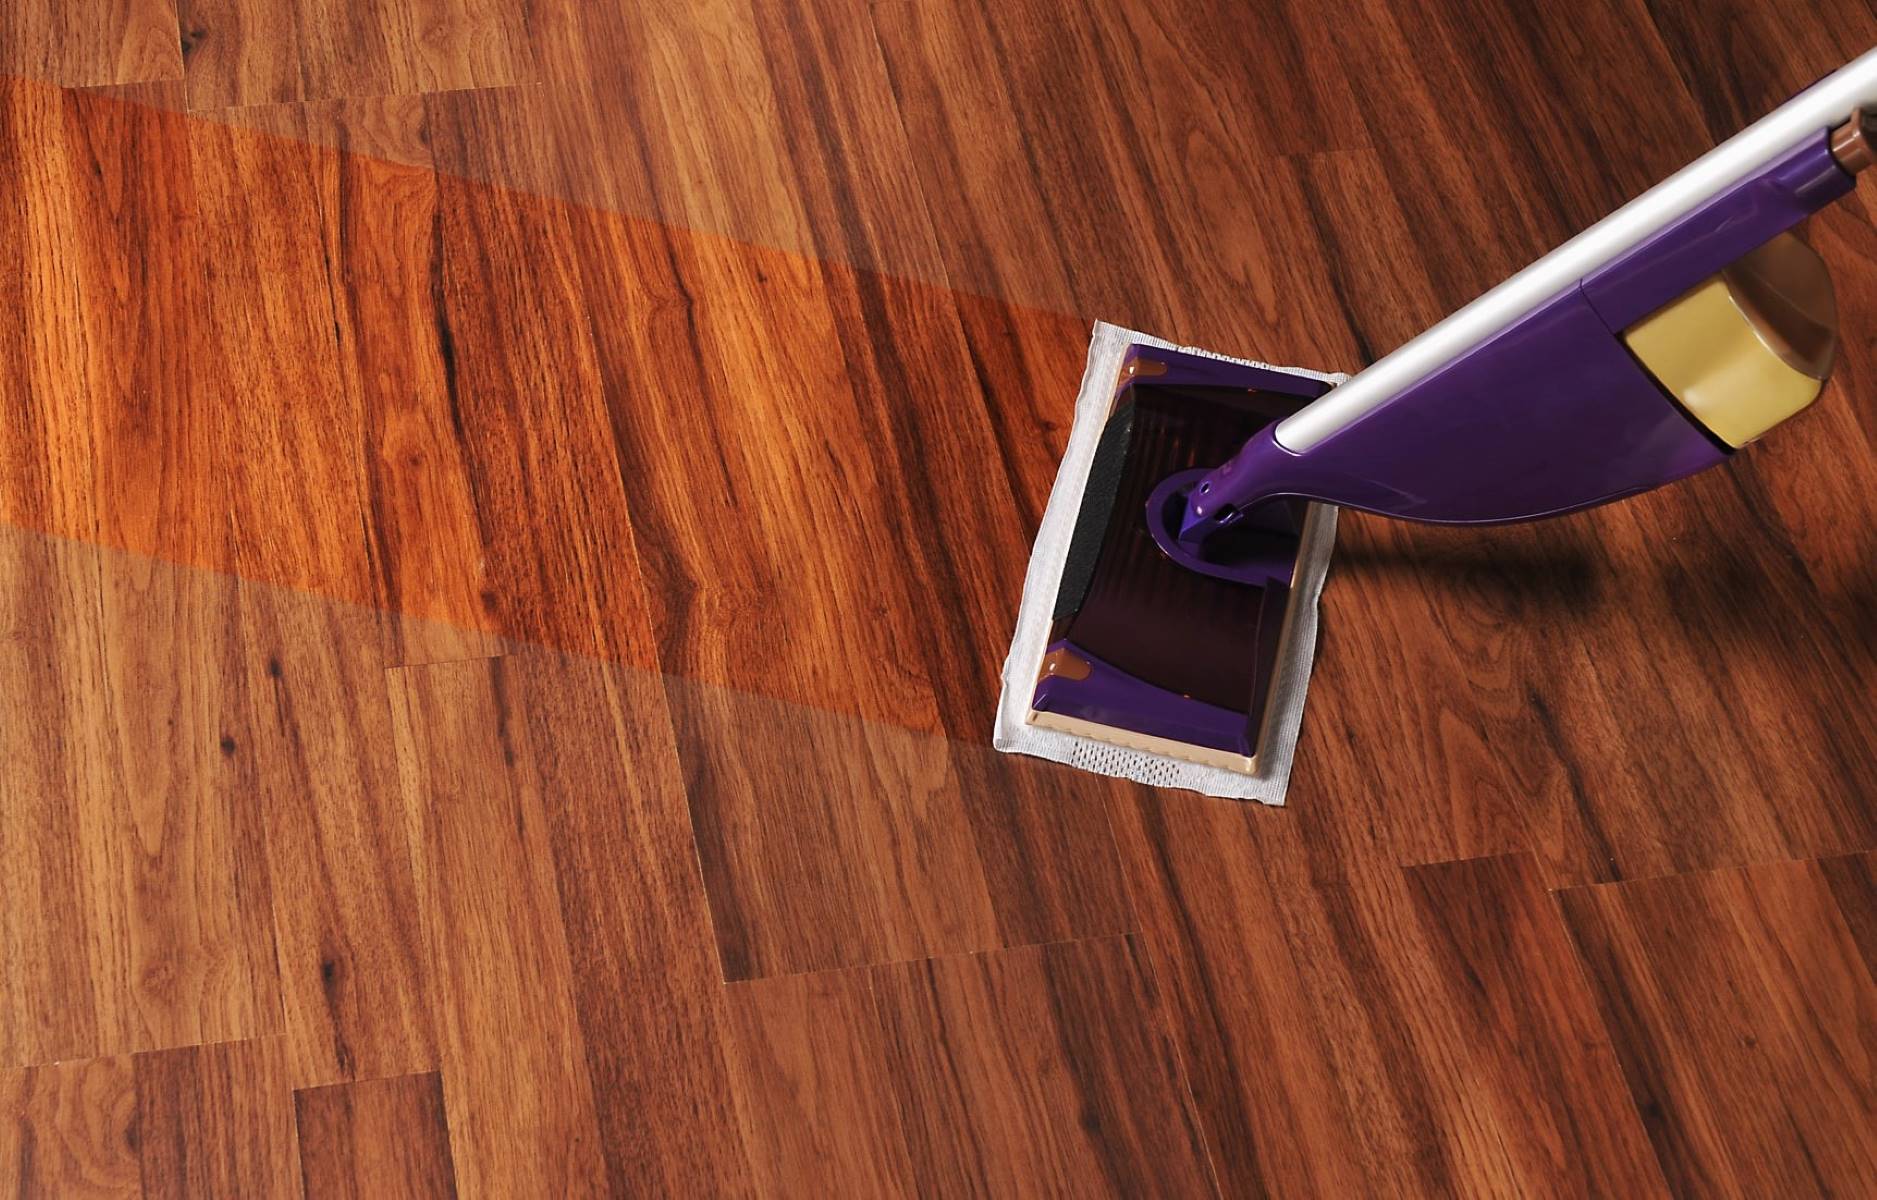
Use a damp mop with a mild wood floor cleaner to avoid over-saturating the wood. Wipe up any excess moisture immediately to prevent damage.
Mopping the Floors
With the area prepared and the appropriate cleaning solution at the ready, it’s time to embark on the mopping process to rejuvenate and cleanse your unsealed wood floors. Follow these steps to ensure a thorough and gentle mopping experience:
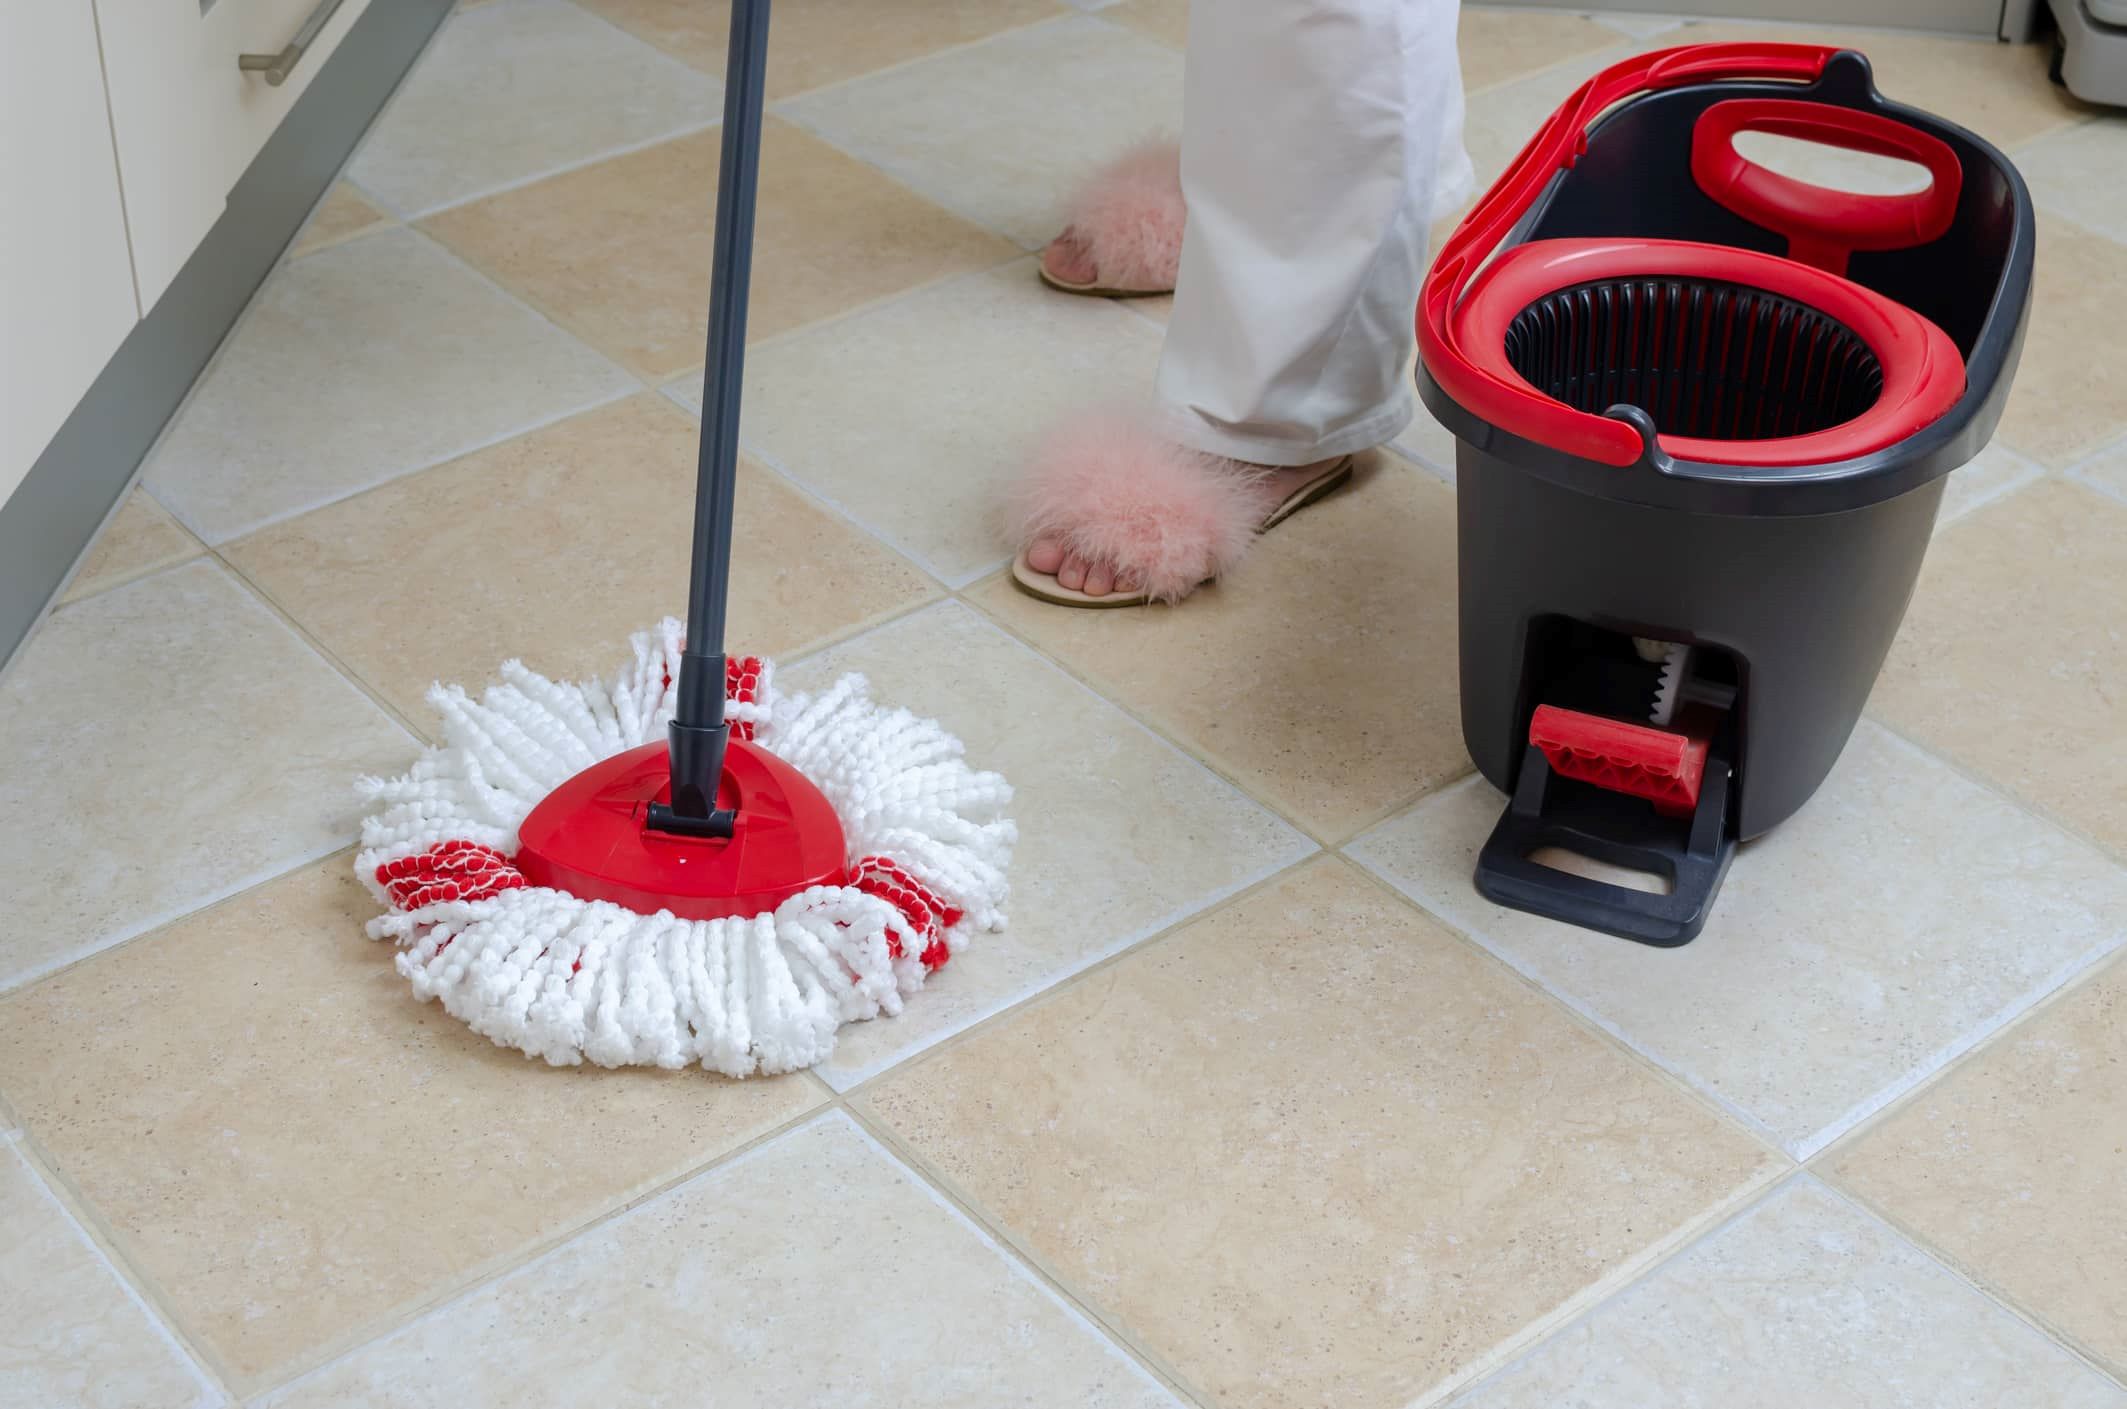
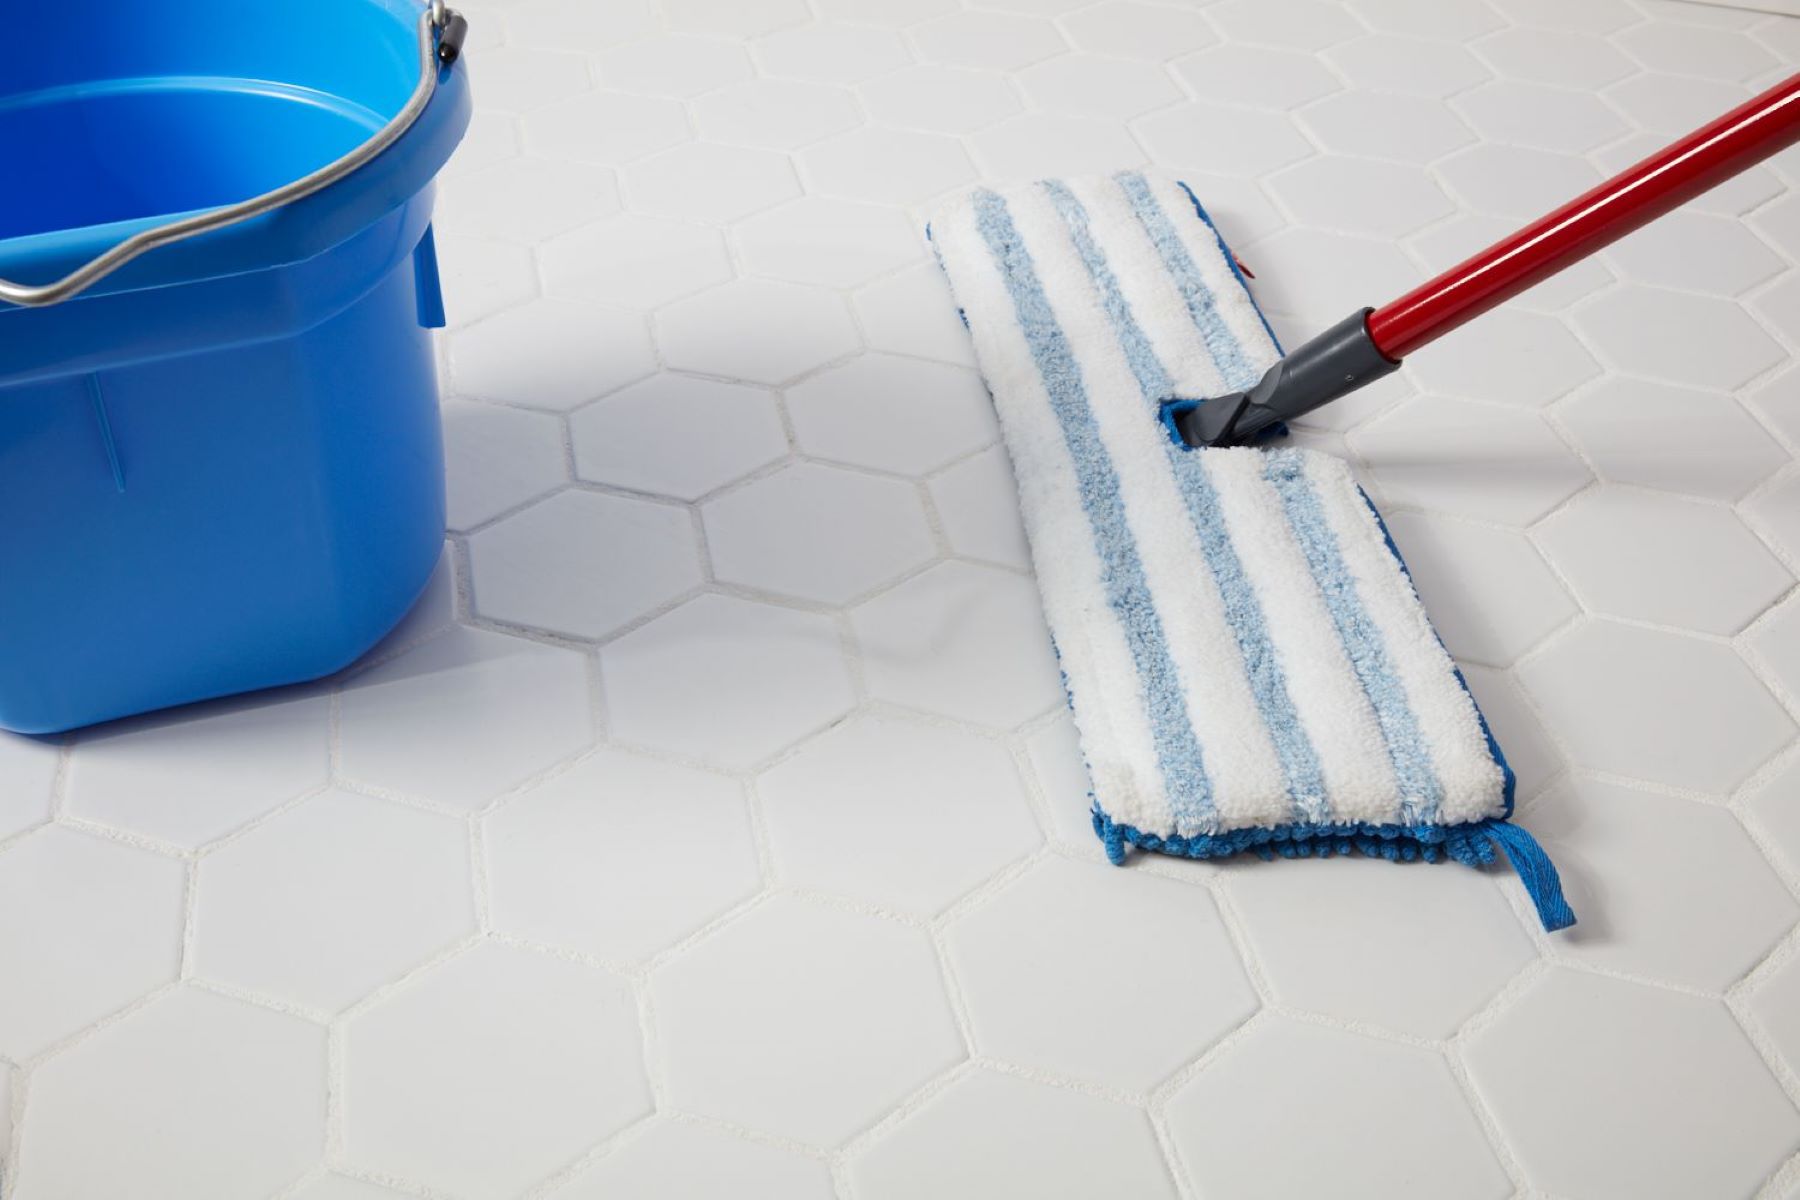
- Dilute the Cleaning Solution: In a clean bucket, dilute the recommended amount of pH-neutral wood floor cleaner with water according to the manufacturer’s instructions. Avoid using excessive cleaner, as this can leave a residue on the wood surface.
- Wring Out the Mop: Submerge the microfiber mop in the cleaning solution, then thoroughly wring it out to remove excess liquid. The mop should be damp but not dripping to prevent over-saturation of the wood floors.
- Begin Mopping: Starting from the farthest corner of the room, gently mop the wood floors in a back-and-forth motion, following the wood grain whenever possible. Take care to work in small sections to ensure thorough cleaning without allowing the cleaning solution to air dry on the wood surface.
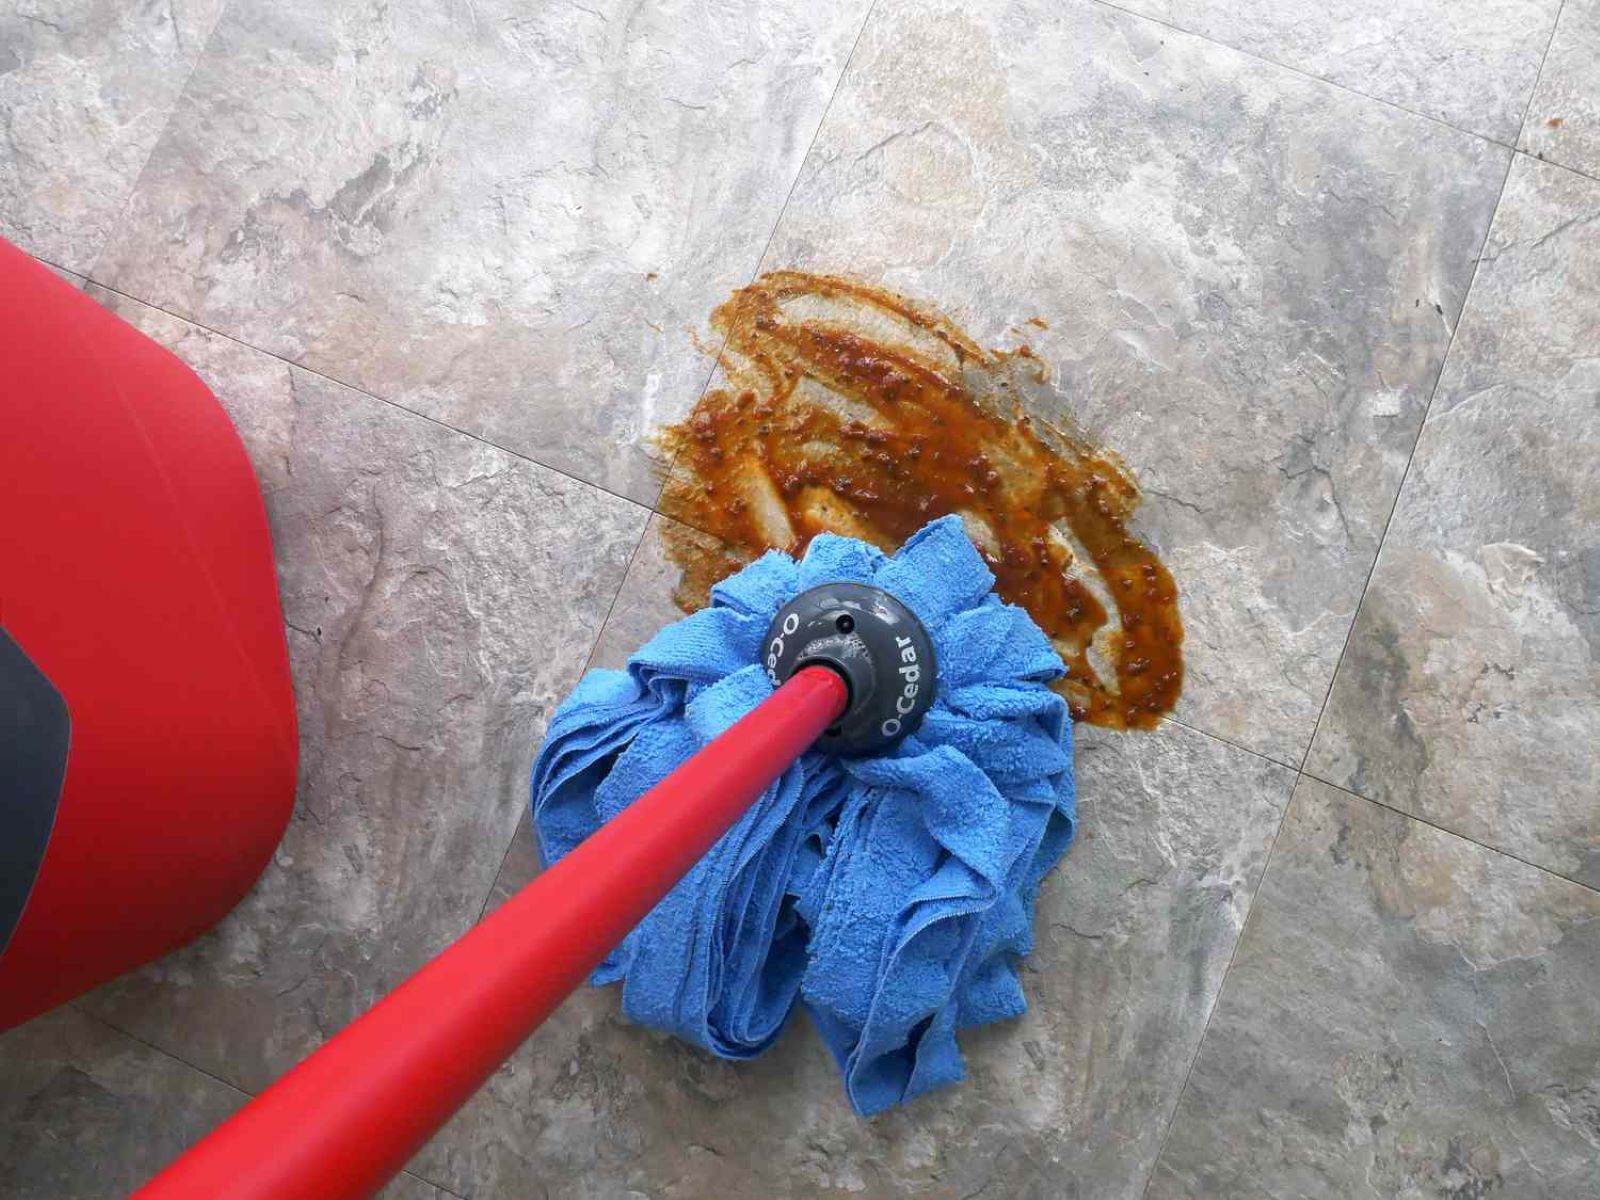
- Address Stubborn Stains: For stubborn stains or heavily soiled areas, apply a small amount of undiluted cleaning solution directly to the stain and gently agitate with the mop. Avoid excessive scrubbing, as this can damage the wood fibers.
- Rinse the Mop Regularly: Periodically rinse the mop in the cleaning solution and wring it out to maintain its effectiveness. This prevents the spread of dirt and ensures that the cleaning process remains consistent throughout the mopping session.
By methodically mopping the floors with precision and care, you can effectively remove dirt, grime, and stains while preserving the natural beauty of the unsealed wood. The gentle approach and attention to detail during the mopping process contribute to the long-term maintenance of your wood floors, ensuring their enduring allure.
Read also: 15 Best Wood Floor Mop For 2025
Drying the Floors
After completing the mopping process, thorough drying is essential to prevent moisture-related damage and maintain the pristine condition of your unsealed wood floors. Proper drying techniques not only safeguard the wood surface but also contribute to a gleaming, polished appearance. Follow these steps to ensure effective drying of your wood floors:
- Remove Excess Moisture: Using clean, dry, and absorbent cloths, gently blot the wood floors to remove any excess moisture remaining from the mopping process. Pay particular attention to corners, edges, and areas where water may have accumulated.
- Enhance Air Circulation: Promote air circulation in the mopped area by opening windows and utilizing fans. Increased airflow expedites the evaporation of residual moisture and minimizes the risk of water damage to the wood floors.
- Monitor Drying Progress: Allow the wood floors to air dry naturally, periodically assessing the drying progress. Avoid walking on the floors until they are completely dry to prevent footprints and marks on the surface.
- Inspect for Residual Stains: Once the floors are dry, inspect the surface for any residual stains or spots. Address any remaining marks with a targeted application of the pH-neutral wood floor cleaner, followed by gentle mopping and drying.
By diligently employing these drying techniques, you ensure that your unsealed wood floors remain free from excess moisture, promoting their longevity and maintaining their exquisite appearance. The careful attention to drying not only protects the wood surface but also contributes to a pristine and inviting living environment.
Maintaining Unsealed Wood Floors
Preserving the timeless allure of unsealed wood floors involves ongoing maintenance and attentive care. By incorporating these essential practices into your routine, you can prolong the beauty and integrity of your wood floors for years to come:
- Regular Dusting: Employ a soft-bristled broom or microfiber dust mop to regularly remove loose debris and dust from the wood floors. This prevents the accumulation of particles that can scratch the surface over time.
- Gentle Cleaning: When deeper cleaning is necessary, use a pH-neutral wood floor cleaner and a microfiber mop to gently cleanse the floors. Avoid excessive moisture and harsh cleaning agents that can compromise the wood’s natural luster.
- Immediate Spill Cleanup: Promptly address spills and stains to prevent them from penetrating the wood surface. Blot the affected area with a clean, dry cloth and, if necessary, use a targeted application of wood floor cleaner to remove the stain.
- Protective Measures: Place protective pads beneath furniture legs and utilize area rugs in high-traffic areas to minimize wear and prevent scratches on the wood floors.
- Regular Inspections: Periodically inspect the wood floors for signs of wear, scratches, or damage. Address any issues promptly to prevent them from escalating and compromising the overall condition of the floors.
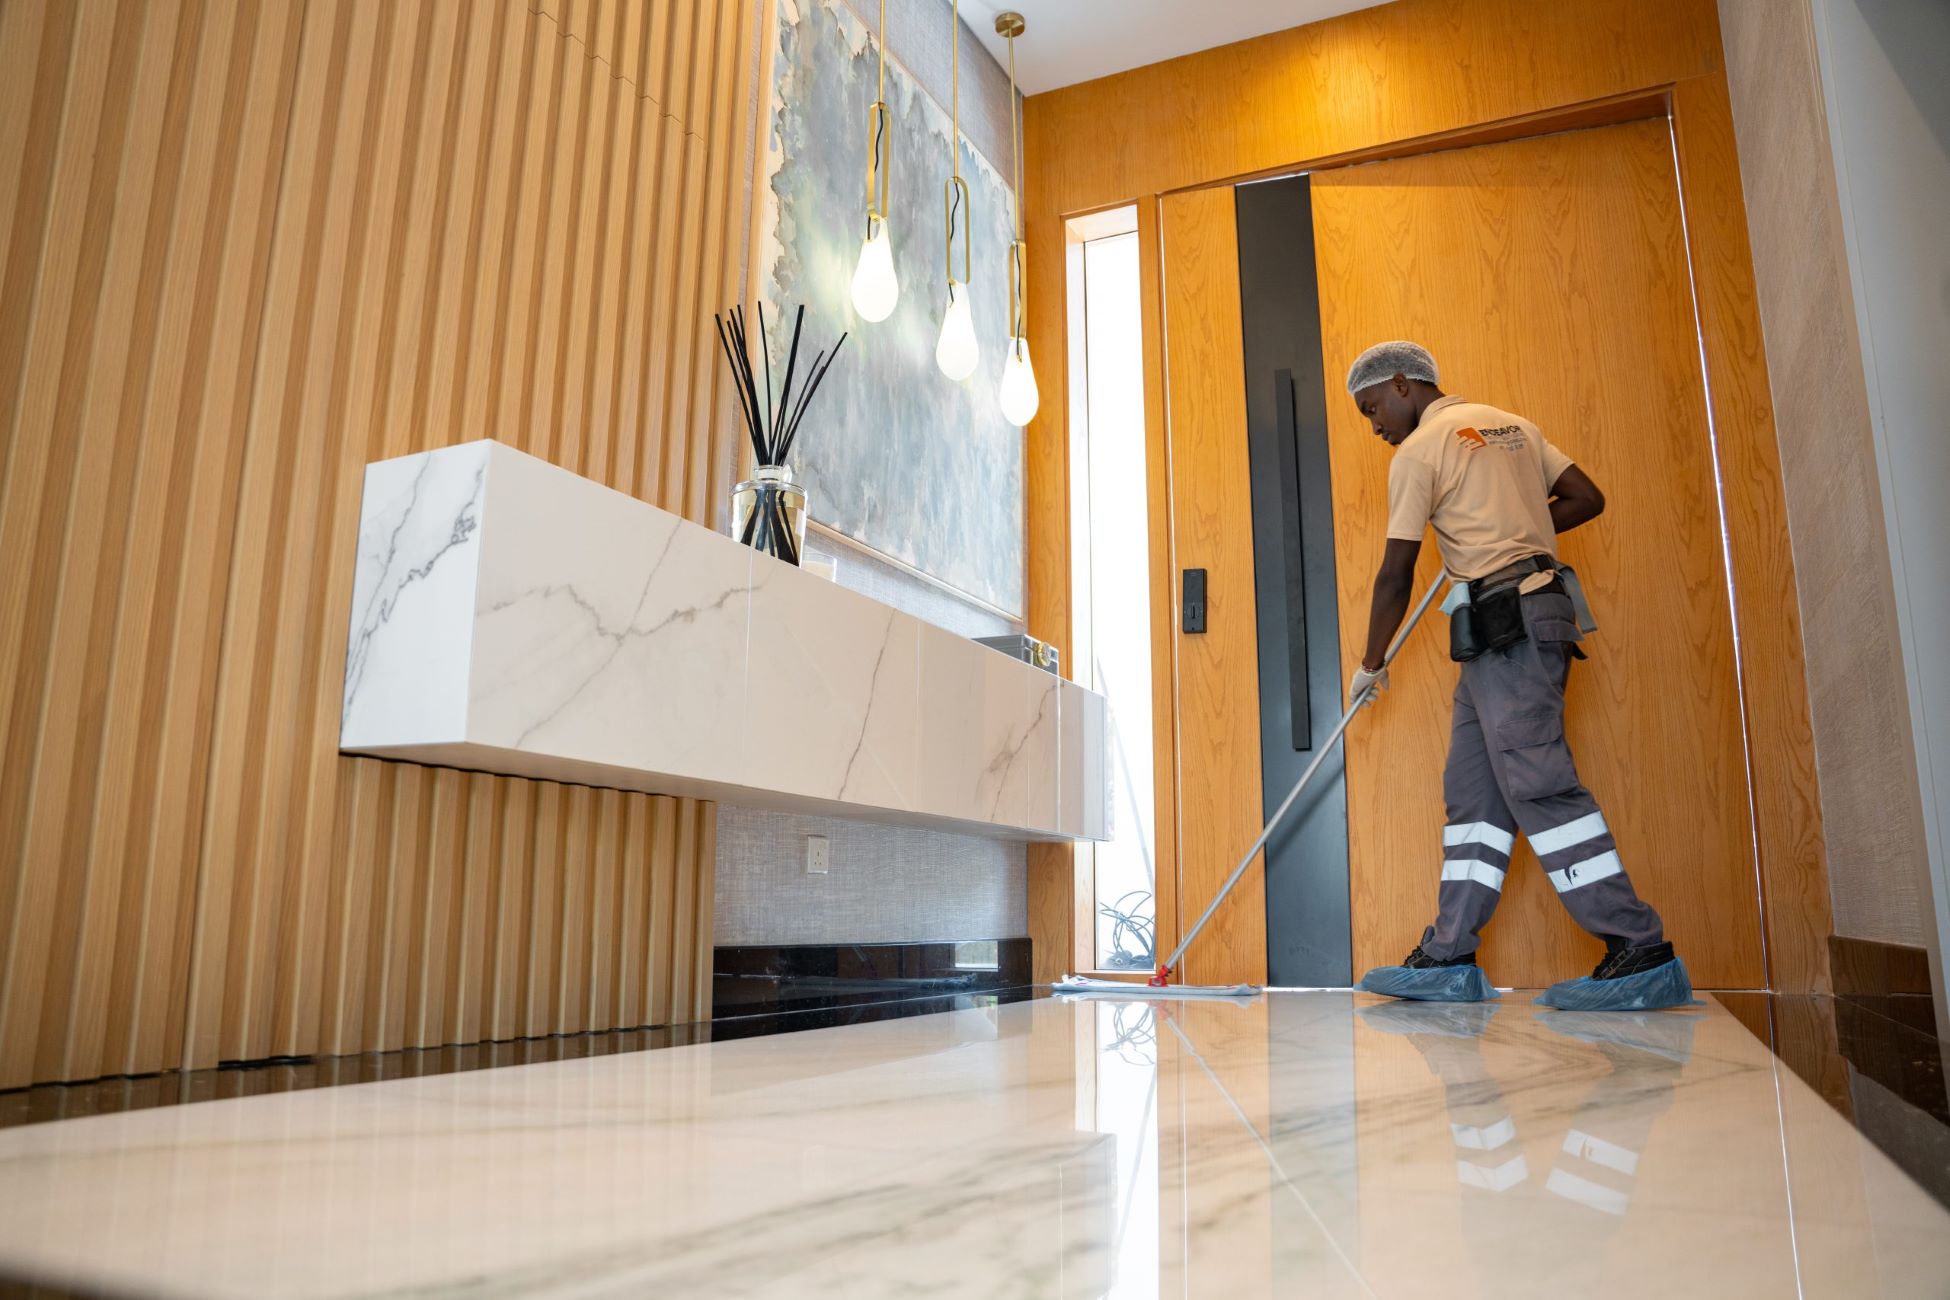
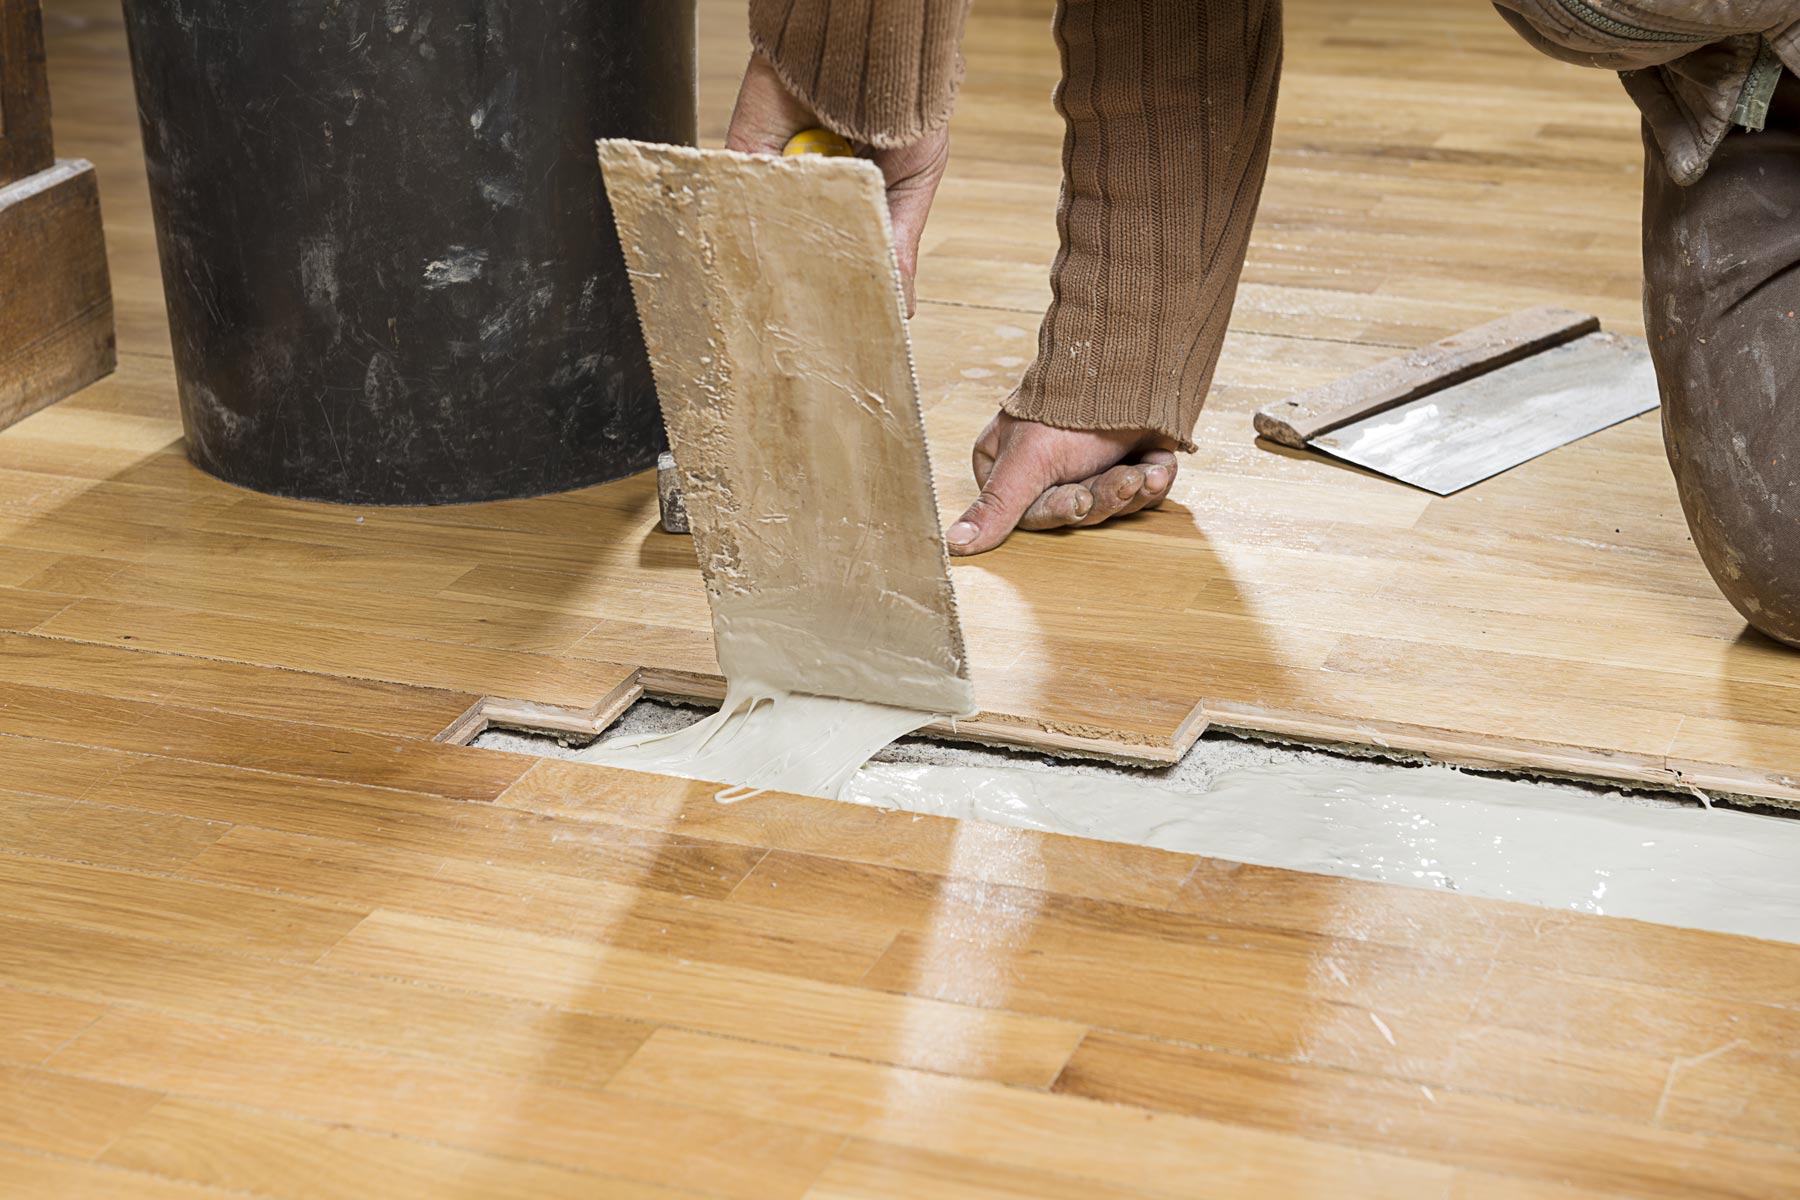
- Professional Maintenance: Consider periodic professional maintenance, such as resealing or refinishing, to rejuvenate the wood floors and address any wear or surface damage.
By integrating these maintenance practices into your regular cleaning and upkeep routine, you can safeguard the natural beauty and resilience of your unsealed wood floors. Consistent care and attention contribute to the longevity of the wood floors, ensuring that they remain a captivating centerpiece of your living space for years to come.
Conclusion
Caring for unsealed wood floors is a labor of love, requiring a delicate balance of attentive maintenance and gentle cleaning practices. By understanding the unique characteristics of unsealed wood and employing the appropriate cleaning techniques, you can preserve the timeless allure and natural beauty of these exquisite surfaces. From preparing the area and selecting the right cleaning solution to executing the mopping process with precision, every step contributes to the long-term maintenance of your wood floors.
As you embark on the journey of caring for your unsealed wood floors, remember that each cleaning session is an opportunity to nurture and protect these captivating surfaces. By embracing regular maintenance, gentle cleaning, and proactive care, you can ensure that your wood floors continue to exude warmth and elegance, enriching your living space for years to come.
Ultimately, the art of mopping unsealed wood floors is more than a chore; it’s a commitment to preserving the inherent beauty of natural wood and creating an inviting, harmonious environment within your home. With each gentle stroke of the mop and every thoughtful maintenance practice, you contribute to the enduring legacy of your unsealed wood floors, ensuring that they remain a timeless centerpiece of your living space.
Embrace the journey of wood floor maintenance with dedication and care, and revel in the enduring splendor of your unsealed wood floors for generations to come.
Frequently Asked Questions about How To Mop Unsealed Wood Floors
Was this page helpful?
At Storables.com, we guarantee accurate and reliable information. Our content, validated by Expert Board Contributors, is crafted following stringent Editorial Policies. We're committed to providing you with well-researched, expert-backed insights for all your informational needs.


0 thoughts on “How To Mop Unsealed Wood Floors”