Home>Home Appliances>Cleaning Appliances>How To Mop An Oily Floor

Cleaning Appliances
How To Mop An Oily Floor
Modified: October 21, 2024
Learn the best techniques for mopping oily floors with our expert cleaning appliances guide. Keep your floors clean and safe with our step-by-step tips.
(Many of the links in this article redirect to a specific reviewed product. Your purchase of these products through affiliate links helps to generate commission for Storables.com, at no extra cost. Learn more)
Introduction
Welcome to the ultimate guide on how to effectively clean an oily floor. Dealing with an oily floor can be quite a challenge, but with the right techniques and materials, you can restore your floor to its pristine condition. Whether it’s the aftermath of a cooking mishap or a spill in the garage, oily residue can create safety hazards and diminish the aesthetic appeal of your space. By following the steps outlined in this guide, you’ll be equipped to tackle oily floors with confidence and achieve sparkling results.
So, grab your cleaning supplies and let’s dive into the process of banishing oily residues from your floor. With a bit of know-how and elbow grease, you’ll soon have your floor looking as good as new.
Key Takeaways:
- Say goodbye to oily floors by using a degreasing cleaner or warm water with dish soap. Mop methodically and maintain your mop for sparkling, oil-free floors.
- Prepare your floor by clearing the area, ventilating, and spot testing. Mop from the farthest point, rinse the mop, and maintain it for future use.
Read more: How To Mop The Floor
Materials Needed
Before embarking on the mission to clean an oily floor, it’s essential to gather the necessary materials. Here’s what you’ll need:
- Cleaning Solution: Opt for a degreasing cleaner or a solution of warm water and dish soap. Alternatively, you can use a commercial degreaser specifically formulated for floors.
- Mop: Choose a mop with a detachable, machine-washable microfiber head. This type of mop is ideal for effectively lifting and trapping oily residues.
- Bucket: Select a sturdy bucket large enough to accommodate the mop head and cleaning solution.
- Protective Gloves: To shield your hands from the cleaning solution and oily residue, wear a pair of durable rubber gloves.
- Protective Eyewear: Safety goggles or glasses can safeguard your eyes from any splashes or mist during the cleaning process.
- Absorbent Materials: Keep paper towels or cleaning rags on hand to promptly address any spills or drips during the cleaning process.
- Warm Water: Have a supply of warm water available for diluting the cleaning solution and rinsing the mop.
- Ventilation: If possible, ensure adequate ventilation in the cleaning area to minimize exposure to cleaning fumes and aid in the drying process.
By gathering these materials, you’ll be well-prepared to tackle the task of cleaning an oily floor efficiently and effectively.
Preparing the Floor
Before diving into the cleaning process, it’s important to prepare the floor to optimize the effectiveness of the cleaning solution and ensure a thorough clean. Here’s how to prepare the floor for the cleaning process:
- Clear the Area: Remove any obstacles, furniture, or objects from the floor to allow unobstructed access for cleaning.
- Sweep or Vacuum: Use a broom or vacuum cleaner to remove loose debris, dirt, and dust from the floor’s surface. This initial step prevents the formation of gritty residue when the cleaning solution is applied.
- Spot Test: If you’re using a new cleaning solution or product, perform a spot test in an inconspicuous area to ensure compatibility with your flooring material.
- Ventilate the Area: Open windows or use fans to improve air circulation and ventilation. Adequate ventilation helps in dissipating fumes and expediting the drying process.
By preparing the floor meticulously, you’ll set the stage for a successful cleaning endeavor and pave the way for a spotless, oil-free surface.
Applying the Cleaning Solution
Once the floor is prepared, it’s time to apply the cleaning solution to tackle the oily residue effectively. Follow these steps to ensure thorough application:
- Dilute the Cleaning Solution: If using a concentrated degreasing cleaner, dilute it according to the manufacturer’s instructions. For a homemade solution, mix warm water with a small amount of dish soap to create a gentle yet effective cleaning solution.
- Begin Application: Pour the diluted cleaning solution into the bucket, ensuring that it’s at a manageable and effective volume for mopping.
- Soak the Mop: Submerge the mop head in the cleaning solution, allowing the fibers to absorb the liquid thoroughly.
- Wring Out Excess: After soaking the mop, wring out the excess cleaning solution to prevent over-saturation of the floor.
- Work in Sections: Divide the floor into manageable sections and start applying the cleaning solution from the farthest corner, working toward the exit. This systematic approach ensures that the entire floor surface receives equal attention.
- Allow Dwell Time: After applying the cleaning solution to a section, allow it to dwell on the surface for a few minutes. This dwell time helps to loosen and dissolve the oily residues for easier removal.
By following these steps, you’ll effectively apply the cleaning solution to the oily floor, setting the stage for the next crucial step: mopping.
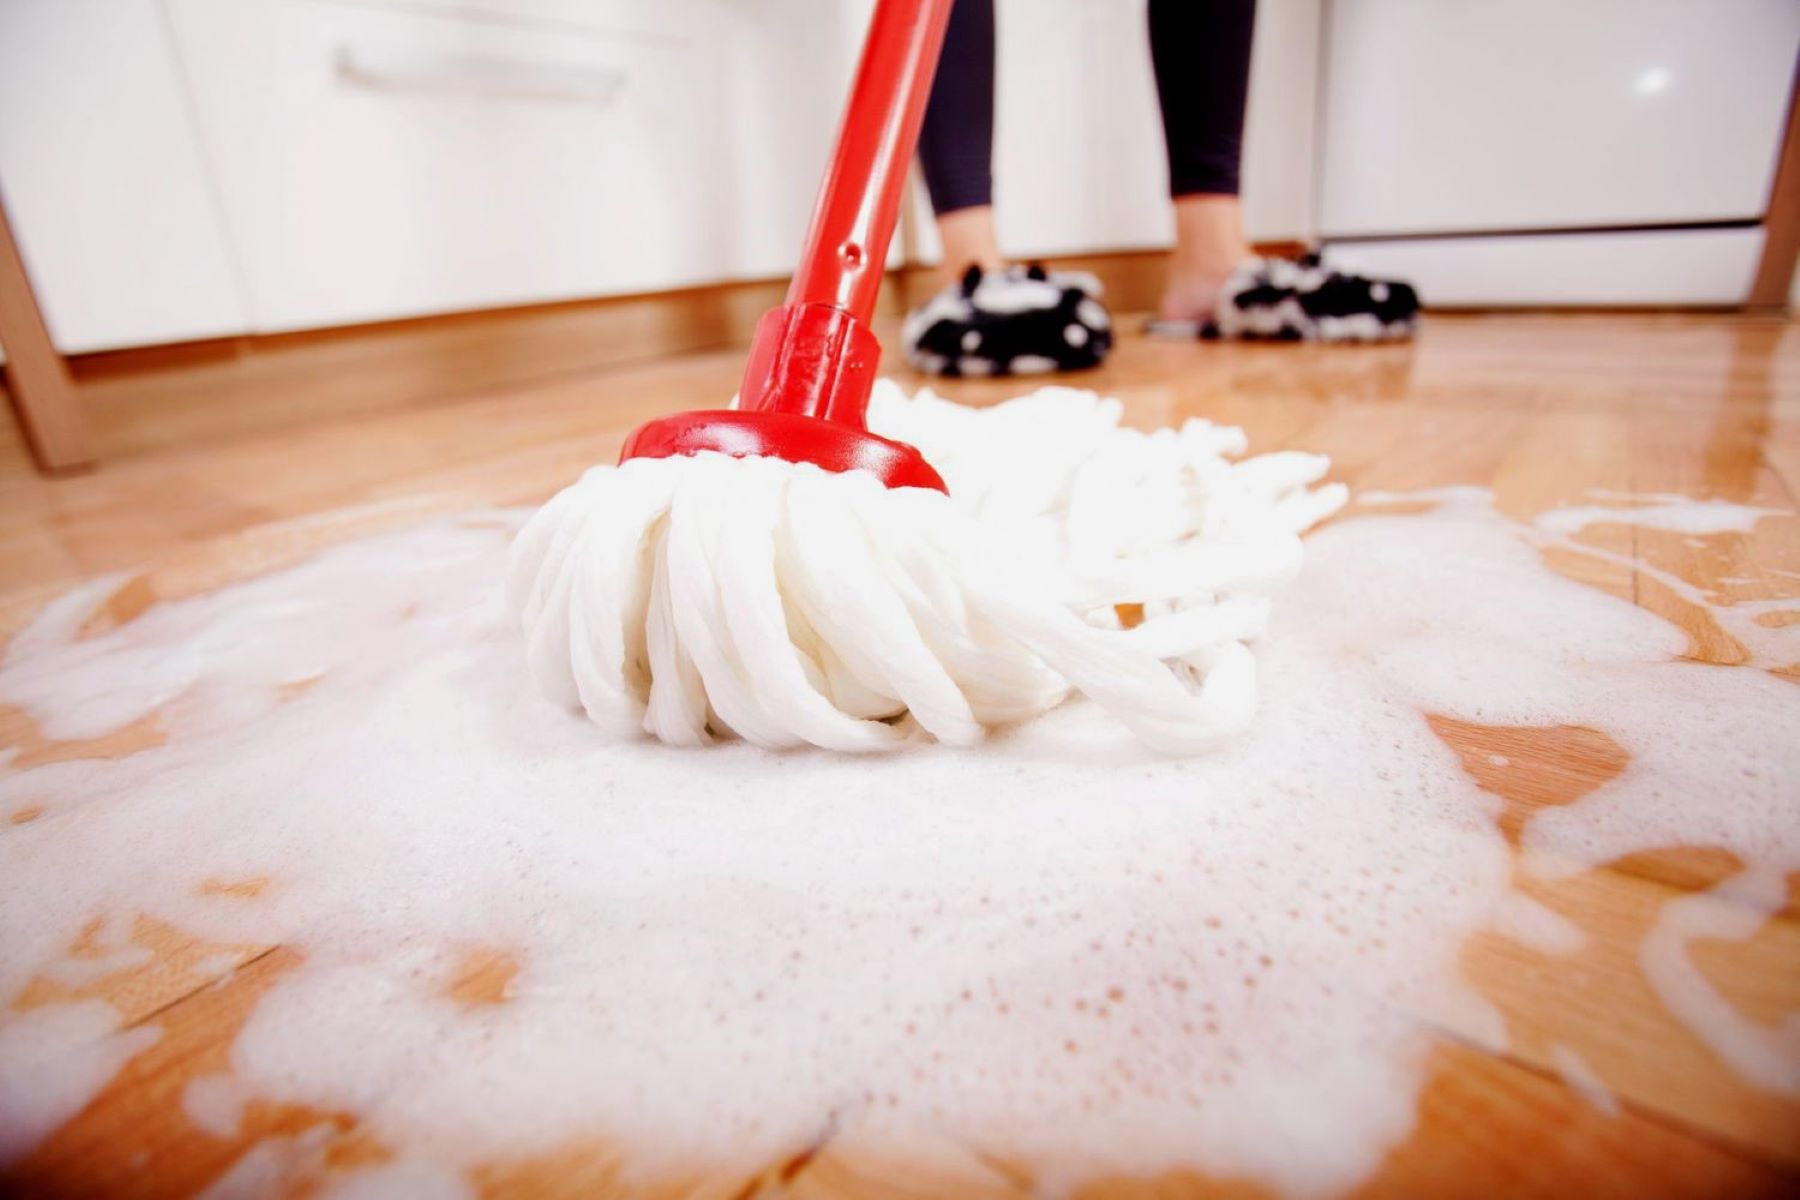
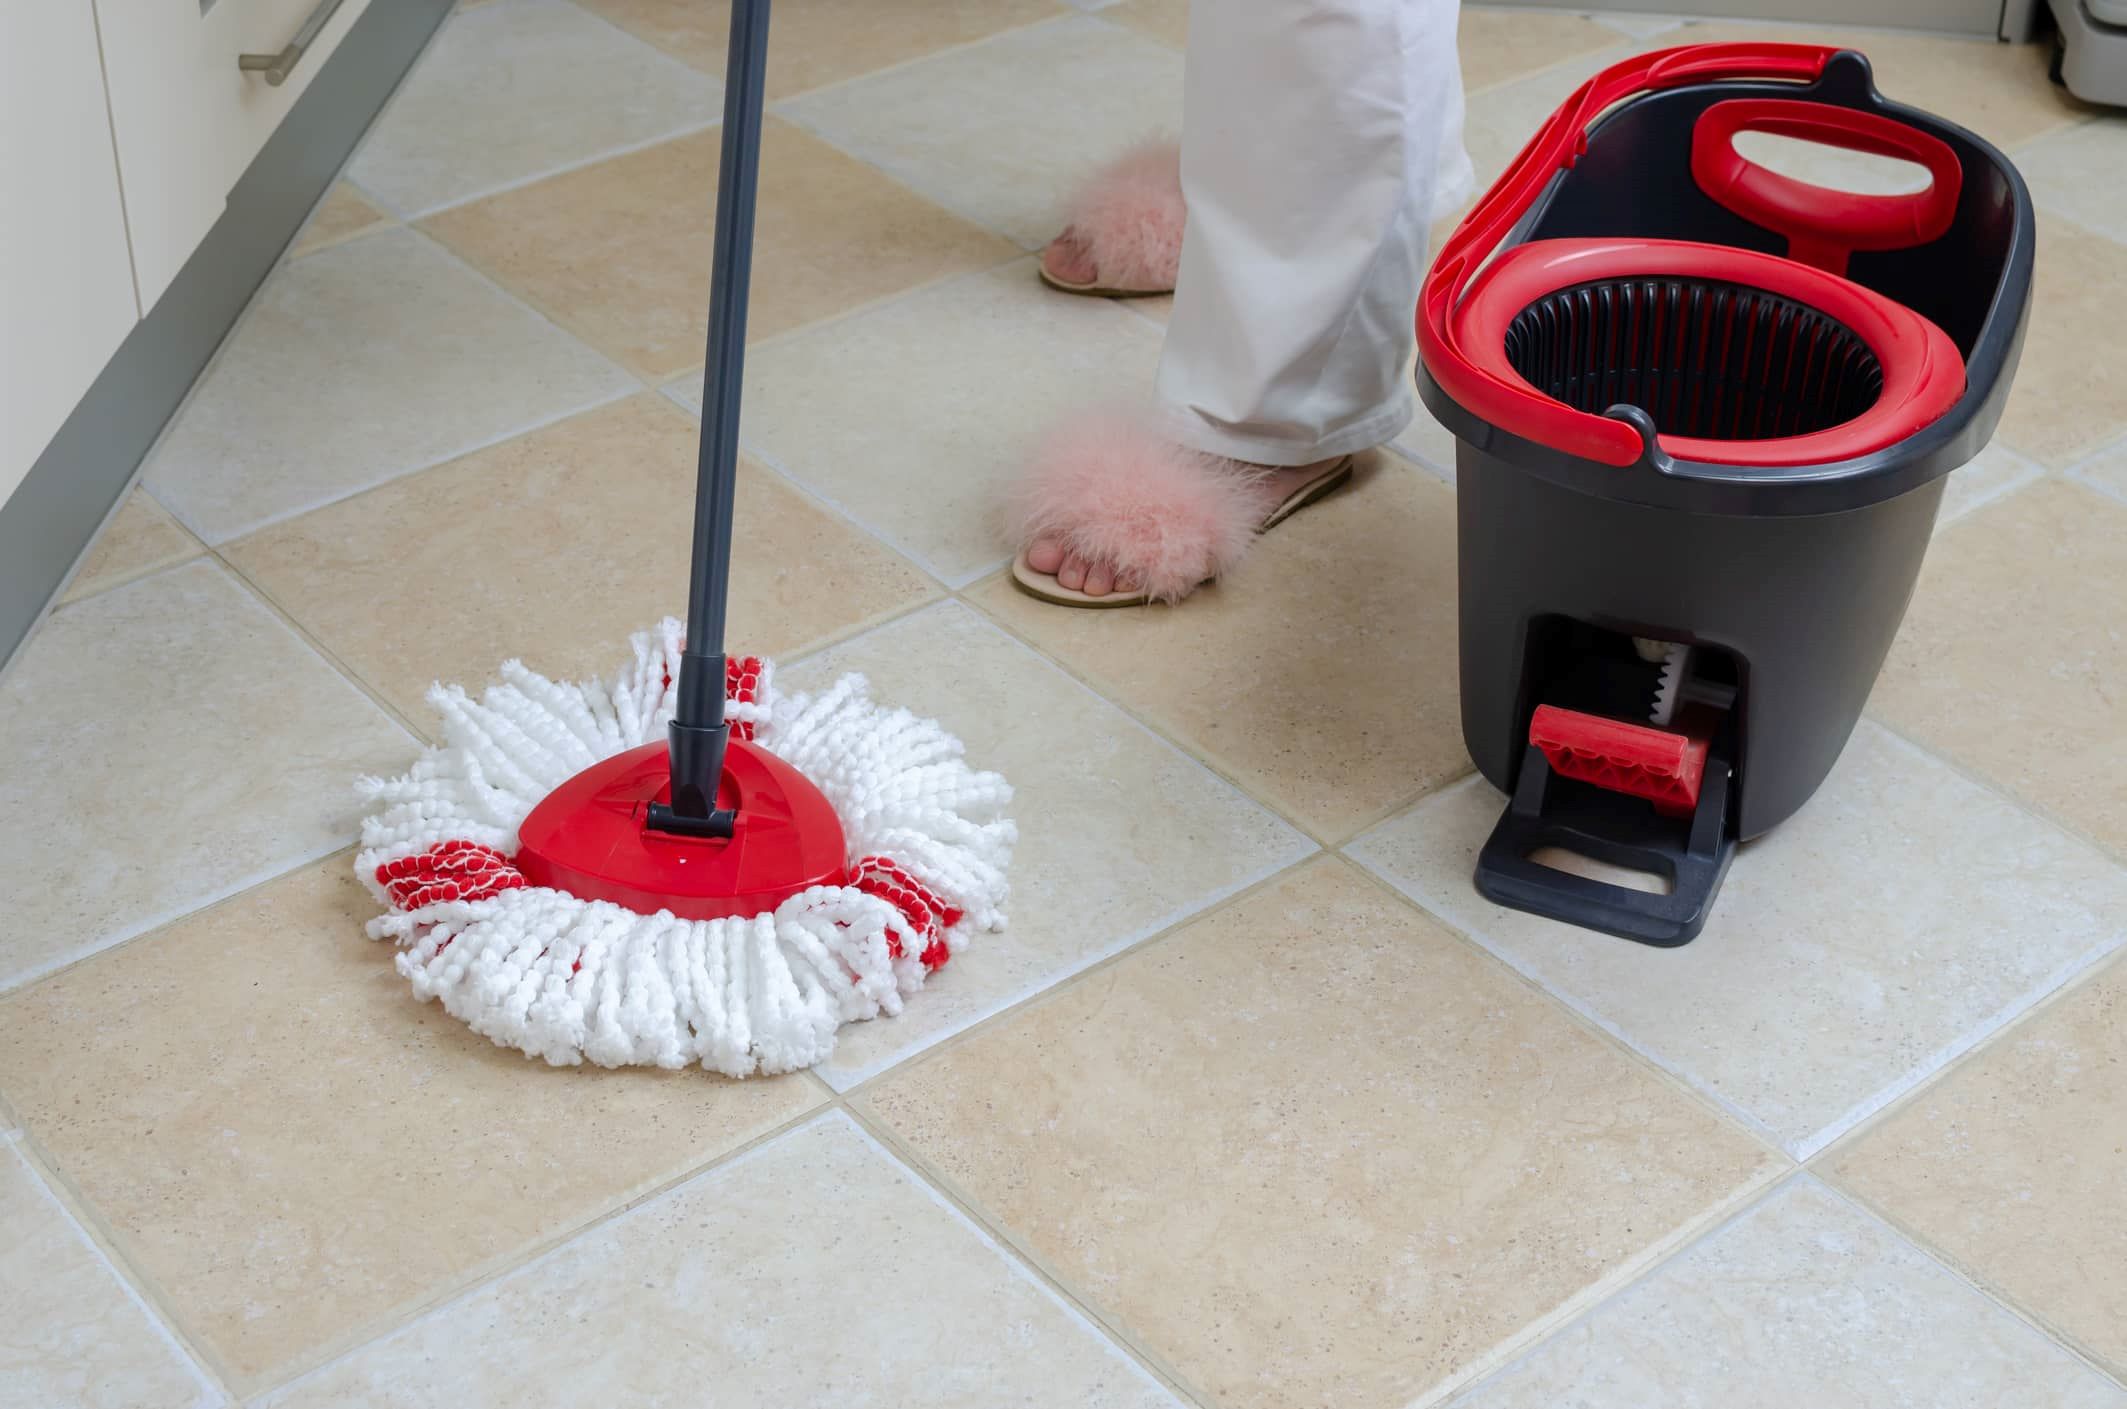
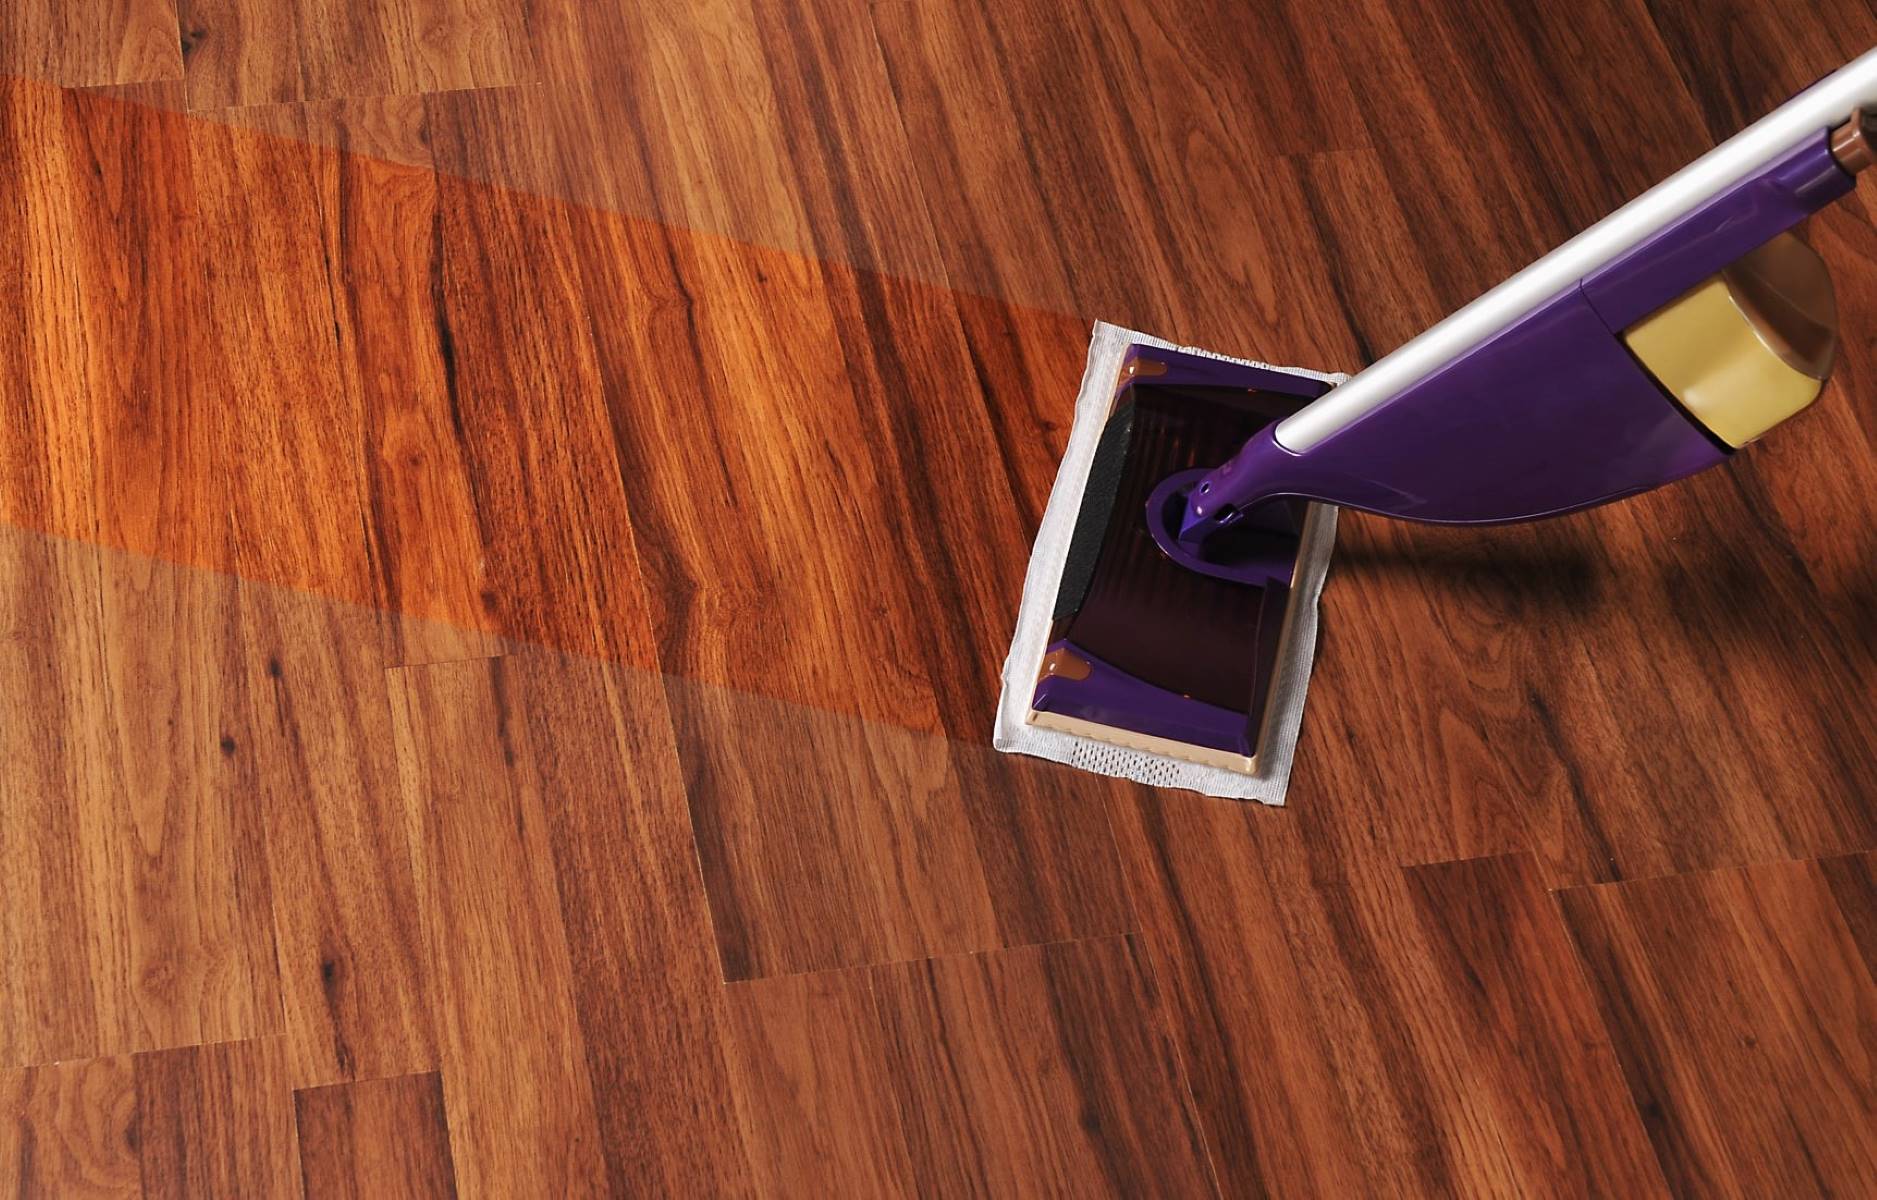
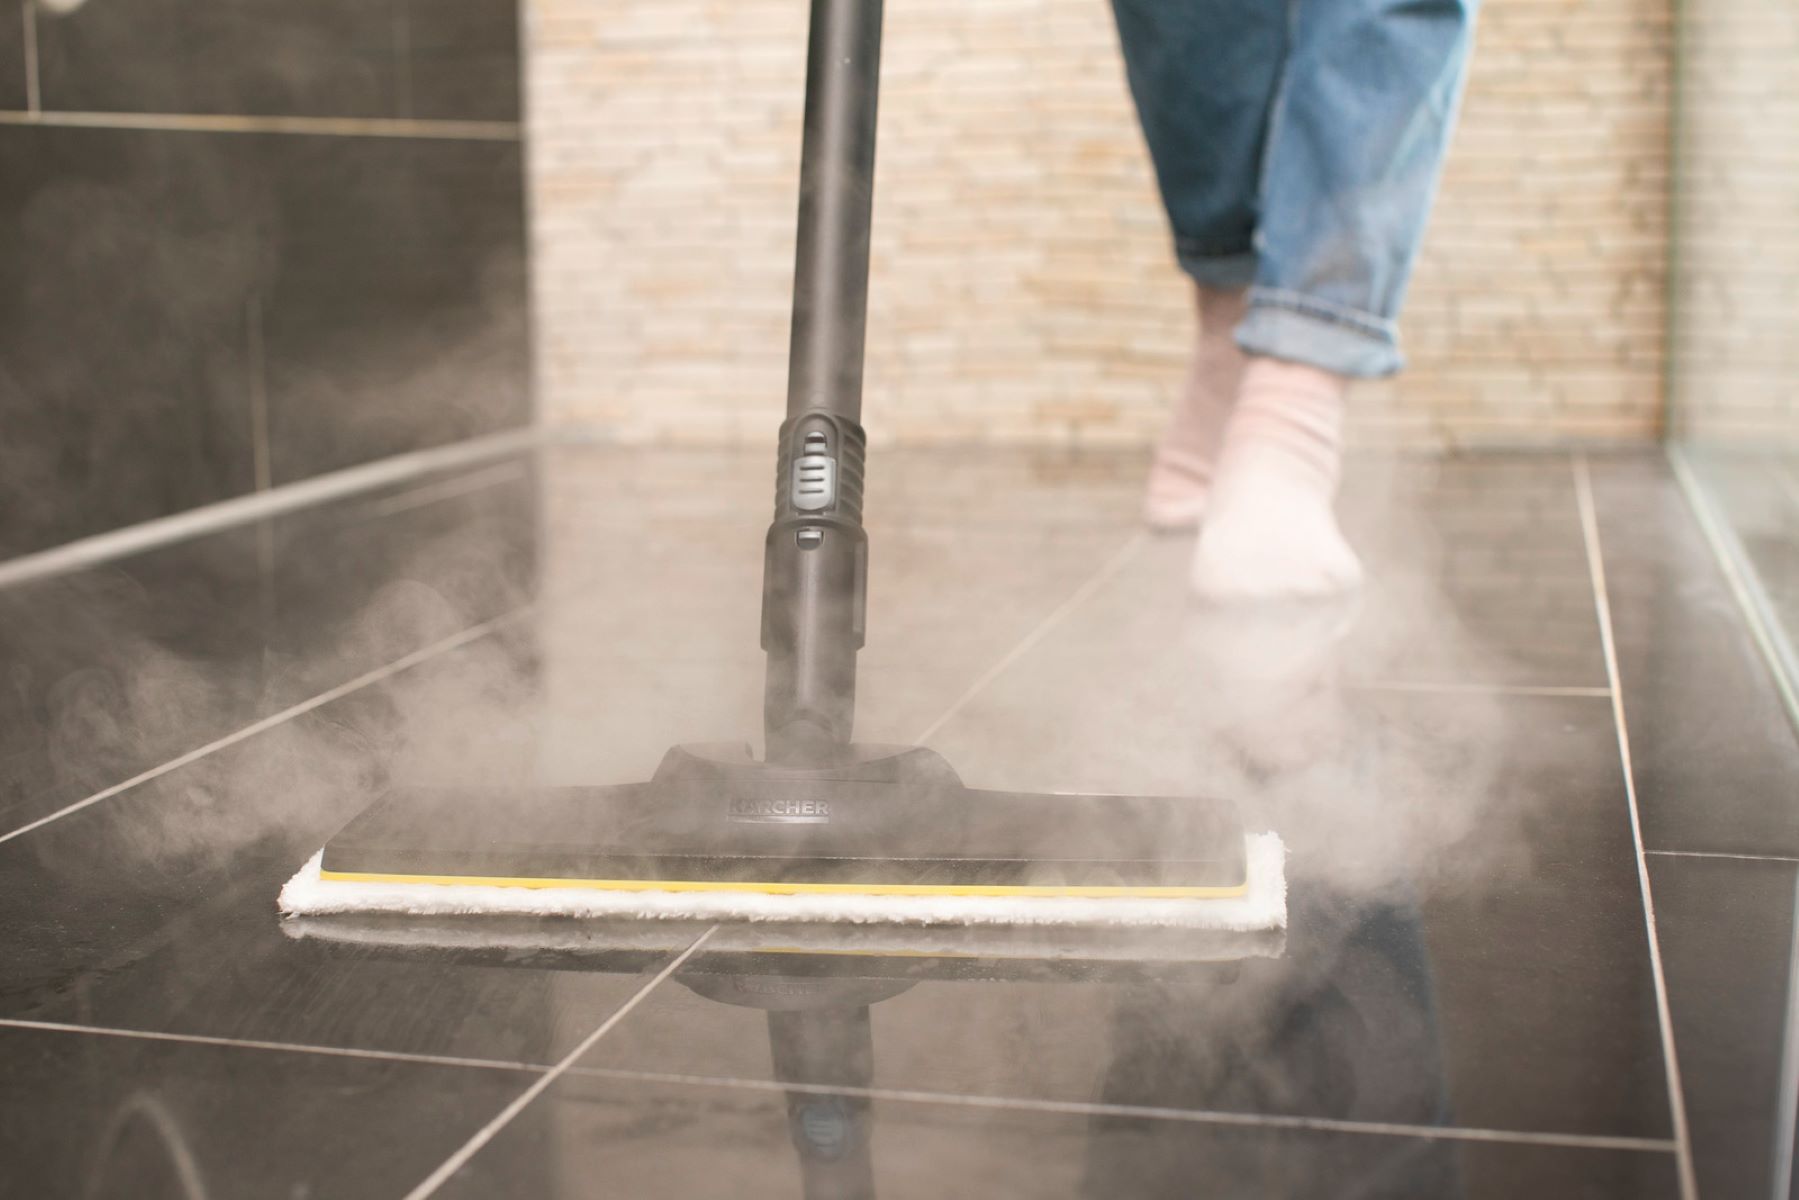
Use a degreasing cleaner and hot water to mop the oily floor. Start from the farthest corner and work your way towards the exit to avoid stepping on the wet floor.
Mopping the Floor
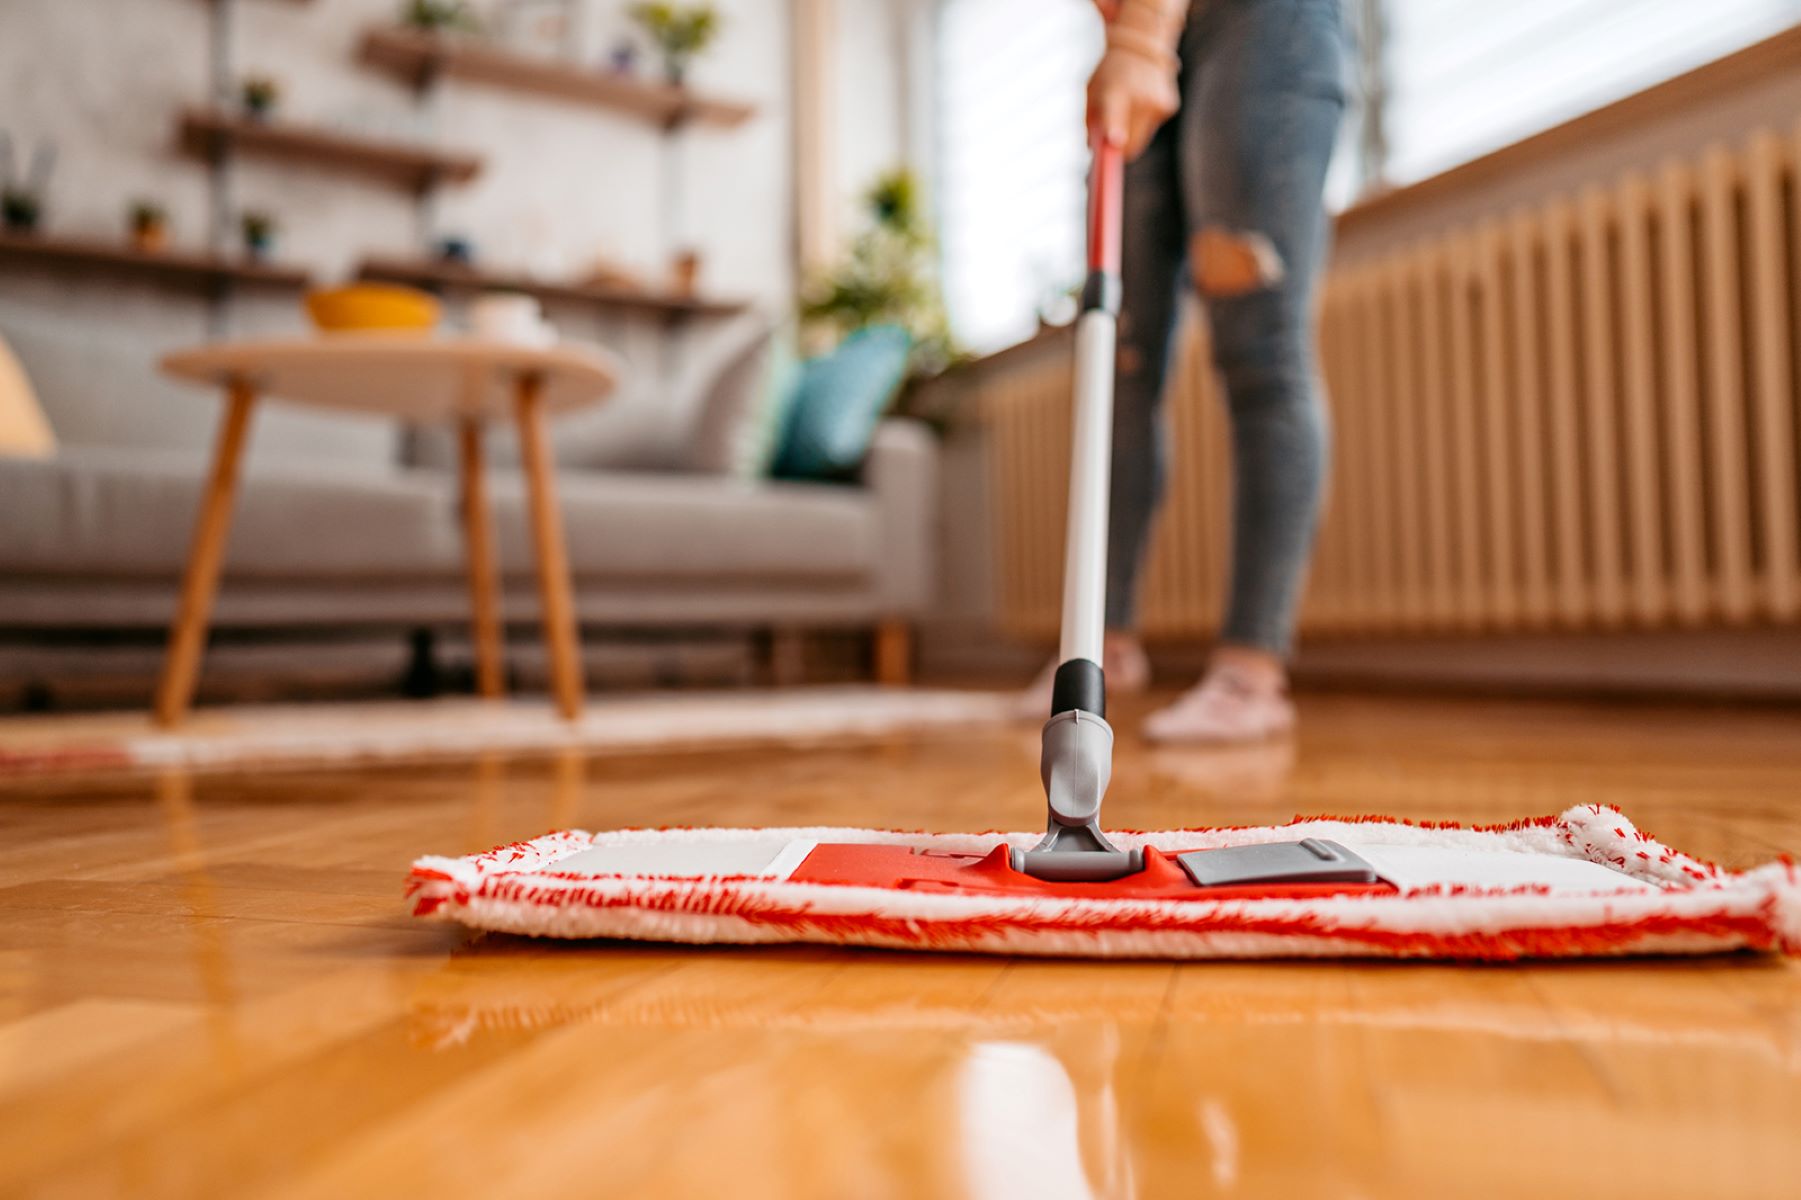
With the cleaning solution applied, it’s time to employ the mopping technique to lift and remove the oily residue from the floor surface. Follow these steps to ensure a thorough and efficient mopping process:
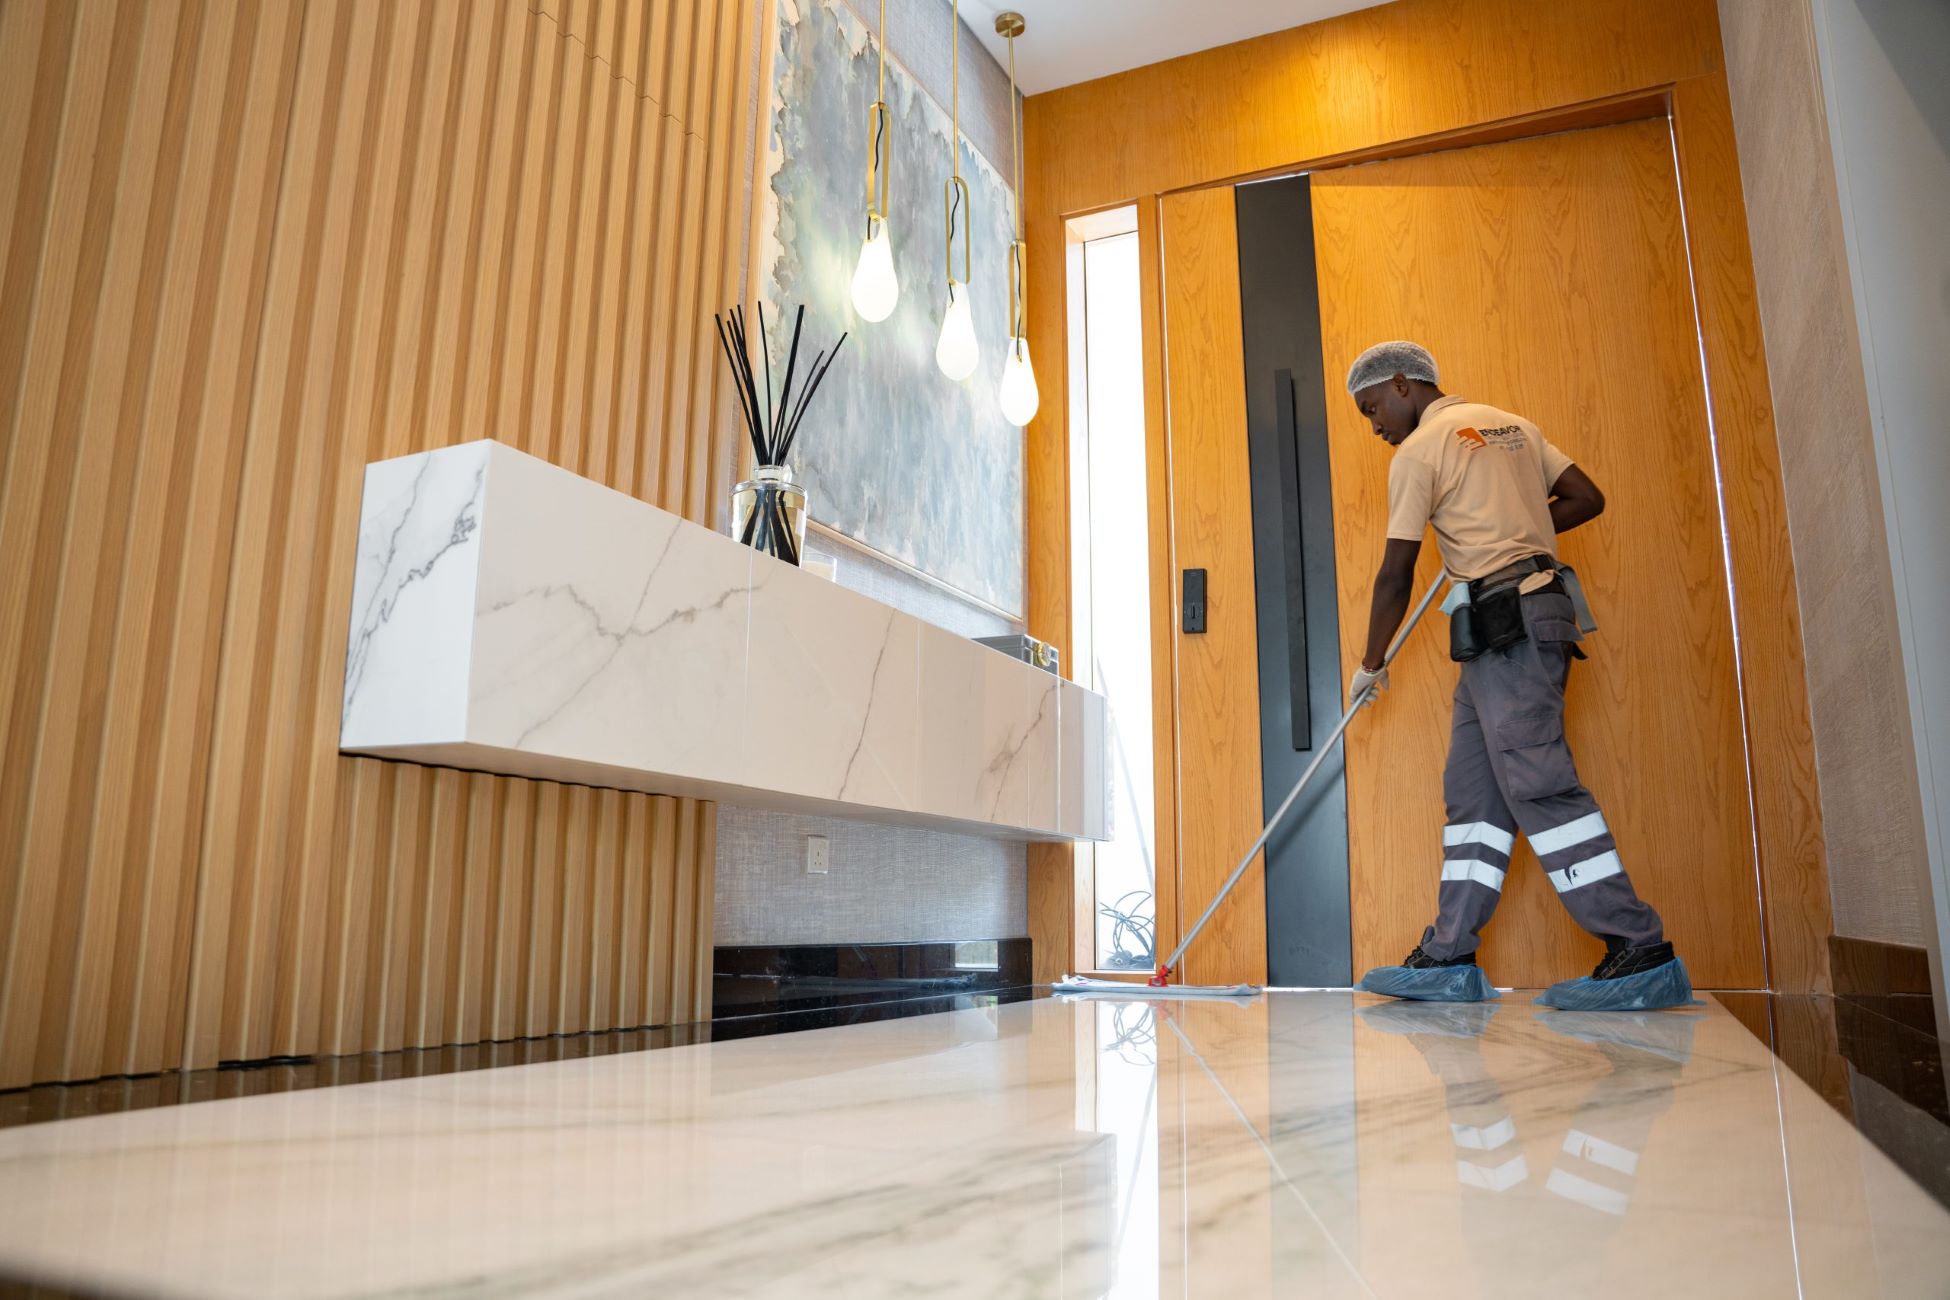
- Start at the Farthest Point: Begin mopping from the farthest corner of the room, working toward the entrance or exit. This approach prevents retracing your steps on the freshly cleaned floor.
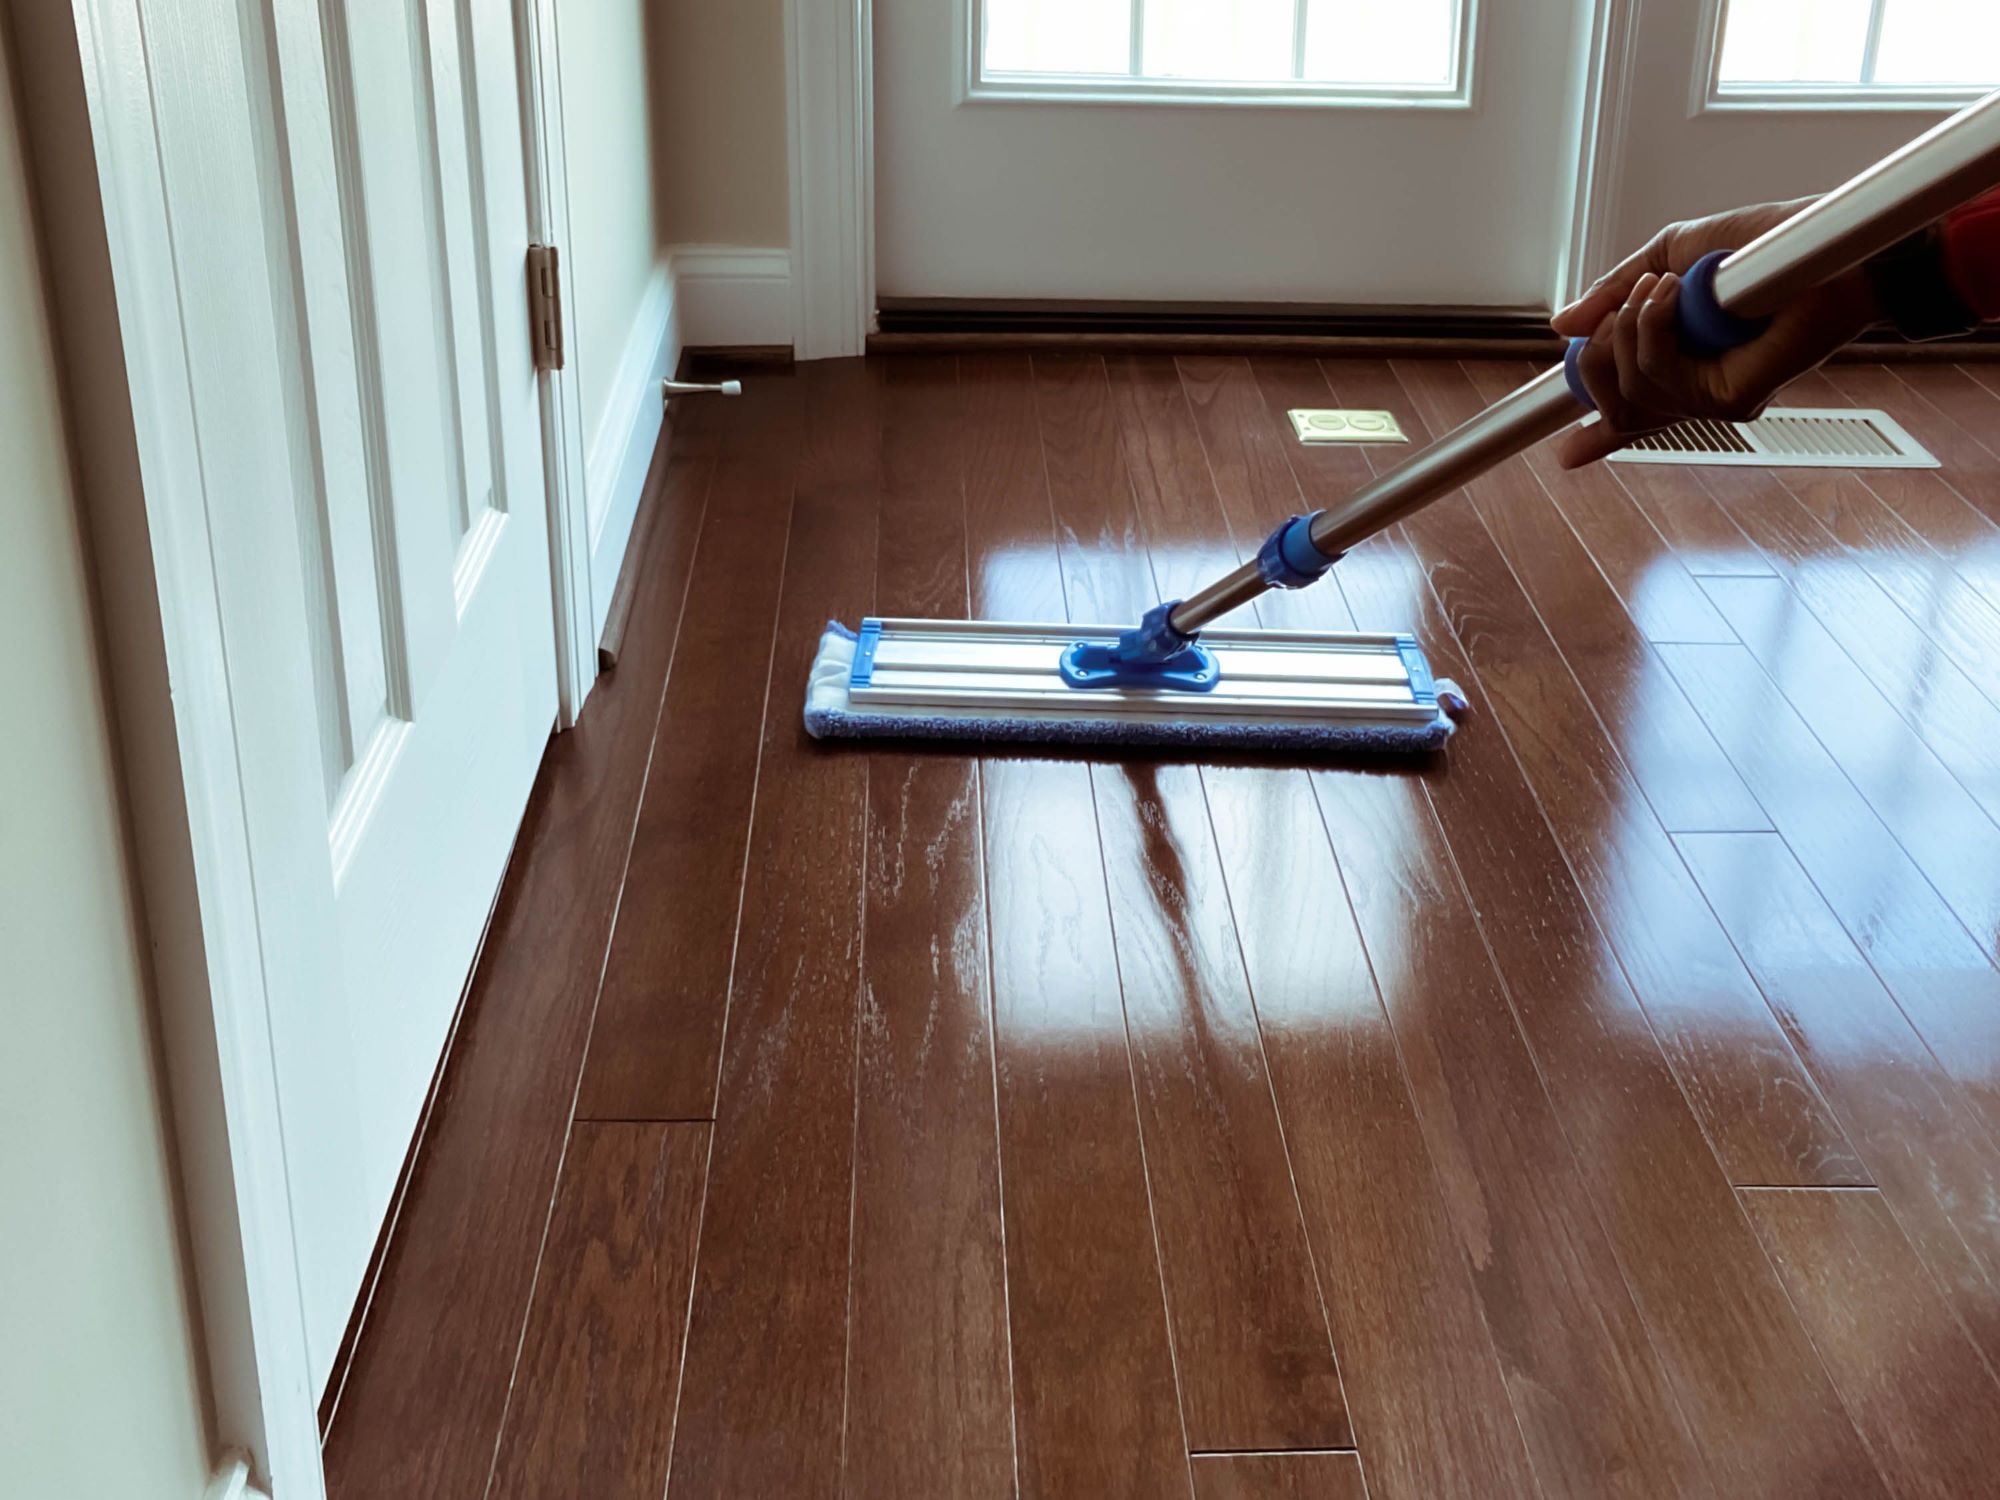
- Use Controlled Strokes: Employ smooth and controlled back-and-forth strokes with the mop to cover the entire section evenly. Avoid excessive force, as this can spread the oily residue rather than lifting it.
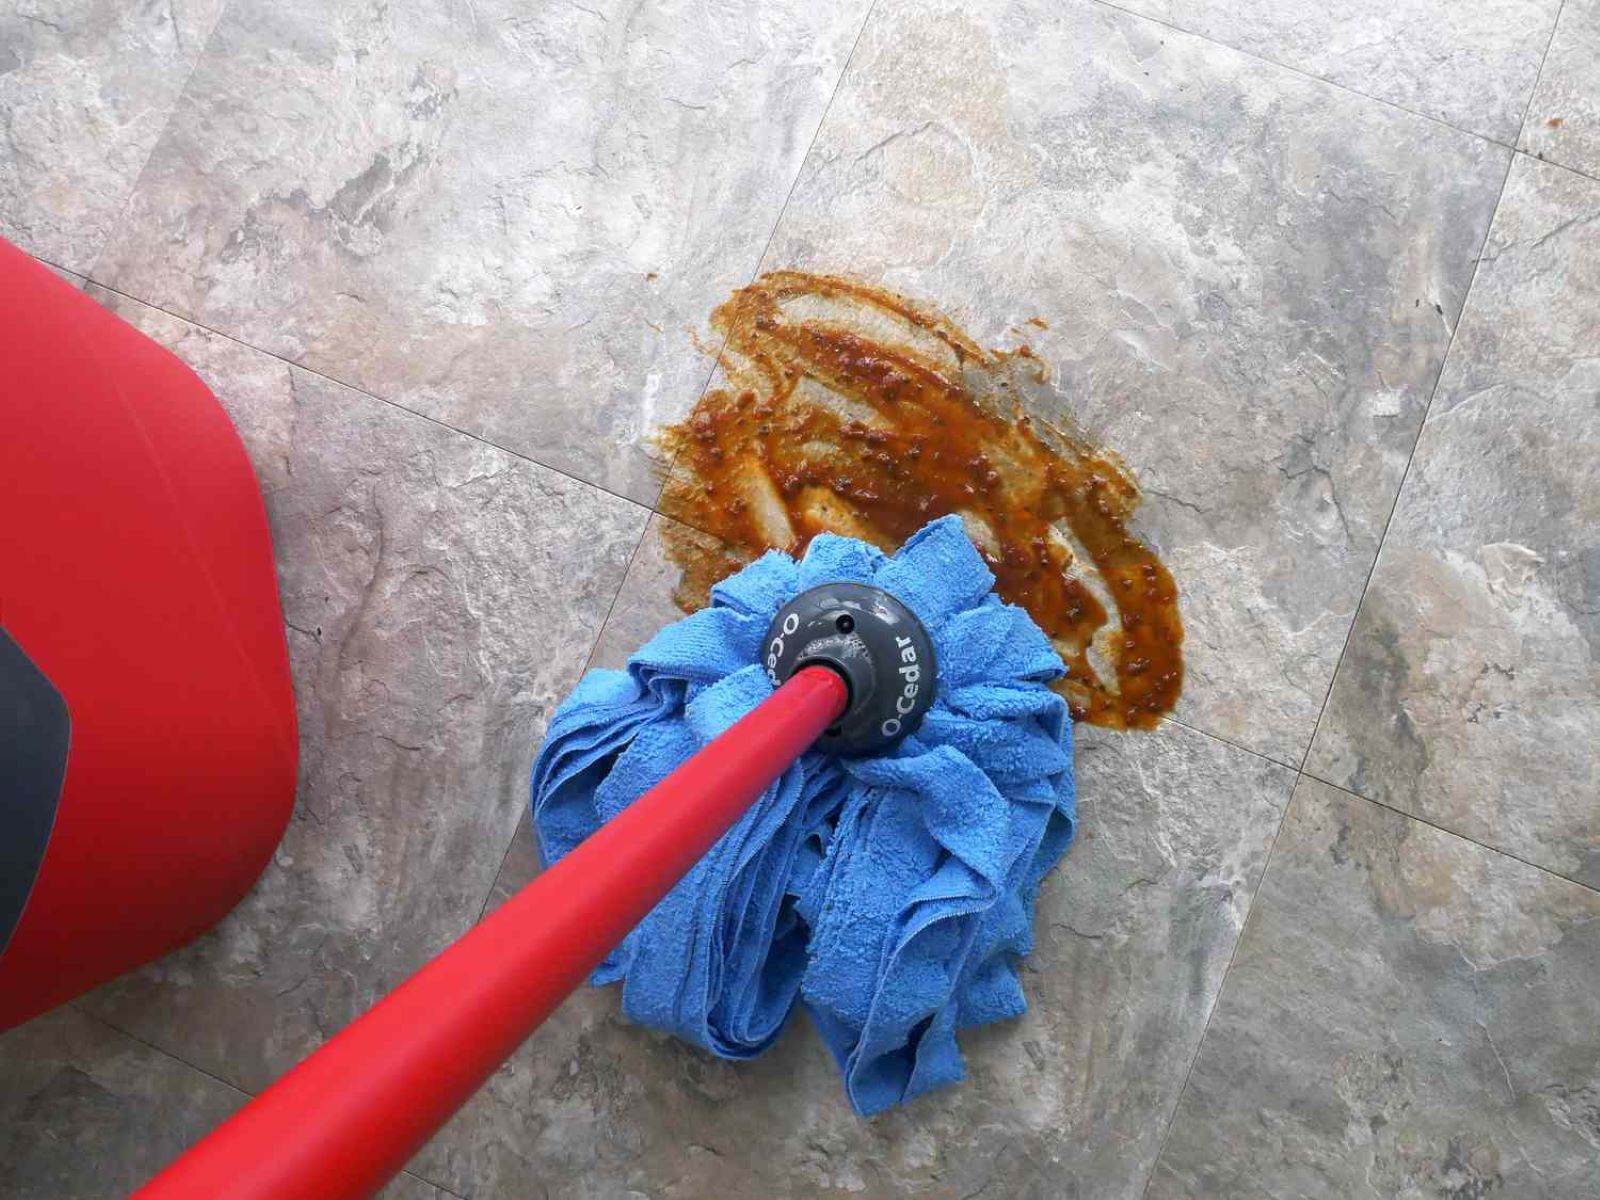
- Inspect for Stubborn Spots: Pay close attention to any areas with particularly stubborn oily residue. For persistent spots, apply gentle pressure and additional cleaning solution as needed to loosen and lift the residue.
- Rinse and Wring the Mop: Periodically rinse the mop head in the bucket of warm water to remove accumulated residue. Wring out the mop thoroughly to prevent excess water from pooling on the floor.
- Change Cleaning Solution as Needed: If the cleaning solution becomes visibly soiled or loses its effectiveness, replace it with a fresh batch to maintain optimal cleaning power.
- Work Methodically: Continue mopping the floor in sections, ensuring that each area receives thorough attention before moving on to the next. This systematic approach guarantees comprehensive coverage and consistent results.
By following these mopping techniques, you’ll effectively lift and remove the oily residue, leaving your floor clean and refreshed.
Read more: How To Mop Epoxy Floors
Cleaning the Mop
After successfully mopping the oily floor, it’s crucial to clean the mop thoroughly to prevent the spread of oily residue and maintain its effectiveness for future use. Follow these steps to ensure that your mop is pristine and ready for the next cleaning task:
- Empty the Bucket: Dispose of the soiled cleaning solution from the bucket and rinse it thoroughly to remove any residual oil or debris.
- Remove the Mop Head: Detach the mop head from the handle according to the manufacturer’s instructions. If the mop head is machine-washable, proceed to the next step. If not, follow the care instructions provided with the mop.
- Machine Wash the Mop Head: If the mop head is machine-washable, place it in the washing machine and launder it using a gentle cycle and mild detergent. Avoid using fabric softeners or bleach, as these can compromise the mop’s effectiveness.
- Air-Dry the Mop Head: After laundering, allow the mop head to air-dry completely. Avoid using a dryer, as high heat can damage the fibers and reduce the mop’s efficacy.
- Clean the Mop Handle: Wipe down the mop handle with a damp cloth or disinfecting wipe to remove any oily residue or grime. Pay particular attention to the areas where the mop head attaches to the handle.
- Inspect and Store: Once the mop head is dry, inspect it for any remaining stains or residue. Ensure that the mop is completely clean before storing it in a dry, well-ventilated area to prevent mildew or musty odors.
By following these steps, you’ll maintain the cleanliness and effectiveness of your mop, ensuring that it’s ready to tackle future cleaning tasks with ease.
Final Tips for Oily Floors
As you conclude the process of cleaning an oily floor, consider these additional tips to further enhance the results and maintain a pristine floor surface:
- Regular Maintenance: Implement a routine cleaning schedule to prevent the buildup of oily residues. Promptly address spills and splatters to minimize the impact on the floor’s cleanliness.
- Use Absorbent Mats: Place absorbent mats or rugs in high-traffic areas, near entryways, and in the vicinity of cooking or work areas to capture oily residues before they reach the floor.
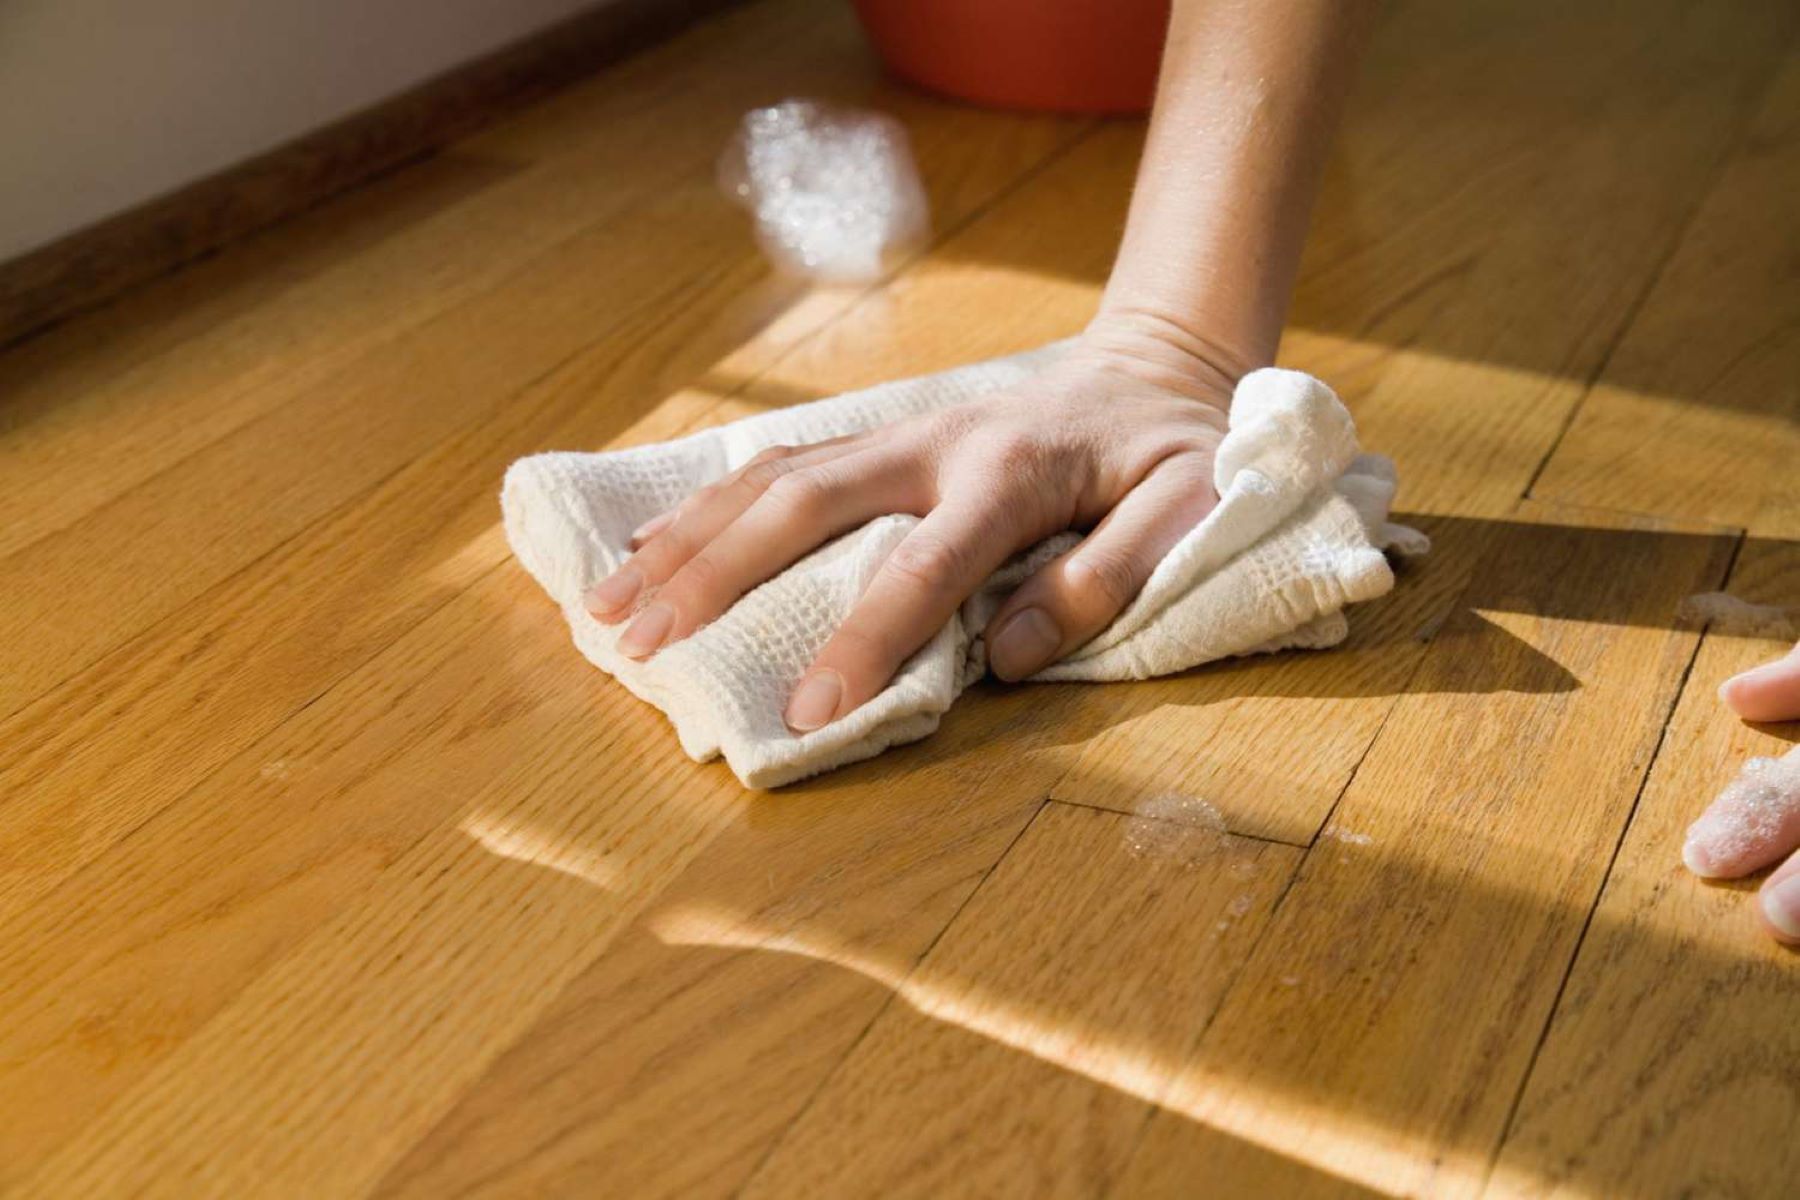
- Spot Cleaning: Keep a designated cleaning cloth or sponge handy for quick spot cleaning. Addressing small spills and splashes promptly can prevent them from spreading and becoming more challenging to clean.
- Avoid Harsh Chemicals: When selecting cleaning products, opt for gentle yet effective solutions to avoid damaging the floor surface. Harsh chemicals can compromise the integrity of the flooring material over time.
- Regular Inspections: Periodically inspect the floor for signs of oily residue or buildup. Address any areas of concern promptly to prevent the accumulation of stubborn residues.
- Consult Manufacturer Guidelines: If you’re unsure about the compatibility of a cleaning product with your specific flooring material, refer to the manufacturer’s guidelines for recommended cleaning methods and products.
- Professional Maintenance: For particularly stubborn or extensive oily residue, consider enlisting the services of professional floor cleaning experts. They have the expertise and specialized equipment to tackle challenging cleaning tasks effectively.
By incorporating these final tips into your floor maintenance routine, you’ll prolong the cleanliness and beauty of your floors, ensuring a welcoming and hygienic environment in your home or workspace.
Frequently Asked Questions about How To Mop An Oily Floor
Was this page helpful?
At Storables.com, we guarantee accurate and reliable information. Our content, validated by Expert Board Contributors, is crafted following stringent Editorial Policies. We're committed to providing you with well-researched, expert-backed insights for all your informational needs.

0 thoughts on “How To Mop An Oily Floor”