Home>Home Appliances>Cleaning Appliances>How To Extend O-Cedar Mop Handle

Cleaning Appliances
How To Extend O-Cedar Mop Handle
Modified: August 17, 2024
Learn how to extend the O-Cedar mop handle for added convenience and comfort. Discover simple tips for maintaining your cleaning appliances efficiently.
(Many of the links in this article redirect to a specific reviewed product. Your purchase of these products through affiliate links helps to generate commission for Storables.com, at no extra cost. Learn more)
Introduction
Are you tired of bending over while mopping, or do you find that your mop handle is just not long enough to reach those high corners and ceilings? If so, you’re in luck! With a few simple steps, you can extend your O-Cedar mop handle to make your cleaning routine more comfortable and efficient. This easy DIY project will save you from the hassle of constantly adjusting your grip or straining to reach difficult spots. By extending your mop handle, you can maintain better posture and cover more ground with each swipe, making your cleaning tasks a breeze. So, let’s dive into the process of extending your O-Cedar mop handle and take the first step toward a more convenient and effective cleaning experience.
Key Takeaways:
- Say goodbye to bending over while mopping! Extend your O-Cedar mop handle with simple DIY steps for a more comfortable and efficient cleaning routine.
- Enjoy a more versatile and ergonomic cleaning experience with an extended O-Cedar mop handle. Reach high corners and distant areas with ease, all while maintaining better posture.
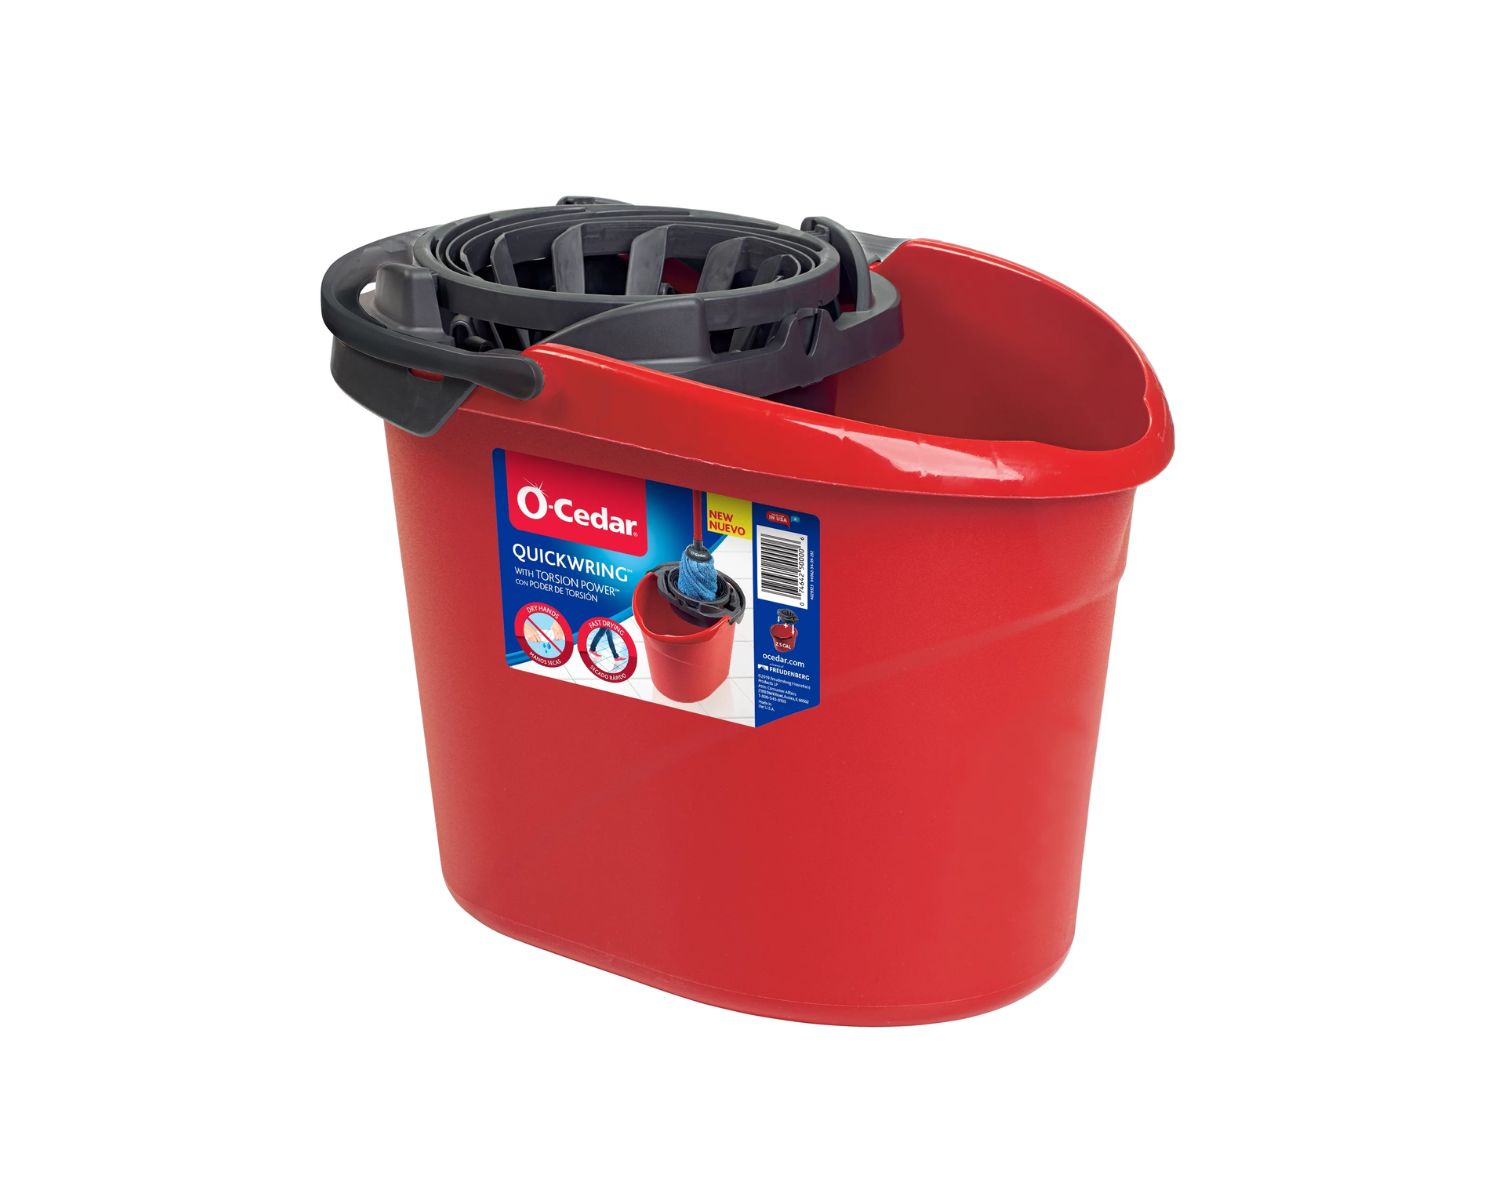
Read more: What To Use In O-Cedar Mop
Step 1: Gather Materials
Before you begin extending your O-Cedar mop handle, it’s essential to gather all the necessary materials. Here’s what you’ll need:
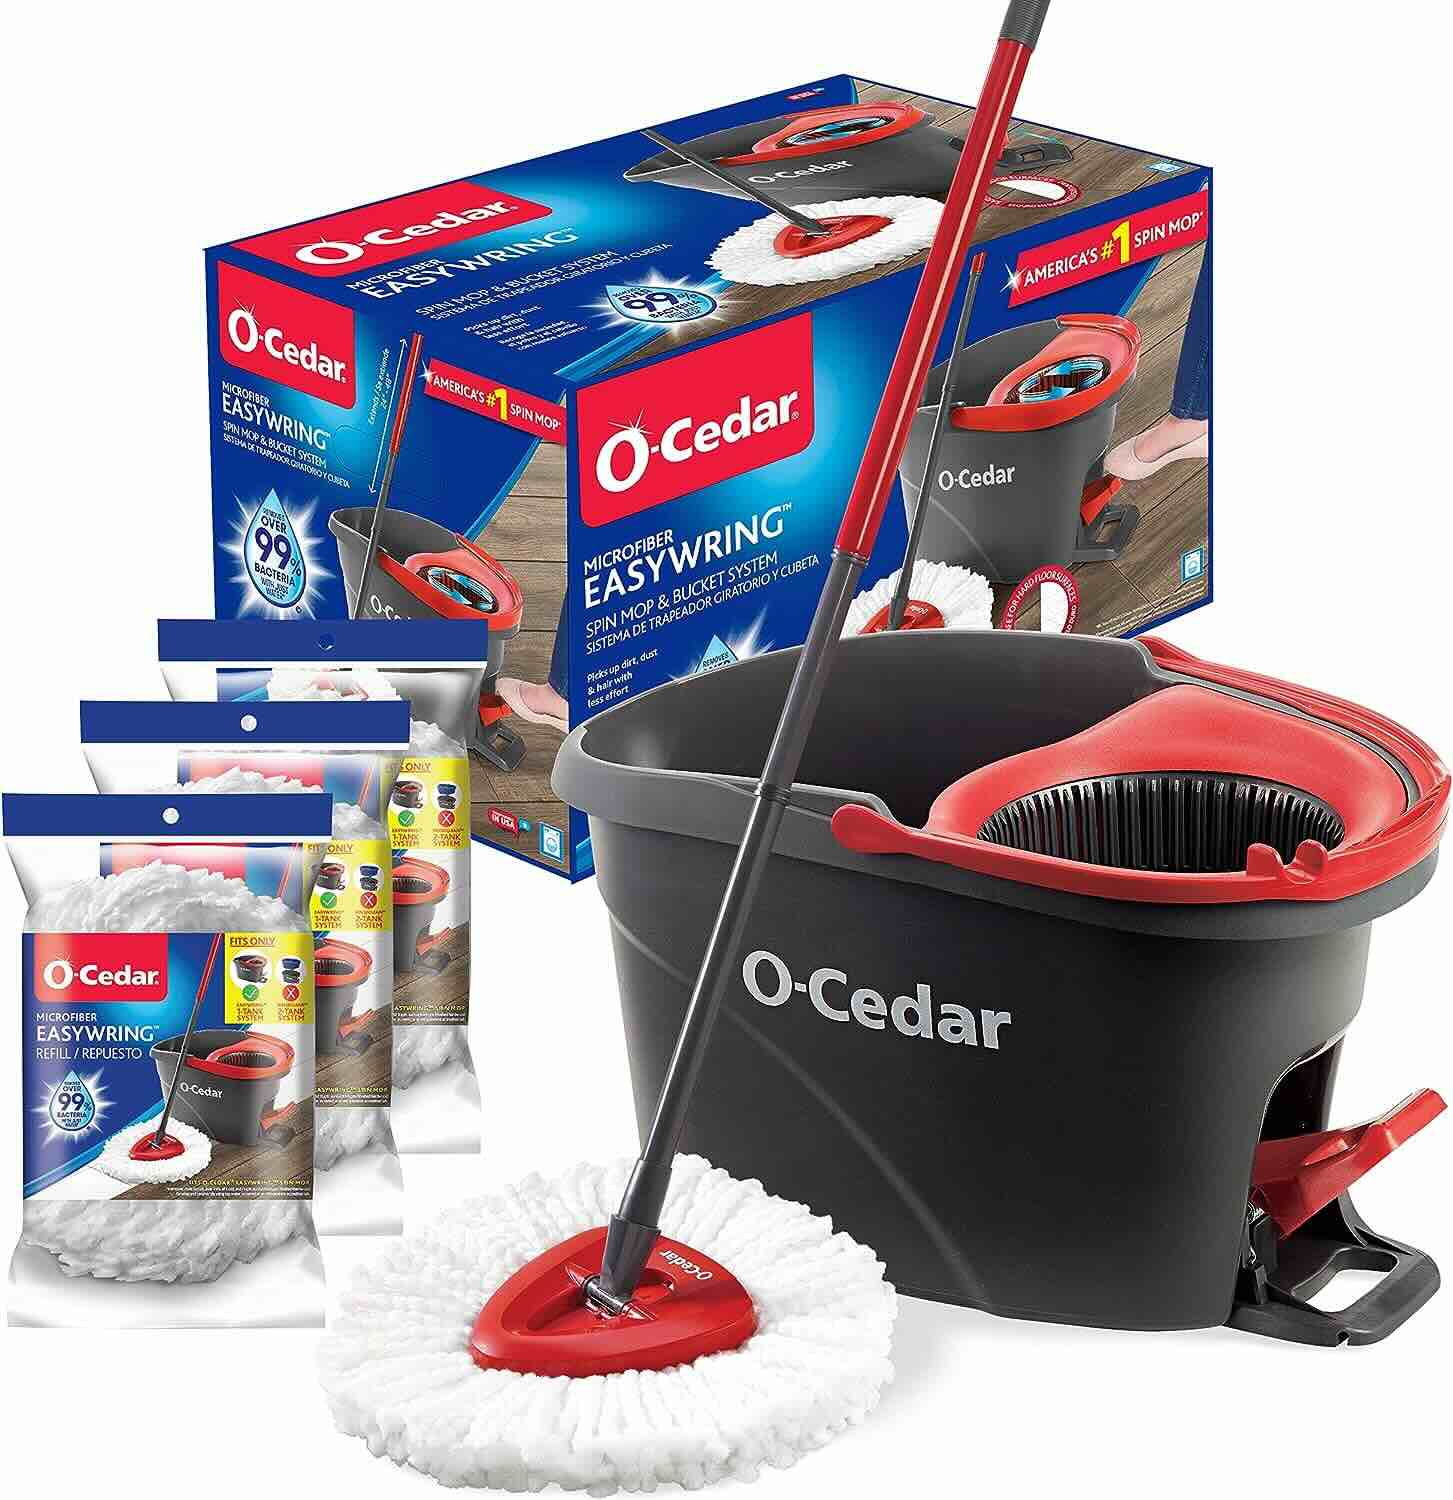
- An O-Cedar mop handle: Start with a high-quality O-Cedar mop that you’re comfortable using for your cleaning tasks.
- Extension piece: This can be a wooden dowel, PVC pipe, or any sturdy cylindrical object that can fit snugly into the existing mop handle.
- Measuring tape: Ensure you have a measuring tape on hand to accurately determine the length of the extension piece.
- Hacksaw or pipe cutter: You’ll need a hacksaw or pipe cutter to trim the extension piece to the desired length.
- Sandpaper: Have some sandpaper available to smooth out any rough edges after cutting the extension piece.
- Adhesive or fasteners: Depending on the type of extension piece you choose, you may need adhesive or fasteners to secure it to the mop handle.
- Protective gear: It’s always a good idea to wear gloves and safety goggles when working with tools to prevent any accidents.
Once you have all these materials gathered, you’re ready to move on to the next step of extending your O-Cedar mop handle.
Step 2: Disassemble the Mop Handle
To begin extending your O-Cedar mop handle, you’ll need to disassemble the existing handle to prepare it for the extension process. Here’s how to do it:
- Remove the mop head: Start by separating the mop head from the handle. Depending on the model of your O-Cedar mop, this may involve unscrewing or releasing a latch mechanism. Follow the manufacturer’s instructions for detaching the mop head.
- Separate the handle sections: Many O-Cedar mop handles are designed with multiple sections that can be twisted or pulled apart. Carefully disconnect these sections to expose the inner part of the handle.
- Inspect the interior: Once the handle sections are separated, take a moment to inspect the interior to ensure there are no obstructions or debris that could interfere with the extension process.
- Clean the handle: Use a damp cloth to wipe down the handle sections and remove any dirt or grime that may have accumulated over time. This will ensure a clean surface for attaching the extension piece.
By following these steps to disassemble the mop handle, you’ll be ready to proceed with measuring and extending the handle to your desired length. Taking the time to disassemble the handle properly will make the extension process smoother and more effective.
Step 3: Measure and Cut the Extension Piece
Now that you’ve disassembled the O-Cedar mop handle, it’s time to measure and cut the extension piece to the appropriate length. Follow these steps to ensure a precise and secure extension:
- Measure the handle: Use a measuring tape to determine the desired length for the extension piece. Consider your height and the specific areas you need to reach while mopping. It’s essential to measure accurately to avoid any unnecessary adjustments later on.
- Select the extension material: Whether you opt for a wooden dowel, PVC pipe, or another cylindrical object, ensure that it is sturdy and compatible with the inner diameter of the mop handle. The chosen material should provide a secure and stable extension.
- Cut the extension piece: Using a hacksaw or pipe cutter, carefully trim the extension material to match the measured length. Take your time to achieve a clean and straight cut, as this will impact the stability and appearance of the extended handle.
- Smooth the edges: After cutting the extension piece, use sandpaper to smooth out any rough edges or burrs. This step is crucial for preventing splinters and ensuring a comfortable grip when using the extended mop handle.
By measuring and cutting the extension piece with precision, you’ll create a seamless addition to your O-Cedar mop handle that enhances its functionality and usability. With the extension piece prepared, you’re ready to attach it to the mop handle in the next step.
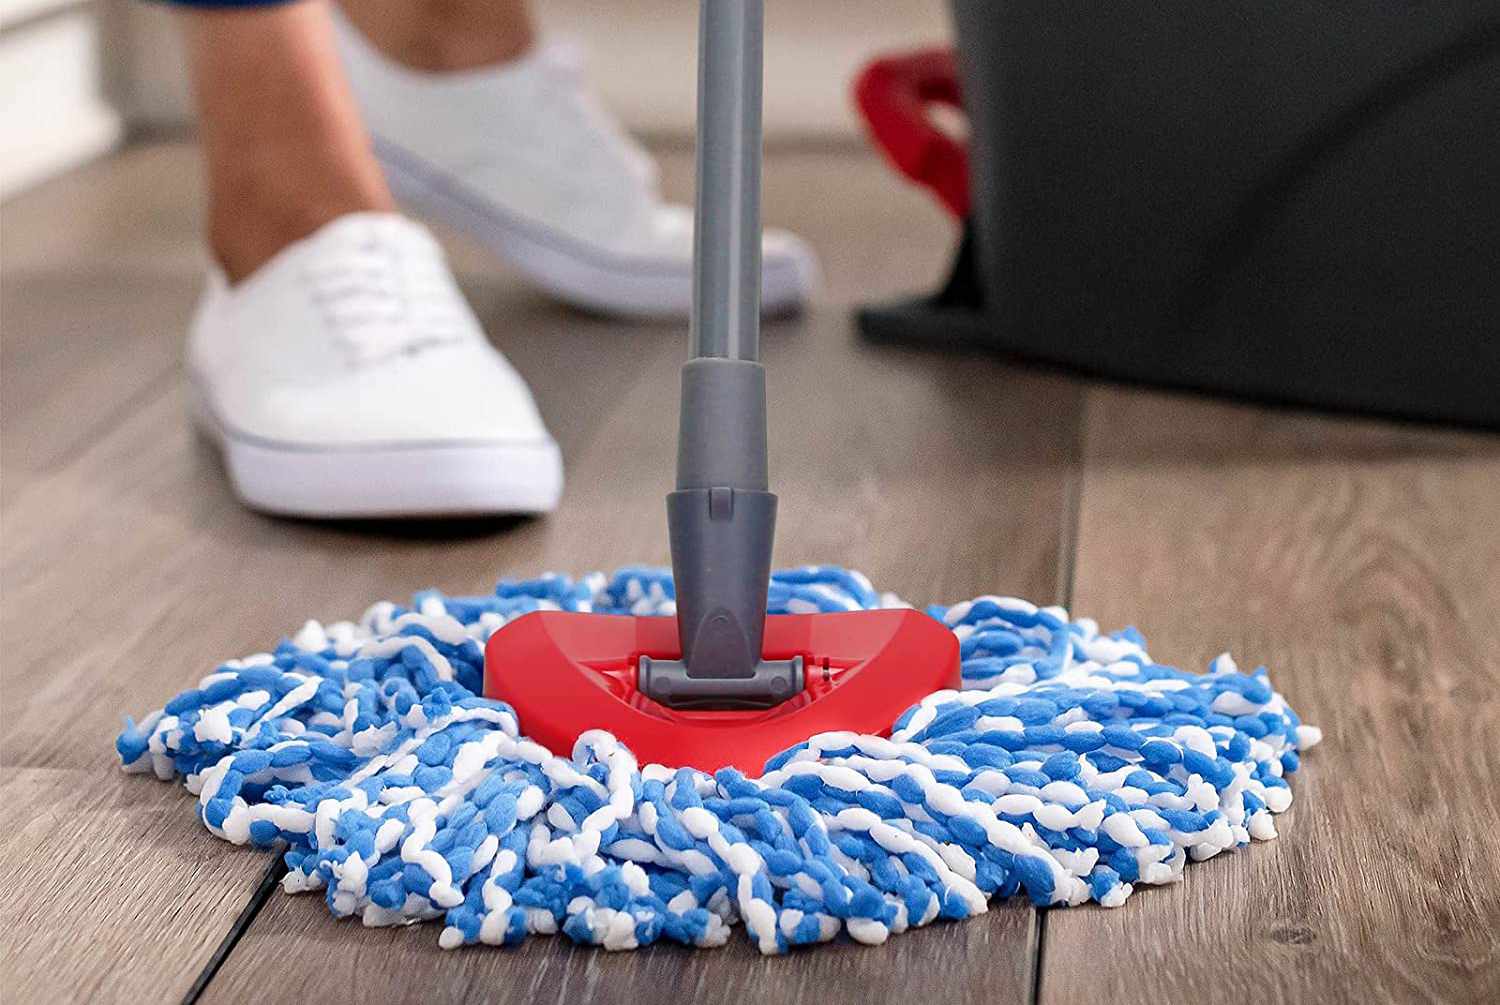
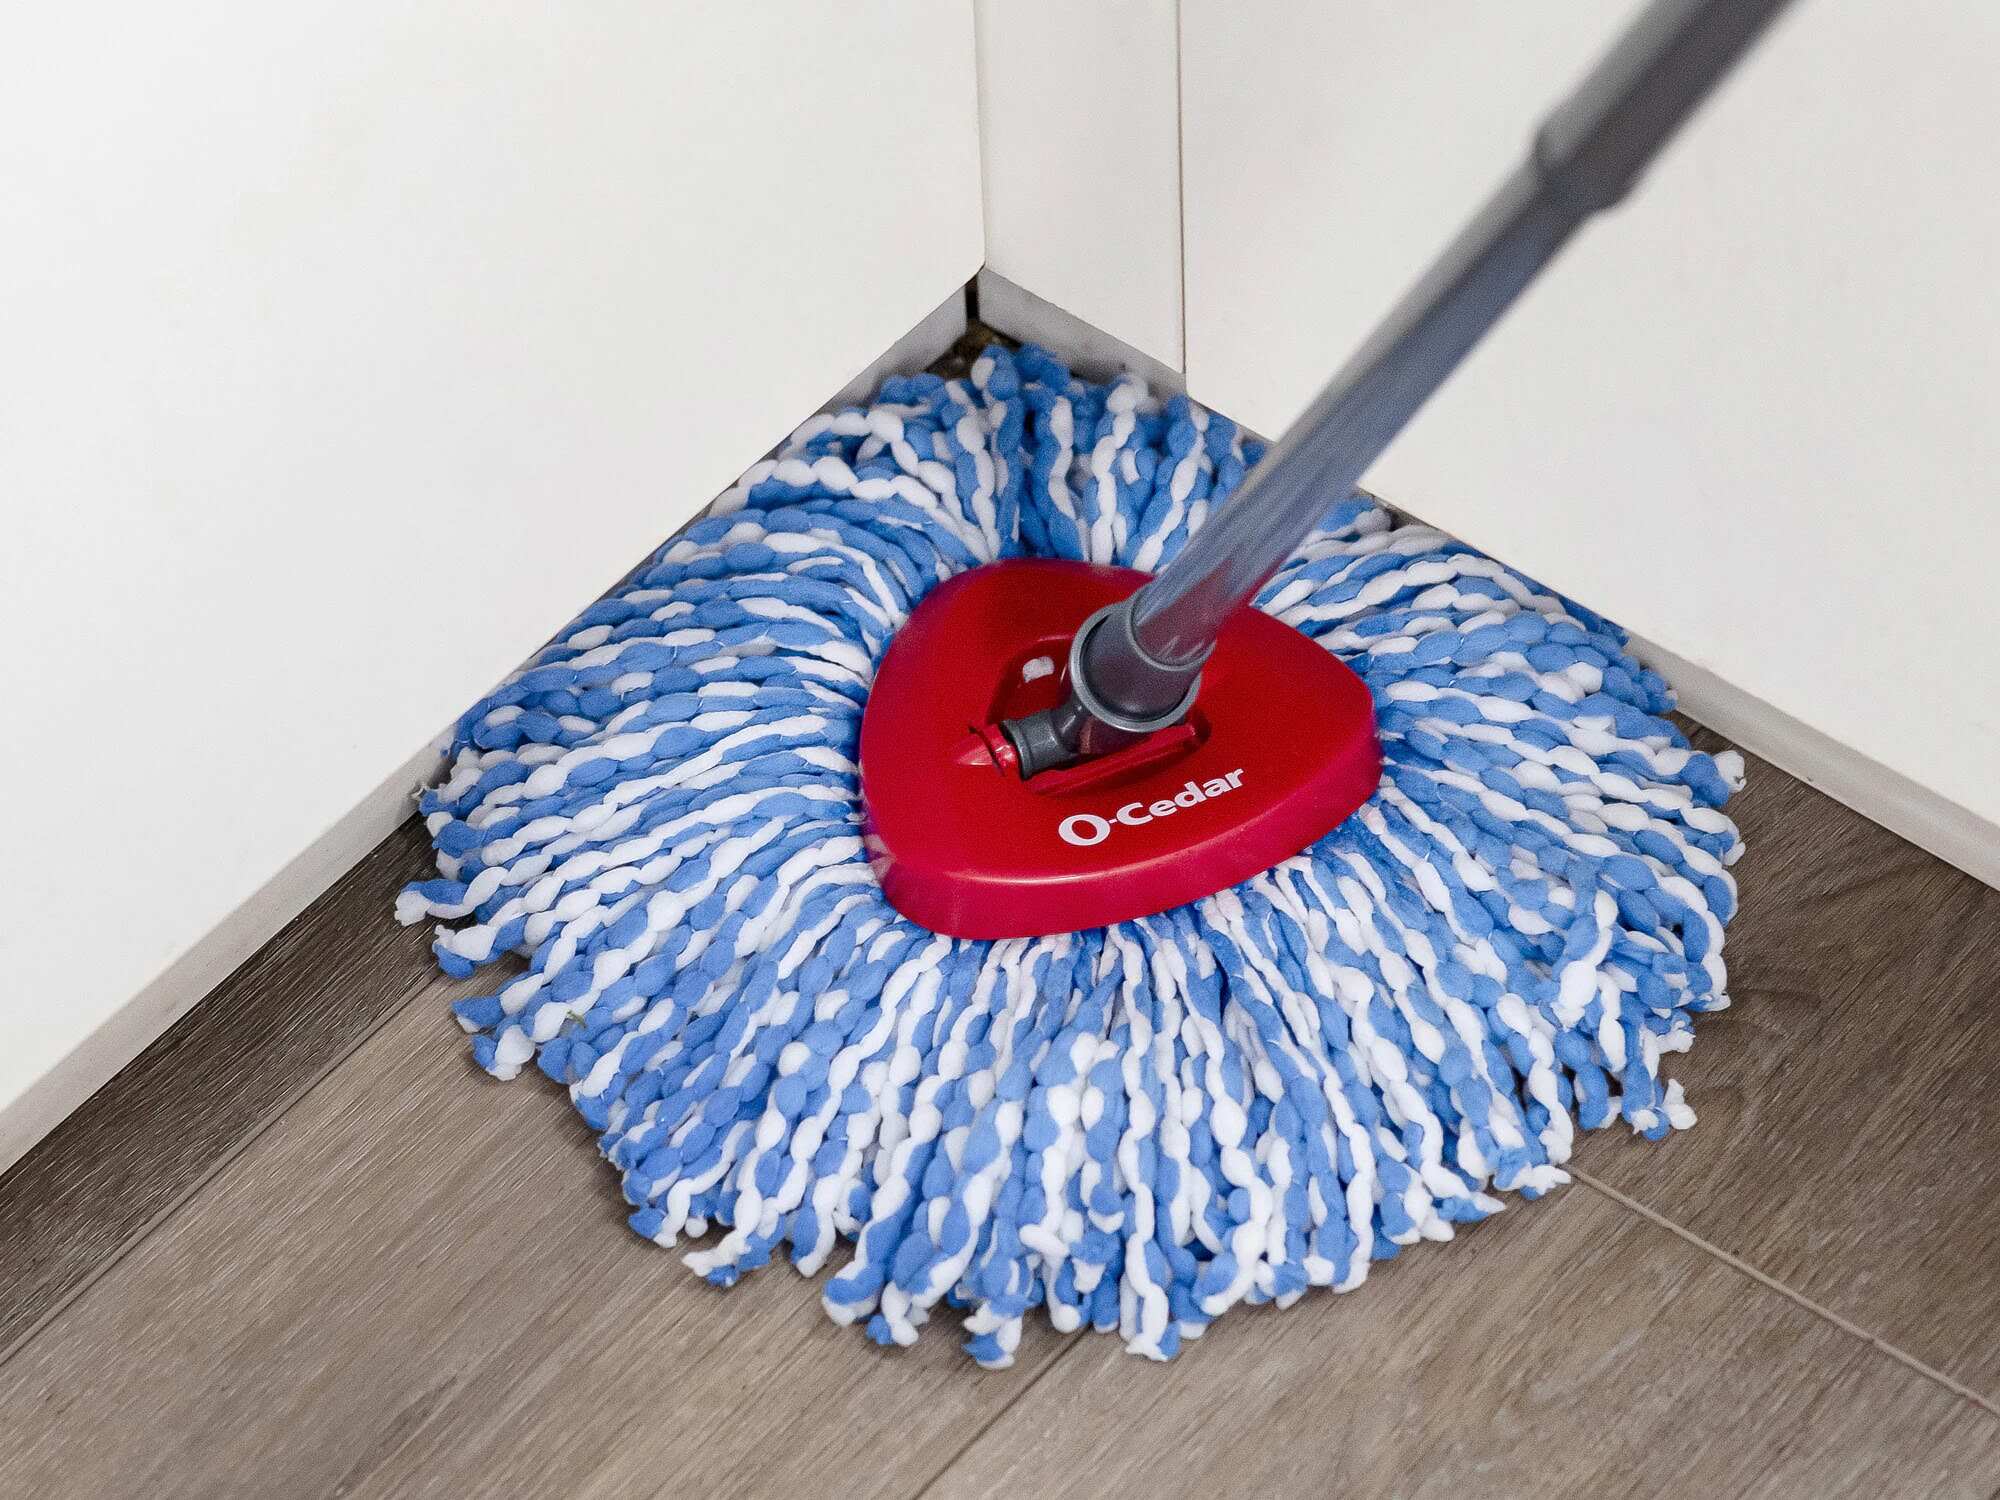
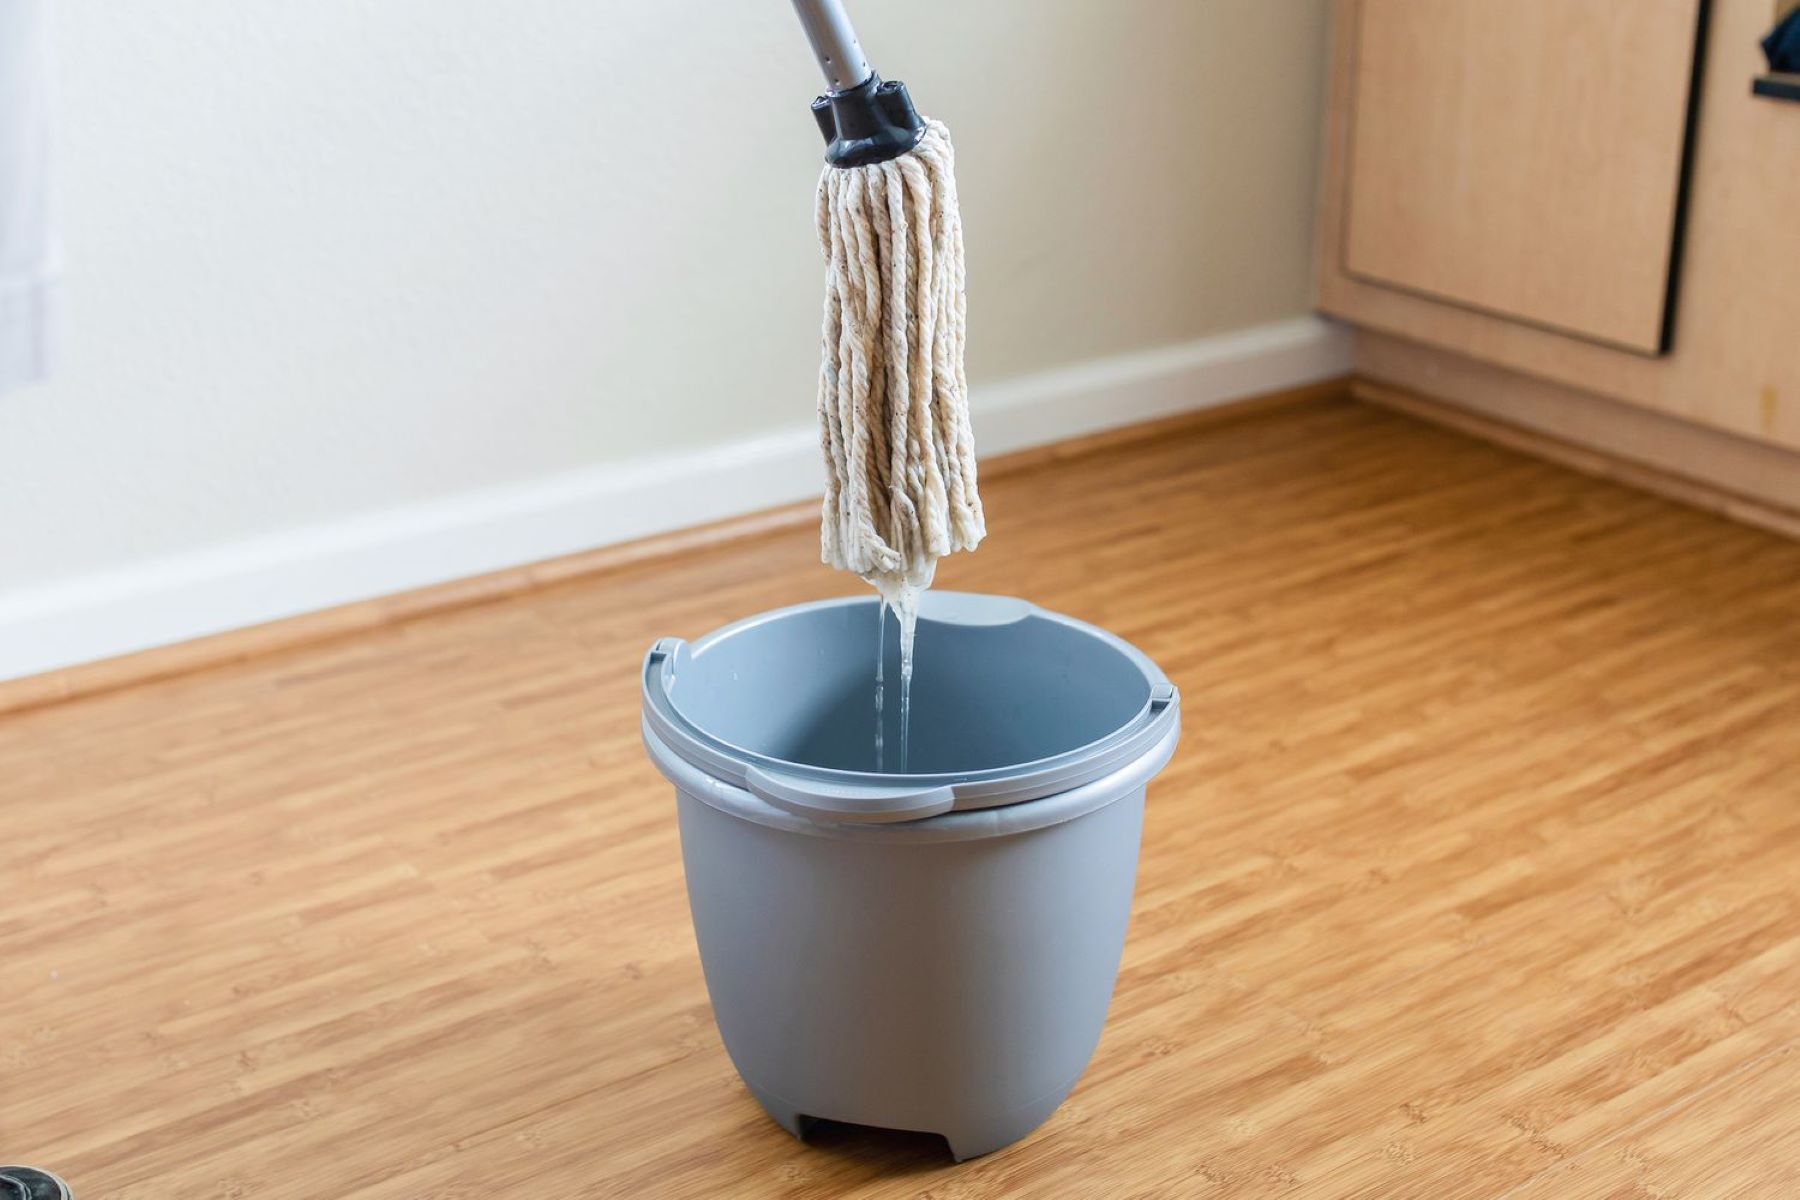
To extend the O-Cedar mop handle, simply twist the handle in a clockwise direction to loosen it, then pull it out to your desired length. Twist it back in a counter-clockwise direction to secure it in place.
Step 4: Attach the Extension Piece
With the extension piece cut to the appropriate length, it’s time to securely attach it to the O-Cedar mop handle. Follow these steps to ensure a stable and reliable connection:
- Select the attachment method: Depending on the type of extension material and the design of your mop handle, you may choose to use adhesive, fasteners, or a combination of both to attach the extension piece. Consider the durability and long-term stability of the attachment method.
- Apply adhesive: If you opt for adhesive, carefully apply it to the inner surface of the extension piece or the outer surface of the mop handle, following the adhesive manufacturer’s instructions. Ensure that the adhesive is evenly distributed for a secure bond.
- Insert the extension piece: Gently insert the extension piece into the open end of the mop handle, ensuring a snug fit. If using a wooden dowel, PVC pipe, or similar material, consider twisting or tapping it lightly to facilitate a tight connection.
- Secure with fasteners: If fasteners are part of your attachment method, carefully position and tighten them to secure the extension piece to the mop handle. Pay attention to the recommended tightening torque to avoid damaging the materials.
- Allow for curing time: If adhesive is used, allow sufficient time for it to cure and create a strong bond between the extension piece and the mop handle. Follow the adhesive manufacturer’s guidelines for the recommended curing duration.
By attaching the extension piece securely, you’ll ensure that the extended O-Cedar mop handle maintains its structural integrity and provides reliable support during cleaning tasks. With the extension piece in place, you’re ready to reassemble the mop handle in the next step.
Read more: Which O-Cedar Mop Is Best
Step 5: Reassemble the Mop Handle
Now that the extension piece is securely attached to the O-Cedar mop handle, it’s time to reassemble the handle and prepare it for use. Follow these steps to complete the reassembly process:
- Reconnect the handle sections: If your mop handle consists of multiple sections, carefully reattach and secure them to restore the handle to its original length. Ensure that each section is properly aligned and connected to maintain the handle’s structural integrity.
- Reattach the mop head: Once the handle sections are reconnected, reattach the mop head to the end of the handle. Follow the manufacturer’s instructions to secure the mop head in place, ensuring that it is firmly attached and ready for use.
- Test the extended handle: Before using the extended mop handle for cleaning tasks, give it a gentle shake and ensure that the connection between the original handle and the extension piece is stable. Verify that the extended handle feels secure and does not wobble or shift during movement.
- Adjust the extension, if necessary: Take a moment to assess the overall length and feel of the extended handle. If further adjustments are needed to achieve the desired length or stability, revisit the attachment method and make any necessary refinements.
- Prepare for cleaning: With the extended handle reassembled and ready for use, you’re now equipped to tackle cleaning tasks with added comfort and reach. Enjoy the convenience of an extended O-Cedar mop handle that enhances your cleaning experience.
By carefully reassembling the mop handle and ensuring the stability of the extension, you’ll be ready to take advantage of the improved functionality and comfort provided by the extended O-Cedar mop handle.
Conclusion
Congratulations on successfully extending your O-Cedar mop handle! By following the straightforward steps outlined in this guide, you’ve transformed your cleaning tool into a more versatile and ergonomic instrument. The extended handle will allow you to maintain better posture, reach high or distant areas with ease, and enjoy a more comfortable cleaning experience overall.
Remember, the process of extending your O-Cedar mop handle is not only practical but also customizable to your specific needs. Whether you’re seeking a longer reach for high ceilings, deep under furniture, or simply to minimize bending during cleaning, the extended handle provides a tailored solution to your cleaning challenges.
With the right materials, careful measurement, and secure attachment, you’ve enhanced the functionality of your O-Cedar mop, making it a more valuable asset in your cleaning arsenal. The extended handle opens up new possibilities for efficient and thorough cleaning, allowing you to tackle household tasks with confidence and convenience.
As you put your extended O-Cedar mop handle to use, take pride in the DIY accomplishment and the improved comfort it brings to your cleaning routine. With a few simple steps, you’ve elevated the performance of your mop handle and set the stage for more enjoyable and effective cleaning sessions.
Now, armed with your extended O-Cedar mop handle, you’re ready to tackle cleaning challenges with renewed vigor and enhanced convenience. Happy cleaning!
Frequently Asked Questions about How To Extend O-Cedar Mop Handle
Was this page helpful?
At Storables.com, we guarantee accurate and reliable information. Our content, validated by Expert Board Contributors, is crafted following stringent Editorial Policies. We're committed to providing you with well-researched, expert-backed insights for all your informational needs.

0 thoughts on “How To Extend O-Cedar Mop Handle”